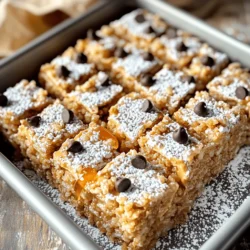
No-Bake Peanut Butter Krispie Bars
Indulge in a sweet treat with these Crispy Peanut Butter Delight Bars! Easy to make and full of flavor, these bars are crafted with creamy peanut butter, crispy rice cereal, and optional mini chocolate chips for that extra touch. Perfect for a quick snack or dessert, they require just 10 minutes of prep. Click through to discover the full recipe and learn how to whip up these delightful bars that everyone will love!