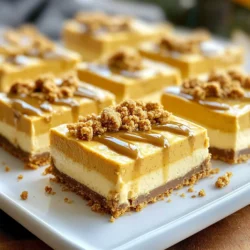
No-Bake Cookie Butter Cheesecake Bars
Indulge in the ultimate dessert with these No-Bake Cookie Butter Cheesecake Bars! This easy recipe combines a buttery graham cracker crust with a creamy, dreamy cookie butter filling that requires no baking. Perfect for any occasion, these bars are a treat everyone will love. Follow our simple steps to create a delightful dessert that will impress your friends and family. Click through to explore the full recipe and start making your own heavenly cheesecake bars today!