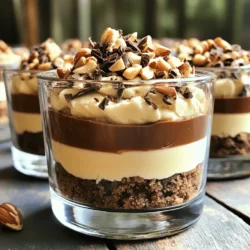
No-Bake Chocolate Hazelnut Cheesecake Cups
Indulge in the irresistible delight of No-Bake Chocolate Hazelnut Cheesecake Cups! This quick and easy recipe combines a crunchy cookie base with a creamy hazelnut cheesecake filling, topped with toasted hazelnuts and dark chocolate shavings. Perfect for satisfying your sweet tooth without the oven! Click through to explore this delicious recipe and treat yourself to a delightful dessert experience that you can whip up in just 20 minutes.