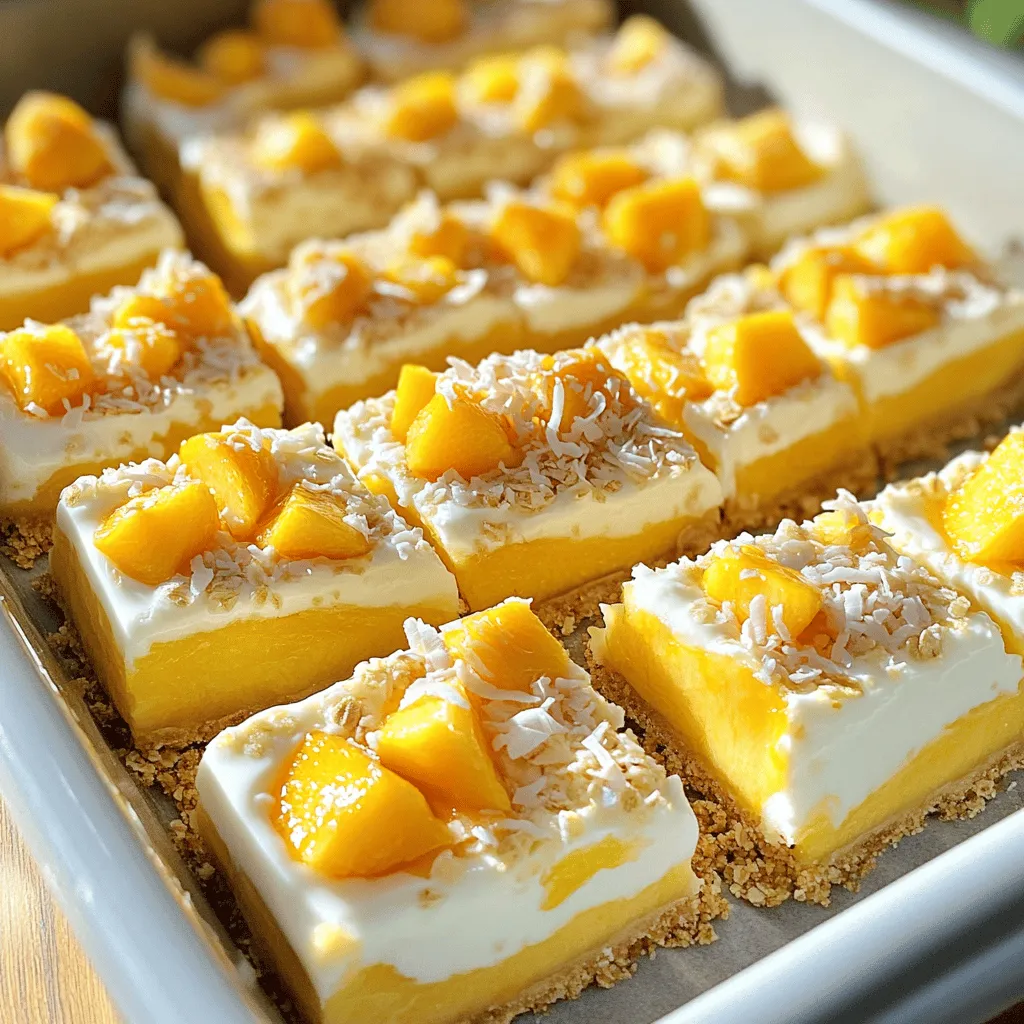
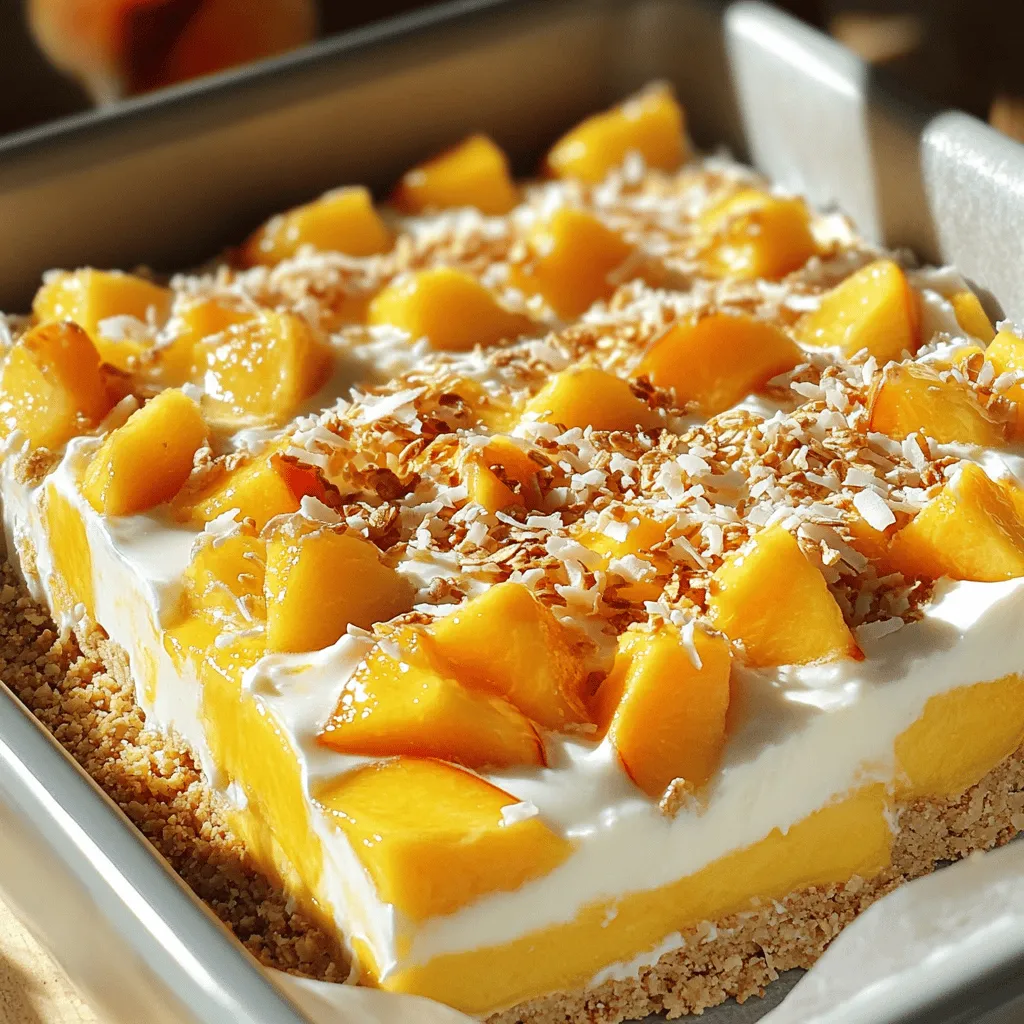
Looking for a sweet, easy treat? You’ll love these No-Bake Peach Yogurt Bars! They combine creamy yogurt and juicy peaches for a refreshing bite. Plus, they’re quick to make and perfect for any occasion. Whether you want a snack or a dessert, these bars fit the bill. Stick around as I guide you through each step, share tips, and offer variations to make them your own!
Ingredients
List of Main Ingredients
To make these no-bake peach yogurt bars, you need a few key items:
– 2 cups rolled oats
– 1 cup almond flour
– 1/4 cup honey or maple syrup
– 1/4 cup coconut oil, melted
– 1 teaspoon vanilla extract
– 1 1/2 cups Greek yogurt (vanilla or plain)
– 2 ripe peaches, diced
– 1/4 teaspoon cinnamon
– Pinch of salt
– 1/4 cup toasted coconut flakes (for topping)
These ingredients create a tasty, healthy treat that everyone will love.
Optional Toppings
You can add more fun with toppings. Here are some ideas:
– Fresh berries like strawberries or blueberries
– Chopped nuts for crunch
– A drizzle of honey or maple syrup
– A sprinkle of granola
These toppings give a nice twist and extra flavor to your bars.
Ingredient Substitutions
If you don’t have some ingredients, don’t worry! Here are some swaps:
– Use quick oats instead of rolled oats for a softer base.
– Swap almond flour for all-purpose flour or oat flour.
– Replace coconut oil with butter if you prefer.
– Any yogurt can work, like dairy-free or flavored ones.
– You can use any fruit if peaches are not in season.
These substitutions keep the recipe flexible and easy.
Step-by-Step Instructions
Preparation of the Base Layer
To start, grab a large mixing bowl. Add 2 cups of rolled oats, 1 cup of almond flour, 1/4 cup of honey or maple syrup, and 1/4 cup of melted coconut oil. Don’t forget the 1 teaspoon of vanilla extract! Mix all the ingredients well until they blend together. This mixture will be your base layer.
Next, take an 8×8 inch baking dish and line it with parchment paper. Press the oatmeal mixture firmly into the bottom of the dish. Make sure it’s compact and even. This step is key to a great base.
Making the Yogurt-Peach Filling
Now, we move on to the filling. In another bowl, mix 1 1/2 cups of Greek yogurt with 2 diced ripe peaches. You can use either vanilla or plain yogurt based on your taste. Add 1/4 teaspoon of cinnamon and a pinch of salt for extra flavor. Stir gently until the peaches spread evenly throughout the yogurt. This mixture should be creamy and fruity.
Assembling the Bars
Spread the yogurt-peach filling over your oatmeal crust in the baking dish. Use a spatula to smooth it out evenly. This creates a nice layer of flavor.
To finish, sprinkle 1/4 cup of toasted coconut flakes on top. This adds a delightful crunch. Cover the dish with plastic wrap or a lid. Refrigerate for at least 3-4 hours, or even overnight, to let the bars set. After chilling, use the parchment paper to lift the bars out easily. Cut them into squares or rectangles, and enjoy your No-Bake Peach Yogurt Bars!
Tips & Tricks
How to Achieve the Perfect Texture
To get the best texture in your no-bake peach yogurt bars, choose ripe peaches. Ripe peaches are sweet and juicy. They blend well into the yogurt. Use Greek yogurt for a thick, creamy base. Mix the yogurt gently with the peaches. Avoid over-mixing to keep the chunks intact. This adds texture to every bite. Let your bars chill for at least four hours. If you can, chill them overnight. This helps them set properly and makes them easy to slice.
Serving Suggestions
These bars are great for any time of day. Serve them as a snack or a light dessert. You can also pack them in lunch boxes. To make them special, add a drizzle of honey on top before serving. Fresh mint leaves or a sprinkle of cinnamon can also enhance the flavor. For a fun twist, serve them with a dollop of whipped cream or yogurt. They look and taste amazing!
Best Practices for Layering
Layering is key to making these bars tasty and pretty. Start by pressing the oatmeal mixture into the baking dish firmly. This creates a strong base. When adding the yogurt-peach layer, spread it evenly. Use a spatula to smooth it out. For the top layer, sprinkle toasted coconut flakes evenly. This adds crunch and flavor. Make sure every layer is compact. This helps the bars hold their shape when cut. Following these tips will make your bars look and taste great!
Variations
Dairy-Free or Vegan Options
You can make these bars dairy-free or vegan easily. Simply replace Greek yogurt with a dairy-free yogurt. Look for almond or coconut yogurt. Use maple syrup instead of honey for sweetening. This swap keeps the flavors bright and tasty. You still get that creamy texture and refreshing taste.
Alternative Fruits to Use
While peaches shine in this recipe, other fruits work well too. Try ripe mangoes for a tropical twist. Strawberries will give sweet and tart notes. Blueberries add a pop of color and flavor. You can mix fruits for a fun blend. Just remember to chop them small for even distribution.
Flavor Enhancements
Boost the flavor with simple add-ins. A squeeze of lemon juice brightens the taste. You can also add a dash of nutmeg for warmth. If you love chocolate, sprinkle cocoa nibs on top. Try mixing in some nuts for crunch. Each addition changes the bars in a new way. Enjoy experimenting with these fun ideas!
Storage Info
How to Store No-Bake Peach Yogurt Bars
To keep your No-Bake Peach Yogurt Bars fresh, store them in the fridge. Use an airtight container to prevent them from drying out. Make sure to separate the layers with parchment paper if stacking. This helps keep each bar intact and easy to grab.
Freezing Instructions
If you want to save some bars for later, freezing them is a great option. First, cut the bars into squares. Then, wrap each square tightly in plastic wrap. Place the wrapped bars in a freezer-safe bag. They will stay fresh for up to three months in the freezer. When you’re ready to eat them, let them thaw in the fridge overnight.
Shelf Life and Freshness Tips
In the fridge, these bars last about five days. Check for any signs of spoilage before eating. If they start to change color or smell, it’s best to throw them away. Always keep them in a cool spot to maintain their taste and texture. Enjoy your tasty treat while it’s fresh!
FAQs
Can I use frozen peaches?
Yes, you can use frozen peaches in this recipe. Just thaw them first. Drain any excess juice to prevent a soggy texture. Fresh peaches give a better taste, but frozen works too.
How long do the bars last in the fridge?
These bars can last up to five days in the fridge. Store them in an airtight container. This keeps them fresh and tasty for your next snack.
Can I customize the sweetener used in the recipe?
Absolutely! You can swap honey for maple syrup or agave nectar. Just use the same amount. This makes it easy to match your taste.
Can I make these bars gluten-free?
Yes, you can! Just use gluten-free oats instead of regular rolled oats. This small change keeps the bars safe for those who avoid gluten.
What if I don’t have almond flour?
You can replace almond flour with oat flour or all-purpose flour. Each will change the flavor slightly but will still work well.
Can I add nuts or seeds?
Definitely! Chopped nuts or seeds can add a nice crunch. Consider walnuts, almonds, or chia seeds for added nutrition.
Is there a way to reduce the calories?
You can cut back on the sweetener or use a low-calorie syrup. Reducing the amount of coconut oil can also help lower calories.
How do I cut the bars neatly?
To cut the bars neatly, use a warm knife. Just dip it in hot water and wipe it dry before slicing. This helps make clean cuts without mess.
To sum up, we covered everything you need for delicious no-bake peach yogurt bars. We explored key ingredients, step-by-step instructions, useful tips, and fun variations. Remember to choose your favorite toppings and storage methods for the best results. Whether you enjoy them fresh or frozen, these bars are easy and tasty. I hope you feel inspired to make your own unique version. Enjoy your peachy treat!