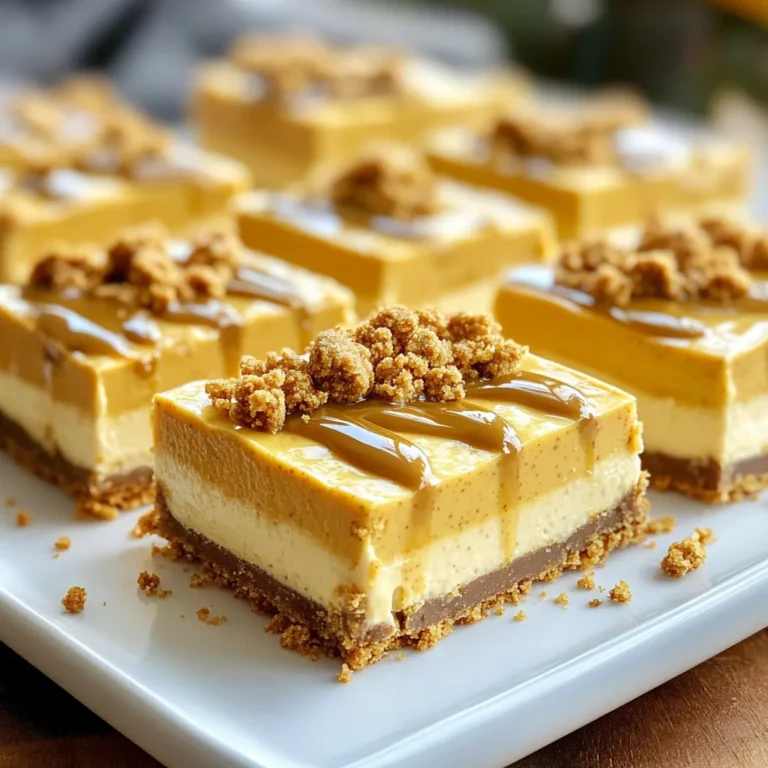
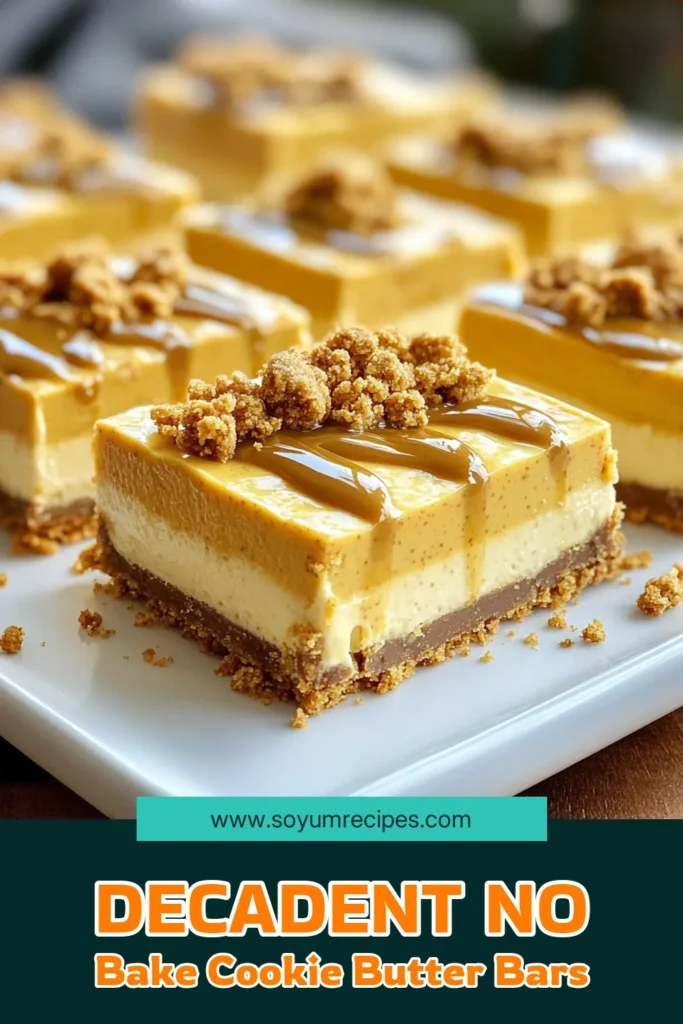
Craving something sweet and easy? You’re in for a treat with these No-Bake Cookie Butter Cheesecake Bars! With a buttery crust, creamy filling, and rich cookie butter flavor, these bars are a simple dessert you can whip up in no time. Best of all, you don’t need to turn on the oven. Follow along for a step-by-step guide to create a dessert that will wow your friends and family!
Ingredients
To make these No-Bake Cookie Butter Cheesecake Bars, you need the following ingredients:
– 1 ½ cups graham cracker crumbs
– ½ cup unsalted butter, melted
– 1 cup cookie butter
– 1 package (8 oz) cream cheese, softened
– 1 cup powdered sugar
– 1 teaspoon vanilla extract
– 1 cup heavy cream
– ½ cup crushed cookies (for topping, optional)
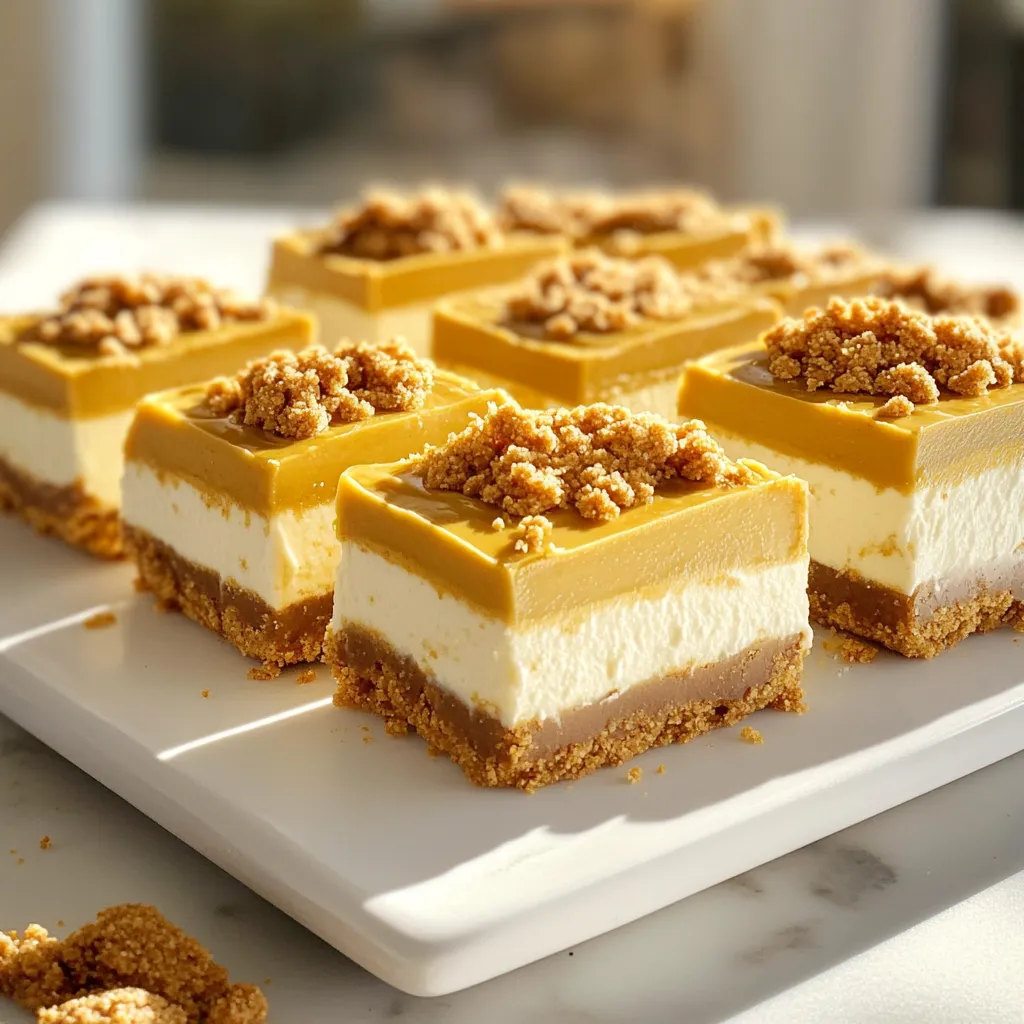
These ingredients come together to create a rich and creamy dessert. The graham cracker crumbs form a crunchy base, while the cookie butter adds a sweet, spiced flavor. The cream cheese and heavy cream make the filling smooth and luscious. You can personalize the topping with crushed cookies for extra texture and sweetness. Each component plays a vital role in making these bars a delight for your taste buds.
Step-by-Step Instructions
Prepare the Crust
First, grab a medium bowl. Mix 1 ½ cups of graham cracker crumbs with ½ cup of melted butter. Stir until it looks like wet sand. Next, take an 8×8 inch baking dish and line it with parchment paper. Press the crumb mixture firmly into the bottom of the dish. Make sure it’s even. Now, chill the crust in the refrigerator while you make the cheesecake filling. This helps it firm up nicely.
Make the Cheesecake Filling
In a large bowl, combine 1 package of softened cream cheese, 1 cup of cookie butter, 1 cup of powdered sugar, and 1 teaspoon of vanilla extract. Beat this mixture using an electric mixer until it turns smooth and creamy. You want to ensure there are no lumps. This will create a rich and tasty filling.
Whip the Cream
Now, take another bowl and pour in 1 cup of heavy cream. Use a mixer to whip it until stiff peaks form. This will take a few minutes. Once done, gently fold the whipped cream into the cheesecake mixture. Be careful not to deflate it. This step adds lightness to your cheesecake bars.
Assemble and Refrigerate
Pour the cheesecake mixture over the chilled crust. Spread it out evenly with a spatula. For a fun touch, sprinkle ½ cup of crushed cookies on top. This adds a great crunch. Cover the dish and place it in the refrigerator. Let it chill for at least 4 hours, or until it sets. Once it’s firm, you can lift the bars out using the parchment paper. Cut them into squares, and they’re ready to enjoy!
Tips & Tricks
Achieving the Perfect Consistency
To get the best cheesecake bars, mix until smooth. You want no lumps in the filling. When the cream cheese, cookie butter, and sugar blend well, you know it’s ready. This smoothness makes each bite creamy. The chilling time matters too. Let the cheesecake set for at least 4 hours. This helps the bars hold their shape when cut.
Presentation Ideas
Serving your cheesecake bars nicely makes them even more fun! Use a white platter to show off the colors. Drizzle some cookie butter on top for extra flavor. You can also add whipped cream on the side. A sprinkle of crushed cookies looks great too. These small touches make your dessert stand out.
Kitchen Tools Needed
You don’t need fancy tools for this recipe. Here’s what I suggest:
– A medium bowl for mixing the crust
– A large bowl for the filling
– A hand mixer or stand mixer for whipping
– An 8×8 inch square baking dish
– Parchment paper to line the dish
These tools make the process easy and fun. With the right items, you’ll enjoy making this treat!
Variations
Flavor Variations
You can make these cheesecake bars even more fun by adding flavors. Try mixing in chocolate or peanut butter for a twist. Just blend in ½ cup of your choice when you mix the cream cheese and cookie butter. This step adds depth and richness to the bars.
You can also play with different cookie flavors. Instead of cookie butter, use flavors like gingerbread or even oreo. These changes let you create unique bars that suit your taste.
Dietary Adjustments
If you need a gluten-free option, swap the graham cracker crumbs for almond flour or gluten-free cookies. Mix these with melted butter just like the original recipe. This keeps the crust tasty and safe for those with gluten issues.
For a vegan version, use vegan cream cheese and coconut whipped cream. Replace the butter with coconut oil, and you will have a delicious dairy-free treat. Just follow the same steps, and you will get a creamy filling everyone can enjoy.
Storage Info
How to Store Leftovers
To keep your cheesecake bars fresh, refrigerate them right away. Use an airtight container to prevent drying. You can also cover the dish with plastic wrap if you don’t have a container. Make sure to keep them chilled at all times. They taste best within a week, but they can last up to ten days.
Freezing Instructions
Freezing these cheesecake bars is easy and helps you save some for later. First, cut the bars into squares. Then, wrap each piece in plastic wrap. Place the wrapped bars in a freezer-safe bag or container. This helps keep the flavor and texture. When you’re ready to enjoy them, thaw the bars in the fridge overnight. Freezing may change the texture slightly, but they will still taste delicious!
FAQs
Can I make No-Bake Cheesecake Bars in advance?
Yes, you can make these cheesecake bars ahead of time. I recommend preparing them at least one day before serving. This wait allows the flavors to blend well. Plus, the bars set perfectly in the fridge. Just cover them with plastic wrap to keep them fresh.
What can I use instead of cream cheese?
If you want a change from cream cheese, you have some options. You can use Greek yogurt for a lighter choice. Mascarpone cheese also works well and adds a rich flavor. For a dairy-free option, try a vegan cream cheese substitute. Each of these swaps will give you a tasty result.
How long can these cheesecake bars last in the fridge?
These cheesecake bars can last in the fridge for about five days. Make sure to store them in an airtight container. This keeps them fresh and tasty. If you notice any changes in smell or texture, it’s best to discard them. Enjoy them while they’re at their best!
This no-bake cheesecake is easy and fun to make. You learned how to create a perfect crust, mix a creamy filling, and assemble everything. You also discovered tips for presentation and variations to try. Lastly, you know how to store leftovers and keep them fresh.
I encourage you to explore your creativity. Enjoy making these cheesecake bars as a delicious treat for friends and family!

