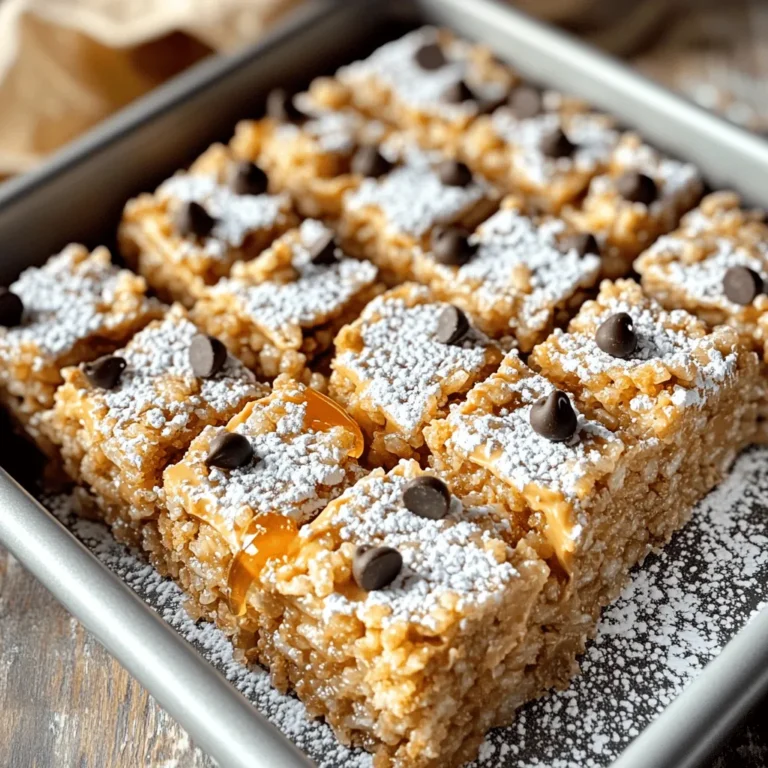
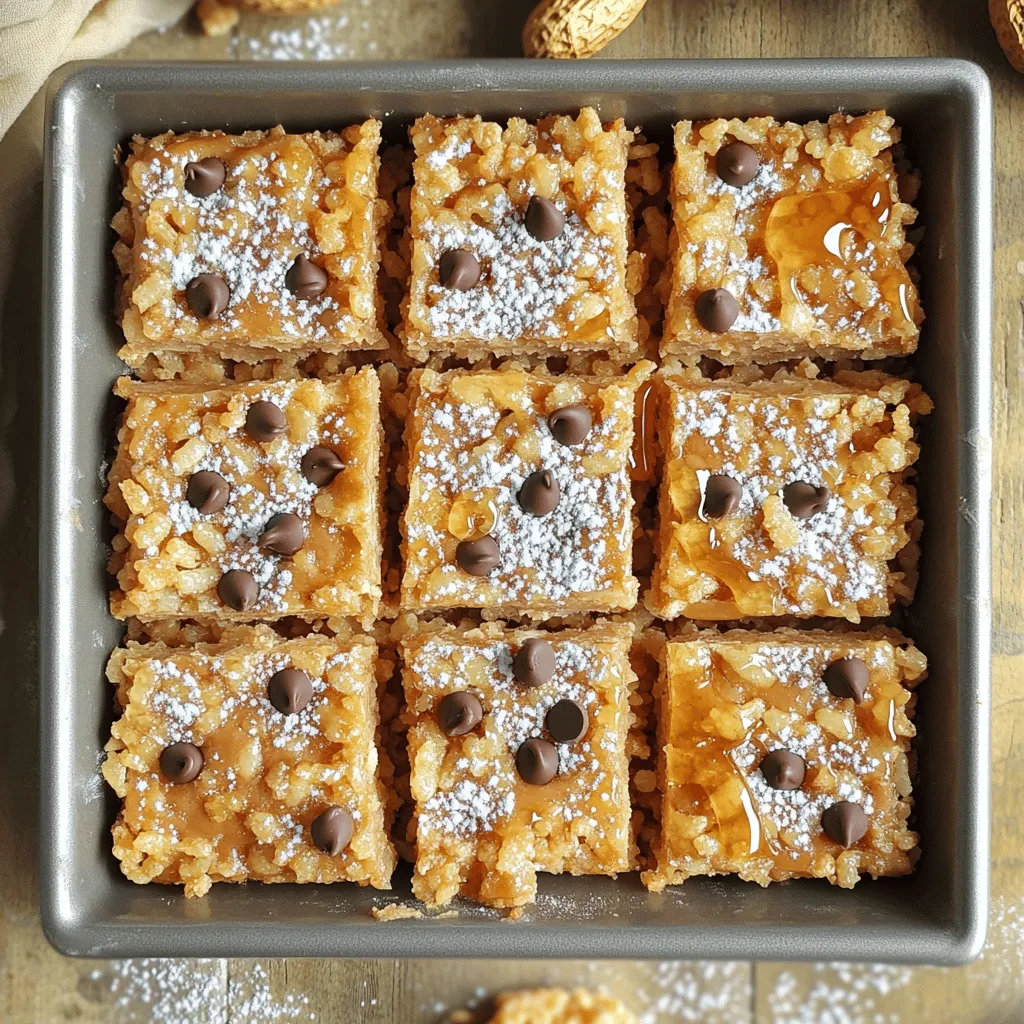
If you’re craving a sweet treat without the oven, I’ve got you covered. My No-Bake Peanut Butter Krispie Bars are easy to make and delicious. With just a few simple ingredients, you’ll create a snack that everyone will love. Whether you’re a busy parent or a sweets lover, these bars fit right in. Ready to whip up a dessert that requires no baking? Let’s dive into making these delightful treats!
Ingredients
Main Ingredients List
To make these no-bake peanut butter krispie bars, gather these main ingredients:
– 1 cup creamy peanut butter
– 1/2 cup honey or maple syrup
– 3 cups crispy rice cereal
– 1/2 cup powdered sugar
– 1 teaspoon vanilla extract
– A pinch of sea salt
Each ingredient plays a role. The peanut butter adds creaminess, while the honey or maple syrup sweetens the bars. The crispy rice cereal gives a fun crunch.
Optional Ingredients
You can add some extra fun with these optional ingredients:
– 1/2 cup mini chocolate chips
These chocolate chips add a sweet touch. You can mix them in or sprinkle them on top for a nice finish.
Substitutions for Dietary Needs
If you have dietary needs, here are some great substitutions:
– For honey, use agave syrup for a vegan version.
– Swap creamy peanut butter for almond or sunflower butter if needed.
– Use a gluten-free rice cereal to make it gluten-free.
These swaps keep the bars tasty while meeting your needs. With these options, everyone can enjoy this delightful treat!
Step-by-Step Instructions
Preparing the Baking Dish
First, grab an 8×8-inch square baking dish. Line it with parchment paper. Leave some paper hanging over the sides. This makes it easy to lift the bars out later.
Mixing Peanut Butter and Sweetener
Next, take a medium saucepan. Add 1 cup of creamy peanut butter and 1/2 cup of honey or maple syrup. Heat it on low. Stir it well for 2 to 3 minutes. The mix should melt and blend together smoothly.
Adding Flavors and Cereal
Now, remove the pan from the heat. Stir in 1 teaspoon of vanilla extract and a pinch of sea salt. Mix it until it’s evenly combined. Gradually add 3 cups of crispy rice cereal. Stir gently to coat the cereal fully. If you want chocolate chips, fold in 1/2 cup now, but save a few for later.
Pressing into the Pan
Pour the mixture into your lined baking dish. Use the back of a spatula or your hands to press it down firmly. Make sure it’s even and compact. This helps the bars hold together later.
Chilling and Cutting the Bars
Place the dish in the refrigerator for at least 30 minutes. This helps the bars firm up. Once set, lift the bars out using the parchment overhang. Transfer them to a cutting board. Cut into squares or bars with a sharp knife. Enjoy your tasty treat!
Tips & Tricks
Ensuring Perfect Texture
To achieve the best texture, make sure to press the mixture firmly into the pan. This helps the bars hold together. If the mixture is too loose, your bars may crumble. Aim for a compact layer for a great bite. Let them chill in the fridge for at least 30 minutes. This will help them set nicely.
Best Practices for Melting Peanut Butter
When melting peanut butter, do it over low heat. Stir it constantly to avoid burning. You want it smooth and creamy. Mixing in honey or maple syrup at the same time helps it melt evenly. If you notice it getting too hot, remove it from the heat. This keeps your peanut butter from losing its flavor.
How to Store and Serve
Store your bars in the fridge for freshness. Use an airtight container for best results. They can last up to a week this way. When serving, cut them into squares or bars. Top with extra chocolate chips for a fun touch. These bars are perfect for snacks or dessert. Enjoy them chilled or at room temperature!
Variations
Add-ins and Toppings Ideas
You can make your No-Bake Peanut Butter Krispie Bars even better! Here are some fun add-ins:
– Chopped nuts: Use almonds or walnuts for a crunchy bite.
– Dried fruit: Add raisins or cranberries for natural sweetness.
– Coconut flakes: Sprinkle some unsweetened coconut for a tropical twist.
– Sprinkles: Kids love colorful sprinkles on top for a festive look.
These options let you personalize your bars and make them your own.
Flavor Variations and Swaps
Feel free to switch up the flavors in your bars. Here are some ideas:
– Nut butters: Try almond or cashew butter instead of peanut butter.
– Sweeteners: Use agave nectar or brown rice syrup if you prefer.
– Chocolate: Use dark chocolate chips or white chocolate for a new taste.
Each swap can change the flavor and keep things exciting!
Gluten-Free or Vegan Options
You can easily make these bars gluten-free or vegan. Here’s how:
– Gluten-Free: Ensure your crispy rice cereal is labeled gluten-free. Many brands offer this option.
– Vegan: Use maple syrup as the sweetener and choose dairy-free chocolate chips.
These options allow everyone to enjoy your tasty bars, no matter their diet.
Storage Info
Storing in the Refrigerator
You can store your No-Bake Peanut Butter Krispie Bars in the fridge. Wrap them tightly in plastic wrap or use an airtight container. They stay fresh for about one week in the refrigerator. The cool air helps keep the bars firm and tasty.
Freezing for Longer Shelf Life
If you want to keep them longer, freezing is a great option. Cut the bars into squares before freezing. Place them in a single layer on a baking sheet. Once frozen, transfer them to a freezer-safe bag or container. They can last up to three months in the freezer. Just thaw them in the fridge before enjoying.
Best Containers for Storage
Use glass or plastic containers with tight lids for storage. These containers help keep the bars fresh and prevent them from drying out. If you freeze them, make sure to use freezer bags designed for this purpose. Label the bags with the date for easy tracking.
FAQs
How do I make No-Bake Peanut Butter Krispie Bars vegan?
To make these bars vegan, simply replace honey with maple syrup. Maple syrup is a great choice. You can also use agave nectar. Both options keep the bars sweet and sticky. Just ensure your peanut butter is also vegan-friendly. Most brands are, but it’s good to check.
Can I use crunchy peanut butter instead?
Yes, you can use crunchy peanut butter! This will add a nice texture. Some people love the extra crunch it provides. Just remember, it will change the smoothness of the bars a bit. If you like the creamy texture, stick to creamy peanut butter.
How long will the bars last in the fridge?
These bars can last about a week in the fridge. Make sure to store them in an airtight container. This keeps them fresh and tasty. If you want to enjoy them longer, consider freezing them.
Are there alternatives to honey or maple syrup?
Yes, there are alternatives! You can use agave nectar or brown rice syrup. Both options work well. They will still keep the bars sweet. You can also try date syrup for a different flavor twist.
You’ve learned about the key ingredients and steps to make No-Bake Peanut Butter Krispie Bars. I shared tips to help you perfect the texture and store the bars well. Remember, you can customize flavors and add-ins for fun twists. Whether you choose to freeze them or enjoy them fresh, these bars are an easy, tasty treat. Keep experimenting to find the mix that you love best!

