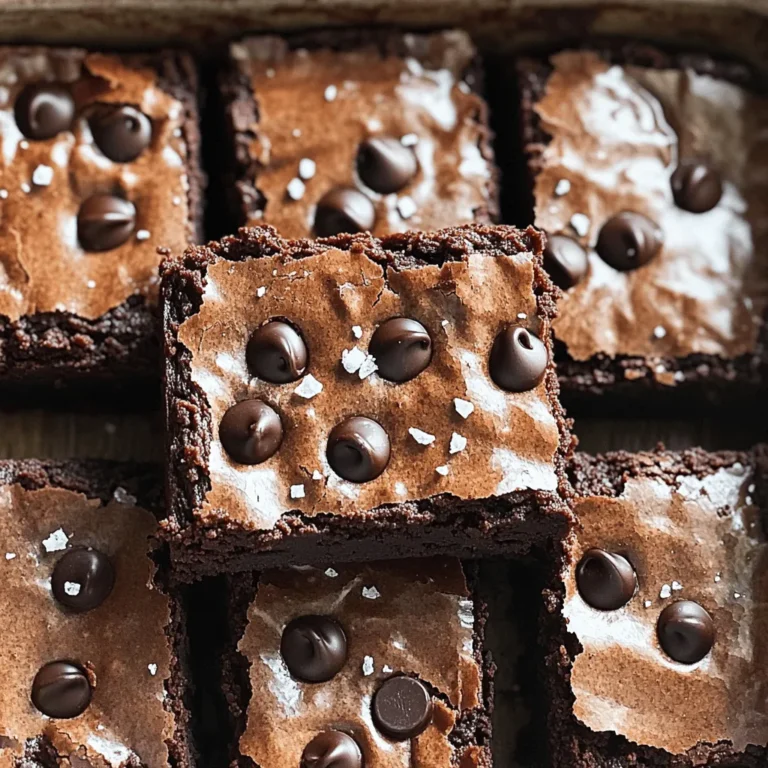
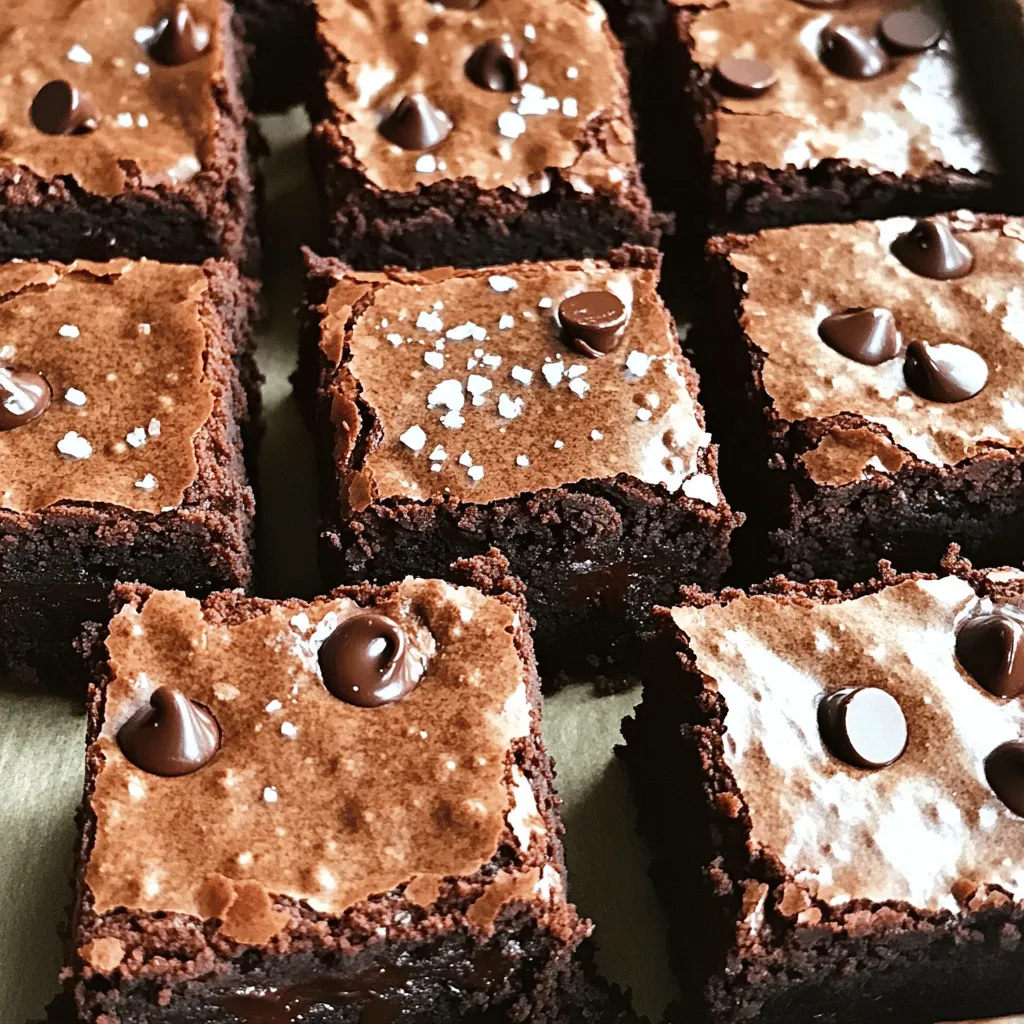
Welcome to the world of Chocolate Espresso Brownies! If you love rich, chocolatey treats with a coffee kick, you’re in the right place. These brownies are easy to make and are sure to impress family and friends. From key flavors to baking tips, I’ll share everything you need to know to create these delicious brownies. Get ready to dive into a mouthwatering recipe that’s perfect for any occasion!
Ingredients
Baking Essentials
To make these tasty chocolate espresso brownies, you need the right baking items. Here’s what you’ll need:
– 1 cup unsalted butter, melted
– 2 cups granulated sugar
– 4 large eggs
– 1 tablespoon vanilla extract
– 1 cup all-purpose flour
– 1 cup cocoa powder
– 1 teaspoon baking powder
– 1/2 teaspoon salt
Key Flavors
The key to a great brownie lies in its flavors. For this recipe, we add:
– 2 tablespoons finely ground espresso coffee
– 1 cup dark chocolate chips
– Sea salt for topping
The espresso adds a rich depth, while dark chocolate gives a sweet contrast. Together, they make a perfect pair.
Optional Add-ins
Want to take your brownies up a notch? Here are some fun add-ins:
– 1/2 cup walnuts, chopped
These nuts give a nice crunch. You can also use other nuts or even dried fruit if you like!
Step-by-Step Instructions
Preparation Steps
Start by getting your oven ready. Preheat it to 350°F (175°C). Grease a 9×13 inch baking dish. You can also use parchment paper to make removal easy. This helps the brownies come out clean and perfect.
Mixing Process
In a large bowl, mix the melted butter and granulated sugar. Stir until it looks smooth. Now, add the eggs one by one. Mix well after each egg. Then, add the vanilla extract.
In another bowl, combine the flour, cocoa powder, baking powder, salt, and finely ground espresso. Whisk these dry ingredients together. This step is key for even mixing.
Now, slowly add the dry mix to the wet mix. Stir until just combined. Be careful not to overmix; this keeps the brownies soft. Next, fold in the dark chocolate chips and walnuts if you want some crunch.
Baking Guidelines
Pour the brownie batter into the prepared dish. Spread it evenly. Bake in the oven for 25-30 minutes. To check if they are done, insert a toothpick. It should come out with a few moist crumbs, not wet batter.
After baking, take them out and let them cool for about 10 minutes. While warm, sprinkle sea salt on top. This adds a nice touch. Let the brownies cool completely before cutting them into squares. Enjoy your delicious treats!
Tips & Tricks
Ensuring Perfect Texture
To get the best texture, use room temperature eggs. Cold eggs can make the batter lumpy. Mix the butter and sugar well; this adds air, making brownies soft. Don’t overmix the batter once you add the flour. Stir until just combined. This keeps the brownies chewy and rich.
Enhancing Flavor Profiles
Add espresso powder to boost the chocolate taste. It deepens the flavor without making them taste like coffee. Using dark chocolate chips adds richness. If you like nuts, add walnuts for a nice crunch. A sprinkle of sea salt on top after baking brings out the sweetness.
Common Mistakes to Avoid
Avoid using cold ingredients, as they can affect mixing. Don’t skip the baking powder; it helps the brownies rise. Make sure to check the baking time. Overbaking makes them dry. Use a toothpick; it should have a few moist crumbs when they are done.
Variations
Alternative Ingredients
You can change the butter to coconut oil for a dairy-free option. Try using brown sugar instead of granulated sugar for a deeper taste. If you want a gluten-free treat, replace all-purpose flour with almond flour or gluten-free flour blend.
Flavor Swaps
For a fun twist, use hazelnut or almond extract instead of vanilla. You can also swap espresso for finely ground coffee for a milder flavor. If you love spice, adding a pinch of cinnamon can brighten the taste.
Dietary Modifications
To make these brownies vegan, substitute eggs with flaxseed meal mixed with water. Use dairy-free chocolate chips and coconut oil. For a lower-sugar option, consider using a sugar substitute like monk fruit or stevia instead of granulated sugar.
Storage Info
Best Practices for Storage
Store your brownies in an airtight container. This keeps them fresh for longer. You can place parchment paper between layers to avoid sticking. Keep them at room temperature for up to five days. If you live in a humid area, refrigerate them. This helps prevent spoilage.
Freezing Tips
To freeze brownies, first let them cool completely. Cut them into squares, then wrap each piece tightly in plastic wrap. Place the wrapped brownies in a freezer-safe bag or container. They can last up to three months in the freezer. When you’re ready to eat, just thaw them at room temperature.
Reheating Recommendations
If you want warm brownies, use the microwave. Heat them for 10 to 15 seconds. Check to see if they are warm enough. You can also reheat them in the oven. Set the oven to 350°F (175°C) and heat for about 5 to 10 minutes. Enjoy your gooey, warm treat!
FAQs
What makes brownies chewy?
Brownies get their chewy texture from a few key factors. First, using melted butter helps create a rich, dense base. Second, the ratio of flour to sugar is critical. Too much flour can lead to dry brownies. Also, mixing the batter just enough ensures the gluten does not overdevelop. This keeps the brownies soft and chewy.
Can I use different types of chocolate?
Yes, you can use different types of chocolate! Dark chocolate gives a rich taste, while milk chocolate adds sweetness. You can even mix chocolates for a unique flavor. Just remember that the type of chocolate affects the sweetness and richness of your brownies.
How do I know when brownies are done?
To check if brownies are done, insert a toothpick in the center. If it comes out with a few moist crumbs, they are ready. If wet batter sticks to the toothpick, they need more time. Keep an eye on them to avoid overbaking.
We explored all the key parts of making great brownies. We started with essential ingredients, covering baking needs, flavors, and fun add-ins. Then, I shared clear steps for mixing and baking. Next, I gave you tips for perfect texture and rich flavor. We also talked about variations and how to store them well. With this guide, you can bake delicious brownies every time. Enjoy creating your own sweet treats!

