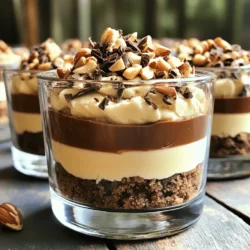
Love dessert but don’t want to bake? You’re in the right place! These No-Bake Chocolate Hazelnut Cheesecake Cups are easy, tasty, and perfect for any occasion. With rich chocolate, creamy layers, and a crunchy base, each bite is a delight. Plus, you can whip them up in no time! Stick around to learn how you can make this simple treat that everyone will love.
Ingredients
Detailed List of Ingredients
– 1 cup chocolate sandwich cookies, crushed
– 3 tablespoons unsalted butter, melted
– 8 oz cream cheese, softened
– 1/2 cup powdered sugar
– 1/2 cup hazelnut spread (like Nutella)
– 1 teaspoon vanilla extract
– 1 cup heavy whipping cream
– 1/4 cup chopped hazelnuts, toasted (for garnish)
– Dark chocolate shavings (for garnish)
For the chocolate sandwich cookies, I recommend using Oreos or any brand you love. They offer the right balance of sweetness and crunch for the crust.
For the garnish, toasted hazelnuts add a lovely crunch and flavor. You can easily toast them in a dry pan over medium heat for a few minutes. Dark chocolate shavings bring an elegant touch and extra richness. You can shave a chocolate bar or use pre-made shavings for ease.
These ingredients combine perfectly to create a rich, creamy cheesecake that is sure to impress.
Step-by-Step Instructions
Preparation of Cookie Base
To start, crush your chocolate sandwich cookies. You can use a food processor or place them in a zip-top bag. Use a rolling pin to smash them into fine crumbs. Aim for a texture like wet sand.
Next, mix the crushed cookies with melted butter in a medium bowl. Stir until every crumb is well coated. The mixture should hold together when pressed.
Now, divide this cookie mix into four small serving cups. Press it down firmly to create a solid base. Make sure it’s even and compact.
Making the Cheesecake Mixture
For the cheesecake, first, beat the softened cream cheese in a large mixing bowl. Use an electric mixer and mix until it’s smooth and creamy.
Gradually add the powdered sugar, hazelnut spread, and vanilla extract. Mix everything together until fully combined. It should look glossy and creamy.
Folding in Whipped Cream
Now, let’s whip the heavy cream until it forms stiff peaks. This means it should hold its shape when you lift the beaters.
Gently fold the whipped cream into your hazelnut cream cheese mix. Use a spatula and fold carefully to keep the mixture light and fluffy. Keep folding until you can’t see any white streaks.
Then, spoon or pipe this cheesecake mix over the cookie crust in each cup. Fill them almost to the top for a nice look.
Chilling Process
Refrigerate the cups for at least two hours. This chilling time helps them set properly.
To ensure the cups are well set, check if the mixture is firm to the touch. If not, give them a bit more time in the fridge before serving.
Tips & Tricks
Common Mistakes to Avoid
1. Overmixing the cheesecake mixture: Mix just until smooth. Overmixing can make the cheesecake too airy and lose its creamy texture.
2. Not pressing the crust firmly enough: Press the cookie mixture firmly into the cups. A loose crust can crumble and fall apart when you serve.
Enhancement Suggestions
– Adding flavors to the cheesecake layer: Try a splash of coffee or a bit of orange zest. These flavors add a nice twist to the rich hazelnut taste.
– Alternatives for garnishing: Instead of just hazelnuts, consider using crushed cookies or fresh berries for a pop of color and taste.
Substitutions
– Dairy-free or vegan alternatives for cream cheese: You can use cashew cream or a store-bought vegan cream cheese. Both options will keep your cheesecake rich and creamy.
– Gluten-free options for the cookie crust: Use gluten-free chocolate cookies instead of regular ones. This way, everyone can enjoy these tasty treats.
These tips will help you create a perfect no-bake chocolate hazelnut cheesecake cup. Enjoy the process and let your creativity shine!
Variations
Flavor Variations
You can change the taste of these cups with different spreads. If you love peanut butter, use it instead of hazelnut spread. Almond butter also works well. Each spread brings a unique flavor to the dessert.
You can also add different extracts. For a nutty twist, try almond extract. You could even use orange extract for a fruity kick. Mix and match to find what you like best!
Serving Suggestions
These cheesecake cups pair well with fresh fruit. Raspberries or strawberries add a nice tartness. Drizzling chocolate sauce on top gives a rich touch.
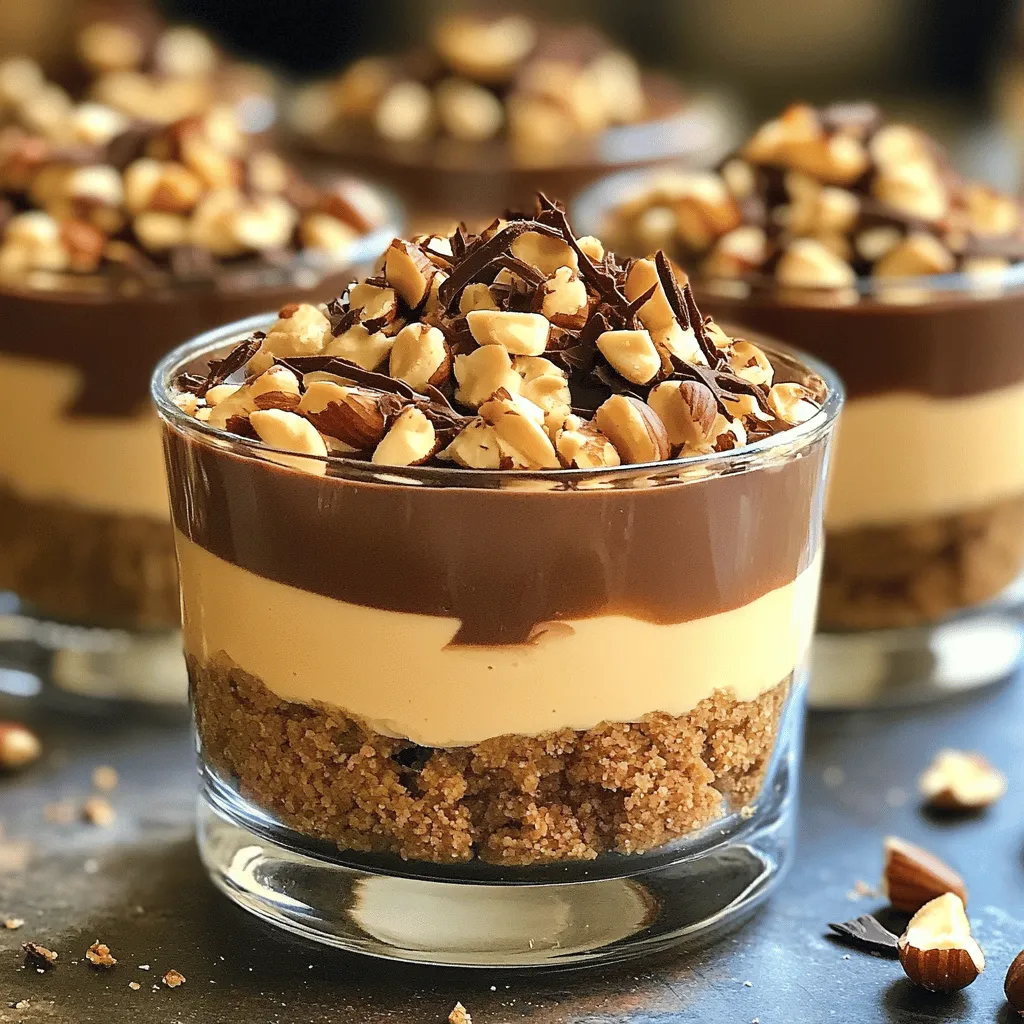
For presentation, use clear cups to show off the layers. You can also layer the cheesecake and cookie mix for a fancy look. Adding a sprig of mint on top can make it pop! Enjoy being creative with how you serve these delicious treats.
Storage Info
How to Store Leftovers
To keep your no-bake chocolate hazelnut cheesecake cups fresh, refrigerate them. Place the cups in an airtight container. This helps prevent them from absorbing other smells in the fridge. If you do not have an airtight container, cover each cup tightly with plastic wrap. Use them within three days for the best taste.
Freezing Instructions
To freeze these cheesecake cups, first, let them chill in the fridge for at least two hours. Once set, wrap each cup in plastic wrap. Place them in a freezer-safe bag or container. Label the bag with the date to keep track of freshness. To thaw, move the cups to the fridge overnight. Serve them chilled for a delightful treat.
FAQs
How long does a no-bake cheesecake last in the fridge?
A no-bake cheesecake usually lasts about 3 to 5 days in the fridge. Make sure to cover the cups tightly with plastic wrap or store them in an airtight container. This keeps the flavors fresh and prevents any unwanted odors from seeping in. If you notice any changes in texture or smell, it’s best to toss it out.
Can I make no-bake cheesecake cups ahead of time?
Yes, you can make these cheesecake cups a day or two ahead. This actually helps the flavors blend well. Just prepare them as normal and store them in the fridge. When you’re ready to serve, add the toppings like chopped hazelnuts and chocolate shavings. This keeps them crunchy and fresh!
What can I use instead of hazelnut spread?
If you want a different flavor, try peanut butter or almond butter. Both work great in this recipe. You can also use a fruit spread for a lighter taste. Just keep in mind that this will change the flavor profile a bit. Adjust the sweetness if needed, as some spreads are sweeter than hazelnut spread.
This blog showed you how to create delicious no-bake cheesecake cups. We covered the key ingredients, from the cookie base to the creamy filling. You learned the importance of mixing and the right chilling time. I shared tips to avoid common mistakes and offered fun variations. Remember, you can customize these cups in many ways.
With these steps, you can impress your friends and family. Enjoy making your cheesecake cups and have fun experimenting with flavors!