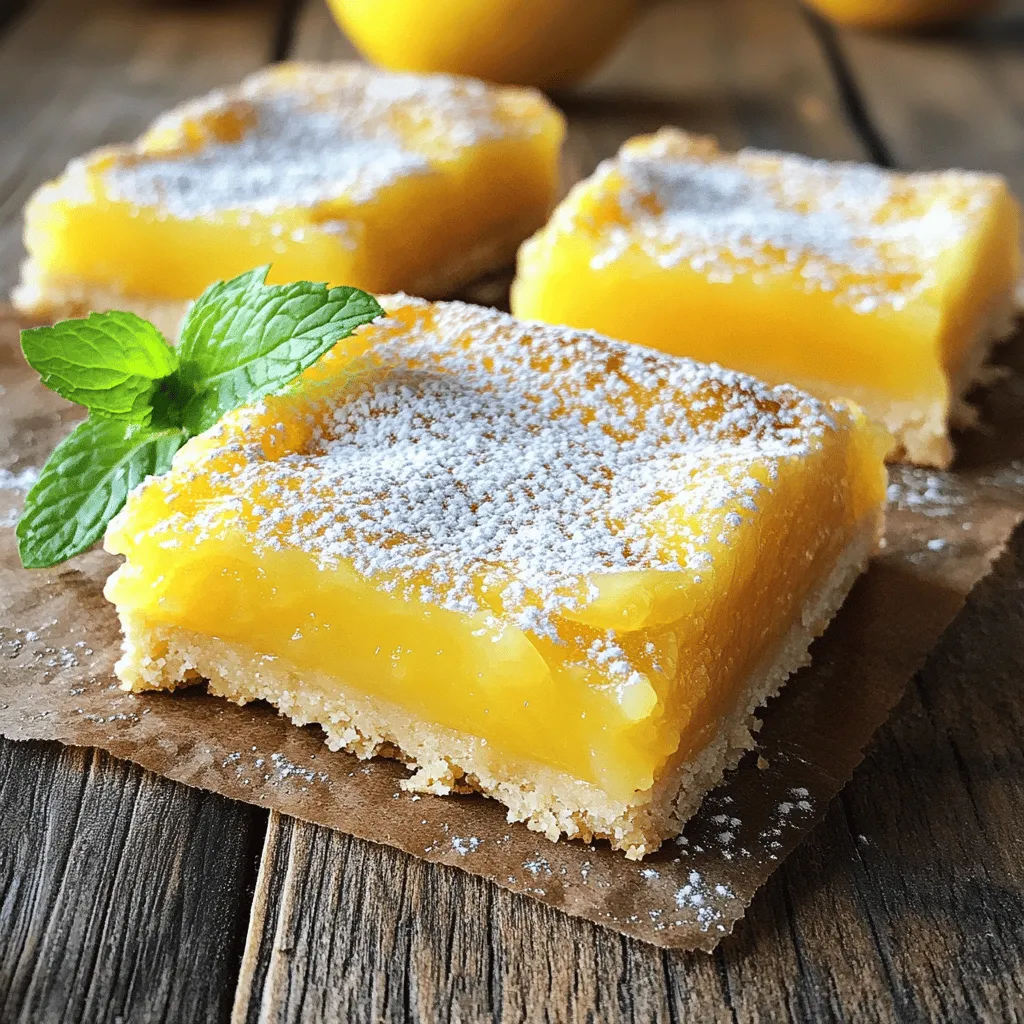
Are you ready to brighten your dessert table with some zesty lemon bars? I’ll guide you through a simple and delicious recipe that’s perfect for any occasion. With a buttery crust and a tangy lemon filling, these bars are sure to impress. From tips on flavor to storage advice, you’ll have everything you need for the perfect treat. Let’s dive into this bright and tasty journey!
Ingredients
List of Ingredients
To make zesty lemon bars, you need the following ingredients:
– 1 cup all-purpose flour
– 1/2 cup powdered sugar (plus extra for dusting)
– 1/4 teaspoon salt
– 1/2 cup unsalted butter, softened
– 2 large eggs
– 1 cup granulated sugar
– 1/4 cup fresh lemon juice
– Zest of 1 lemon
– 1/2 teaspoon baking powder
– 1 teaspoon vanilla extract
Measurements and Substitutions
When measuring flour, use a spoon to scoop it into your cup. This way, you avoid packing it down. If you do not have powdered sugar, you can make your own by blending granulated sugar until fine. For a dairy-free option, use vegan butter instead of unsalted butter.
If you can’t find fresh lemons, bottled lemon juice works too. However, fresh juice gives the best flavor. You can also swap out the all-purpose flour with gluten-free flour if you want a gluten-free version.
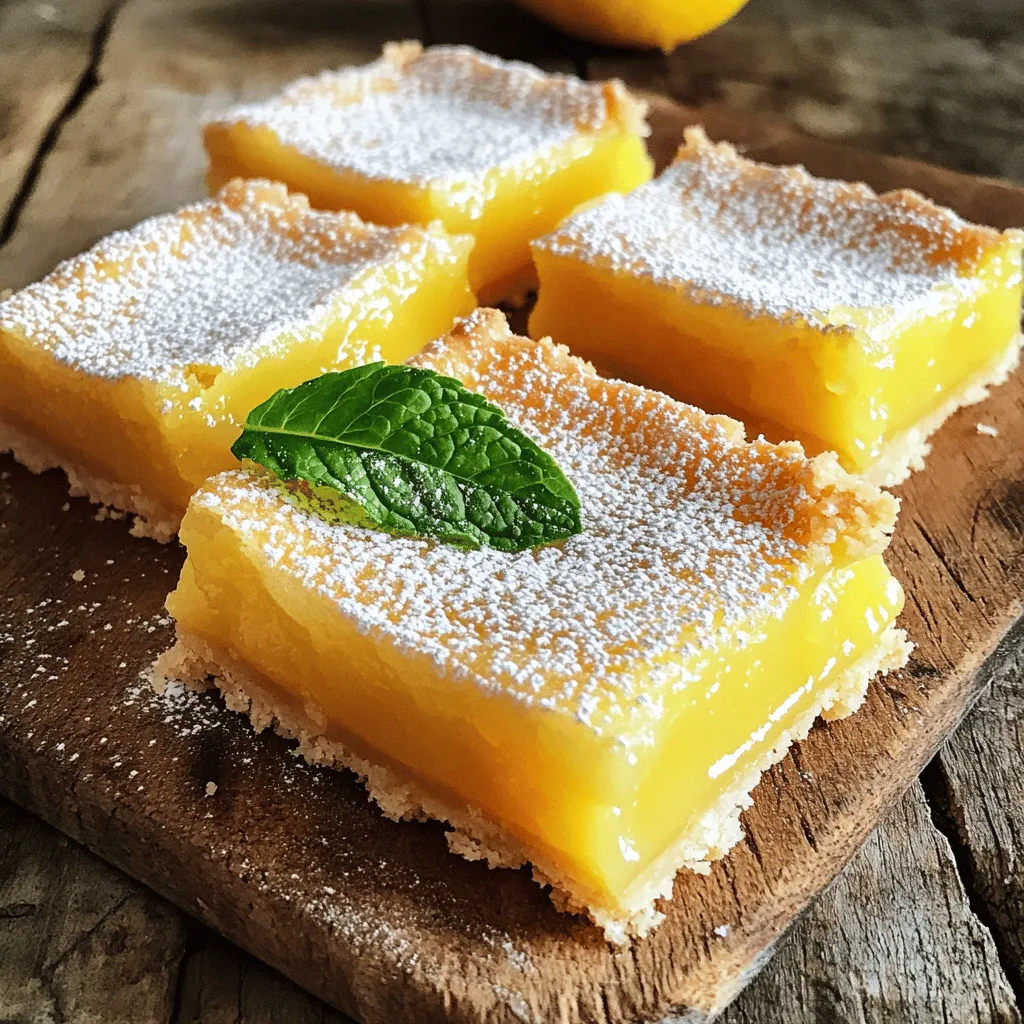
Optional Garnishes
To make your lemon bars look beautiful, try these garnishes:
– Fresh mint leaves on top
– Thin lemon slices
– A sprinkle of extra powdered sugar for sweetness
These little touches make your dessert more appealing and fun to enjoy.
Step-by-Step Instructions
Preparation of the Crust
Start by preheating your oven to 350°F (175°C). Grease a 9×9 inch baking dish or line it with parchment paper. In a mixing bowl, combine 1 cup of all-purpose flour, 1/2 cup of powdered sugar, and 1/4 teaspoon of salt. Next, add in 1/2 cup of softened unsalted butter. Mix until it looks crumbly. Press this mixture firmly into the bottom of your baking dish to form the crust. Bake it in the oven for 15-20 minutes until it turns lightly golden. After baking, take it out and let it cool a bit.
Making the Lemon Filling
In another bowl, whisk together 2 large eggs, 1 cup of granulated sugar, 1/4 cup of fresh lemon juice, the zest of 1 lemon, 1/2 teaspoon of baking powder, and 1 teaspoon of vanilla extract. Make sure everything blends well and is smooth. Pour this lemon filling over the cooled crust. Spread it out evenly so every bite is tasty.
Baking Tips for Perfect Bars
After pouring in the filling, return the dish to the oven. Bake for 20-25 minutes. You’ll know it’s ready when the filling sets, and a toothpick comes out clean when you poke it. Once done, take the lemon bars out of the oven and let them cool completely in the pan on a wire rack. For a sweet touch, dust the top with powdered sugar before cutting them into squares. Enjoy your zesty lemon bars with a refreshing drink!
Tips & Tricks
Achieving the Perfect Zesty Flavor
To get that bright lemon taste, use fresh lemons. The zest adds a burst of flavor. Grate the lemon skin lightly, avoiding the white part. This part is bitter. You want the yellow zest only. When you mix the lemon juice with the zest, it makes a strong base. For an extra kick, add a pinch of salt to your filling. This enhances the zestiness.
Common Mistakes to Avoid
One big mistake is overbaking the bars. Keep an eye on them in the oven. They should be set but still slightly jiggly in the center. If you bake them too long, they can become dry. Another common error is using bottled lemon juice. Fresh juice gives a brighter taste. Always measure your ingredients carefully. Too much sugar can make the bars too sweet.
Serving Suggestions
Serve these lemon bars chilled for the best taste. Cut them into squares for easy serving. Dust the top with powdered sugar for a sweet look. You can also add a mint leaf on top for color. Enjoy them with tea or coffee. They make a great dessert after dinner or a treat for lunch. For a fun twist, pair them with whipped cream or vanilla ice cream.Enjoy your baking!
Variations
Gluten-Free Lemon Bars
To make gluten-free lemon bars, swap the all-purpose flour for a gluten-free blend. You can use a one-to-one mix available at most stores. Ensure that your baking powder is gluten-free too. This change keeps the texture light and tasty. Your friends and family won’t even notice the difference!
Vegan Lemon Bars
For vegan lemon bars, replace the eggs with flaxseed meal. Mix one tablespoon of flaxseed meal with three tablespoons of water. Let it sit for a few minutes until it thickens. Use coconut oil instead of butter for a delicious taste. This version still packs a zesty punch and is kinder to the planet.
Flavor Enhancements
You can add fun flavors to your lemon bars. Mix in some fresh berries like raspberries or blueberries for a fruity twist. A touch of ginger adds a warm spice that pairs well with lemon. For a tropical vibe, try coconut flakes on top. These enhancements make each bite even more exciting!
Storage Info
How to Store Zesty Lemon Bars
To keep your zesty lemon bars fresh, place them in an airtight container. This helps keep them moist and flavorful. You can store them at room temperature for up to three days. If you want to keep them longer, refrigerate them for up to a week. Just make sure to cover them well.
Freezing Instructions
You can freeze zesty lemon bars if you want to save some for later. First, let them cool completely. Then, cut them into squares. Wrap each square tightly in plastic wrap. Next, place the wrapped squares in a freezer-safe bag or container. They can last in the freezer for up to three months. When you want to enjoy them, just thaw in the fridge overnight.
Reheating Tips
If you want to warm up your lemon bars, it’s easy! Preheat your oven to 300°F (150°C). Place the bars on a baking sheet. Heat for about 10-15 minutes or until they’re warm. You can also microwave them for about 10-15 seconds. Just be careful not to overheat them, or they may lose their texture. Enjoy them warm or chilled!
FAQs
How to tell when lemon bars are done?
You can tell lemon bars are done when the center is set. The edges will look firm, and the top should not jiggle. A toothpick inserted in the center should come out clean. If it comes out sticky, bake a bit longer. Keep an eye on them!
Can lemon bars be made ahead of time?
Yes, you can make lemon bars a day ahead. Just let them cool completely, then cover them with plastic wrap. This keeps them fresh. Store them in the fridge until ready to serve. The flavors will even get better!
What can I use instead of fresh lemon juice?
If you don’t have fresh lemon juice, you can use bottled juice. Just make sure it’s pure lemon juice. You can also try lime juice for a twist. Adjust the amount to your taste. Using zest from other citrus fruits can also add nice flavor!
To sum up, we explored the key ingredients and steps to make delicious lemon bars. We learned about measurements, optional garnishes, and baking tips to get them just right. I shared common mistakes and how to enhance flavors. You also discovered various options, like gluten-free and vegan versions. Remember to store them well and reheating tips for the best taste. With these insights, you’re ready to create your own zesty lemon bars that everyone will love. Enjoy your baking journey!