Latest & Greatest
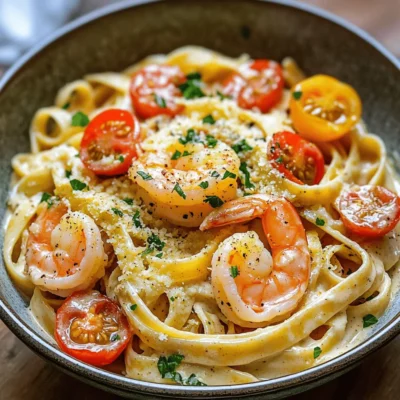
Creamy Cajun Shrimp Pasta Savory and Quick Delight
Looking for a quick, tasty meal that packs a punch? Creamy Cajun Shrimp Pasta is your answer! This delightful dish
Read more…
Cheesy Garlic Butter Linguine Flavorful Dinner Recipe
If you crave a dish that bursts with flavor, you’ll love Cheesy Garlic Butter Linguine. This easy recipe fills your
Read more…
Baked Garlic Bread Dip Irresistible Flavor Treat
Are you ready to take your snack game to the next level? My Baked Garlic Bread Dip offers a rich,
Read more…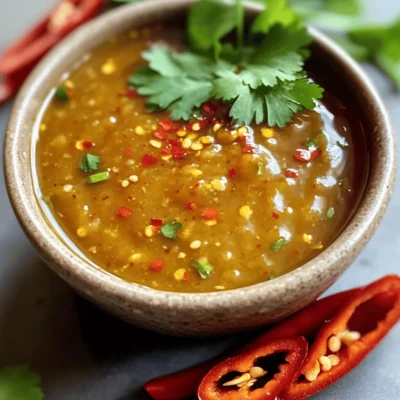
Sweet Chili Sauce Flavorful Homemade Recipe Guide
Are you ready to elevate your meals with a tasty and easy Sweet Chili Sauce? In this guide, I’ll show
Read more…
Fluffy Pancakes with Maple Syrup Savory Breakfast Treat
Fluffy pancakes with maple syrup are a breakfast dream come true. They’re soft, light, and bursting with flavor. Imagine sinking
Read more…
Coconut Curry Lentil Soup Perfectly Flavorful Delight
Get ready to enjoy a bowl of Coconut Curry Lentil Soup—a warm, tasty delight that hits the spot. This creamy
Read more…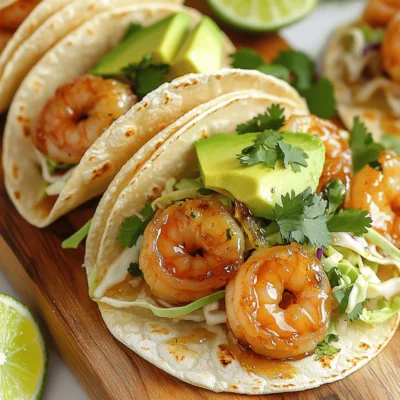
Honey Garlic Shrimp Tacos Flavorful and Easy Recipe
Craving a quick and tasty meal? Look no further! This Honey Garlic Shrimp Tacos recipe is not just easy—it’s delicious
Read more…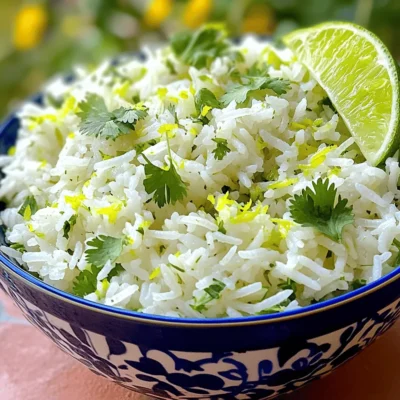
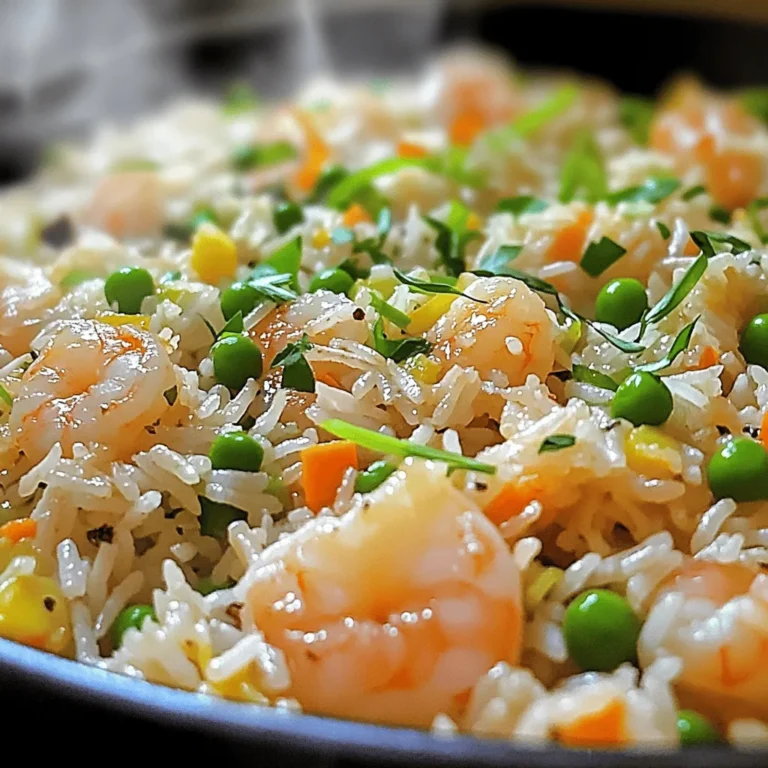
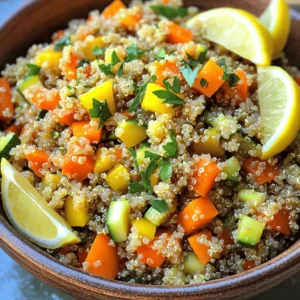
Zesty Cilantro Lime Rice Flavorful Side Dish Recipe
Looking to add a burst of flavor to your meals? Zesty Cilantro Lime Rice is the perfect side dish! It’s
Read more…browse recipes


Classic Apple Crisp Hearty Dessert for All Seasons
There’s nothing quite like a warm, fragrant bowl of Classic Apple Crisp to cozy up your day. This hearty dessert features tender apples beneath…
My Latest Desserts

Maple Pecan Cinnamon Roll Pudding Irresistible Delight
If you’re looking for a dessert that combines rich maple, crunchy pecans, and soft cinnamon rolls, you’re in for a Read Full Recipe-
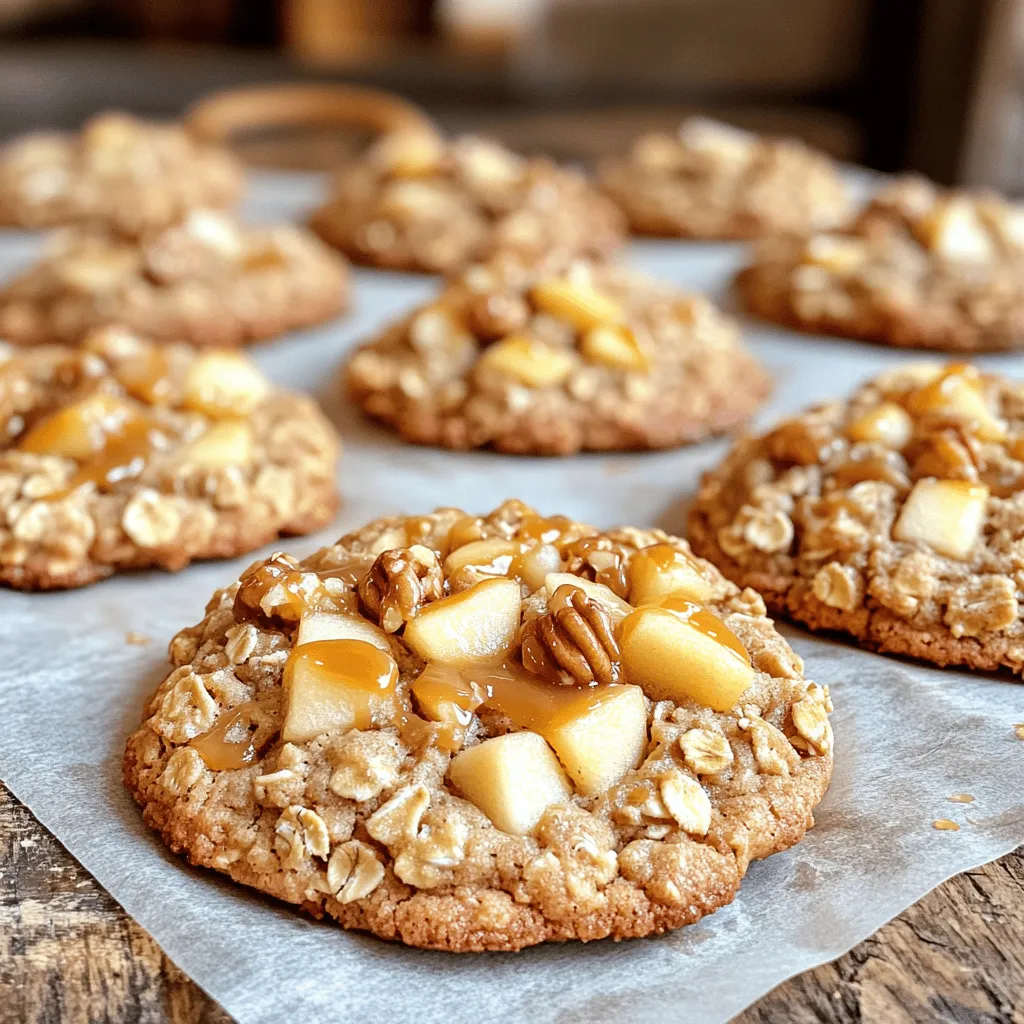
Caramel Apple Oatmeal Cookies Delightful Fall Treat
Fall is the perfect time for warm, comforting treats, and nothing says cozy quite like Caramel Apple Oatmeal Cookies. These Read Full Recipe -
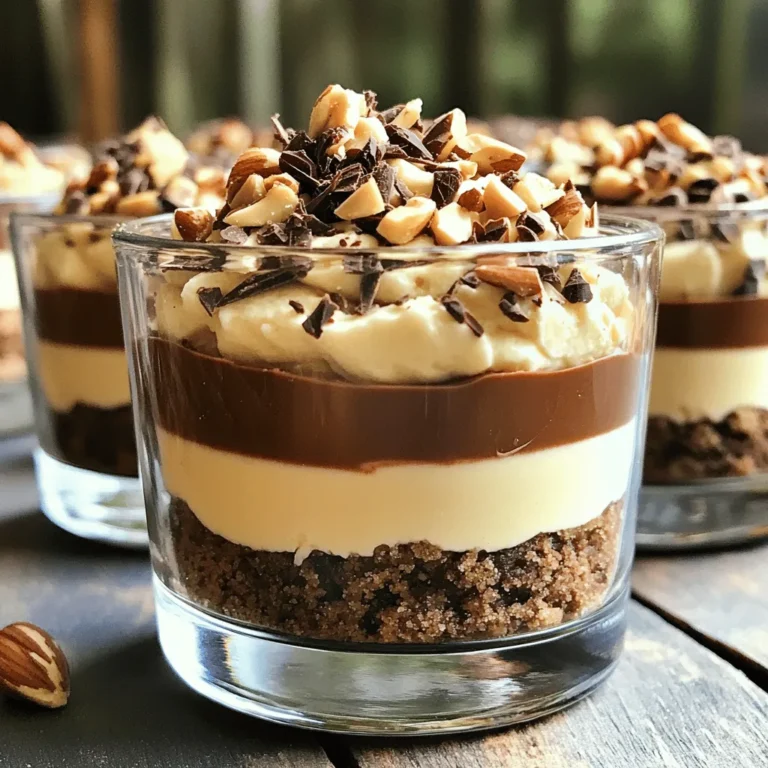
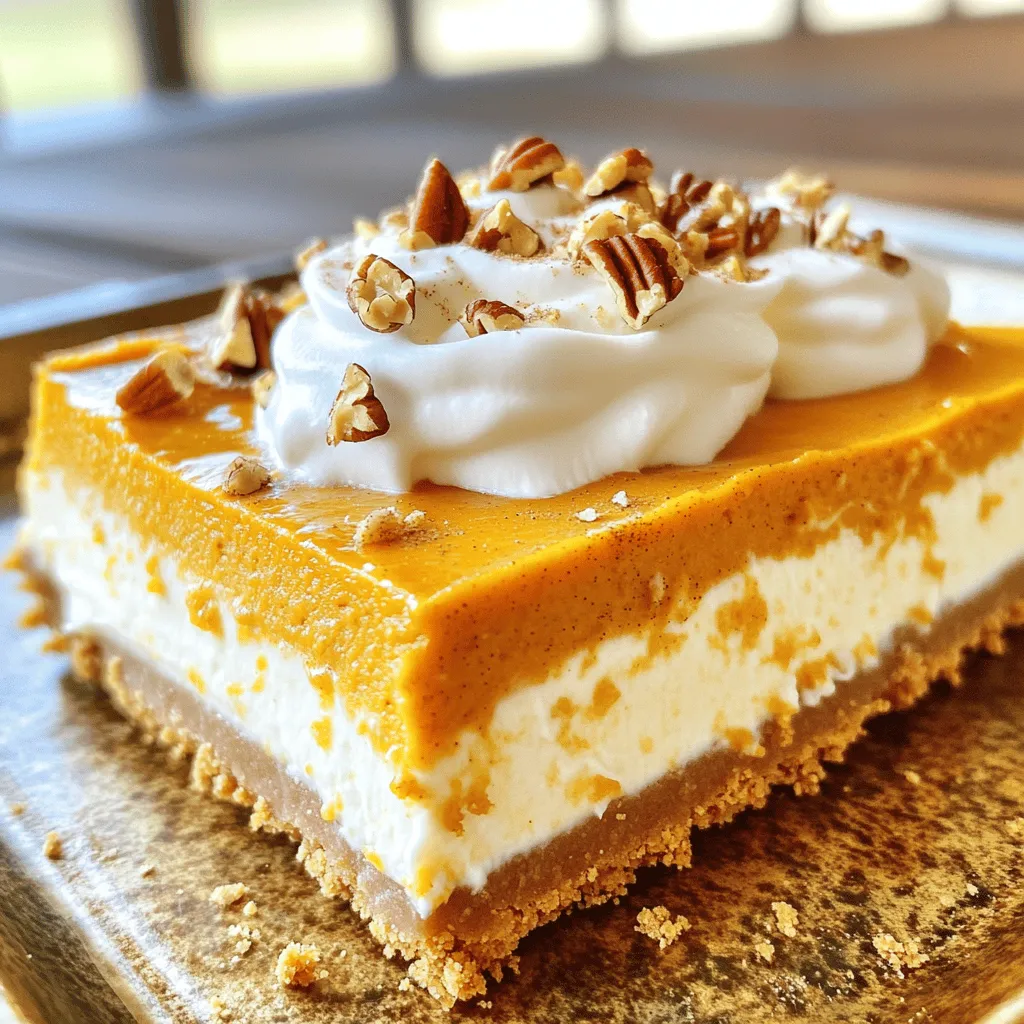
Pumpkin Spice Icebox Cheesecake Creamy Dream Delight
Are you ready to treat yourself to a slice of heaven? My Pumpkin Spice Icebox Cheesecake Creamy Dream Delight is Read Full Recipe -
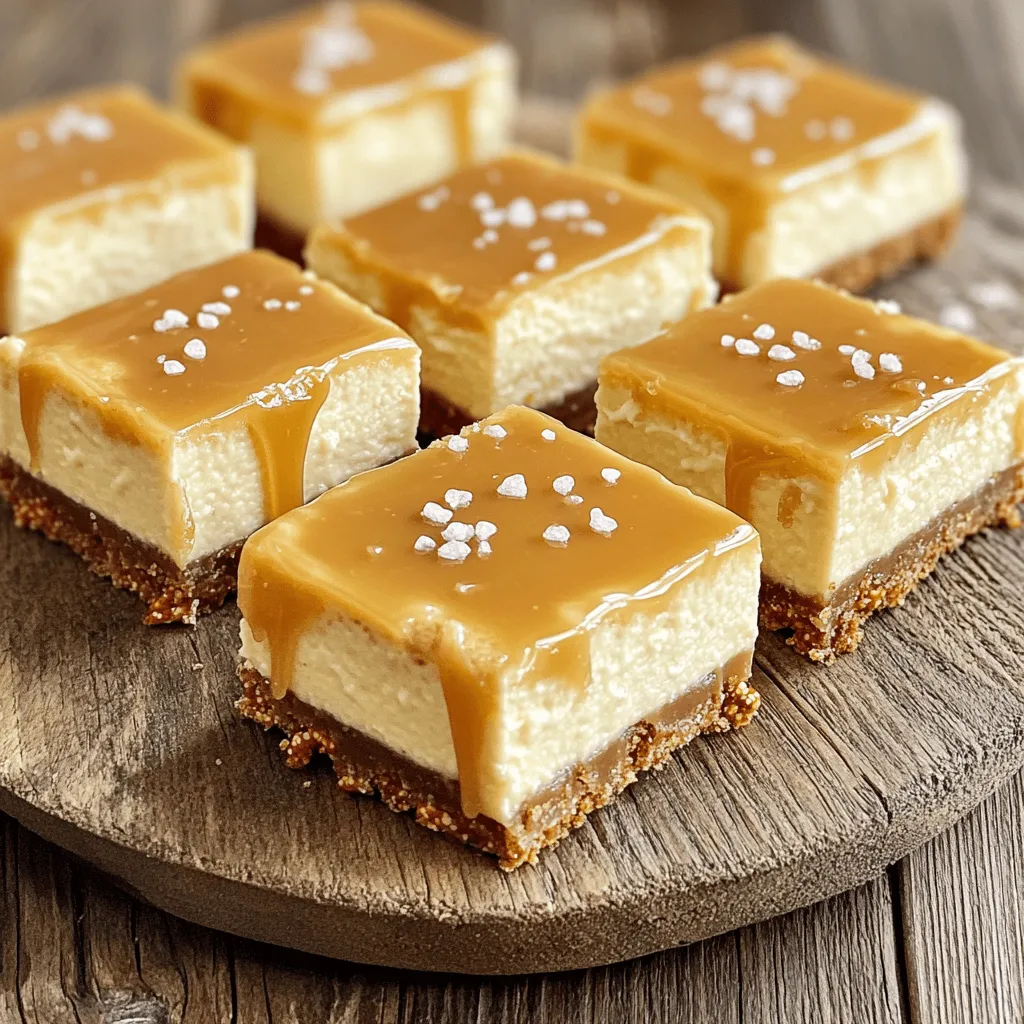
Salted Caramel Pretzel Cheesecake Bars Delightful Treat
Indulge your sweet tooth with my Salted Caramel Pretzel Cheesecake Bars! These layers of creamy cheesecake, crunchy pretzel crust, and Read Full Recipe -
Delicious Banana Nutella Swirl Pancakes Recipe
Get ready to whip up a breakfast treat that will rock your morning! My Banana Nutella Swirl Pancakes blend rich Read Full Recipe -
Slow Cooker Caramel Pecan Sticky Buns Irresistible Treat
Are you ready to indulge in a sweet delight? Slow Cooker Caramel Pecan Sticky Buns are the perfect treat for Read Full Recipe


My Latest Drinks
-
Protein Cookies & Cream Milkshake Simple Treat Recipe
If you’re craving a delicious treat that packs a protein punch, look no further! This Protein Cookies & Cream Milkshake Read Full Recipe -
Spiced Pumpkin Lattes Slow Cooker Recipe Delight
Are you ready to warm up your chilly days with a cozy Spiced Pumpkin Latte? I’ve crafted the perfect slow Read Full Recipe -
Peanut Butter Chocolate Protein Shake Tasty Delight
Satisfy your cravings with a Peanut Butter Chocolate Protein Shake! This tasty delight is not only delicious but also healthy. Read Full Recipe -
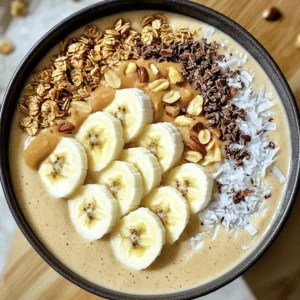
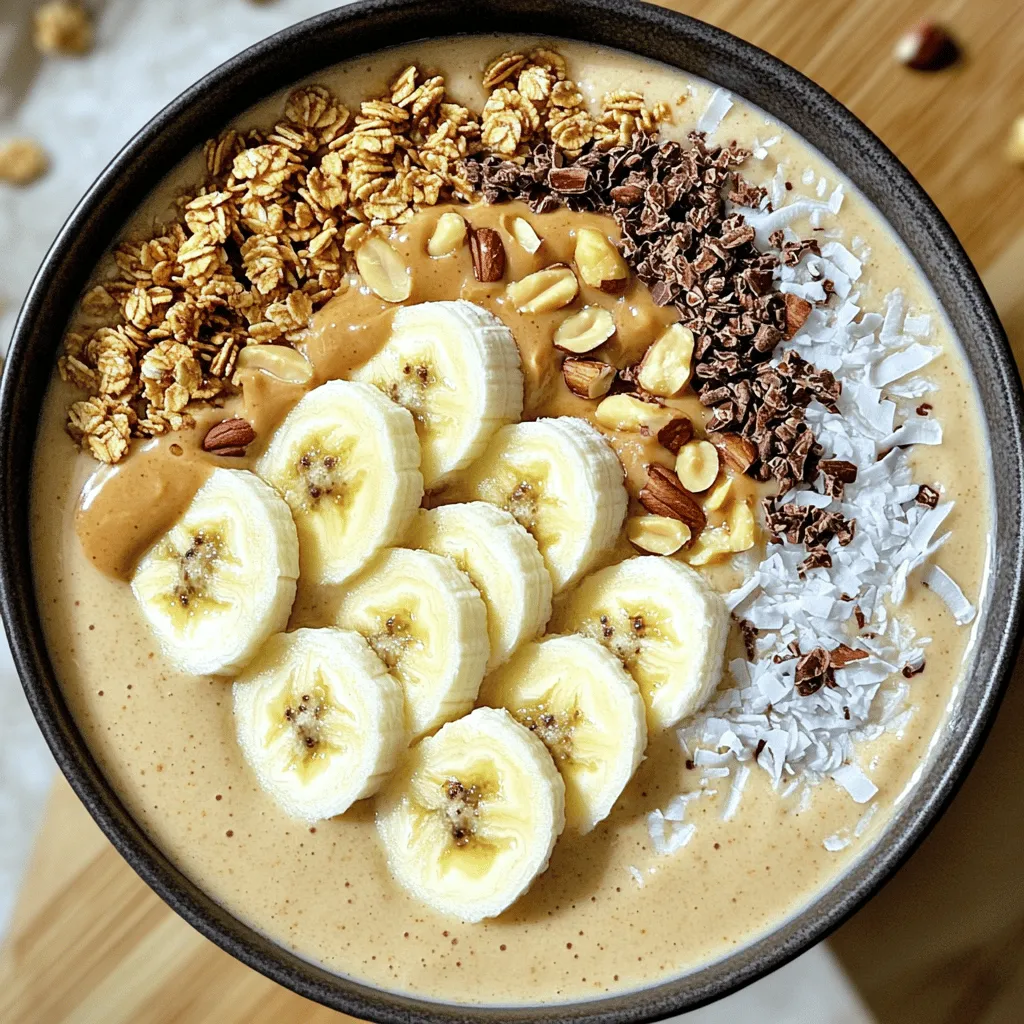
Peanut Butter Banana Smoothie Bowl Simple and Tasty
Looking for a quick, tasty treat? The Peanut Butter Banana Smoothie Bowl is your answer! Packed with ripe bananas and Read Full Recipe -
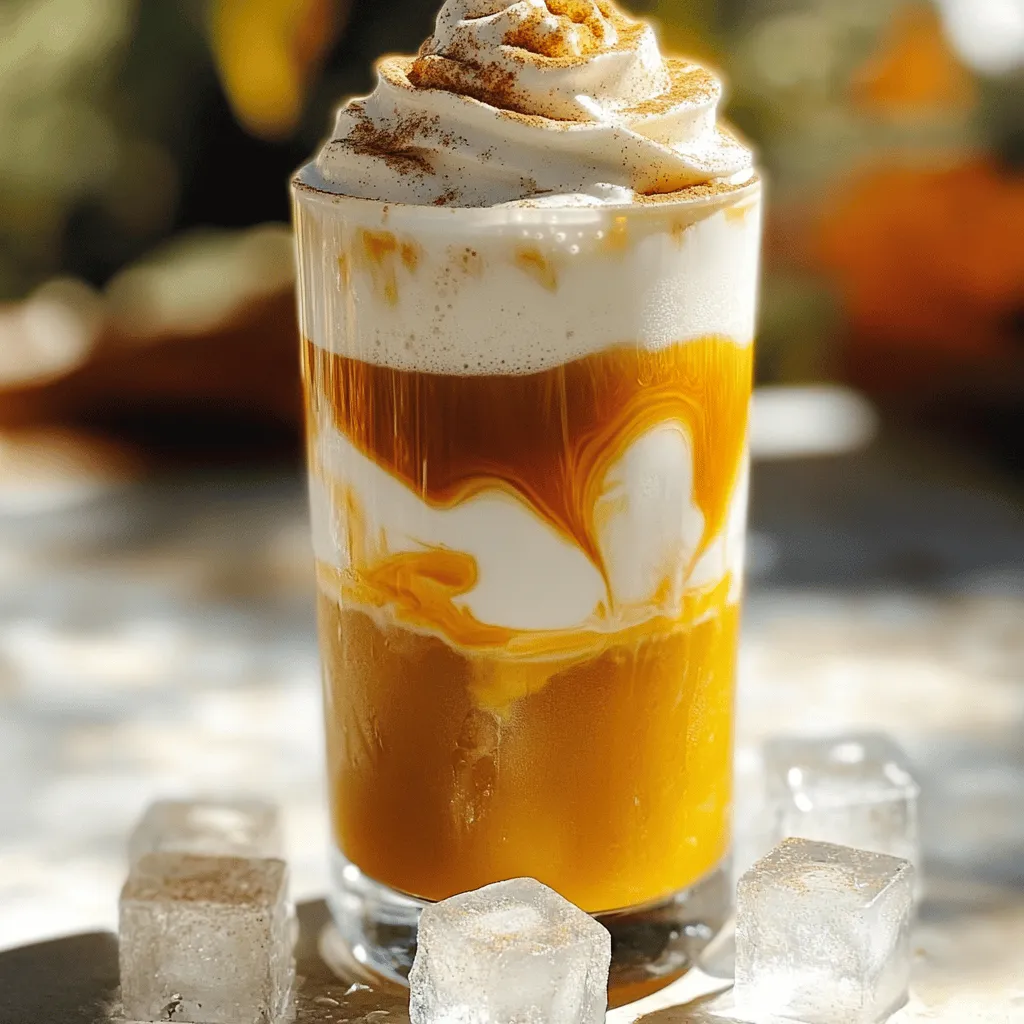
Pumpkin Cream Cold Brew Copycat Simple and Tasty Recipe
Craving a Pumpkin Cream Cold Brew but want to make it at home? You’re in the right place! I’ll show Read Full Recipe -
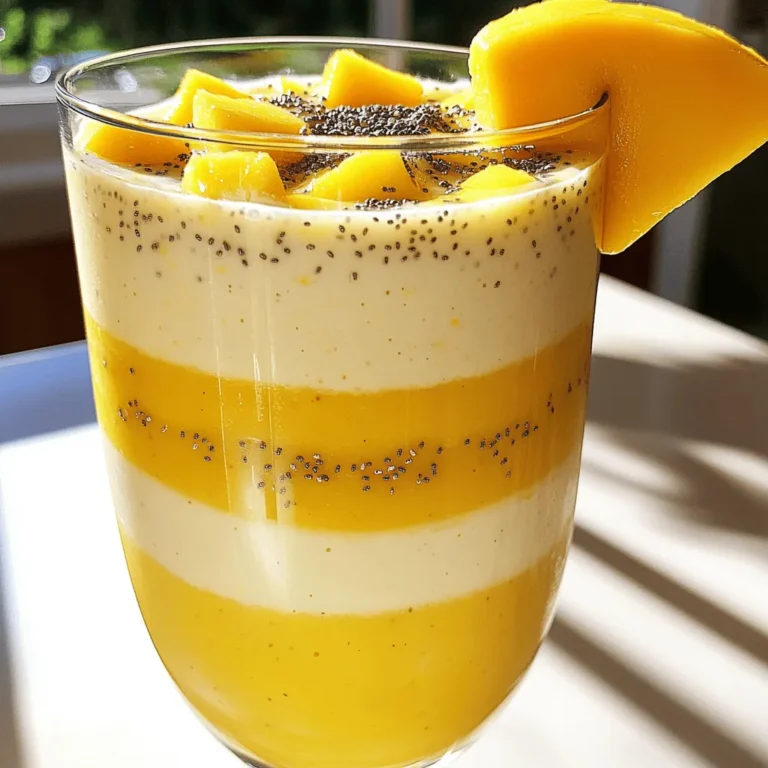
Pineapple Mango Smoothie Refreshing and Nutritious Drink
Looking for a tasty and healthy drink? A Pineapple Mango Smoothie might be just what you need! Packed with fresh Read Full Recipe


hey,
i’m !
I’m so happy you’re here!
I love creating dishes that bring joy to the table. I hope they bring the same joy to yours. Let’s enjoy this flavorful journey together.


Rainbow Fruit Skewers Vibrant and Fun Party Treat
Looking for a fun and colorful treat for your next party? Rainbow fruit skewers are the answer! They’re easy to make, tasty to eat,…
![For rainbow fruit skewers, you need fresh and colorful fruits. I like to use: - 1 cup strawberries, hulled and halved - 1 cup orange segments (or mandarins) - 1 cup pineapple chunks - 1 cup green grapes, halved - 1 cup blueberries - 1 cup kiwi, peeled and sliced These fruits not only look great, but they also taste amazing together. Each fruit brings a unique flavor and texture. Strawberries are sweet and juicy, while oranges add a bright tang. Pineapple gives a tropical touch, and grapes are crisp. Blueberries are small bursts of flavor, and kiwi adds a fun twist with its bright green color. You can make your skewers even more fun! Here are some optional items: - 1 tablespoon honey (for sweetness) - 1 tablespoon fresh mint, chopped (for garnish) Honey adds a nice sweetness. You can drizzle it over the skewers before serving. Fresh mint gives a lovely scent and flavor. It’s a great way to make your skewers look fancy too! To make these skewers, you’ll need a few simple tools: - Skewers (wooden or metal) If you use wooden skewers, soak them in water for about 30 minutes. This helps prevent burning when you grill or bake them. Using metal skewers is great too, as they are reusable and sturdy. This recipe is simple and fun, perfect for any party! For the full recipe, check the [Full Recipe]. First, wash all your fruit well. This keeps everything clean and safe. Next, cut the fruit as needed: - Hull the strawberries and slice them in half. - Segment the oranges or mandarins. - Cut the pineapple into chunks. - Halve the green grapes. - Peel and slice the kiwi. It’s important to have all the fruit ready before you start assembling. This makes the process smooth and fun. Grab your skewers and start with a piece of strawberry. Thread it onto the skewer first. After that, add an orange segment. Continue adding fruit in this order: 1. Strawberry 2. Orange 3. Pineapple 4. Green grape 5. Blueberry 6. Kiwi Repeat this until you use all the fruit. Make sure to alternate the colors to create a rainbow look. It’s a feast for the eyes! If you use wooden skewers, soak them in water for about 30 minutes. This helps them not burn while you cook. Once your skewers are ready, drizzle them with honey if you like. Honey adds a nice sweetness. Chill the skewers in the fridge for 15 to 20 minutes. This keeps them fresh and tasty. Just before serving, sprinkle some chopped mint on top. This adds a pop of flavor and color. Your rainbow fruit skewers are now ready to impress! For the full recipe, check out the details above. When making rainbow fruit skewers, pick fresh and ripe fruit. Choose strawberries that are bright red and firm. Look for oranges that feel heavy for their size. Pineapple should smell sweet and have a golden color. Grapes should be plump and green. Blueberries need to be deep blue, while kiwis should be slightly soft to touch. Mixing colors makes the skewers look fun and bright. You can also pick fruits based on what you like best. To make great-looking skewers, start with a strong base. Use a wooden skewer or metal one. If using wood, soak it in water for 30 minutes. This step helps prevent burning. Begin by threading fruit in a rainbow order: strawberry, orange, pineapple, green grape, blueberry, and kiwi. Push the fruit close together, but don’t squish it. This way, every bite is tasty. Feel free to change the order to create your design. Garnishes are a simple way to add more flavor. Drizzle honey over the skewers for sweetness. You can also add chopped mint for a fresh taste. Try lime juice for a zesty kick. These flavors really make the fruit shine. Plus, they add a nice touch to the presentation. For the full recipe, check the section above. {{image_2}} You can mix and match fruits based on the season. In spring, try sweet strawberries and juicy cherries. Summer brings ripe peaches and plump blueberries. Fall is great for apples and pears. In winter, go for citrus fruits like oranges and grapefruits. This keeps your skewers fresh and exciting. Seasonal fruits also taste better and are easier to find. Make these skewers fit your needs. If you want a vegan option, skip the honey. You can use agave or maple syrup instead. For a low-sugar version, pick fruits like berries and melon. If you need gluten-free options, all fruits are safe! You can also add nuts or seeds for extra crunch, but check for allergies first. Make your fruit skewers pop with fun ideas. Arrange them in a colorful vase for parties. You can also serve them on a large platter with a rainbow design. Try dipping them in yogurt or chocolate for added fun. Use cookie cutters to shape fruit into stars or hearts for special occasions. These ideas will make your skewers a hit! For the full recipe, check out the earlier section. To store leftover rainbow fruit skewers, place them in an airtight container. This helps keep them fresh. Keep the container in the fridge. They should stay good for up to two days. If you see any signs of browning or mushiness, it’s best to toss them. To maintain freshness, only assemble the skewers right before serving. Store the fruit separately if you plan to make them ahead. You can wash and cut fruits a day in advance. Just keep them covered in the fridge. This way, your fruits will taste crisp and bright when you’re ready to serve. Freezing fruit skewers is a fun way to enjoy them later. However, the texture may change when thawed. If you want to freeze them, it’s best to freeze the fruits first. Place each type of fruit in a separate bag. Once frozen, you can assemble the skewers with these fruits. When you’re ready to eat, thaw them in the fridge overnight. Enjoy them cold for a refreshing treat! You can use frozen fruit, but it will change the texture. Frozen fruit often becomes mushy when thawed. This can make your skewers less fun to eat. Fresh fruit is best for a crunchy bite. If you must use frozen fruit, thaw it and drain excess water. This will help keep the skewers from getting soggy. To make fruit skewers ahead of time, prepare the fruit and assemble them. You can cut the fruit a day in advance. Keep them in an airtight container in the fridge. Assemble the skewers a few hours before serving. This keeps the fruit fresh and vibrant. If you want to avoid browning, squeeze some lemon juice on the apples or bananas. Fruit skewers taste great with a variety of dips. You might enjoy yogurt, chocolate, or even honey. Here are some tasty ideas: - Yogurt Dip: Mix plain yogurt with honey and a splash of vanilla. - Chocolate Sauce: Melt dark or milk chocolate for a rich dip. - Honey Lime Dip: Combine honey, lime juice, and zest for a zesty kick. Each dip adds a fun twist to your skewers, making them even more enjoyable! We explored fruit skewers, detailing fresh fruit choices, optional extras, and essential tools. You learned how to prepare, assemble, and serve these delicious snacks. I shared tips for selecting the best fruits and creative presentation ideas to impress your guests. Remember, storing leftovers correctly keeps your fruit fresh. Feel free to mix frozen fruit into your skewers or try fun dips. Fruit skewers are tasty, easy, and perfect for any gathering. Enjoy making your fruity creations!](https://soyumrecipes.com/wp-content/uploads/2025/07/663415e3-e205-4f88-b477-2da98c8d87ec.webp)
