Latest & Greatest

Parmesan Crusted Chicken Crispy and Flavorful Delight
Are you ready to treat your taste buds? My Parmesan Crusted Chicken recipe packs a crunchy, cheesy punch that promises
Read more…
Grilled S’mores Quesadillas Sweet and Simple Delight
If you love s’mores and want a quick treat, you’re in for a real treat! Grilled S’mores Quesadillas are the
Read more…
Savory Surf and Turf Steak with Creamy Sauce Recipe
If you’re ready to elevate your dinner game, look no further! This Savory Surf and Turf Steak with Creamy Sauce
Read more…
Cheesy Chicken Wraps Tasty and Quick Meal Idea
Looking for a quick and tasty meal that your whole family will love? Cheesy Chicken Wraps are the answer! With
Read more…
Delicious Spicy Honey Chicken Flavorful Dinner Delight
Are you ready to spice up your dinner table? My Delicious Spicy Honey Chicken combines sweet honey, fiery Sriracha, and
Read more…
Creamy Chicken Penne Delightful and Simple Dinner
Looking for a quick and tasty dinner idea? Try my Creamy Chicken Penne! This dish is simple to make and
Read more…
Oven-Baked S’mores Bars Sweet and Chewy Delight
Are you ready for a new twist on a classic treat? My Oven-Baked S’mores Bars are sweet, chewy, and perfect
Read more…
Triple Chocolate Mousse Cake Decadent Dessert Recipe
Are you ready to indulge in a dessert that will wow your taste buds? The Triple Chocolate Mousse Cake offers
Read more…browse recipes
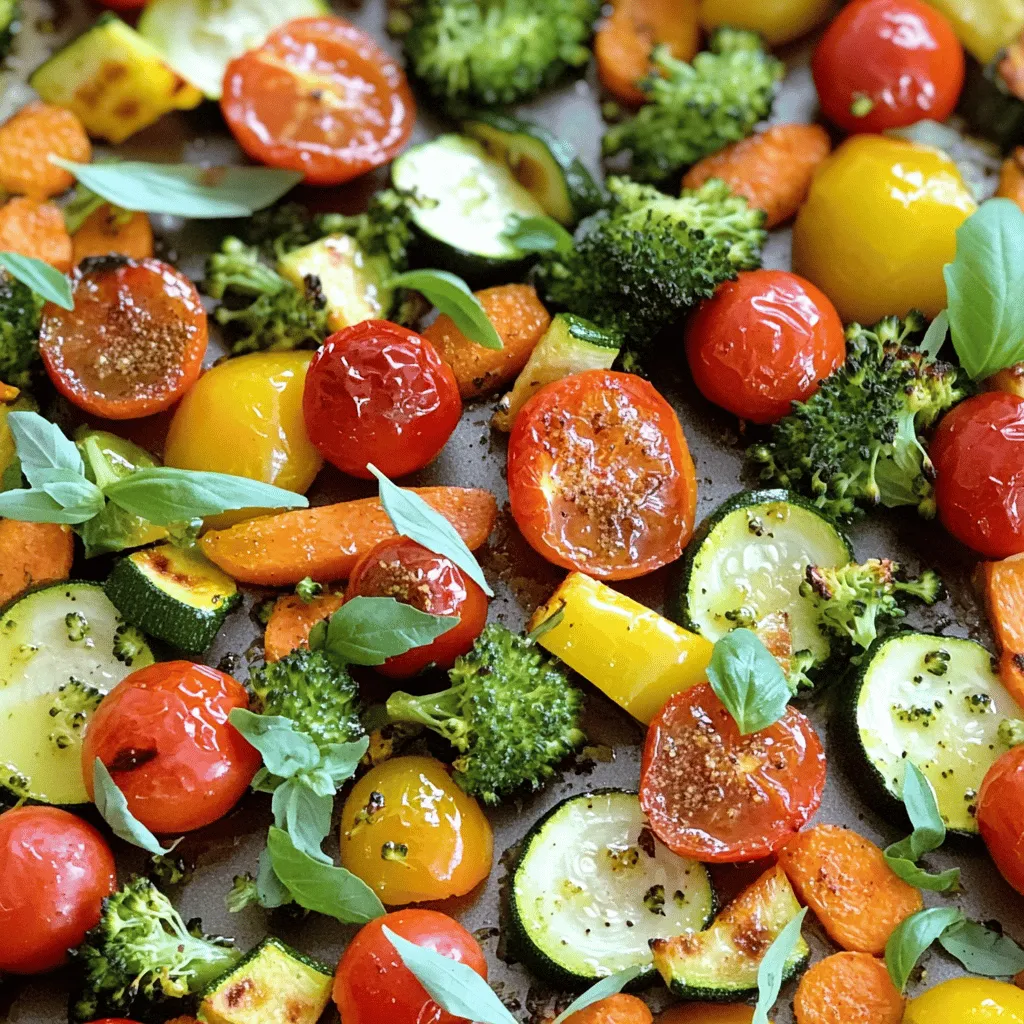
One-Pan Roasted Veggies Quick and Easy Recipe
Looking for a simple yet delicious dish? You’ll love this One-Pan Roasted Veggies recipe! It’s quick, easy, and packed with flavor. With just a…
My Latest Desserts
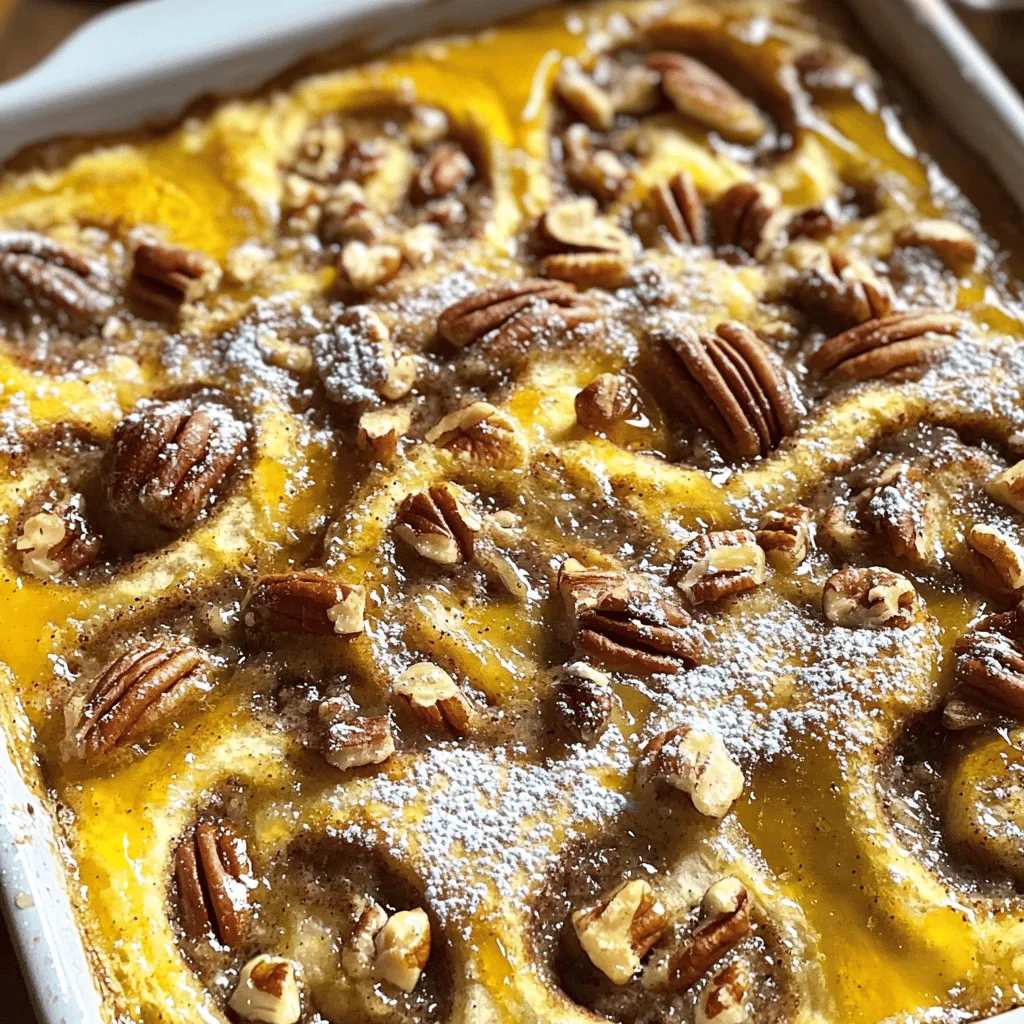
Maple Pecan Cinnamon Roll Pudding Irresistible Delight
If you’re looking for a dessert that combines rich maple, crunchy pecans, and soft cinnamon rolls, you’re in for a Read Full RecipeCaramel Apple Oatmeal Cookies Delightful Fall Treat
Fall is the perfect time for warm, comforting treats, and nothing says cozy quite like Caramel Apple Oatmeal Cookies. These Read Full RecipePumpkin Spice Icebox Cheesecake Creamy Dream Delight
Are you ready to treat yourself to a slice of heaven? My Pumpkin Spice Icebox Cheesecake Creamy Dream Delight is Read Full RecipeSalted Caramel Pretzel Cheesecake Bars Delightful Treat
Indulge your sweet tooth with my Salted Caramel Pretzel Cheesecake Bars! These layers of creamy cheesecake, crunchy pretzel crust, and Read Full RecipeDelicious Banana Nutella Swirl Pancakes Recipe
Get ready to whip up a breakfast treat that will rock your morning! My Banana Nutella Swirl Pancakes blend rich Read Full RecipeSlow Cooker Caramel Pecan Sticky Buns Irresistible Treat
Are you ready to indulge in a sweet delight? Slow Cooker Caramel Pecan Sticky Buns are the perfect treat for Read Full Recipe
My Latest Drinks
Protein Cookies & Cream Milkshake Simple Treat Recipe
If you’re craving a delicious treat that packs a protein punch, look no further! This Protein Cookies & Cream Milkshake Read Full RecipeSpiced Pumpkin Lattes Slow Cooker Recipe Delight
Are you ready to warm up your chilly days with a cozy Spiced Pumpkin Latte? I’ve crafted the perfect slow Read Full RecipePeanut Butter Chocolate Protein Shake Tasty Delight
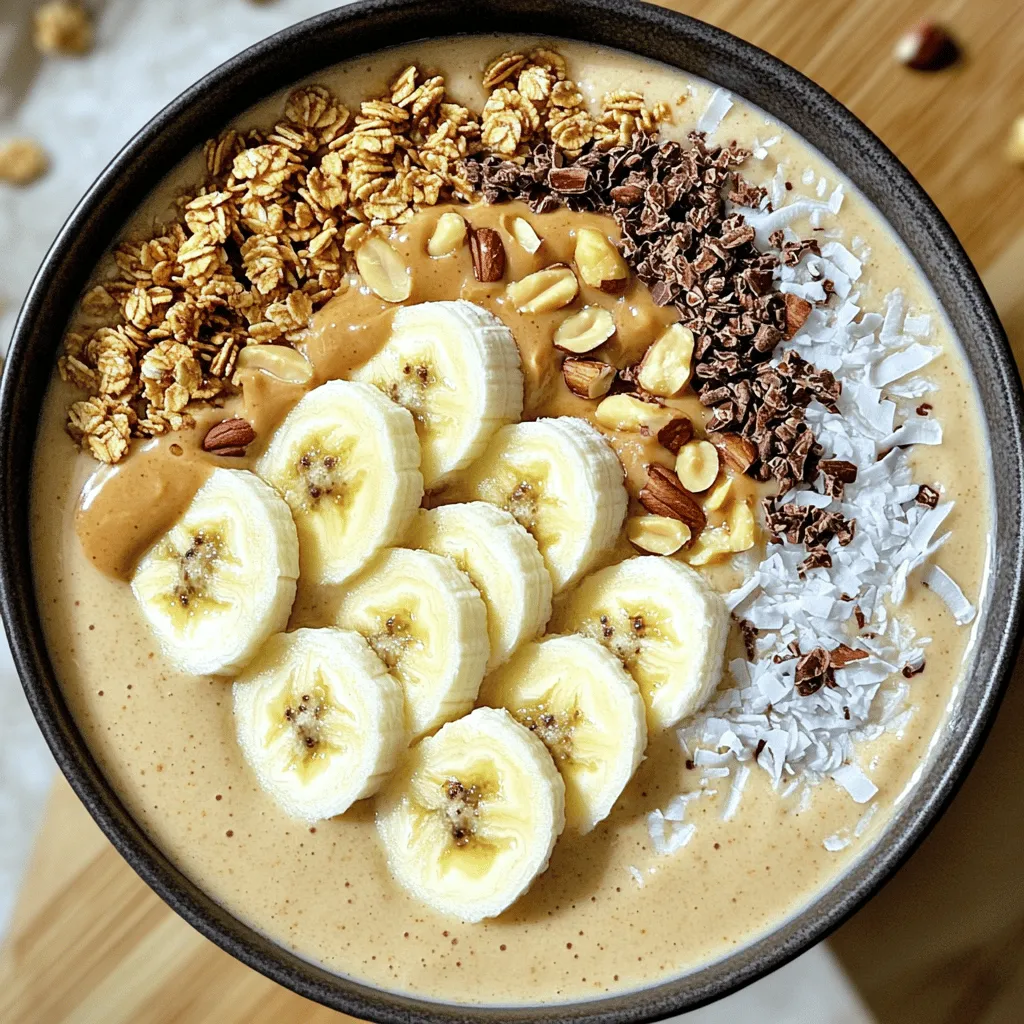
Satisfy your cravings with a Peanut Butter Chocolate Protein Shake! This tasty delight is not only delicious but also healthy. Read Full RecipePeanut Butter Banana Smoothie Bowl Simple and Tasty
Looking for a quick, tasty treat? The Peanut Butter Banana Smoothie Bowl is your answer! Packed with ripe bananas and Read Full RecipePumpkin Cream Cold Brew Copycat Simple and Tasty Recipe
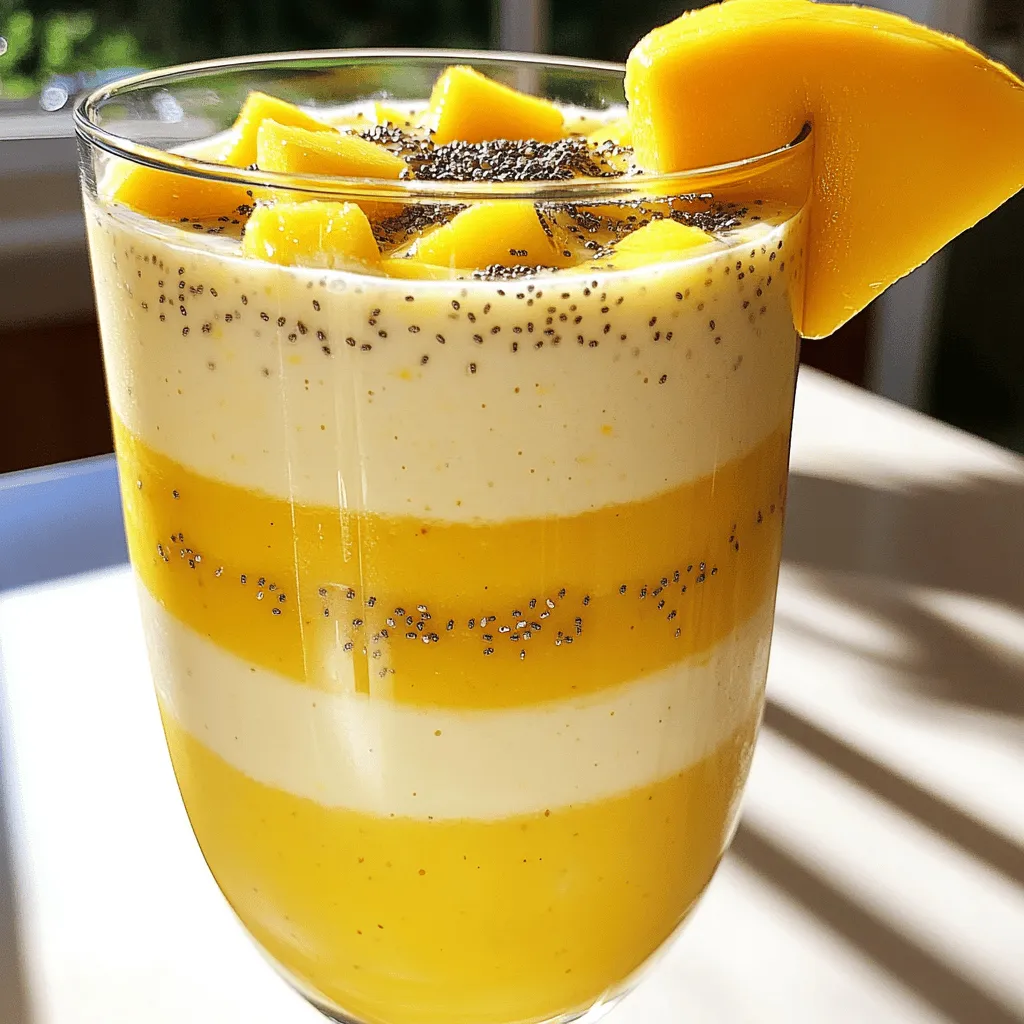
Craving a Pumpkin Cream Cold Brew but want to make it at home? You’re in the right place! I’ll show Read Full RecipePineapple Mango Smoothie Refreshing and Nutritious Drink
Looking for a tasty and healthy drink? A Pineapple Mango Smoothie might be just what you need! Packed with fresh Read Full Recipe
hey,
i’m !
I’m so happy you’re here!
I love creating dishes that bring joy to the table. I hope they bring the same joy to yours. Let’s enjoy this flavorful journey together.
Chocolate Hazelnut Crepes Decadent and Easy Recipe
Indulging in Chocolate Hazelnut Crepes is a delight. This easy recipe will impress your taste buds. With rich chocolate, creamy hazelnut spread, and soft,…














![To make this Coconut Curry Lentil Soup, you need: - 1 cup red lentils, rinsed - 1 can (13.5 oz) coconut milk - 4 cups vegetable broth - 1 medium onion, diced - 2 cloves garlic, minced - 1-inch ginger, grated - 1 medium carrot, diced - 1 bell pepper (any color), diced - 2 tablespoons curry powder - 1 tablespoon turmeric - 1 teaspoon cumin - 1/2 teaspoon red pepper flakes (optional, for heat) - Salt and pepper to taste - 2 tablespoons olive oil - Fresh cilantro, for garnish - Lime wedges, for serving This soup is not just tasty; it’s good for you too. A serving has about: - Calories: 250 - Protein: 10g - Carbs: 36g - Fiber: 12g - Fat: 9g - Vitamins A and C These numbers can change based on what you add or change in the recipe. You can swap some ingredients if you need to. Here are a few ideas: - Use green lentils instead of red for a firmer bite. - Coconut cream can replace coconut milk for a richer flavor. - If you don’t have vegetable broth, water works too. - Any kind of onion can fit, but yellow or sweet onion is best. - For a spicy kick, use jalapeños instead of red pepper flakes. Feel free to mix and match to find what works best for you. You can find the full recipe above to guide you through each step! To make this coconut curry lentil soup, start by gathering your ingredients. You will need red lentils, coconut milk, vegetable broth, onion, garlic, ginger, carrot, bell pepper, curry powder, turmeric, cumin, red pepper flakes, olive oil, salt, and pepper. 1. In a large pot, heat two tablespoons of olive oil over medium heat. 2. Add one diced onion, one diced carrot, and one diced bell pepper. Sauté these for about 5-7 minutes. You want the veggies to soften. 3. Next, add two minced garlic cloves and one inch of grated ginger. Cook these for 1-2 minutes until they smell great. 4. Stir in two tablespoons of curry powder, one tablespoon of turmeric, and one teaspoon of cumin. If you like heat, add half a teaspoon of red pepper flakes. Toast the spices for about one minute. 5. Now, add one cup of rinsed red lentils, four cups of vegetable broth, and one can of coconut milk. Mix everything well. 6. Bring this mixture to a boil. Then, lower the heat and let it simmer uncovered for 25-30 minutes. The lentils should be tender, and the soup will thicken. 7. Season with salt and pepper to taste. If you want a smoother soup, blend some of it. Leave some lentils whole for texture. 8. Serve hot and garnish with fresh cilantro and lime wedges for a zesty kick. - Prep Time: 10 minutes - Cook Time: 30 minutes - Total Time: 40 minutes - Use fresh spices for the best flavor. - Stir the soup occasionally to prevent sticking. - If the soup thickens too much, add more broth or water. - Let the soup sit for a few minutes before serving; it tastes even better! - For a fun twist, try adding spinach or kale for extra greens. For the complete recipe, check out the Full Recipe section. To boost flavor, use fresh spices. Fresh spices have more taste than old ones. Toast them in olive oil to wake them up. This adds a richer taste to the soup. If you want creaminess, blend half the soup. This gives you a smooth base while keeping some lentils whole. You can also add a splash of lime juice before serving. This brightens the soup and adds a fresh zing. One common mistake is not rinsing the lentils. Rinsing removes dirt and helps them cook better. Another mistake is cooking at too high a heat. This can make the lentils mushy. Stir the soup gently and keep the heat low. Lastly, don’t forget to taste as you cook. Adding salt and pepper early can lead to an overly salty soup. Always season at the end for the best flavor. If you like heat, add more red pepper flakes. Start with a little and add more until it's right for you. For less spice, skip the red pepper flakes or add a bit of sugar. Sugar can balance out the heat and make the soup taste great. If someone in your family can’t handle spice, serve lime wedges on the side. This way, they can adjust their soup as they like. For the complete recipe, check out the [Full Recipe]. {{image_2}} Coconut Curry Lentil Soup is a great dish for everyone. Since it uses no meat, it’s already vegetarian and vegan. You can enjoy all the rich flavors without any animal products. Fresh veggies add color and nutrients. Try adding spinach or kale for extra greens. You can also use vegetable broth for a hearty base. You might want more protein in your soup. Great options include chickpeas or tofu. They blend well with the lentils and add texture. If you like meat, chicken or shrimp can work too. Just cook them separately and add them at the end. This way, you keep the flavors balanced. To boost flavor, think about adding extras. A dash of lime juice brightens the soup. You can also stir in fresh herbs like basil or mint. These give a fresh twist to each bowl. For a spicy kick, add more red pepper flakes or a splash of hot sauce. This soup is your canvas, so feel free to get creative! For the complete recipe, check out the Full Recipe mentioned. Storing your Coconut Curry Lentil Soup is easy. Let the soup cool down first. Pour it into an airtight container. Make sure to leave some space at the top. This helps the soup expand when it freezes. You can keep it in the fridge for up to four days. If you want it to last longer, freezing is the way to go. To freeze your soup, use freezer-safe containers. You can also use freezer bags. Label the bags with the date. This helps you know when you made it. The soup can stay good in the freezer for about three months. When you’re ready to eat it, just thaw it in the fridge overnight. Reheating your Coconut Curry Lentil Soup is simple. You can use the stove or microwave. If using the stove, heat it in a pot over medium heat. Stir it often to make sure it warms evenly. For the microwave, use a microwave-safe bowl. Heat it in short bursts, stirring in between. Add a splash of broth or water if it seems too thick. Enjoy it warm, and don’t forget to garnish with fresh cilantro! You can find the full recipe to make this delightful soup anytime. To make Coconut Curry Lentil Soup from scratch, start by gathering your ingredients. You will need red lentils, coconut milk, vegetable broth, onion, garlic, ginger, carrot, bell pepper, curry powder, turmeric, cumin, red pepper flakes, olive oil, salt, and pepper. Heat olive oil in a large pot. Sauté diced onion, carrot, and bell pepper for about 5-7 minutes. Then add minced garlic and grated ginger, cooking for another 1-2 minutes. Stir in spices and toast them for a minute. Next, add rinsed lentils, vegetable broth, and coconut milk. Bring it to a boil, then simmer for 25-30 minutes until the lentils soften. Season with salt and pepper, and blend if you want a smoother texture. Serve it hot, garnished with cilantro and lime wedges. You can find the detailed steps in the Full Recipe. Yes, you can use different types of lentils. Each type has unique flavors and cooking times. For instance, green or brown lentils can work well but may need longer cooking times. Red lentils cook faster and break down, giving the soup a creamier texture. If you use whole lentils, adjust your cooking time to ensure they are tender. Just remember, the taste may vary slightly, but the soup will still be delicious. Coconut Curry Lentil Soup pairs well with various sides. You can serve it with crusty bread for dipping. Rice is also a great choice, as it absorbs the flavors nicely. For a fresh touch, add a simple salad with greens and a light dressing. If you want a crunchy bite, consider serving it with roasted vegetables. Each option will enhance your soup experience! Coconut curry lentil soup is easy to make and full of flavor. You can adjust spice levels and try different variations. Remember to store leftovers properly for fresh taste. With these tips, you can create a delicious meal every time. Enjoy your cooking, and don’t shy away from making this soup your own!](https://soyumrecipes.com/wp-content/uploads/2025/05/a2d118ab-08dc-4887-b1fa-fc48931864e0-300x300.webp)
