
Latest & Greatest
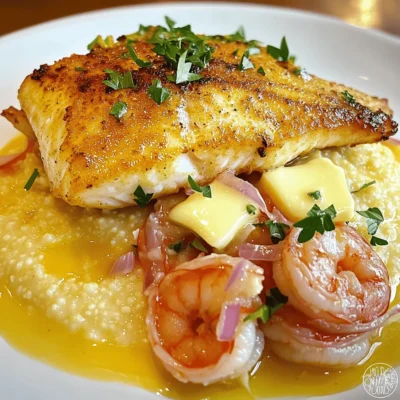
Red Snapper Shrimp Grits Flavorful Seafood Delight
If you’re craving a dish that delivers bold flavors and comfort, look no further than Red Snapper Shrimp Grits. This
Read more…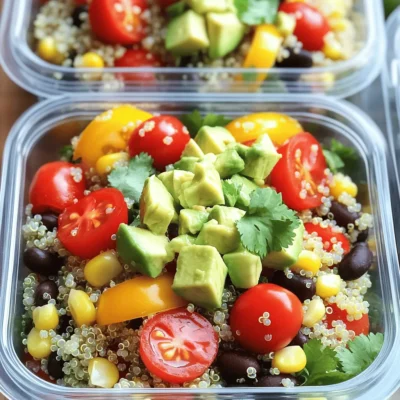
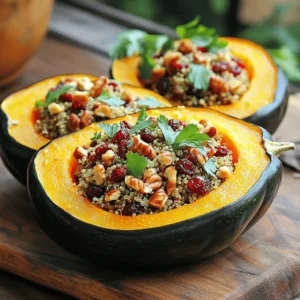
Meal Prep for Busy Weeks: Simple Quinoa Bowls
Are you tired of scrambling for dinner ideas each busy week? I get it! Meal prep can save you time
Read more…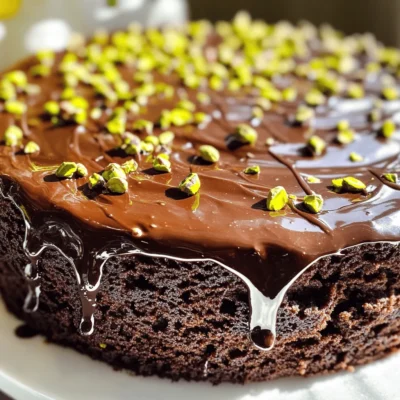
Chocolate Pistachio Cake Rich Flavor and Easy Recipe
If you’re craving a dessert that bursts with rich chocolate flavor and crunchy pistachios, you’re in the right place! This
Read more…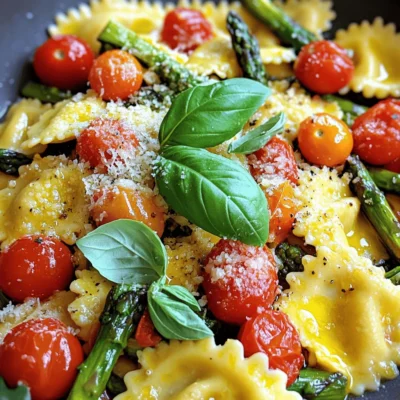
Ravioli with Tomatoes & Asparagus Flavorful Delight
Are you ready to savor a dish that bursts with flavor? In this blog post, I’ll guide you through making
Read more…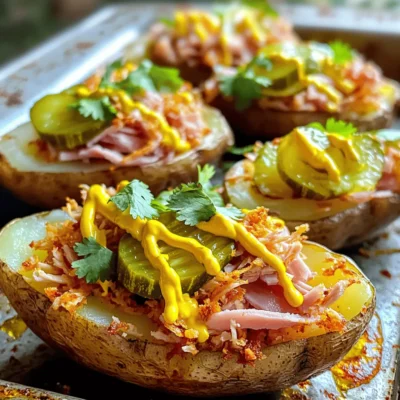
Cuban Sandwich Potato Skins Flavorful and Fun Dish
If you love a good Cuban sandwich, you’ll adore these Cuban Sandwich Potato Skins! This fun dish combines crispy potato
Read more…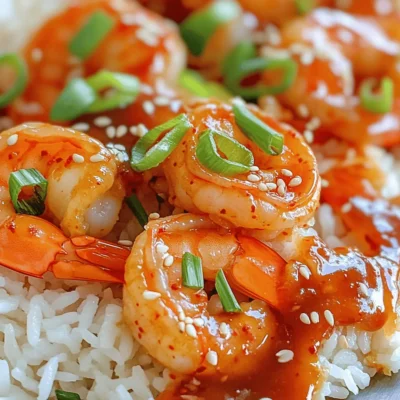
Sweet & Spicy Gochujang Shrimp Flavorful Delight
Craving a dish that bursts with flavor? Try my Sweet & Spicy Gochujang Shrimp! This fun recipe pairs large shrimp
Read more…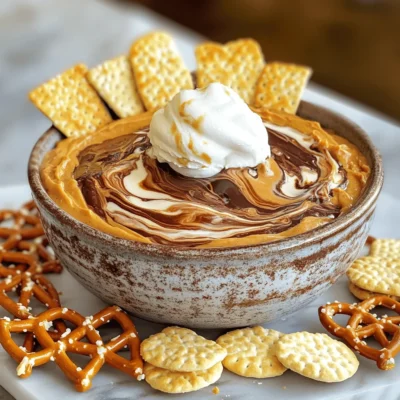
Buckeye Dip Creamy Delight for Any Gathering
Do you want a show-stopping dip for your next party? Buckeye Dip is a creamy delight that everyone will love!
Read more…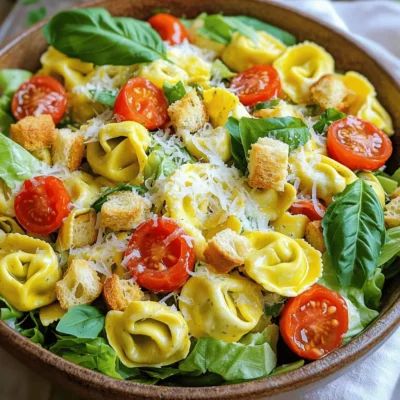
Cheese Tortellini Caesar Salad Fresh and Flavorful Delight
Looking for a fun twist on a classic dish? This Cheese Tortellini Caesar Salad is your answer! I’ll show you
Read more…browse recipes


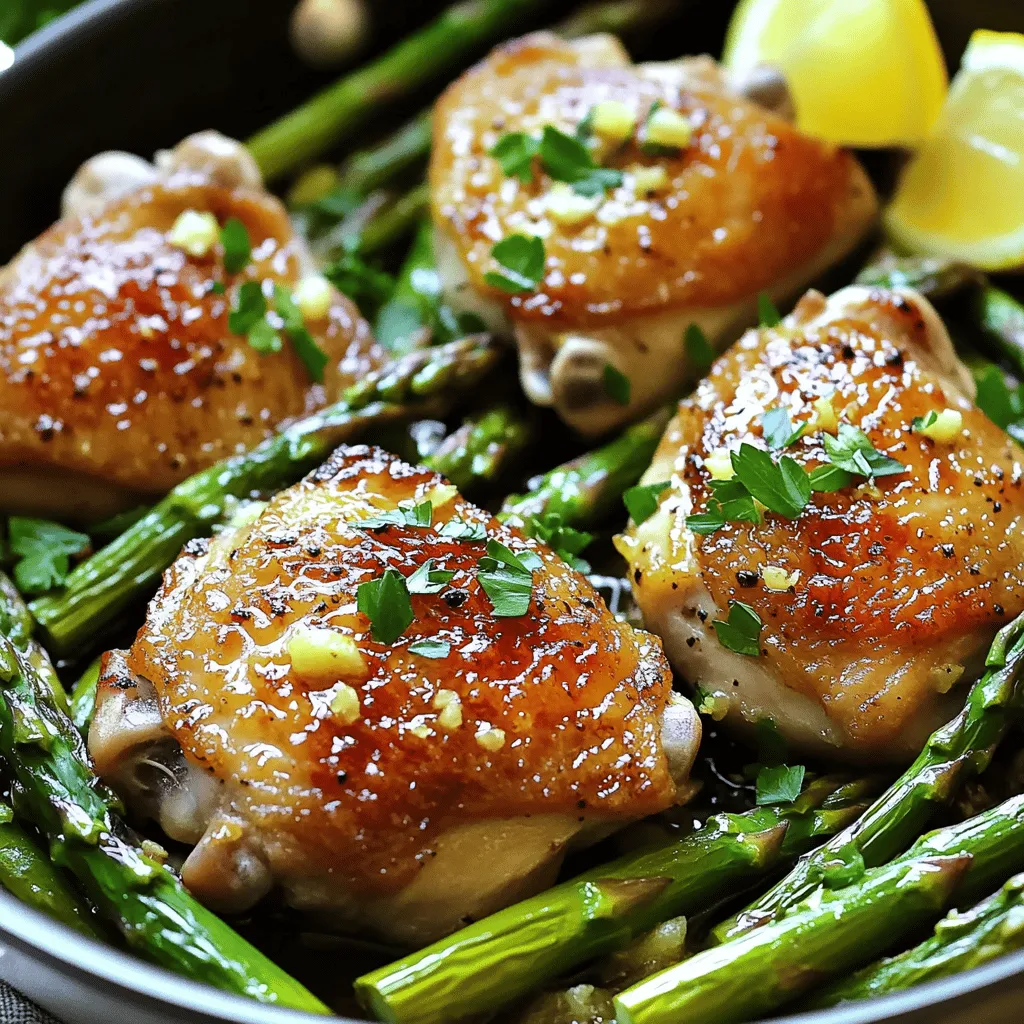
Satisfying One-Pan Garlic Chicken and Asparagus Dish
Ready for an easy dinner that packs flavor? This One-Pan Garlic Chicken and Asparagus dish is simple and satisfying. With juicy chicken thighs, crisp…
My Latest Desserts

Maple Pecan Cinnamon Roll Pudding Irresistible Delight
If you’re looking for a dessert that combines rich maple, crunchy pecans, and soft cinnamon rolls, you’re in for a Read Full Recipe-
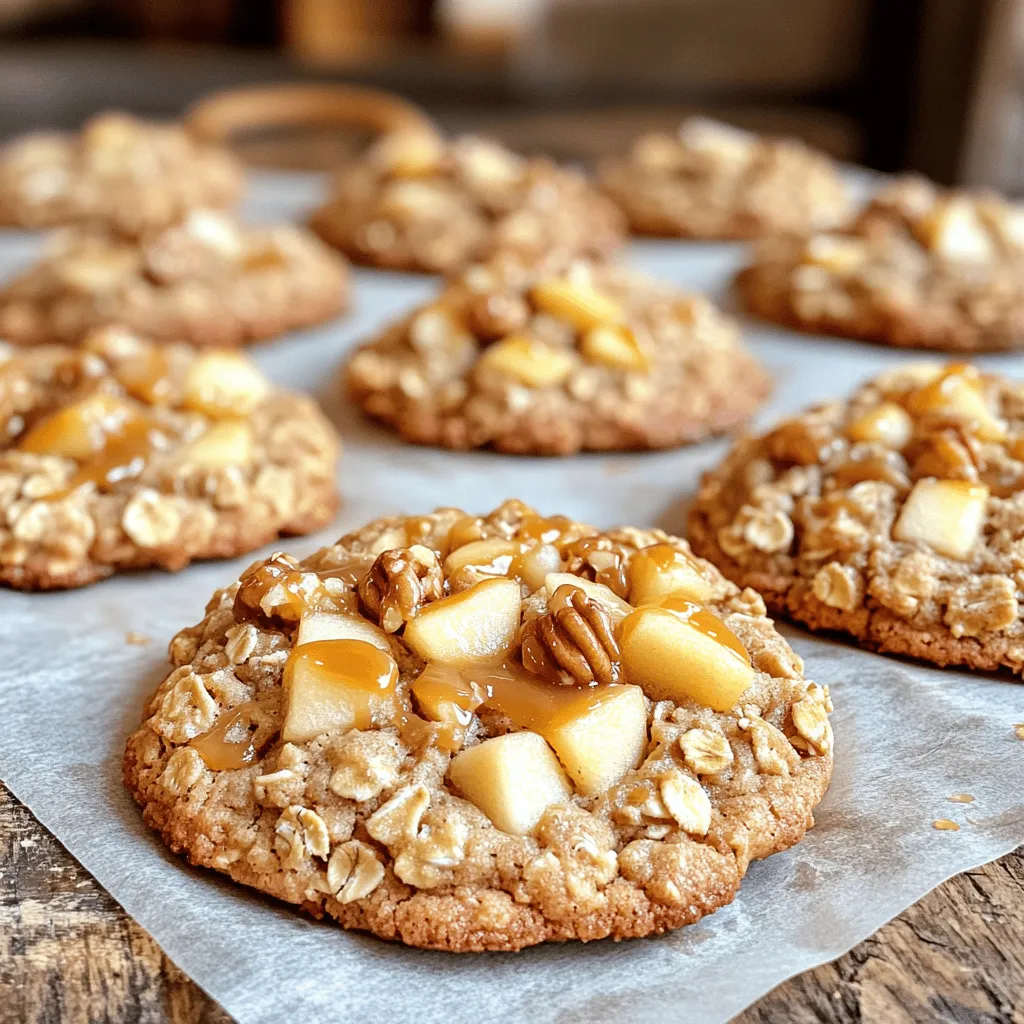
Caramel Apple Oatmeal Cookies Delightful Fall Treat
Fall is the perfect time for warm, comforting treats, and nothing says cozy quite like Caramel Apple Oatmeal Cookies. These Read Full Recipe -
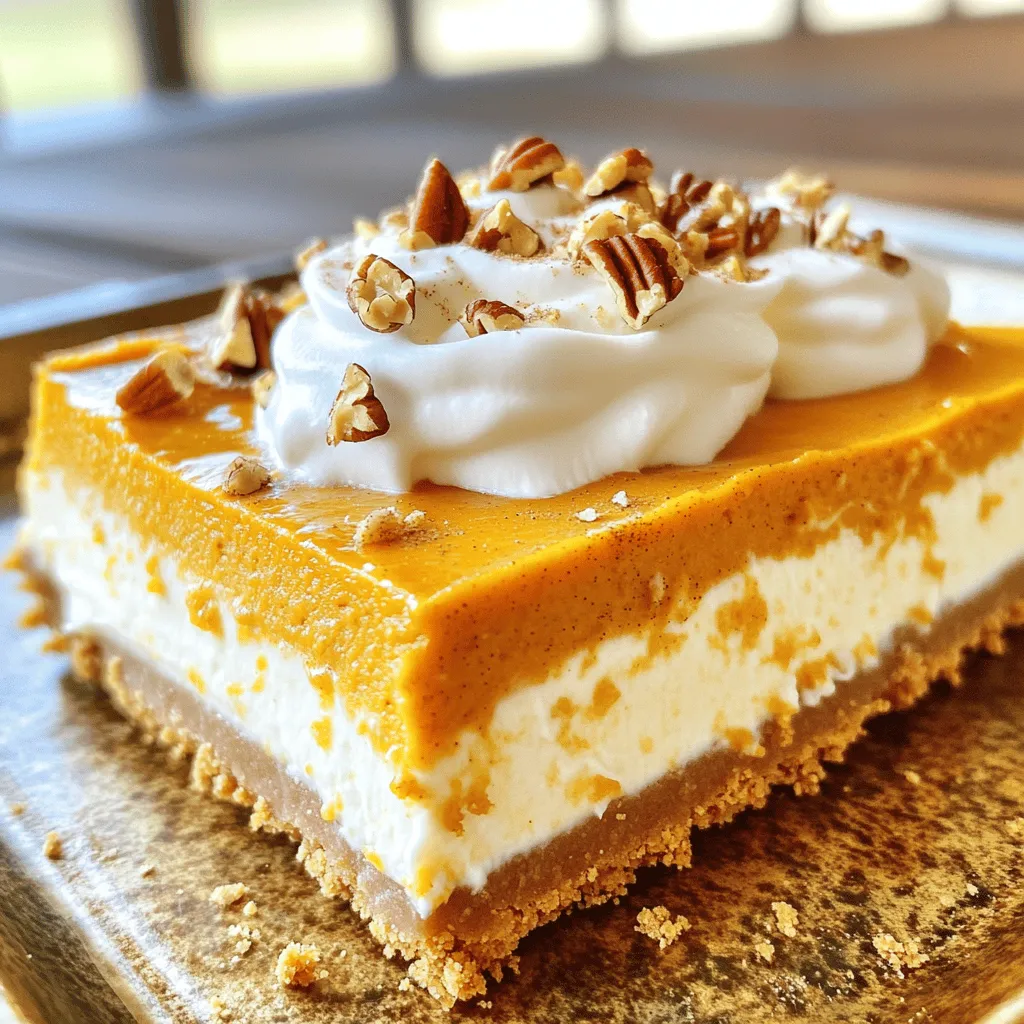
Pumpkin Spice Icebox Cheesecake Creamy Dream Delight
Are you ready to treat yourself to a slice of heaven? My Pumpkin Spice Icebox Cheesecake Creamy Dream Delight is Read Full Recipe -
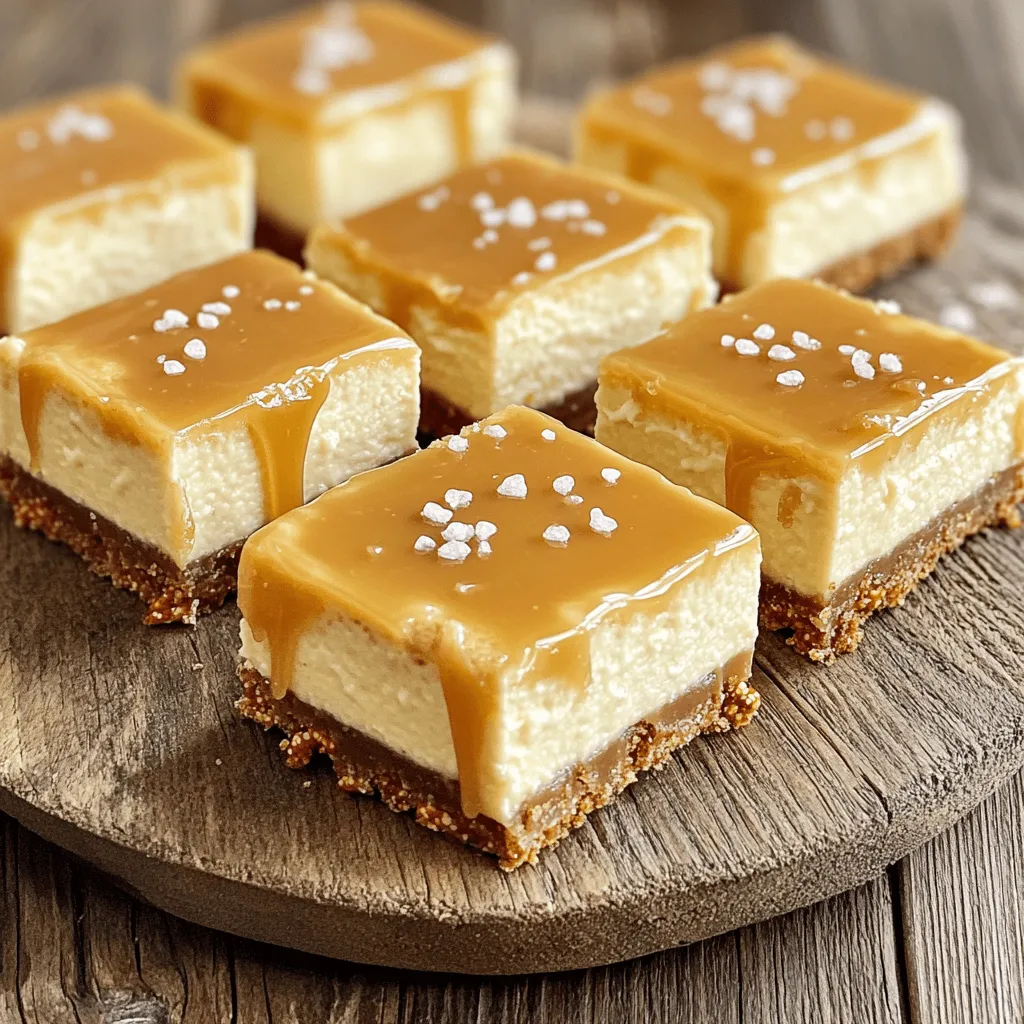
Salted Caramel Pretzel Cheesecake Bars Delightful Treat
Indulge your sweet tooth with my Salted Caramel Pretzel Cheesecake Bars! These layers of creamy cheesecake, crunchy pretzel crust, and Read Full Recipe -
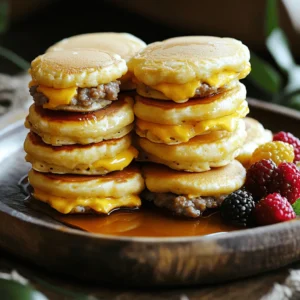
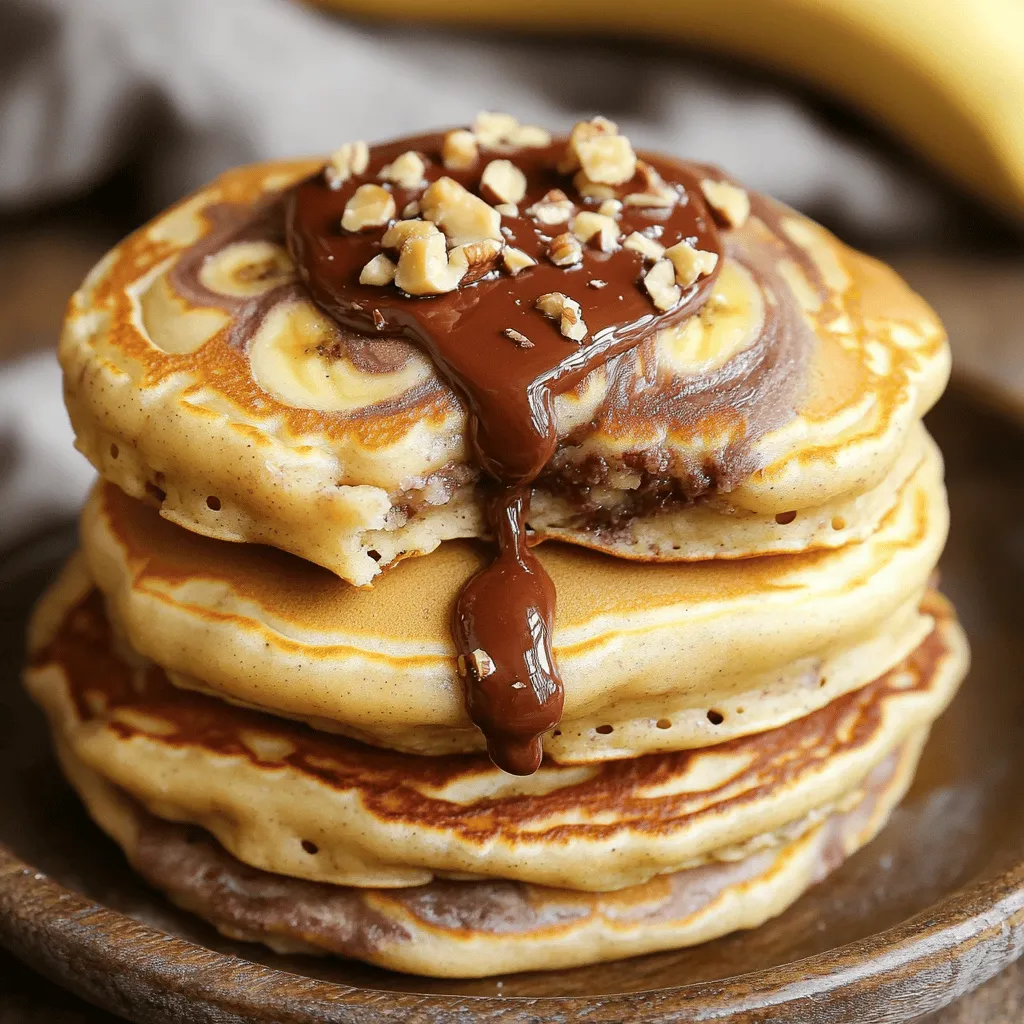
Delicious Banana Nutella Swirl Pancakes Recipe
Get ready to whip up a breakfast treat that will rock your morning! My Banana Nutella Swirl Pancakes blend rich Read Full Recipe -
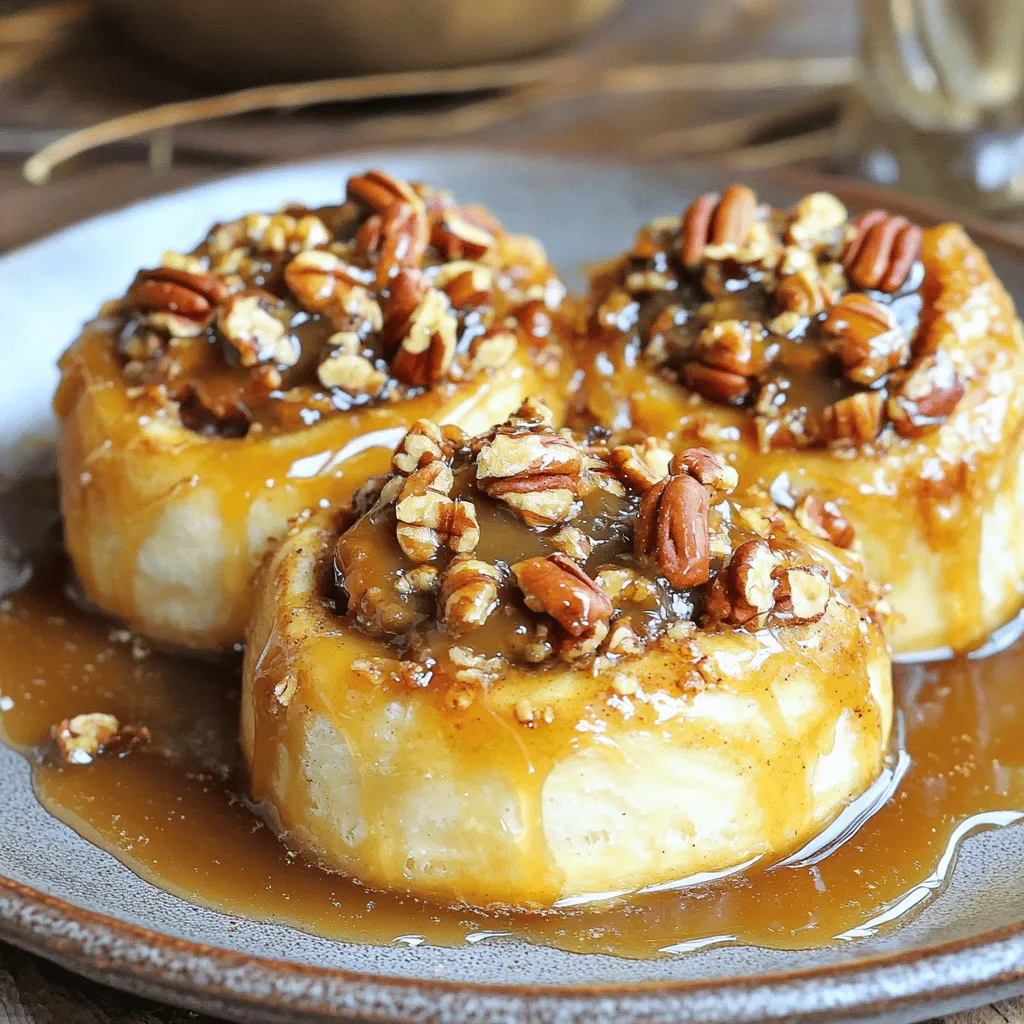
Slow Cooker Caramel Pecan Sticky Buns Irresistible Treat
Are you ready to indulge in a sweet delight? Slow Cooker Caramel Pecan Sticky Buns are the perfect treat for Read Full Recipe

My Latest Drinks
-
Protein Cookies & Cream Milkshake Simple Treat Recipe
If you’re craving a delicious treat that packs a protein punch, look no further! This Protein Cookies & Cream Milkshake Read Full Recipe -
Spiced Pumpkin Lattes Slow Cooker Recipe Delight
Are you ready to warm up your chilly days with a cozy Spiced Pumpkin Latte? I’ve crafted the perfect slow Read Full Recipe -
Peanut Butter Chocolate Protein Shake Tasty Delight
Satisfy your cravings with a Peanut Butter Chocolate Protein Shake! This tasty delight is not only delicious but also healthy. Read Full Recipe -
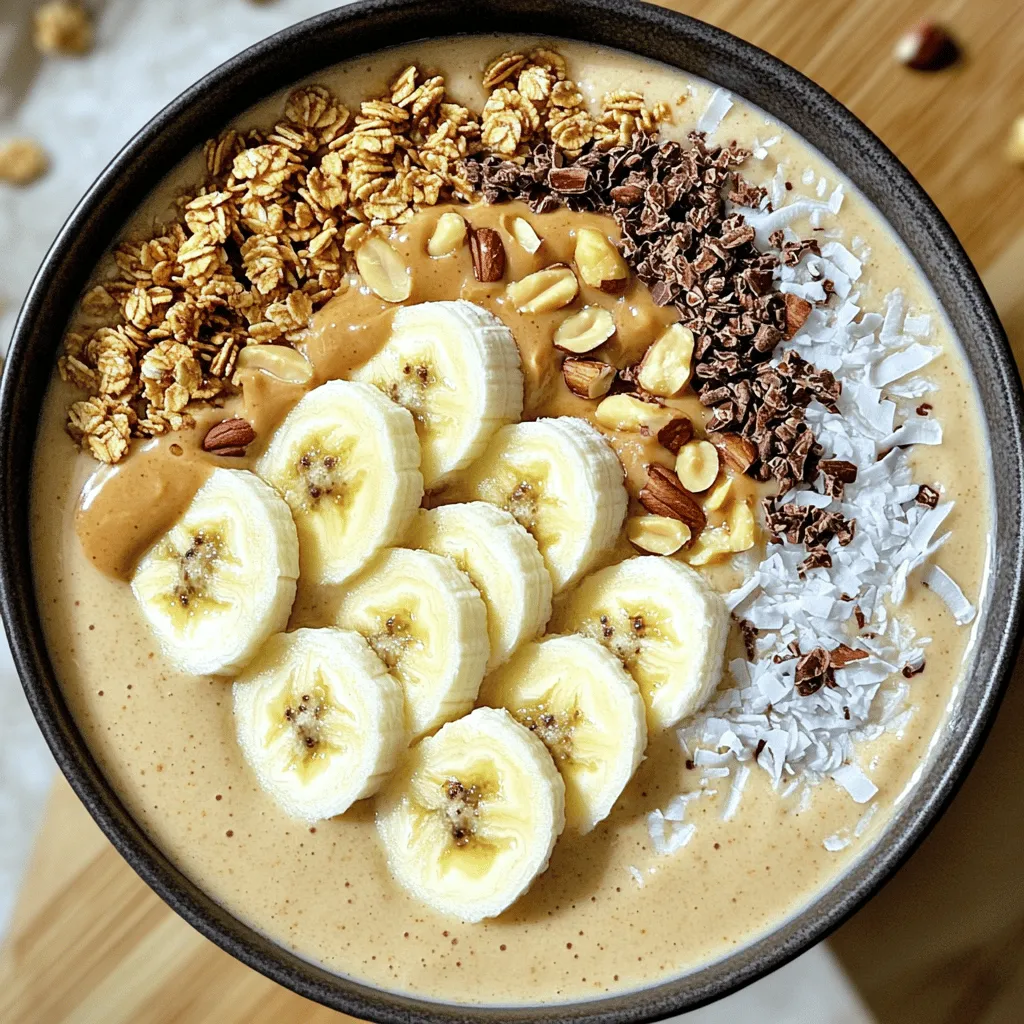
Peanut Butter Banana Smoothie Bowl Simple and Tasty
Looking for a quick, tasty treat? The Peanut Butter Banana Smoothie Bowl is your answer! Packed with ripe bananas and Read Full Recipe -
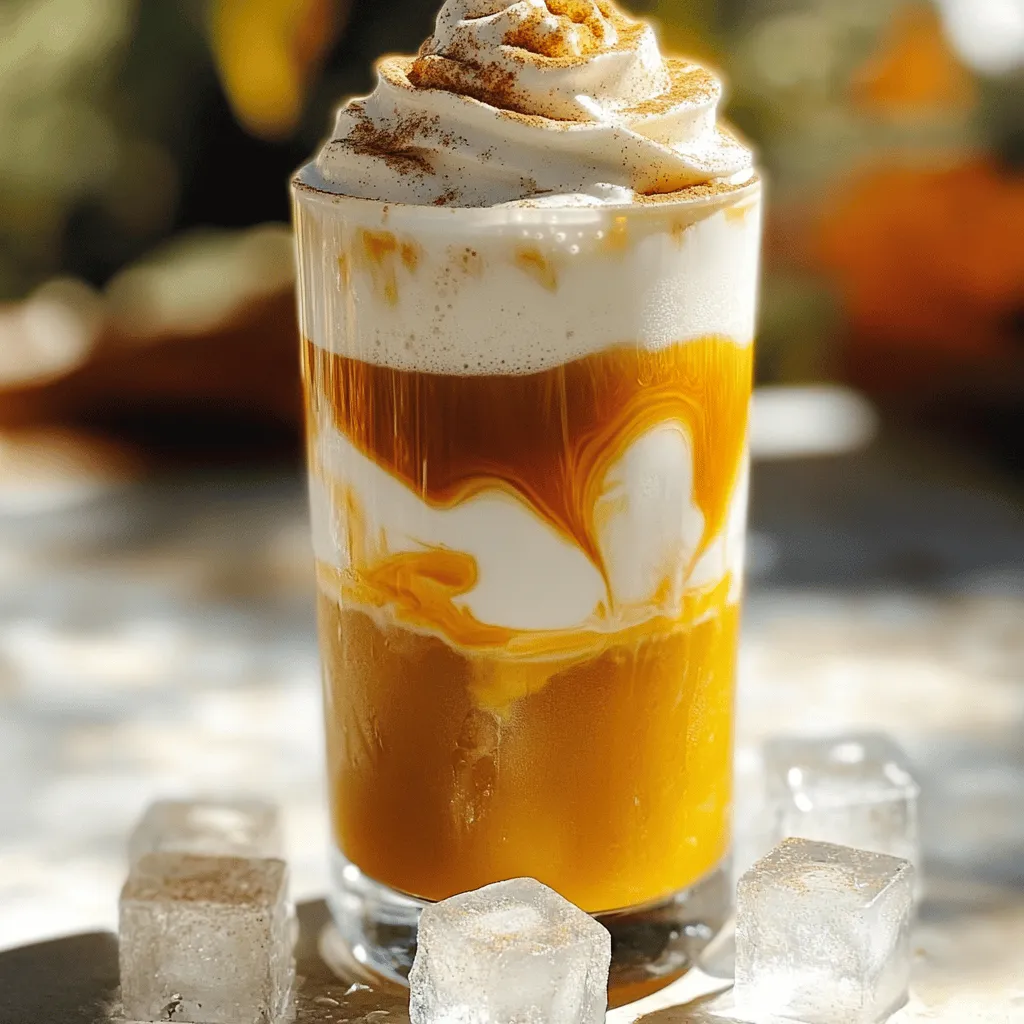
Pumpkin Cream Cold Brew Copycat Simple and Tasty Recipe
Craving a Pumpkin Cream Cold Brew but want to make it at home? You’re in the right place! I’ll show Read Full Recipe -
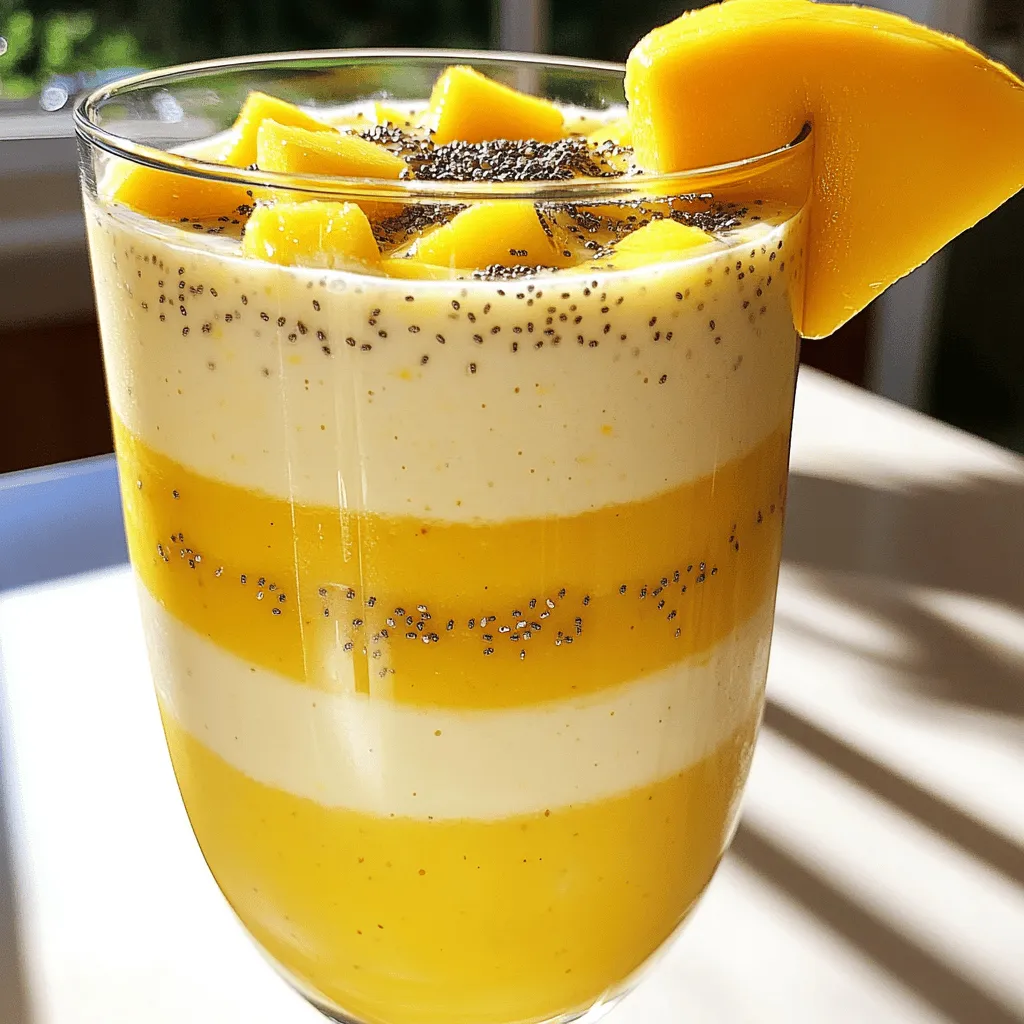
Pineapple Mango Smoothie Refreshing and Nutritious Drink
Looking for a tasty and healthy drink? A Pineapple Mango Smoothie might be just what you need! Packed with fresh Read Full Recipe


hey,
i’m !
I’m so happy you’re here!
I love creating dishes that bring joy to the table. I hope they bring the same joy to yours. Let’s enjoy this flavorful journey together.


![- 1 pound Brussels sprouts, trimmed and halved - 3 tablespoons balsamic vinegar - 2 tablespoons honey - 2 tablespoons olive oil - 3 cloves garlic, minced - Salt and pepper to taste - ¼ cup chopped nuts (pecans or walnuts) - 2 tablespoons grated Parmesan cheese (optional) - Fresh parsley, chopped for garnish Brussels sprouts shine in this dish. They have a rich flavor when roasted. The balsamic vinegar adds a sweet and tangy taste that makes them pop. Honey adds a lovely sweetness, while garlic gives a nice kick. The nuts add crunch, and the cheese adds creaminess if you choose. Fresh parsley brightens the dish and makes it look nice. You can find these ingredients easily at any store. - Calories per serving: About 150 - Macronutrients breakdown: - Carbohydrates: 15g - Fat: 10g - Protein: 4g Brussels sprouts are a superfood. They are low in calories but high in nutrients. They contain vitamins C and K, which are great for your body. They also have fiber, which is good for digestion. Eating Brussels sprouts can help you feel full and satisfied. This dish is not only tasty but also healthy. It is a great way to enjoy vegetables while keeping your meals exciting. You can find the full recipe in this article. 1. Preheat your oven to 400°F (200°C). This heat will make the Brussels sprouts crisp. 2. Grab a large mixing bowl. Add the halved Brussels sprouts, olive oil, minced garlic, balsamic vinegar, honey, salt, and pepper. Toss well to coat each sprout evenly. 1. Spread the Brussels sprouts onto a baking sheet. Make sure they are cut side down. This helps them caramelize well. 2. Roast the Brussels sprouts in the preheated oven for 20-25 minutes. Stir halfway through for even cooking. They should be tender and golden. 3. While the Brussels sprouts roast, take a small skillet. Add the chopped nuts and toast them over medium heat. Stir for about 3-5 minutes until they smell great. 4. Once the Brussels sprouts are done, take them out of the oven. Drizzle any leftover balsamic glaze from the bowl over the sprouts. 5. Mix in the toasted nuts. If you like, sprinkle on some grated Parmesan cheese for extra flavor. 6. Garnish with fresh parsley before serving. This adds a nice pop of color! Check the [Full Recipe] for all the details. To get a great glaze on your Brussels sprouts, find a balance between sweetness and acidity. The balsamic vinegar adds tartness, while honey gives sweetness. Start with 3 tablespoons of balsamic vinegar and 2 tablespoons of honey. Taste as you mix. Adjust to what you like. This will help you find the right balance for your dish. For balsamic vinegar, I recommend brands like Colavita or Pompeian. They are easy to find and have great flavor. Using quality vinegar makes a big difference in your glaze. You can add more depth to your Brussels sprouts by trying different herbs and spices. I love using rosemary or thyme. They pair well with the vinegar and honey. If you want a bit of heat, add crushed red pepper flakes. Feel free to customize the recipe to match your tastes. Want a nutty flavor? Try adding sesame oil instead of olive oil. You can also swap the nuts for seeds or skip them entirely for a lighter dish. One big mistake is overcooking the Brussels sprouts. They should be tender but still crisp. Keep an eye on them while roasting. Aim for that golden brown color, which means they are caramelized but not mushy. Another mistake is not using enough oil or seasoning. Make sure to coat the Brussels sprouts well. This helps them roast evenly and enhances their flavor. If they are dry, they won’t taste as good. Follow the [Full Recipe] for best results! {{image_2}} You can spice up your Brussels sprouts with crushed red pepper. Just add a pinch to the mix before roasting. This gives them a nice kick. If you want a vegan option, replace honey with maple syrup. The taste will still be sweet and rich. Try using an air fryer for a quick and crispy finish. Set it to 375°F and cook for about 15 minutes. Shake the basket halfway through for even cooking. You can also sauté the sprouts on the stovetop. Heat some oil in a pan, add the sprouts, and cook for about 10 minutes. Stir often until they are golden and tender. Feel free to add other veggies like carrots or bell peppers. Chop them into similar sizes for even cooking. Dried fruits like cranberries or golden raisins can add sweetness. You can also sprinkle in some seeds, like pumpkin or sunflower, for extra crunch. Check out the Full Recipe for more details and tips! Leftovers of Balsamic Glazed Brussels Sprouts can last in the fridge for about 3 to 4 days. Store them in airtight containers to keep them fresh. Glass or plastic containers with tight lids work best. They help prevent moisture loss and keep the flavor strong. You can freeze Brussels sprouts both before and after cooking. If you freeze them raw, blanch them first. This helps keep their color and texture. To freeze cooked Brussels sprouts, let them cool completely. Then, place them in a freezer bag. Make sure to remove as much air as possible. When you're ready to eat, thaw them in the fridge overnight. To keep the texture and flavor, reheating in the oven is best. Preheat it to 350°F (175°C) and bake for about 10 to 15 minutes. This method helps them stay crispy. If you choose to use a microwave, heat them in short bursts. Check every 30 seconds to avoid sogginess. Enjoy your delicious Brussels sprouts! Yes, you can prepare Brussels sprouts ahead of time. Cook them fully and store in the fridge. They stay fresh for about three days. When you’re ready, reheat them in the oven. This will help keep their crispy texture. You can also toss them in balsamic glaze again for flavor. If you don’t have honey, try maple syrup or agave nectar. Both add sweetness and work well in this recipe. You can also use brown sugar mixed with a bit of water. This gives a similar flavor profile and keeps the glaze rich. No, adding cheese is not a must. Grated Parmesan adds a nice touch, but it’s optional. If you want a dairy-free option, skip the cheese or use nutritional yeast. This will still provide a savory note without the dairy. Brussels sprouts are done when they are golden brown and tender. Use a fork to check their texture. They should be easy to pierce but not mushy. Roasting time is usually around 20-25 minutes at 400°F (200°C). This article covered how to make delicious Balsamic Glazed Brussels Sprouts. You learned about the key ingredients and their health benefits. We also went through easy steps to prepare and cook them. Remember to avoid common mistakes and try variations to fit your taste. Tips like storing leftovers properly will help you enjoy this dish longer. Cooking can be fun and tasty, so don’t hesitate to experiment. Happy cooking!](https://soyumrecipes.com/wp-content/uploads/2025/04/fd887b2b-805a-471b-af3f-4e361fafc5ed-300x300.webp)
Crispy Coconut Shrimp Tacos Flavorful and Easy Meal
Craving tacos that crunch with every bite? You’re in for a treat! My Crispy Coconut Shrimp Tacos are packed with flavor and super easy…