Latest & Greatest
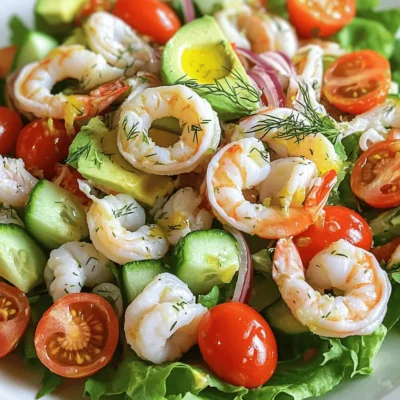
Seafood Salad Quick and Fresh Delight Recipe
If you crave a light and tasty meal, this Seafood Salad Quick and Fresh Delight Recipe is for you! Packed
Read more…
Baked Gouda Cheese Grits Rich and Comforting Delight
Are you ready to elevate your comfort food game? Baked Gouda Cheese Grits offer a rich and creamy delight that’s
Read more…
Cheesy Garlic Chicken Wraps Quick and Tasty Meal
Looking for a tasty meal that’s quick and easy to make? Cheesy Garlic Chicken Wraps are here to save dinner!
Read more…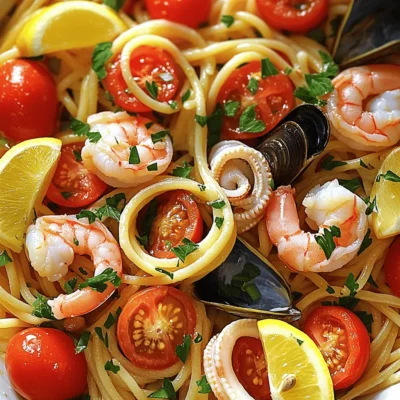
The Best Seafood Pasta Recipe Delicious and Easy Dish
If you’re craving a dish that feels like a seaside escape, look no further. I’ve crafted the best seafood pasta
Read more…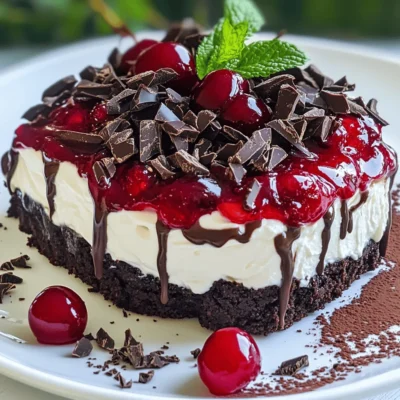
Black Forest No-Bake Cheesecake Delightful Creamy Treat
Are you ready to indulge in a sweet treat that’s both easy to make and oh-so-delicious? This Black Forest No-Bake
Read more…
Sticky Honey Chicken Recipe Simple and Tasty Dish
Welcome to my kitchen! Today, I’m excited to share my Sticky Honey Chicken Recipe. This sweet and savory dish is
Read more…
Cheesy Garlic Bread Shrimp Grilled Cheese Delight
If you love cheesy goodness and shrimp, this Cheesy Garlic Bread Shrimp Grilled Cheese Delight is your new go-to meal!
Read more…
Hot and Sour Soup Flavorful Comfort in a Bowl
Hot and Sour Soup is a warm hug in a bowl. This dish blends spicy heat and tangy flavor, making
Read more…browse recipes
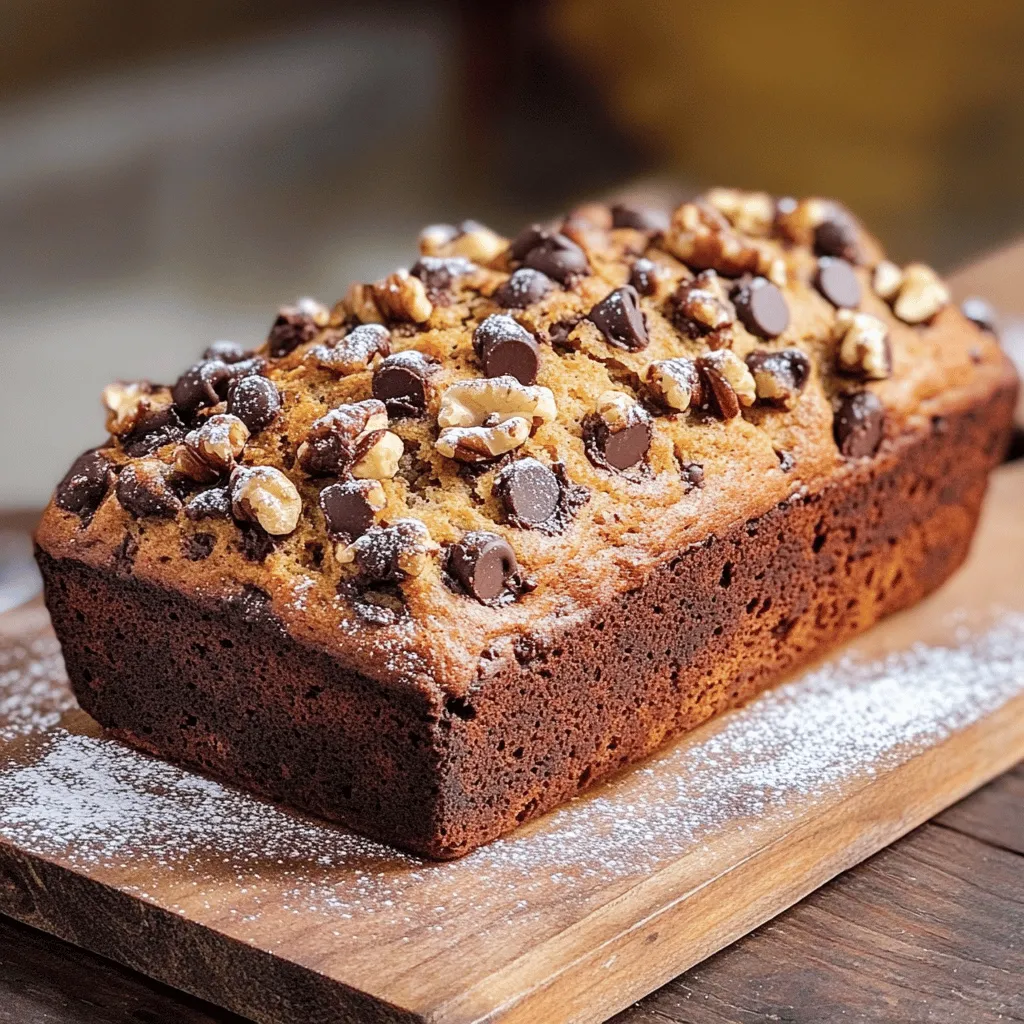
Chocolate Chip Banana Bread Irresistible Easy Recipe
If you love the sweet smell of baked goods wafting from your kitchen, then this Chocolate Chip Banana Bread recipe is for you! With…
My Latest Desserts
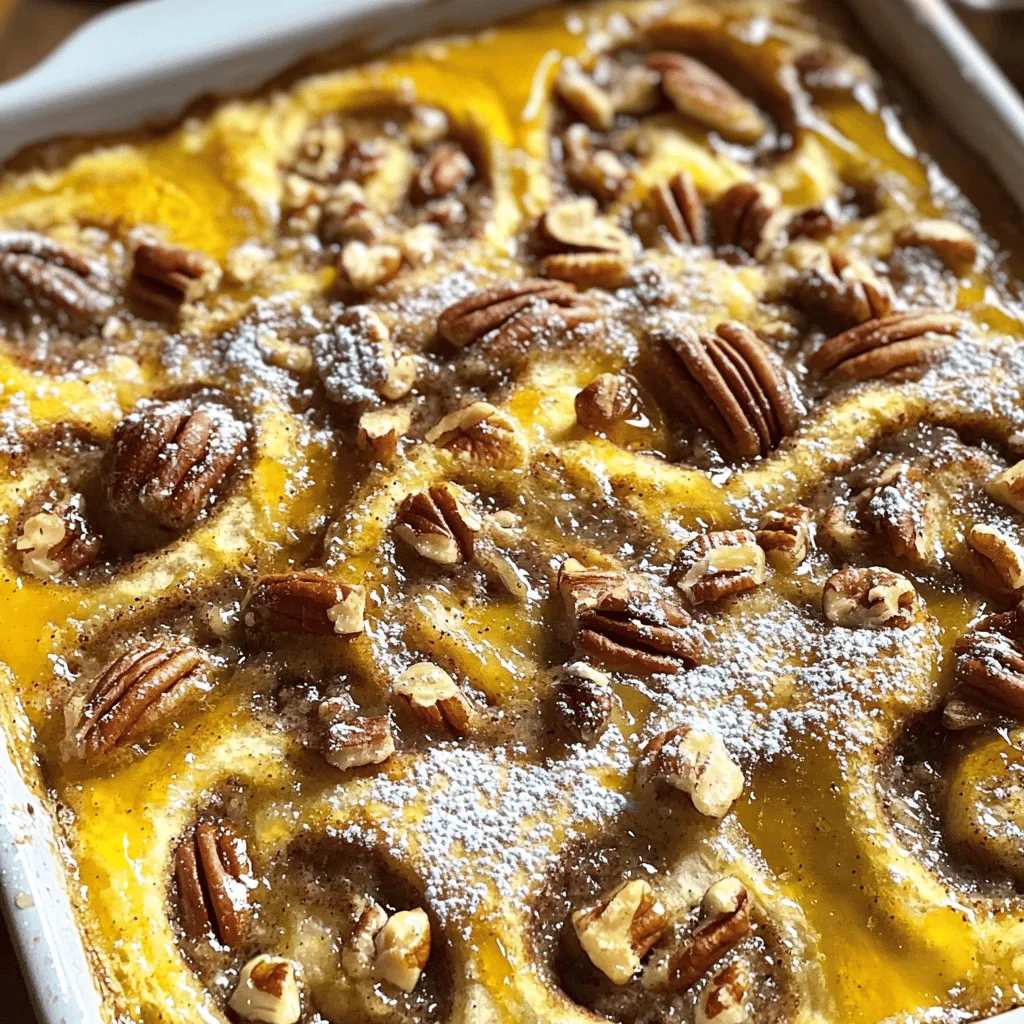
Maple Pecan Cinnamon Roll Pudding Irresistible Delight
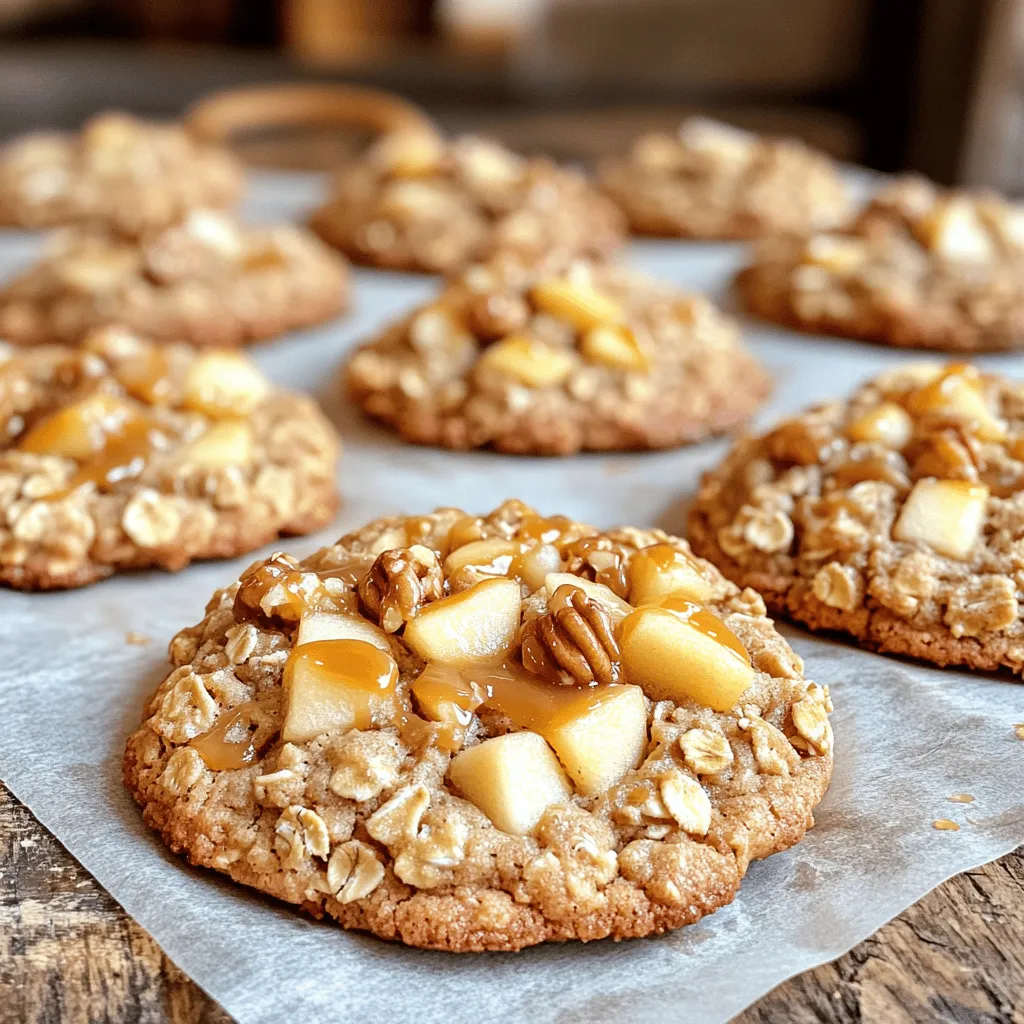
If you’re looking for a dessert that combines rich maple, crunchy pecans, and soft cinnamon rolls, you’re in for a Read Full RecipeCaramel Apple Oatmeal Cookies Delightful Fall Treat
Fall is the perfect time for warm, comforting treats, and nothing says cozy quite like Caramel Apple Oatmeal Cookies. These Read Full RecipePumpkin Spice Icebox Cheesecake Creamy Dream Delight
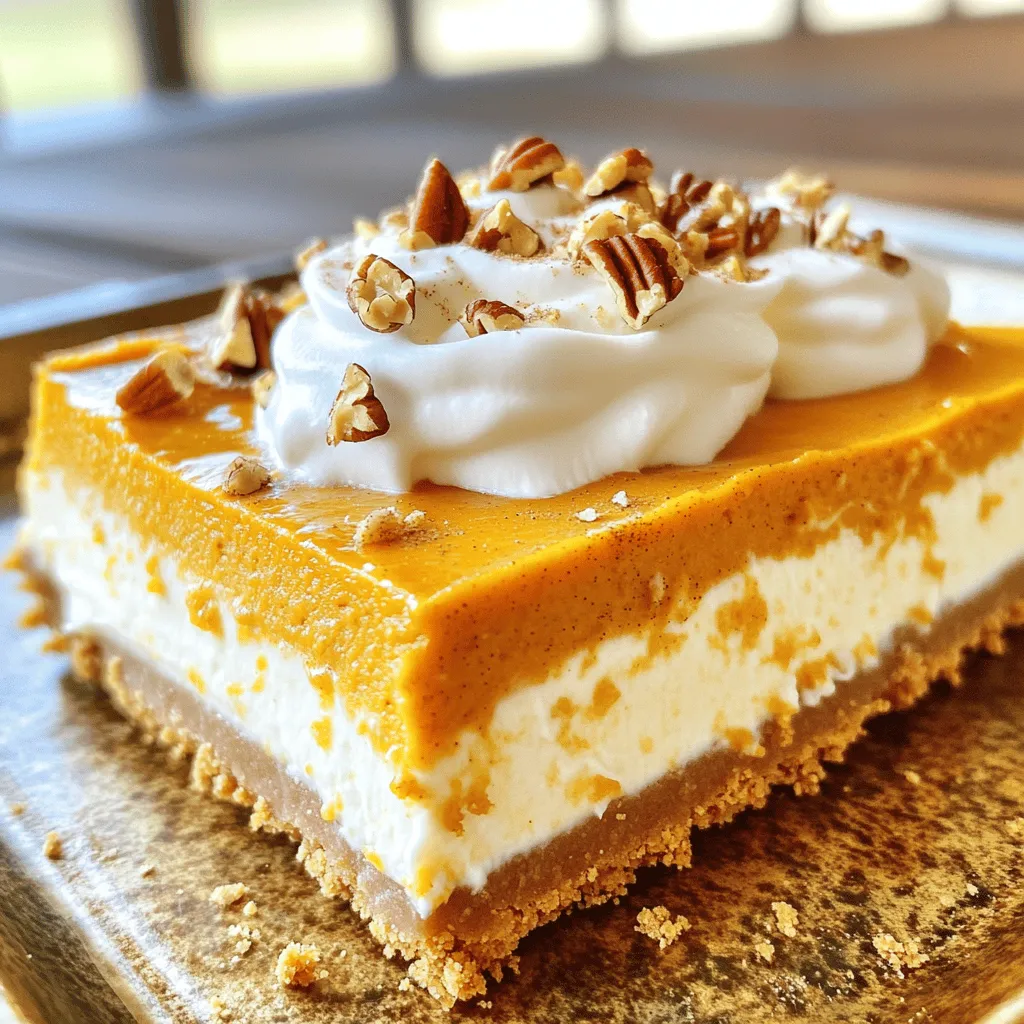
Are you ready to treat yourself to a slice of heaven? My Pumpkin Spice Icebox Cheesecake Creamy Dream Delight is Read Full RecipeSalted Caramel Pretzel Cheesecake Bars Delightful Treat
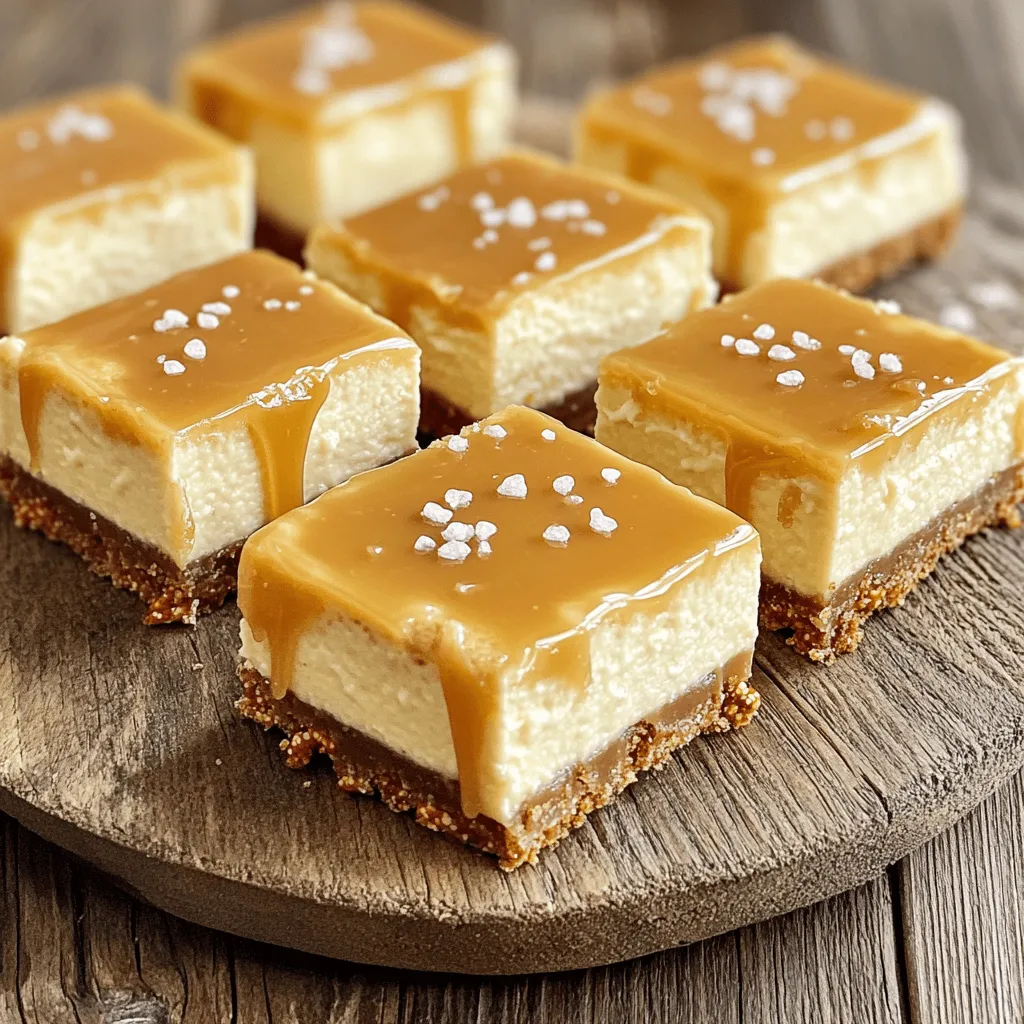
Indulge your sweet tooth with my Salted Caramel Pretzel Cheesecake Bars! These layers of creamy cheesecake, crunchy pretzel crust, and Read Full RecipeDelicious Banana Nutella Swirl Pancakes Recipe
Get ready to whip up a breakfast treat that will rock your morning! My Banana Nutella Swirl Pancakes blend rich Read Full RecipeSlow Cooker Caramel Pecan Sticky Buns Irresistible Treat
Are you ready to indulge in a sweet delight? Slow Cooker Caramel Pecan Sticky Buns are the perfect treat for Read Full Recipe
My Latest Drinks
Protein Cookies & Cream Milkshake Simple Treat Recipe
If you’re craving a delicious treat that packs a protein punch, look no further! This Protein Cookies & Cream Milkshake Read Full RecipeSpiced Pumpkin Lattes Slow Cooker Recipe Delight
Are you ready to warm up your chilly days with a cozy Spiced Pumpkin Latte? I’ve crafted the perfect slow Read Full RecipePeanut Butter Chocolate Protein Shake Tasty Delight
Satisfy your cravings with a Peanut Butter Chocolate Protein Shake! This tasty delight is not only delicious but also healthy. Read Full RecipePeanut Butter Banana Smoothie Bowl Simple and Tasty
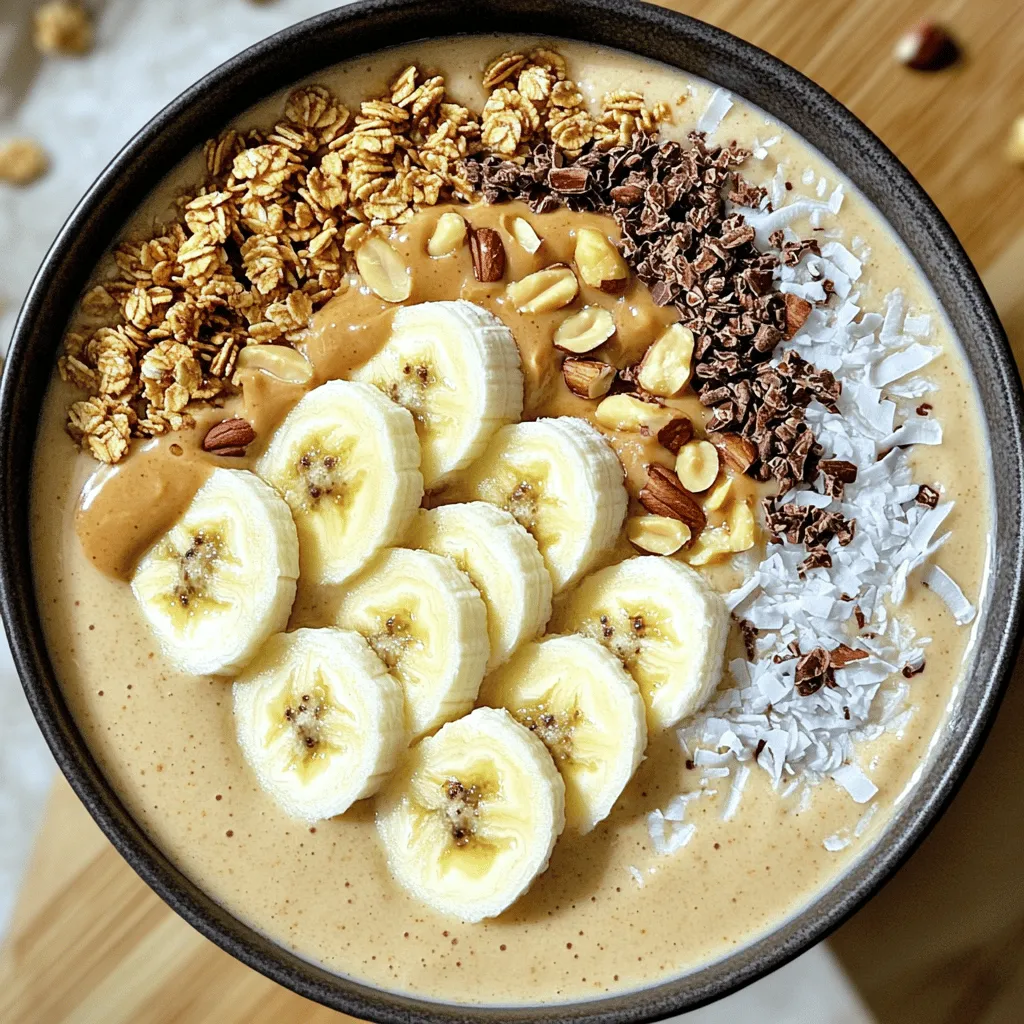
Looking for a quick, tasty treat? The Peanut Butter Banana Smoothie Bowl is your answer! Packed with ripe bananas and Read Full RecipePumpkin Cream Cold Brew Copycat Simple and Tasty Recipe
Craving a Pumpkin Cream Cold Brew but want to make it at home? You’re in the right place! I’ll show Read Full RecipePineapple Mango Smoothie Refreshing and Nutritious Drink
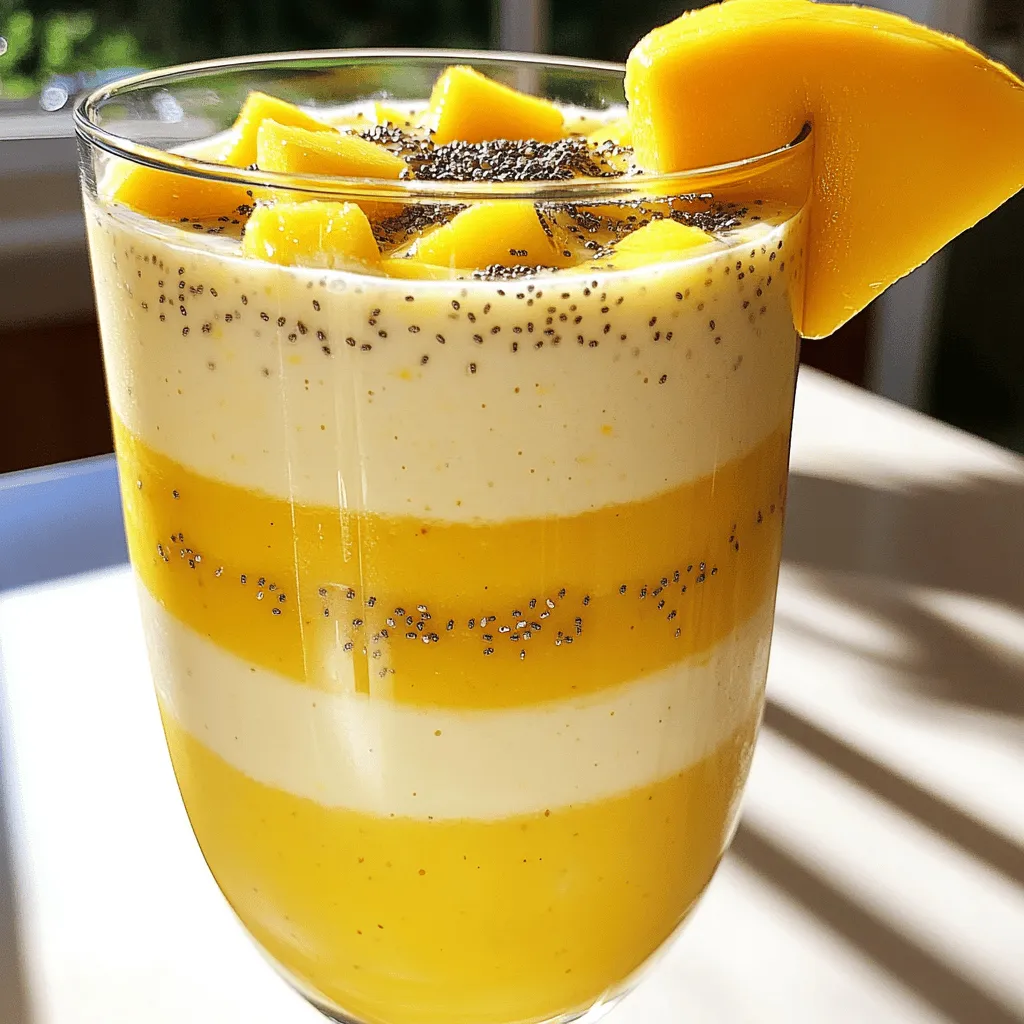
Looking for a tasty and healthy drink? A Pineapple Mango Smoothie might be just what you need! Packed with fresh Read Full Recipe
hey,
i’m !
I’m so happy you’re here!
I love creating dishes that bring joy to the table. I hope they bring the same joy to yours. Let’s enjoy this flavorful journey together.
Butter Paneer (Paneer Makhani) Creamy Flavor Bliss
Welcome to the world of Butter Paneer! If you crave creamy, rich flavors, you’ve found your dish. Butter Paneer, also known as Paneer Makhani,…
![- Paneer and Dairy Products - 250g paneer, cubed - 100ml heavy cream - 2 tablespoons butter - 1 tablespoon oil - Spices and Seasonings - 1 teaspoon cumin seeds - 1 teaspoon garam masala - 1 teaspoon red chili powder - ½ teaspoon turmeric powder - Salt to taste - Vegetables and Garnishes - 1 medium onion, finely chopped - 2 tomatoes, pureed - 1 tablespoon ginger-garlic paste - 1 tablespoon kasuri methi (dried fenugreek leaves) - Fresh coriander leaves for garnish In Butter Paneer, fresh ingredients shine bright. The paneer is the star. When you use firm, high-quality paneer, it holds up well in the rich sauce. The heavy cream adds a smooth texture, making every bite a creamy delight. Spices bring life to the dish. Cumin seeds add warmth. Garam masala brings depth. Red chili powder gives a hint of heat. Turmeric adds color and earthiness. Each spice plays its part in this flavorful symphony. Onions and tomatoes create a balanced base. They blend beautifully with the spices. The ginger-garlic paste brings a zesty kick. Kasuri methi adds a unique aroma, enhancing the overall flavor. Garnishing with fresh coriander leaves brightens the dish. It adds color and freshness. Serve Butter Paneer with warm naan or fluffy rice. It makes for a filling and satisfying meal. For the complete method, check out the [Full Recipe]. Enjoy every creamy flavor bliss of this dish! Cooking the Base Start by heating 2 tablespoons of butter and 1 tablespoon of oil in a large pan over medium heat. Add 1 teaspoon of cumin seeds. Let them sizzle for a few seconds. This step builds a strong flavor base. Next, toss in 1 finely chopped medium onion. Sauté until it turns golden brown. This usually takes about 5-7 minutes. Then, stir in 1 tablespoon of ginger-garlic paste. Cook this mixture for about 2 minutes. You want to remove the raw smell. Adding Spices and Paneer Once the onions and ginger-garlic mix well, pour in 2 pureed tomatoes. Cook this for about 5-7 minutes. You will see oil separating from the mixture. Now, add 1 teaspoon of red chili powder, ½ teaspoon of turmeric powder, and 1 teaspoon of garam masala. Mix all the spices well. Gently fold in 250g of cubed paneer. Make sure to coat the paneer with the spicy tomato sauce. Finishing with Cream and Kasuri Methi Next, pour in 100ml of heavy cream. Stir gently to create a smooth, creamy sauce. Cook for an additional 5 minutes so the paneer can soak up the flavors. Finally, crumble 1 tablespoon of kasuri methi between your fingers and sprinkle it in. Season with salt to taste. Give it one last gentle stir and take it off the heat. This step adds a lovely aroma and a unique taste. For the full recipe, refer to the detailed instructions provided above. Achieving the Right Consistency To get that creamy texture, use heavy cream. It makes the sauce rich and smooth. Mix it in gently after cooking your spices and paneer. This helps bind all the flavors. If the sauce is too thick, add a splash of water or milk. This will help you reach the perfect consistency. Balancing Flavors Taste as you cook. Start with salt and spices, then adjust as needed. The sweetness of the tomatoes needs balance with the spices. If it feels too spicy, add more cream or a pinch of sugar. This softens the heat and brings harmony to the dish. Selecting Quality Ingredients Fresh paneer makes a big difference. Look for soft, high-quality paneer. Fresh tomatoes are key too. They should be ripe and juicy for a sweet base. Use real butter and good spices. Fresh spices have more flavor than old ones. The right ingredients truly elevate your Butter Paneer. For the complete recipe, check out the [Full Recipe]. {{image_2}} Butter Paneer is so versatile. You can change it up to fit your taste. Here are some fun variations to try. You can make a vegan version of Butter Paneer. Instead of paneer, use tofu or cashew cheese. Both options are creamy and soak up flavors well. For cooking, use coconut oil or vegan butter. Swap the heavy cream for coconut cream. This gives a rich taste without dairy. You can boost the nutrition by adding veggies. Peas, bell peppers, or spinach work well. Just sauté them with the onions for a colorful dish. Want more protein? Try adding chickpeas or lentils. They make the meal heartier and filling. If you like heat, spice it up! Add extra red chili powder or green chilies while cooking. You can also use spicy garam masala for a kick. This version gives your taste buds a fun ride. These variations keep Butter Paneer exciting. You can make it your own with just a few tweaks. For the full recipe, check out the Creamy Butter Paneer Delight section. Enjoy your cooking! After enjoying your Butter Paneer, you may have some left. Storing it right keeps it tasty. - Refrigerator Storage Tips: Let the dish cool to room temperature. Place it in an airtight container. It stays fresh for up to 3 days in the fridge. - Freezing Instructions: To freeze, use a freezer-safe container. It can last up to 2 months. Thaw it in the fridge overnight before reheating. - Reheating Recommendations: Reheat Butter Paneer on the stove over low heat. Stir it gently to avoid sticking. You can also use the microwave. Heat it in short bursts, stirring in between. These methods help keep your Butter Paneer delicious and creamy, just like when you first made it. For the full recipe, check out the Creamy Butter Paneer Delight section. What is Butter Paneer (Paneer Makhani)? Butter Paneer, also known as Paneer Makhani, is a rich and creamy dish. It features soft paneer cubes in a smooth tomato and butter sauce. This dish is popular in Indian cuisine and loved by many. The blend of spices adds warmth, while the cream gives a silky texture. Can I make Butter Paneer in advance? Yes, you can make Butter Paneer ahead of time. Cook it and let it cool. Store it in an airtight container in the fridge. It lasts about 2-3 days. When you're ready to serve, just reheat it gently on the stove. The flavors will still be great! What's the best way to serve Butter Paneer? Serve Butter Paneer hot, garnished with fresh coriander leaves. I love pairing it with warm naan or steamed rice. The bread soaks up the creamy sauce well. This makes for a satisfying meal. How can I make Butter Paneer spicier? To spice it up, add more red chili powder or fresh green chilies. You can also try adding crushed black pepper. Adjust the spice level to your taste. Just remember to balance it with cream to maintain richness. Is there a way to make Butter Paneer healthier? Yes, you can make some easy swaps to make it healthier. Use less butter and cream, or replace them with yogurt or low-fat cream. You can also add more veggies, like spinach or bell peppers, for extra nutrition. Enjoy your creamy Butter Paneer without the guilt! For the full recipe, check out the [Full Recipe]. This blog post covered how to make Butter Paneer from start to finish. We discussed key ingredients like paneer, spices, and fresh vegetables. You learned step-by-step cooking methods, tips for the perfect dish, and various tasty variations. Proper storage techniques were also shared for keeping leftovers fresh. In conclusion, Butter Paneer is a fun dish to make. With these easy steps and tips, you can impress your friends and family. Enjoy experimenting with flavors and find your favorite version of Butter Paneer.](https://soyumrecipes.com/wp-content/uploads/2025/05/728edb3d-2c15-4734-93cf-89e9f9cdf0de.webp)













![To make Baked Eggplant Parmesan, begin with these key ingredients: - Eggplants and their preparation - 2 medium eggplants, sliced into 1/4 inch rounds - 1 teaspoon salt I recommend salting the eggplant slices. This step helps draw out moisture and bitterness, giving you a better flavor. Let them sit for about 30 minutes. Afterward, rinse the slices and pat them dry. - Cheese varieties and alternatives - 2 cups marinara sauce (homemade or store-bought) - 2 cups shredded mozzarella cheese - 1 cup grated Parmesan cheese For a creamy texture, use both mozzarella and Parmesan. You can swap mozzarella for provolone if you like a sharper taste. - Breading and seasoning components - 1 cup all-purpose flour - 3 large eggs, beaten - 1 cup breadcrumbs (preferably Italian seasoned) - 2 teaspoons dried basil - 1 teaspoon dried oregano - Olive oil spray These ingredients create a crispy layer on the eggplant. The Italian seasoned breadcrumbs add depth to the flavor. Fresh herbs are great too, if you have them on hand! This list covers everything you need to whip up a delicious Baked Eggplant Parmesan. For the complete recipe, check the Full Recipe section above. First, preheat your oven to 375°F (190°C). This helps cook everything evenly. Next, slice the eggplants into 1/4 inch rounds. Lay them on a paper towel and sprinkle with salt. The salt draws out moisture and bitterness. Let them sit for about 30 minutes. After that, rinse the slices and pat them dry with another paper towel. This step is key for a great texture. Now, let’s set up our breading station. Place flour in one shallow dish. In another dish, pour the beaten eggs. In a third dish, mix breadcrumbs with dried basil and oregano. This setup makes breading easy and fun. Now it’s time to coat the eggplant slices. Dip each slice first into the flour. Then, dunk it into the beaten eggs. Finally, coat it with the breadcrumb mix. Press lightly to make sure it sticks well. This creates a crunchy outer layer. Place the breaded eggplant slices on a baking sheet lined with parchment paper. Spray them lightly with olive oil spray. This helps them get golden brown. Bake in the preheated oven for 25-30 minutes, flipping halfway through. You want them crispy and brown. Let’s build our Baked Eggplant Parmesan. Start by spreading a thin layer of marinara sauce on the bottom of a 9x13 inch baking dish. Then, arrange a layer of baked eggplant slices over the sauce. Top with a mix of mozzarella and Parmesan cheese. Repeat these layers: sauce, eggplant, and cheeses until you use all the ingredients. Finish with a final layer of marinara and a generous amount of mozzarella and Parmesan on top. Cover the dish with aluminum foil. Bake for 25 minutes, then remove the foil. Bake for an additional 15-20 minutes until the cheese is bubbly and golden. This creates a beautiful, hearty dish. Let it cool for about 10 minutes before slicing. If you like, garnish with fresh basil leaves for a touch of color. For the complete recipe, check out the Full Recipe. When handling eggplants, wash them well to remove dirt. Use a sharp knife to slice them. Always cut away from your body to stay safe. To save time, set up your tools and ingredients before you start. This helps you work faster and stay organized. Baking gives a lighter dish than frying. Frying can add extra oil, making it heavy. To keep eggplant from being soggy, salt it before cooking. Let it sit for about 30 minutes. This step draws out moisture and helps with texture. Herbs can boost flavor. I suggest using dried basil and oregano. Fresh herbs like parsley or thyme can also add freshness. For marinara sauce, homemade is best, but store-bought works too. Choose a sauce with simple, natural ingredients for the best taste. For the full recipe, check out the detailed instructions! {{image_2}} If you need gluten-free options, swap regular flour and breadcrumbs for gluten-free versions. Use almond flour or rice flour for breading. This keeps the texture crispy without gluten. For a vegan version, replace the cheeses with dairy-free alternatives. Nutritional yeast can add a cheesy flavor. Use cashew cheese or other plant-based cheese for a creamy texture. Want to boost nutrition? Add spinach or mushrooms to your layers. These ingredients add flavor and texture. For a spicy kick, try red pepper flakes or diced jalapeños. Mix them into your marinara sauce for extra heat. Adjust to your taste and enjoy the punch! Pair Baked Eggplant Parmesan with a fresh side salad. A simple green salad offers a great contrast. Garlic bread also complements this dish well. If you have leftovers, use them in a wrap or sandwich. The flavors meld beautifully, making a tasty lunch option. To keep your Baked Eggplant Parmesan fresh, place it in the fridge. Use an airtight container. It will last for about three to four days. If you want to store it longer, consider freezing. Cut portions into smaller pieces. Wrap them tightly in plastic wrap, then place in a freezer bag. This helps prevent freezer burn. Baked Eggplant Parmesan can last up to three months in the freezer. When reheating, take it from the fridge or freezer. Preheat your oven to 350°F (175°C). If frozen, let it thaw overnight in the fridge. Place the dish in the oven for about 20-25 minutes. Cover it with foil to avoid burning the cheese. Choose glass or plastic containers with tight lids. Glass containers are durable and help keep moisture in. If using plastic, ensure it's BPA-free. Always label your containers with the date. This helps track how long your leftovers last. To keep your dish fresh, avoid stacking heavy items on top. This helps keep the layers intact and prevents spills. For extra freshness, line your container with parchment paper before adding the dish. This adds a layer of protection against moisture. How long can Baked Eggplant Parmesan be stored? You can store Baked Eggplant Parmesan in the fridge for up to five days. Make sure to cover it tightly. For longer storage, freeze it for up to three months. Can I prepare this dish in advance? Yes, you can prepare Baked Eggplant Parmesan ahead of time. Assemble it, then cover and refrigerate. Bake it when you are ready to eat. What is the best way to reheat Baked Eggplant Parmesan? The best way to reheat it is in the oven. Preheat to 350°F (175°C). Cover with foil and heat for about 20 minutes. Why is my eggplant soggy? Soggy eggplant may happen if it was not salted enough. Salting helps draw out moisture. Let the slices sit for at least 30 minutes, then rinse and dry well. How can I make my Baked Eggplant Parmesan more flavorful? To boost flavor, add fresh herbs like basil or parsley. You can also mix different cheese types or use spicy marinara sauce. Caloric breakdown of the dish One serving of Baked Eggplant Parmesan has about 350 calories. This can vary based on serving size and ingredients used. Key nutritional benefits of the main ingredients Eggplants are low in calories and high in fiber. They help with digestion. Cheese provides calcium and protein, while marinara sauce adds vitamins from tomatoes. Enjoying this dish gives a balance of nutrients. For the full recipe, check [Full Recipe]. Baked Eggplant Parmesan is a tasty dish that anyone can make. We covered easy steps to prepare eggplants, layer cheese, and bake everything perfectly. I shared tips for achieving a great texture and adding flavor. Remember to store leftovers correctly so they stay fresh. Variations like gluten-free or vegan options make this dish easy to enjoy for everyone. With these techniques, you can impress your family and friends with delicious meals. Enjoy making and sharing your own Baked Eggplant Parmesan!](https://soyumrecipes.com/wp-content/uploads/2025/07/385c9dda-462a-4195-bdbf-6b72173b7655-300x300.webp)
![- 4 large eggs - 1 ripe avocado - 2 tablespoons Greek yogurt - 1 tablespoon Dijon mustard - 1 tablespoon fresh lemon juice - 1/4 teaspoon garlic powder - 1/4 teaspoon smoked paprika - Salt and pepper to taste - 1/4 cup red bell pepper, finely diced - 1/4 cup green onions, sliced - Fresh cilantro for garnish Alternatives to Greek yogurt You can use sour cream or plant-based yogurt. Both add creaminess. Different types of mustard Try yellow mustard or whole grain mustard. Each offers a unique taste. Options for seasoning For a spicy kick, use cayenne pepper. You can also add fresh herbs for extra flavor. To boil eggs perfectly, start with a medium saucepan. Place the eggs in the pan and cover them with water. Bring the water to a boil over medium heat. When it starts to boil, cover the pot, turn off the heat, and let the eggs sit. This method gives you eggs that are firm but not overcooked. Let them sit for about 10-12 minutes. Next, cool the eggs in an ice bath. Fill a large bowl with cold water and ice cubes. After the time is up, gently transfer the eggs into the ice bath. Let them cool for about 5 minutes. Cooling them fast makes them easy to peel without tearing. Now, let’s mash the avocado correctly. Take your ripe avocado and cut it in half. Remove the pit and scoop the flesh into a mixing bowl. Use a fork to mash it until it’s smooth but still has some small chunks. This texture adds a nice bite to your salad. Next, we add flavors and seasoning. Mix in 2 tablespoons of Greek yogurt, 1 tablespoon of Dijon mustard, and 1 tablespoon of fresh lemon juice. Then sprinkle in 1/4 teaspoon each of garlic powder and smoked paprika. Don’t forget salt and pepper to taste. Stir until everything blends well. Now it’s time to fold in the eggs and veggies. First, peel and chop the cooled eggs into small pieces. Add them to the avocado mixture, along with 1/4 cup each of finely diced red bell pepper and sliced green onions. Gently mix everything together. Be careful not to break the eggs too much; you want some nice chunks. Here are some tips for maintaining texture: Use a folding motion when you mix. This keeps the eggs whole and fluffy. Taste the salad and adjust the seasoning with more salt, pepper, or lemon juice if you want. For a full experience, check out the [Full Recipe]. Enjoy your creamy and flavorful avocado egg salad! To pick a great avocado, look for one that feels slightly soft when you press it. The skin should be dark green or black. Avoid avocados with large dents or brown spots. If you find one that is not ripe, leave it out at room temperature for a few days. Once ripe, store it in the fridge to keep it fresh for longer. One common mistake is over-mashing the avocado. You want a creamy texture but still some chunks. If you mash it too much, it will become a puree. Another mistake is not seasoning enough. Taste your salad after mixing. Add a little salt and pepper to enhance the flavors. You can also add more lemon juice for a zesty kick. For a delightful meal, serve the avocado egg salad on whole-grain toast or in a wrap. You can also place it on a bed of greens for a fresh salad. Try adding sliced tomatoes or cucumber for extra crunch. Garnish with fresh cilantro for a lovely finish. This dish is perfect for lunch or a light dinner. Enjoy it with your favorite chips or crackers for a tasty bite! {{image_2}} You can add different veggies to your avocado egg salad. Try chopped celery for a nice crunch. Diced cucumber gives a fresh taste. Even sweet corn can add a lovely sweetness. For protein, consider adding shredded chicken or canned tuna. These options make the salad heartier and more filling. To make this salad vegan, replace the eggs with chickpeas. Mash them well to mimic the texture of eggs. Use a vegan yogurt instead of Greek yogurt for creaminess. For vegetarian eaters, this is a great option. If you need a gluten-free version, the salad is naturally gluten-free. Just check your mustard and any added dressings to ensure they are gluten-free. To elevate the taste, consider adding spices or herbs. A bit of cumin can add warmth, while dill brings a nice freshness. You can also mix in different dressings. Try a bit of sriracha for heat or a splash of balsamic vinegar for tang. Each of these changes brings a new twist to the classic avocado egg salad. To keep your avocado egg salad fresh, use airtight containers. Glass or plastic containers work well. Make sure the lid seals tightly to prevent air from getting in. Store it in the fridge. It stays good for about 3 days. After this time, the avocado may turn brown and lose flavor. You should not reheat avocado egg salad. The avocado will change texture and taste. Instead, you can refresh it. Add a squeeze of lemon juice and mix gently. This helps brighten the flavors and keeps it tasty. Avocado egg salad is not suitable for freezing. When thawed, the texture of the avocado will get mushy. If you want to freeze it, try leaving out the avocado. You can mix it in fresh when you thaw the rest. This way, you will keep the nice texture and taste. Avocado egg salad lasts about 2 to 3 days in the fridge. Make sure to store it in an airtight container. This keeps it fresh and tasty for a few days. If you notice browning, just mix it well before serving. Yes, you can make avocado egg salad ahead of time. It is best to prepare it a day in advance. This allows the flavors to mix well. However, try to add the avocado just before serving. This prevents browning and keeps it looking fresh. Avocado egg salad pairs well with many sides. Here are some great options: - Toasted whole-grain bread - Fresh greens or mixed salad - Crunchy vegetable sticks like carrots and celery - Tortilla chips for a fun crunch - Sliced cucumbers topped with salt and pepper You can find the full detailed recipe for Avocado Egg Salad Fiesta 🥑🥚 [here](#). This blog post covered all you need to know about making avocado egg salad. You learned about key ingredients, substitutions, and step-by-step instructions. I shared tips to avoid common mistakes and ideas for serving. Remember, you can customize this dish with different veggies or proteins. Proper storage is also key to keeping it fresh. With all this info, you're ready to craft a delicious avocado egg salad. Enjoy creating and sharing this tasty treat!](https://soyumrecipes.com/wp-content/uploads/2025/06/eb7b9949-df41-4a8a-a9f3-c435f018855b-300x300.webp)
![To make delicious air fryer zucchini fries, you'll need just a few key items. Here’s what you should gather: - 2 medium zucchini, cut into strips - 1 cup breadcrumbs (preferably panko for extra crunch) - 1/2 cup grated Parmesan cheese - 1 teaspoon garlic powder - 1 teaspoon onion powder - 1/2 teaspoon paprika - 1/2 teaspoon salt - 1/4 teaspoon black pepper - 1 large egg, beaten - 1 tablespoon olive oil These ingredients combine to create a tasty, crunchy snack. The zucchini serves as a healthy base. The breadcrumbs and Parmesan add crunch and flavor. Seasonings like garlic powder and paprika make everything pop. You can easily find these items at your local grocery store. If you want the full recipe, check out the link above. 1. Start by preheating your air fryer to 400°F (200°C) for about 5 minutes. This step is key, as it helps the fries cook evenly and achieve that perfect crisp. 2. Next, take your zucchini. Cut the two medium zucchini into strips. Aim for uniformity in size. This helps them cook at the same rate. 3. In a large bowl, mix the breadcrumbs, grated Parmesan, garlic powder, onion powder, paprika, salt, and black pepper. This mix gives your zucchini fries a tasty coating. Make sure to mix well. 1. Dip each zucchini strip into the beaten egg. Let any extra egg drip off before moving to the next step. This keeps the coating from getting soggy. 2. Now it’s time to coat the zucchini. Roll each strip in the breadcrumb mix. Ensure every piece is fully covered. This will make them crunchy and delicious. 1. Arrange the coated zucchini fries in a single layer in the air fryer basket. Don’t overcrowd them; this allows hot air to circulate and cook evenly. 2. Cook the fries for about 10-12 minutes. Flip them halfway through. This ensures they get crispy on all sides. When they are golden brown, they are ready. 3. Once done, take them out of the air fryer and let them cool for a couple of minutes. This brief wait allows them to crisp up even more. For the full recipe, check out the details above. Enjoy your homemade crispy air fryer zucchini fries! To get the best air fryer zucchini fries, preheating is key. Preheating your air fryer to 400°F (200°C) for about five minutes ensures even cooking. If you skip this step, your fries may cook unevenly. Avoiding overcrowding in the basket is also important. Place the zucchini fries in a single layer. If they are too close together, they will steam instead of fry. This means less crunch. You can cook in batches if needed. Adjusting seasonings can make your fries pop. Try adding Italian herbs or chili powder for a spicy twist. You can also mix in lemon zest for a bright flavor. Don’t forget about dips! Marinara sauce and garlic aioli pair well with these fries. You can also try ranch or tzatziki sauce for a fresh take. These additions can elevate your snack or appetizer. For the full recipe, check out the complete guide above. {{image_2}} You can make this dish even better for you. If you need gluten-free options, use gluten-free breadcrumbs. They work just as well and keep the crunch. For vegan adaptations, skip the egg. Instead, coat the zucchini with a mix of plant-based milk and a touch of cornstarch. This will help the breadcrumbs stick. Your fries will still taste great, and everyone can enjoy them. Let’s add some fun to your zucchini fries. For spicy zucchini fries, mix in cayenne pepper or chili powder with your breadcrumbs. This gives a nice kick. If you love Italian flavors, add dried oregano or basil to the breadcrumb mix. This twist brings fresh vibes to each bite. You can play with spices to find your favorite flavor combo. Don't be afraid to explore! To keep your zucchini fries fresh, store them properly. First, let the fries cool down completely. Place them in an airtight container. They will last in the fridge for up to three days. If you want to keep them longer, consider freezing. To freeze, spread the fries in a single layer on a baking sheet. Freeze them for about an hour. Once frozen, transfer them to a freezer bag. This method helps keep them from sticking together. They can be stored in the freezer for up to three months. When reheating zucchini fries, you want them crispy again. The best way to do this is using the air fryer. Preheat your air fryer to 375°F (190°C). Place the fries in the basket in a single layer. Heat them for about 5 to 7 minutes. Check to ensure they are hot and crispy. If you do not have an air fryer, you can use an oven. Preheat the oven to 400°F (200°C). Spread the fries on a baking sheet lined with parchment paper. Bake for about 10 minutes, flipping halfway through. This helps them stay crispy. Avoid using a microwave, as it makes the fries soggy. For a full recipe on how to make these fries, check out the [Full Recipe]. Air fryer zucchini fries can last about 2 to 3 days in the fridge. Store them in an airtight container to keep them fresh. If you want to keep them longer, you can freeze them. Just make sure they cool completely before freezing. Yes, you can use other vegetables! Carrots, eggplants, or sweet potatoes work well. Just cut them into similar sizes as zucchini for even cooking. Adjust the cooking time based on the vegetable you choose. Zucchini fries pair well with many dips. I love marinara sauce and garlic aioli. You could also try ranch dressing or tzatziki for a cool twist. These dips add flavor and make the fries even more fun to eat! You learned how to make tasty air fryer zucchini fries. We discussed the simple ingredients, like zucchini and breadcrumbs, and shared easy steps to coat and cook them. I provided tips to improve your frying skills and suggested fun flavor twists. You can even store and reheat leftovers effectively. Keep experimenting with flavors and textures. Enjoy your healthy snack, and have fun creating new variations!](https://soyumrecipes.com/wp-content/uploads/2025/07/2853ca00-a727-429a-a6a8-9228d1de7c07-300x300.webp)
