
Latest & Greatest
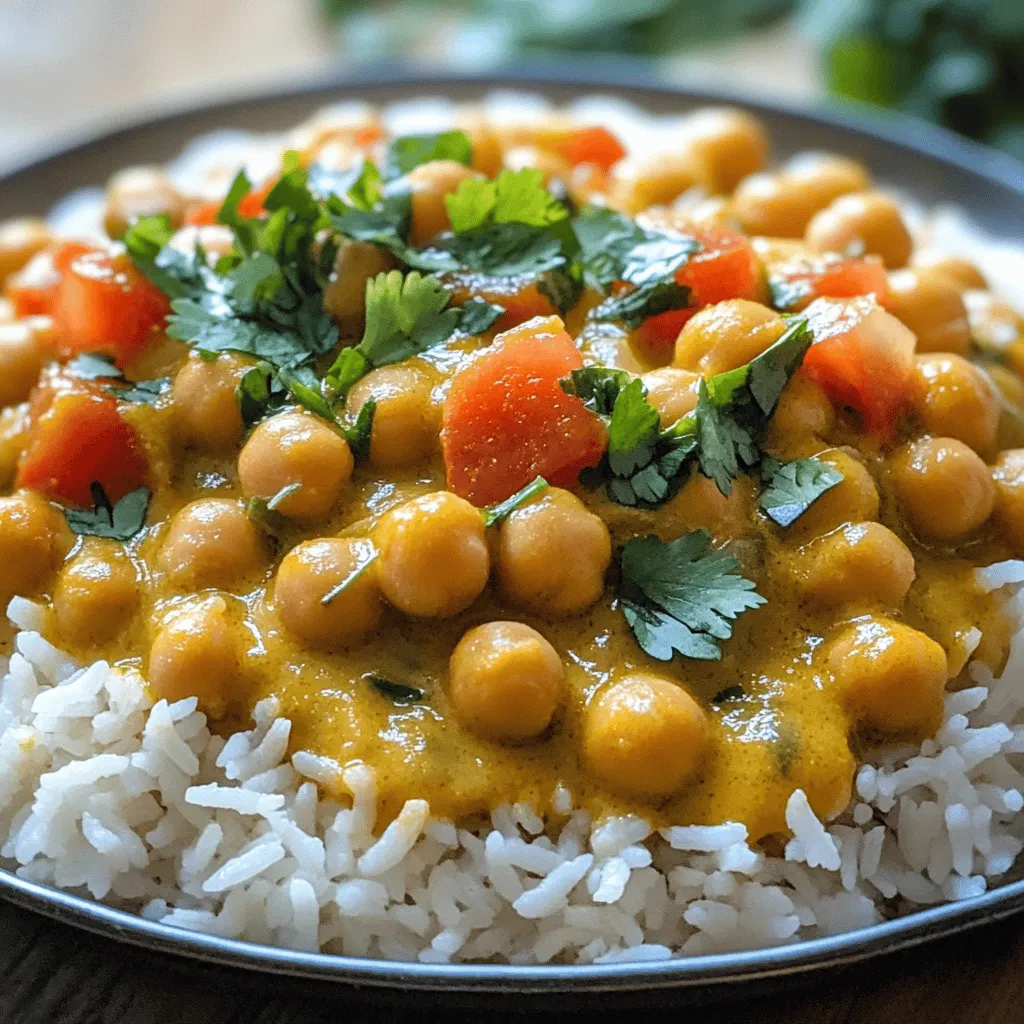
Vegan Chickpea Curry Flavorful and Easy Meal Idea
Are you ready to spice up your dinner routine? This Vegan Chickpea Curry is not just flavorful; it’s also simple
Read more…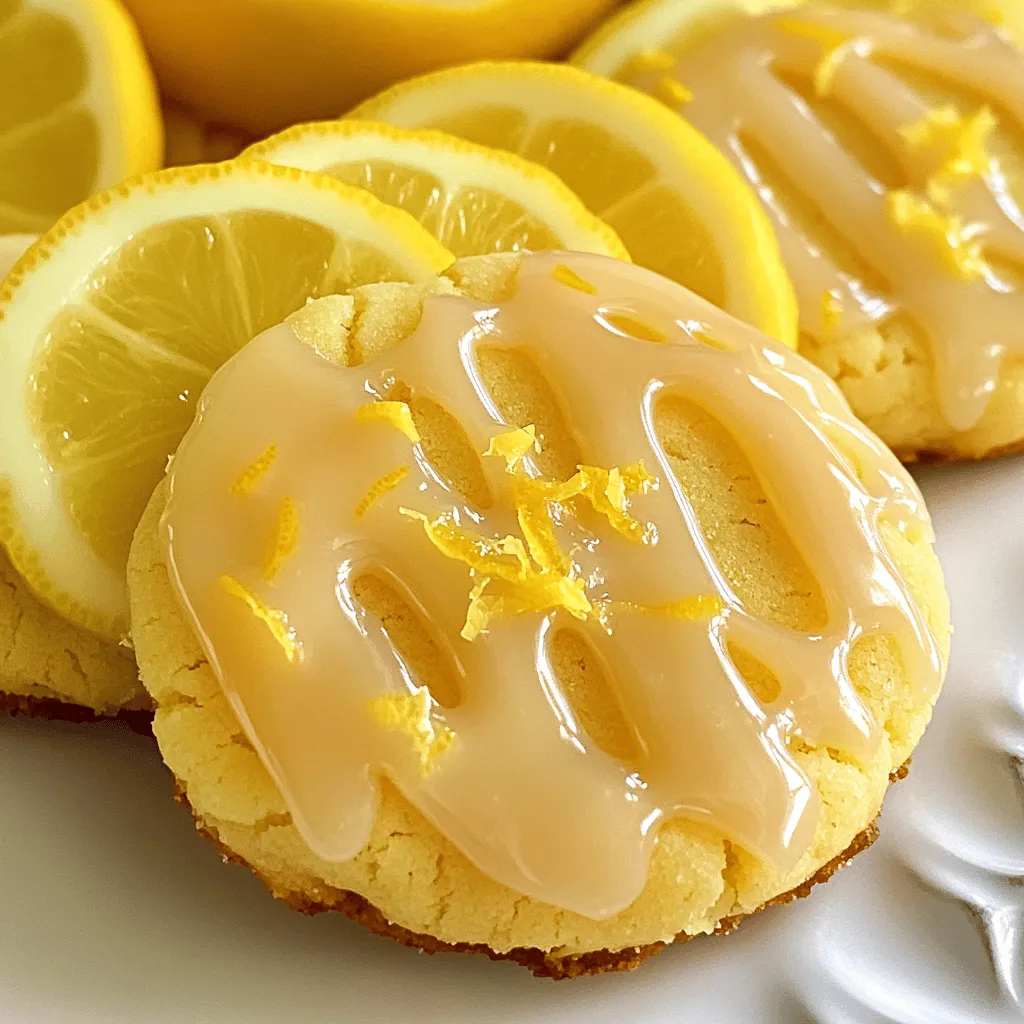
Glazed Lemon Sugar Cookies Delightful and Simple Treat
If you’re craving a sweet treat that’s simple yet bursting with flavor, look no further! These Glazed Lemon Sugar Cookies
Read more…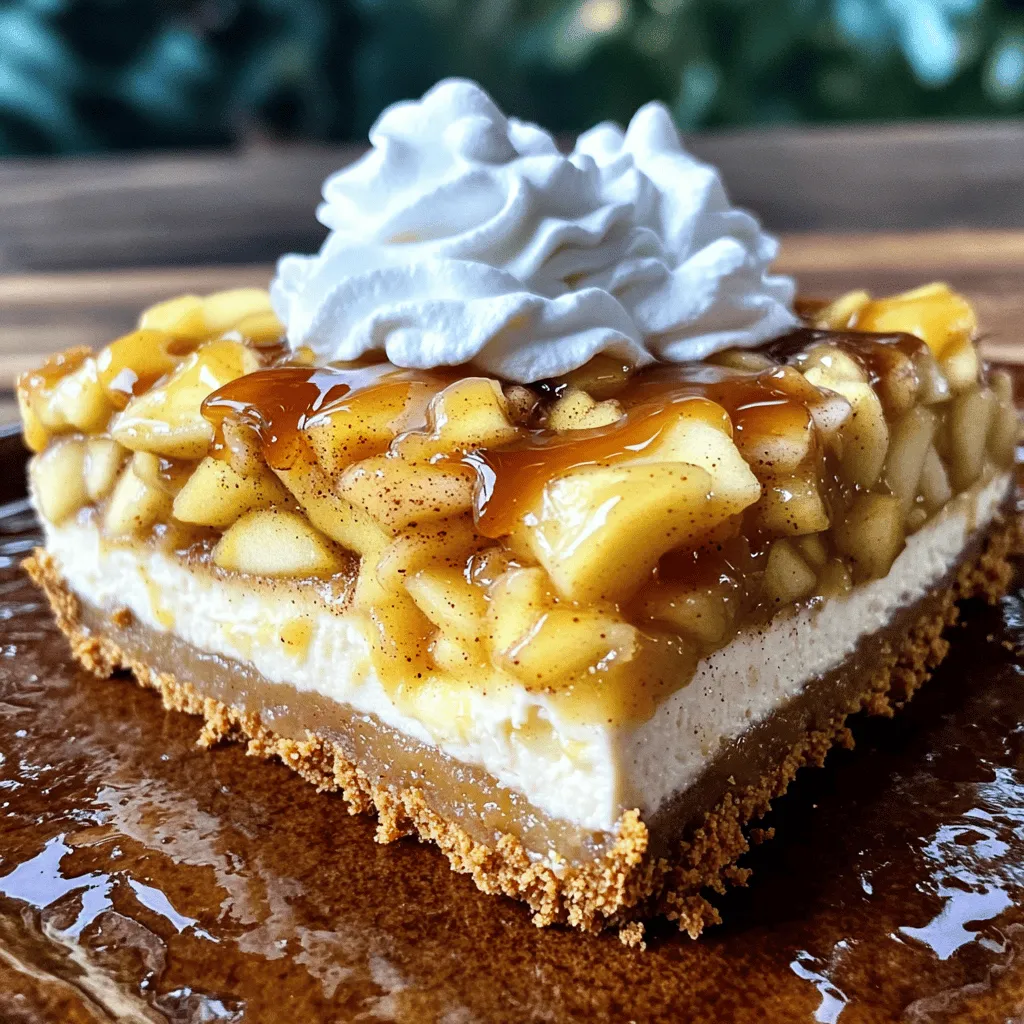
Apple Pie Stuffed Cheesecake Irresistible Desserts
If you love desserts that combine flavors, you’re in for a treat! My Apple Pie Stuffed Cheesecake takes two classics
Read more…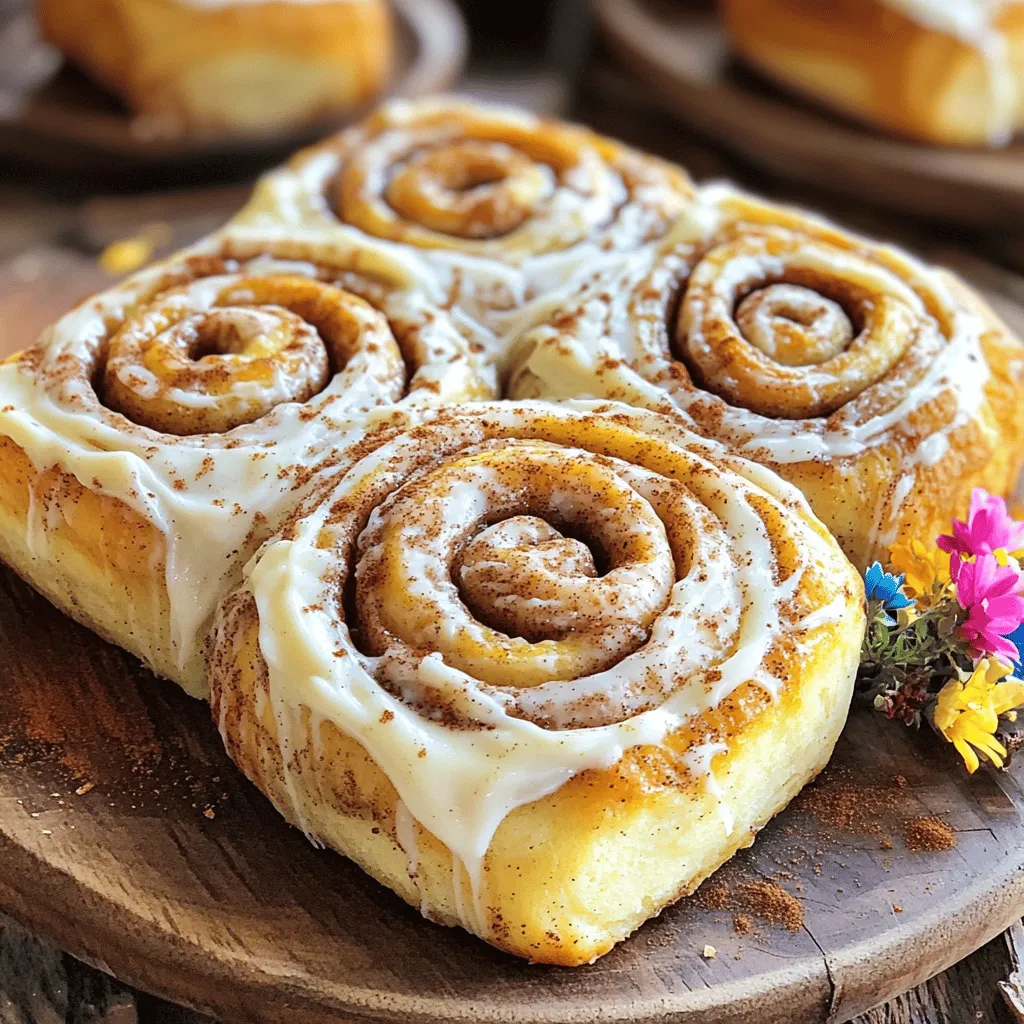
Best Homemade Cinnamon Rolls Flavorful and Easy Recipe
Are you ready to make the best homemade cinnamon rolls? This easy recipe combines warm, fluffy dough with a sweet
Read more…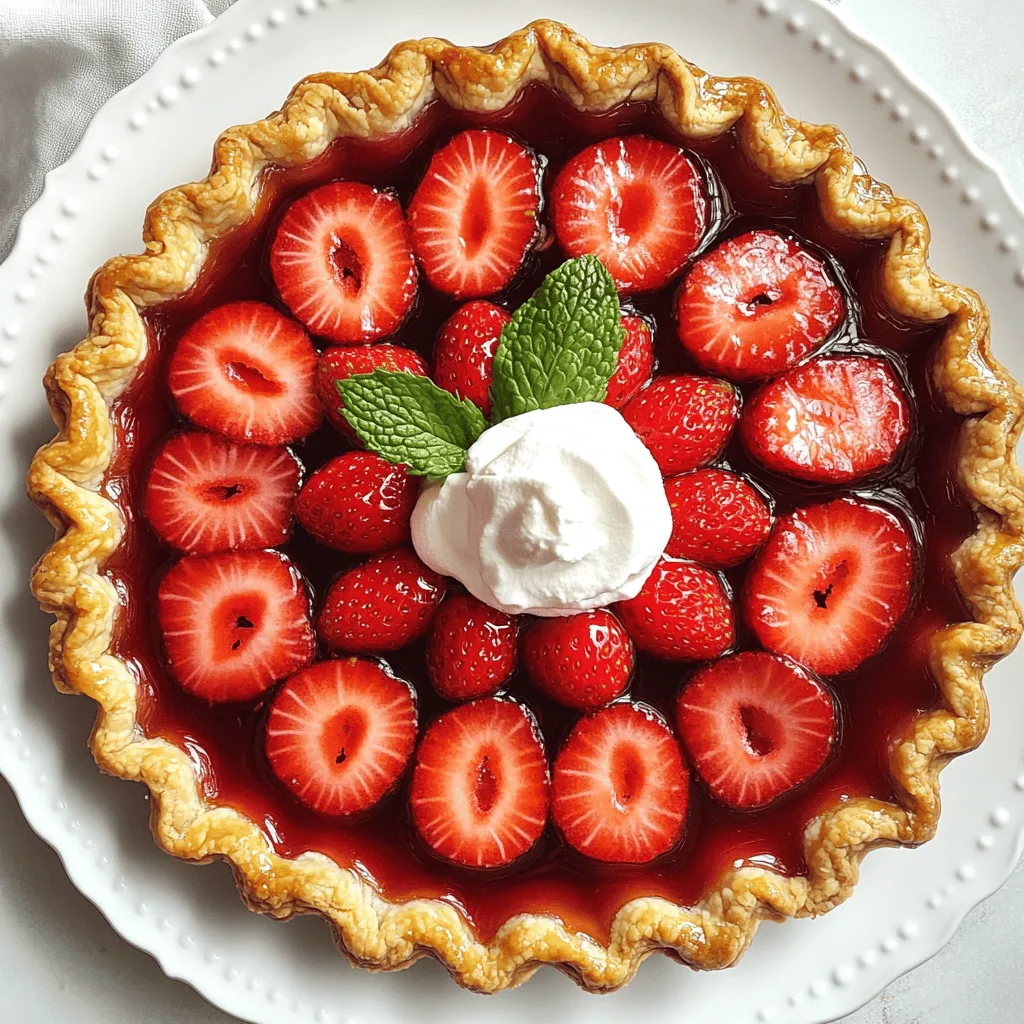
Best Strawberry Pie Delightful and Easy Recipe Guide
Are you ready to impress your friends and family with the best strawberry pie? This delightful and easy recipe guide
Read more…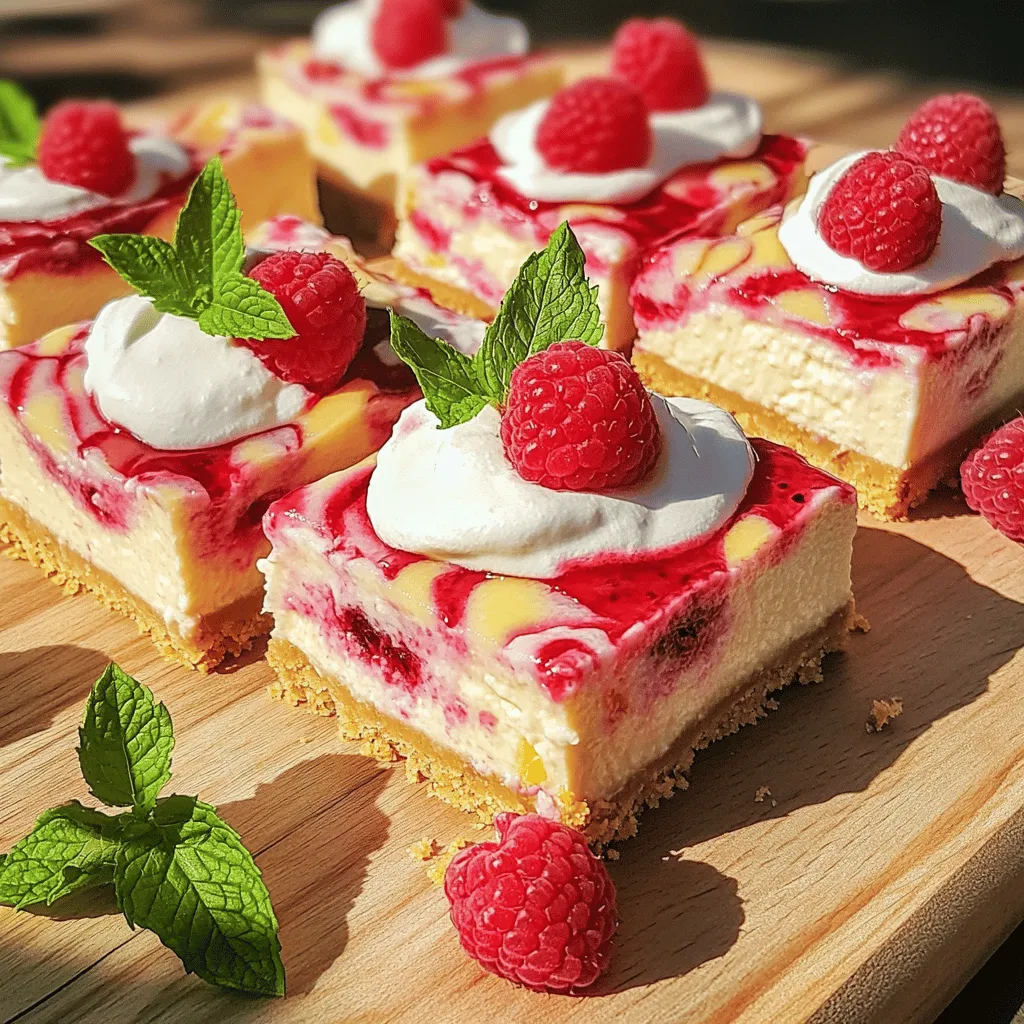
Raspberry Lemon Cheesecake Bars Easy and Creamy Treat
Craving a sweet and tangy treat? You’ll love these easy Raspberry Lemon Cheesecake Bars! This recipe combines creamy cheese with
Read more…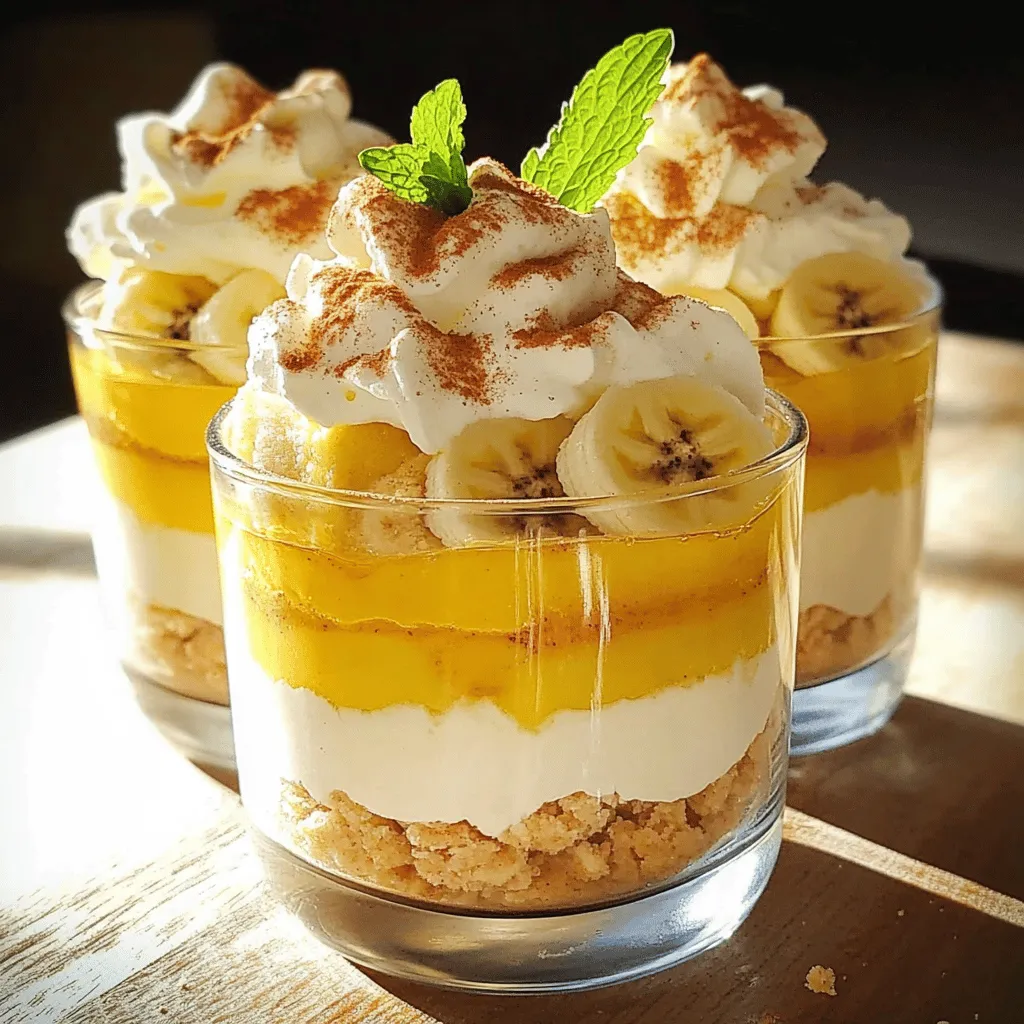
Best Banana Pudding Rich and Creamy Delight Recipe
Are you ready to indulge in the best banana pudding you’ve ever tasted? This rich and creamy delight is perfect
Read more…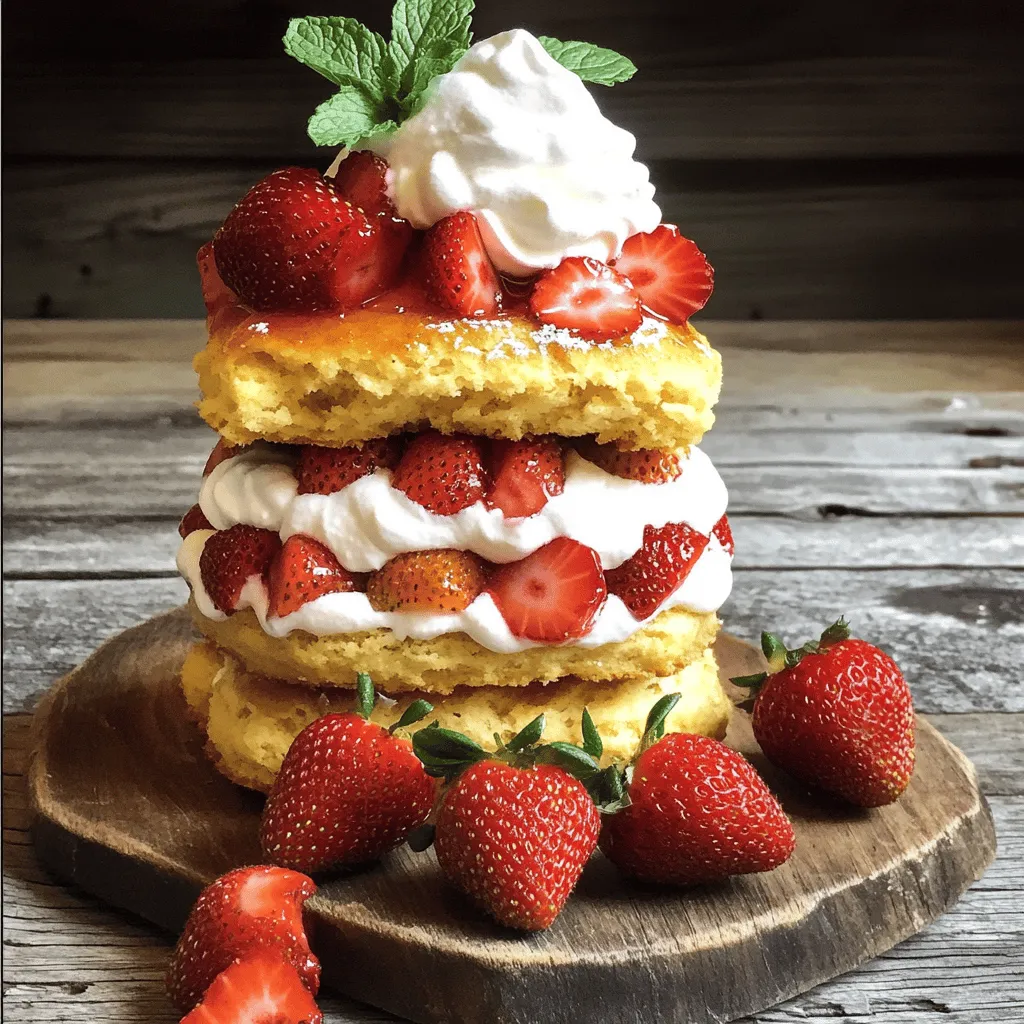
Easy Strawberry Shortcake Simple and Tasty Recipe
If you’re craving a dessert that’s simple and delicious, you’re in the right place! This Easy Strawberry Shortcake recipe will
Read more…browse recipes

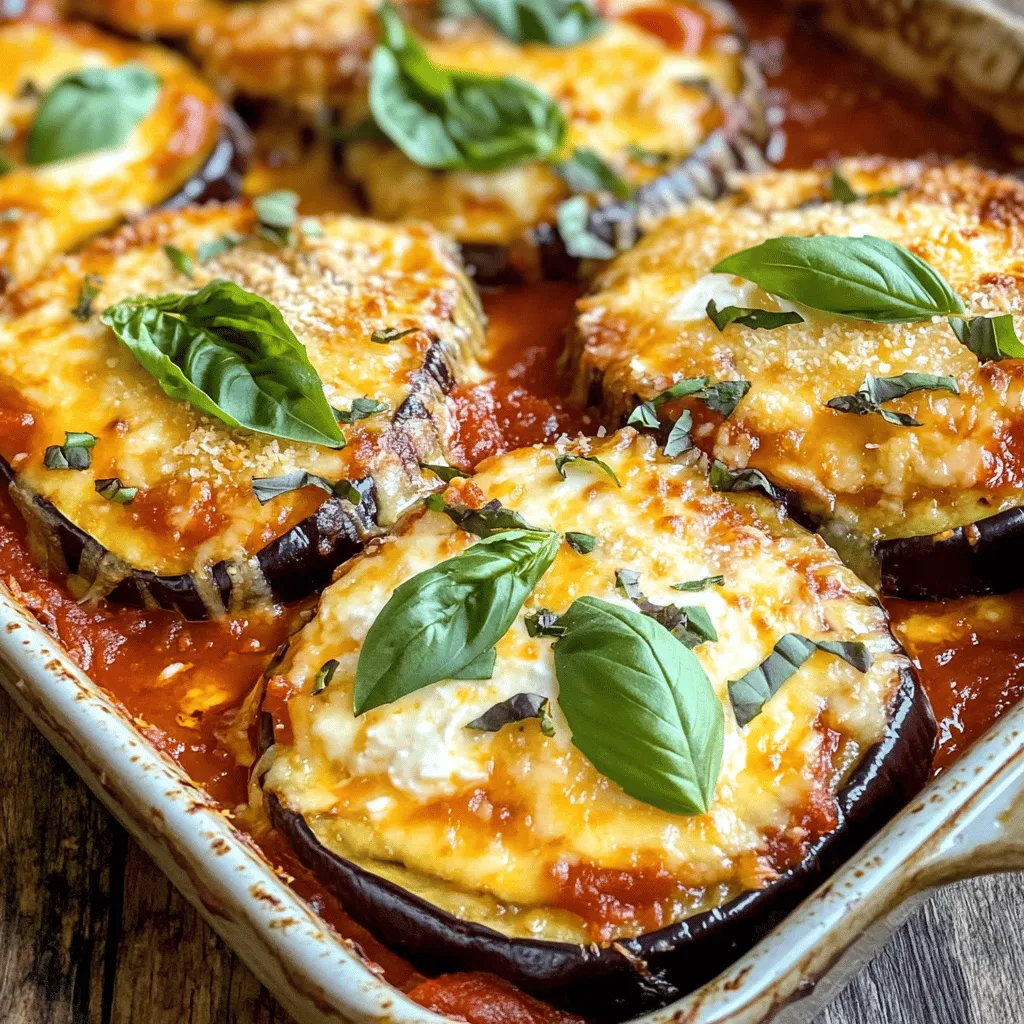
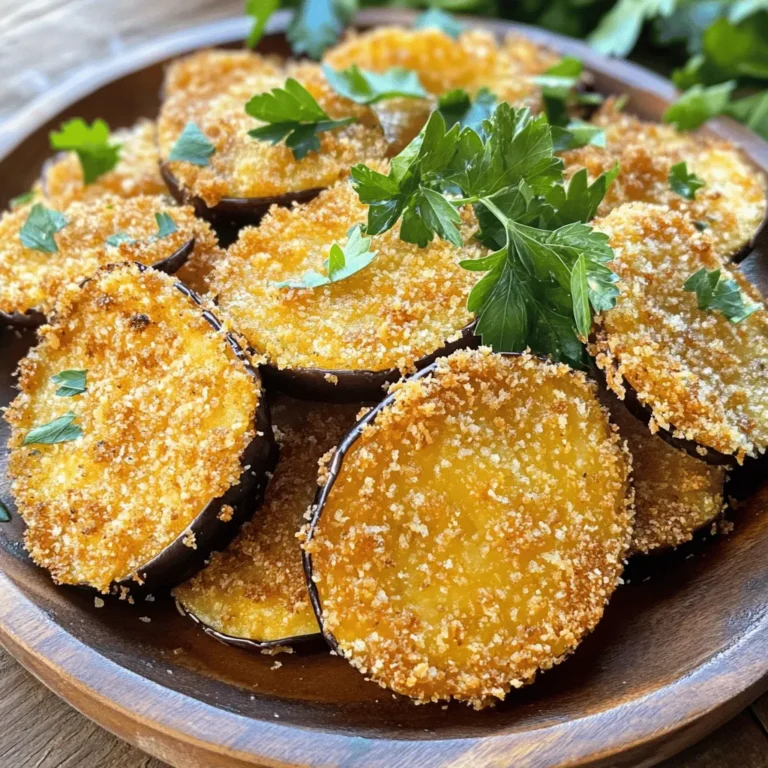
Cheesy Baked Eggplant Delightful Recipe to Try
Craving a comforting dish that brings out the best in eggplant? You’re in the right place! My “Cheesy Baked Eggplant” will delight your taste…
My Latest Desserts
-
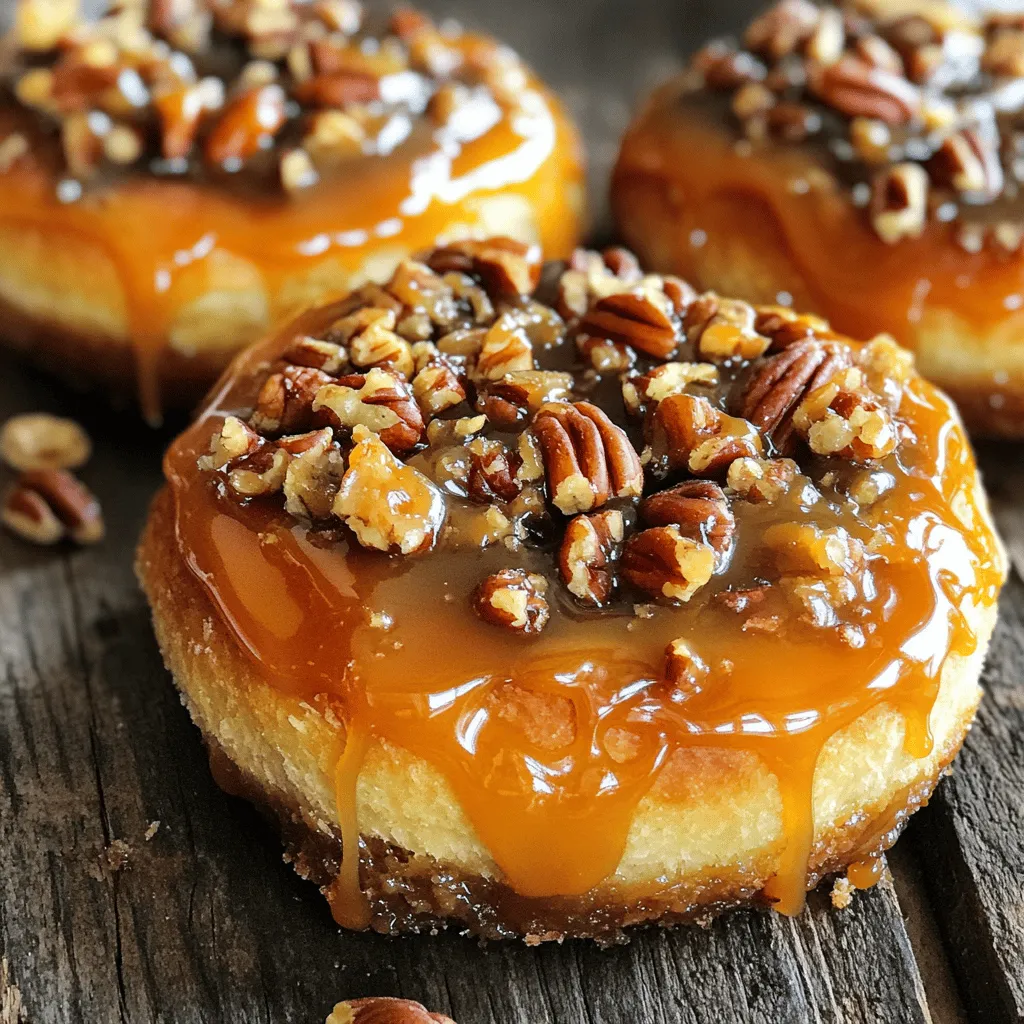
Caramel Pecan Sticky Buns Sweet and Gooey Treat
Are you ready to treat yourself to the ultimate indulgence? Caramel Pecan Sticky Buns are sweet, gooey, and packed with Read Full Recipe -
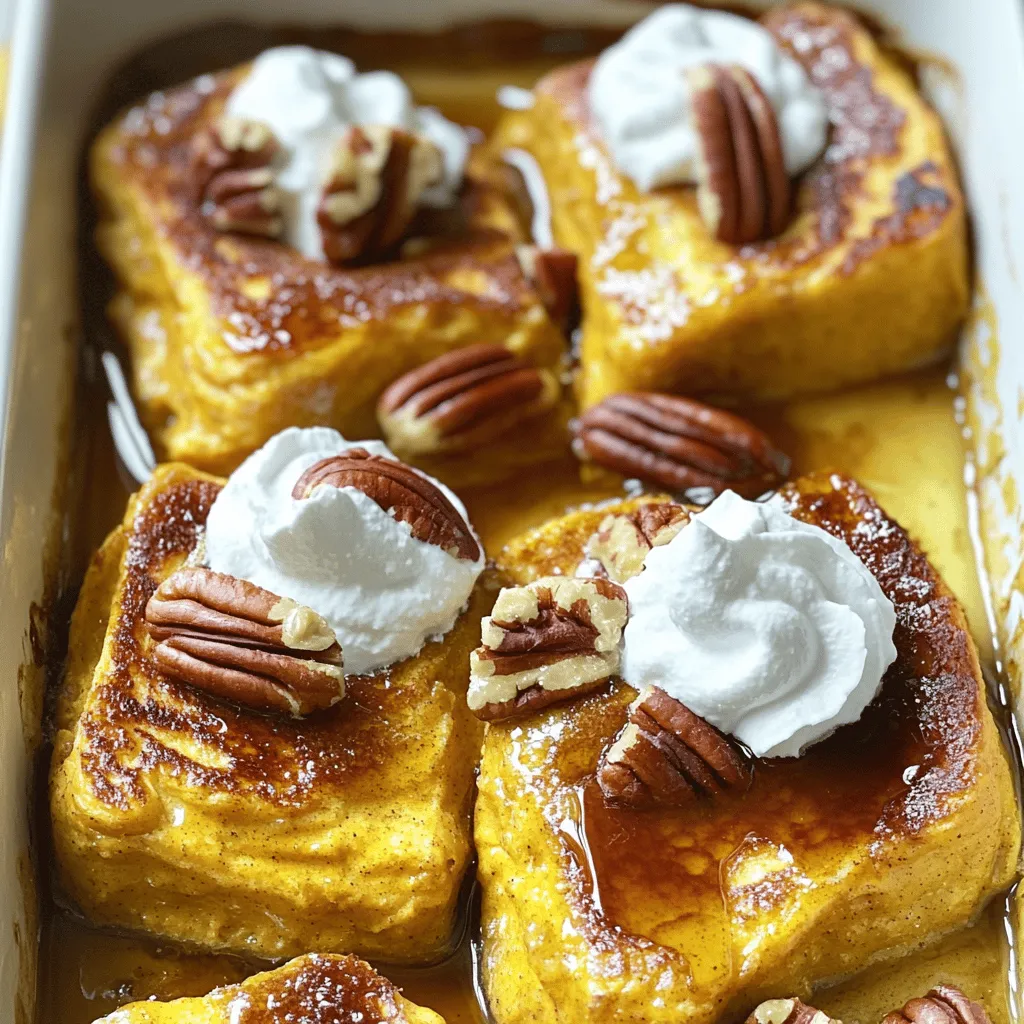
Pumpkin Spice French Toast Casserole Easy and Tasty
Looking for a cozy fall breakfast that’s easy and delicious? You’ll love my Pumpkin Spice French Toast Casserole! This dish Read Full Recipe -
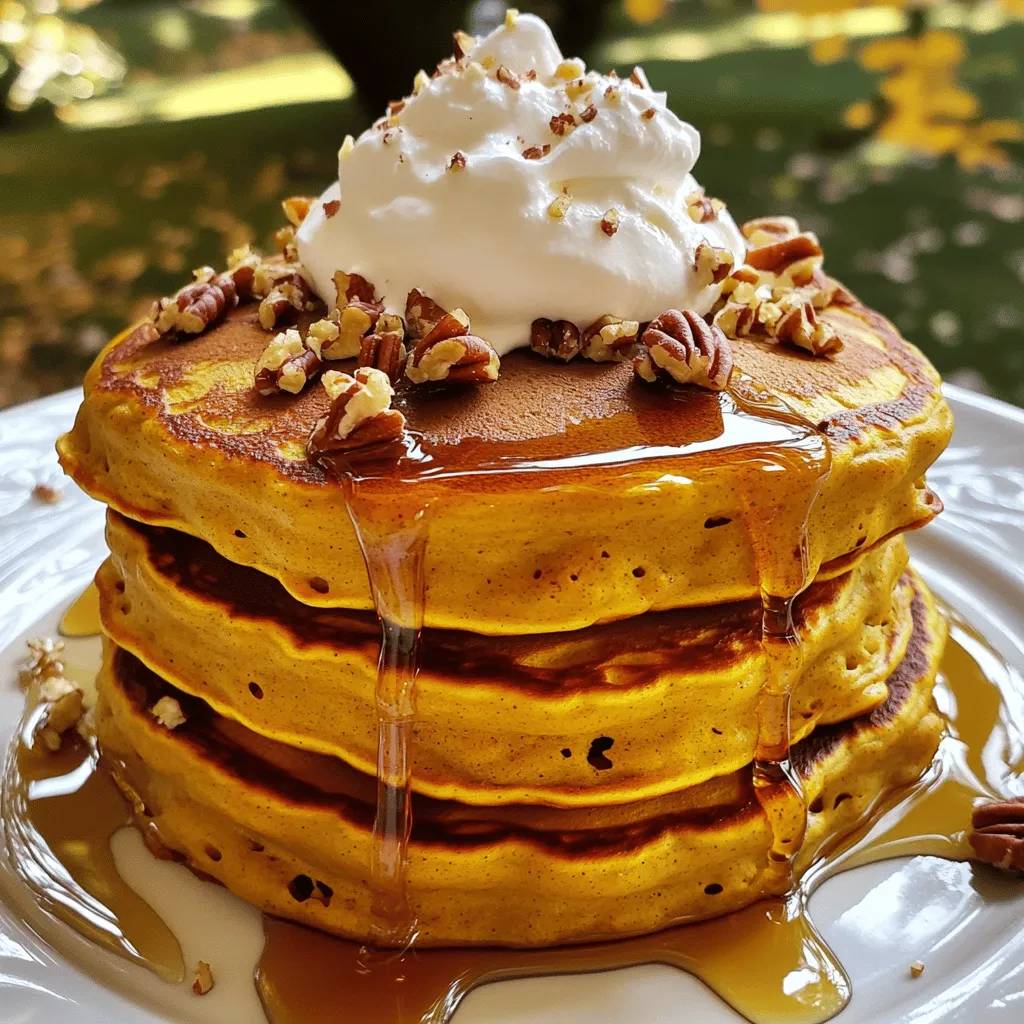
Fluffy Pumpkin Pancakes Perfectly Delicious Breakfast
Start your morning with a treat you won’t forget: fluffy pumpkin pancakes! They bring fall flavors to your breakfast table Read Full Recipe -
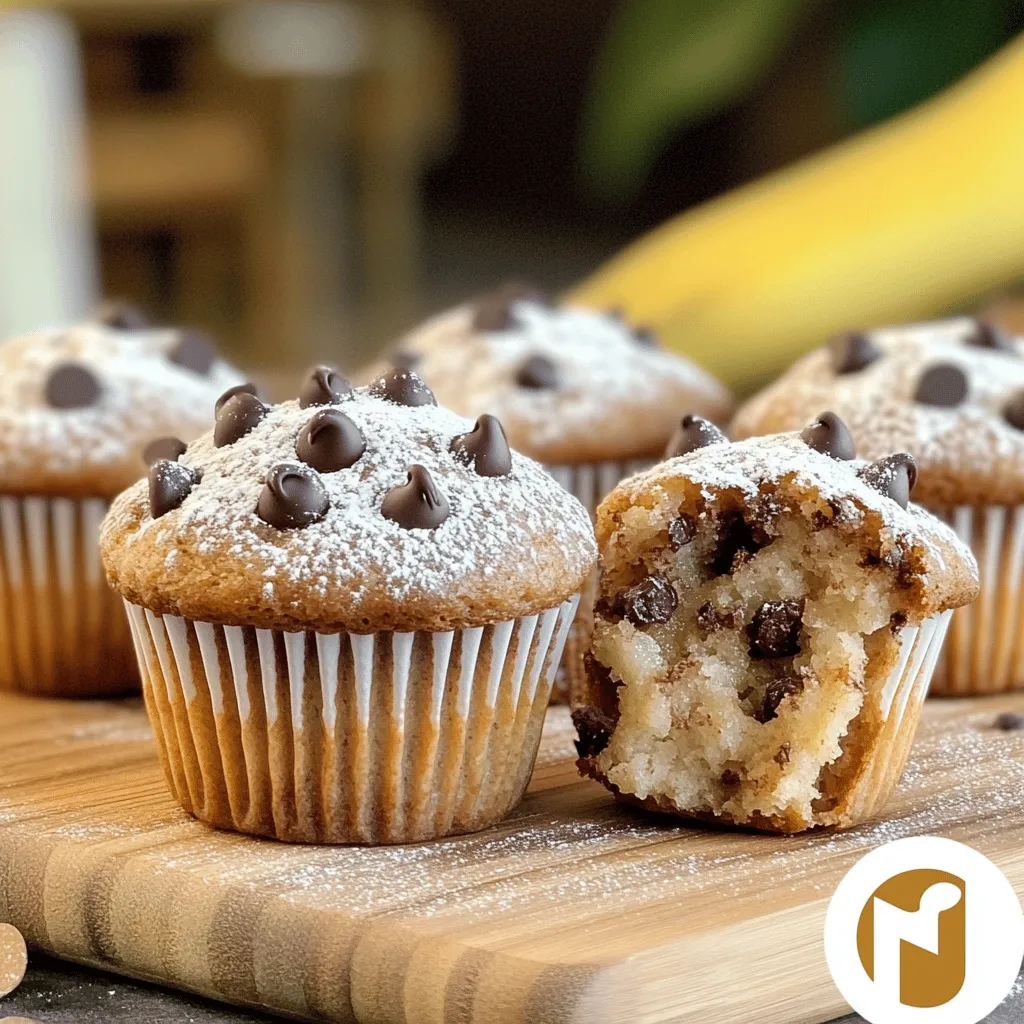
Brown Butter Banana Chocolate Chip Muffins Delight
Are you craving a warm, cozy treat? Look no further than these Brown Butter Banana Chocolate Chip Muffins! This recipe Read Full Recipe -
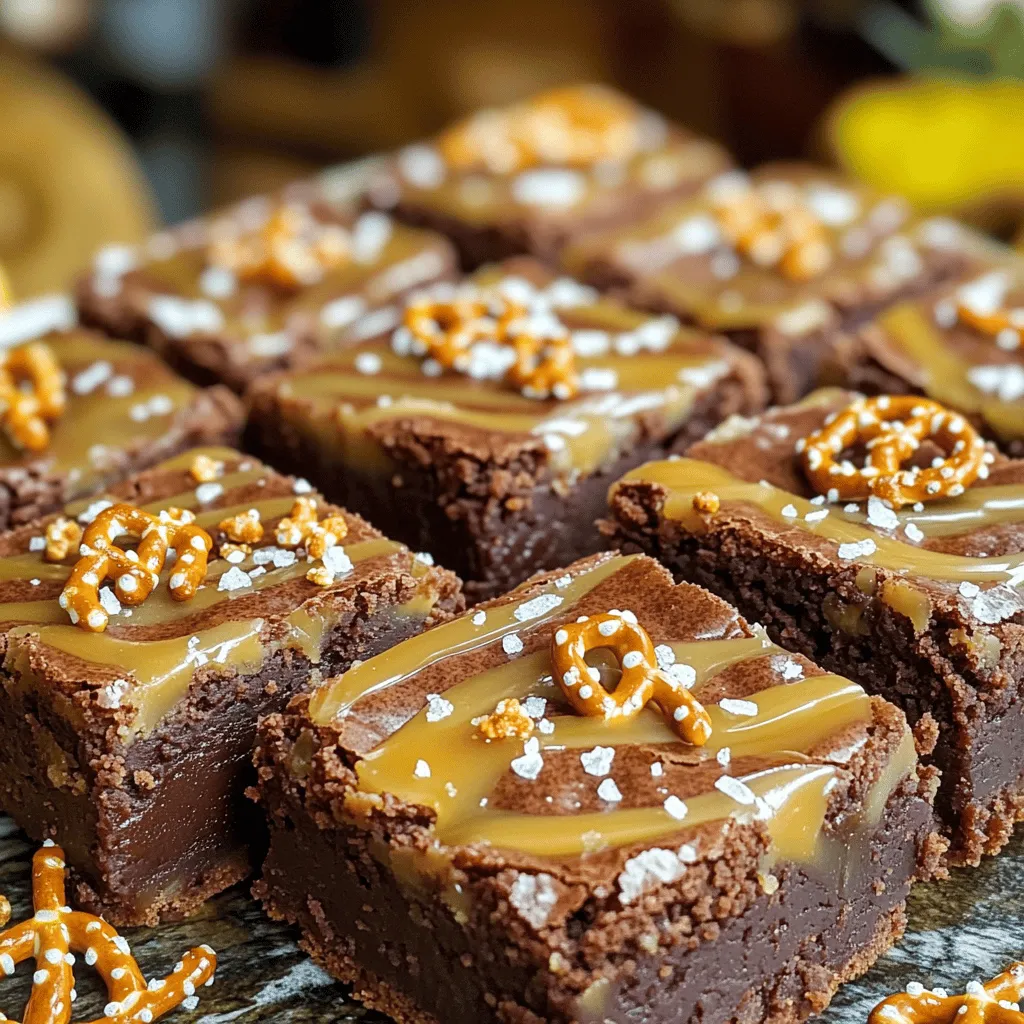
Chewy Salted Caramel Pretzel Brownies Delightful Treat
Are you ready to indulge in a treat that combines sweet, salty, and chewy goodness? These Chewy Salted Caramel Pretzel Read Full Recipe -
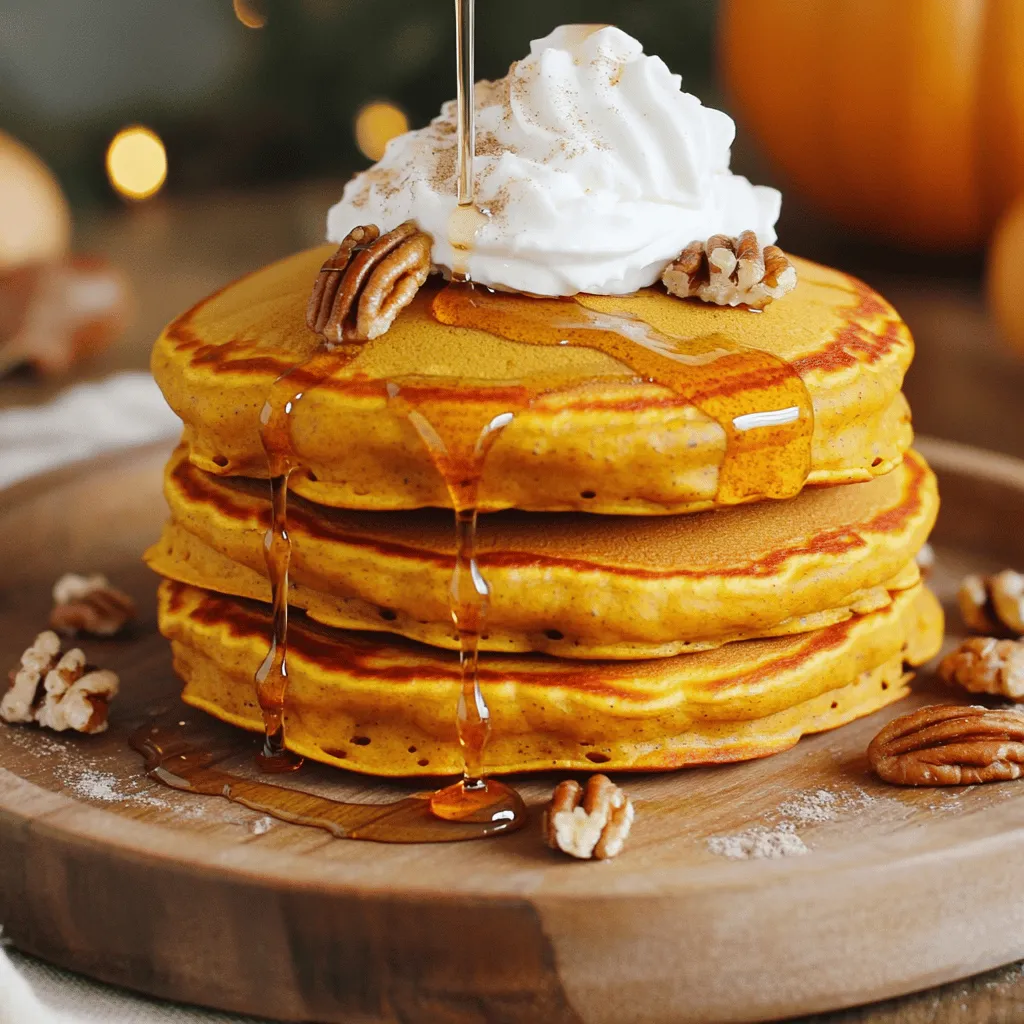
Fluffy Pumpkin Pancakes Easy and Delicious Recipe
Looking to spice up your breakfast with something special? You’re in for a treat! These fluffy pumpkin pancakes are not Read Full Recipe -
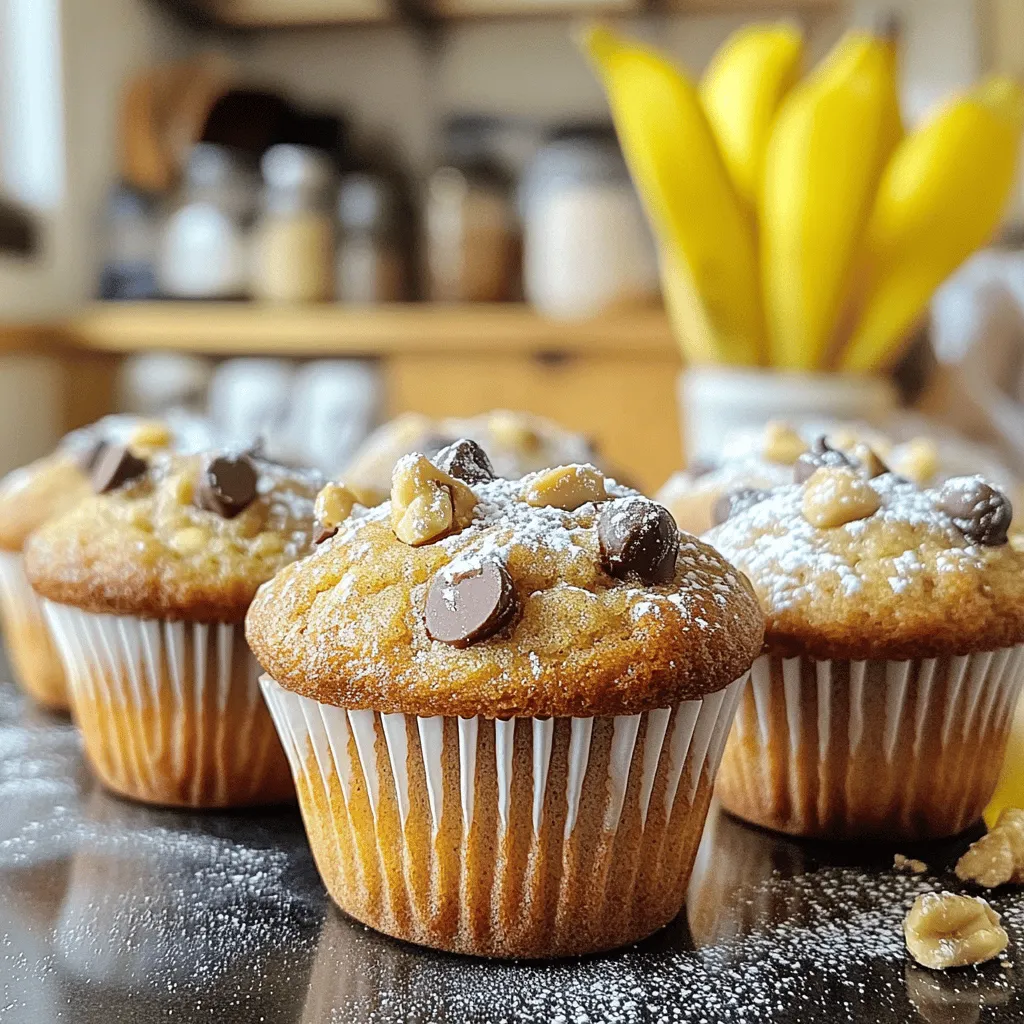
Brown Butter Banana Chocolate Chip Muffins Delight
Welcome to the delicious world of Brown Butter Banana Chocolate Chip Muffins! You’re about to discover a simple recipe that Read Full Recipe -
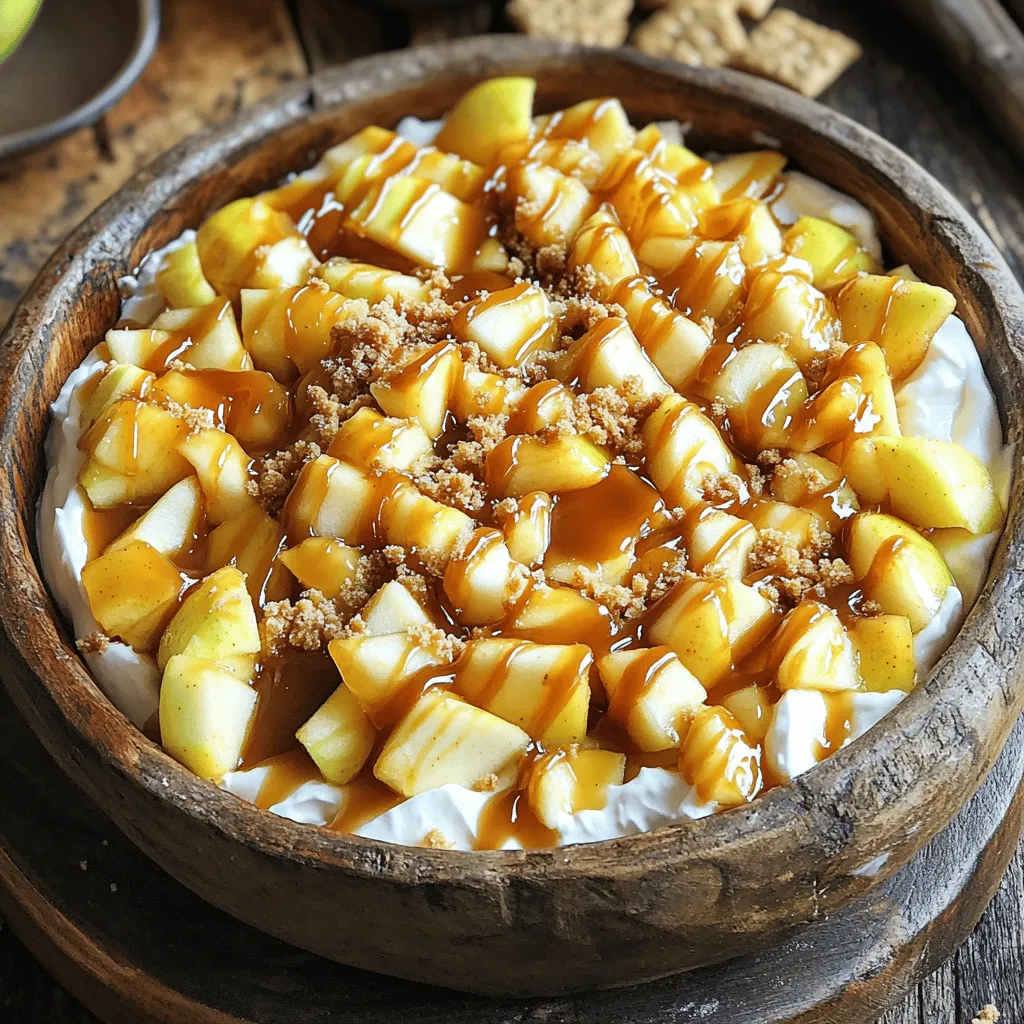
Caramel Apple Pie Dip Delightfully Sweet Treat
Get ready to dive into a sweet treat that’s perfect for any occasion: Caramel Apple Pie Dip! If you love Read Full Recipe -
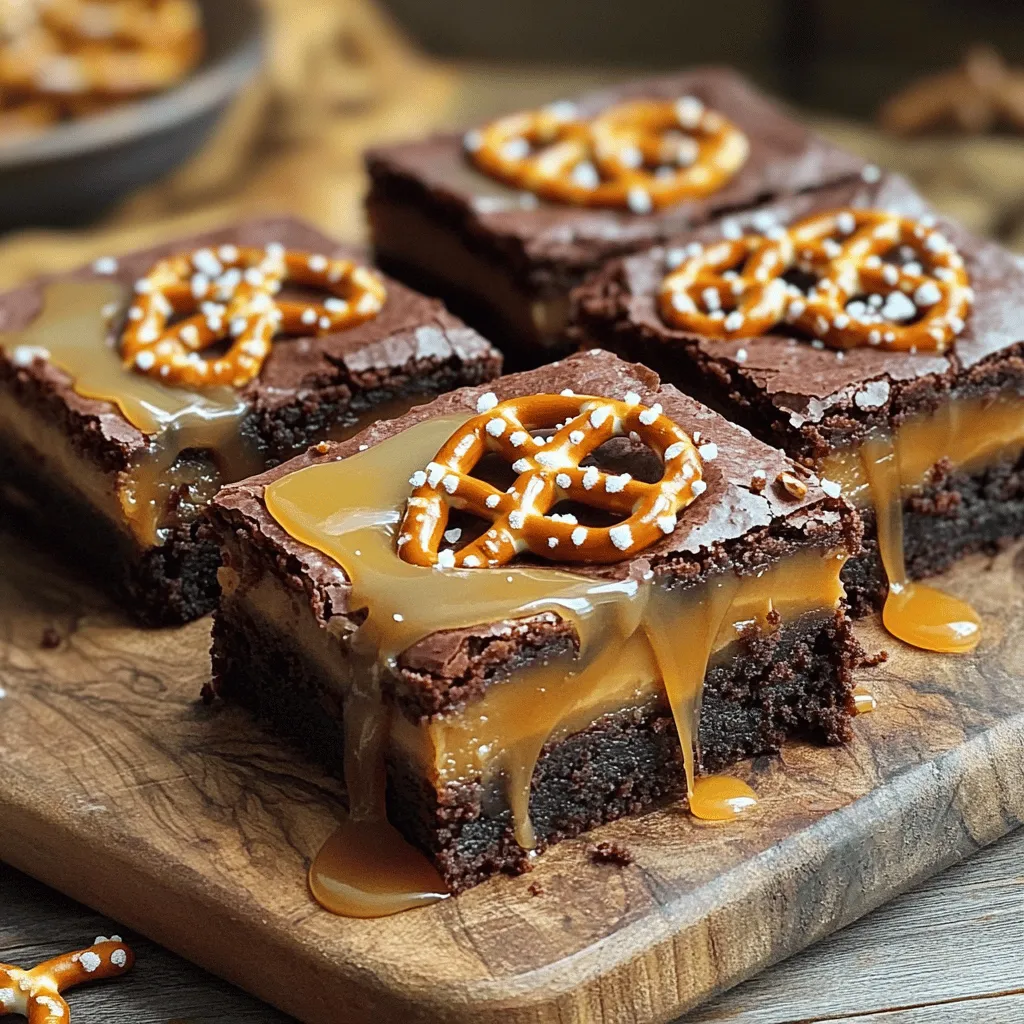
Chewy Salted Caramel Pretzel Brownies Delight
Get ready to indulge in a sweet and salty treat that you won’t forget! My Chewy Salted Caramel Pretzel Brownies Read Full Recipe -
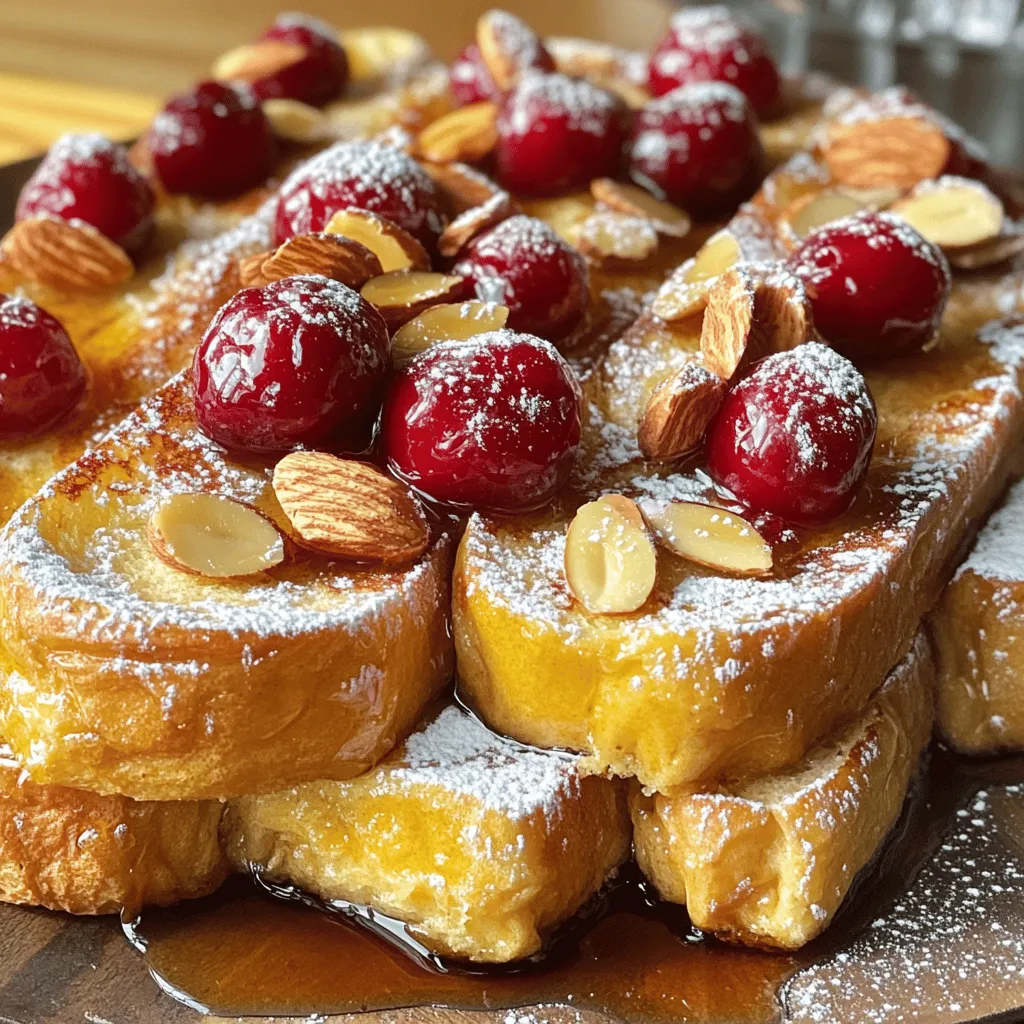
Cherry Almond Overnight French Toast Easy Morning Dish
Looking for a quick and delicious breakfast? Cherry Almond Overnight French Toast could be your new favorite dish! This easy Read Full Recipe
My Latest Recipes

hey,
i’m !
I’m so happy you’re here!
I love creating dishes that bring joy to the table. I hope they bring the same joy to yours. Let’s enjoy this flavorful journey together.

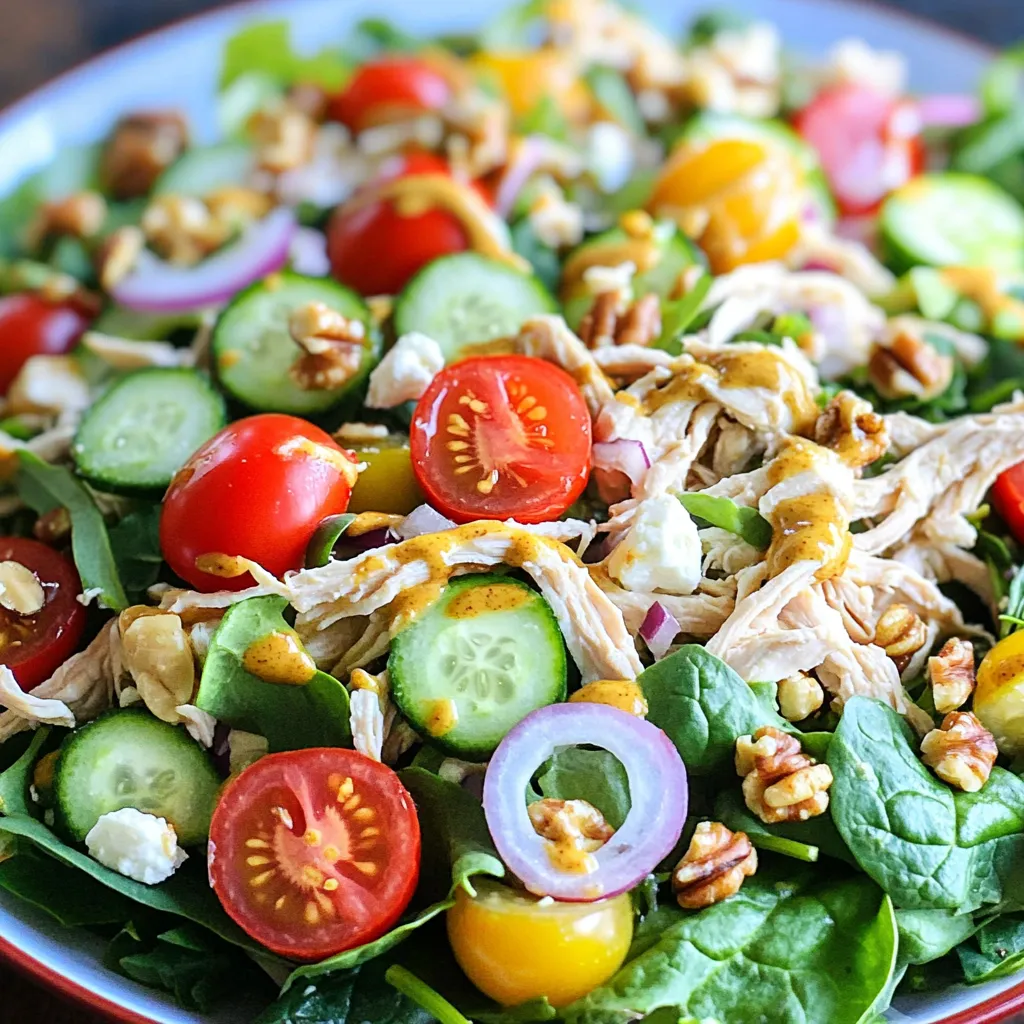
Honey Mustard Chicken Salad Fresh and Flavorful Meal
Looking for a fresh and tasty meal? Try my Honey Mustard Chicken Salad! This salad combines tender chicken, crisp greens, and a sweet, zingy…