Latest & Greatest
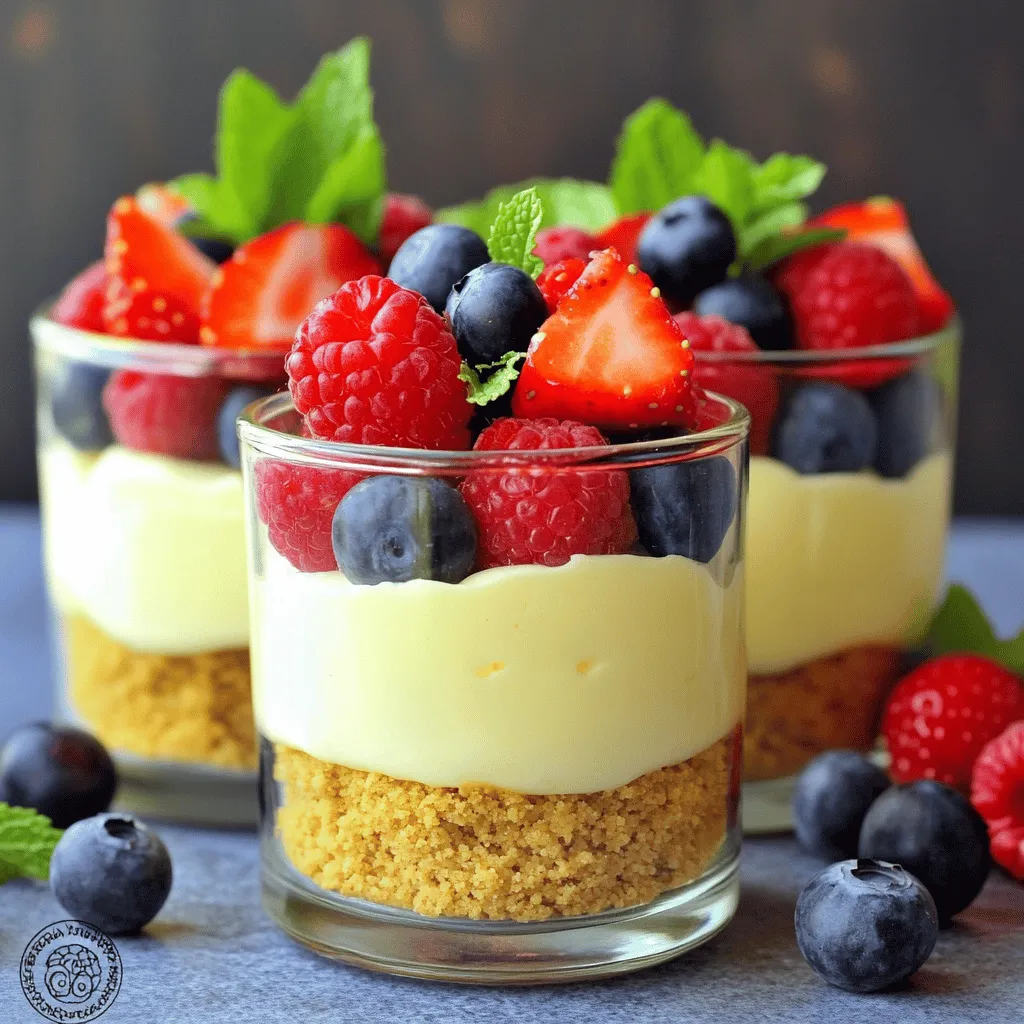
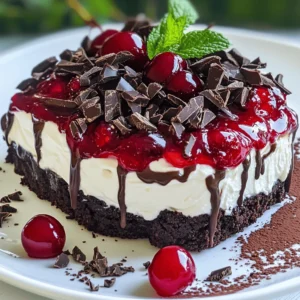
Delicious No-Bake Cheesecake Jars Easy and Quick Treat
If you’re craving a sweet treat but lack the time or energy for baking, you’re in luck! These no-bake cheesecake
Read more…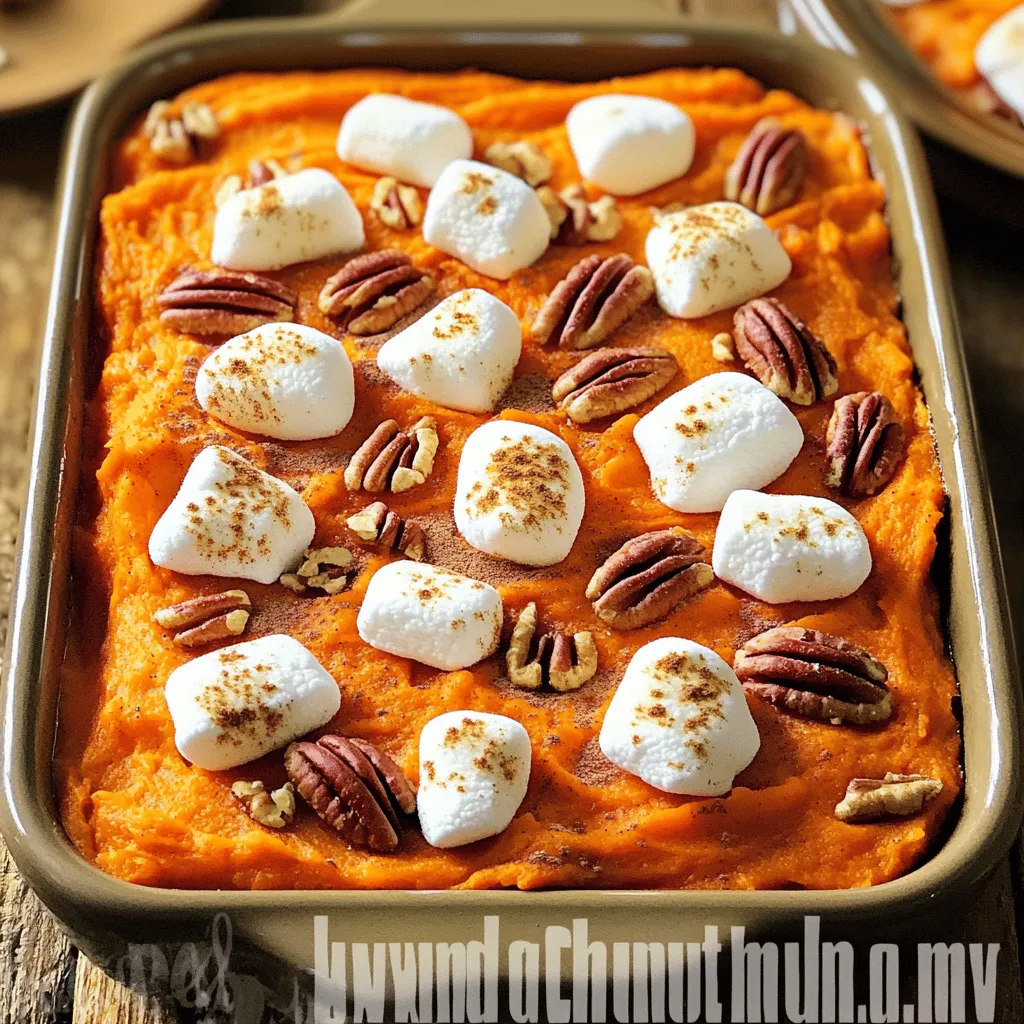
Sweet Potato Casserole with Marshmallows Delight
Are you ready to elevate your holiday meals with a dish everyone loves? Sweet potato casserole with marshmallows is the
Read more…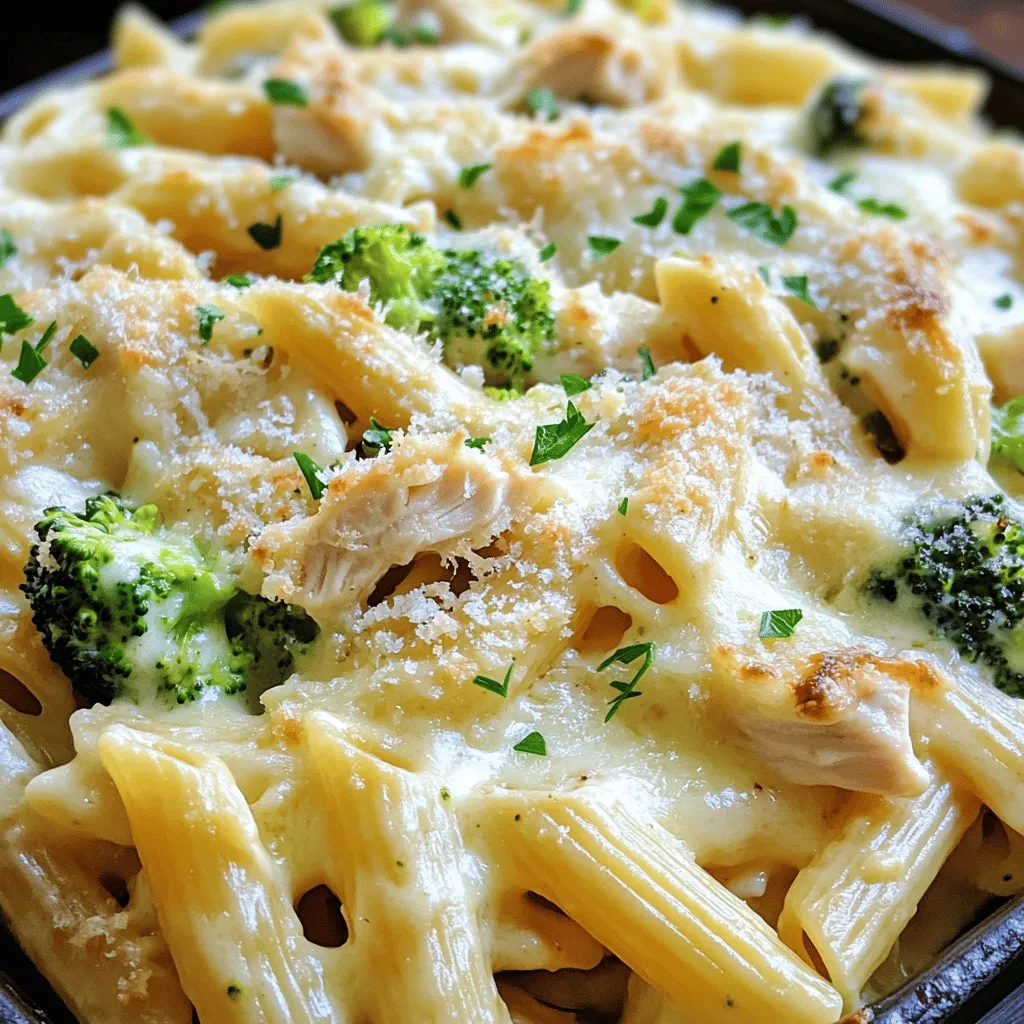
Easy Chicken Alfredo Pasta Bake Savory and Satisfying
Looking for a quick and tasty dinner idea? This Easy Chicken Alfredo Pasta Bake is just what you need! It’s
Read more…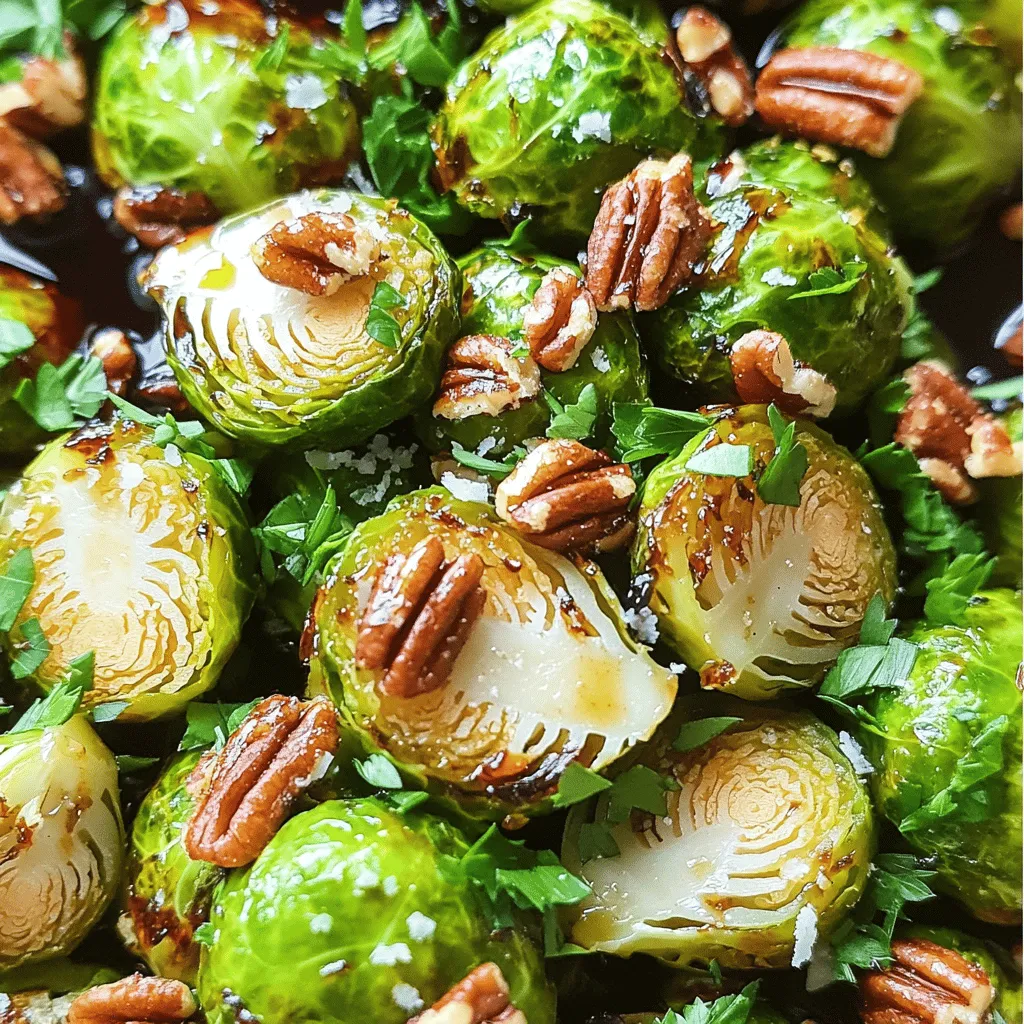
Balsamic Glazed Brussels Sprouts Delicious and Easy Recipe
Are you ready to impress your taste buds? Balsamic Glazed Brussels Sprouts are the perfect mix of sweet and savory.
Read more…
Savory Slow Cooker Chicken Tikka Masala Recipe
If you crave a warm and flavorful meal, this Savory Slow Cooker Chicken Tikka Masala recipe is for you. With
Read more…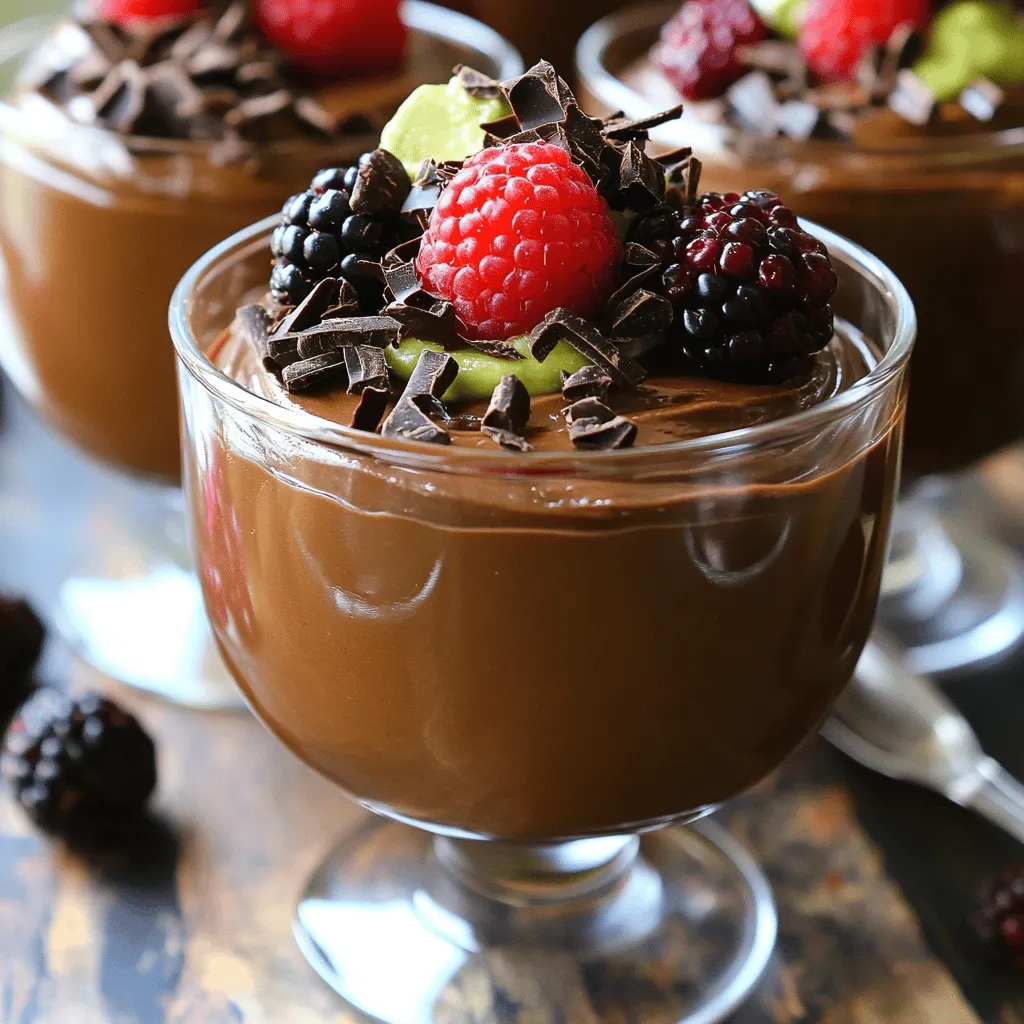
Chocolate Avocado Mousse Rich and Creamy Delight
Are you ready to indulge in a rich dessert that’s also good for you? In this blog post, I’ll guide
Read more…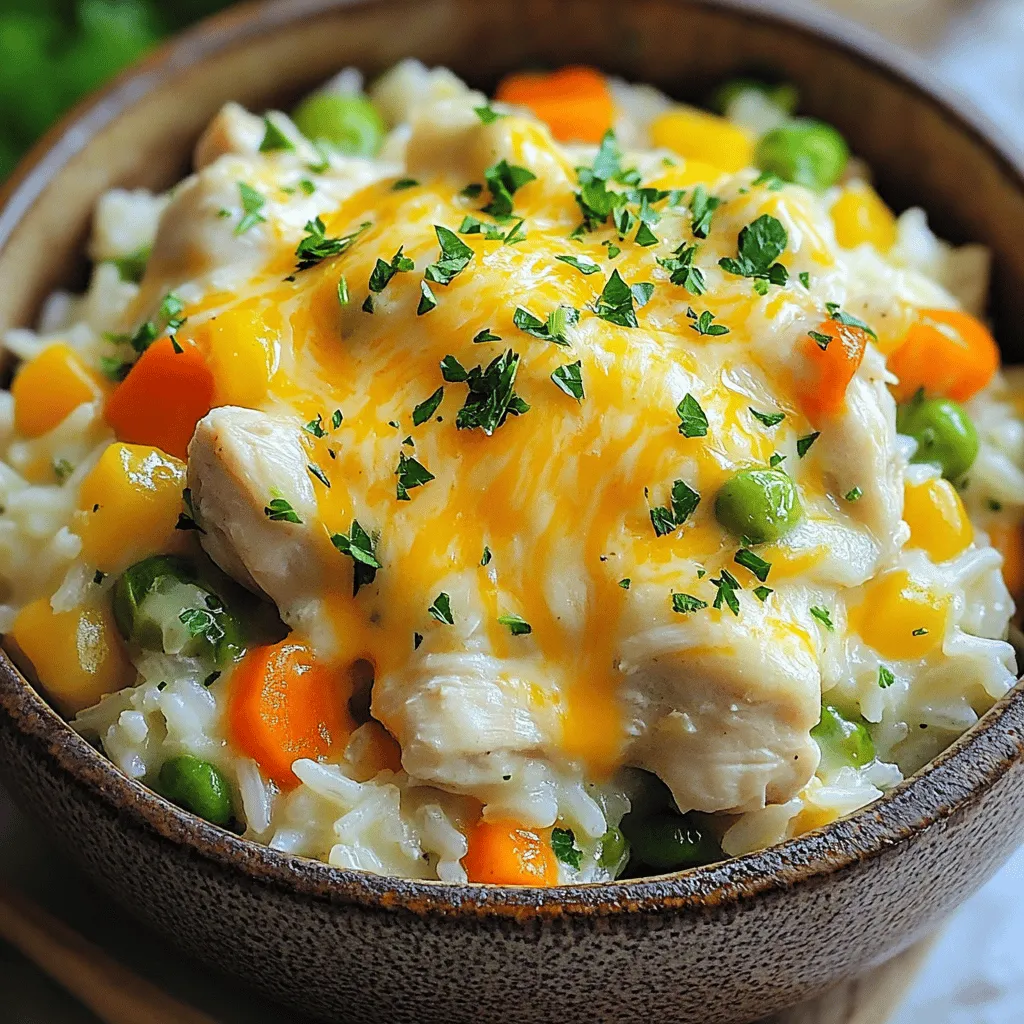
Instant Pot Chicken and Rice Casserole Delight
Looking for a quick, tasty meal? My Instant Pot Chicken and Rice Casserole Delight is the answer. This one-pot wonder
Read more…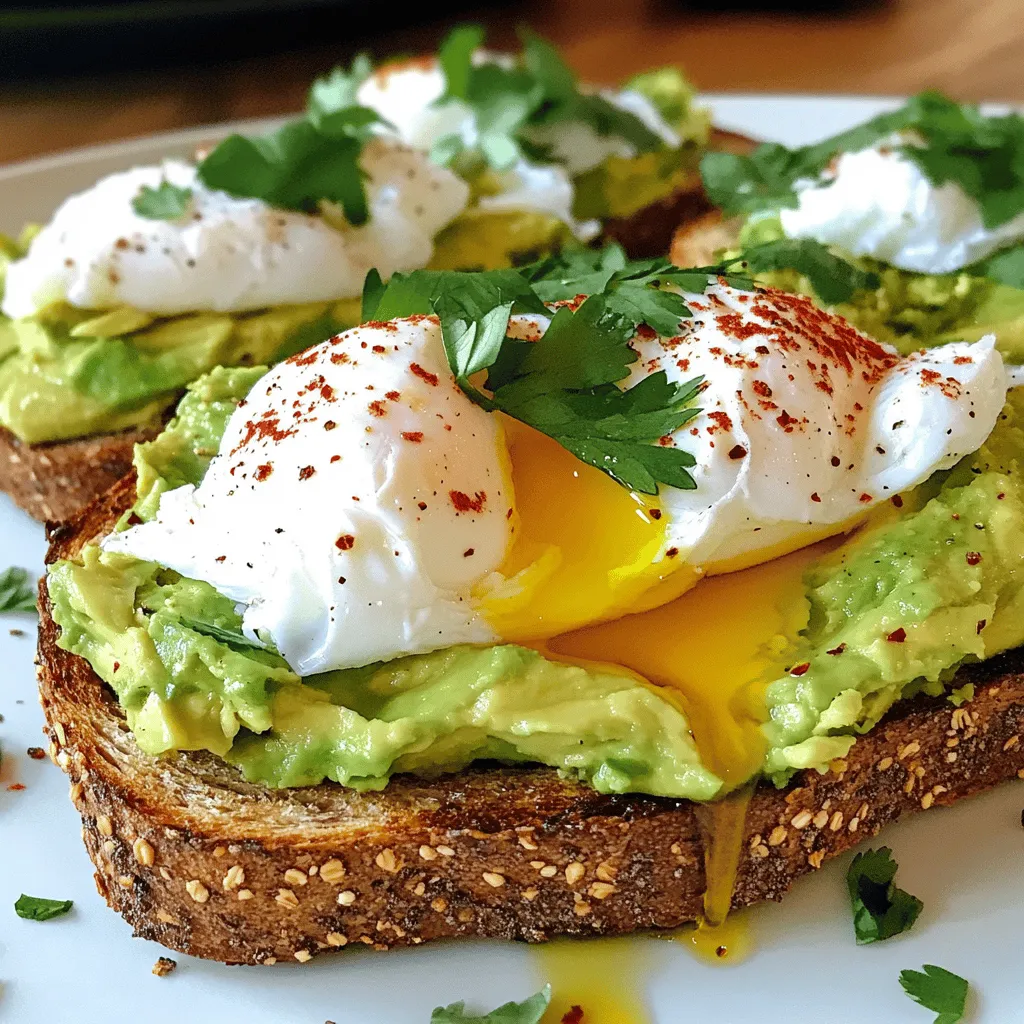
Savory Avocado Toast with Poached Egg Delight
Welcome to the world of Savory Avocado Toast with Poached Egg Delight! If you crave a tasty breakfast that’s simple
Read more…browse recipes


. Yes, you can use frozen cauliflower. It saves time and is easy to find. Just keep in mind that frozen cauliflower might be softer than fresh. Thaw it first, then steam or microwave it until tender. This helps keep the texture nice in the mac and cheese. To make this dish vegan, swap out the dairy products. Use plant-based milk like almond or oat milk. Replace the butter with vegan butter or olive oil. For cheese, use vegan cheese options. You can also add nutritional yeast for a cheesy flavor without the dairy. If you want to skip cheese, use a mix of nutritional yeast and cashews. Soak raw cashews in water, then blend them until smooth. This gives a creamy texture and flavor. You can also try making a sauce with blended cooked potatoes and carrots for a cheesy taste. This blog post covered how to make a creamy mac and cheese dish using cauliflower. We discussed key ingredients, step-by-step instructions, and tips for the best texture. I shared various options to customize your meal and how to store leftovers properly. Remember, you can swap in proteins or veggies to suit your taste. With these tips, you can create a favorite dish that fits your diet. Now, dive into making your unique version of this mac and cheese. Enjoy your cooking adventure!](https://soyumrecipes.com/wp-content/uploads/2025/07/81477565-83f1-4411-8ab4-5c293cc08cf7.webp)
Creamy Cauliflower Mac and Cheese Rich Comfort Dish
If you’re craving comfort food that feels rich yet healthy, I have the ideal dish for you: Creamy Cauliflower Mac and Cheese! This recipe…
My Latest Desserts
-
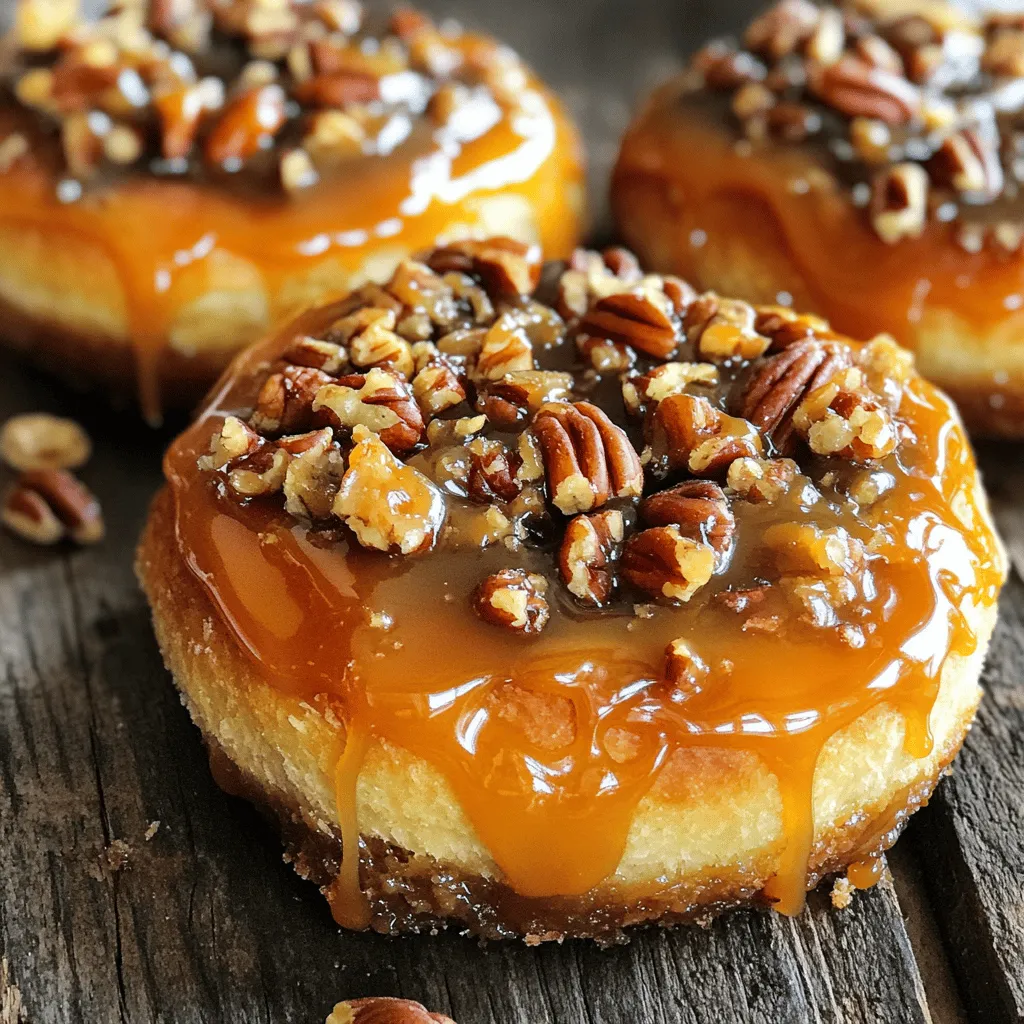
Caramel Pecan Sticky Buns Sweet and Gooey Treat
Are you ready to treat yourself to the ultimate indulgence? Caramel Pecan Sticky Buns are sweet, gooey, and packed with Read Full Recipe -
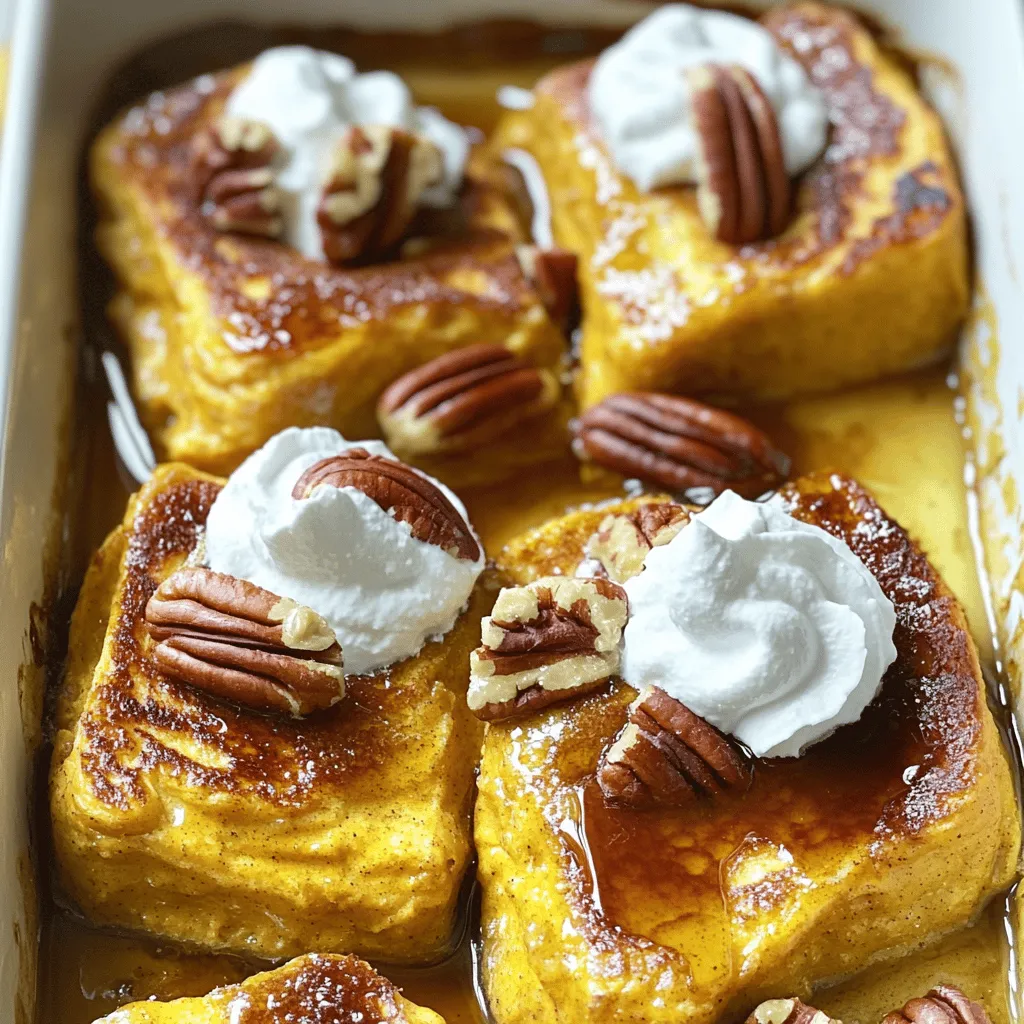
Pumpkin Spice French Toast Casserole Easy and Tasty
Looking for a cozy fall breakfast that’s easy and delicious? You’ll love my Pumpkin Spice French Toast Casserole! This dish Read Full Recipe -
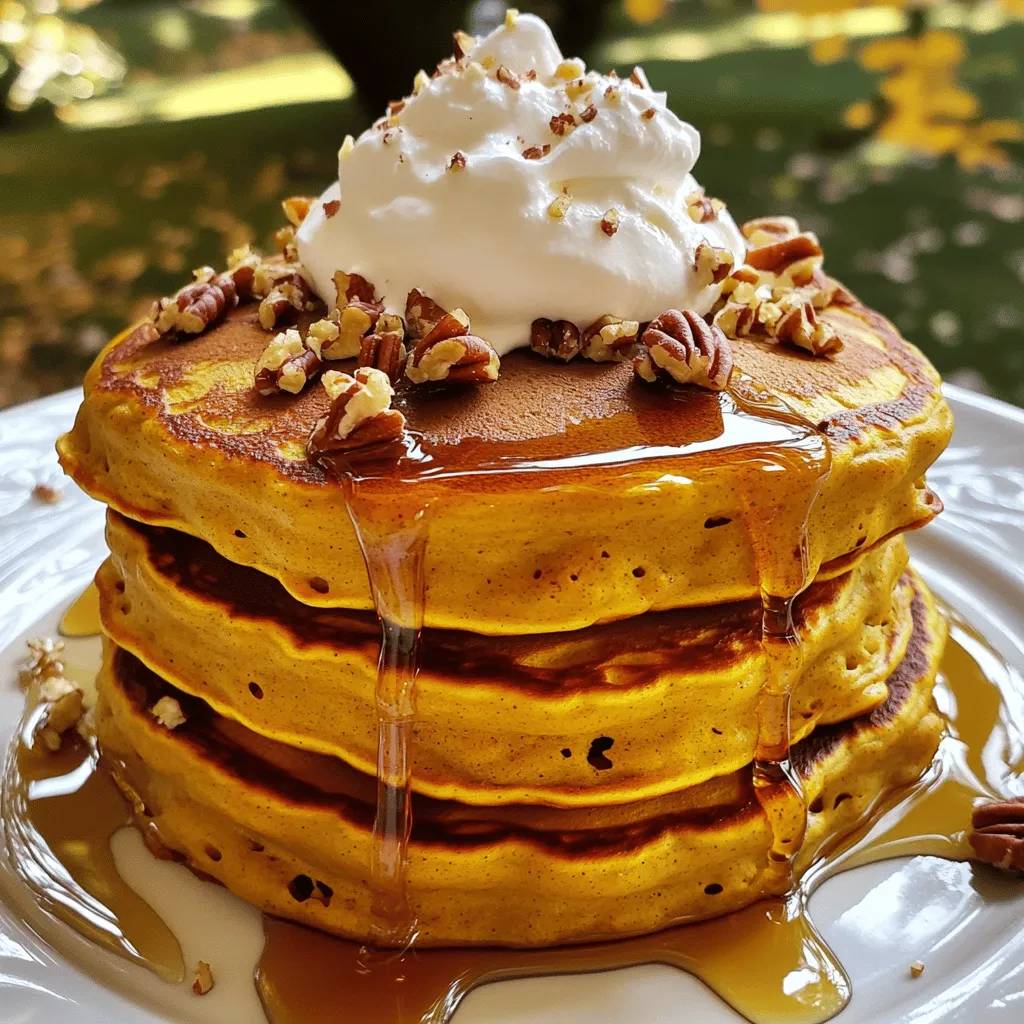
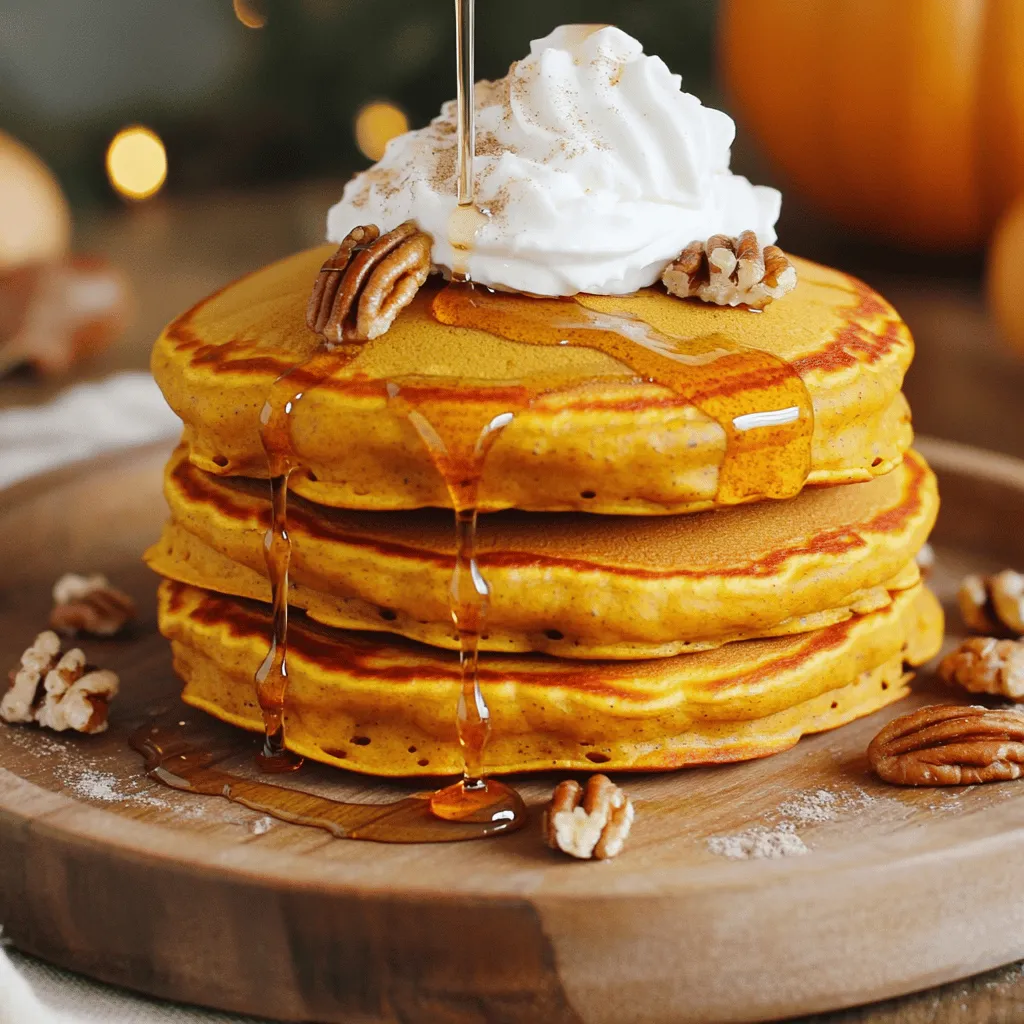
Fluffy Pumpkin Pancakes Perfectly Delicious Breakfast
Start your morning with a treat you won’t forget: fluffy pumpkin pancakes! They bring fall flavors to your breakfast table Read Full Recipe -
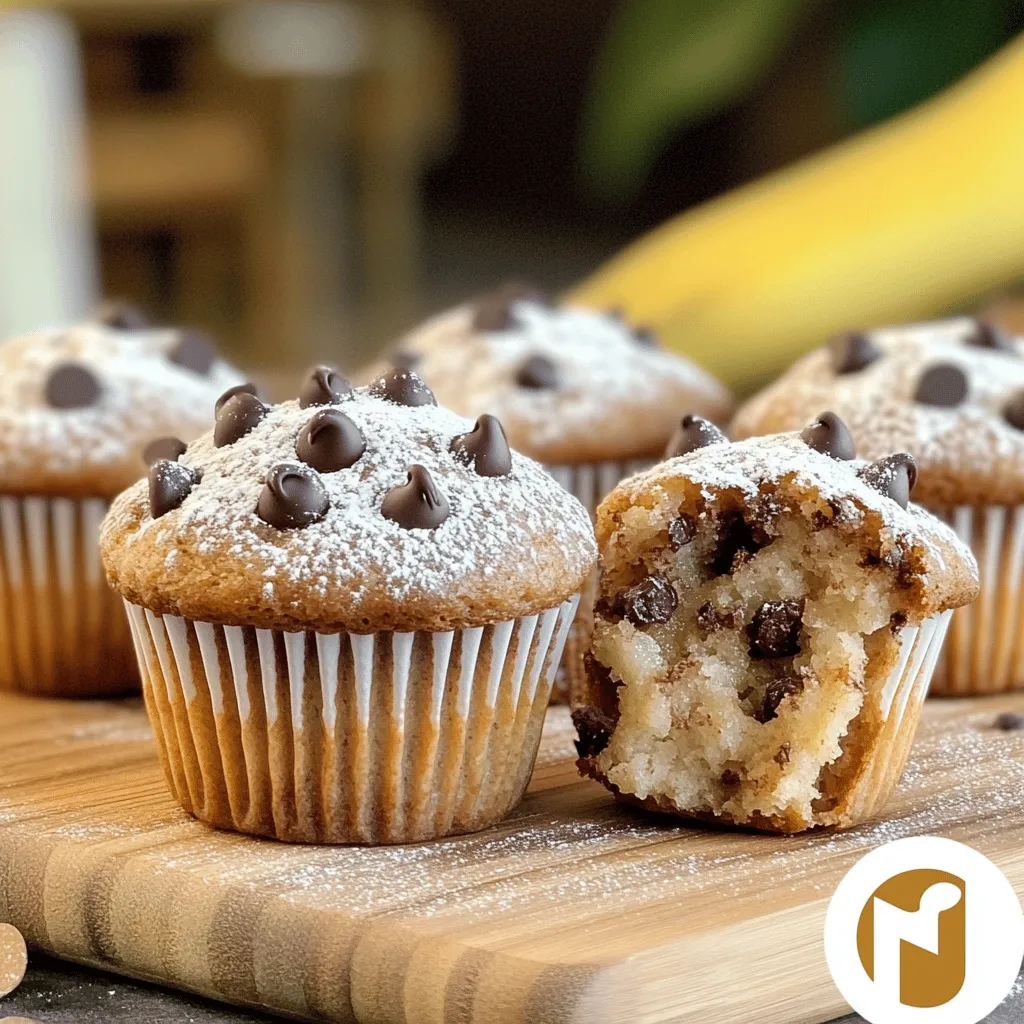
Brown Butter Banana Chocolate Chip Muffins Delight
Are you craving a warm, cozy treat? Look no further than these Brown Butter Banana Chocolate Chip Muffins! This recipe Read Full Recipe -
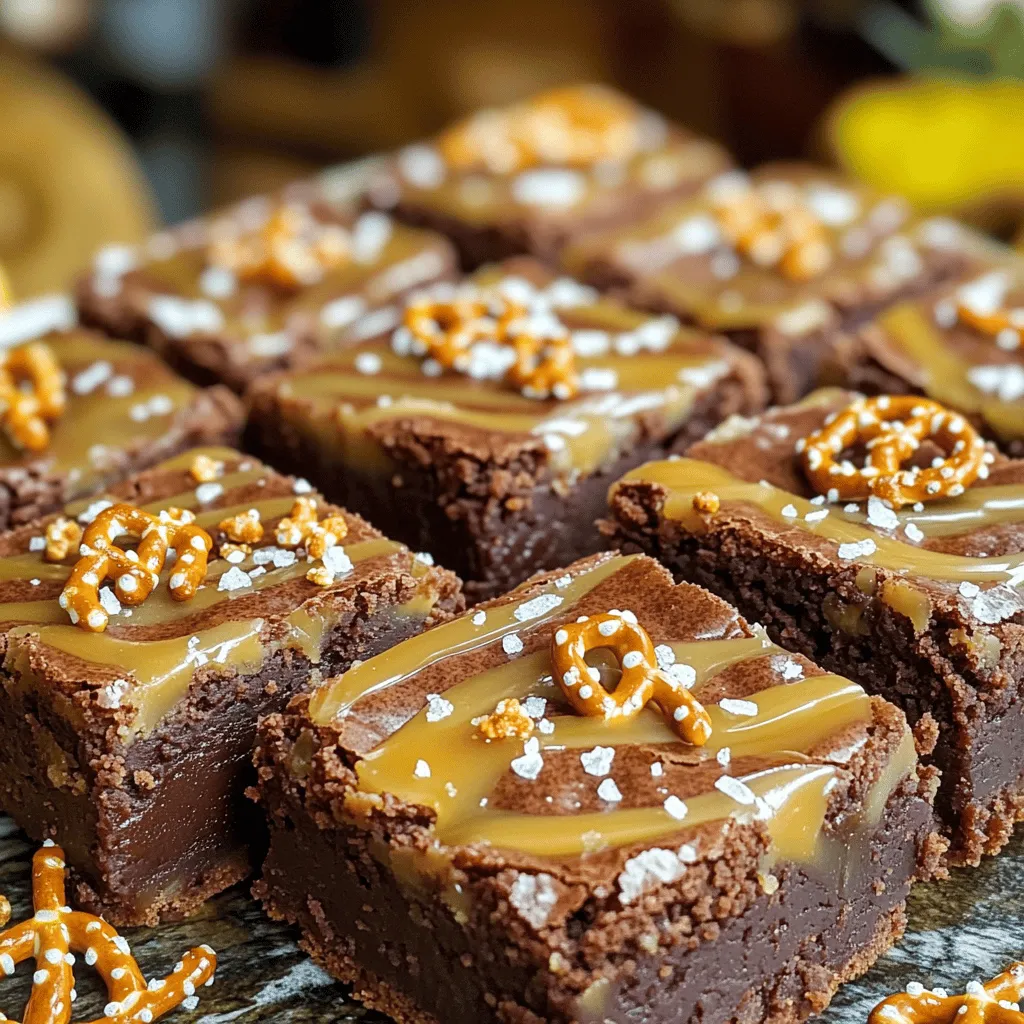
Chewy Salted Caramel Pretzel Brownies Delightful Treat
Are you ready to indulge in a treat that combines sweet, salty, and chewy goodness? These Chewy Salted Caramel Pretzel Read Full Recipe -
Fluffy Pumpkin Pancakes Easy and Delicious Recipe
Looking to spice up your breakfast with something special? You’re in for a treat! These fluffy pumpkin pancakes are not Read Full Recipe -
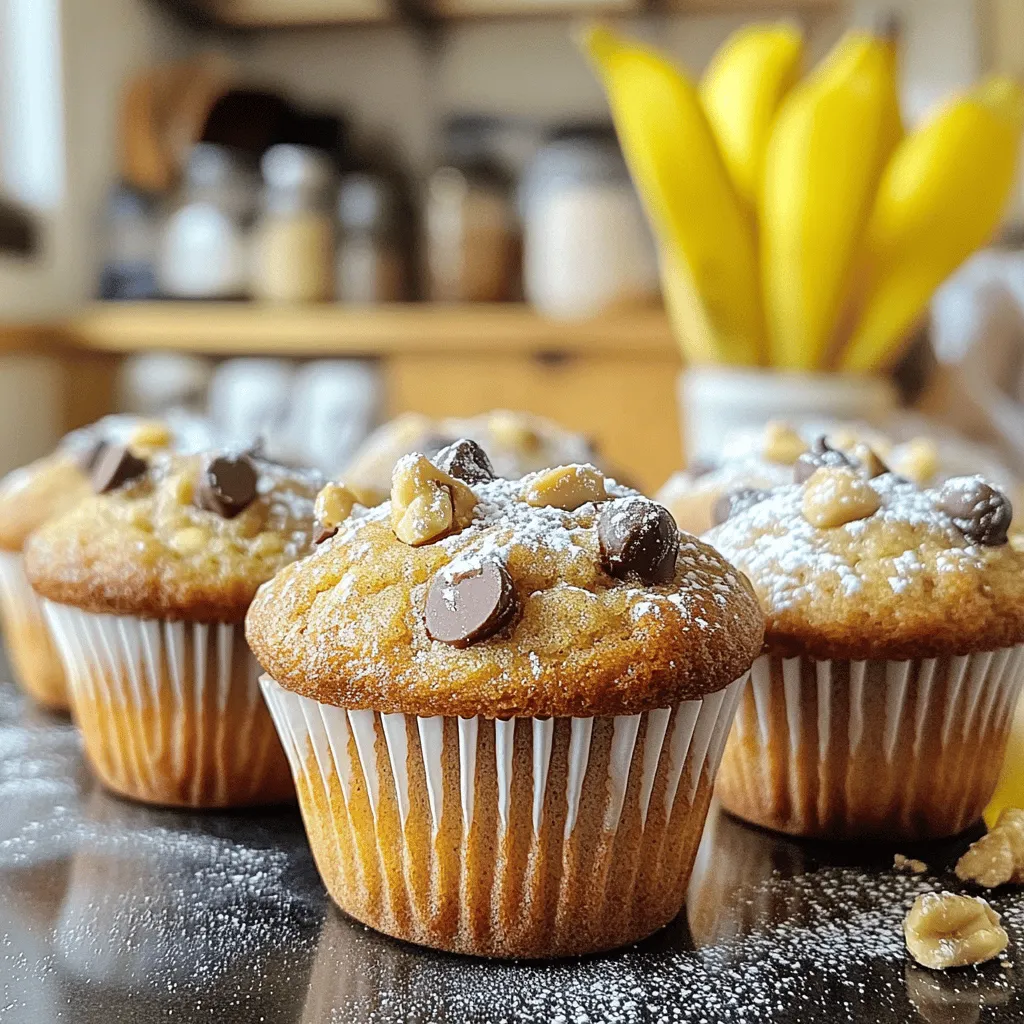
Brown Butter Banana Chocolate Chip Muffins Delight
Welcome to the delicious world of Brown Butter Banana Chocolate Chip Muffins! You’re about to discover a simple recipe that Read Full Recipe -
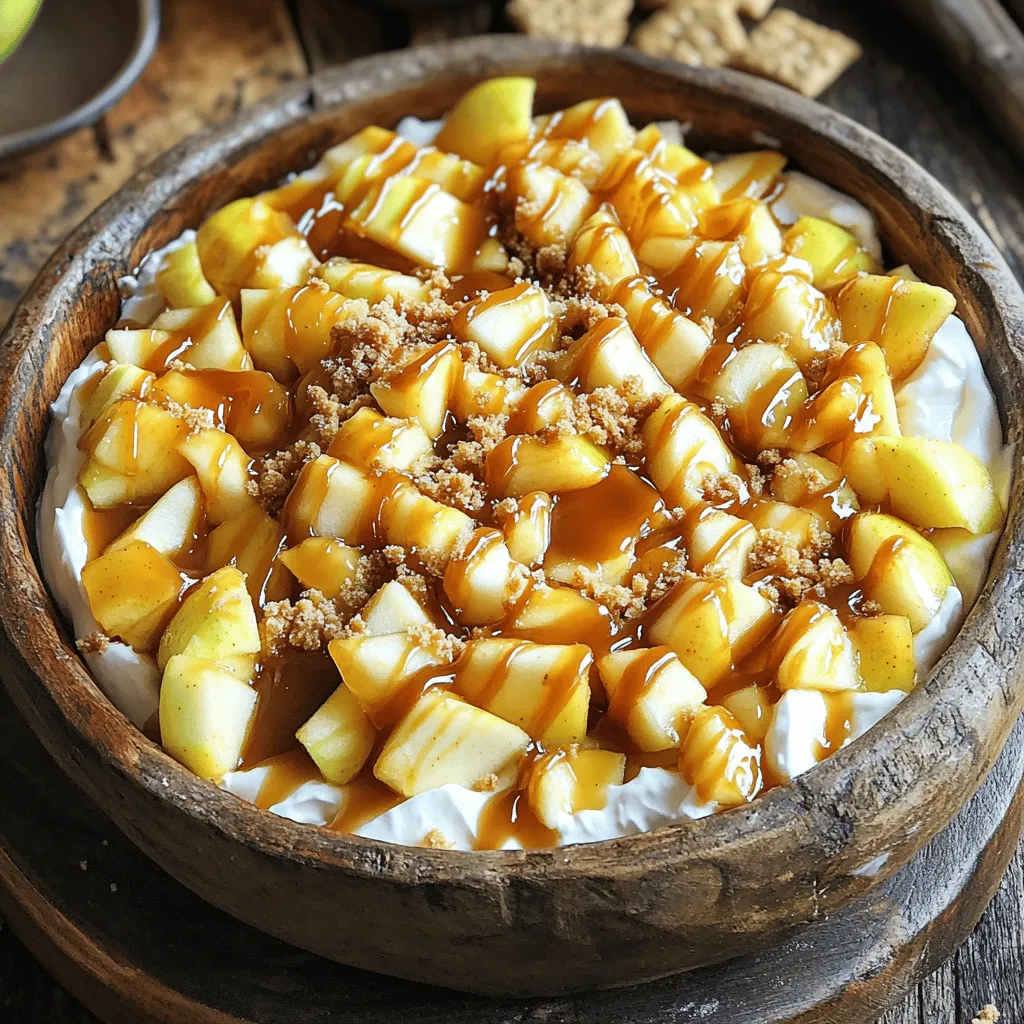
Caramel Apple Pie Dip Delightfully Sweet Treat
Get ready to dive into a sweet treat that’s perfect for any occasion: Caramel Apple Pie Dip! If you love Read Full Recipe -
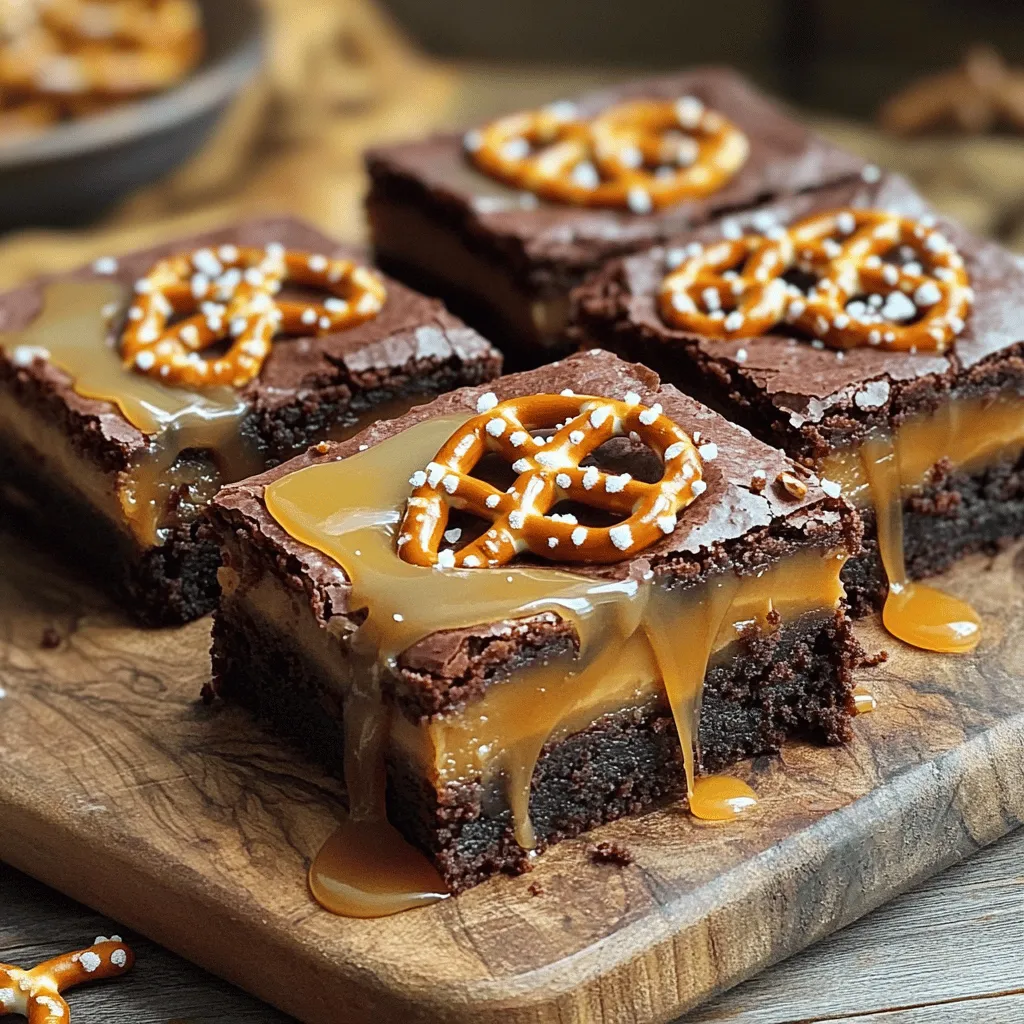
Chewy Salted Caramel Pretzel Brownies Delight
Get ready to indulge in a sweet and salty treat that you won’t forget! My Chewy Salted Caramel Pretzel Brownies Read Full Recipe -
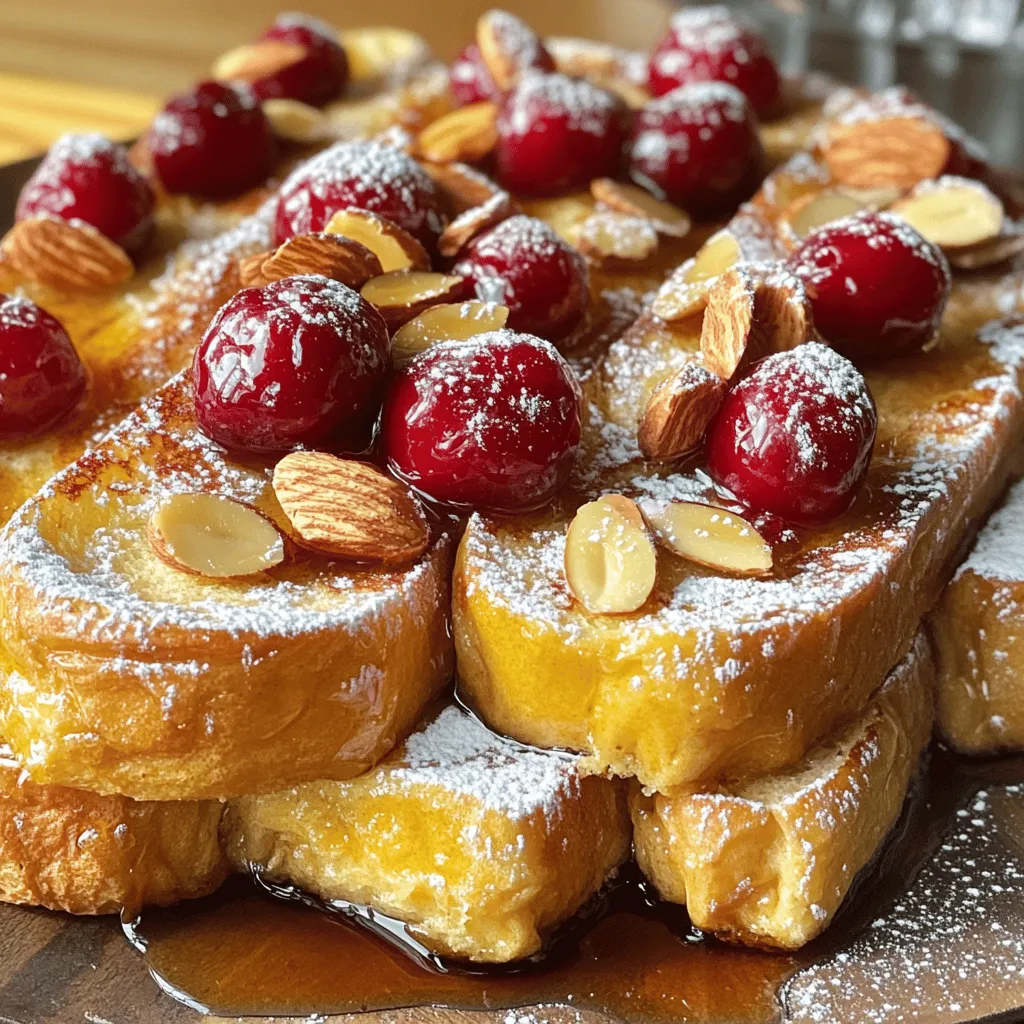
Cherry Almond Overnight French Toast Easy Morning Dish
Looking for a quick and delicious breakfast? Cherry Almond Overnight French Toast could be your new favorite dish! This easy Read Full Recipe
My Latest Recipes

hey,
i’m !
I’m so happy you’re here!
I love creating dishes that bring joy to the table. I hope they bring the same joy to yours. Let’s enjoy this flavorful journey together.


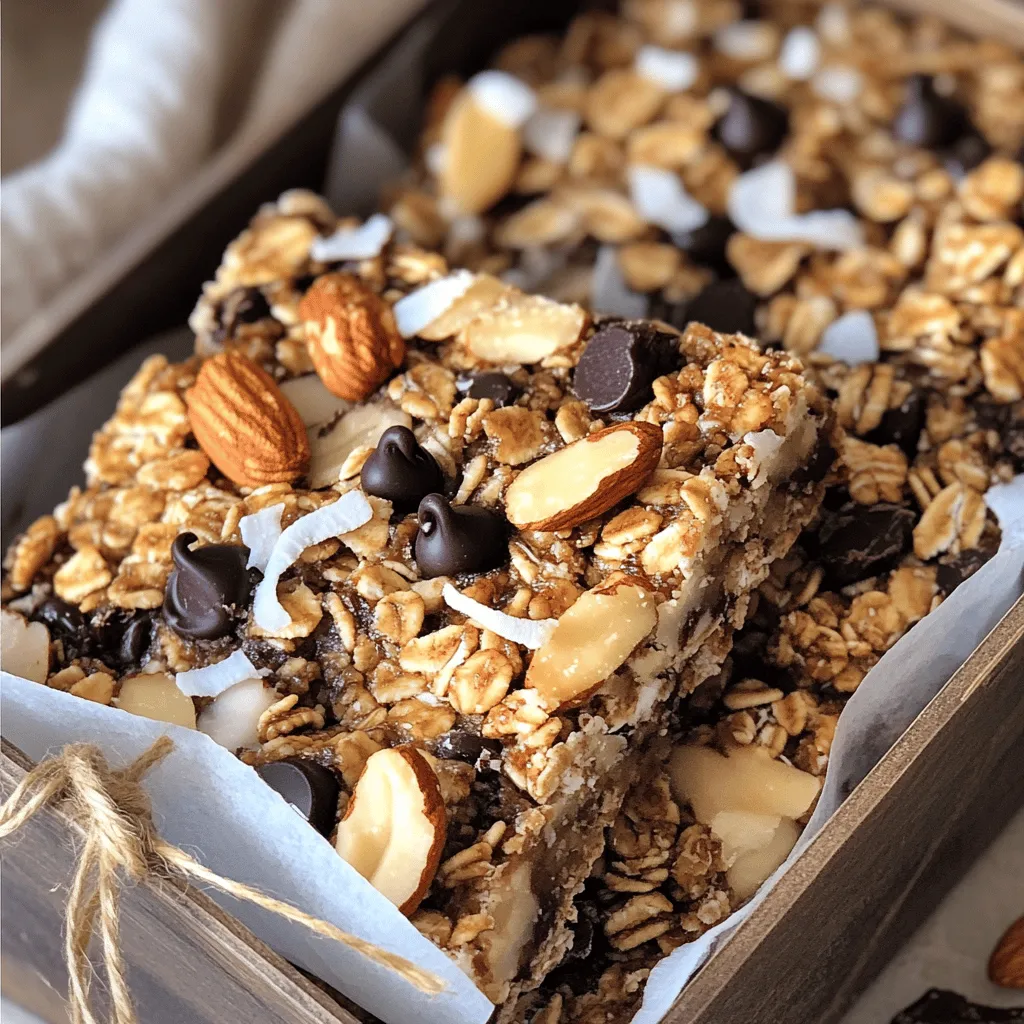
Savory Homemade Granola Bars Quick and Easy Recipe
Are you ready to whip up a delicious snack that’s both healthy and fun? My quick and easy homemade granola bars are the perfect…