

Latest & Greatest

Best Homemade Cinnamon Rolls Flavorful and Easy Recipe
Are you ready to make the best homemade cinnamon rolls? This easy recipe combines warm, fluffy dough with a sweet
Read more…
Best Strawberry Pie Delightful and Easy Recipe Guide
Are you ready to impress your friends and family with the best strawberry pie? This delightful and easy recipe guide
Read more…
Raspberry Lemon Cheesecake Bars Easy and Creamy Treat
Craving a sweet and tangy treat? You’ll love these easy Raspberry Lemon Cheesecake Bars! This recipe combines creamy cheese with
Read more…
Best Banana Pudding Rich and Creamy Delight Recipe
Are you ready to indulge in the best banana pudding you’ve ever tasted? This rich and creamy delight is perfect
Read more…
Easy Strawberry Shortcake Simple and Tasty Recipe
If you’re craving a dessert that’s simple and delicious, you’re in the right place! This Easy Strawberry Shortcake recipe will
Read more…
Crockpot Mexican Chicken Flavorful and Easy Meal
Looking for an easy and flavorful meal? You’ll love this Crockpot Mexican Chicken! With tender chicken breasts, zesty tomatoes, and
Read more…
Spring Hash Brown Crust Quiche Savory Breakfast Delight
Are you ready to impress your family with a breakfast dish that looks as good as it tastes? My Spring
Read more…browse recipes


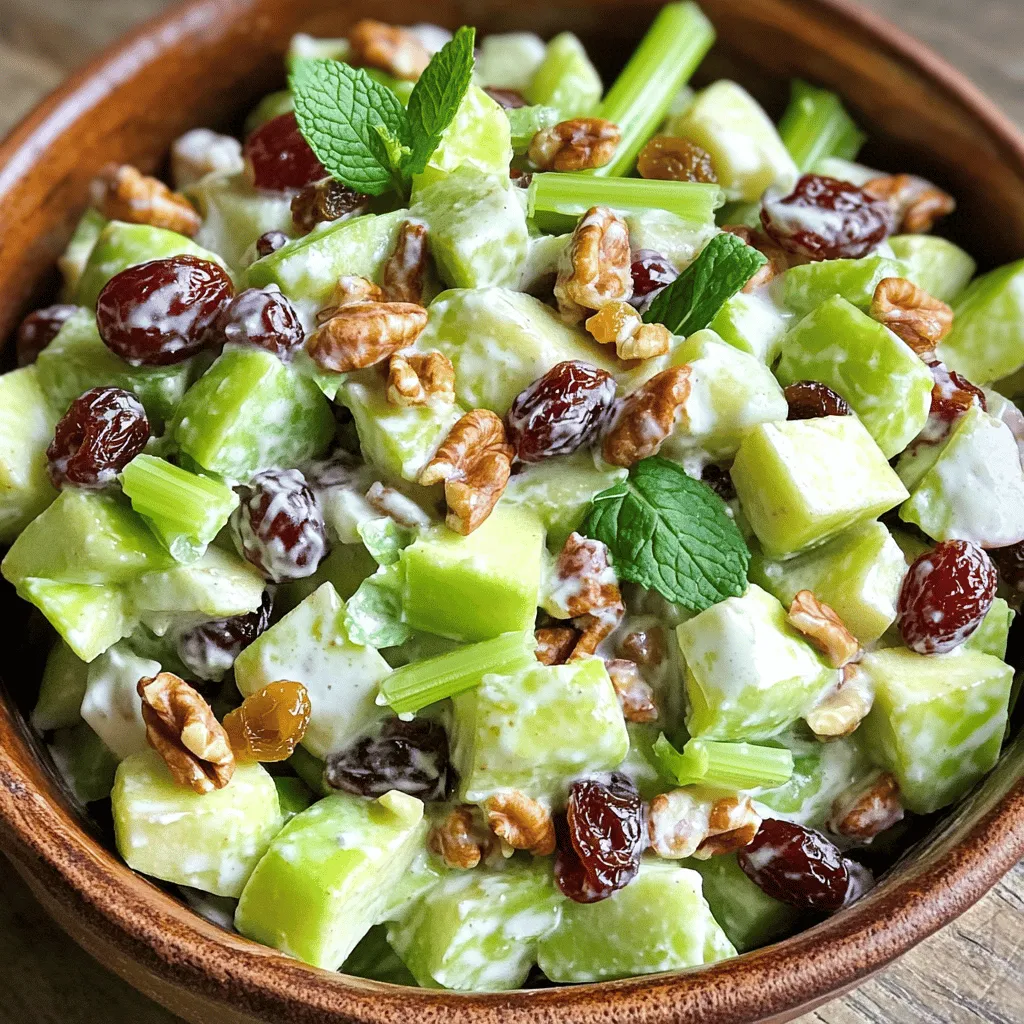
Classic Waldorf Salad Fresh and Flavorful Delight
Are you ready to indulge in a fresh and flavorful delight? The Classic Waldorf Salad combines crisp apples, crunchy celery, and sweet grapes for…
My Latest Desserts
-

Cherry Almond Overnight French Toast Easy Morning Dish
Looking for a quick and delicious breakfast? Cherry Almond Overnight French Toast could be your new favorite dish! This easy Read Full Recipe -

Cherry Chocolate Chip Scones Delightful and Easy Recipe
Are you ready to bake something sweet and delightful? My Cherry Chocolate Chip Scones are the perfect treat for breakfast Read Full Recipe -

Cherry Lemon Yogurt Cake Simple and Tasty Treat
If you’re craving a delicious treat that’s both simple to make and bursting with flavor, look no further than this Read Full Recipe -
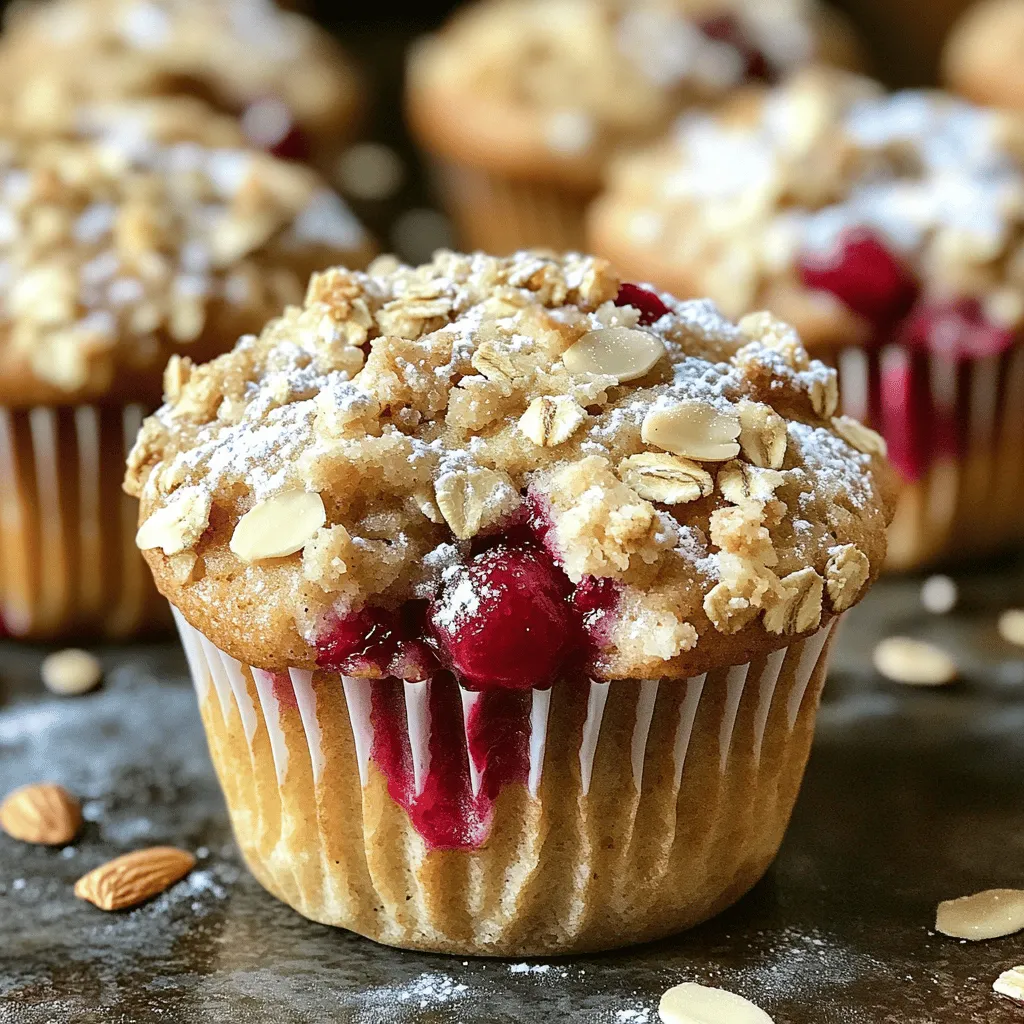
Cherry Almond Crumble Muffins Delightful and Easy Recipe
Ready to bake something special? These Cherry Almond Crumble Muffins are simple and delicious! With juicy cherries and a crunchy Read Full Recipe -
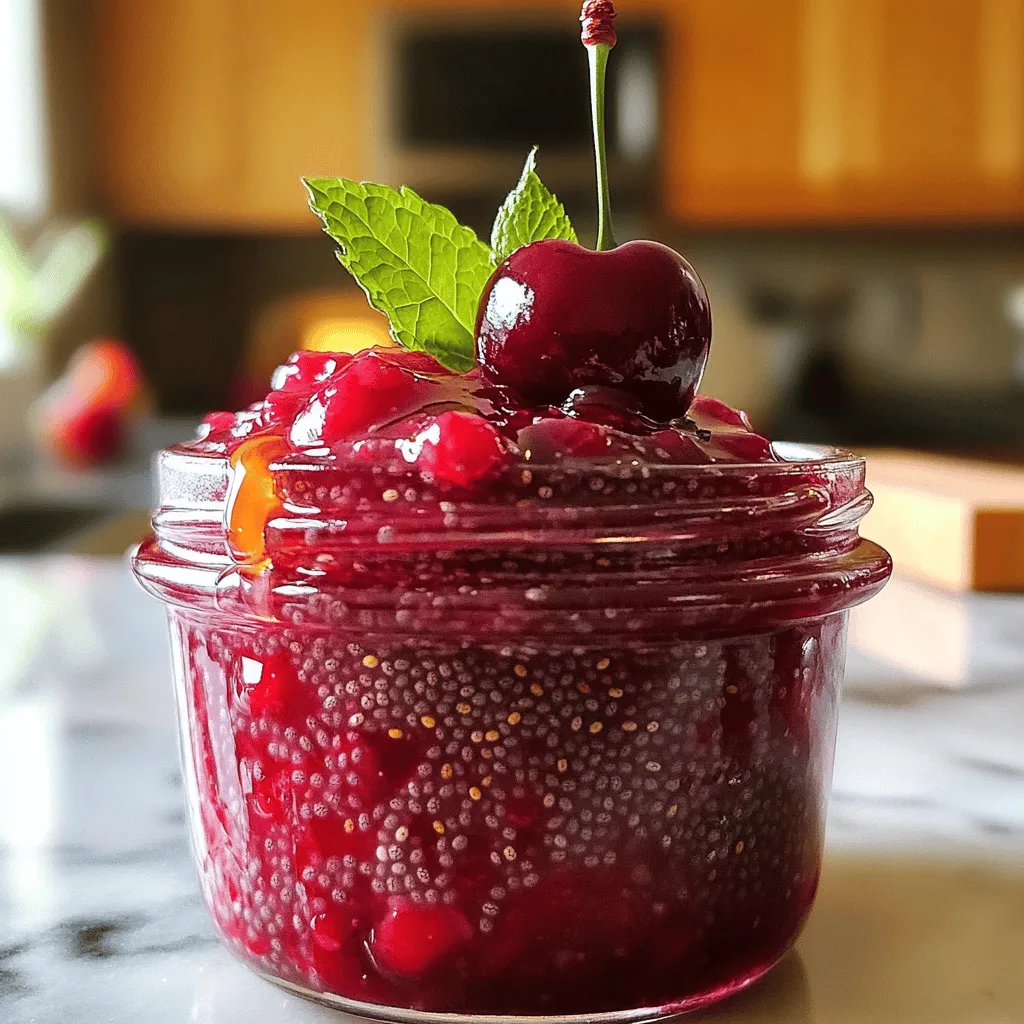
Cherry Chia Jam Simple and Nutritious Recipe
If you love delicious and healthy spreads, you need to try this Cherry Chia Jam! It’s easy, quick, and full Read Full Recipe -

Pumpkin Spice Energy Balls Tasty and Nutrient-Rich
Are you ready to fuel your day with a tasty treat? Pumpkin Spice Energy Balls are not just delicious; they’re Read Full Recipe -

S’mores Dessert Nachos Tasty and Fun Treat Idea
Get ready for a treat like no other with my S’mores Dessert Nachos! This fun dessert combines crispy tortillas, melty Read Full Recipe -
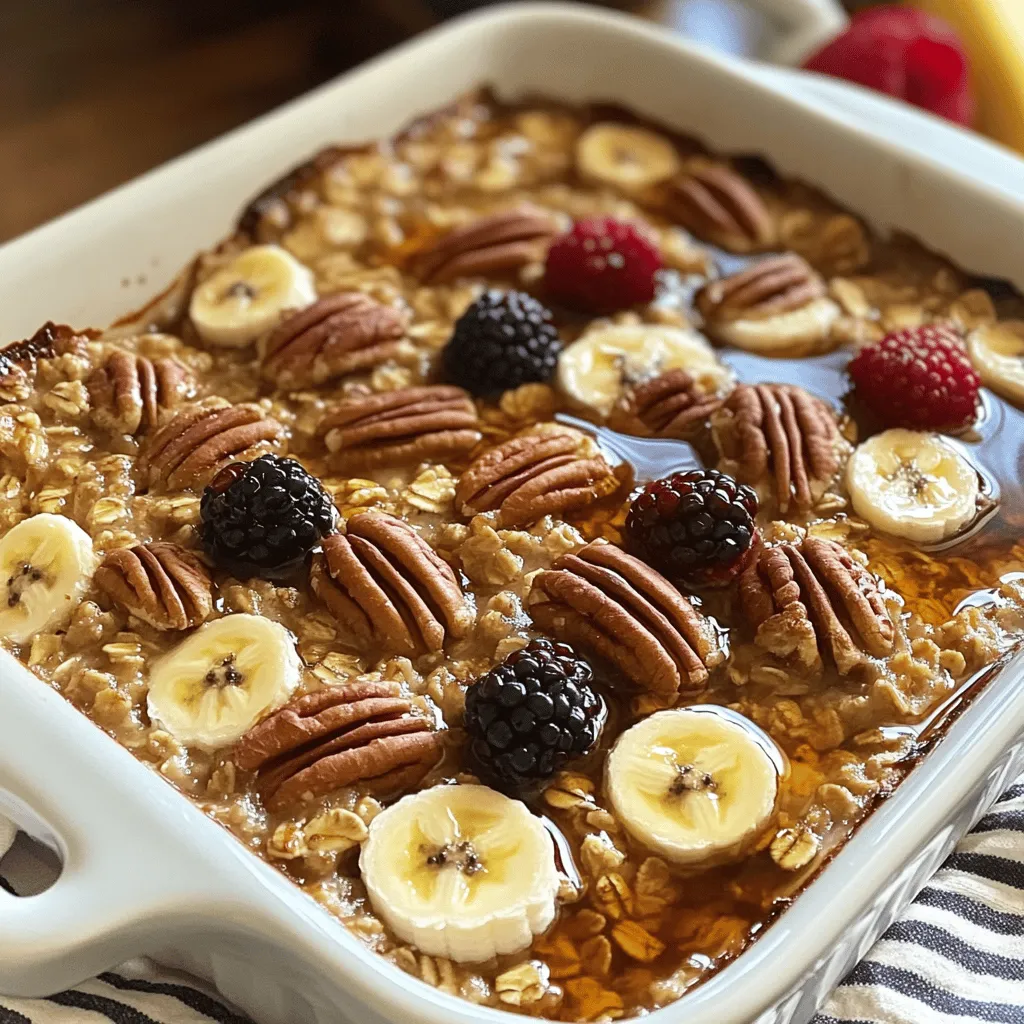
Maple Pecan Baked Oatmeal Tasty Morning Delight
Are you ready for a sweet start to your day? Maple Pecan Baked Oatmeal is a tasty treat that combines Read Full Recipe -
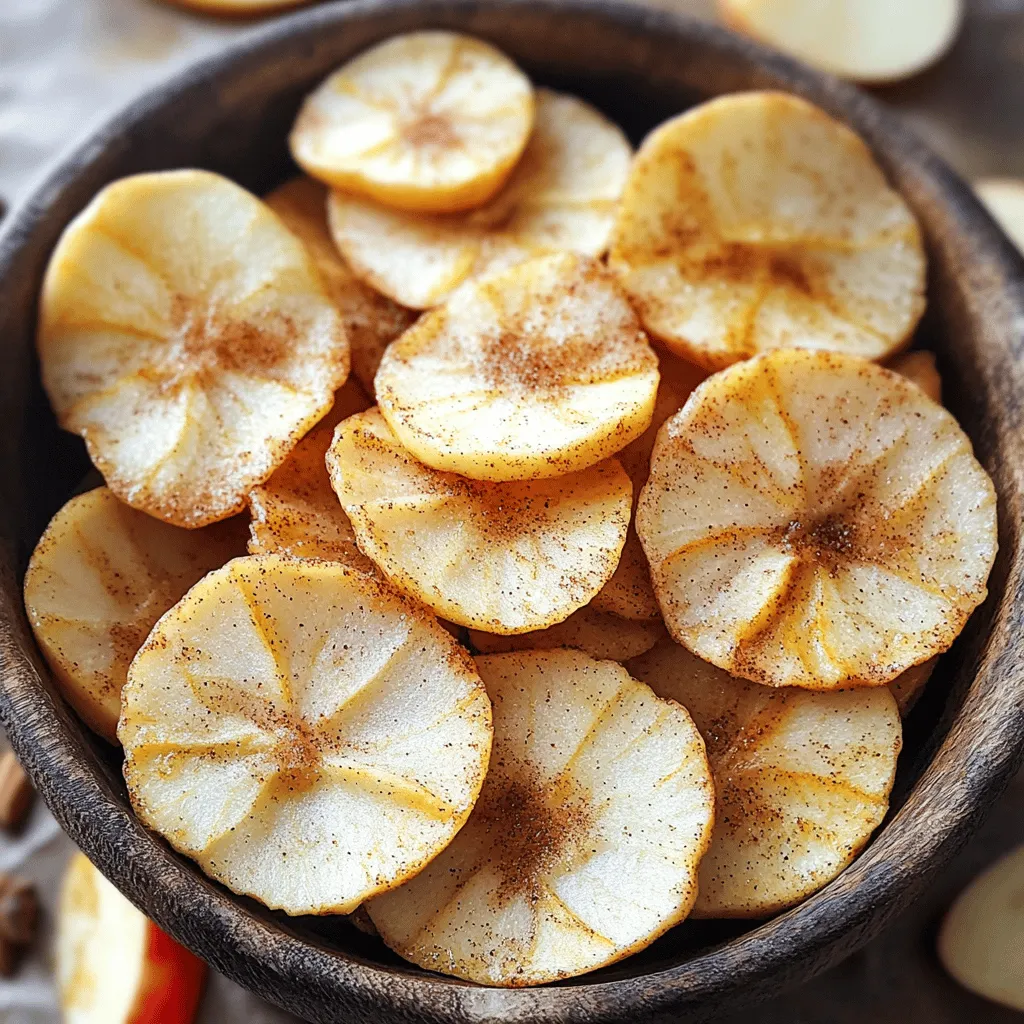
Baked Cinnamon Apple Chips Healthy Snack Delight
If you crave a tasty snack that satisfies both your sweet tooth and health goals, look no further! Baked Cinnamon Read Full Recipe -

No-Bake Peach Yogurt Bars Tasty and Easy Treat
Looking for a sweet, easy treat? You’ll love these No-Bake Peach Yogurt Bars! They combine creamy yogurt and juicy peaches Read Full Recipe
My Latest Recipes

hey,
i’m !
I’m so happy you’re here!
I love creating dishes that bring joy to the table. I hope they bring the same joy to yours. Let’s enjoy this flavorful journey together.


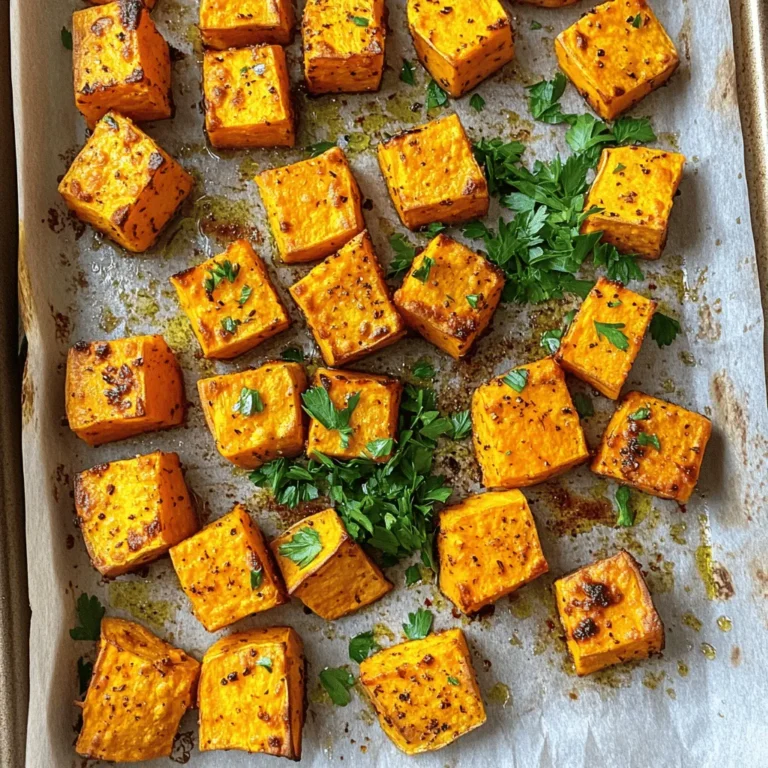
. To get the best texture, use a box grater. Grate zucchinis and potatoes on the large holes. This keeps them chunky and flavorful. After grating, place them in a clean kitchen towel. Twist the towel to squeeze out extra moisture. This step is key. Too much moisture makes the tots soggy. For crispy tater tots, follow these tips: - Use oil: Lightly brush the tops with olive oil. This helps them get golden. - Don't crowd the pan: Space them out on the baking sheet. This allows hot air to circulate. - Flip halfway: Turn the tots halfway through baking. This helps both sides crisp up. Pair your Herby Zucchini Tater Tots with tasty dips. Here are some ideas: - Tzatziki: This yogurt dip adds a fresh taste. - Ketchup: A classic choice for a sweet touch. - Ranch dressing: Creamy and herb-filled, it’s a crowd favorite. Try serving them with a side salad for a light meal. You can find the full recipe above to get started! {{image_2}} To make these tater tots gluten-free, switch the all-purpose flour. Use almond flour or coconut flour instead. Both options work well and keep the texture nice. You can enjoy the same crispy bites without gluten. Just replace in equal amounts and mix as usual. For a vegan version, skip the egg and cheese. Use a flaxseed egg instead. Mix one tablespoon of flaxseed meal with three tablespoons of water. Let it sit for five minutes to thicken. Choose a plant-based cheese that melts well. This keeps your tater tots tasty and vegan-friendly. Herbs can change the taste of your tater tots. Try adding fresh basil or dill for a new twist. You can also use thyme or oregano for an earthy flavor. Mix and match herbs to find your favorite. This small change adds lots of flavor to each bite. For the full recipe, check the instructions above. After you enjoy your Herby Zucchini Tater Tots, store any leftovers in an airtight container. Make sure they cool down first. Place a paper towel at the bottom of the container. This helps absorb excess moisture and keeps them crispy. Store them in the fridge for up to three days. To reheat your tater tots, the oven is best for crispiness. Preheat your oven to 375°F (190°C). Spread the tater tots on a baking sheet. Bake for about 10-15 minutes, flipping them halfway through. This will make them nice and crispy again. You can also use an air fryer. Set it to 350°F (175°C) and cook for 5-7 minutes. If you want to freeze your tater tots, let them cool completely first. Place them in a single layer on a baking sheet. Freeze for about 1-2 hours. Once they are firm, transfer them to a freezer-safe bag. Label the bag with the date. You can freeze them for up to three months. When you're ready to eat, bake them straight from the freezer. No need to thaw! Check the Full Recipe for more tips. Yes, you can use frozen zucchini. However, fresh zucchini gives the best taste. If you use frozen, thaw and drain it well. This keeps your tater tots from being soggy. Soggy tater tots won't crisp up nicely in the oven. To make tater tots without cheese, leave it out entirely. You can add extra seasoning instead. Try adding a bit more garlic powder or herbs. This will keep the flavor strong and delicious. You might also use a vegan cheese substitute if you prefer. Herby Zucchini Tater Tots pair well with many sides. Here are a few ideas: - Fresh salad with greens and a light dressing. - A bowl of creamy tzatziki for dipping. - Grilled vegetables for a colorful plate. - Spicy ketchup for a kick. These sides make the meal fun and tasty. Feel free to mix and match! For the complete recipe, check out the Full Recipe link. In this blog post, we explored the tasty world of Herby Zucchini Tater Tots. We covered essential and optional ingredients, along with their nutrition. I gave you clear, easy instructions on how to make them. I also shared tips for perfect texture and fun variations. Plus, I detailed how to store and reheat your leftovers for later. Enjoy these tater tots as a snack or side dish. Try out your own flavors and enjoy a tasty twist on a classic!](https://soyumrecipes.com/wp-content/uploads/2025/07/a56f9819-5022-4ffa-afb6-0266a224cfa8-300x300.webp)

Spicy Black Bean Tacos Flavorful and Quick Meal
Looking for a quick meal that’s bursting with flavor? You’ve come to the right place! My Spicy Black Bean Tacos are not only easy…