

Latest & Greatest
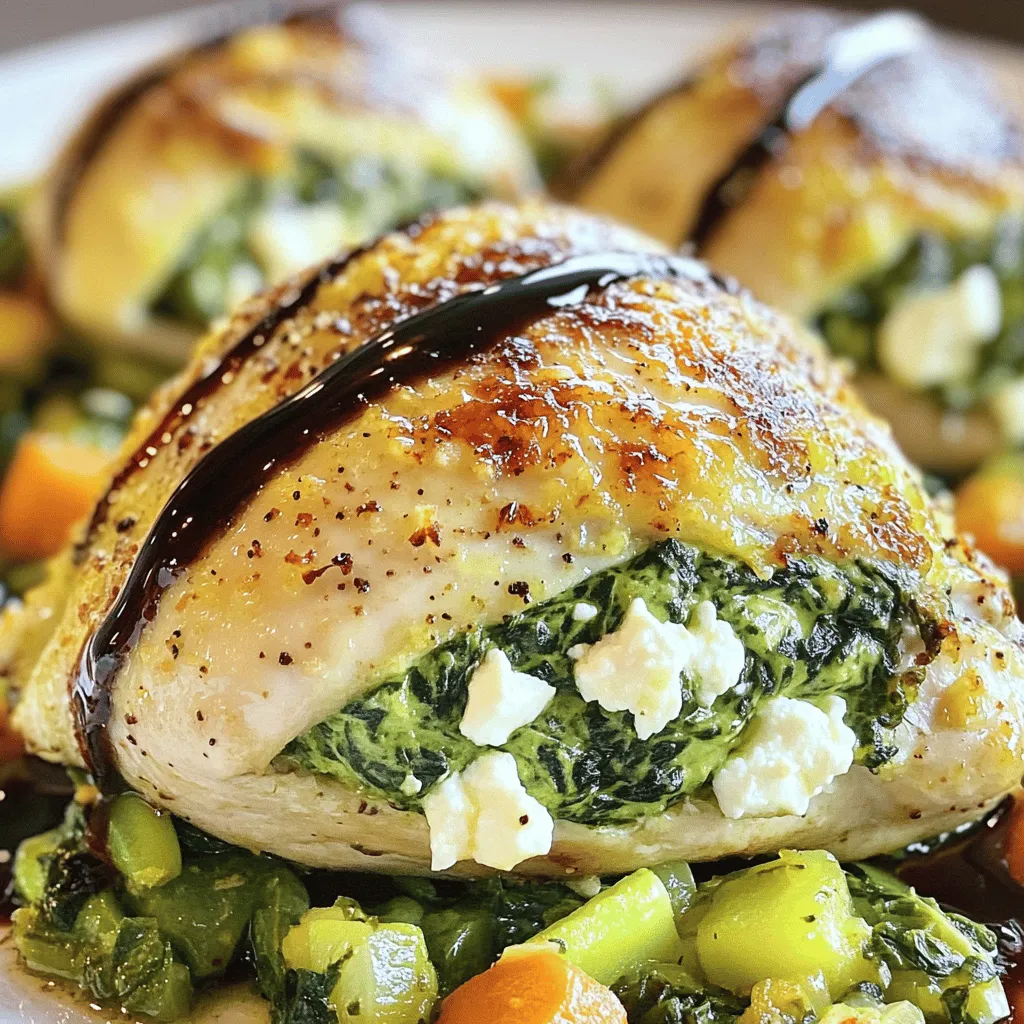
Spinach and Feta Stuffed Chicken Flavorful Weeknight Meal
Looking for a quick and tasty dinner idea? Spinach and Feta Stuffed Chicken is the answer. This flavorful weeknight meal
Read more…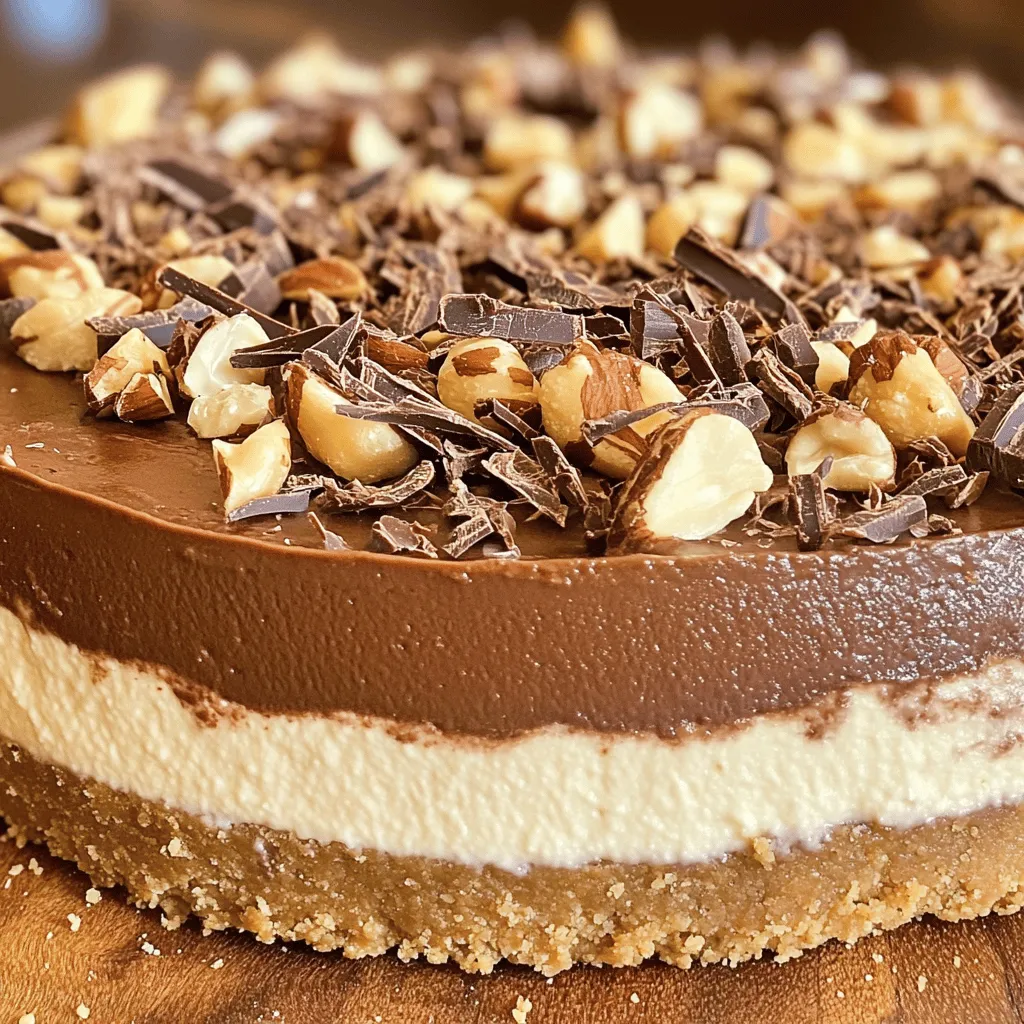
No-Bake Nutella Cheesecake Delightful and Easy Dessert
Craving something sweet and creamy that’s also easy to make? Look no further! This No-Bake Nutella Cheesecake is a true
Read more…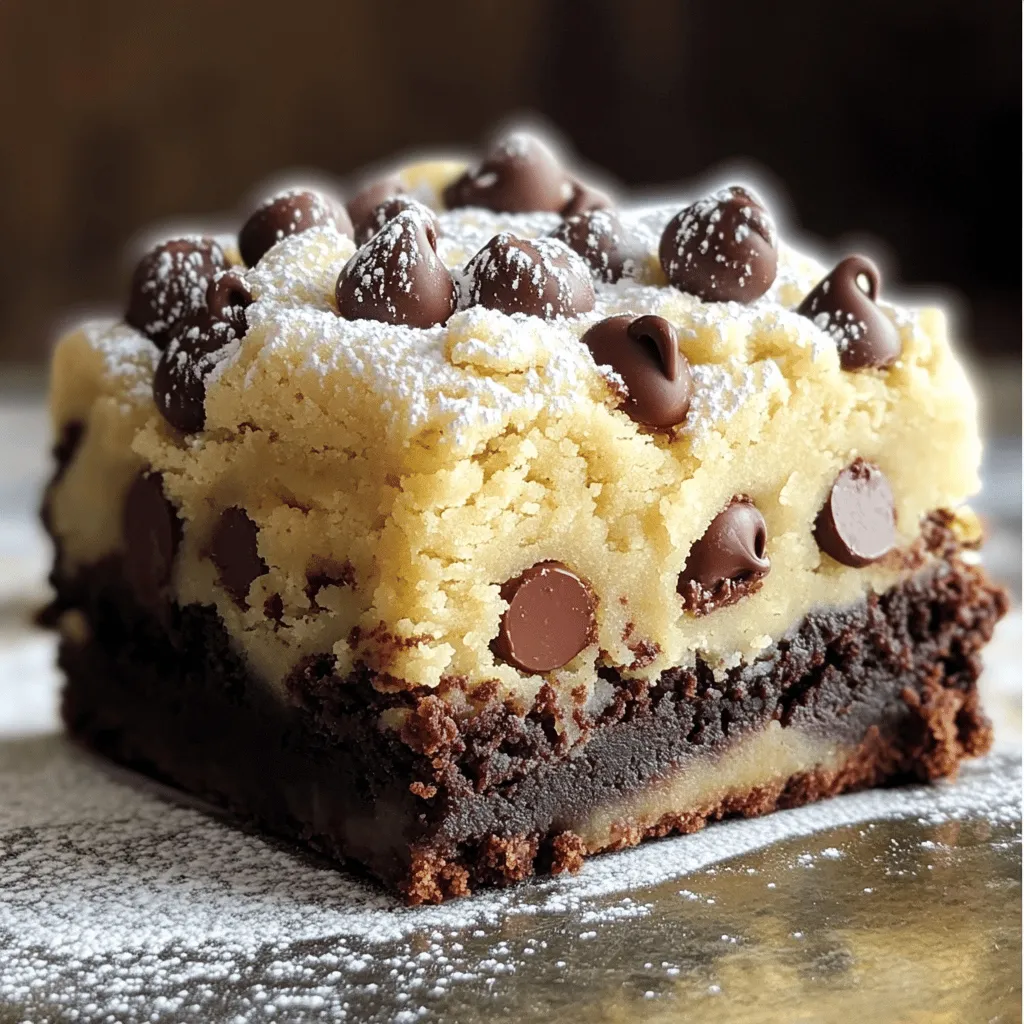
Chocolate Chip Cookie Dough Brownies Irresistible Treat
Get ready for a delicious treat that combines two favorites: brownies and cookie dough! In this post, I’ll show you
Read more…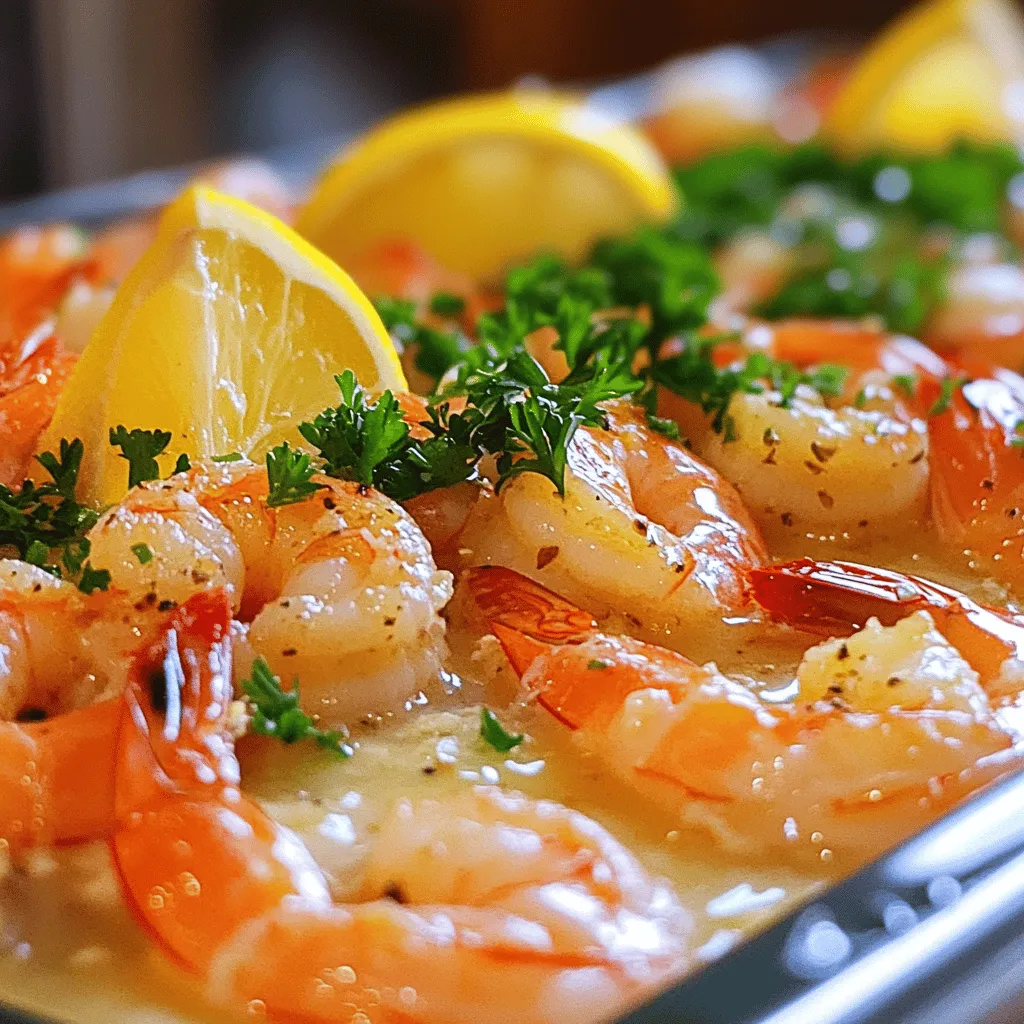
Flavorful 5-Ingredient Garlic Butter Shrimp Recipe
Craving a quick, delicious meal? You’re in luck! My 5-Ingredient Garlic Butter Shrimp Recipe is simple yet bursting with flavor.
Read more…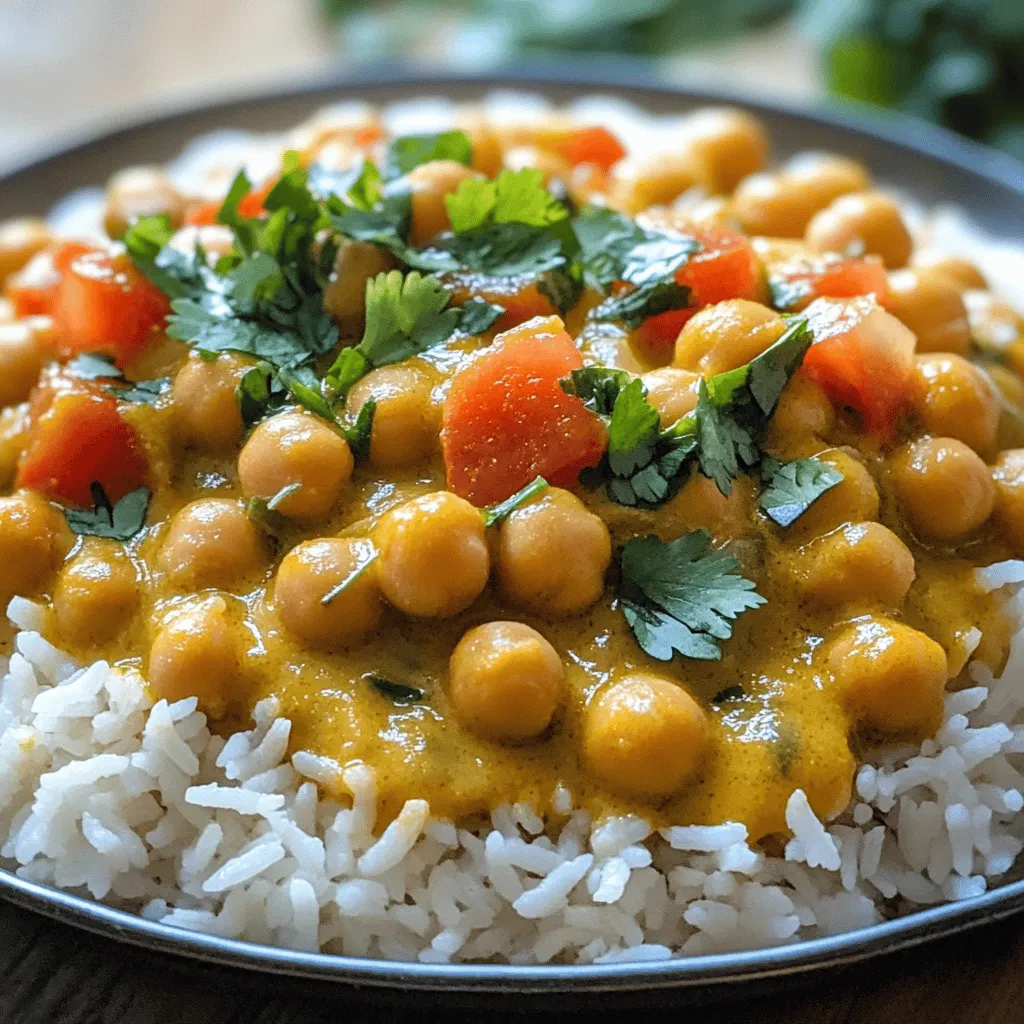
Vegan Chickpea Curry Flavorful and Easy Meal Idea
Are you ready to spice up your dinner routine? This Vegan Chickpea Curry is not just flavorful; it’s also simple
Read more…
Glazed Lemon Sugar Cookies Delightful and Simple Treat
If you’re craving a sweet treat that’s simple yet bursting with flavor, look no further! These Glazed Lemon Sugar Cookies
Read more…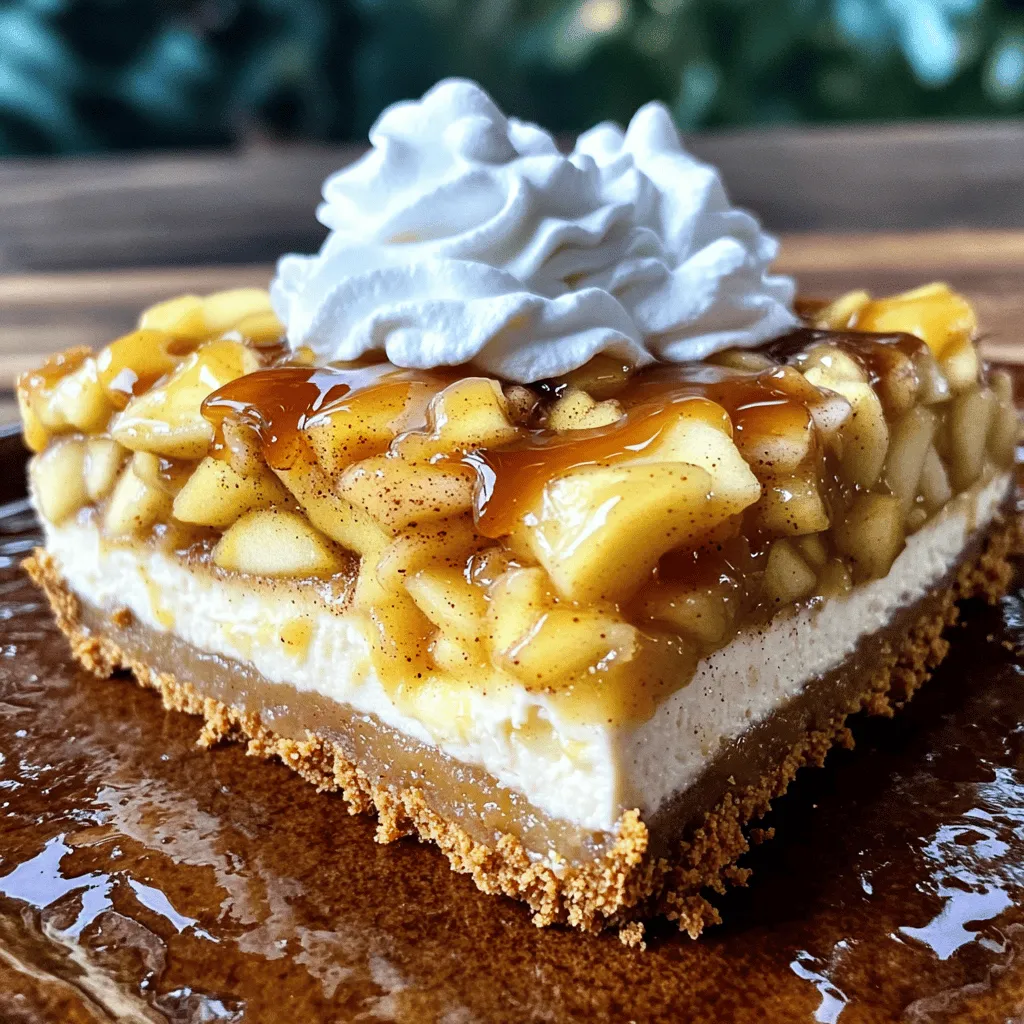
Apple Pie Stuffed Cheesecake Irresistible Desserts
If you love desserts that combine flavors, you’re in for a treat! My Apple Pie Stuffed Cheesecake takes two classics
Read more…
Best Homemade Cinnamon Rolls Flavorful and Easy Recipe
Are you ready to make the best homemade cinnamon rolls? This easy recipe combines warm, fluffy dough with a sweet
Read more…browse recipes


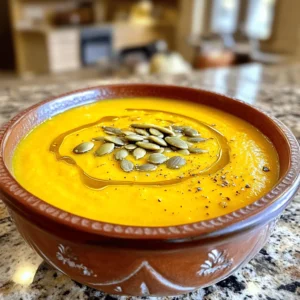

Pumpkin Spice Energy Bites Healthy Snack Boost
Looking for a healthy snack that packs a flavor punch? Try these Pumpkin Spice Energy Bites! They are quick to make, taste great, and…
My Latest Desserts
-

Pumpkin Spice Energy Balls Tasty and Nutrient-Rich
Are you ready to fuel your day with a tasty treat? Pumpkin Spice Energy Balls are not just delicious; they’re Read Full Recipe -

S’mores Dessert Nachos Tasty and Fun Treat Idea
Get ready for a treat like no other with my S’mores Dessert Nachos! This fun dessert combines crispy tortillas, melty Read Full Recipe -
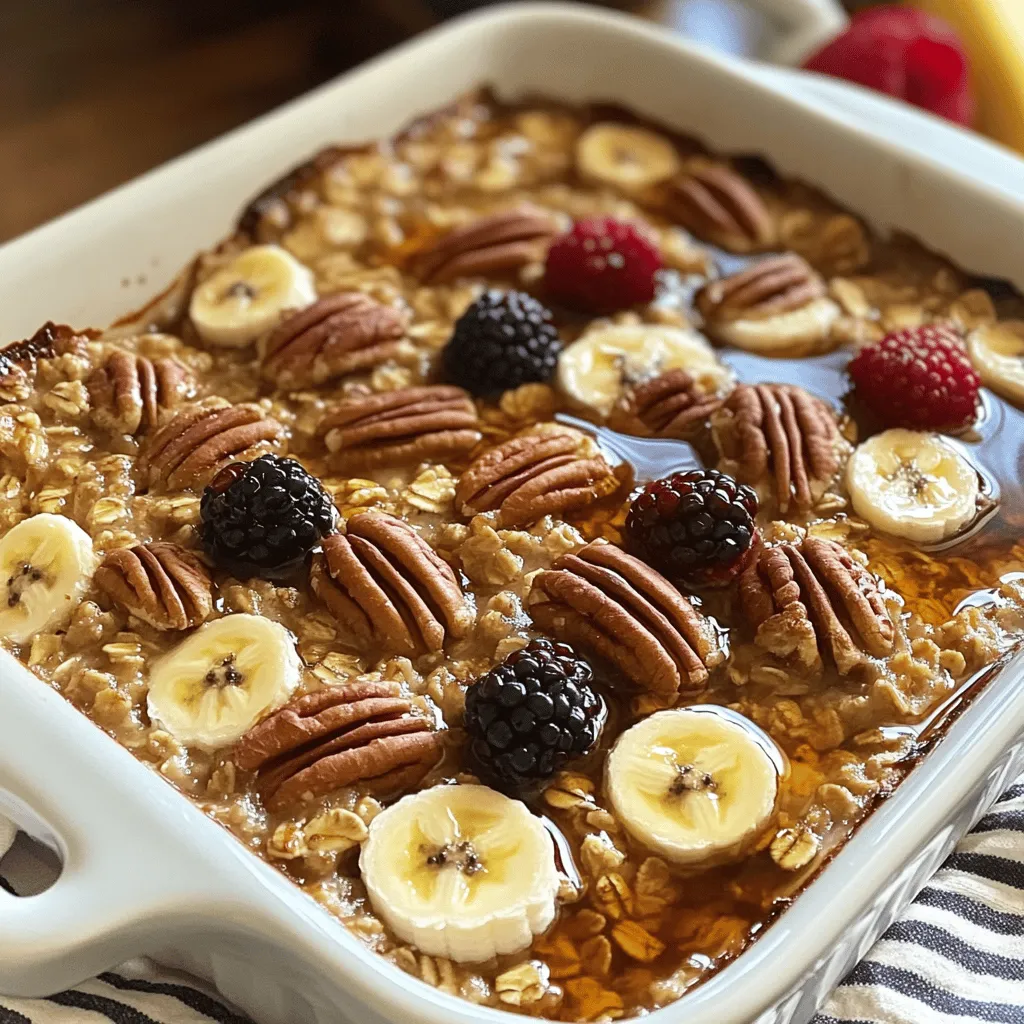
Maple Pecan Baked Oatmeal Tasty Morning Delight
Are you ready for a sweet start to your day? Maple Pecan Baked Oatmeal is a tasty treat that combines Read Full Recipe -

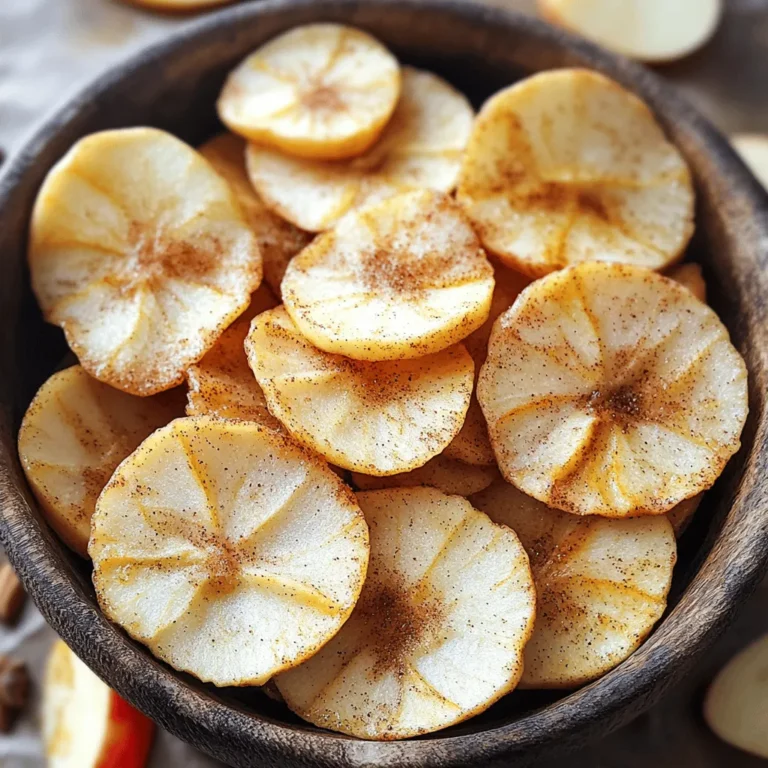
Baked Cinnamon Apple Chips Healthy Snack Delight
If you crave a tasty snack that satisfies both your sweet tooth and health goals, look no further! Baked Cinnamon Read Full Recipe -

No-Bake Peach Yogurt Bars Tasty and Easy Treat
Looking for a sweet, easy treat? You’ll love these No-Bake Peach Yogurt Bars! They combine creamy yogurt and juicy peaches Read Full Recipe -
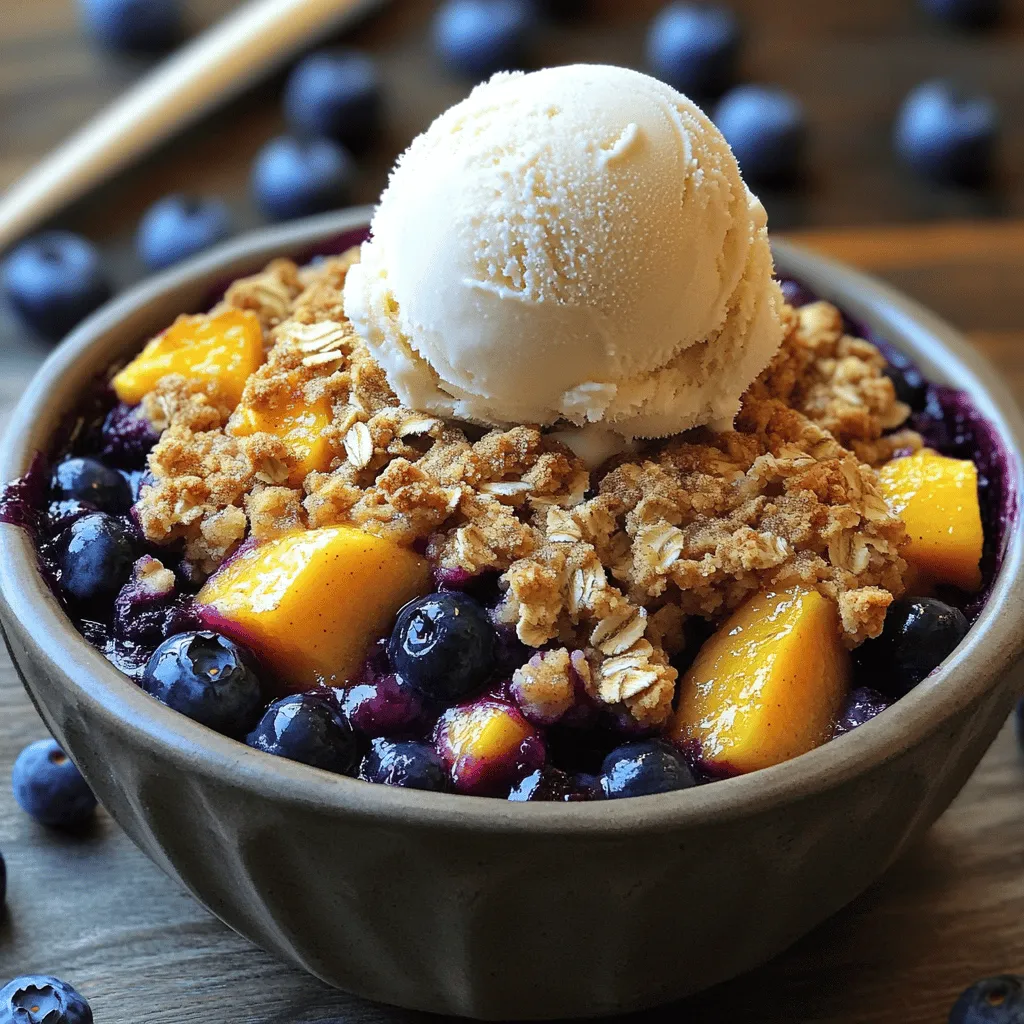
Blueberry Peach Crumble Simple and Tasty Delight
Looking for a simple dessert that bursts with flavor? You’re in the right place! My Blueberry Peach Crumble combines juicy Read Full Recipe -
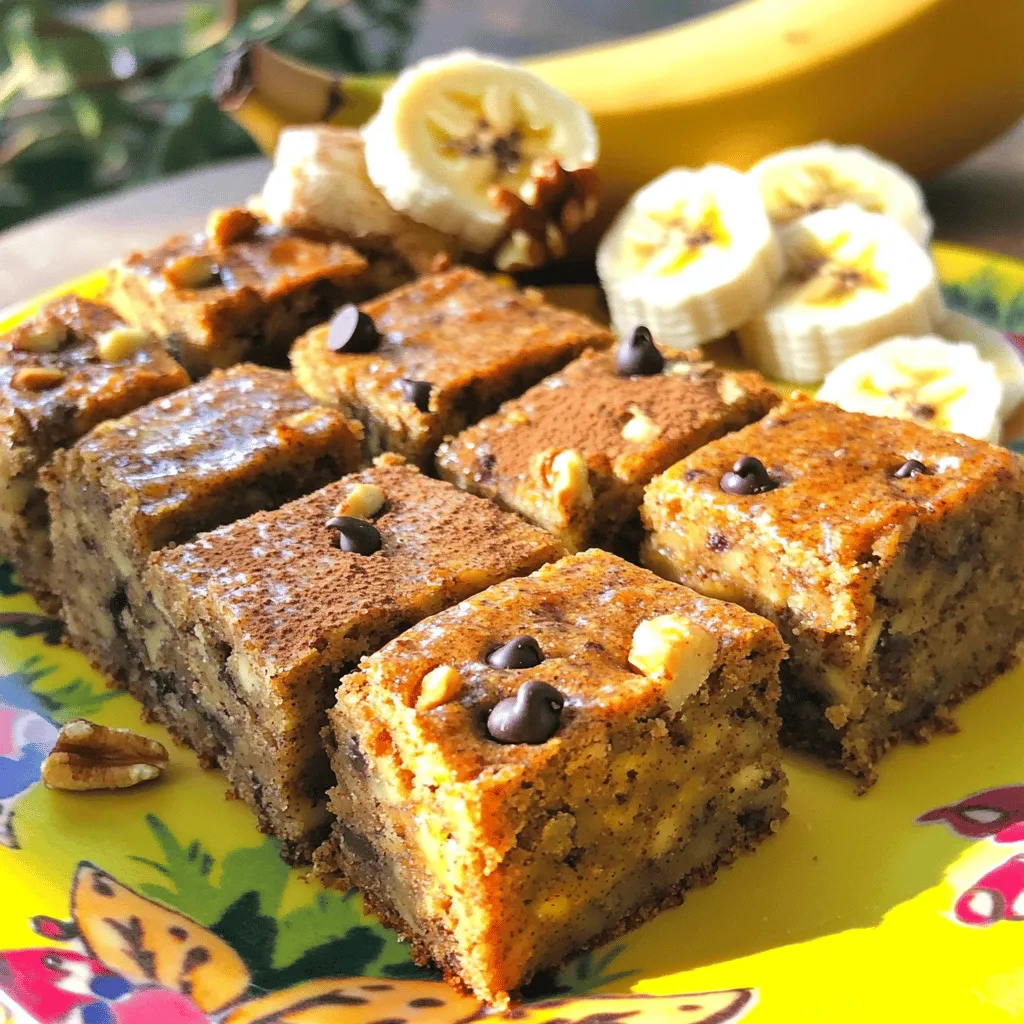
Healthy Banana Bread Bars Simple and Tasty Recipe
Looking for a delicious snack that’s also good for you? Try my Healthy Banana Bread Bars! These simple treats are Read Full Recipe -

No-Bake Lemon Bars Easy and Tart Dessert Recipe
Looking for a refreshing treat that’s easy to make? These No-Bake Lemon Bars are tart, creamy, and perfect for any Read Full Recipe -

Chocolate Covered Strawberry Bites Delightful Treats
Looking for a sweet and simple treat? Chocolate Covered Strawberry Bites are quick to make and impossible to resist! With Read Full Recipe -
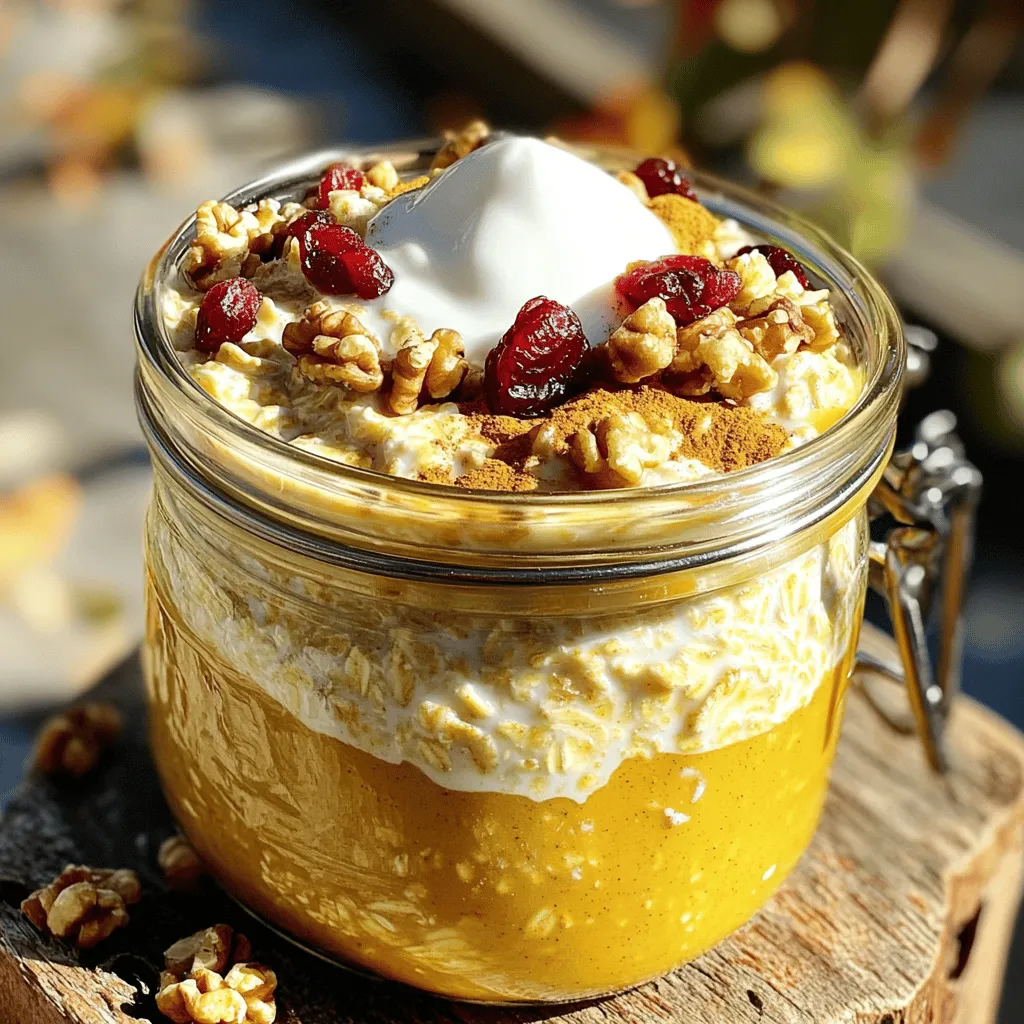
Pumpkin Spice Overnight Oats Easy and Delicious Recipe
Craving a cozy fall breakfast? You’ll love these Pumpkin Spice Overnight Oats! This easy, delicious recipe combines creamy oats with Read Full Recipe
My Latest Recipes

hey,
i’m !
I’m so happy you’re here!
I love creating dishes that bring joy to the table. I hope they bring the same joy to yours. Let’s enjoy this flavorful journey together.


![To make Baked French Onion Gnocchi, you need fresh and simple ingredients. Here is what you will need: - 1 pound gnocchi (store-bought or homemade) - 2 large yellow onions, thinly sliced - 2 tablespoons olive oil - 1 teaspoon sugar - 4 cups beef or vegetable broth - 1 teaspoon dried thyme - 1 teaspoon garlic powder - Salt and pepper to taste - 1 cup Gruyère cheese, grated - 1/2 cup mozzarella cheese, shredded - Fresh parsley, chopped for garnish These ingredients come together to create a warm and comforting dish. The gnocchi serves as a great base, while the onions add sweetness and depth. The cheeses melt beautifully, making the dish creamy and rich. You can find the full recipe to guide you through the cooking process step-by-step. Each ingredient plays a key role in building flavor, so make sure to use quality items. Enjoy picking out fresh onions and cheese; they will make a big difference! Start by preheating your oven to 375°F (190°C). This step ensures your dish cooks evenly. A hot oven helps the cheese melt perfectly and creates a lovely golden crust on top. Next, take a large skillet and heat 2 tablespoons of olive oil over medium heat. Add 2 thinly sliced yellow onions. Sprinkle in 1 teaspoon of sugar to help with caramelization. Stir the onions often for about 15-20 minutes. Look for a deep golden color. This brings out their natural sweetness. The smell will fill your kitchen and make you hungry! While the onions are cooking, grab another pot. Pour in 4 cups of beef or vegetable broth. Bring it to a gentle simmer. Add 1 teaspoon of dried thyme and 1 teaspoon of garlic powder to the broth. Season with salt and pepper to taste. Once it simmers, add 1 pound of gnocchi. Cook them according to the package instructions, which usually takes 2-3 minutes. Watch for them to float to the surface; that means they are ready! Mixing these steps together creates a dish full of flavor. Once your gnocchi is cooked, you can combine everything as per the [Full Recipe]. Enjoy the delicious process! First, I gently mix the cooked gnocchi with the caramelized onions. This adds rich flavor to the dish. Make sure the gnocchi is coated well with the sweet onions. The warmth from the gnocchi helps to blend the flavors. This step is key for a delicious result. Next, I spoon the gnocchi and onion mix into a greased baking dish. Use a spatula to spread it evenly. It’s important for even baking. You want every bite to have that great taste. Make sure to fill the dish to the edges. This will create a nice, crispy topping. Now comes the fun part: adding cheese! I sprinkle the Gruyère cheese first. This cheese melts beautifully and adds depth. Then, I add the mozzarella cheese. It gives that gooey, stretchy texture we love. Make sure to cover the top well. This cheesy layer will turn golden and bubbly while baking. Don’t forget to check the Full Recipe for more details! {{image_2}} After prepping your gnocchi and onions, it’s time to bake. Place the baking dish in your preheated oven at 375°F (190°C). Bake for 20-25 minutes. You want the cheese to melt and bubble. This gives the dish a golden, crispy top. The aroma will fill your kitchen with warmth and comfort. Once baked, take the dish out of the oven. Let it cool for a few minutes. This helps the dish set. Now, sprinkle fresh chopped parsley on top. This adds a pop of color and a fresh taste. It makes your dish look inviting and bright. Serve this dish warm, straight from the oven. It pairs well with a simple salad or crusty bread. You can even enjoy it as a cozy meal on its own. For extra flavor, consider adding a sprinkle of fresh herbs. This enhances the taste and presentation of your baked French onion gnocchi. Want more ways to enjoy it? You can try adding roasted vegetables or a side of garlic bread. Explore and make it your own! For the full recipe, check out the details above. To get the best flavor, take your time with the onions. Start with medium heat and add the olive oil. Stir in the sliced onions and sprinkle with sugar. The sugar helps them turn golden. Cook them low and slow for about 15 to 20 minutes. Stir often to avoid burning. Gruyère cheese gives a rich taste, but you can mix it up. Try Swiss or fontina for a different flavor. If you want a lighter cheese, mozzarella works well too. You can even use a vegan cheese if you prefer. Don't be afraid to experiment! When cooking gnocchi, make sure to stir gently in the broth. This keeps them from sticking together. Follow the package directions closely. Most gnocchi will float when done. This is your cue to take them out. Overcooked gnocchi can become mushy, so keep an eye on them! For the full recipe, check out the details above! You can easily make this dish vegetarian. Simply swap the beef broth for vegetable broth. This change keeps all the flavors while making it meat-free. The caramelized onions add a rich taste that balances the dish. You won’t miss the meat at all! Want to boost nutrition? Add some veggies! Spinach, mushrooms, or zucchini work well. Sauté them with the onions for extra flavor. You can also fold in cooked broccoli or peas before baking. This way, you get more color and taste in every bite. Cheese lovers can have fun here! If Gruyère is not your favorite, try different cheeses. Aged cheddar or fontina melts beautifully. For a tangy twist, add some crumbled goat cheese. Mixing cheeses can change the flavor and texture of the dish. Experiment and find your perfect blend! For the full recipe, check the original guide to make this dish a delightful experience. You can keep leftovers in an airtight container. Store them in the fridge. They will last for 3 to 4 days. When you are ready to eat, just take them out. To freeze, first let the dish cool completely. Then, place it in a freezer-safe container. It can last up to 2 months. When you want to eat it, thaw it in the fridge overnight. You can reheat the gnocchi in the oven or microwave. For the oven, preheat to 350°F (175°C). Place the dish in an oven-safe container. Cover with foil to keep it moist. Bake for 20 minutes or until heated through. If using a microwave, heat in short bursts. Stir in between to warm evenly. To make Baked French Onion Gnocchi, start by caramelizing onions. Heat olive oil in a skillet. Add thinly sliced onions and sprinkle with sugar. Cook for 15-20 minutes until golden brown. In another pot, simmer beef or vegetable broth. Stir in dried thyme and garlic powder. Season with salt and pepper. Add gnocchi to the broth and cook for 2-3 minutes until they float. Mix the cooked gnocchi and caramelized onions. Transfer to a greased baking dish. Top with Gruyère and mozzarella cheese. Bake at 375°F for 20-25 minutes until bubbly. For the full recipe, check out the details above. Store leftovers in an airtight container. Let the dish cool before sealing. Place it in the fridge. Enjoy within three days for the best taste. To reheat, use the oven for best results. You can also use the microwave, but it may not be as crispy. Yes, you can use different cheeses. Cheddar, fontina, or gouda work well. Each cheese gives a unique flavor. Mix and match to find your favorite combination. Just ensure the cheese melts well for that gooey finish. Making Baked French Onion Gnocchi takes about 50 minutes. This includes prep and cooking time. You can speed things up by having all ingredients ready before cooking. Absolutely! Homemade gnocchi adds a special touch. Just ensure they are cooked before mixing them with the sauce. This dish will taste even more delightful when you use your own gnocchi. This blog post covered how to make a delicious Baked French Onion Gnocchi. You learned about the key ingredients and the step-by-step process to caramelize onions, cook gnocchi, and layer cheese for a perfect bake. Tips on cheese substitutions and storage helped deepen your understanding. This dish is not only tasty but also flexible. You can tailor it to fit your needs, whether adding veggies or changing cheese. So, grab those ingredients and enjoy cooking this comforting meal. You'll impress everyone at your table!](https://soyumrecipes.com/wp-content/uploads/2025/05/3dbe86d9-8212-4ebb-8210-76b39b51a4d6-300x300.webp)
![- 1 lb boneless, skinless chicken breasts - 4 cups chicken broth - 2 cups water - 2 cups egg noodles - 1 cup carrots, diced - 1 cup celery, diced - 1 small onion, finely chopped - 4 cloves garlic, minced - 1 teaspoon dried thyme - 1 teaspoon dried parsley - Salt and pepper to taste - Juice of 1 lemon - Fresh parsley for garnish The key to making a great Instant Pot Chicken Noodle Soup lies in using fresh, quality ingredients. The chicken forms the base of this soup. I use boneless, skinless chicken breasts for ease and tenderness. The broth brings rich flavor, while the water balances it. Next, I add the vegetables. Carrots, celery, onion, and garlic create a lovely aroma and depth of taste. Dicing them ensures they cook evenly. Herbs and seasoning are essential for that warm, cozy flavor. Dried thyme and parsley add earthiness. A splash of lemon juice brightens everything. Lastly, fresh parsley gives a nice touch when serving. Using these ingredients will make a comforting soup that warms the heart. Check out the Full Recipe for detailed steps and times to enjoy this dish. 1. Set your Instant Pot to the Sauté function. 2. Heat 2 tablespoons of olive oil for about 1 minute. 3. Add 1 small chopped onion, 4 minced garlic cloves, 1 cup diced carrots, and 1 cup diced celery. 4. Sauté for 3-4 minutes until the veggies soften. 1. Place 1 lb of boneless, skinless chicken breasts into the pot. 2. Pour in 4 cups of chicken broth and 2 cups of water. 3. Stir in 1 teaspoon dried thyme, 1 teaspoon dried parsley, salt, and pepper to taste. 4. Close the lid and set the valve to sealing. 5. Select the Manual or Pressure Cook function and set the timer for 10 minutes. 1. Once the timer goes off, let the pressure release naturally for 5 minutes. 2. Carefully switch the vent to release any remaining pressure. 3. Open the lid and take out the chicken breasts. 4. Shred the chicken with two forks and return it to the soup. 5. Stir in 2 cups of egg noodles and let them cook in the hot soup for 5-7 minutes. 6. Add the juice of 1 lemon and adjust seasoning if needed. 7. Serve hot, garnished with fresh parsley! For the complete recipe, check out the [Full Recipe]. When you cook chicken in the Instant Pot, timing is key. Start by adding your chicken breasts whole. This keeps them juicy. Cook for just 10 minutes under high pressure. After cooking, let the pot rest for about 5 minutes. This helps keep the chicken tender and moist. Then, carefully release any remaining pressure. To boost the taste, try adding herbs like rosemary or basil. A few sprigs of fresh thyme can also work wonders. You can brighten the soup by adding a splash of lemon juice right before serving. This small step makes a big difference in flavor. Serve your soup with warm, crusty bread or a fresh salad. A side of buttery crackers also pairs well. For a nice touch, garnish each bowl with fresh parsley. This adds color and freshness to the dish. You can also sprinkle some black pepper for extra flavor. Enjoy your cozy bowl of soup! {{image_2}} You can easily change the noodles you use. Try whole wheat, gluten-free, or even rice noodles. Each type brings a new taste and texture. You can also swap out vegetables. If you don’t like carrots, use peas or corn. If you have other veggies, toss them in too! To make the soup gluten-free, choose gluten-free noodles. Check the labels to be sure. For a dairy-free option, skip any cream or cheese. The soup will still taste great. You can add coconut milk for creaminess if you want. Cooking in bulk is smart. Make a big batch and freeze some for later. You can store it in single portions for easy meals. Just let the soup cool before putting it in containers. This helps keep it fresh. To keep your soup fresh, store it in an airtight container. Let it cool first. Refrigerate leftovers within two hours of cooking. This keeps harmful bacteria away. If you want to freeze it, ensure the soup is cool. Use freezer-safe containers or bags. Leave some space at the top for expansion. This helps prevent spills. To reheat in the Instant Pot, add the soup back in. Use the Sauté function on low heat. Stir often until the soup is hot. For stovetop reheating, pour the soup into a pot. Heat it over medium heat. Stir regularly to avoid sticking. This method works well and warms the soup evenly. In the fridge, your soup lasts about 3 to 4 days. Always check for signs of spoilage. Look for off smells, changes in color, or mold. If any of these appear, throw the soup away. If you freeze the soup, it lasts about 2 to 3 months. Thaw it in the fridge before reheating for best results. To make Instant Pot Chicken Noodle Soup, follow these steps: - Set the Instant Pot to Sauté and add olive oil. - Sauté chopped onion, garlic, carrots, and celery for about 4 minutes. - Add 1 lb boneless, skinless chicken breasts, 4 cups chicken broth, and 2 cups water. - Stir in 1 teaspoon dried thyme, 1 teaspoon dried parsley, salt, and pepper. - Close the lid, seal the valve, and cook on High Pressure for 10 minutes. - Let the pressure release naturally for 5 minutes, then vent any remaining pressure. - Remove the chicken, shred it, and return it to the soup. - Stir in 2 cups egg noodles and let them cook in the hot soup for 5-7 minutes. - Finish with lemon juice and adjust seasoning as needed. This recipe is simple and quick, perfect for any day. For a detailed guide, check the Full Recipe. Yes, you can use frozen chicken. Just add an extra 5-7 minutes to the cooking time. Make sure to increase the liquid by a cup to help with cooking. The soup will still taste great, and you’ll have a warm meal ready in no time. Yes, this soup is excellent for meal prep. You can cook a large batch and store it in the fridge. It lasts for about 3-4 days. For longer storage, freeze portions in airtight containers. When you're ready, just reheat and enjoy! Chicken noodle soup pairs well with many sides. Here are some ideas: - A slice of crusty bread or a warm baguette. - A fresh green salad with light dressing. - Crackers for a crunchy texture. - Grilled cheese sandwiches for a fun twist. These sides add variety and enhance your meal! This blog post shows how to make a tasty Instant Pot Chicken Noodle Soup. We covered key ingredients, easy steps, and smart tips. You can customize the recipe with different vegetables or noodles to fit your taste. Remember to store any leftovers right and reheat them well. This soup is filling and great for meal prep. Enjoy the warmth and comfort it brings. You now have a simple recipe to share with friends. Happy cooking!](https://soyumrecipes.com/wp-content/uploads/2025/06/d78f8b84-2864-47ad-99e3-f489bca28aab-300x300.webp)
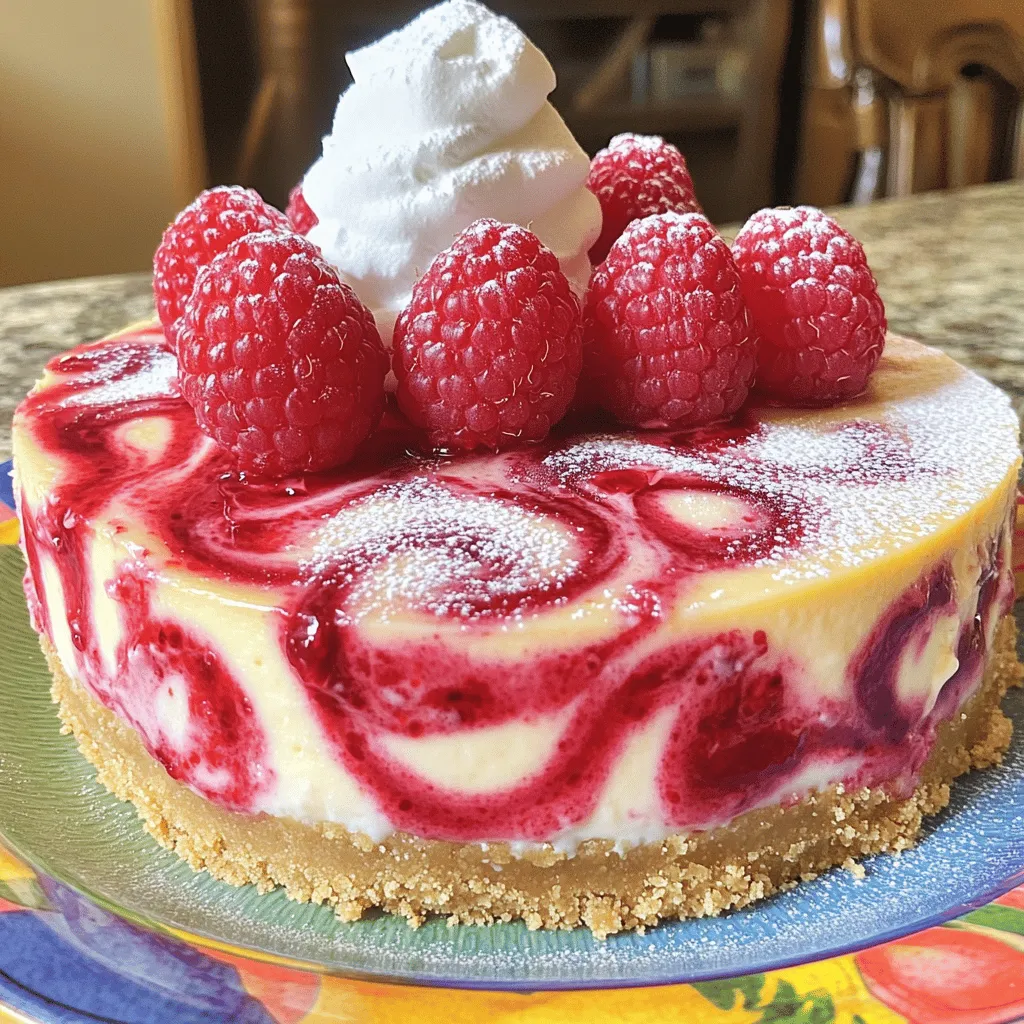
Raspberry Swirl Cheesecake Delightful and Decadent Dessert
Are you ready to indulge in a dessert that combines creaminess and fruity flavor? This Raspberry Swirl Cheesecake is the perfect treat for any…