Latest & Greatest
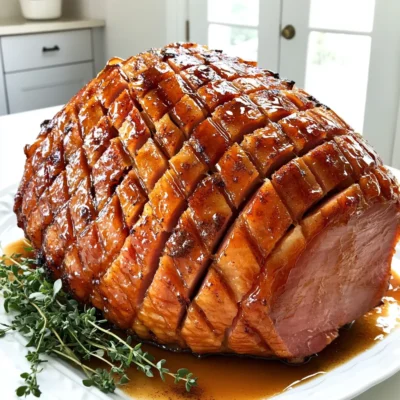
Maple Brown Sugar Glazed Ham Slow Cooker Delight
Looking for an easy way to impress at your next dinner? This Maple Brown Sugar Glazed Ham Slow Cooker Delight
Read more…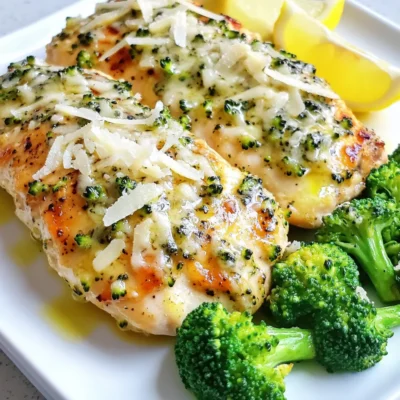
Garlic Parmesan Chicken and Broccoli Sheet Pan Delight
If you love quick meals packed with flavor, you’re in for a treat! My Garlic Parmesan Chicken and Broccoli Sheet
Read more…
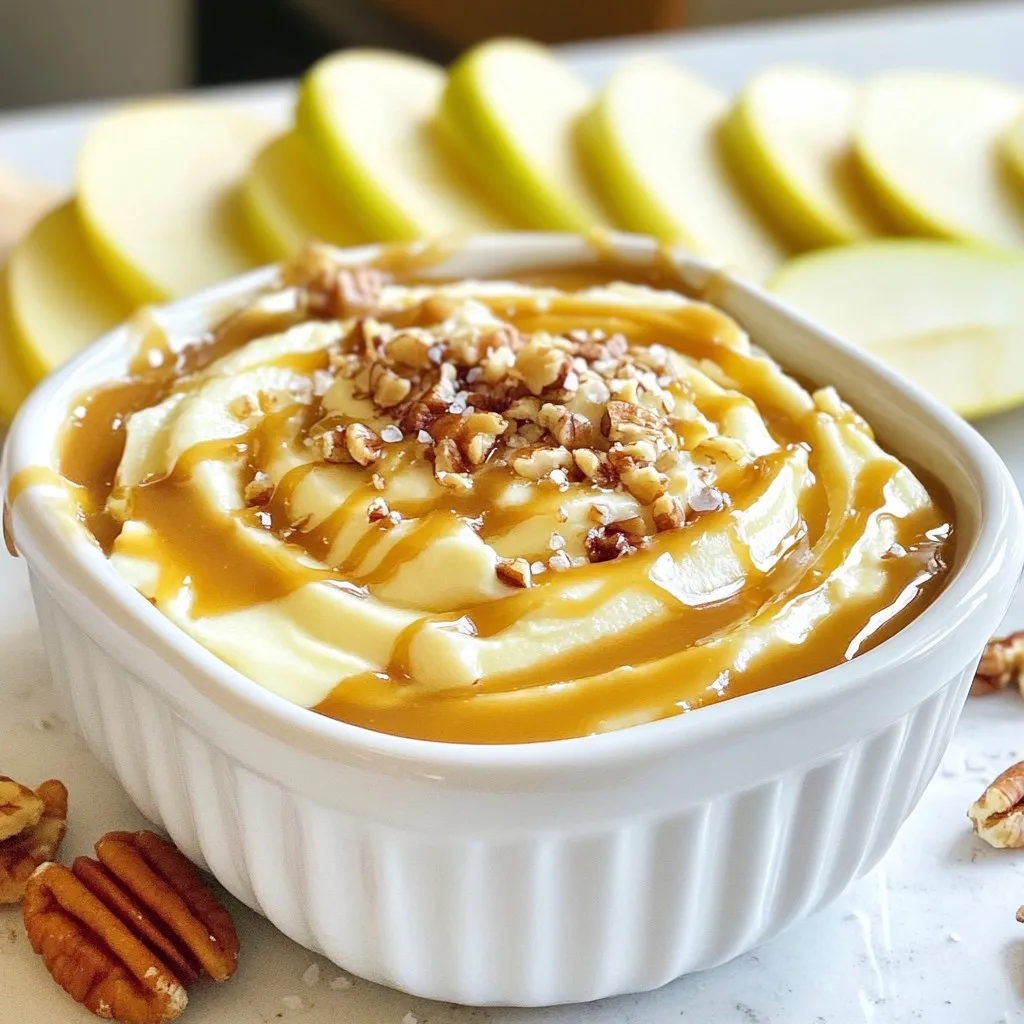
Caramel Apple Cheesecake Dip Sweet and Simple Treat
Craving a tasty treat that’s both sweet and simple? Look no further! This Caramel Apple Cheesecake Dip combines creamy goodness
Read more…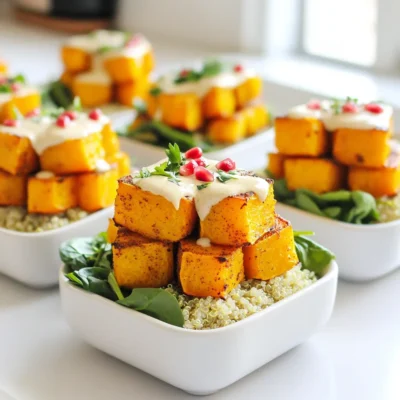
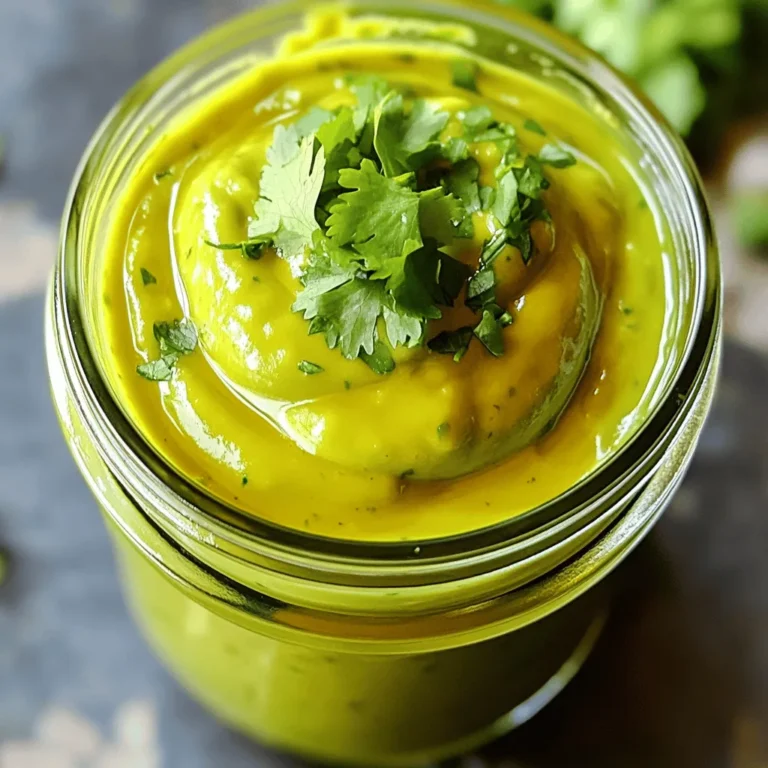
Butternut Squash Quinoa Bowls with Tahini Delight
Welcome to a delicious adventure in the kitchen! Butternut Squash Quinoa Bowls with Tahini Delight are not only flavorful, but
Read more…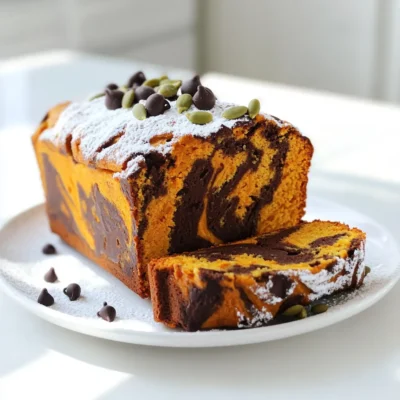
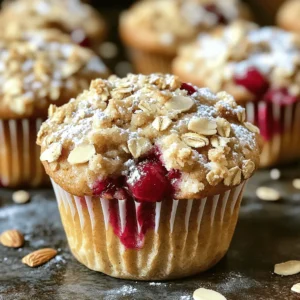
Pumpkin Chocolate Marble Loaf Irresistible Recipe
Are you ready to bake something special? My Pumpkin Chocolate Marble Loaf is a fun treat that mixes warm pumpkin
Read more…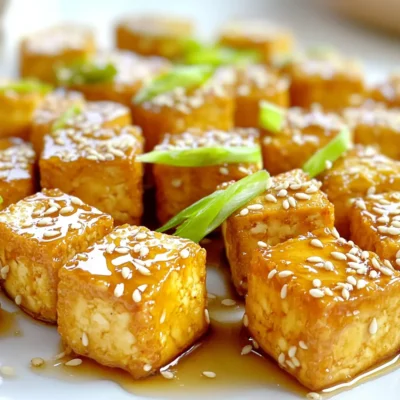
Honey Garlic Tofu Bites Air Fryer Crispy Delight
Are you ready to enjoy a tasty and healthy snack? These Honey Garlic Tofu Bites made in the air fryer
Read more…
Pumpkin Spice Granola Clusters Slow Cooker Delight
Love the cozy taste of fall? You’re in for a treat! My Pumpkin Spice Granola Clusters Slow Cooker Delight is
Read more…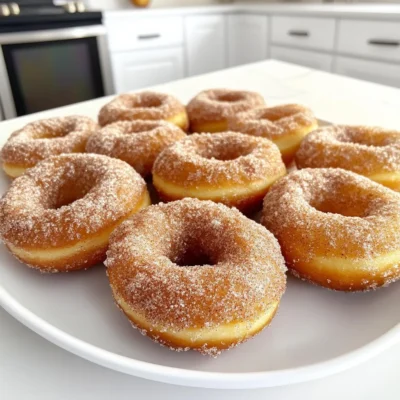
Apple Cider Donuts Cinnamon Sugar Delightful Treat
Craving a sweet fall treat? These Apple Cider Donuts covered in cinnamon sugar are your answer! With a soft, cake-like
Read more…browse recipes


Minute Creamy Parmesan Orzo Simple and Satisfying Dish
Are you ready for a dish that’s both quick and comforting? Minute Creamy Parmesan Orzo is your answer! This recipe packs rich flavors into…
My Latest Desserts

Strawberry Lemonade Cupcakes Fresh and Flavorful Treat
Craving a sweet, tangy treat? Dive into the world of Strawberry Lemonade Cupcakes! These delightful cupcakes blend fresh strawberries and Read Full Recipe-
Salted Caramel Apple Dip Creamy and Delicious Treat
If you’re looking for a tasty treat that combines sweet and salty, you’re in for a delight! This Salted Caramel Read Full Recipe -
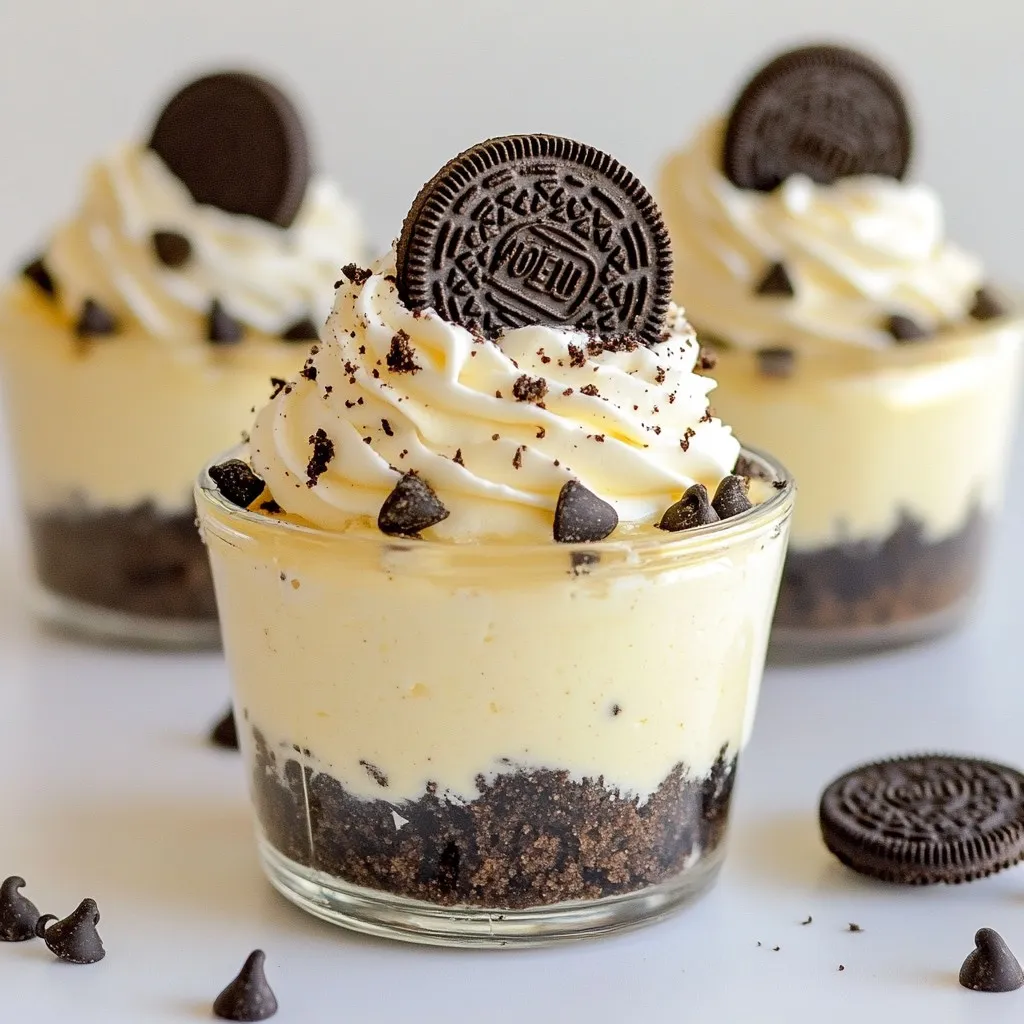
No-Bake Oreo Cheesecake Cups Delightful Easy Treat
Craving a sweet, creamy treat that’s easy to make? These No-Bake Oreo Cheesecake Cups are perfect for you! With just Read Full Recipe -
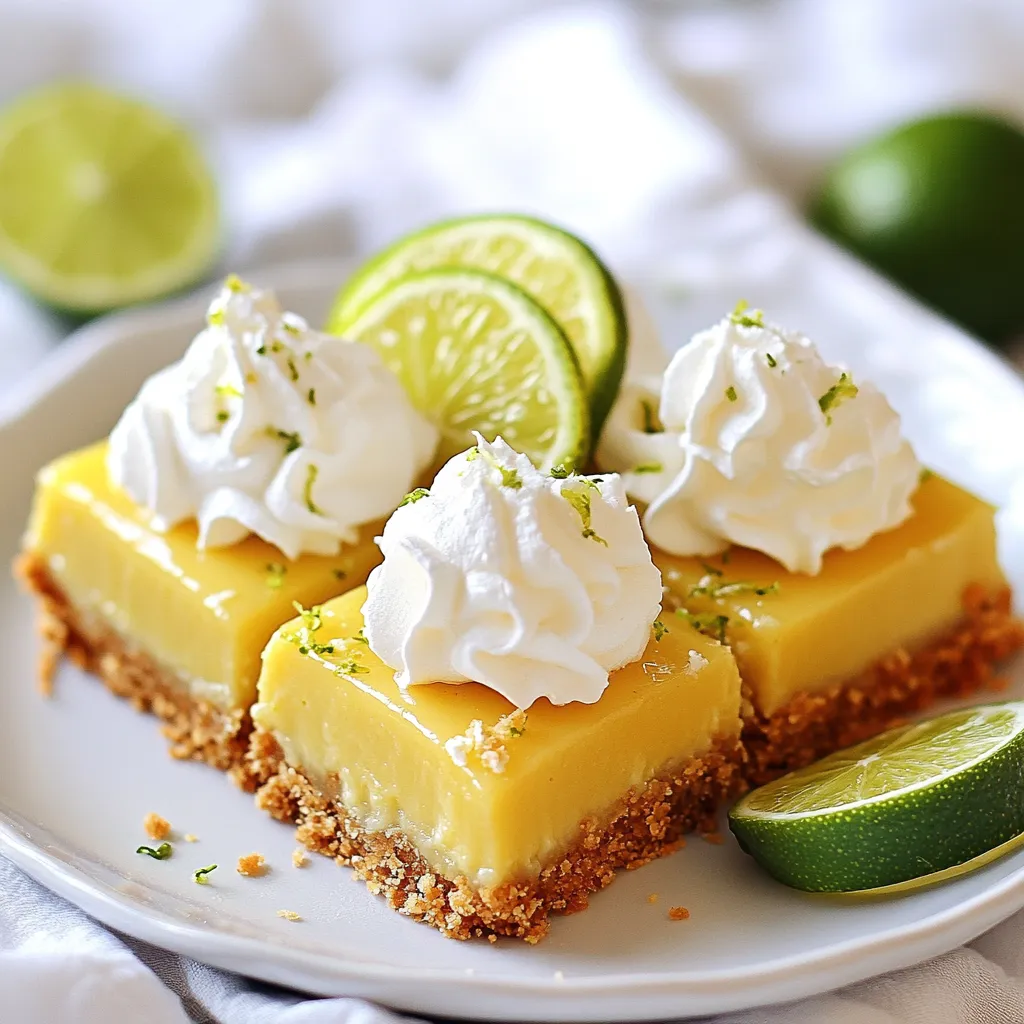
Key Lime Pie Bars Simple and Tangy Dessert Treat
Are you ready to enjoy a treat that’s both simple and zesty? Key Lime Pie Bars combine the tart zing Read Full Recipe -
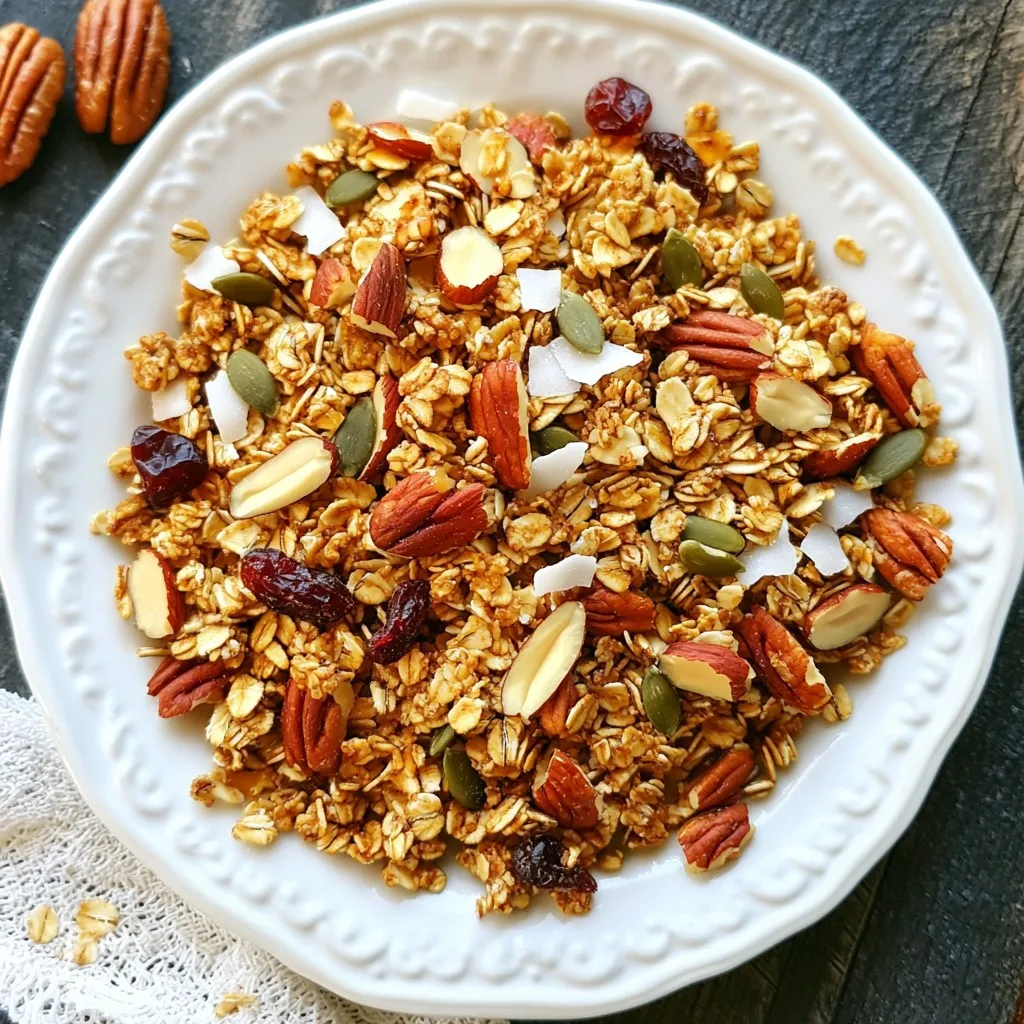
Maple Pecan Granola Crunchy and Nutritious Snack
Looking for a tasty and healthy snack? You’ve found it! My Maple Pecan Granola is crunchy, packed with flavor, and Read Full Recipe -
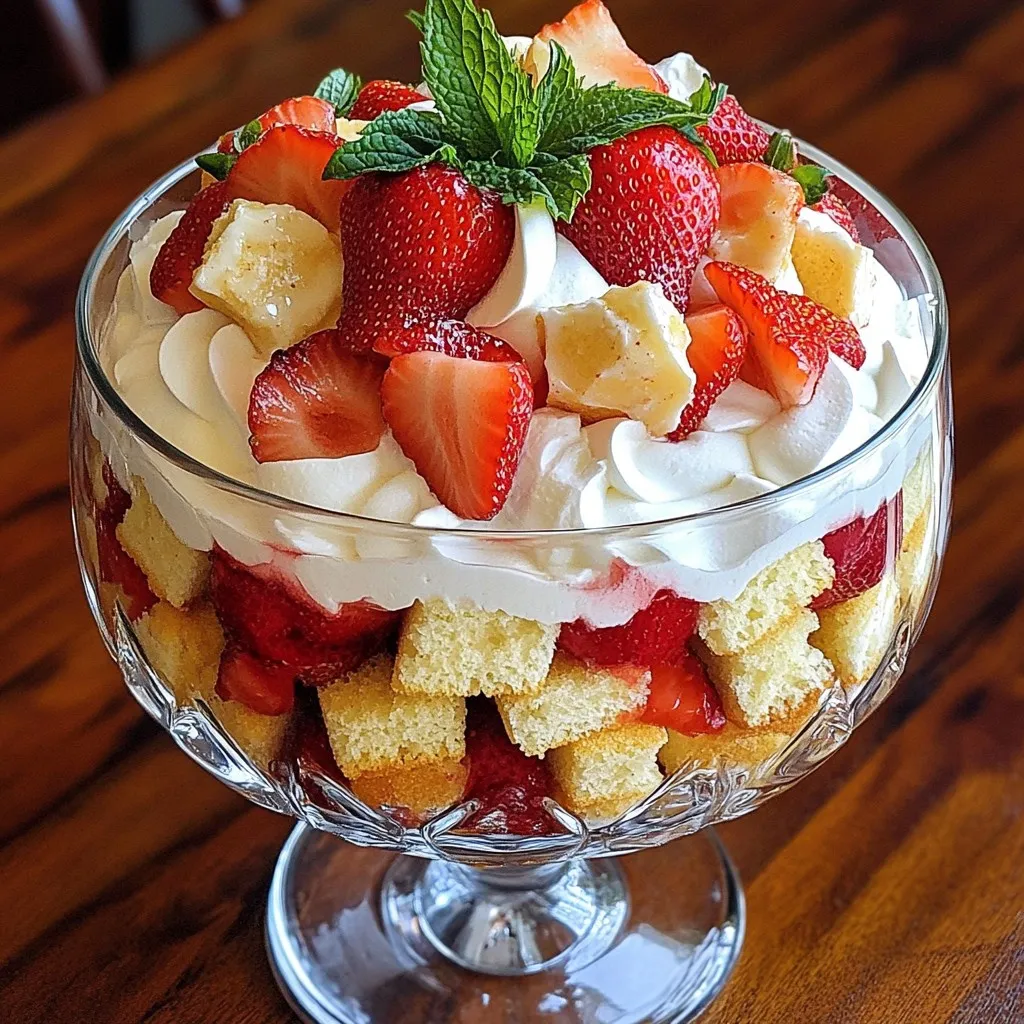
Strawberry Shortcake Trifle Delightful and Simple Treat
Get ready to impress your family and friends with a Strawberry Shortcake Trifle that’s both delightful and simple. This layered Read Full Recipe

My Latest Drinks
-
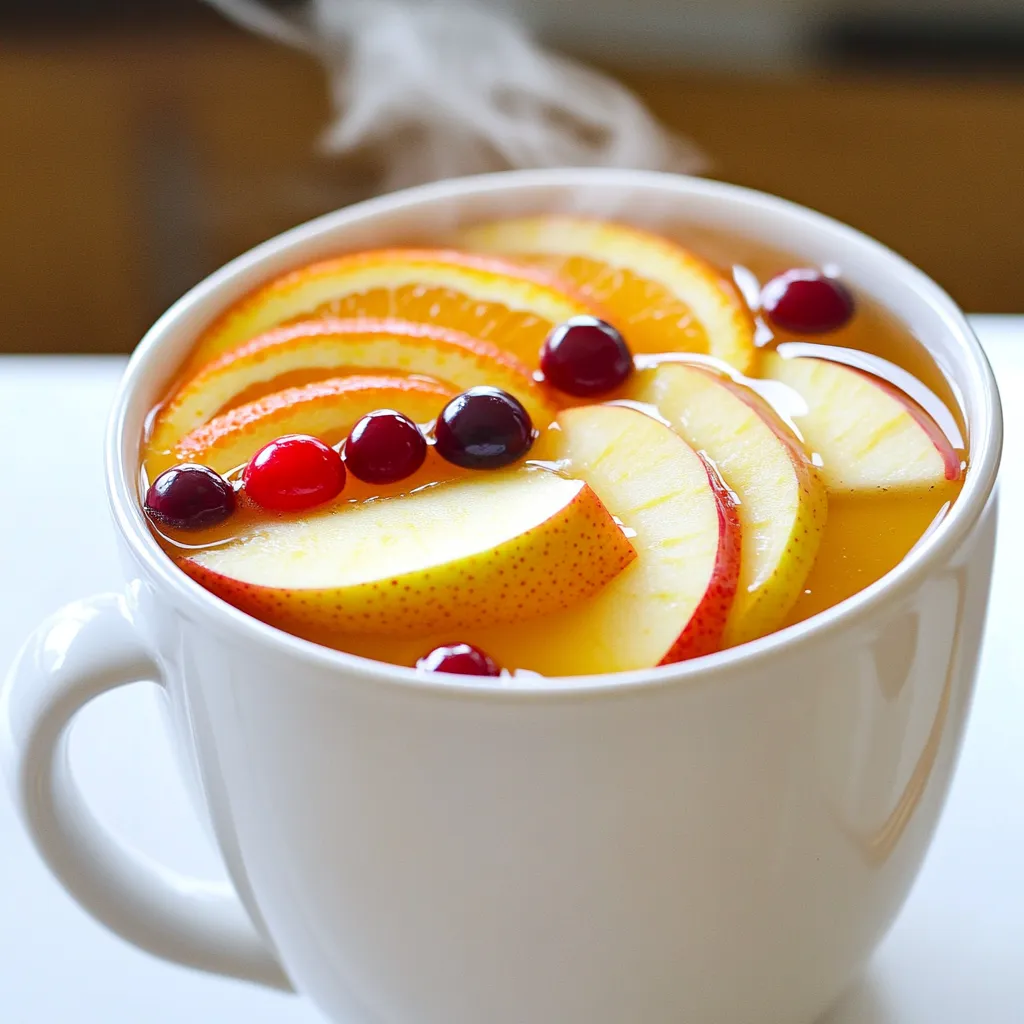
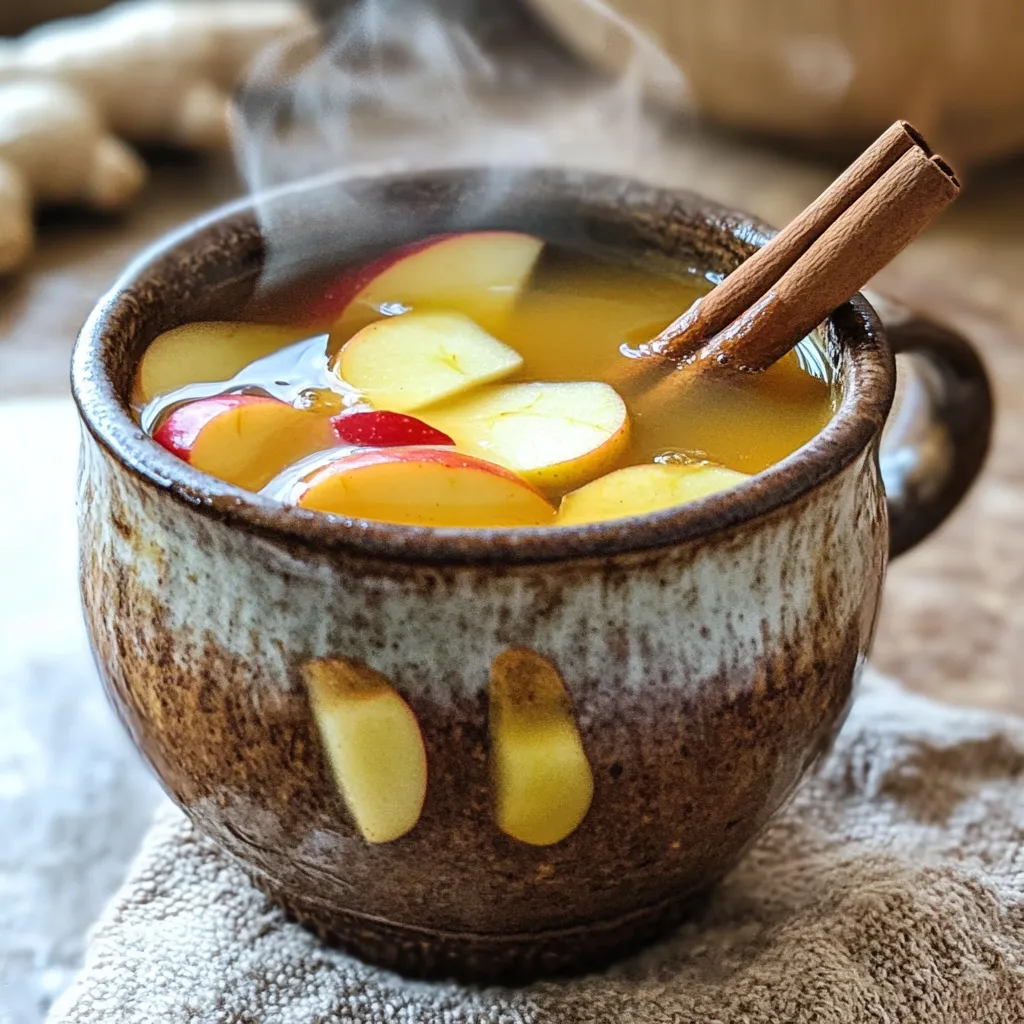
Spiced Apple Cider Punch Festive and Flavorful Drink
Warm up your gatherings with my Spiced Apple Cider Punch! This festive drink bursts with cozy flavors, perfect for chilly Read Full Recipe -
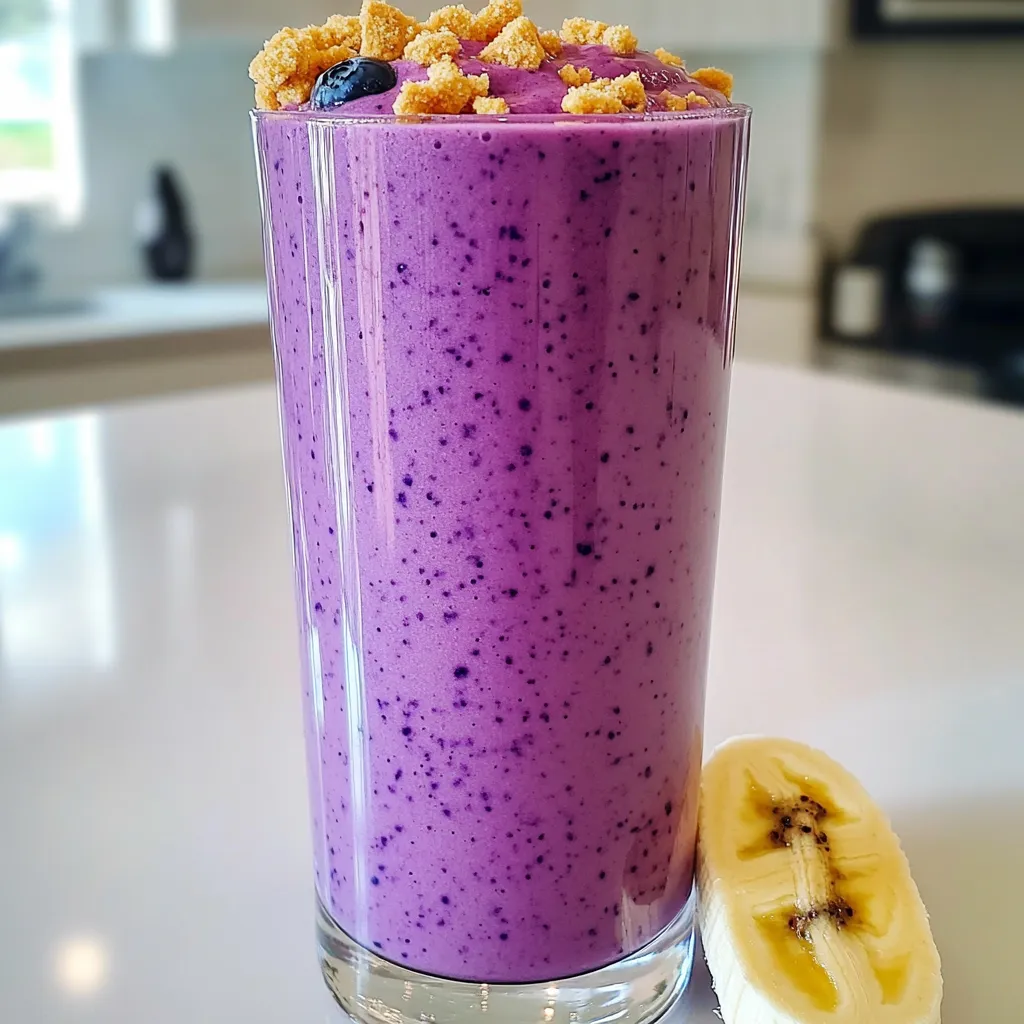
Blueberry Cheesecake Smoothie Protein Delight
Are you ready to treat yourself to a delicious and healthy drink? The Blueberry Cheesecake Smoothie Protein Delight packs all Read Full Recipe -
Warm Cranberry Ginger Mocktail Spritzer Recipe Delight
Welcome to my cozy kitchen! Today, I’m excited to share a delightful warm cranberry ginger mocktail spritzer that brightens up Read Full Recipe -
Spiced Apple Cider Chai Bold and Flavorful Drink Recipe
Looking for a cozy drink this season? Try my Spiced Apple Cider Chai! This bold, flavorful beverage combines warm apple Read Full Recipe -
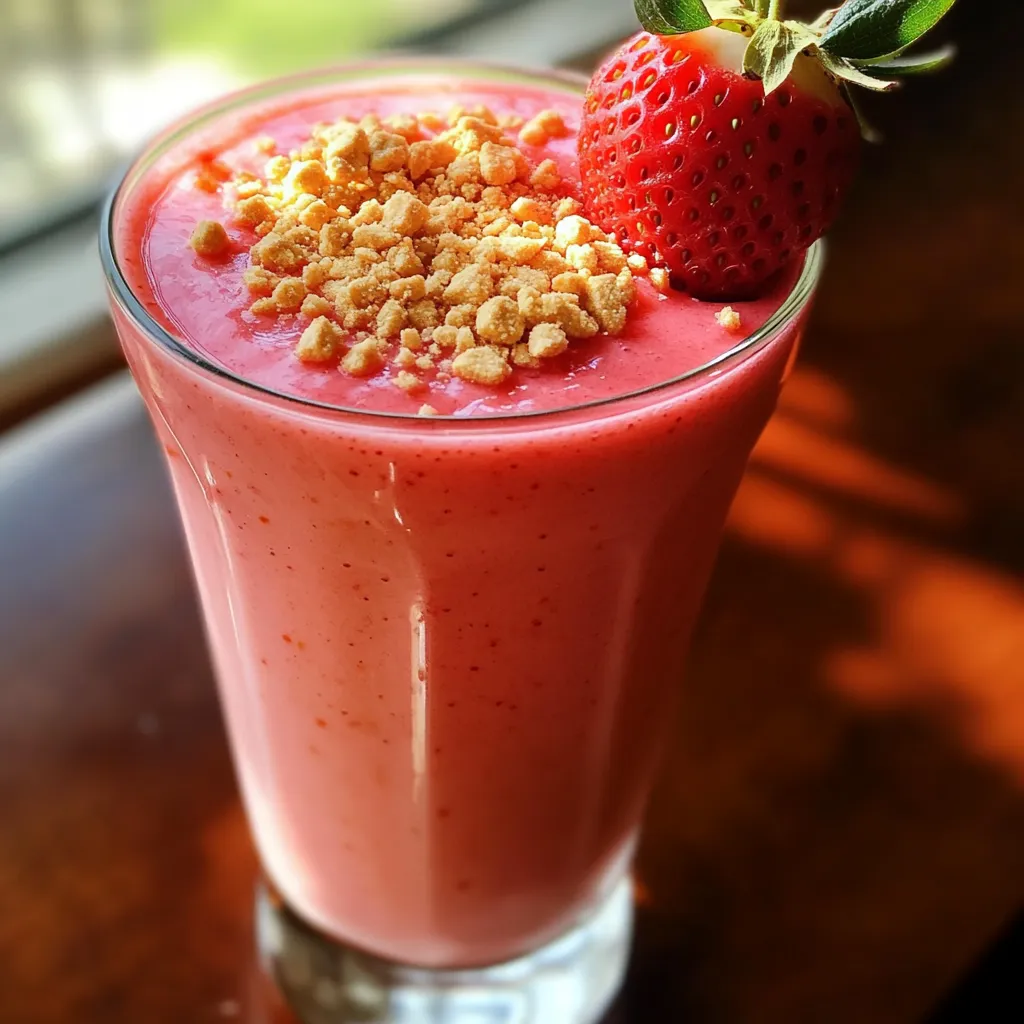
Strawberry Cheesecake Smoothie Tasty and Easy Recipe
Are you ready for a treat that’s both tasty and easy? This Strawberry Cheesecake Smoothie blends the rich flavors of Read Full Recipe -
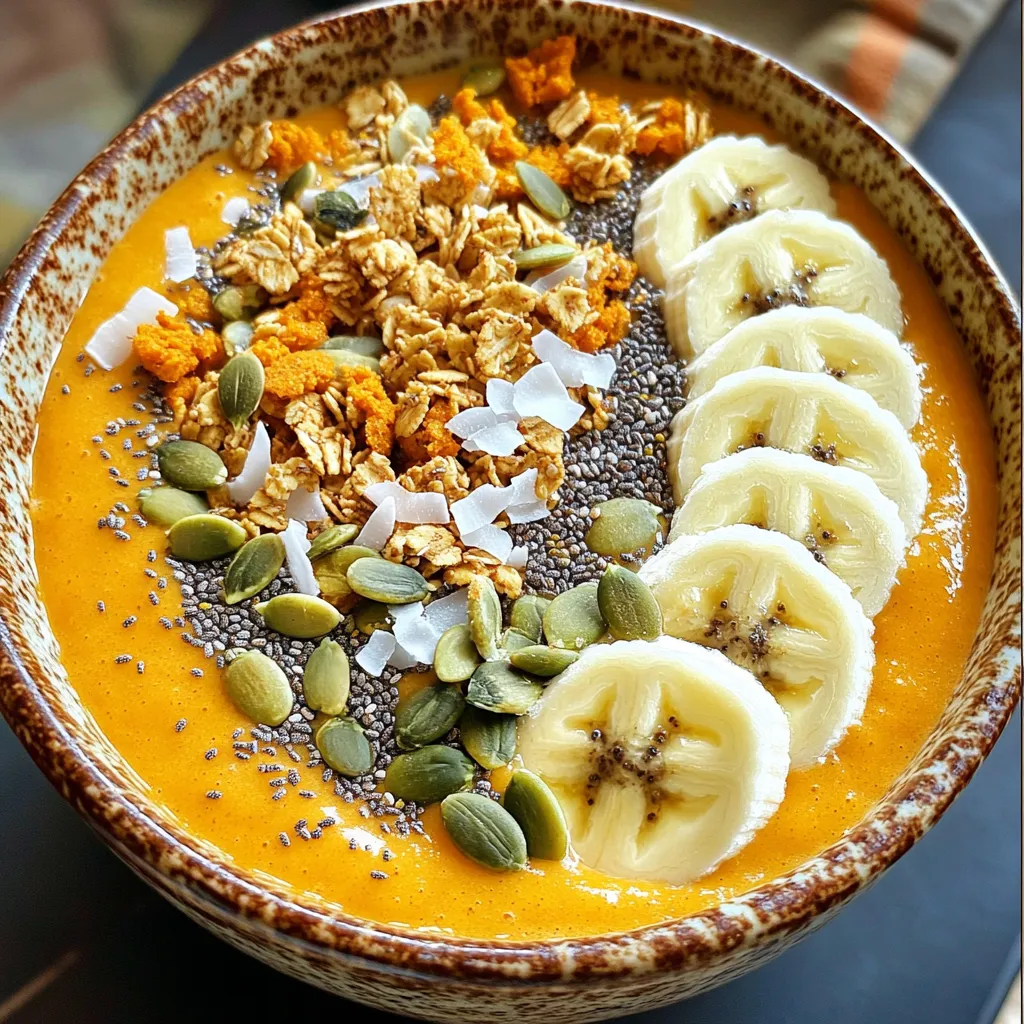
Pumpkin Spice Smoothie Bowl Protein Packed Delight
Are you ready to dive into the cozy world of pumpkin spice? This Pumpkin Spice Smoothie Bowl is not only Read Full Recipe


hey,
i’m !
I’m so happy you’re here!
I love creating dishes that bring joy to the table. I hope they bring the same joy to yours. Let’s enjoy this flavorful journey together.

![To make mini lemon tarts, gather these simple ingredients: - 1 cup all-purpose flour - 1/4 cup powdered sugar - 1/2 cup unsalted butter, softened - 1/4 teaspoon salt - 1 large egg yolk - 1/4 cup granulated sugar - 2 large eggs - 1/2 cup fresh lemon juice (about 3 lemons) - 1 tablespoon lemon zest - 1/4 teaspoon baking powder - Fresh mint leaves (for garnish) - Whipped cream (optional, for serving) You can swap some ingredients if needed. For the all-purpose flour, use a gluten-free blend. Instead of unsalted butter, you can use coconut oil. If you want a lower sugar option, try a sugar substitute in the filling. For a richer flavor, you can use brown sugar instead of granulated sugar. Always adjust the amount to taste. Garnishing your mini lemon tarts makes them pop! Fresh mint leaves add a nice touch, both in flavor and look. You can also top them with whipped cream for added creaminess. Try adding some crushed berries or a sprinkle of powdered sugar for a sweet finish. These little touches make your tarts even more inviting. For the full recipe, check out the complete instructions above. To start, preheat your oven to 350°F (175°C). Next, grab a mini muffin tin and grease it with cooking spray or butter. In a bowl, mix together 1 cup of all-purpose flour, 1/4 cup of powdered sugar, and 1/4 teaspoon of salt. Then, add in 1/2 cup of softened unsalted butter. Mix until the blend looks like coarse crumbs. Stir in 1 large egg yolk until the dough holds together. If it's too crumbly, add a teaspoon of cold water. Now, press the dough into the bottom and sides of each cavity in the mini muffin tin. Make sure to prick the bottoms with a fork. This helps keep the shells from puffing up. Bake the tart shells for 12-15 minutes until they turn lightly golden. Once done, let them cool in the tin for about 10 minutes before moving them to a wire rack. In a separate mixing bowl, whisk together 1/4 cup of granulated sugar, 2 large eggs, 1/2 cup of fresh lemon juice (that’s about 3 lemons), 1 tablespoon of lemon zest, and 1/4 teaspoon of baking powder. Mix until all the ingredients blend well. The filling should be smooth and bright. Pour the lemon filling into each tart shell, filling them about three-quarters full. Be careful not to overfill, as the filling may spill while baking. Now, return the tarts to the oven and bake for another 15-20 minutes. You’ll know they are done when the filling feels set and slightly firm to the touch. After baking, remove the tarts and let them cool completely. When ready to serve, garnish with fresh mint leaves and a dollop of whipped cream if you like. These mini lemon tarts are a delight and easy to make! For the full recipe, check out the details above. To avoid soggy bottoms in your mini lemon tarts, you should pre-bake the crust. This step helps set the dough before adding the filling. Pricking the bottoms with a fork also helps. It allows steam to escape. Bake the shells until they are lightly golden for the best results. For a filling that sets well, use fresh lemon juice and eggs. These two ingredients create a nice balance of tartness and richness. Make sure to whisk the mixture until smooth to prevent lumps. Pour the filling gently into the shells, filling them three-quarters full. This gives the filling room to rise slightly while baking. After baking, let the tarts cool in the tin for about 10 minutes. This helps them hold their shape. Then, transfer them to a wire rack to cool completely. Serve them chilled or at room temperature. Garnish with fresh mint leaves and whipped cream for a tasty touch. You can find the Full Recipe for more detailed instructions. {{image_2}} You can switch up the flavor of your mini tarts. Use lime or orange instead of lemon. Lime gives a tangy twist, while orange adds a sweet zest. To make lime tarts, use fresh lime juice and zest in the filling. For orange tarts, do the same with orange juice and zest. The method stays the same, and you will have new flavors to enjoy! If you need a gluten-free option, it's easy to adapt. Use gluten-free flour instead of all-purpose flour. There are many good brands available. The taste will be just as good, and your guests won't even notice! Follow the same steps in the recipe. You can still have a delicious dessert that everyone can enjoy. For an extra special treat, add a meringue topping. Make meringue with egg whites and sugar. Whip the egg whites until stiff peaks form. Spread the meringue on top of your cooled tarts. Then, use a kitchen torch to lightly brown the meringue. This adds a nice look and a sweet finish. Your mini lemon tarts will taste amazing with this added layer! For the full recipe, check out the details above. To keep your mini lemon tarts fresh, place them in an airtight container. Make sure they are completely cool before sealing. This helps keep the crust crisp and the filling smooth. You can store them in the fridge for up to three days. If you want to enjoy them later, freezing is a great option. You can freeze mini lemon tarts for longer storage. First, let them cool completely. Then, wrap each tart in plastic wrap. Place the wrapped tarts in a freezer-safe container or bag. They can last up to three months in the freezer. When you're ready to eat them, thaw them in the fridge overnight before serving. Mini lemon tarts stay fresh for about three days in the fridge. If you freeze them, they can last for three months. To reheat, place them in a preheated oven at 350°F (175°C) for about 10 minutes. This warms the filling and helps restore some crispness to the crust. Enjoy your tarts warm for the best taste! For the full recipe, check out [Full Recipe]. Yes, you can make these tarts ahead of time. I recommend baking the tart shells and filling them the day before. Store the baked shells in an airtight container. Keep the filling in the fridge. When you are ready to serve, just pour the filling into the shells. Bake them again to warm up the filling. Serve these mini lemon tarts chilled or at room temperature. A little whipped cream on top adds a nice touch. Fresh mint leaves make a great garnish too. You can also serve them with a slice of lemon for a pop of color. You can find pre-made mini lemon tarts at many grocery stores. Look in the dessert section or the bakery. Some bakeries also sell them fresh. Check online for local shops that might carry them. If you want a quick treat, this is an easy option! For the complete recipe, check out the Full Recipe section. You learned about the ingredients, tips, and steps to make mini lemon tarts. We explored variations for different tastes and how to store them. Remember, making these tarts is fun and rewarding. Use fresh ingredients for the best flavor. Try the meringue topping for a special touch. I hope you feel ready to bake! Enjoy sharing your tasty mini lemon tarts with friends and family.](https://soyumrecipes.com/wp-content/uploads/2025/06/c51d5b15-a933-48c7-8d93-1b29baa16f07-300x300.webp)
![To make a tasty Chicken Enchilada Casserole, you need simple and fresh ingredients. Here’s what you'll need: - 3 cups cooked chicken, shredded - 2 cups enchilada sauce (red or green, preferably homemade) - 1 can (15 oz) black beans, drained and rinsed - 1 cup corn kernels (frozen or fresh) - 1 red bell pepper, diced - 1 medium onion, chopped - 2 cups shredded cheddar cheese (or a mix of cheddar and Monterey Jack) - 8 small corn tortillas, cut into quarters - 1 teaspoon cumin - 1 teaspoon chili powder - Salt and pepper to taste - Fresh cilantro for garnish - Sour cream for serving (optional) These ingredients come together to create a dish full of flavor and warmth. You can make your casserole even better with a few extras. Consider adding: - Jalapeños for heat - Avocado slices for creaminess - Black olives for a briny touch - Diced tomatoes for freshness - Lime juice for a zesty kick These optional ingredients can add layers of taste and keep things interesting. If you can't find an ingredient, don’t worry! Here are some great substitutes: - Use rotisserie chicken instead of cooking chicken yourself. - Swap black beans with pinto beans or kidney beans. - Use flour tortillas if you prefer them over corn. - Replace cheddar with Monterey Jack or pepper jack for extra spice. These substitutes still keep your casserole delicious while fitting your tastes. For the complete recipe, check the [Full Recipe]. First, set your oven to 350°F (175°C). Preheating your oven helps the casserole cook evenly. This step is key for a perfect dish. In a large bowl, mix the shredded chicken, black beans, corn, diced bell pepper, and chopped onion. Add half of your enchilada sauce. Sprinkle in the cumin, chili powder, salt, and pepper. Stir until everything is well combined. This mix gives great flavor. Grab a 9x13-inch baking dish. Start by placing a layer of corn tortilla quarters at the bottom. Make sure to cover the base. Next, spread half of the chicken mixture on top. Sprinkle one-third of the shredded cheese over this layer. Now, repeat the process. Add another layer of tortilla quarters, then the rest of the chicken mixture. Top this layer with another third of cheese. Finish by placing a final layer of tortilla quarters on top. Pour the rest of the enchilada sauce over the top layer of tortillas. Then, sprinkle the remaining cheese evenly on top. This will create a cheesy, delicious top. Cover your dish with aluminum foil and bake for 25 minutes. After that, remove the foil. Bake for another 10-15 minutes, until the cheese is bubbly and golden. Once baked, take the casserole out and let it cool for 5-10 minutes. This resting time helps the layers set. Garnish your casserole with fresh cilantro. Serve it with a dollop of sour cream if you wish. Enjoy your tasty Chicken Enchilada Casserole! For the complete recipe, you can refer to the Full Recipe. To make your casserole creamy, use enough sauce. I recommend two cups of enchilada sauce. Mixing the sauce with the chicken helps keep the dish moist. Avoid overcooking the casserole. This will dry it out. Let it rest after baking. This helps the flavors mix and keeps it creamy. Layering is key for a great casserole. Start with tortilla pieces at the bottom. This creates a solid base. Spread half of the chicken mixture over the tortillas. Then add a third of the cheese. Repeat these layers: tortillas, chicken, cheese. Finish with a top layer of tortillas and sauce. This method adds texture and flavor. For the best melted cheese, use fresh cheese. Shredded cheese melts better than slices. Mix different cheeses for flavor. I like cheddar and Monterey Jack. Spread cheese evenly on top before baking. Cover the casserole with foil for the first part of baking. This traps heat and melts the cheese without burning it. {{image_2}} You can easily turn this dish into a vegetarian delight. Replace the chicken with extra beans, lentils, or sautéed vegetables. This keeps the flavors bold and the texture hearty. You can use a mix of black beans, pinto beans, and even chickpeas for a protein punch. If you have dietary needs, swaps can make this casserole work for you. Use gluten-free tortillas if you want to avoid gluten. For a lower-calorie version, try swapping regular cheese for a lighter cheese or using less cheese overall. You can also replace sour cream with Greek yogurt for a tangy twist. Enhancing the flavor is easy and fun. Try adding diced jalapeños for heat. Fresh corn adds sweetness and crunch. You can also layer in some spinach or zucchini for extra veggies. Top your casserole with avocado slices or a sprinkle of lime juice before serving for a fresh kick. For the complete recipe, check out the Full Recipe. Enjoy experimenting with these variations to make your Chicken Enchilada Casserole your own! After enjoying your Chicken Enchilada Casserole, you may have some left. Let it cool to room temperature. Then, store it in an airtight container. This keeps it fresh for about 3-4 days in the fridge. If you have a lot left, consider dividing it into smaller portions. This makes it easy to reheat later. To reheat, preheat your oven to 350°F (175°C). Place the casserole in an oven-safe dish. Cover it with foil to keep it moist. Bake for about 20-25 minutes or until it's hot throughout. You can also microwave individual portions for quicker meals. Heat for 1-2 minutes, checking often to avoid overcooking. Freezing your casserole is a great idea for later meals. First, allow it to cool completely. Then, wrap it tightly in plastic wrap or aluminum foil. You can also use a freezer-safe container. It will keep well for 2-3 months. When you're ready to eat it, thaw it in the fridge overnight. Reheat as mentioned before. This way, you enjoy a tasty meal with little effort! Check the [Full Recipe] for more details. Yes, you can use store-bought enchilada sauce. It saves time and still tastes good. If you prefer a homemade flavor, make your own sauce. Just blend tomatoes, spices, and broth. This gives a fresh taste to your casserole. Shredded rotisserie chicken works great for this casserole. It's tender and packed with flavor. You can also use grilled chicken breast or leftovers. Just make sure it's cooked and shredded for easy mixing. To add heat, include jalapeños or diced green chiles. You can also use a spicier enchilada sauce. For a smoky flavor, try adding chipotle powder. Adjust the spice level to suit your taste. Yes, you can prepare this casserole ahead of time. Just assemble it and cover it tightly. Store it in the fridge for up to 24 hours. When ready, bake it as directed. This makes meals easier on busy days. For the full recipe, check the recipe details above. You can easily make a tasty Chicken Enchilada Casserole with the right ingredients and steps. We covered everything from main ingredients to optional swaps and even various storage tips. Remember, you can adapt this dish for different diets or add your favorite toppings. Enjoy the process, and feel free to experiment. This dish is not just a meal; it’s a way to bring joy to your kitchen. Happy cooking!](https://soyumrecipes.com/wp-content/uploads/2025/06/7a3ddf71-fde1-4aee-9863-160adee8e713-300x300.webp)

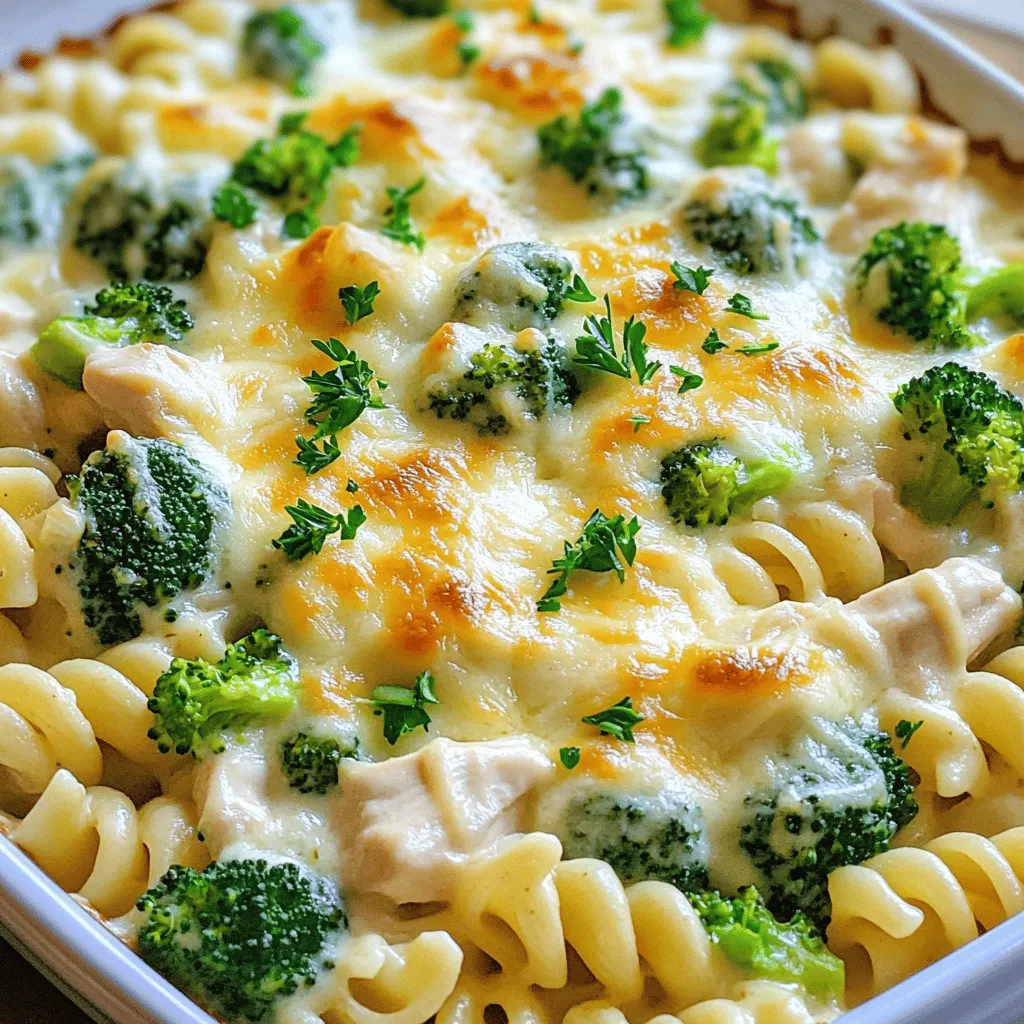
Best Ever Chicken Alfredo Bake Simple and Comforting
Are you ready for comfort food that warms your heart? My Best Ever Chicken Alfredo Bake is just what you need! This dish brings…