Latest & Greatest

Pumpkin Spice Energy Bites Healthy Snack Boost
Looking for a healthy snack that packs a flavor punch? Try these Pumpkin Spice Energy Bites! They are quick to
Read more…
Cinnamon Sugar Tortilla Chips Irresistible Snack Idea
Ready for a snack that will take your taste buds on a sweet adventure? Cinnamon Sugar Tortilla Chips are the
Read more…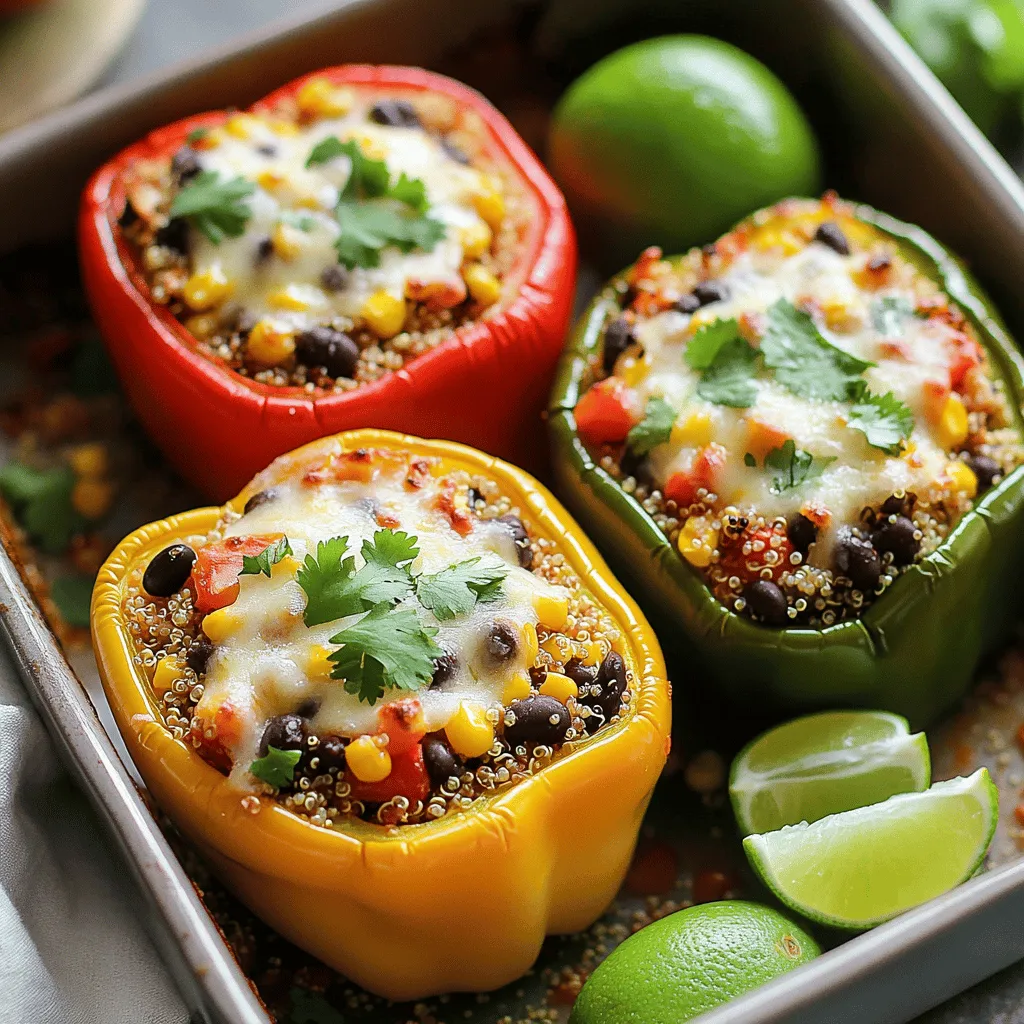
Stuffed Bell Peppers Savory and Easy Weeknight Meal
Looking for a fast and tasty dinner? Stuffed bell peppers can save your weeknights! These colorful veggies are easy to
Read more…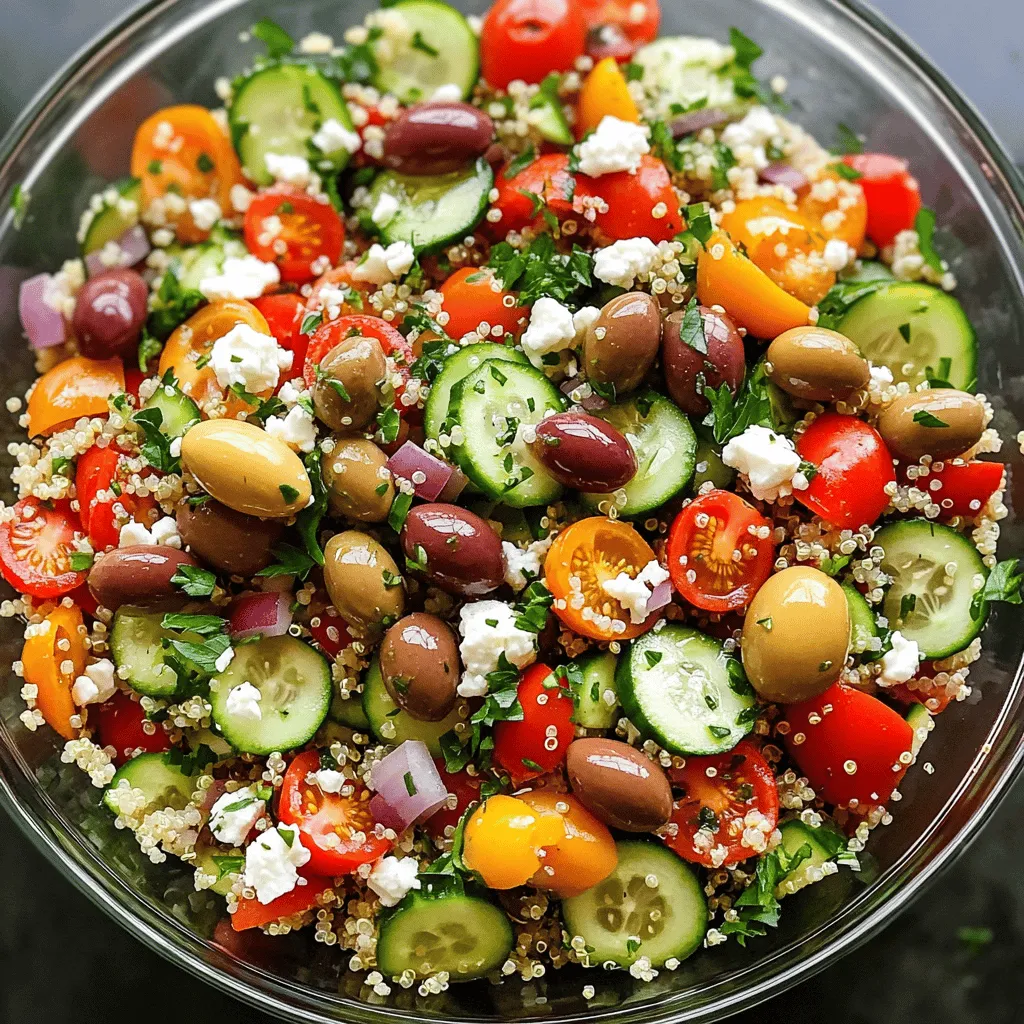
Mediterranean Quinoa Salad Fresh and Flavorful Dish
Looking for a fresh and tasty dish? Try my Mediterranean Quinoa Salad! This colorful meal combines protein-packed quinoa, crisp veggies,
Read more…
Easy Chicken Enchiladas Simple and Delicious Recipe
Are you ready to whip up a meal that’s both easy and delicious? In this post, I’ll guide you through
Read more…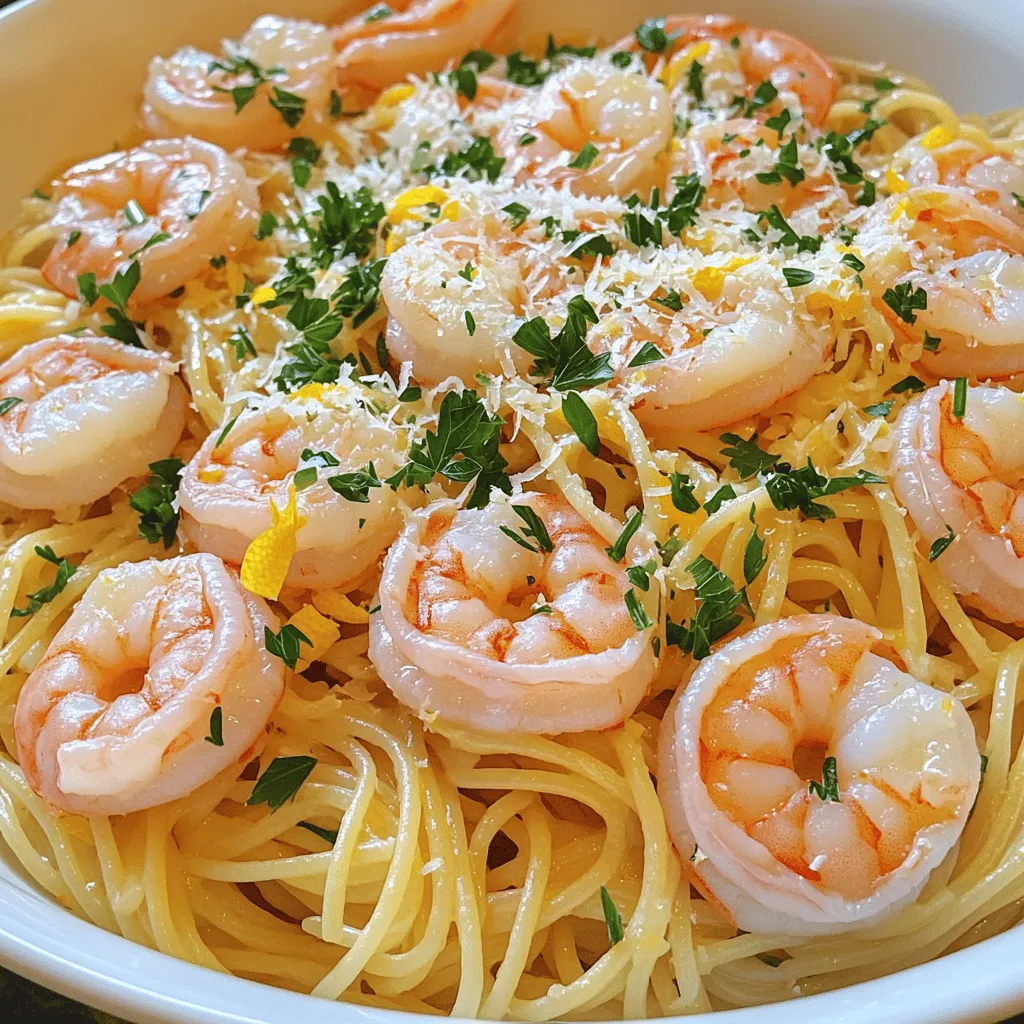
Lemon Garlic Shrimp Pasta Quick and Flavorful Meal
Looking for a quick and tasty meal? Lemon Garlic Shrimp Pasta is the answer! This dish combines juicy shrimp with
Read more…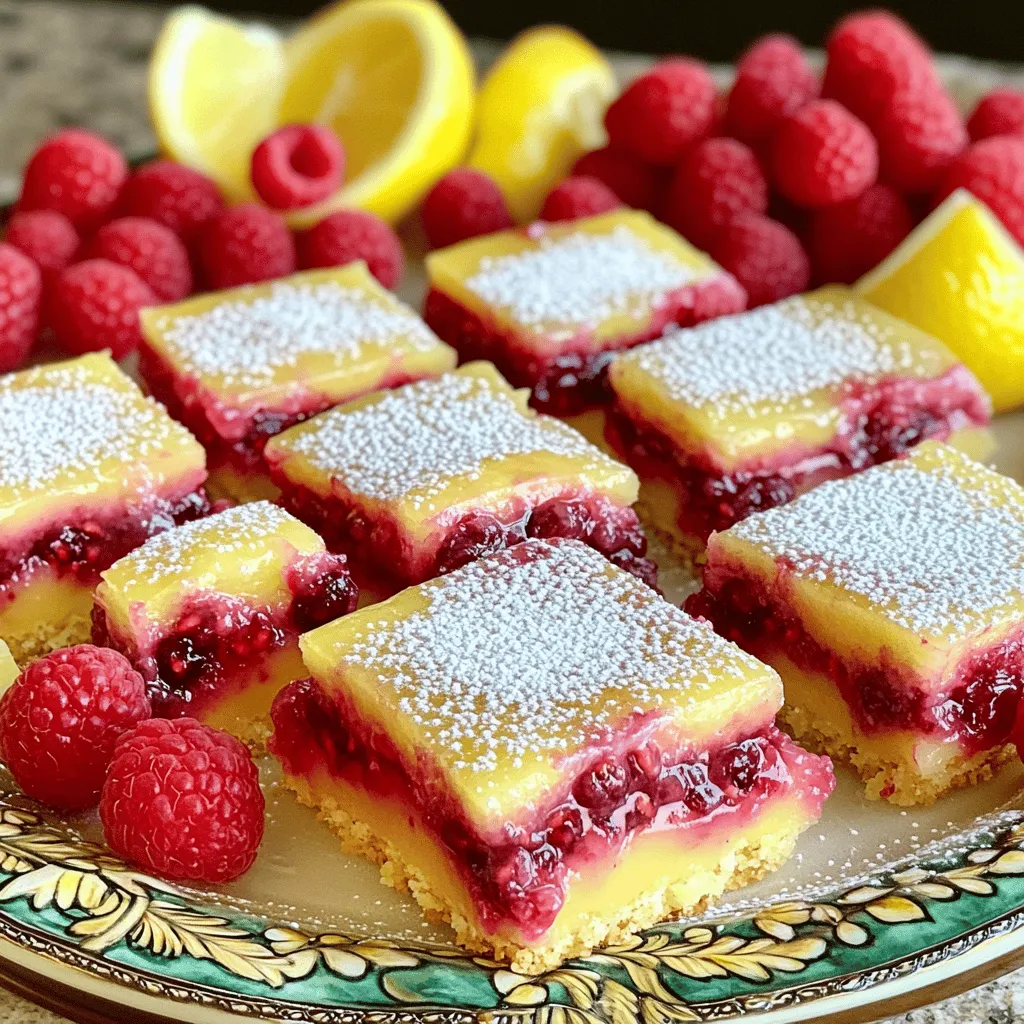
Raspberry Lemonade Bars Refreshing Sweet Summer Treat
Summer is here, and nothing beats the heat like a treat that refreshes! In this blog post, I’ll show you
Read more…
Coconut Curry Chicken Flavorful and Simple Recipe
If you’re craving a dish that’s bursting with flavor yet simple to make, you’ll love this Coconut Curry Chicken recipe.
Read more…browse recipes


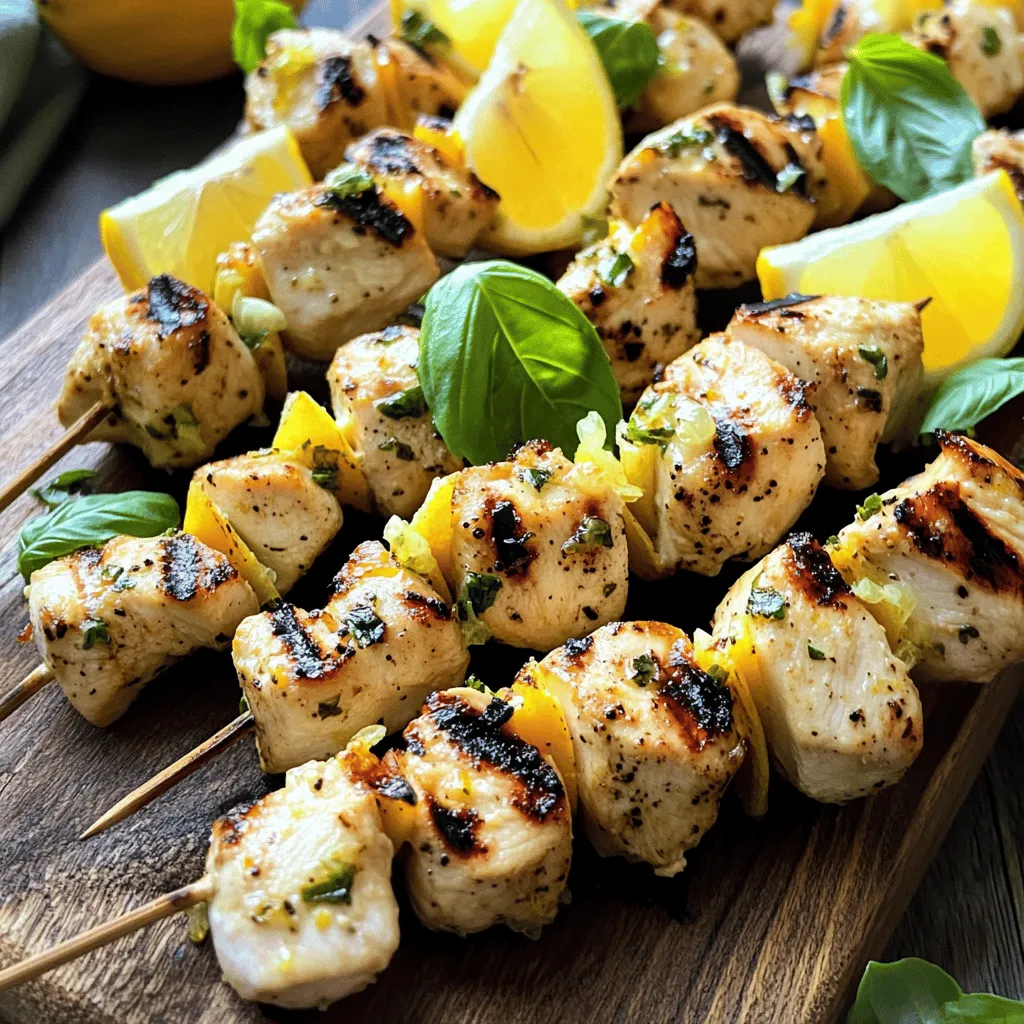
Lemon Basil Chicken Skewers Flavorful and Easy Meal
Are you ready for a dinner that’s both easy and packed with flavor? Lemon Basil Chicken Skewers bring together simple ingredients like juicy chicken,…
My Latest Desserts
-

Cherry Almond Overnight French Toast Easy Morning Dish
Looking for a quick and delicious breakfast? Cherry Almond Overnight French Toast could be your new favorite dish! This easy Read Full Recipe -

Cherry Chocolate Chip Scones Delightful and Easy Recipe
Are you ready to bake something sweet and delightful? My Cherry Chocolate Chip Scones are the perfect treat for breakfast Read Full Recipe -
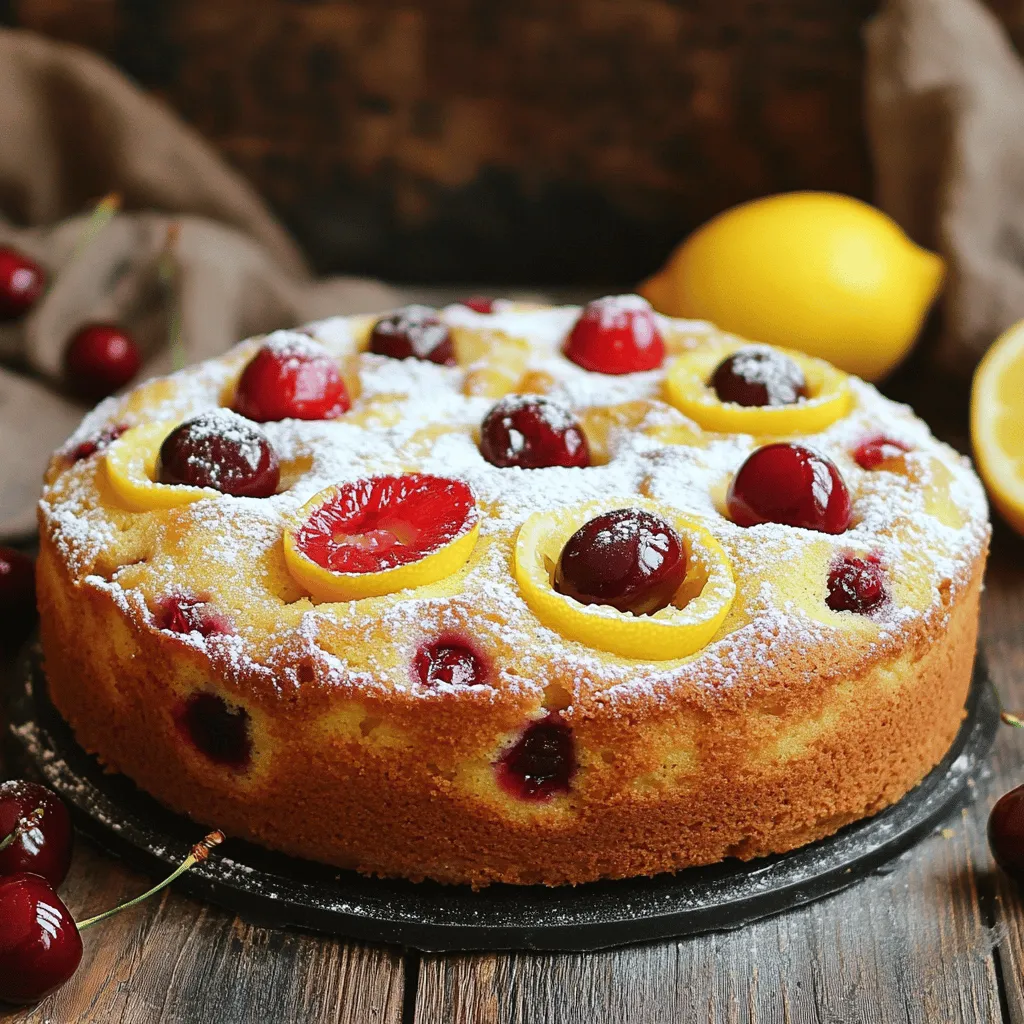
Cherry Lemon Yogurt Cake Simple and Tasty Treat
If you’re craving a delicious treat that’s both simple to make and bursting with flavor, look no further than this Read Full Recipe -
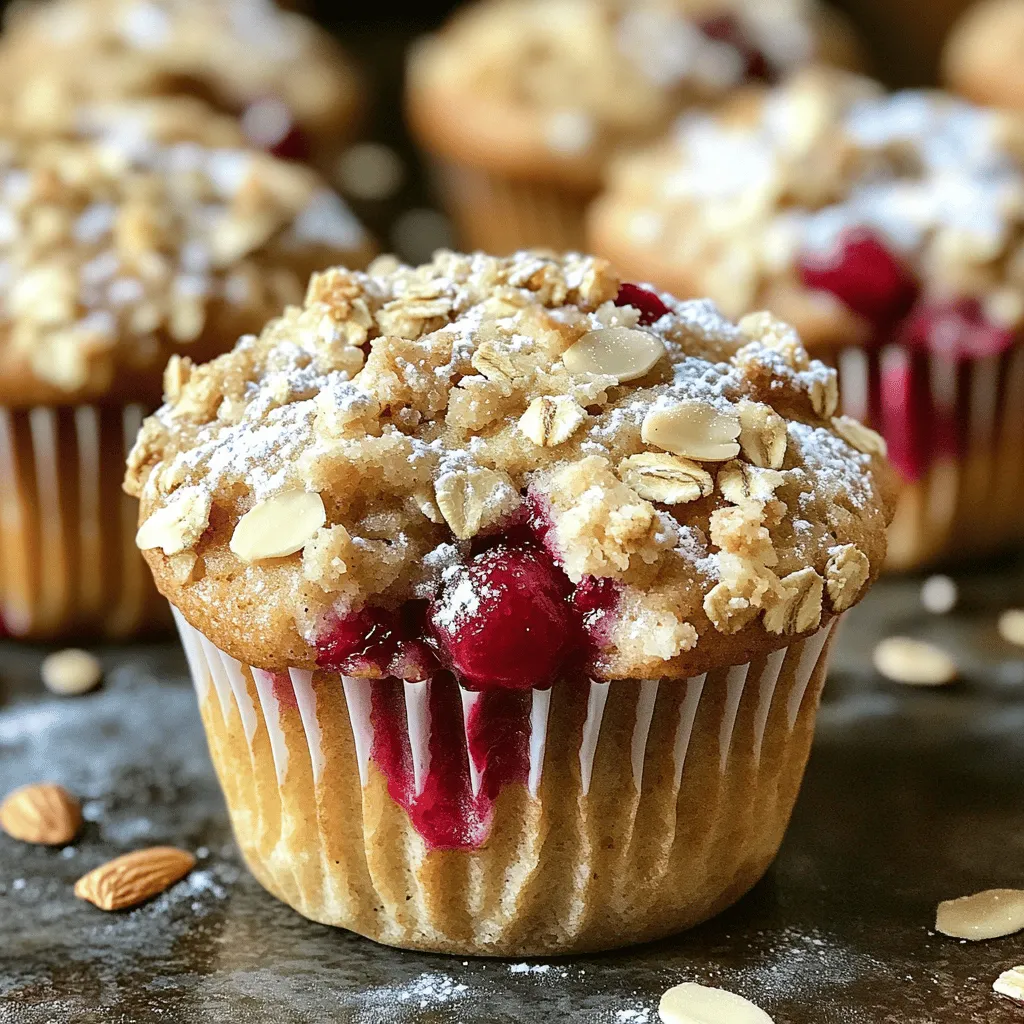
Cherry Almond Crumble Muffins Delightful and Easy Recipe
Ready to bake something special? These Cherry Almond Crumble Muffins are simple and delicious! With juicy cherries and a crunchy Read Full Recipe -
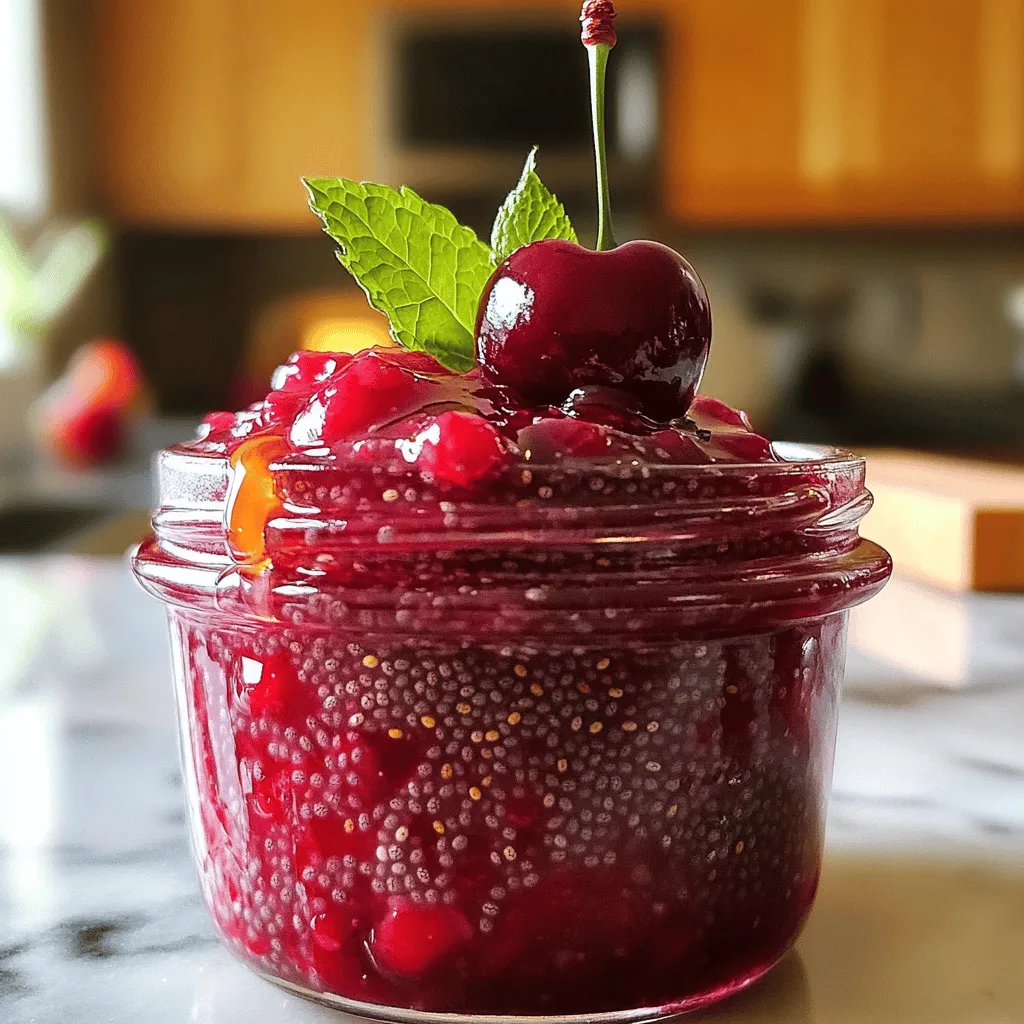
Cherry Chia Jam Simple and Nutritious Recipe
If you love delicious and healthy spreads, you need to try this Cherry Chia Jam! It’s easy, quick, and full Read Full Recipe -

Pumpkin Spice Energy Balls Tasty and Nutrient-Rich
Are you ready to fuel your day with a tasty treat? Pumpkin Spice Energy Balls are not just delicious; they’re Read Full Recipe -
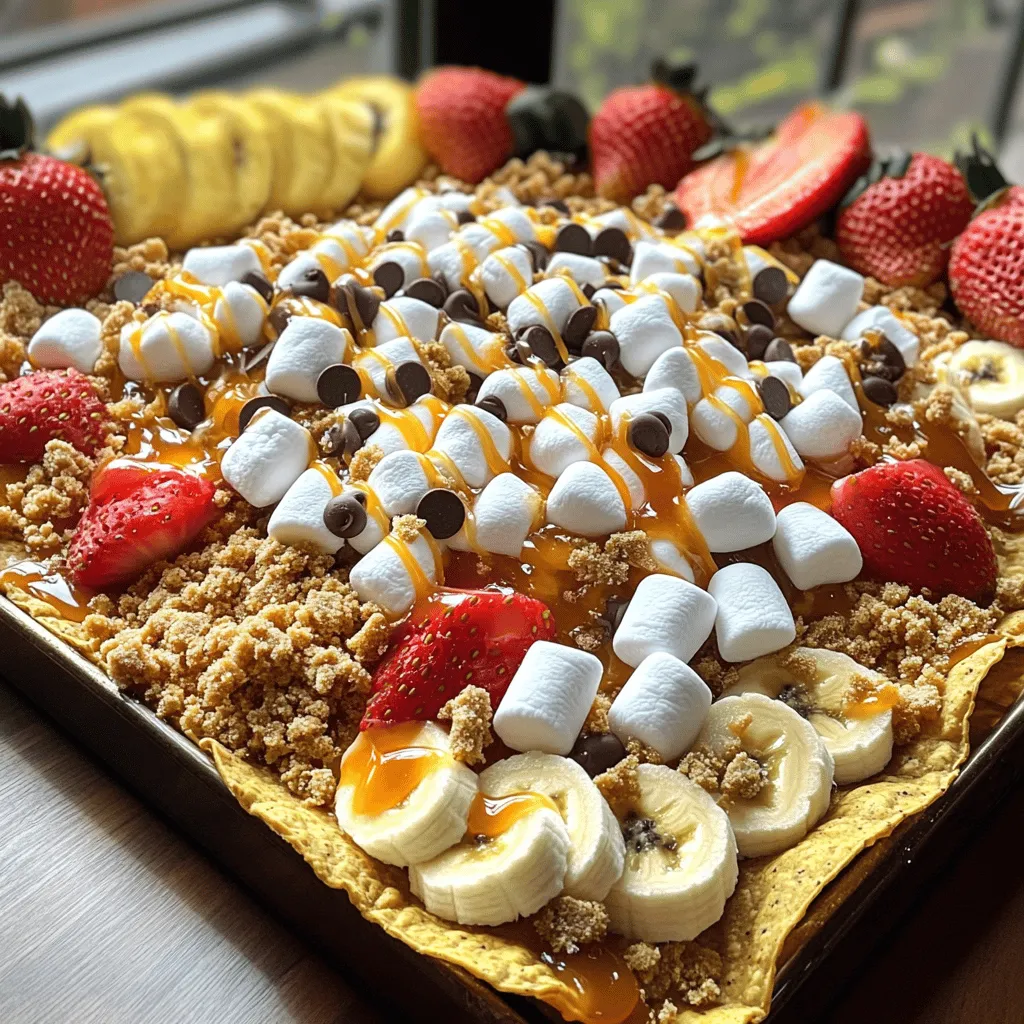
S’mores Dessert Nachos Tasty and Fun Treat Idea
Get ready for a treat like no other with my S’mores Dessert Nachos! This fun dessert combines crispy tortillas, melty Read Full Recipe -
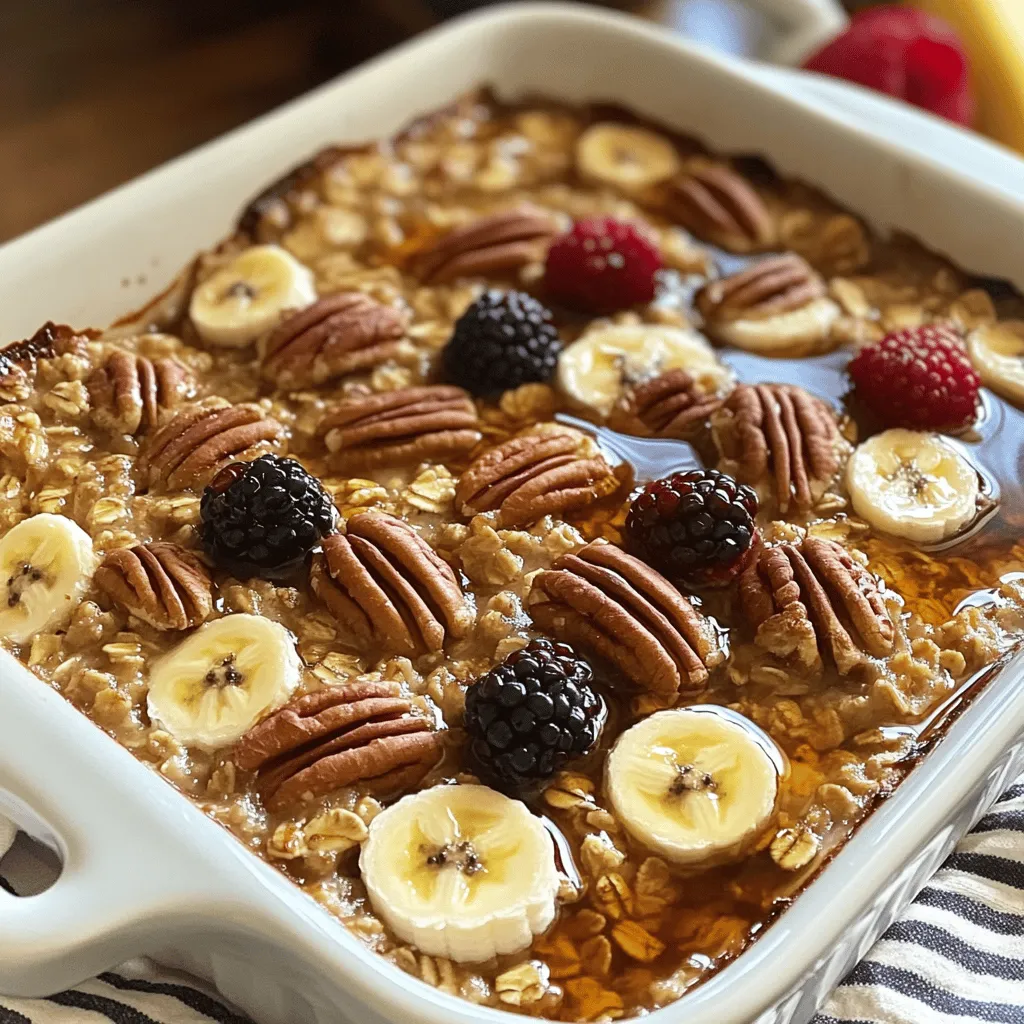
Maple Pecan Baked Oatmeal Tasty Morning Delight
Are you ready for a sweet start to your day? Maple Pecan Baked Oatmeal is a tasty treat that combines Read Full Recipe -
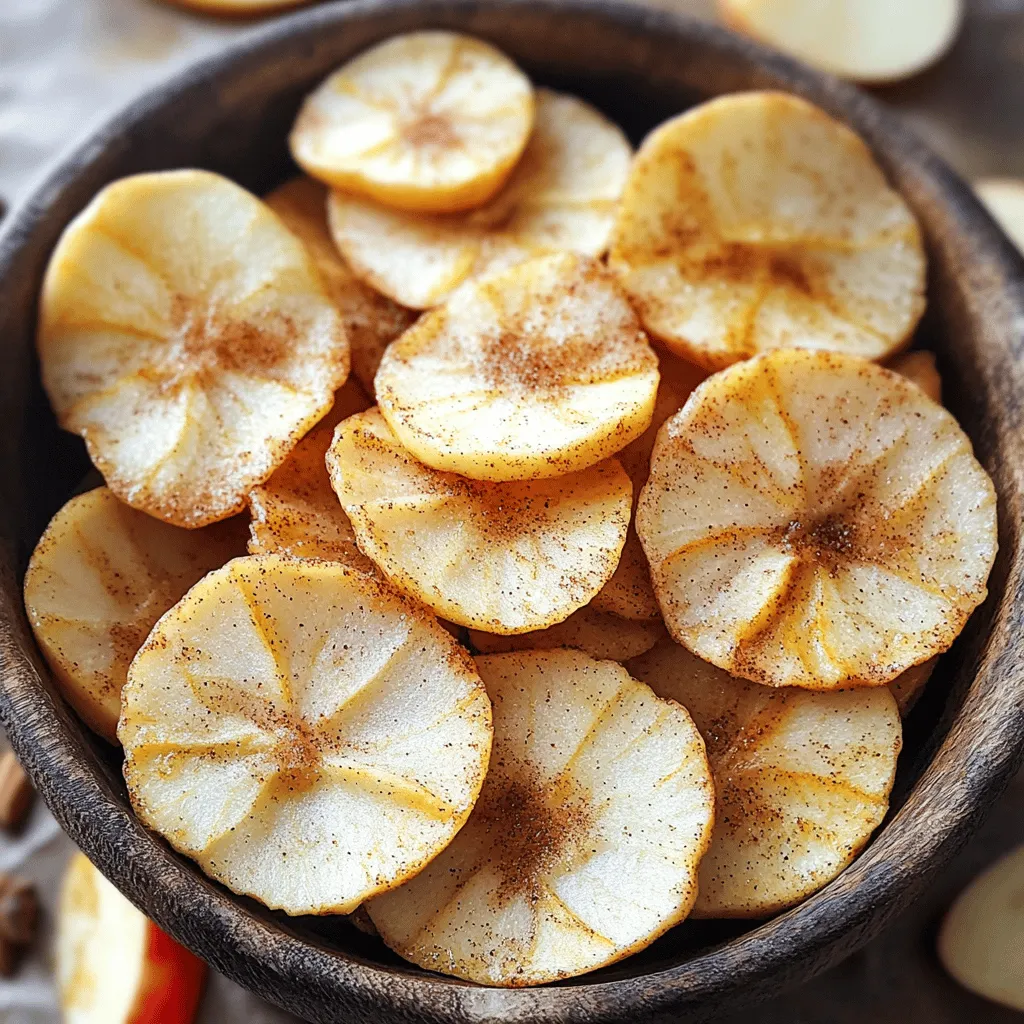
Baked Cinnamon Apple Chips Healthy Snack Delight
If you crave a tasty snack that satisfies both your sweet tooth and health goals, look no further! Baked Cinnamon Read Full Recipe -

No-Bake Peach Yogurt Bars Tasty and Easy Treat
Looking for a sweet, easy treat? You’ll love these No-Bake Peach Yogurt Bars! They combine creamy yogurt and juicy peaches Read Full Recipe
My Latest Recipes

hey,
i’m !
I’m so happy you’re here!
I love creating dishes that bring joy to the table. I hope they bring the same joy to yours. Let’s enjoy this flavorful journey together.

![- 2 pounds russet potatoes - 4 cloves garlic - ½ cup unsalted butter - 1 cup heavy cream - ½ cup sour cream - Salt and pepper - Fresh chives (for garnish) The main ingredients for creamy garlic mashed potatoes are simple but essential. The russet potatoes provide a fluffy texture when cooked and mashed. Garlic adds a rich flavor that makes this dish special. Unsalted butter gives the mash a smooth finish, while heavy cream and sour cream add depth and creaminess. Don’t forget salt and pepper to enhance the taste. Fresh chives not only look great but also add a fresh note. - Dairy-free options: Use almond milk or coconut cream in place of heavy cream. Substitute vegan butter for unsalted butter. A dairy-free sour cream works well too. - Low-fat alternatives: Swap heavy cream with low-fat milk or Greek yogurt. You can also use reduced-fat butter. - Flavor variations: Add roasted garlic for a sweeter taste. Try mixing in herbs like rosemary or thyme for extra flavor. If you like cheese, sharp cheddar can bring a new twist. For the full recipe, check out the details above. To start, grab a large pot. Add the cubed russet potatoes and the peeled garlic cloves. Cover them with water and toss in a pinch of salt. This small step adds flavor right from the start. Bring the pot to a boil over medium-high heat. Once it boils, reduce the heat to a simmer. Let the potatoes cook for about 15 to 20 minutes. You want them fork-tender. This means a fork should easily slide into the potatoes. Now it’s time to mash! You can use a potato masher for a rustic texture or a ricer for a smoother finish. A ricer creates a fluffy mash, which I love. If you prefer a bit of texture, stick with the masher. Mash the potatoes and garlic together until they are smooth and creamy. You can stop here if you like a thicker mash. If you want it creamier, keep mashing until you reach your desired consistency. Next, let’s mix in the good stuff! Add the unsalted butter to your hot potatoes and garlic. It will melt and blend right in. Slowly pour in the heavy cream. Stir until everything is mixed well. Now, fold in the sour cream. This makes the potatoes extra creamy. Don’t forget to season with salt and pepper to taste. Taste as you go to find the right balance. If you want more flavor, feel free to add more cream or butter. For the final touch, transfer your creamy garlic mashed potatoes to a serving dish. Garnish with fresh chopped chives for a pop of color. You just made a rich and flavorful dish! For the complete process, check out the Full Recipe. To get the best creamy texture, use the right mix of cream and butter. I suggest using a mix of ½ cup of unsalted butter and 1 cup of heavy cream. This gives the right balance of richness. For a super smooth mash, use a potato ricer. A potato masher can work too, but it may leave lumps. If you want it creamier, add more cream or butter as you mash. Roasting garlic brings out its sweet, rich taste. Wrap whole garlic cloves in foil, drizzle with olive oil, and roast until soft. This method gives a deeper flavor than raw garlic. If you need a quick option, you can sauté minced garlic in butter. This will still add great flavor but with less time. Creamy garlic mashed potatoes pair wonderfully with roasted meats and grilled fish. They also complement rich sauces well. For a lovely presentation, use a piping bag to swirl the mash in a dish. Top with fresh chives for color. You can even create a well in the center and drizzle with olive oil for a gourmet touch. Don't forget to check the Full Recipe for more tips! {{image_2}} For a vegan twist, you can use plant-based ingredients. Replace the butter with olive oil or coconut oil. Use almond milk or oat milk in place of heavy cream. For creaminess, add silken tofu or vegan sour cream. This way, you keep the rich taste without dairy. You can make these mashed potatoes healthier. Swap sour cream for Greek yogurt. This adds protein and cuts fat. You can also try cauliflower instead of potatoes. Steam cauliflower until tender, then mash it. This gives you a lighter, low-carb option. Don’t be afraid to get creative! Add fresh herbs like rosemary or thyme for extra flavor. You can also sprinkle in some smoked paprika for a kick. For a richer taste, mix in cheese like cheddar or Parmesan. These additions make your mashed potatoes even more delicious. For creamy garlic mashed potatoes, use airtight containers. Glass or plastic containers work well. Make sure the potatoes cool before sealing. This helps prevent moisture build-up. You can store them in the fridge for up to three days. If you want to keep them longer, freeze them. Use freezer-safe containers or bags for this. Squeeze out as much air as you can before sealing. This keeps the flavor fresh. When reheating, aim to keep the creamy texture. You can use the microwave or stove. If using the microwave, stir every 30 seconds. This helps heat evenly. For stove reheating, add a splash of cream or milk. Stir gently over low heat. This keeps the potatoes moist and creamy. Avoid high heat to prevent dryness. Creamy garlic mashed potatoes last in the fridge for about three days. If frozen, they can last up to two months. Look for changes in color or smell as signs of spoilage. If they smell sour or look off, it’s best to toss them. Always trust your senses when it comes to food safety. For the full recipe, check the earlier section. Russet and Yukon Gold are the top choices for mashed potatoes. - Russet potatoes are starchy and fluffy. They create light and airy mashed potatoes. - Yukon Gold potatoes have a creamy texture. They add a buttery flavor to your dish. Both types work well, but for a richer taste, I prefer Yukon Gold. You can prepare mashed potatoes a day in advance. Store them in the fridge. - Make the creamy garlic mashed potatoes as usual. - Let them cool, then place them in a covered dish. - Reheat gently on the stove or in the microwave before serving. This method saves time and keeps your meal stress-free. Yes, you can freeze them. Just follow these steps: - Allow the mashed potatoes to cool completely. - Transfer them to an airtight container or freezer bag. - Label and date the container. When you’re ready to eat, let them thaw in the fridge overnight. Reheat gently for the best texture. To achieve fluffy mashed potatoes, try these techniques: - Use a potato ricer instead of a masher. This method adds air. - Avoid over-mixing; it can make the potatoes gummy. - Start with hot potatoes for a lighter texture. For the best results, follow the [Full Recipe]. This blog post covered creamy garlic mashed potatoes, from the right ingredients to cooking tips. We explored ingredient swaps and variations for every taste and diet. I shared storage methods and reheating techniques to keep your potatoes tasty. In the end, creamy garlic mashed potatoes can be a simple yet delightful dish. With these tips, you can create a side that impresses everyone at your table. Enjoy crafting your perfect mashed potatoes!](https://soyumrecipes.com/wp-content/uploads/2025/06/60b389c5-0dc3-42e4-a126-f5c4b12f1616-300x300.webp)
Cheese Tortellini Caesar Salad Fresh and Flavorful Delight
Looking for a fun twist on a classic dish? This Cheese Tortellini Caesar Salad is your answer! I’ll show you how to combine gooey…
![To make a tasty Cheese Tortellini Caesar Salad, gather these ingredients: - 1 package (9 oz) cheese tortellini - 4 cups romaine lettuce, chopped - 1 cup cherry tomatoes, halved - ½ cup shredded Parmesan cheese - ¼ cup Caesar dressing (store-bought or homemade) - ¼ tsp garlic powder - ¼ tsp black pepper - 1 cup croutons - Fresh basil leaves for garnish (optional) Using fresh ingredients makes a big difference. Select firm cherry tomatoes and crisp romaine lettuce. For cheese, choose high-quality Parmesan. If you want a lighter option, swap the tortellini for whole wheat or spinach tortellini. You can also try other greens like kale or arugula for a different taste. Store-bought Caesar dressing can save time, but homemade dressing packs more flavor. For homemade, blend garlic, anchovy paste, lemon juice, Dijon mustard, egg yolks, and olive oil. This dressing will taste fresher. Use it if you have the time. If you're short on time, don’t hesitate to grab a bottle from the store. Both options will give your salad a great taste. To start, bring a large pot of salted water to boil. Add the cheese tortellini to the pot. Cook them until they are al dente, usually around 3 to 5 minutes. Drain the tortellini in a colander. Rinse them under cold water to stop the cooking. This step also cools them down, making them perfect for your salad. In a large mixing bowl, combine the chopped romaine lettuce, halved cherry tomatoes, and shredded Parmesan cheese. These fresh ingredients add great flavor and texture. Next, add the cooled tortellini to the bowl. Drizzle your Caesar dressing over the mixture. Sprinkle with garlic powder and black pepper. Toss the salad gently to coat everything evenly. When it’s time to serve, add croutons to the salad. Toss lightly one last time to keep the croutons crunchy. For a lovely touch, garnish your salad with fresh basil leaves. This adds color and an extra burst of flavor. Enjoy your vibrant Cheese Tortellini Caesar Salad! For the complete recipe, check [Full Recipe]. To cook tortellini just right, start with a large pot of water. Add salt for flavor. Bring the water to a rolling boil. Add the cheese tortellini and stir gently. Follow the time on the package until the pasta is al dente. This usually takes about 3 to 5 minutes. Drain the tortellini and rinse it under cold water. This step cools the pasta and stops the cooking. Perfectly cooked tortellini should be soft but still firm. While Caesar dressing is classic, you can try other dressings too. A simple vinaigrette adds a tangy taste. You might use balsamic or lemon vinaigrette for freshness. For a creamier option, ranch or blue cheese dressings work well. You can even mix yogurt with herbs for a lighter version. Each dressing brings its own flavor. Feel free to experiment and find your favorite! To keep your salad fresh, wash and dry greens well. Store them in a salad spinner or wrap in paper towels. Add the dressing right before serving. This helps keep croutons crunchy and greens crisp. For tomatoes, choose firm, ripe ones. Store them at room temperature, away from direct sunlight. Fresh basil should stay in a glass of water in the fridge. This keeps its vibrant color and taste. Enjoy your Cheese Tortellini Caesar Salad at its best with these tips! {{image_2}} You can easily boost your Cheese Tortellini Caesar Salad by adding proteins. Grilled chicken adds a nice texture. Shrimp brings a sweet, briny flavor. If you prefer a plant-based option, chickpeas are a great choice. They add protein and fiber. You can use canned chickpeas for ease. Just rinse them and toss them in! If you want to mix it up, try different greens. Kale or spinach work well in place of romaine. Both add a nutrient punch and a new texture. You can also add veggies like bell peppers, cucumbers, or avocados. These add crunch and flavor. Roasted vegetables can also give a warm, hearty touch. Herbs and spices can take your salad to the next level. Fresh basil brings a nice aroma. You can also sprinkle in some chopped parsley for freshness. If you want a kick, try adding red pepper flakes. A squeeze of lemon juice brightens the dish. Experiment with these flavors to find your perfect mix! For the full recipe, check out the Cheese Tortellini Caesar Salad. To keep your Cheese Tortellini Caesar Salad fresh, store it in a sealed container. Avoid mixing in croutons until you are ready to eat. Croutons can get soggy in the dressing and lose their nice crunch. If you have extra dressing, store it separately. This way, you can dress your salad just before serving. When stored properly in the fridge, this salad stays fresh for about three days. After that, the tortellini may become mushy, and the greens can wilt. If you notice any off smells or colors, it’s best to toss it. Always trust your senses when it comes to food safety. If you want to enjoy your tortellini salad warm, reheat the tortellini in the microwave. Place it in a bowl, add a splash of water, and cover it. Heat for one minute, then stir and check the temperature. For a cold salad, just serve it straight from the fridge. Remember to add fresh greens and croutons right before serving for the best taste and texture. Check out the Full Recipe for more tips. Yes, you can use frozen cheese tortellini. Just cook it according to the package directions. It will taste great in the salad. Frozen tortellini is a quick option, and it saves time. You can use ranch dressing or a yogurt-based dressing. These provide a creamy texture without the strong flavor of Caesar dressing. You could also mix olive oil, lemon juice, and Dijon mustard for a lighter option. To make this salad vegan, swap the cheese tortellini for a vegan version. Use a plant-based Caesar dressing or make your own with cashews. For gluten-free, choose gluten-free tortellini. Always check labels for hidden gluten. This recipe yields four servings. It is perfect for a small gathering or a family meal. You can easily double the recipe for a larger group. Enjoy sharing this fresh and tasty salad! This blog post covered everything you need for a tasty Cheese Tortellini Caesar Salad. We explored ingredient choices, cooking steps, and tips for perfect results. You learned how to keep your salad fresh and vibrant. We even discussed fun variations to make it your own. Now you can enjoy a delicious, easy-to-make meal that impresses everyone. Remember, the right ingredients and preparation can elevate your dishes. Try it out, and enjoy your tasty creation!](https://soyumrecipes.com/wp-content/uploads/2025/05/70c43dfd-1821-4399-8737-433a628372f3.webp)
