Latest & Greatest
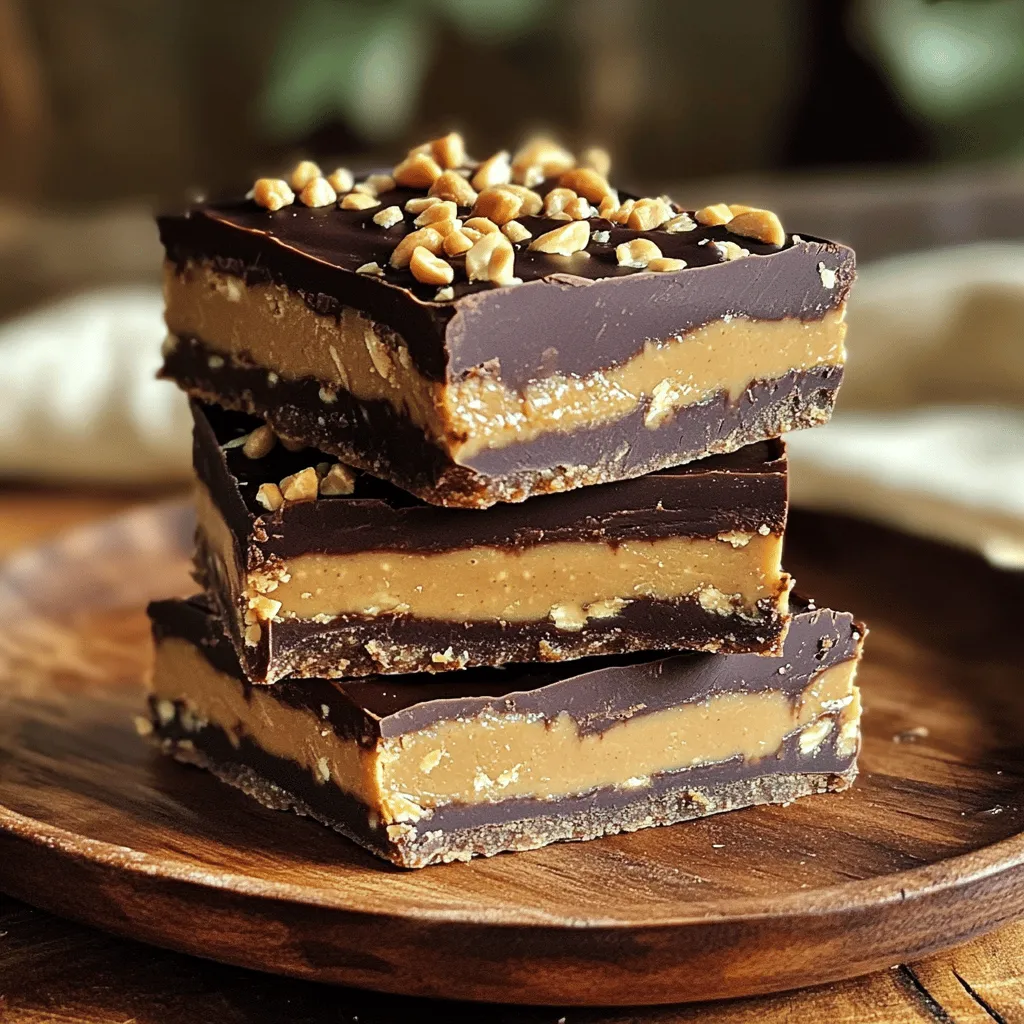
No-Bake Chocolate Peanut Butter Bars Easy Treat
Craving a sweet treat that’s easy to whip up? Look no further! My No-Bake Chocolate Peanut Butter Bars are simple,
Read more…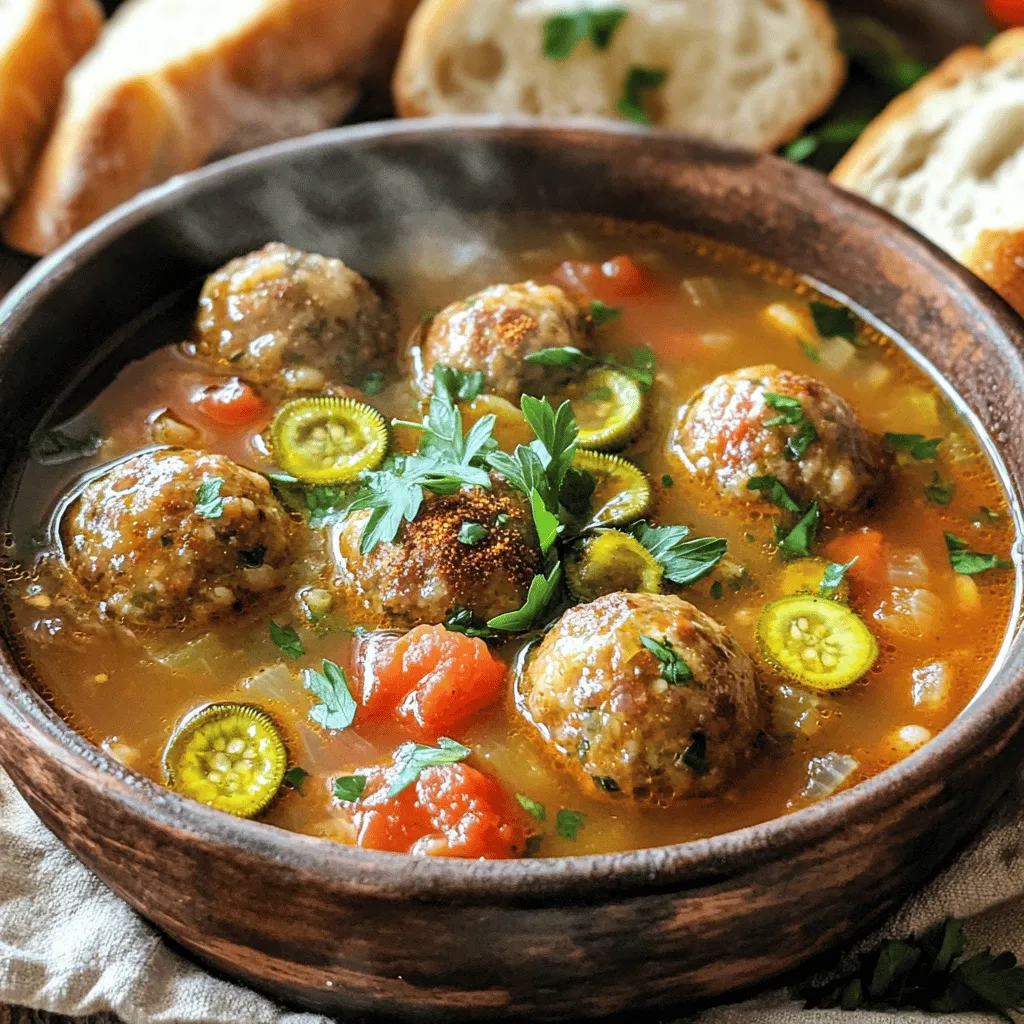
Cajun Meatball Stew Hearty and Flavorful Recipe
Are you ready to dive into a bowl of Cajun Meatball Stew that bursts with flavor? This recipe combines the
Read more…
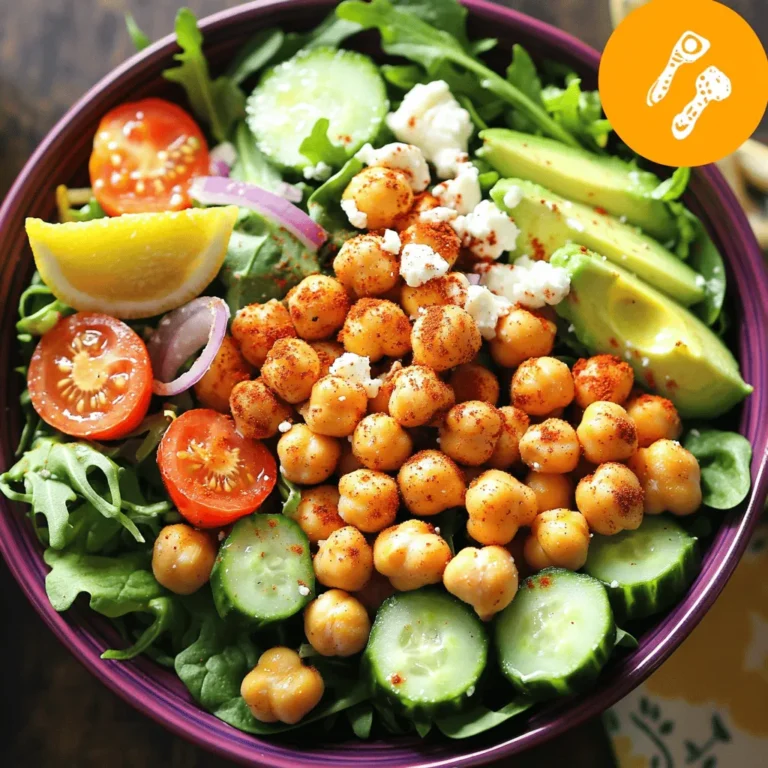
Chickpea Salad Sandwich Simple and Flavorful Meal
Are you craving a tasty and simple lunch? Look no further than the Chickpea Salad Sandwich! This meal is packed
Read more…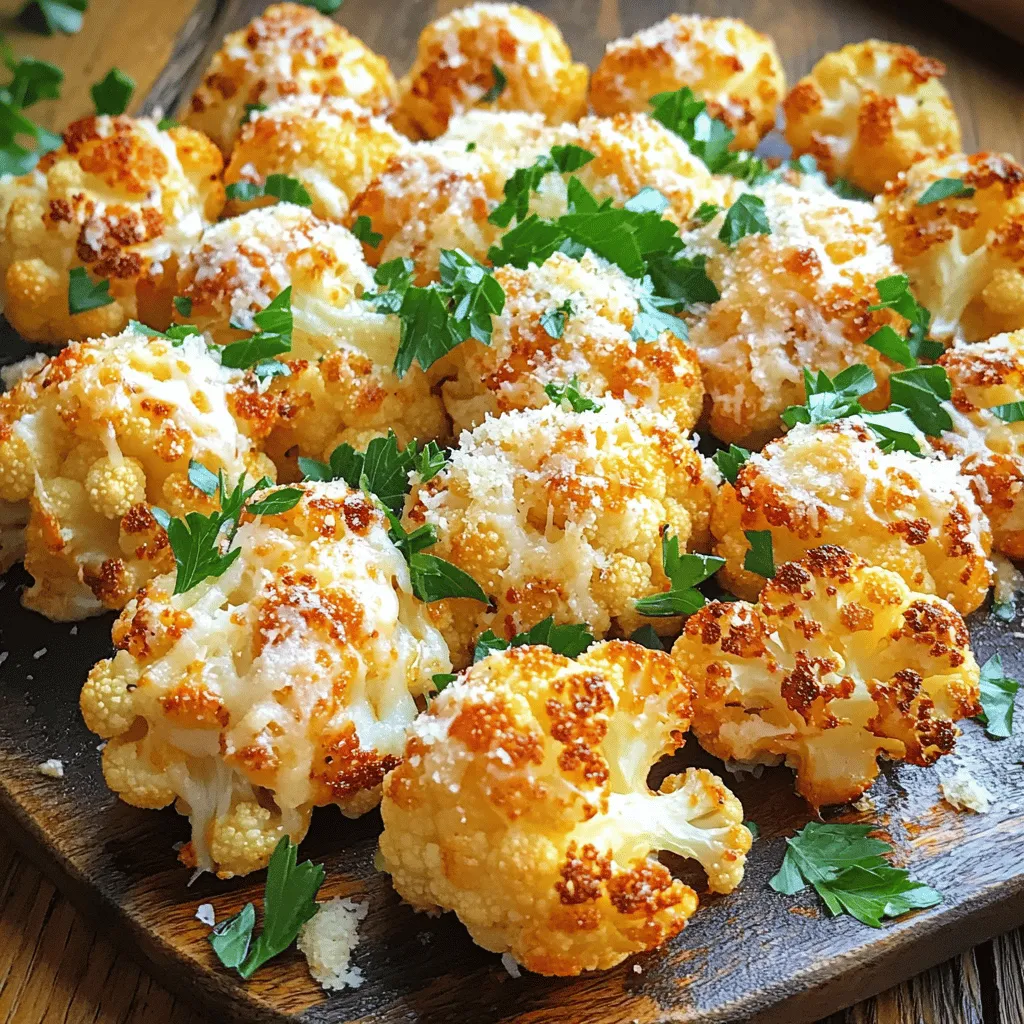
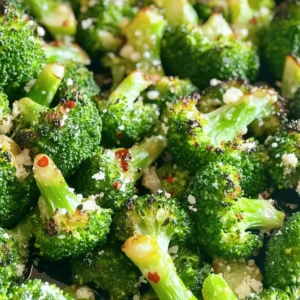
Garlic Parmesan Roasted Cauliflower Flavorful Dish
Looking for a tasty side dish that impresses but stays easy? Garlic Parmesan Roasted Cauliflower is your answer! This dish
Read more…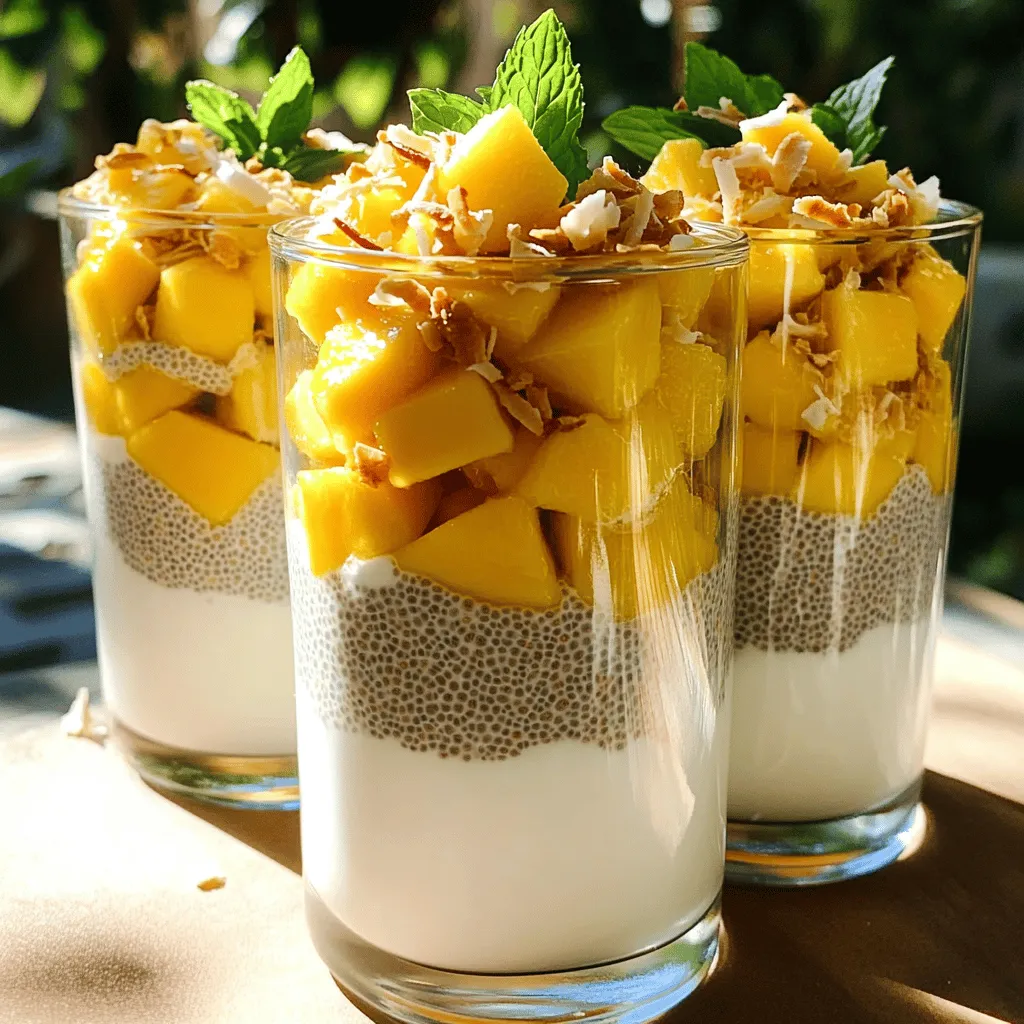
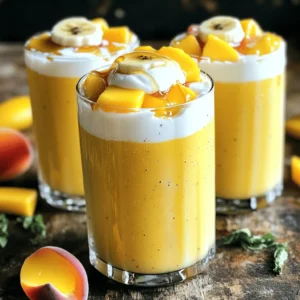
Mango Coconut Chia Pudding Nutritious and Easy Recipe
Looking for a tasty treat that’s both healthy and simple? You’re in the right place! My Mango Coconut Chia Pudding
Read more…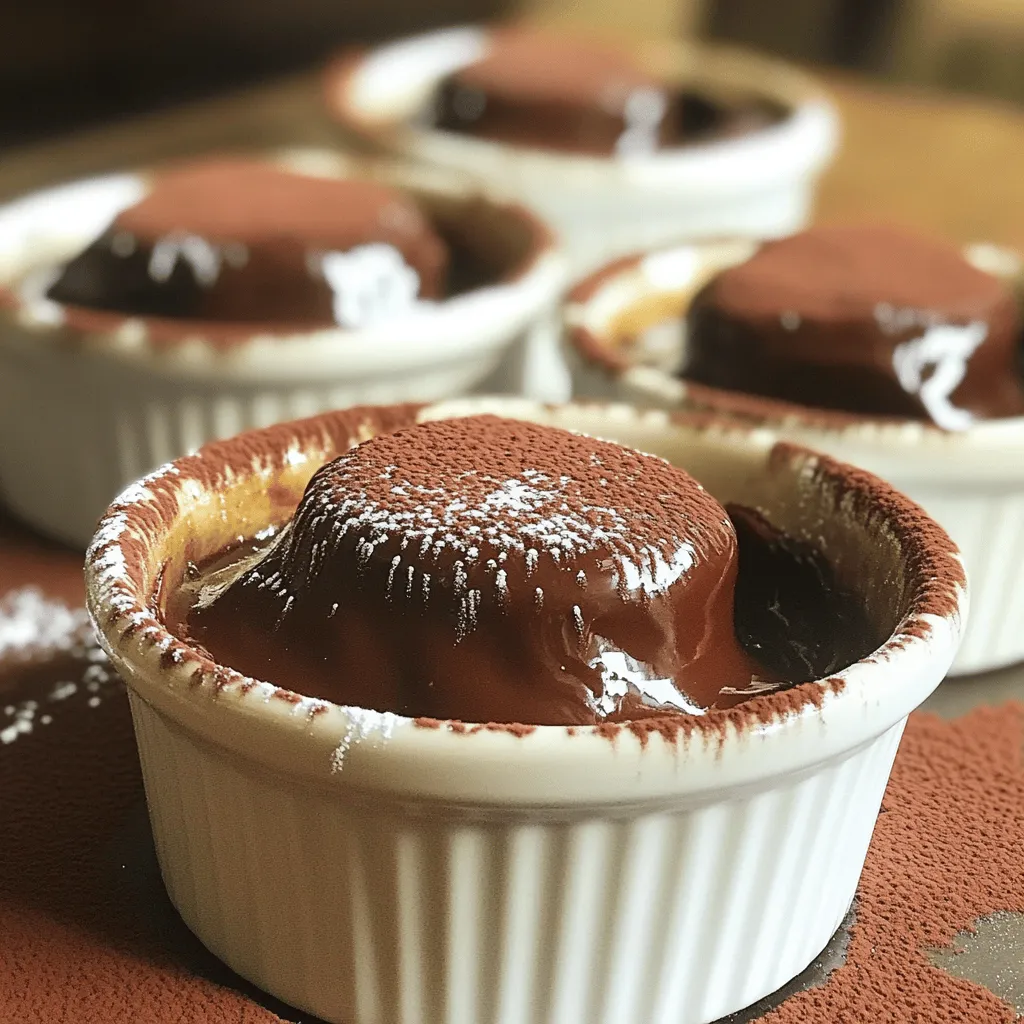
Chocolate Lava Cake Delightful Dessert Recipe
Indulging in a rich Chocolate Lava Cake is a delight you won’t forget. Picture a warm, gooey center that flows
Read more…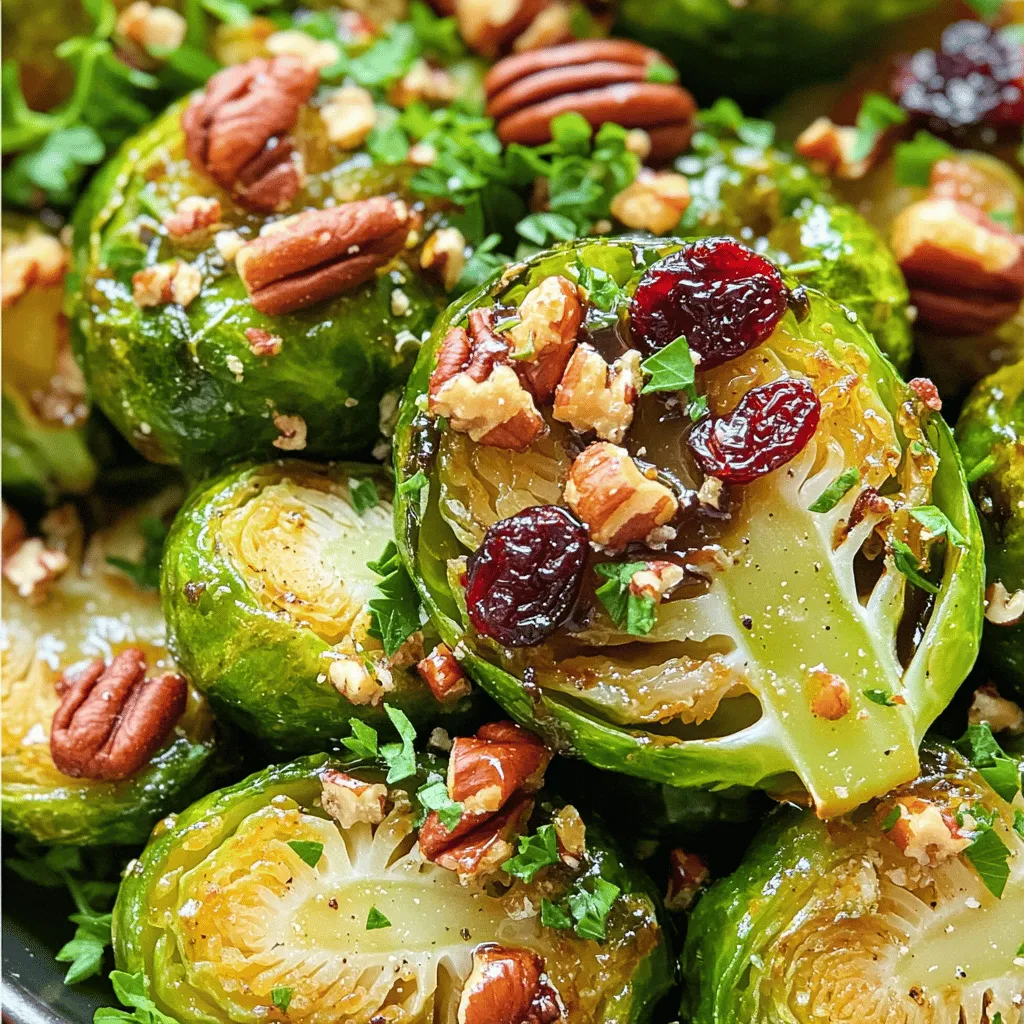
Balsamic Glazed Brussels Sprouts Simple and Tasty Dish
Looking for a quick way to turn Brussels sprouts into a tasty dish? I’ve got you covered with my simple
Read more…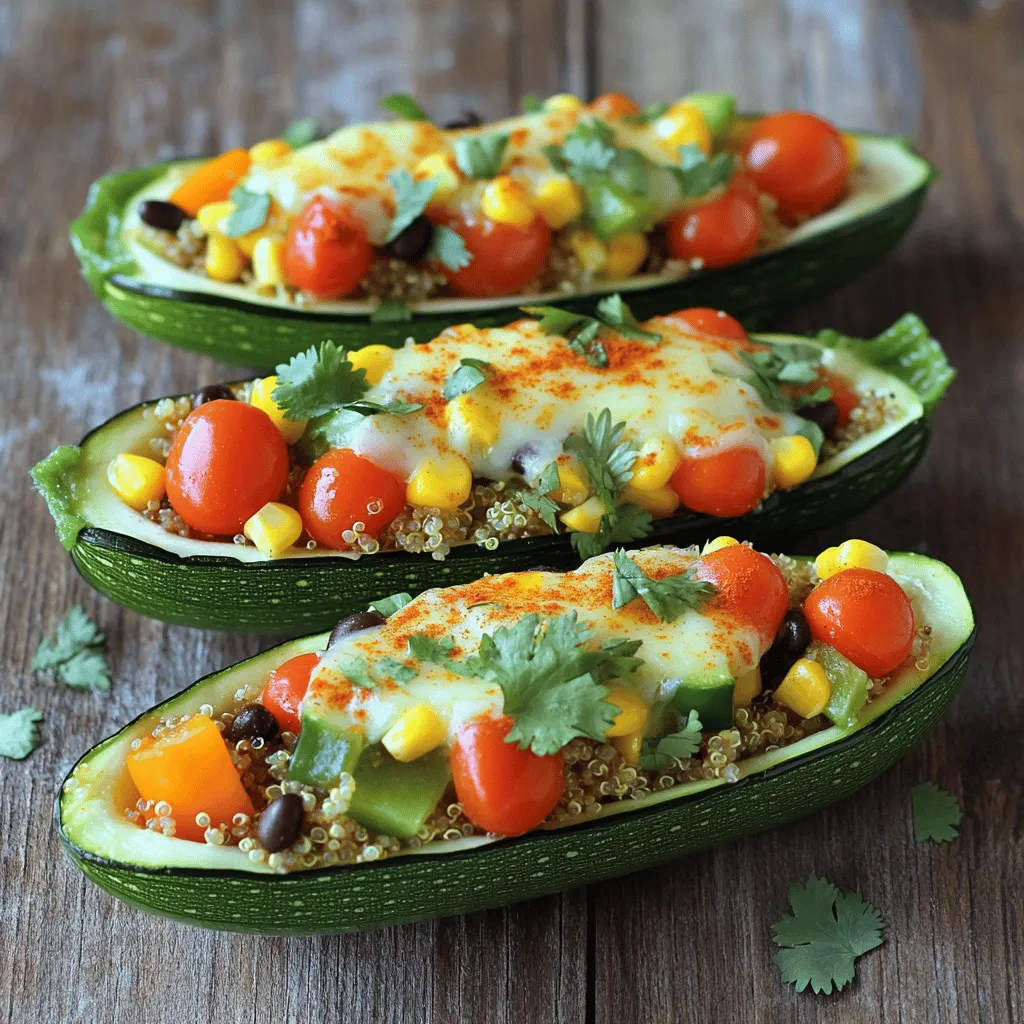
Vegetarian Stuffed Zucchini Boats Flavorful and Nutritious
Looking for a tasty and healthy meal? Try my Vegetarian Stuffed Zucchini Boats! These boats are packed with flavor and
Read more…browse recipes
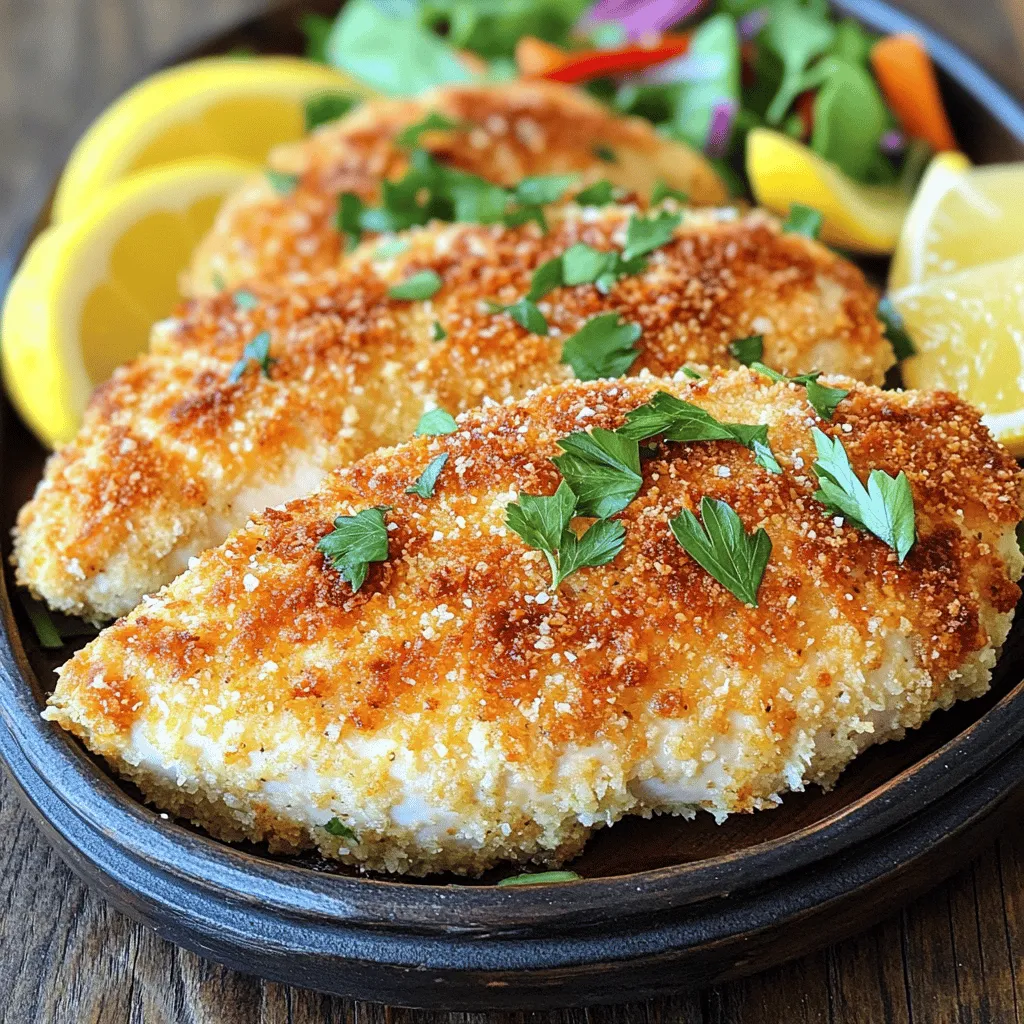
Crispy Parmesan Crusted Chicken Tasty Dinner Delight
If you’re craving a dinner that’s both crispy and flavorful, look no further! Crispy Parmesan Crusted Chicken is your answer. This dish turns simple…
My Latest Desserts
-

Caramel Pecan Sticky Buns Sweet and Gooey Treat
Are you ready to treat yourself to the ultimate indulgence? Caramel Pecan Sticky Buns are sweet, gooey, and packed with Read Full Recipe -

Pumpkin Spice French Toast Casserole Easy and Tasty
Looking for a cozy fall breakfast that’s easy and delicious? You’ll love my Pumpkin Spice French Toast Casserole! This dish Read Full Recipe -

Fluffy Pumpkin Pancakes Perfectly Delicious Breakfast
Start your morning with a treat you won’t forget: fluffy pumpkin pancakes! They bring fall flavors to your breakfast table Read Full Recipe -
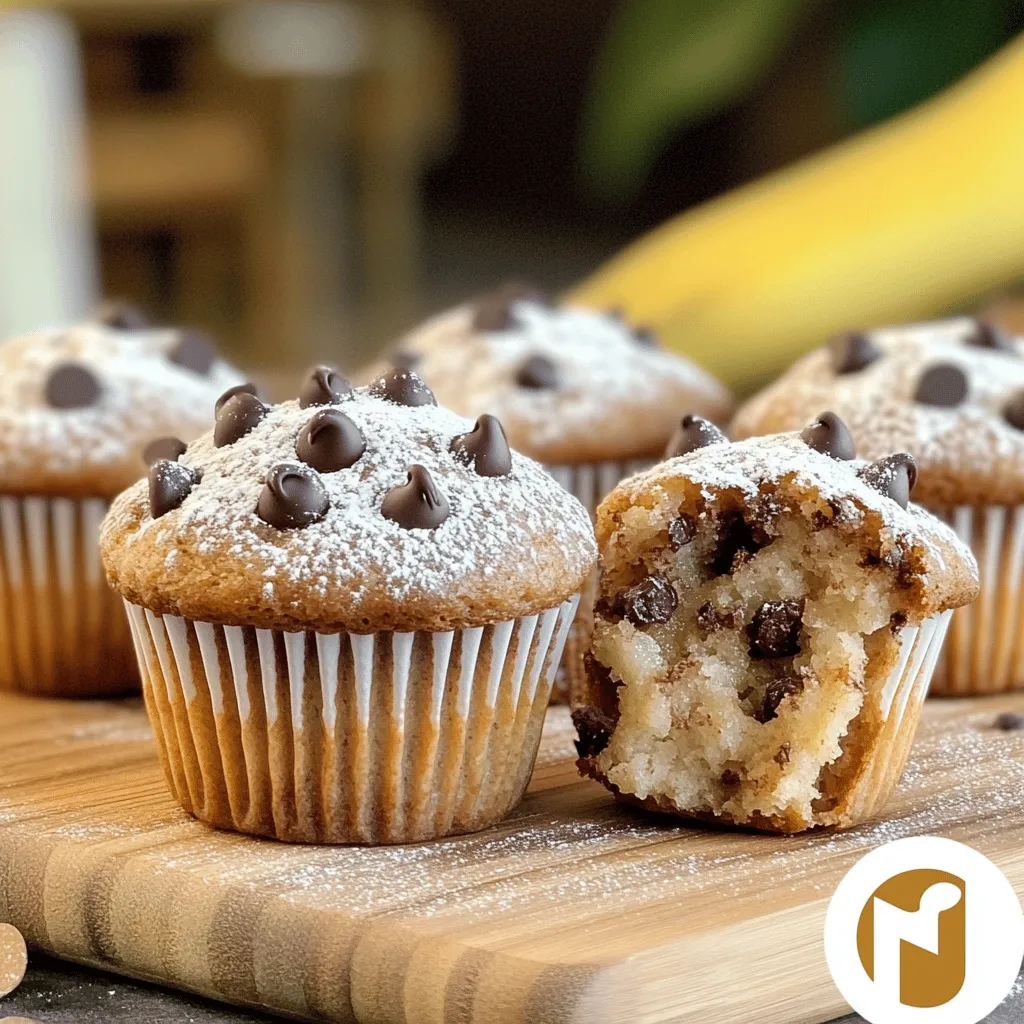
Brown Butter Banana Chocolate Chip Muffins Delight
Are you craving a warm, cozy treat? Look no further than these Brown Butter Banana Chocolate Chip Muffins! This recipe Read Full Recipe -

Chewy Salted Caramel Pretzel Brownies Delightful Treat
Are you ready to indulge in a treat that combines sweet, salty, and chewy goodness? These Chewy Salted Caramel Pretzel Read Full Recipe -

Fluffy Pumpkin Pancakes Easy and Delicious Recipe
Looking to spice up your breakfast with something special? You’re in for a treat! These fluffy pumpkin pancakes are not Read Full Recipe -
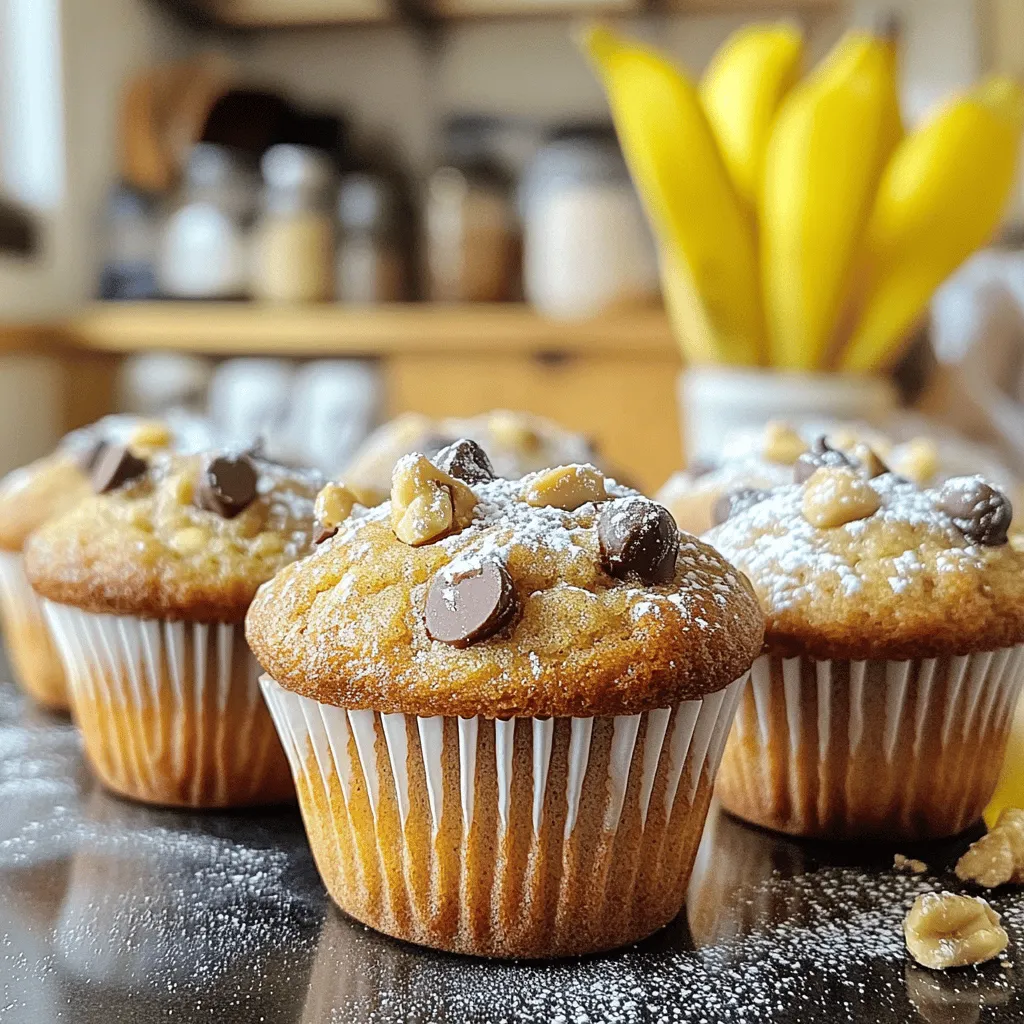
Brown Butter Banana Chocolate Chip Muffins Delight
Welcome to the delicious world of Brown Butter Banana Chocolate Chip Muffins! You’re about to discover a simple recipe that Read Full Recipe -
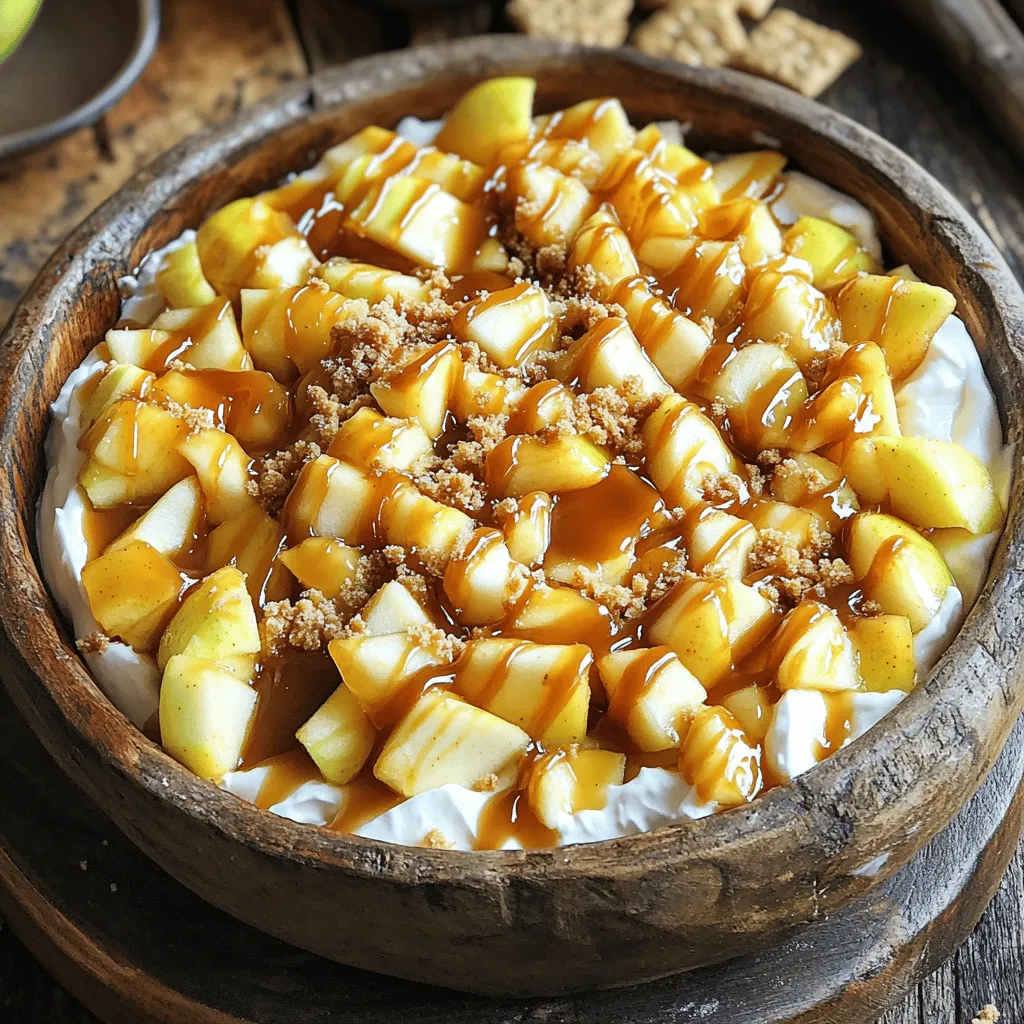
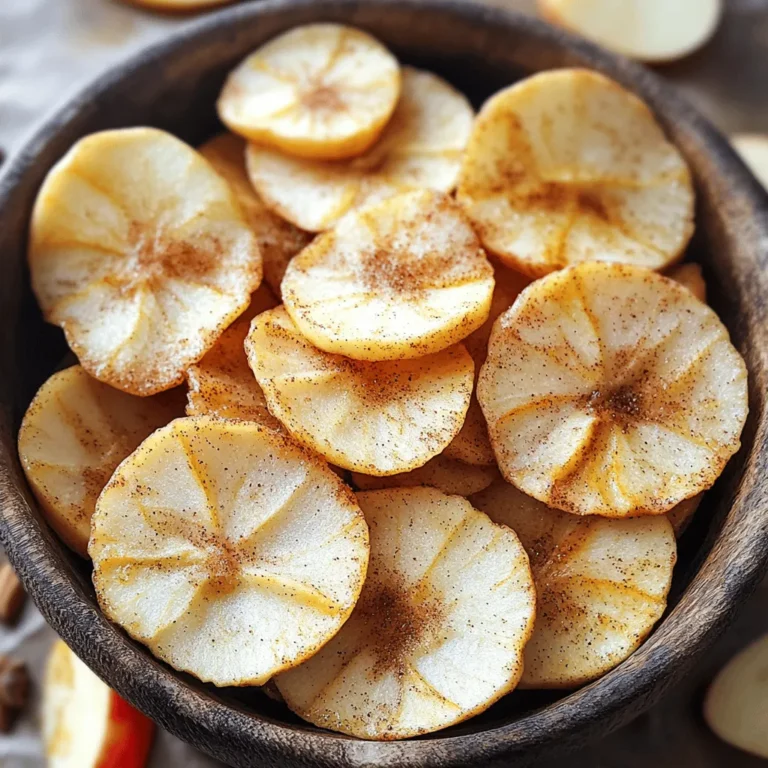
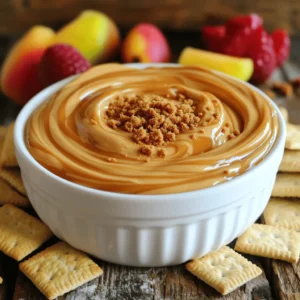
Caramel Apple Pie Dip Delightfully Sweet Treat
Get ready to dive into a sweet treat that’s perfect for any occasion: Caramel Apple Pie Dip! If you love Read Full Recipe -
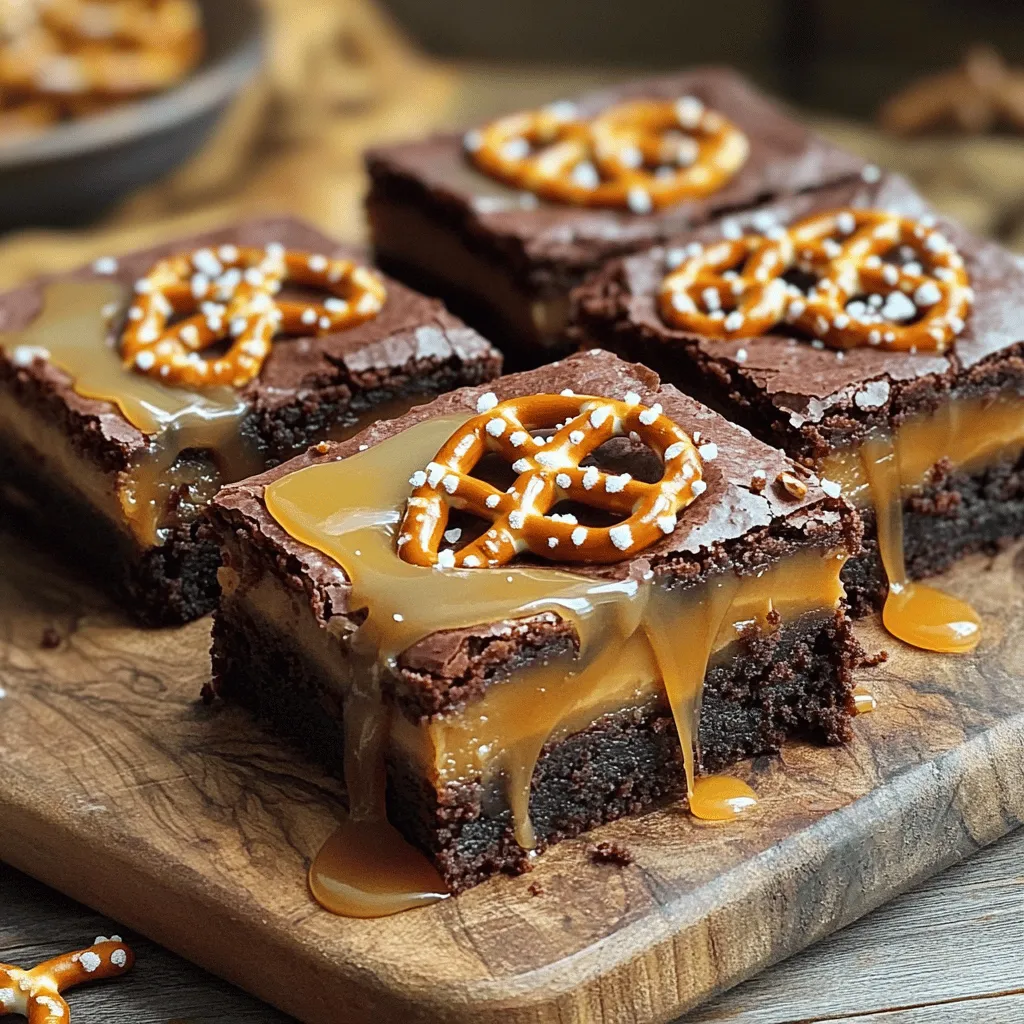
Chewy Salted Caramel Pretzel Brownies Delight
Get ready to indulge in a sweet and salty treat that you won’t forget! My Chewy Salted Caramel Pretzel Brownies Read Full Recipe -

Cherry Almond Overnight French Toast Easy Morning Dish
Looking for a quick and delicious breakfast? Cherry Almond Overnight French Toast could be your new favorite dish! This easy Read Full Recipe
My Latest Recipes

hey,
i’m !
I’m so happy you’re here!
I love creating dishes that bring joy to the table. I hope they bring the same joy to yours. Let’s enjoy this flavorful journey together.
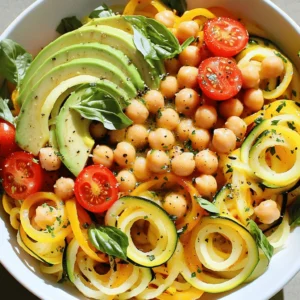
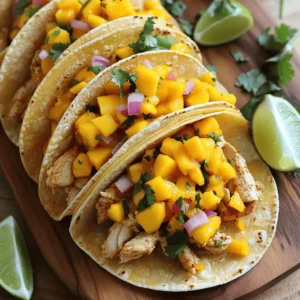
![- 1 ripe mango, diced - 2 ripe avocados, diced - 1 small red onion, finely chopped - 1 jalapeño, deseeded and minced - 1/4 cup fresh cilantro, chopped - 2 tablespoons lime juice - 1 tablespoon olive oil - Salt and pepper to taste - Optional: 1/2 teaspoon smoked paprika for a twist To make the best Mango Avocado Salsa, you need fresh ingredients. The mango and avocado are the stars of this dish. They add sweetness and creaminess. The red onion gives a nice crunch, while the jalapeño adds heat. Fresh cilantro brings a burst of flavor, and lime juice brightens it all up. Olive oil adds richness, and salt and pepper bring out the flavors. What if you can't find fresh mango or avocado? You can use other fruits like peach or pineapple. For veggies, try cucumber or bell pepper. If you want different oils, avocado oil works well too. You can also use lemon juice instead of lime juice for a different taste. When it comes to herbs, fresh is best, but dried cilantro can work in a pinch. Just use less. Be creative! You can mix and match to find what you like best. For the smoked paprika, if you want a different twist, try cumin or chili powder. For more details on how to put these ingredients together, check out the Full Recipe. How to dice mango and avocado To dice a mango, start by peeling it. Use a sharp knife to cut slices along the pit. Then, cut those slices into cubes. For avocados, cut them in half, remove the pit, and scoop the flesh out with a spoon. Dice the avocado in the skin, then scoop it out into a bowl. Chopping onion and jalapeño For the red onion, peel off the outer layer. Then, make thin slices and chop them into small pieces. For the jalapeño, first, slice it in half and remove the seeds. Next, chop it finely to get the heat without being overwhelming. Mixing the ingredients Once you have diced the mango, avocado, onion, and jalapeño, combine them in a large mixing bowl. Make sure to add the fresh cilantro as well. This adds brightness and flavor to your salsa. How to whisk lime juice and olive oil In a small bowl, pour 2 tablespoons of lime juice. Add 1 tablespoon of olive oil. Use a whisk or a fork to mix them together until they blend nicely. This will create a fresh and zesty dressing for your salsa. Optional smoked paprika addition If you want a smoky flavor, you can add 1/2 teaspoon of smoked paprika to the dressing. Whisk it in well with the lime juice and olive oil to infuse that unique taste. Tossing the salsa without mashing the avocado Pour the dressing over the salsa mixture. Use a spatula to gently toss everything together. Be careful not to mash the avocado. You want nice, chunky pieces that hold their shape. Best practices for flavor melding Allow the salsa to sit for about 10 minutes before serving. This waiting time helps the flavors blend together and taste even better. Serve it in a colorful bowl and enjoy with tortilla chips or as a topping! For the Full Recipe, check the earlier section. To make the best mango avocado salsa, you need to focus on texture. Use ripe mango and avocado for a creamy bite. The mango should be sweet and soft but not mushy. The avocado must also be ripe. If it feels too hard, wait a day or two. Keeping your avocado fresh is key. After dicing, sprinkle lime juice on the avocado pieces. This will slow browning and keep the color bright. Store any leftover salsa in an airtight container. Add a layer of plastic wrap directly on the salsa to avoid air exposure. For flavor enhancement, consider your taste buds. If you love heat, add more jalapeño or even a dash of hot sauce. Fresh herbs like cilantro boost the flavor. You can also try adding a pinch of smoked paprika for a tasty twist. Mango avocado salsa pairs perfectly with tortilla chips. It makes a great appetizer or snack. You can also serve it as a topping for grilled chicken, fish, or tacos. This adds a fresh burst of flavor to your meal. For presentation, use a colorful bowl. Garnish the top with extra cilantro for a pop of green. This makes the dish look inviting and fresh. You can also use the salsa as a topping for burrito bowls or salads. It brightens up any dish with its vibrant colors and flavors. Enjoy exploring different ways to use your mango avocado salsa! {{image_2}} You can make Mango Avocado Salsa even more exciting with some fun twists. - Adding fruits like pineapple or mango: For a sweeter kick, add diced pineapple. This adds a nice contrast to the creamy avocado. You can also mix in other fruits like kiwi for a unique taste. - Heat level adjustments with different peppers: Want more heat? Try using serrano or habanero peppers instead of jalapeño. This will bring more spice to your salsa and a deeper flavor. - Unique ingredients like corn or beans: Adding corn gives a sweet crunch. Black beans can add protein and make the salsa heartier. Both options enhance the dish and make it more filling. Mango Avocado Salsa can fit many diets. - Vegan and gluten-free considerations: This salsa is naturally vegan and gluten-free. You can enjoy it without any worries about dietary restrictions. It’s fresh, light, and full of flavor. - Low-carb options: If you're watching carbs, this salsa is a great choice. The ingredients are low in carbs, making it perfect for low-carb diets. Enjoy it with your favorite grilled proteins for a complete meal. For the full recipe, check the [Full Recipe]. Enjoy creating your own delicious variations! To keep your mango avocado salsa fresh, use an airtight container. Press plastic wrap directly on the salsa's surface before sealing. This reduces air exposure and slows browning. Store it in the fridge for the best results. Avoid leaving it out at room temperature for long. The heat can spoil the flavors and ingredients. Mango avocado salsa lasts about 1 to 2 days in the fridge. After that, the avocados may start to brown and lose their taste. Check for signs of spoilage, such as a sour smell or mushy texture. If you see brown spots on the avocado, it’s time to toss it. Always trust your senses; if it doesn’t smell or look right, don’t eat it. Can I prepare Mango Avocado Salsa in advance? Yes, you can prepare Mango Avocado Salsa a few hours ahead. Just keep it in the fridge. The flavors will blend nicely. However, the avocado may brown if left too long. To slow browning, add extra lime juice. What can I use instead of lime juice? If you don’t have lime juice, use lemon juice. It adds a nice tang, too. You can also try vinegar, like apple cider vinegar. This will change the taste a bit, but it still works well. How do I make this salsa spicy? To add heat, include more jalapeño. You can also try serrano peppers for extra spice. Another option is to sprinkle in some cayenne pepper. Start small, then taste and adjust. Calories and nutrient breakdown One serving of Mango Avocado Salsa has about 150 calories. It has healthy fats from avocados and fiber from mangoes. Each serving contains around 3 grams of protein and 10 grams of carbs. Health benefits of the ingredients Mangoes are full of vitamins A and C. They help boost your immune system. Avocados provide healthy fats, which are good for your heart. Cilantro adds antioxidants, which can keep you healthy. This salsa is a tasty way to enjoy these benefits! This blog post covered how to make a tasty Mango Avocado Salsa. You learned the key ingredients, how to prep them, and tips for the best flavor. Remember to try substitutes and add your twist for a unique taste. You can store the salsa easily in the fridge for fresh flavors later. Making this dish brings colorful, healthy food to your table. I hope these steps inspire you to create your own delicious salsa at home. Enjoy experimenting with different flavors!](https://soyumrecipes.com/wp-content/uploads/2025/04/a482feab-eda6-4114-b242-00ff682c0a20-300x300.webp)
. This recipe has all the steps and tips to make it perfect. Enjoy making this easy and tasty dish! Spaghetti Aglio e Olio is simple yet flavorful. We covered essential ingredients, cooking steps, and tips for perfect pasta. I shared common mistakes to avoid and ways to add more flavor. You learned about classic variations and creative twists to try. Plus, you got your storage and reheating tips. In closing, this dish is easy to make and fun to customize. Enjoy this Italian favorite, and don't hesitate to experiment with your own ideas!](https://soyumrecipes.com/wp-content/uploads/2025/05/5fa6ba80-43f0-4f36-8d15-1e45e1d16377-300x300.webp)
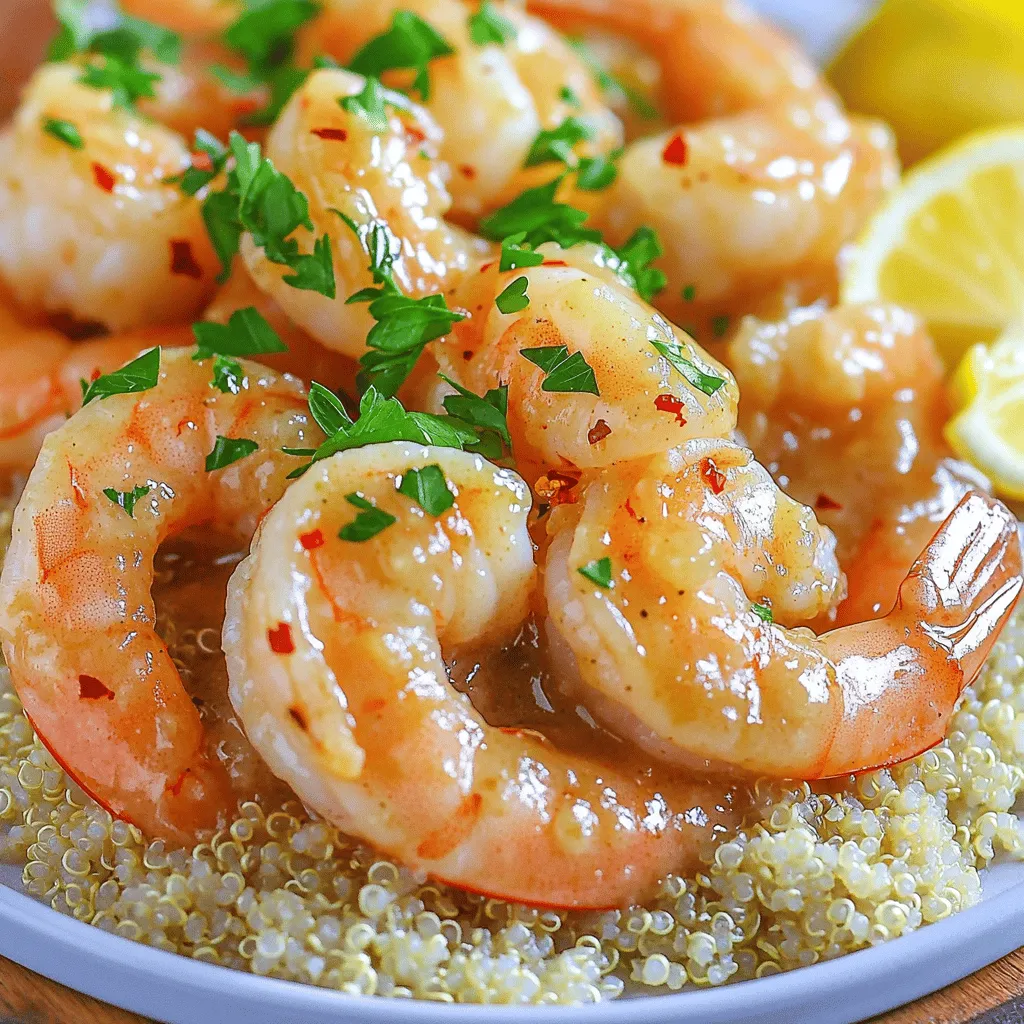
30-Minute Garlic Butter Shrimp Simple and Tasty Meal
Are you ready to whip up a tasty meal in just 30 minutes? This Garlic Butter Shrimp dish is simple, quick, and full of…