Latest & Greatest
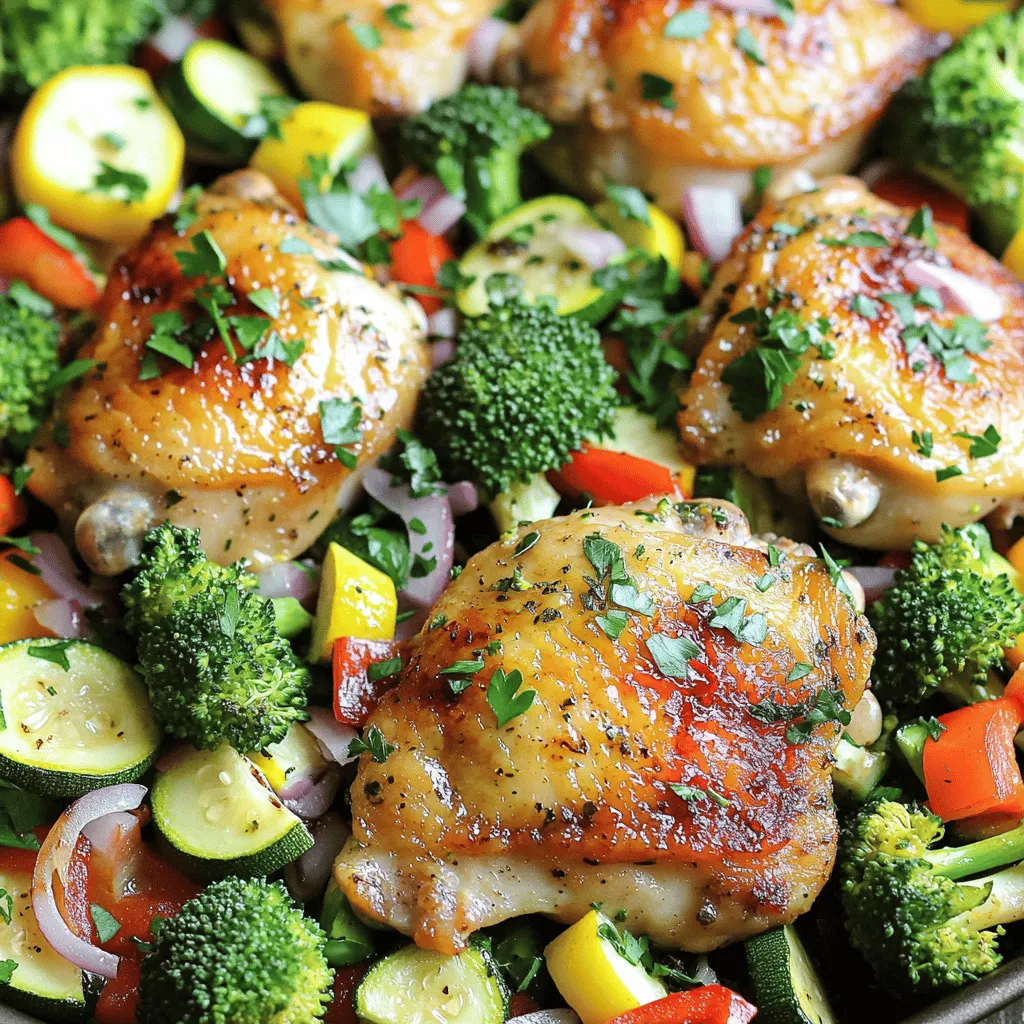
One-Pan Lemon Garlic Chicken and Veggies Delight
Looking for a simple yet delicious meal? This One-Pan Lemon Garlic Chicken and Veggies Delight is just what you need!
Read more…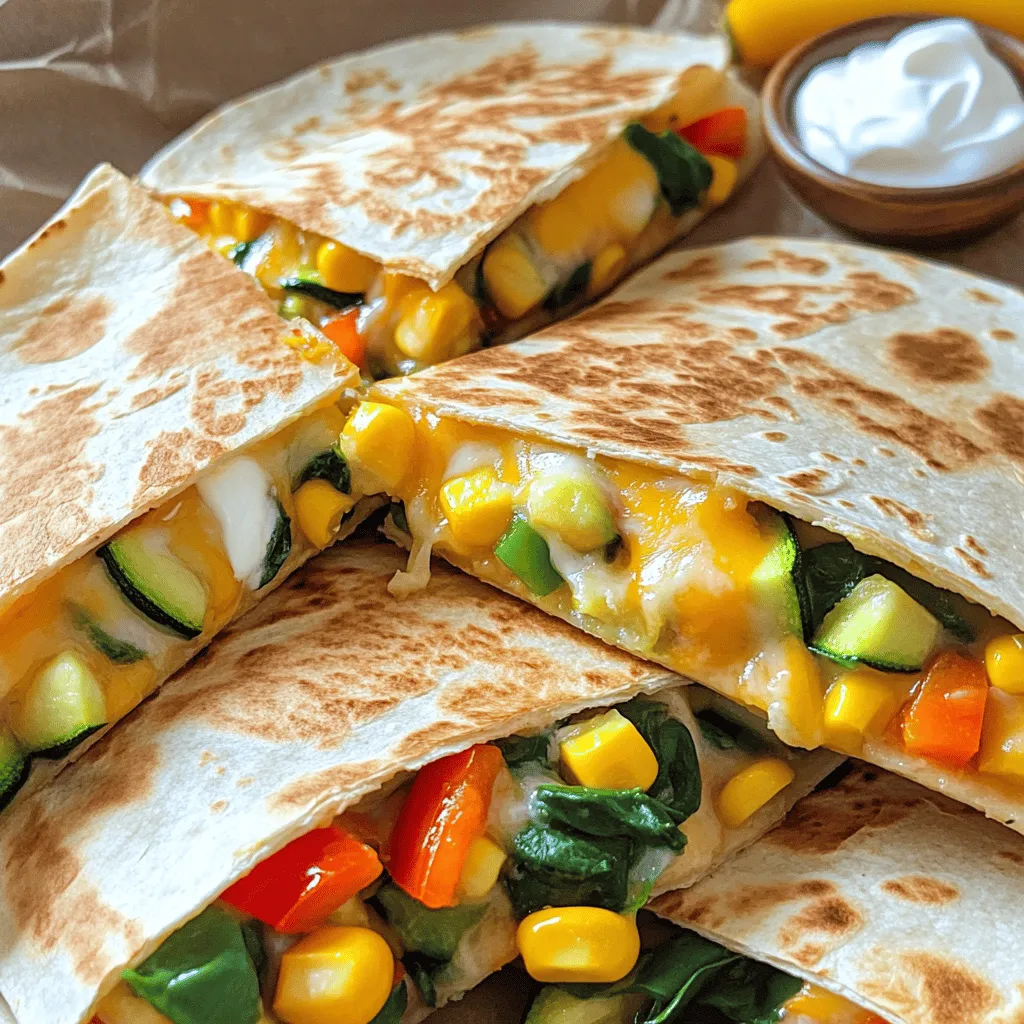
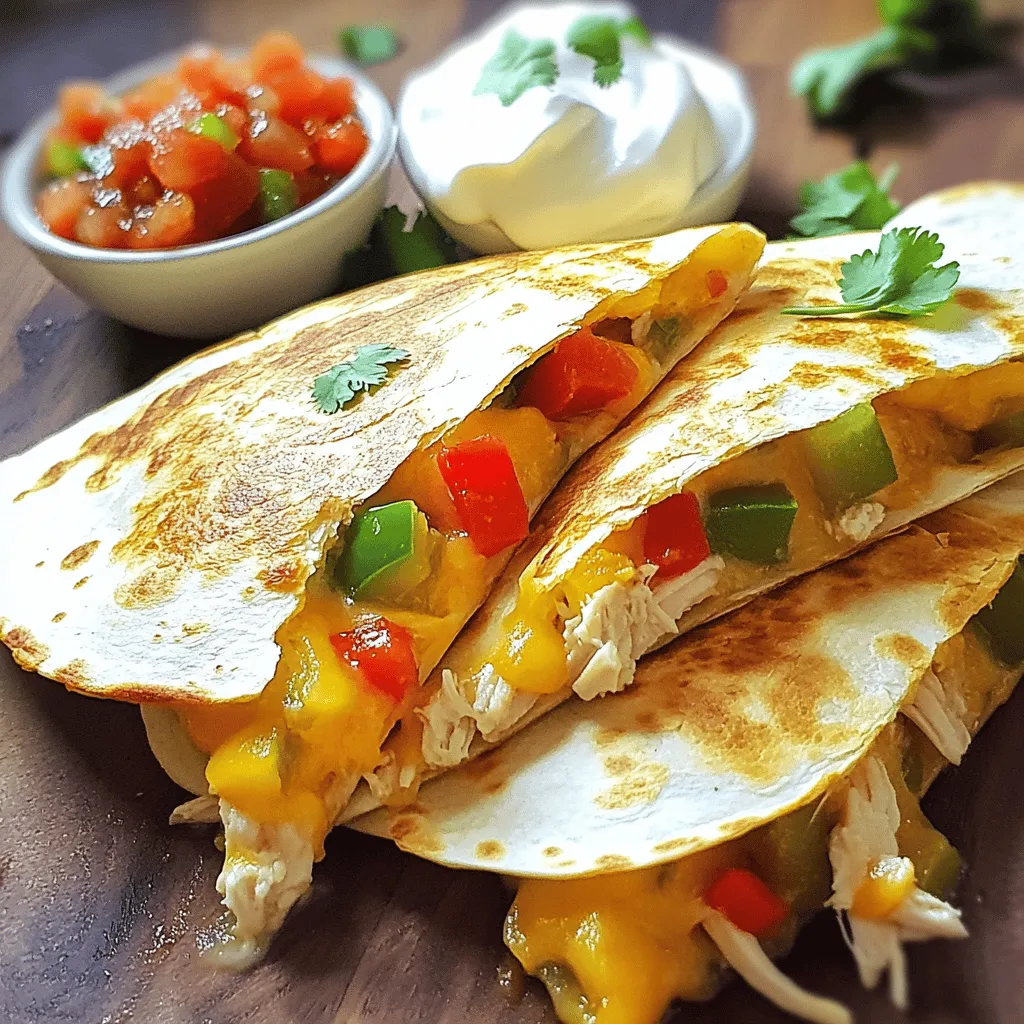
Easy Veggie Quesadillas Flavorful and Quick Meal
Craving a quick and tasty meal? Look no further! These Easy Veggie Quesadillas are not only packed with flavor, but
Read more…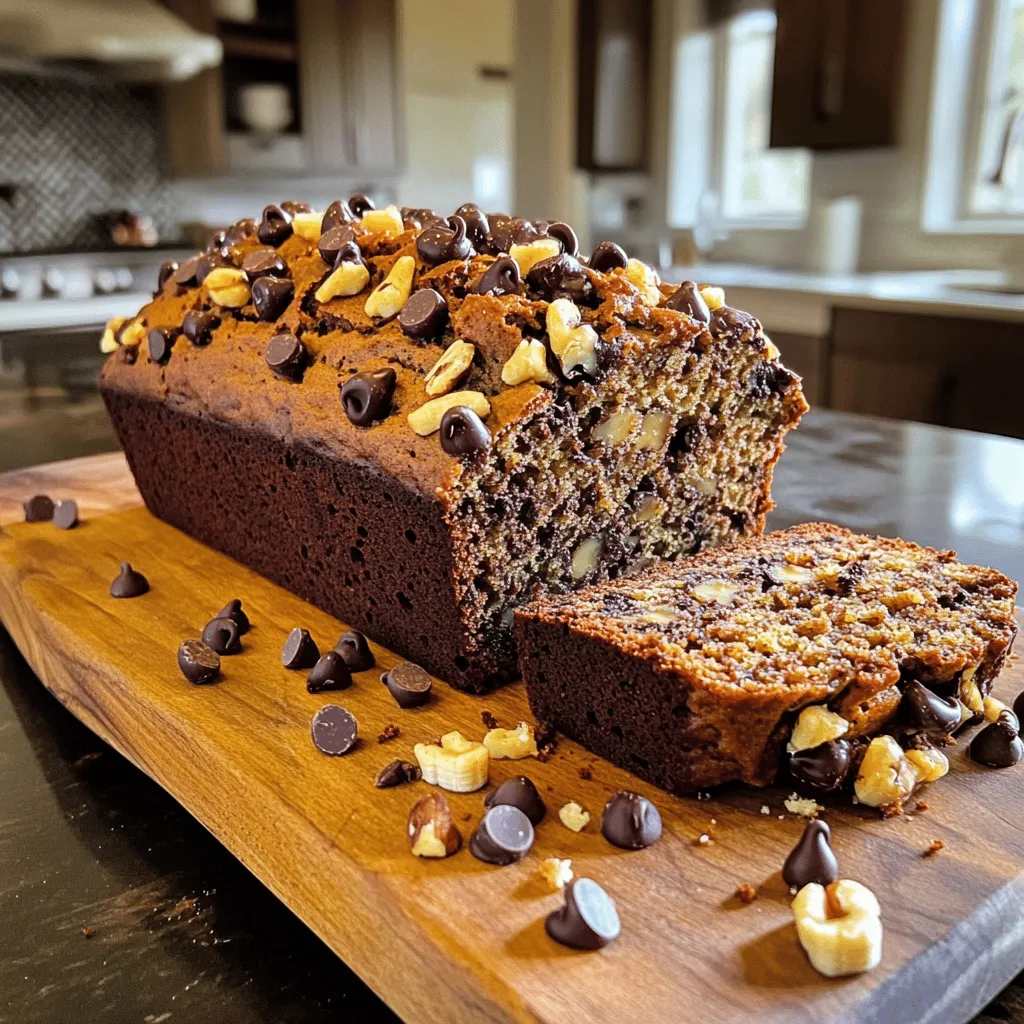
Chocolate Chip Banana Bread Simple and Tasty Recipe
If you love chocolate and bananas, you’re in for a treat! My Chocolate Chip Banana Bread is easy to make
Read more…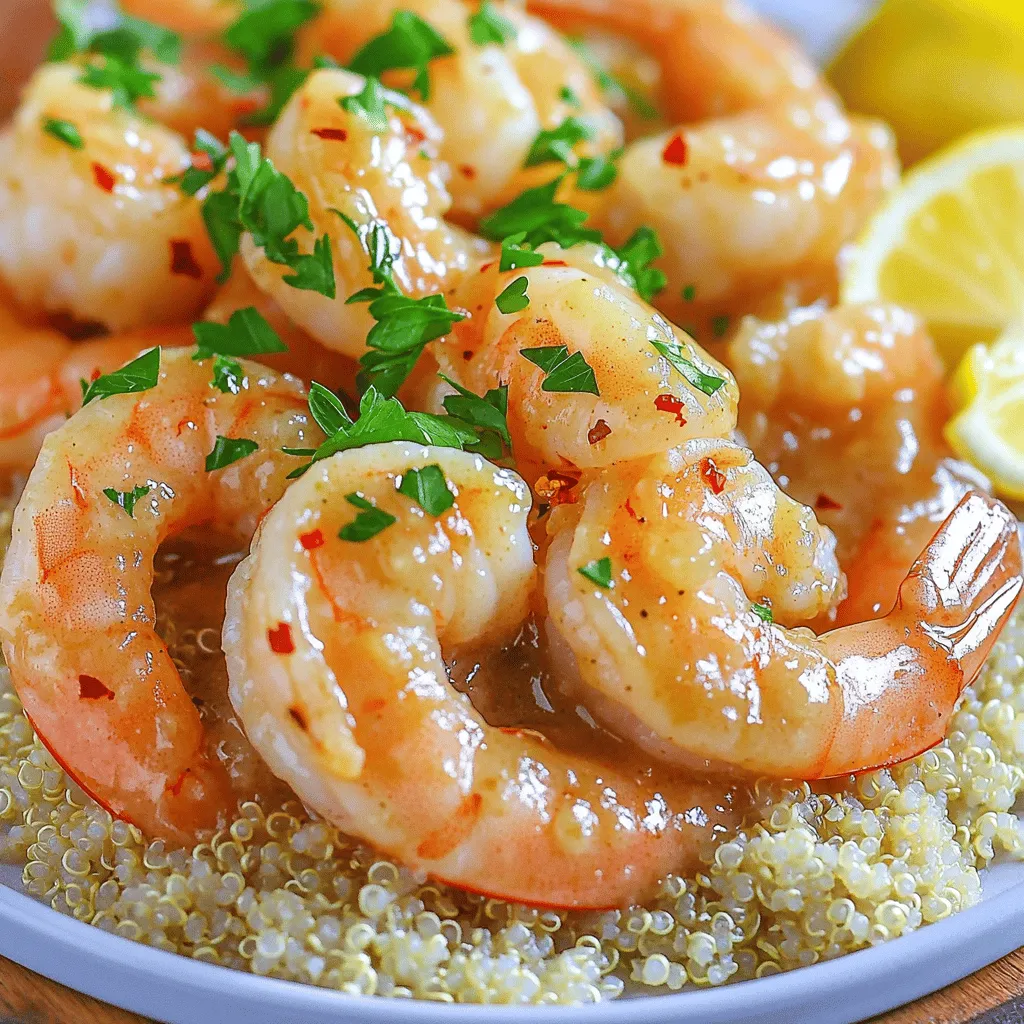
30-Minute Garlic Butter Shrimp Simple and Tasty Meal
Are you ready to whip up a tasty meal in just 30 minutes? This Garlic Butter Shrimp dish is simple,
Read more…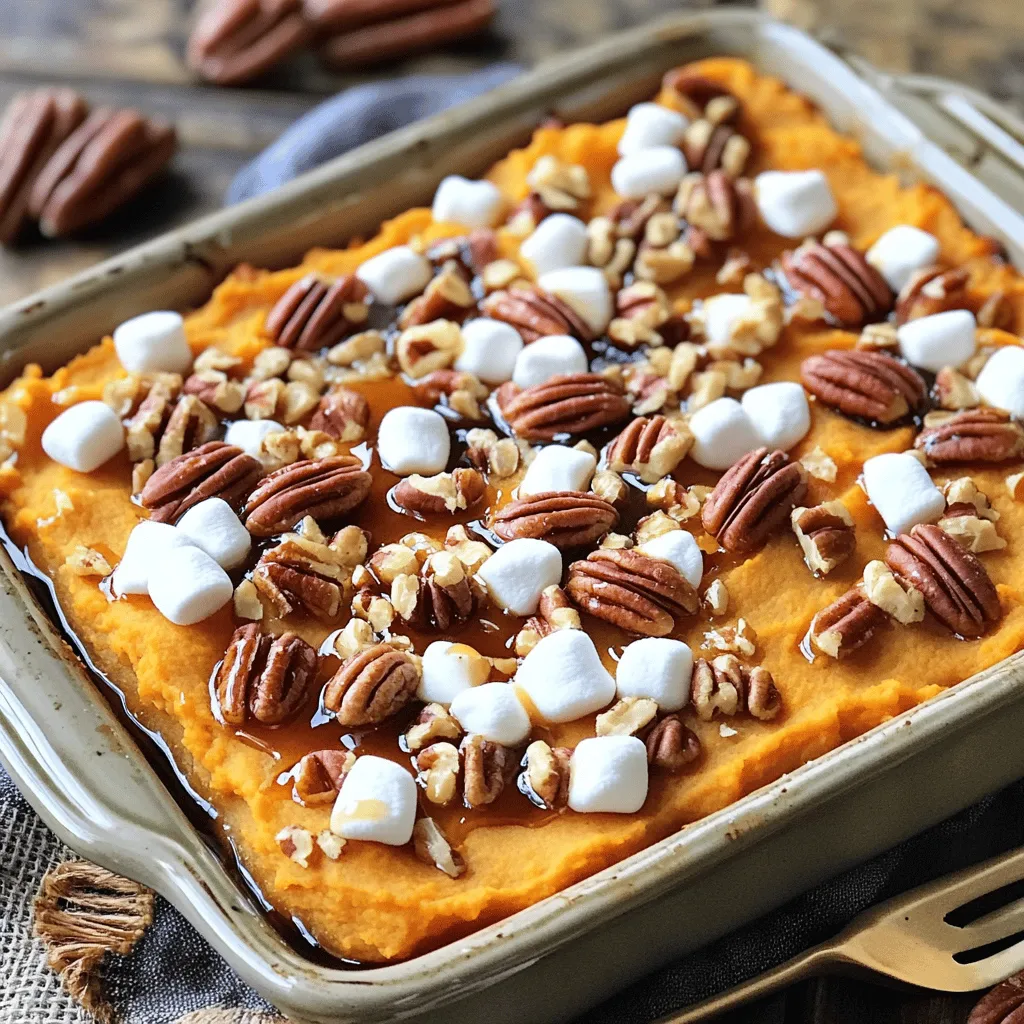
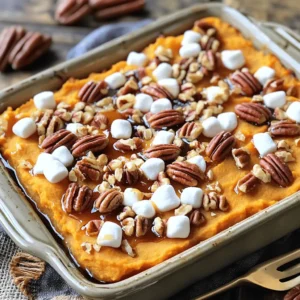
Maple Pecan Sweet Potato Casserole Comfort Dish
When comfort food calls, nothing beats a Maple Pecan Sweet Potato Casserole. This dish blends creamy sweet potatoes with rich
Read more…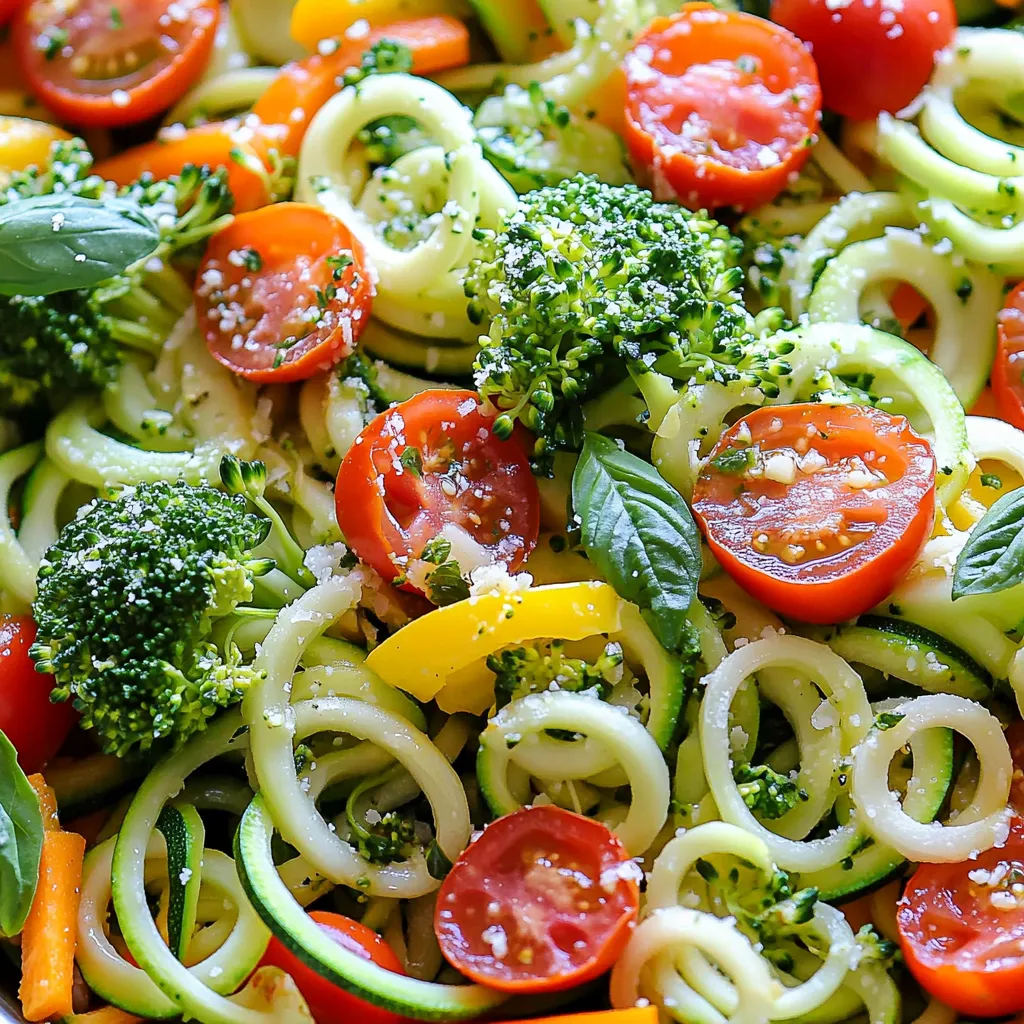
Zucchini Noodle Primavera Vibrant and Healthy Delight
Are you ready to enjoy a fresh, healthy meal? Zucchini Noodle Primavera is a vibrant delight that combines colorful veggies
Read more…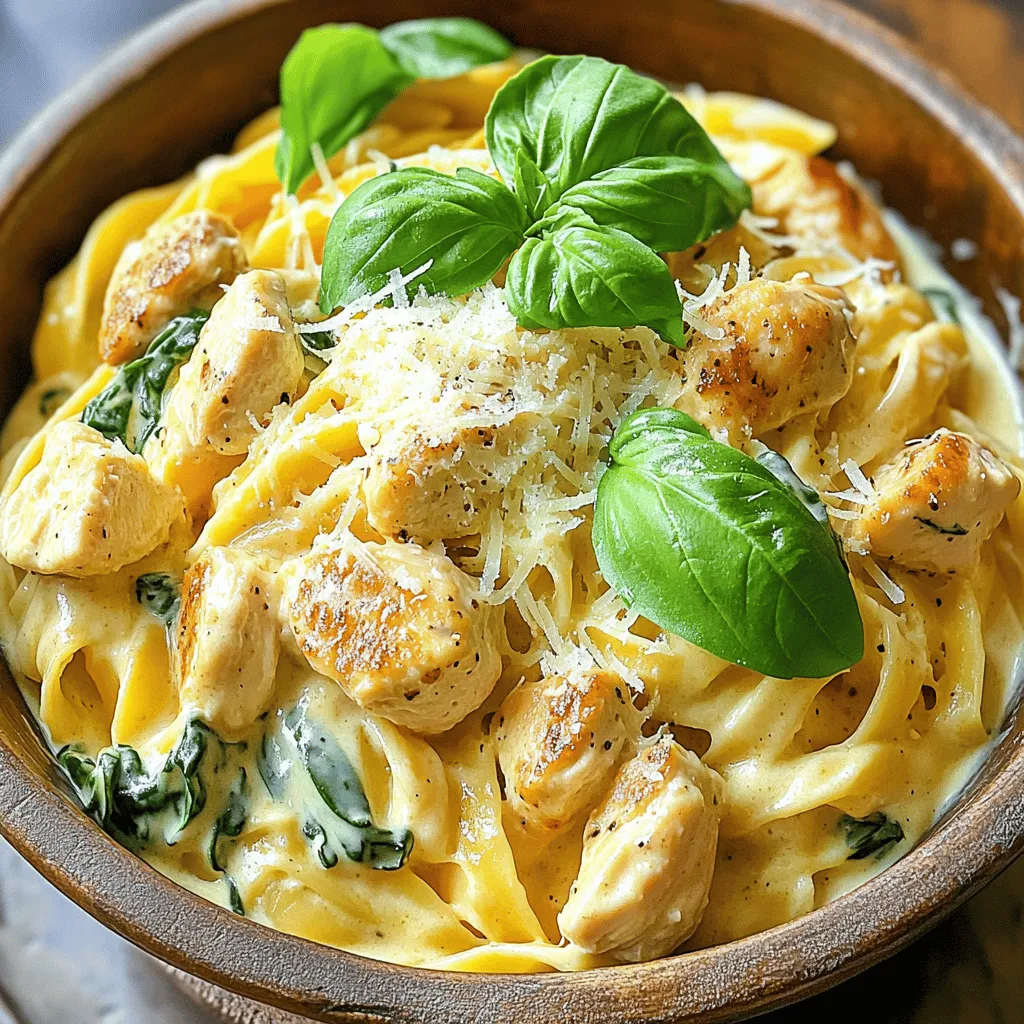
Instant Pot Creamy Chicken Pasta Simple and Tasty Dish
Are you ready to elevate your dinner game? Today, I’ll show you how to make Instant Pot Creamy Chicken Pasta.
Read more…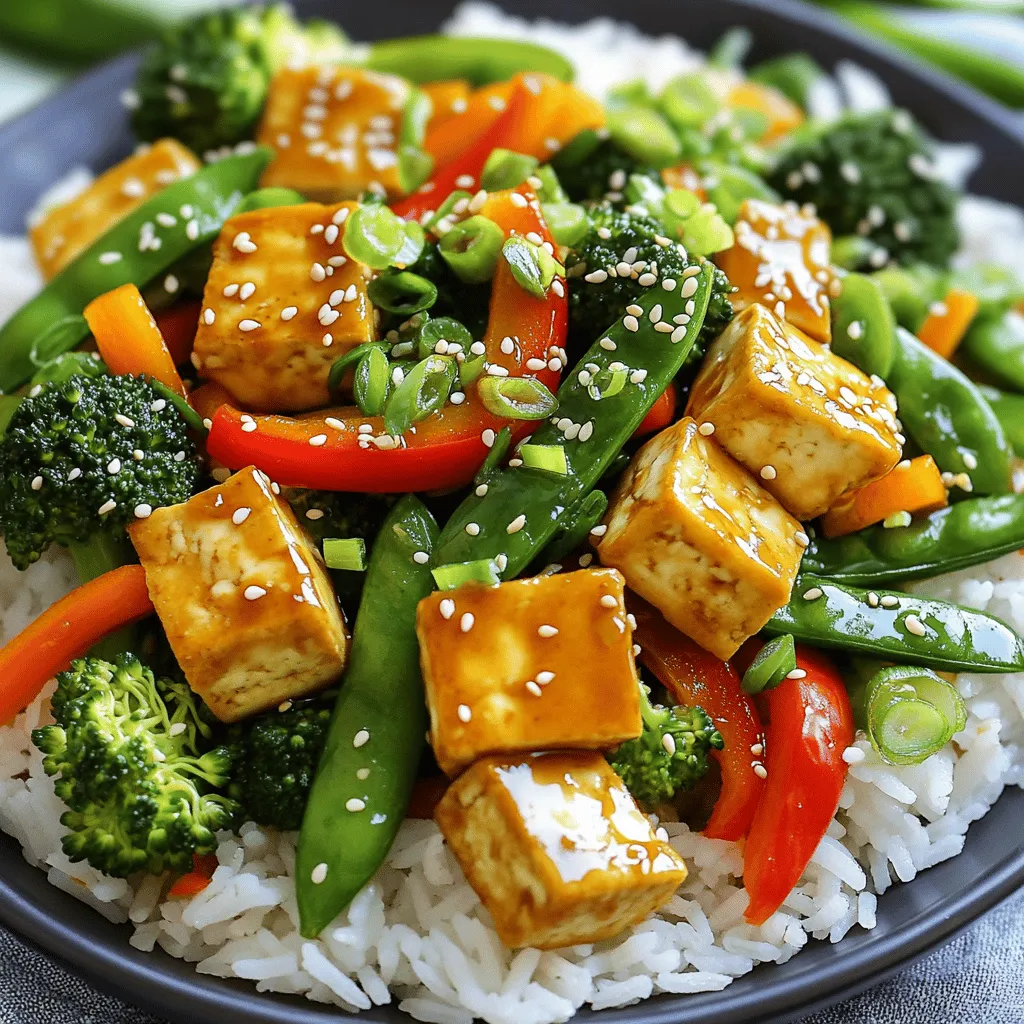
Quick Veggie Stir-Fry with Tofu Healthy Dinner Meal
Looking for a quick and healthy dinner? Try this veggie stir-fry with tofu! Packed with fresh ingredients and bold flavors,
Read more…browse recipes
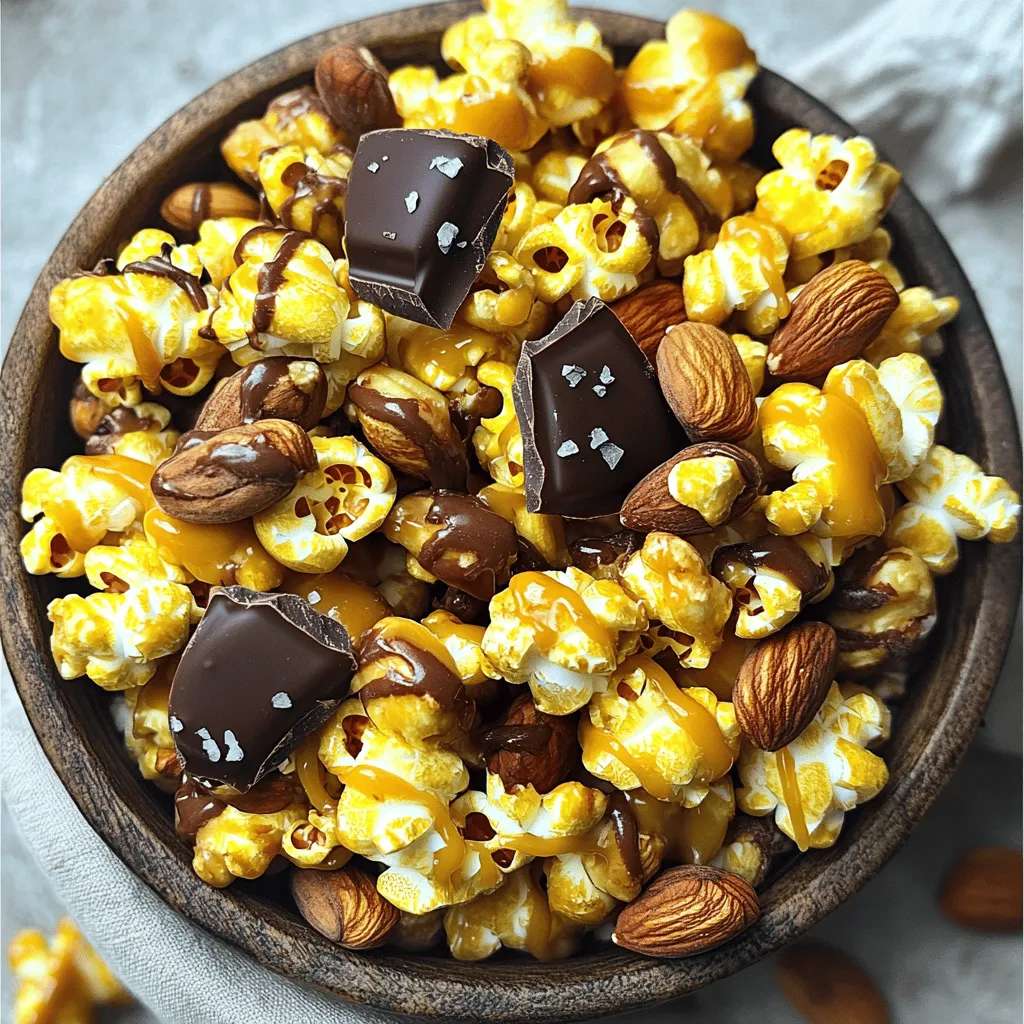
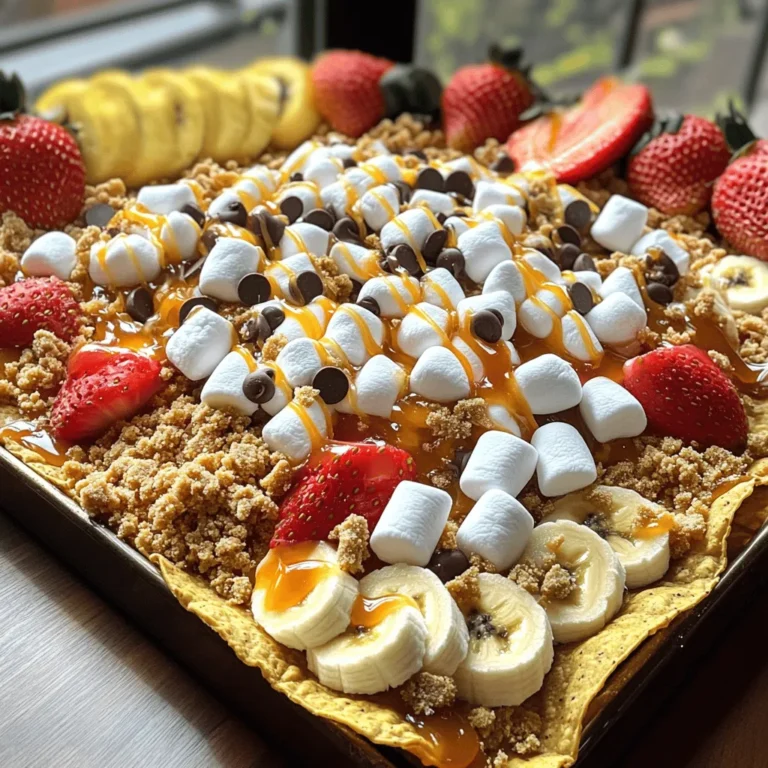
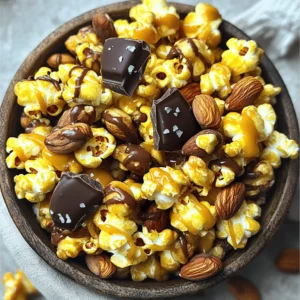
Moose Munch Caramel Popcorn Delightfully Sweet Treat
Are you ready to indulge in a sweet and crunchy treat? Moose Munch Caramel Popcorn combines fluffy popcorn, rich caramel, and tasty nuts for…
My Latest Desserts
-
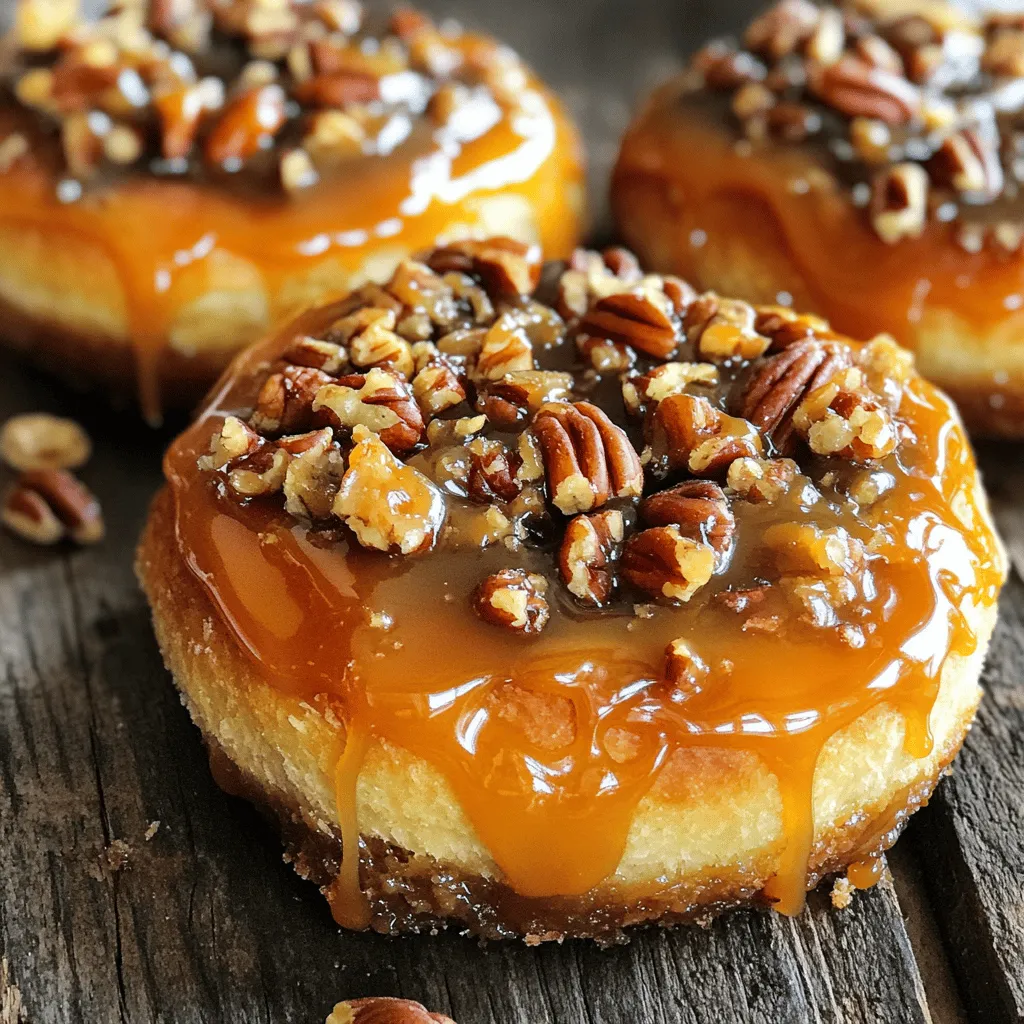
Caramel Pecan Sticky Buns Sweet and Gooey Treat
Are you ready to treat yourself to the ultimate indulgence? Caramel Pecan Sticky Buns are sweet, gooey, and packed with Read Full Recipe -
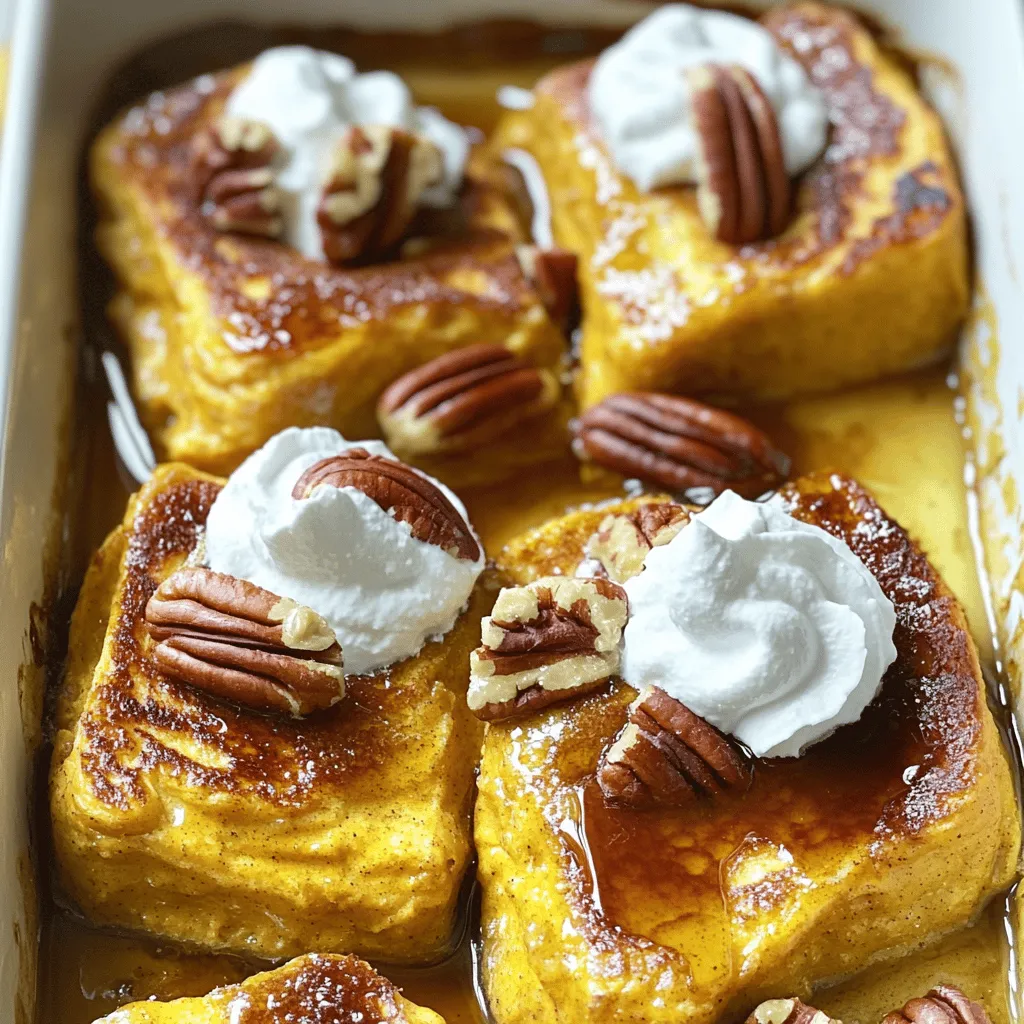
Pumpkin Spice French Toast Casserole Easy and Tasty
Looking for a cozy fall breakfast that’s easy and delicious? You’ll love my Pumpkin Spice French Toast Casserole! This dish Read Full Recipe -
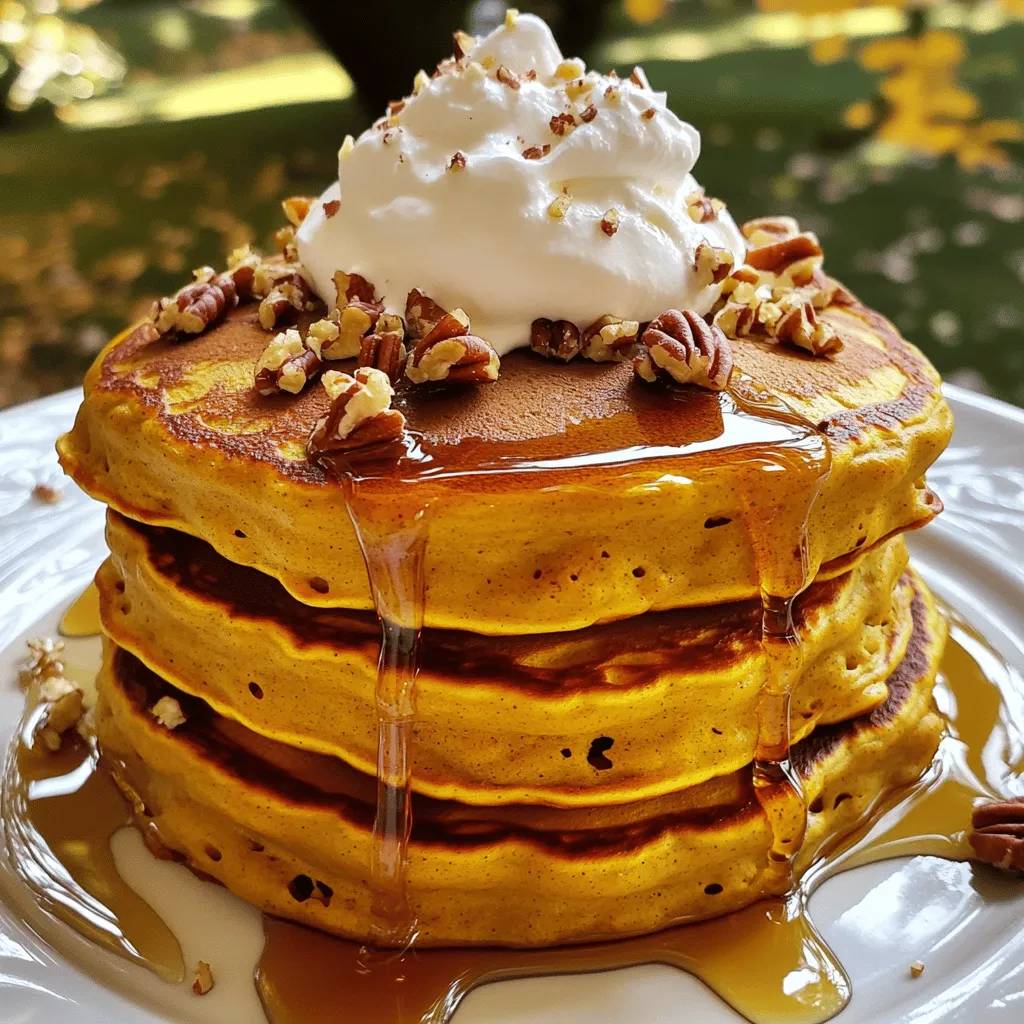
Fluffy Pumpkin Pancakes Perfectly Delicious Breakfast
Start your morning with a treat you won’t forget: fluffy pumpkin pancakes! They bring fall flavors to your breakfast table Read Full Recipe -

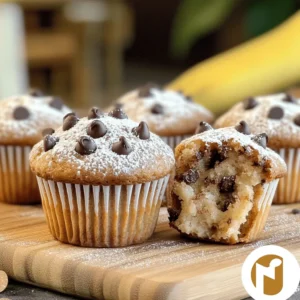
Brown Butter Banana Chocolate Chip Muffins Delight
Are you craving a warm, cozy treat? Look no further than these Brown Butter Banana Chocolate Chip Muffins! This recipe Read Full Recipe -
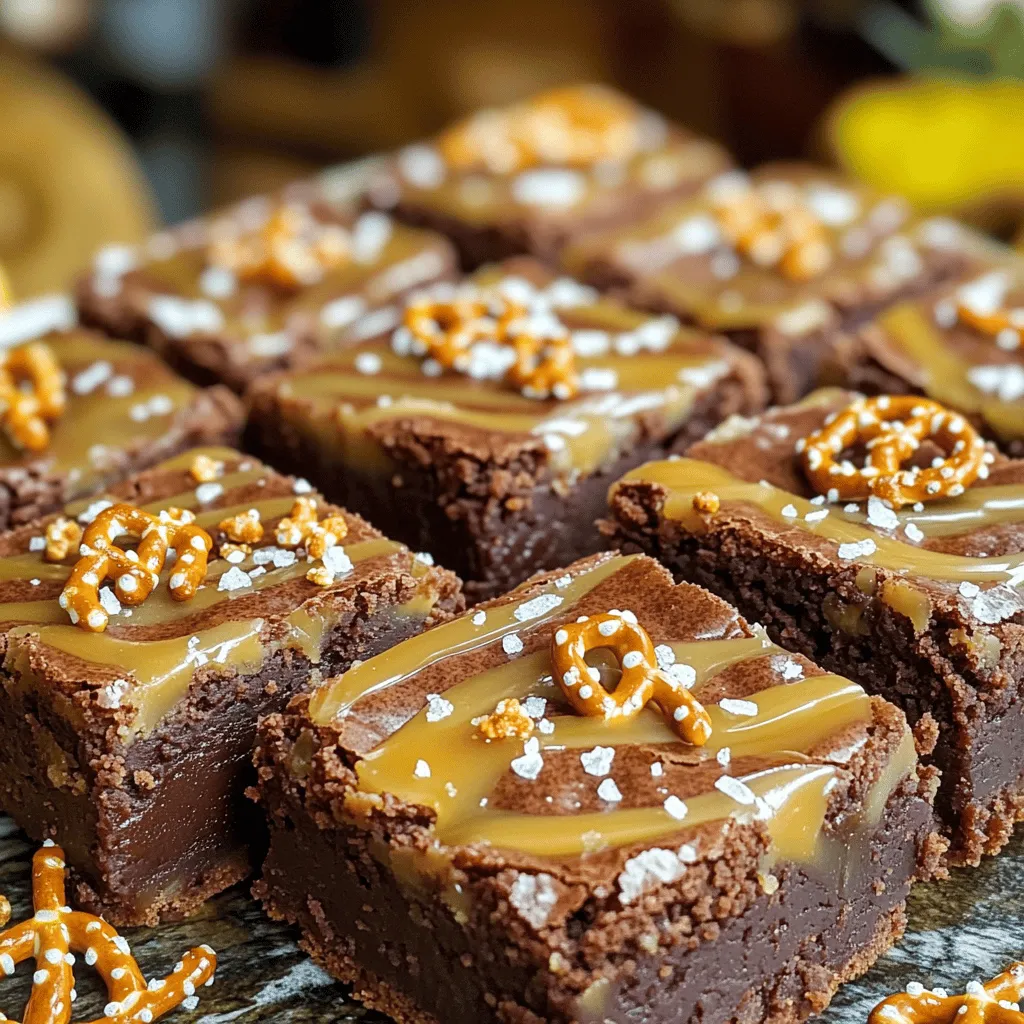
Chewy Salted Caramel Pretzel Brownies Delightful Treat
Are you ready to indulge in a treat that combines sweet, salty, and chewy goodness? These Chewy Salted Caramel Pretzel Read Full Recipe -
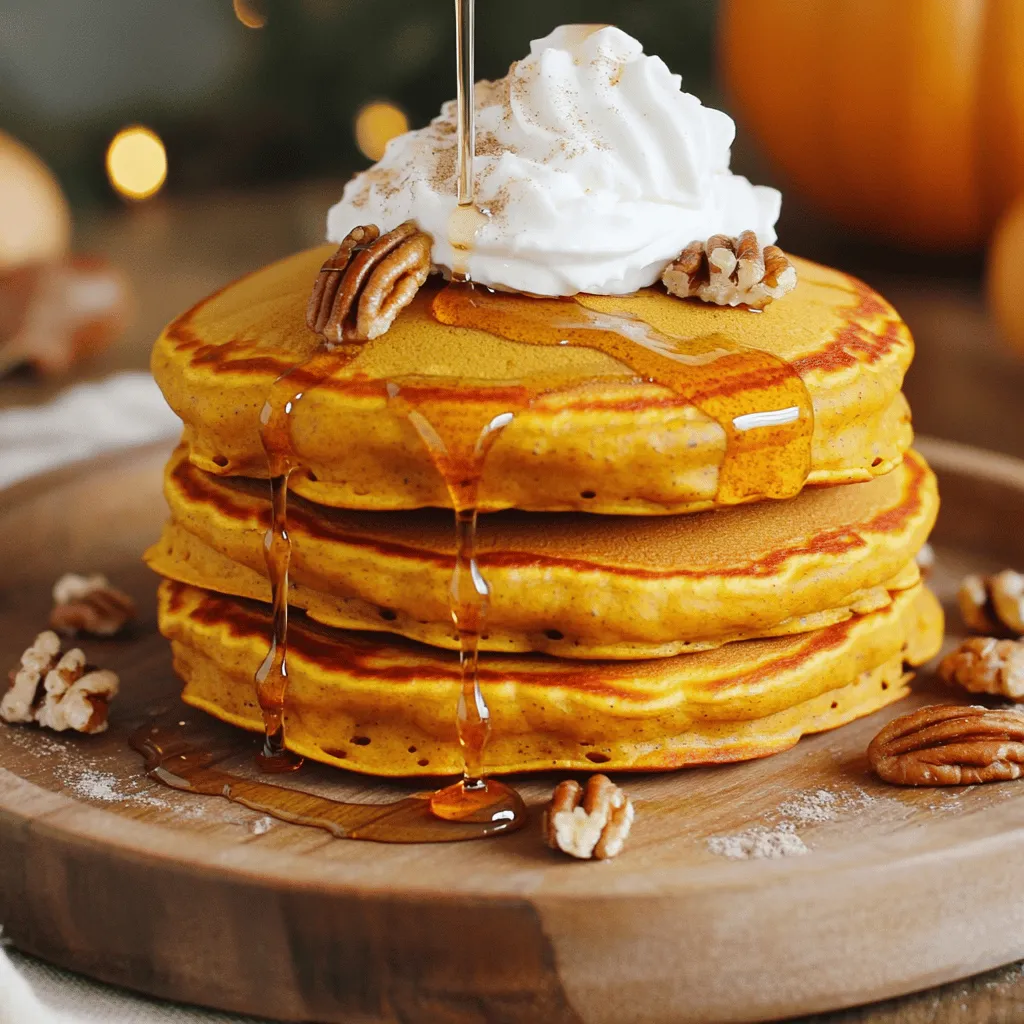
Fluffy Pumpkin Pancakes Easy and Delicious Recipe
Looking to spice up your breakfast with something special? You’re in for a treat! These fluffy pumpkin pancakes are not Read Full Recipe -
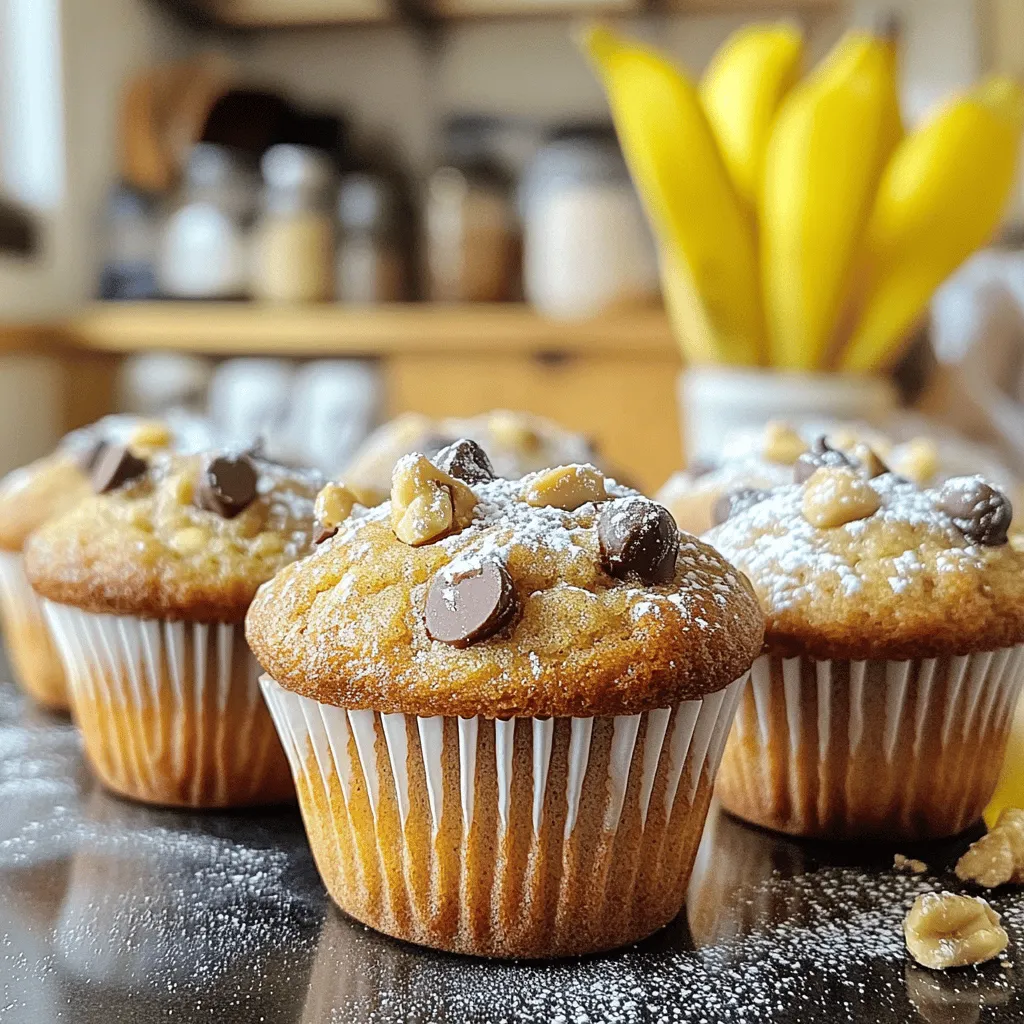
Brown Butter Banana Chocolate Chip Muffins Delight
Welcome to the delicious world of Brown Butter Banana Chocolate Chip Muffins! You’re about to discover a simple recipe that Read Full Recipe -
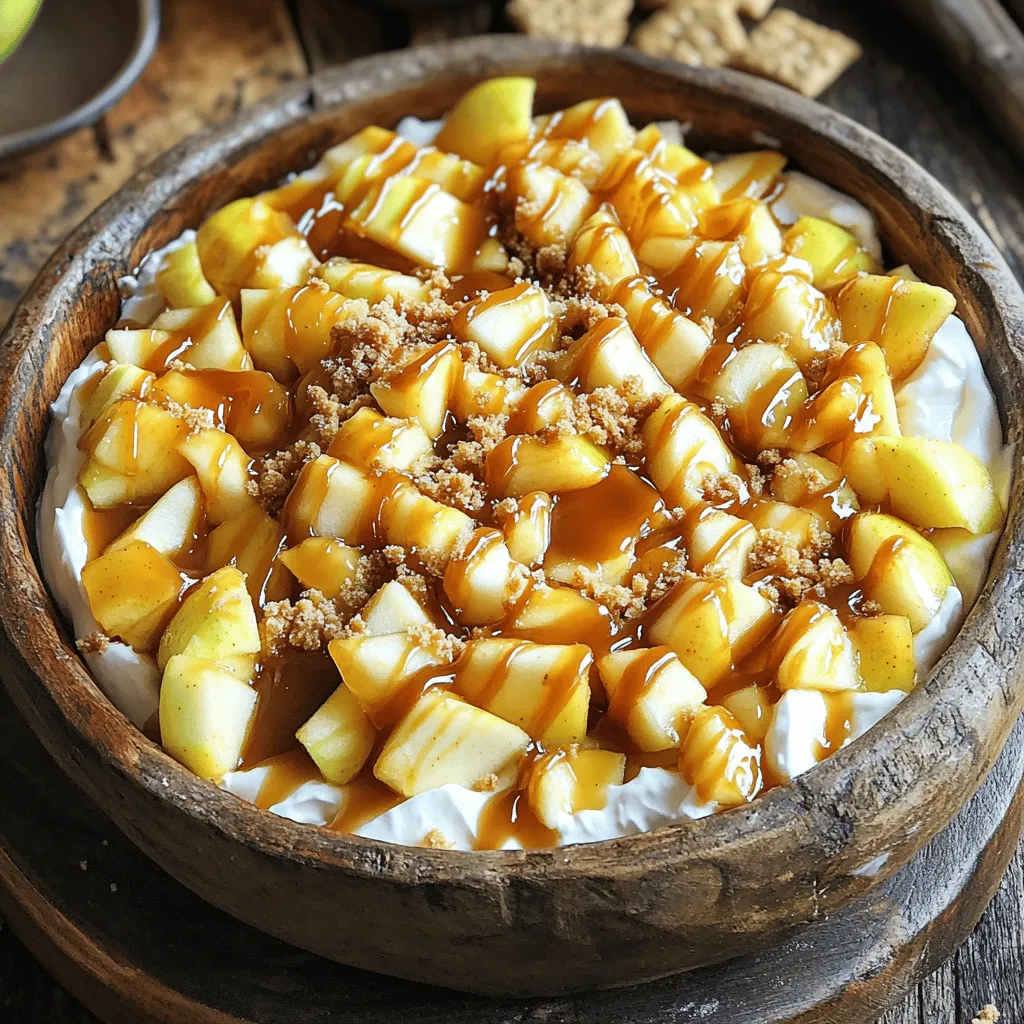
Caramel Apple Pie Dip Delightfully Sweet Treat
Get ready to dive into a sweet treat that’s perfect for any occasion: Caramel Apple Pie Dip! If you love Read Full Recipe -
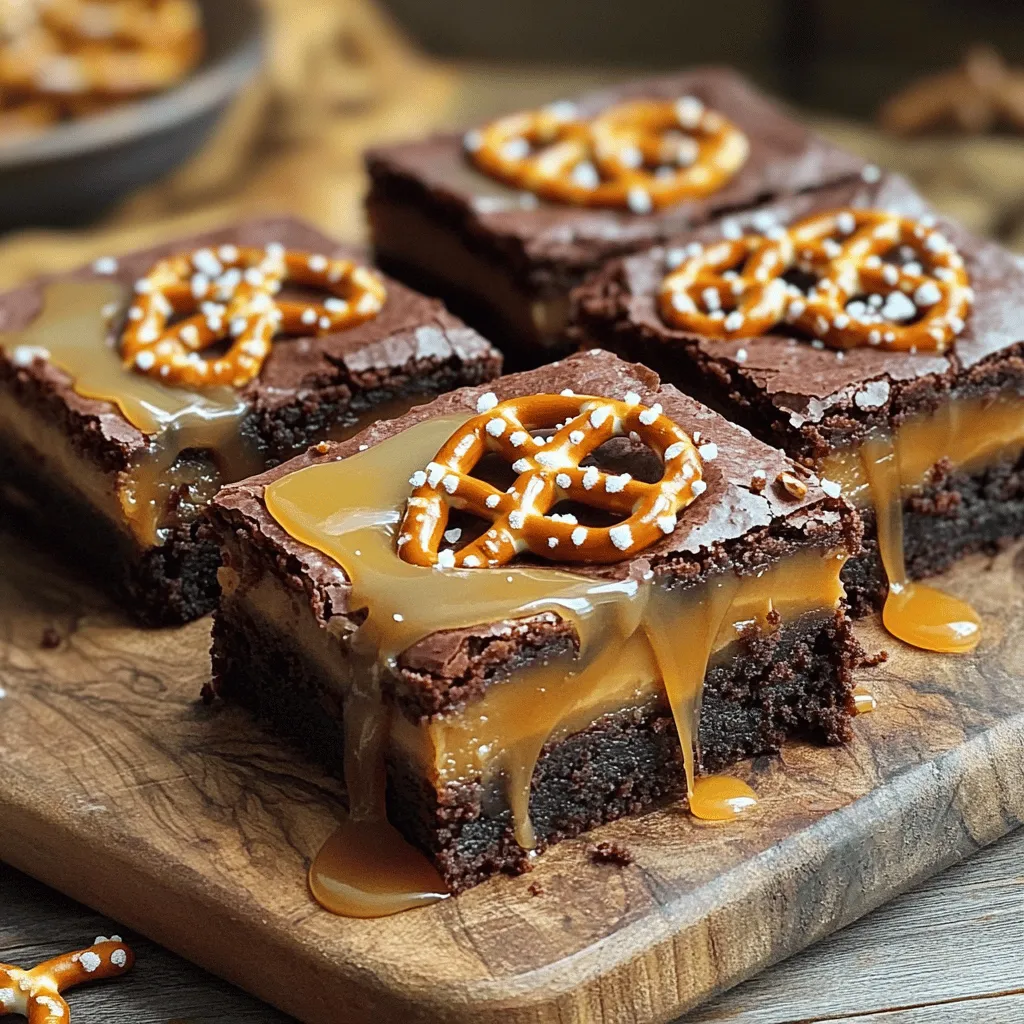
Chewy Salted Caramel Pretzel Brownies Delight
Get ready to indulge in a sweet and salty treat that you won’t forget! My Chewy Salted Caramel Pretzel Brownies Read Full Recipe -
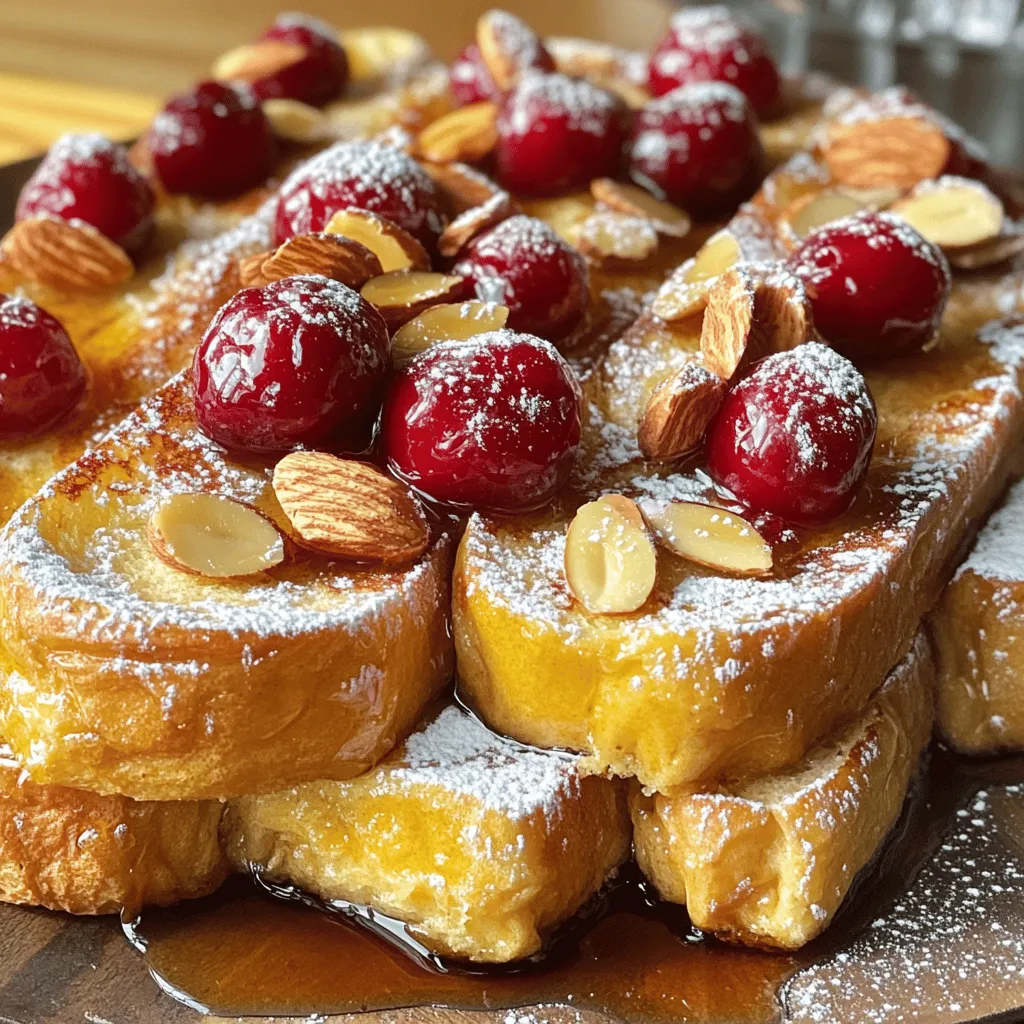
Cherry Almond Overnight French Toast Easy Morning Dish
Looking for a quick and delicious breakfast? Cherry Almond Overnight French Toast could be your new favorite dish! This easy Read Full Recipe
My Latest Recipes

hey,
i’m !
I’m so happy you’re here!
I love creating dishes that bring joy to the table. I hope they bring the same joy to yours. Let’s enjoy this flavorful journey together.
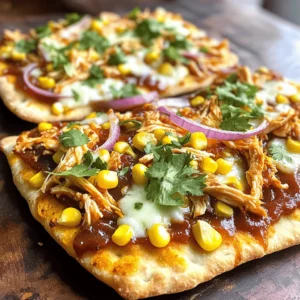
Simple Chicken Quesadillas Quick and Tasty Delight
Are you craving a quick and tasty meal? Simple chicken quesadillas are the answer! With just a few ingredients, you can whip up a…