

Latest & Greatest
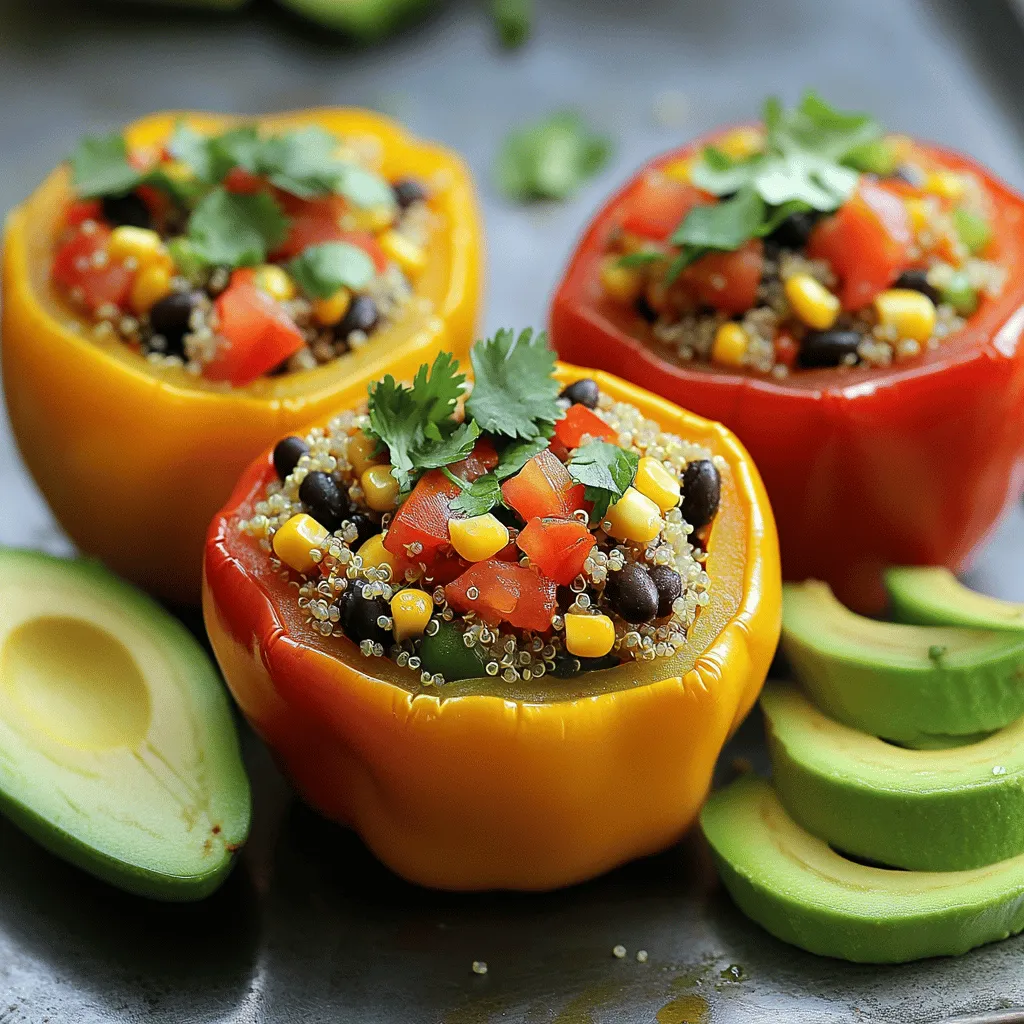
Vegan Quinoa Stuffed Peppers Flavorful and Nutritious
Looking for a delicious vegan dish that packs a nutritional punch? You’ve come to the right place! In this article,
Read more…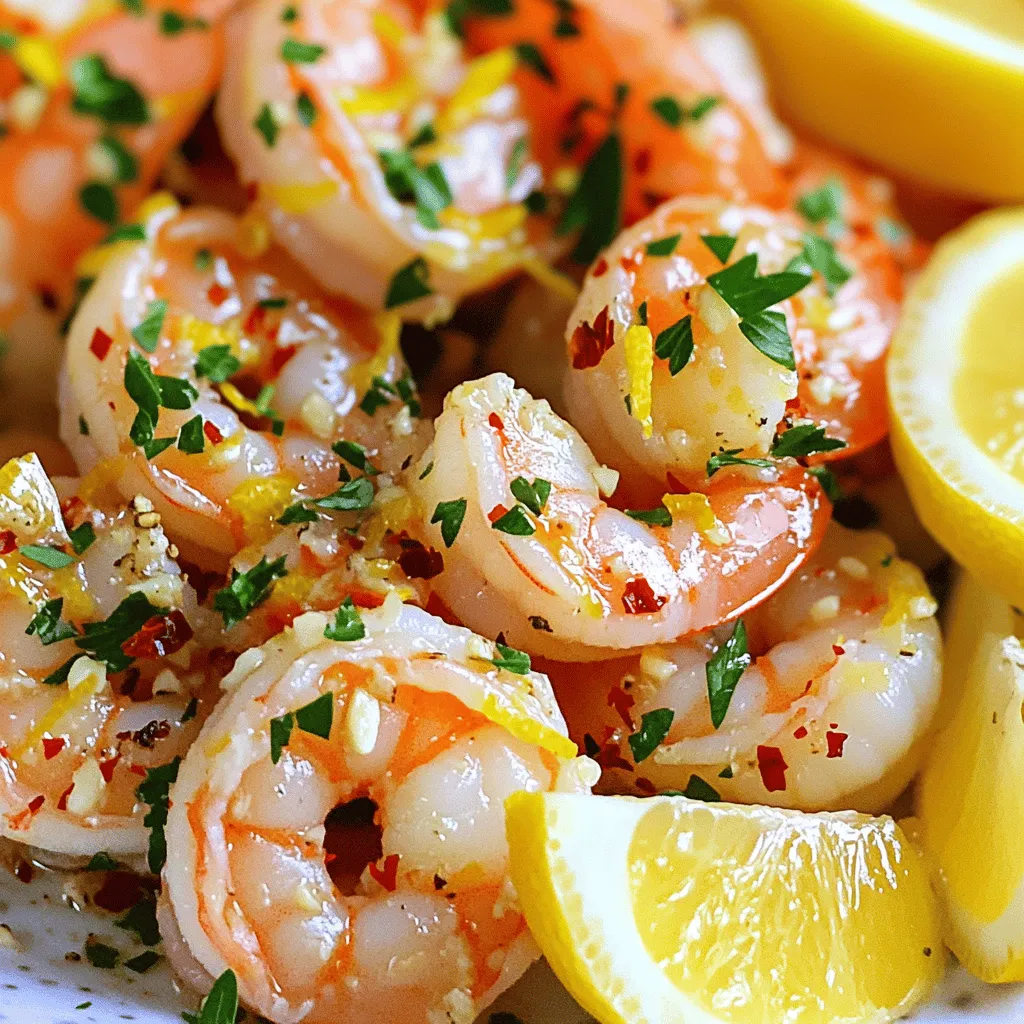
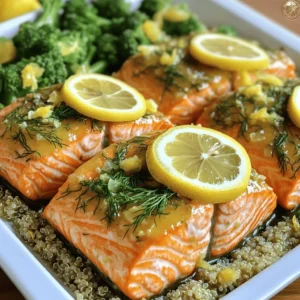
Zesty Lemon Garlic Shrimp Flavorful and Easy Recipe
If you crave a quick, tasty meal, then you’ve come to the right place! My Zesty Lemon Garlic Shrimp recipe
Read more…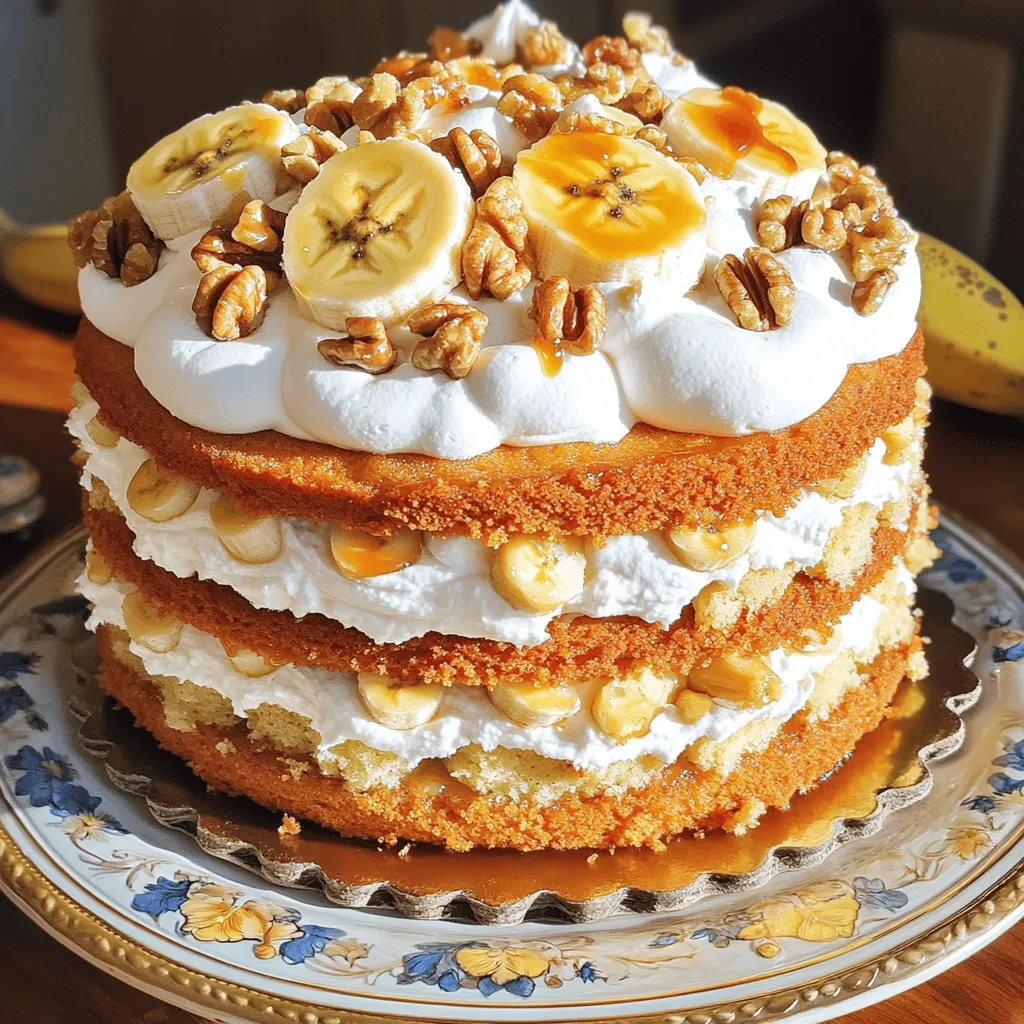
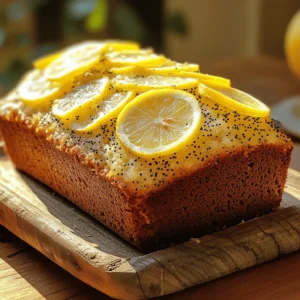
Heavenly Banana Walnut Cream Cake Delightful Recipe
Craving a dessert that’s as delightful as it is easy to make? Look no further! This Heavenly Banana Walnut Cream
Read more…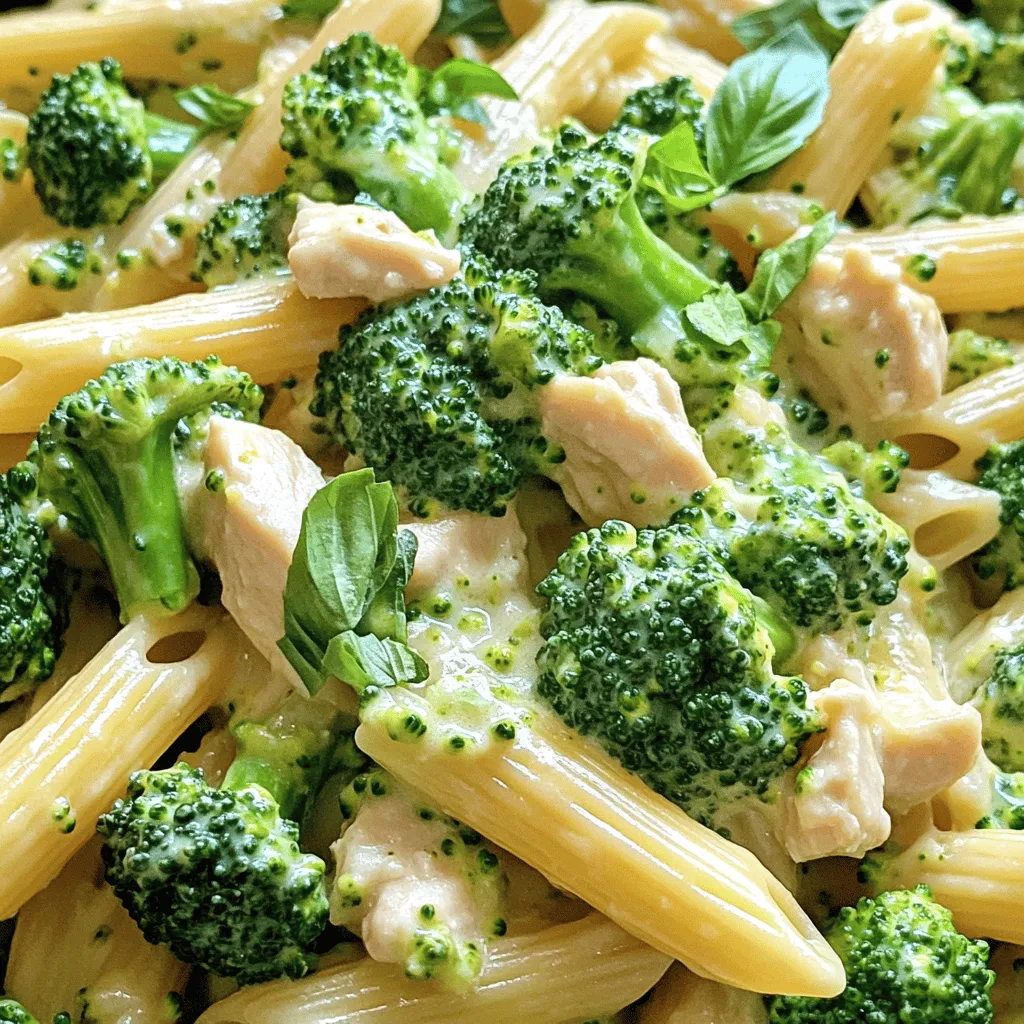
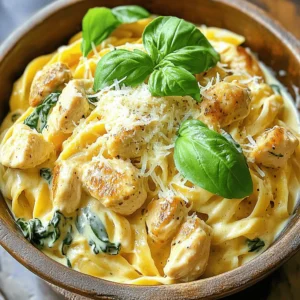
Creamy Broccoli and Chicken Penne Delightful Dish
If you crave a meal that’s both creamy and comforting, you’ve landed in the right spot! I’m excited to share
Read more…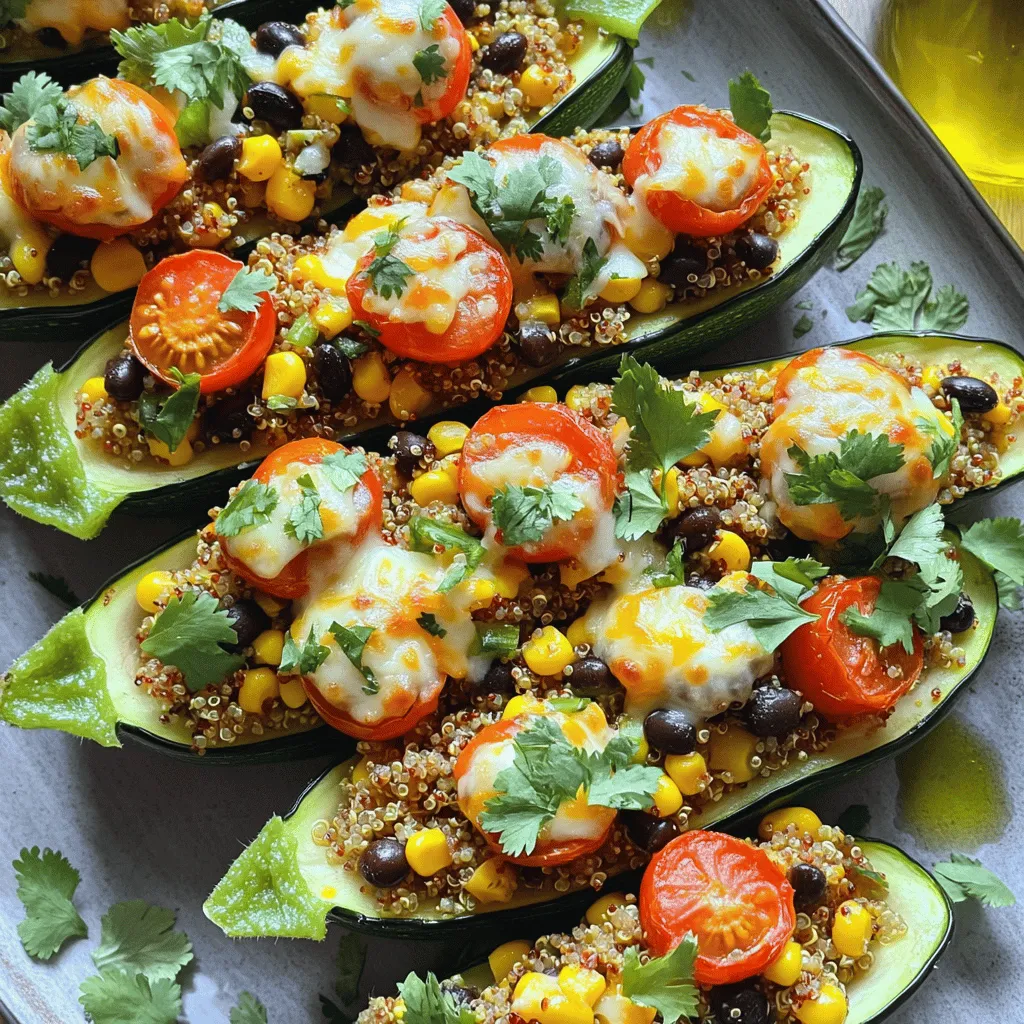
Savory Stuffed Zucchini Boats Flavorful and Easy Meal
Looking for a quick, tasty meal that will impress your family? Savory stuffed zucchini boats are your answer! These delicious
Read more…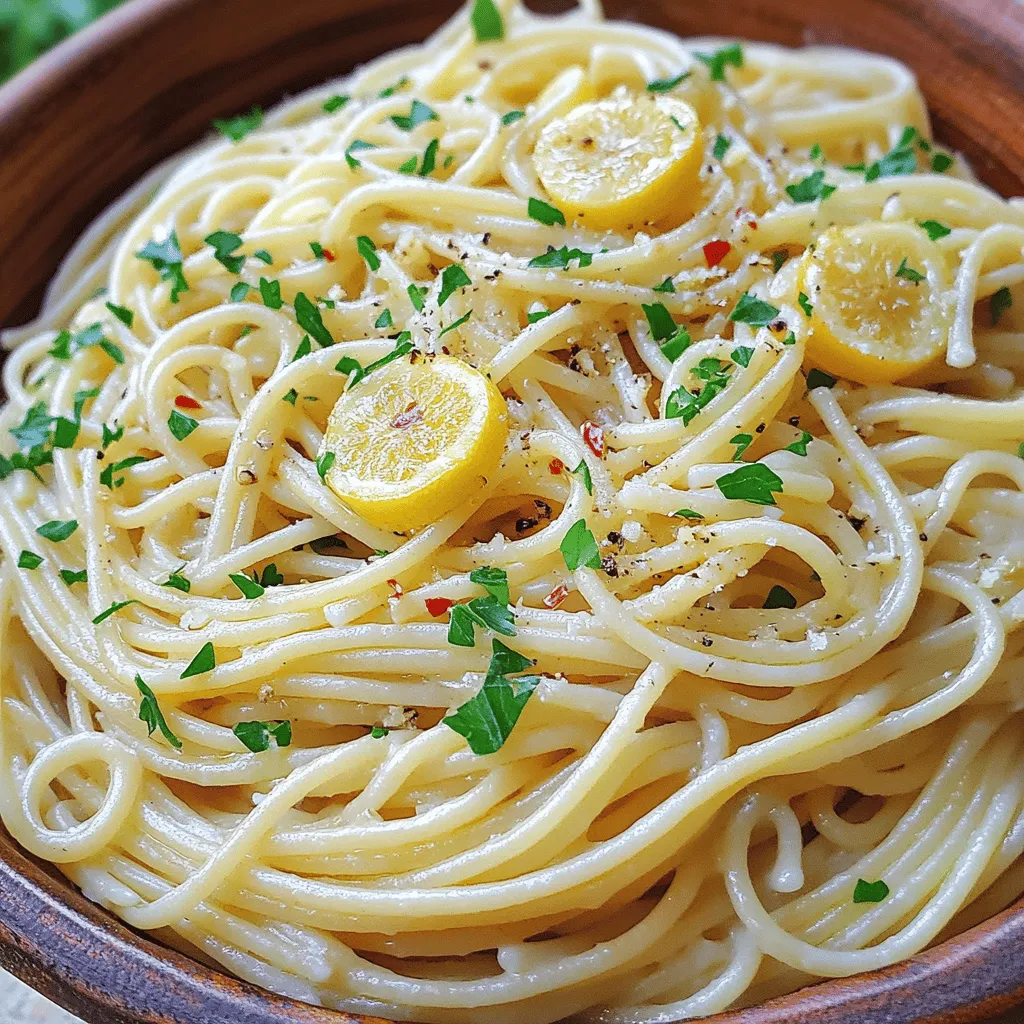
Spaghetti Aglio e Olio Simple Flavorful Recipe
Are you ready to whip up a dish that’s both simple and bursting with flavor? Spaghetti Aglio e Olio is
Read more…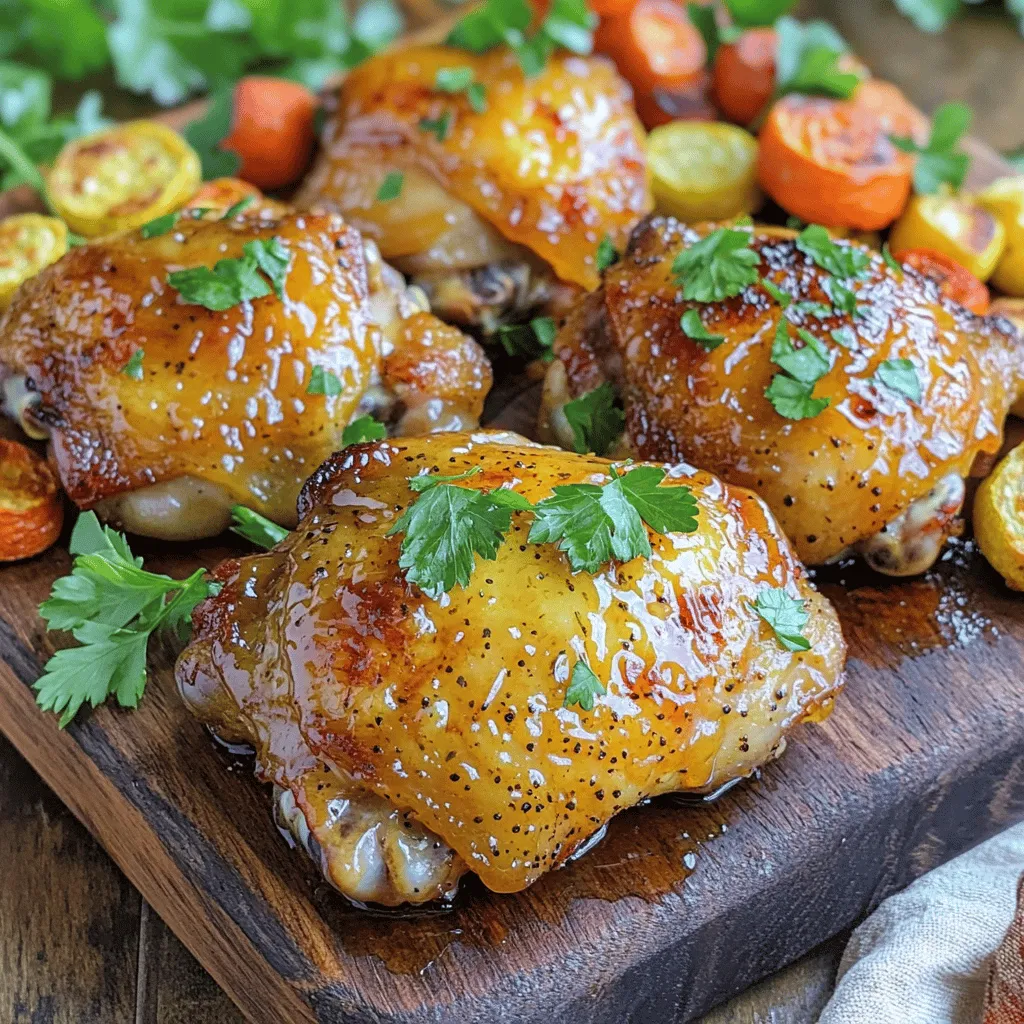
Honey Mustard Chicken Thighs Savory and Easy Recipe
Are you ready for a delicious meal that’s both savory and easy to make? Honey Mustard Chicken Thighs are your
Read more…
Cinnamon Roll Casserole Simple and Tasty Delight
Cinnamon Roll Casserole is one of the easiest and yummiest breakfast treats. It combines warm, gooey cinnamon rolls with a
Read more…browse recipes

. Start by boiling water in a large pot. Add a pinch of salt for flavor. When the water boils, add your whole wheat spaghetti or rice noodles. Cook them until they are al dente, which usually takes about 8-10 minutes. Al dente means the noodles are firm but not hard. After cooking, drain the noodles and rinse them under cold water. This helps cool them down and stops the cooking process. While your noodles cook, wash and chop your vegetables. Use a sharp knife for clean cuts. You’ll need to shred the purple cabbage and carrots. Julienne the bell pepper and cucumber into thin strips. Chop the green onions. In a large bowl, combine all these vegetables. Toss them together well. Mixing ensures every bite is full of flavor. In a separate bowl, gather your dressing ingredients. Whisk together the sesame oil, soy sauce, rice vinegar, honey or maple syrup, grated ginger, and minced garlic. Add a pinch of salt and pepper. Whisk until everything is blended smoothly. Taste it and adjust the flavors if needed. You can add more honey for sweetness or more soy sauce for saltiness. Once your noodles are cool, add them to the bowl with the chopped vegetables. Pour the dressing over the top. Gently fold the noodles into the mix. Make sure everything gets coated evenly with the dressing. This step is key for a tasty salad. Next, take a small dry skillet and heat it over medium heat. Add the sesame seeds to the skillet. Toast them for about 2-3 minutes. Stir often to prevent burning. When they turn golden brown, they are done. Remove from heat and set aside. To serve, transfer the salad to a large platter or individual bowls. Sprinkle the toasted sesame seeds on top for a nice crunch. For extra color, you can add more chopped green onions or fresh cilantro. Serve it cold or at room temperature for the best taste. Check the [Full Recipe] for more tips. You can adjust this recipe for different diets. For a gluten-free option, swap whole wheat spaghetti with rice noodles. This keeps the dish tasty and safe for those with gluten issues. If you want a vegan dish, use maple syrup instead of honey for sweetness. You can also add more spices if you like stronger flavors. A pinch of red pepper flakes can give it a nice kick. If you want more depth, try adding a splash of lime juice. Storing leftovers properly keeps the salad fresh. Place it in an airtight container in the fridge. It lasts about three days. To keep the noodles from getting mushy, store the dressing separately. When you’re ready to eat, mix the dressing in just before serving. This helps maintain the texture and flavor. If you have leftover sesame seeds, store them in a cool, dark place. They stay fresh longer that way. This recipe serves four, but you can adjust it easily. If you're cooking for a larger group, just double the ingredients. You can also make it for meal prep. Serve it with grilled chicken or shrimp for a full meal. For a light lunch, pair it with fresh spring rolls. This adds variety and makes for a colorful plate. You can mix and match sides to keep it exciting! Check out the Full Recipe for more ideas on how to serve this dish. {{image_2}} You can change up the vegetables in your Asian sesame noodle salad. Try adding bell peppers for a sweet crunch or snap peas for a fresh snap. These options add color and texture. Different noodle types also change the feel of the dish. Rice noodles are light and chewy. Whole wheat spaghetti gives a heartier bite. Experiment to see what you like best! Want to make your dish heartier? Add proteins like grilled chicken, tofu, or shrimp. Each choice brings unique flavors and makes the salad more filling. For a spicy kick, try adding chili paste or sriracha. This adds heat and depth to the dressing. Adjust the amount based on your spice level. Using seasonal produce can elevate the freshness of your salad. In summer, use ripe tomatoes and cucumbers. For winter, try adding roasted butternut squash or shredded Brussels sprouts. These ingredients not only taste great but also keep the dish exciting year-round. Seasonal choices highlight the best flavors of each time of year. To keep your Asian sesame noodle salad fresh, use airtight containers. Glass or BPA-free plastic works best. This salad stays good in the fridge for up to three days. Make sure to seal it tightly to avoid extra moisture. You can freeze this salad, but it’s best to do it without the dressing. Place the cooled noodles and veggies in a freezer-safe bag. Remove as much air as possible. When you’re ready to eat, thaw it in the fridge overnight. Add the dressing after thawing for the best taste. If you prefer warm noodles, heat a portion in a pan on low heat. Add a splash of water to keep it moist. Stir gently to warm it without losing crunch. Enjoy your salad while it’s still fresh and vibrant! For the full recipe, check out the complete guide. You can use peanut oil or olive oil. Both oils have a nice taste. For a nutty flavor, try toasted sesame oil. It has a richer taste than regular sesame oil. To keep the dressing authentic, stick to Asian flavors. Use soy sauce and rice vinegar, as they blend well. This salad stays fresh for about three days in the fridge. Store it in an airtight container. Watch for signs of spoilage. If your salad smells sour or the veggies look wilted, it's time to toss it. Yes, you can prepare this salad a day in advance. Just keep the dressing separate until serving. This keeps the noodles and veggies crisp. Aim to make it no more than a day early for the best taste. Absolutely! Use rice noodles or gluten-free pasta to make it gluten-free. For the dressing, check your soy sauce. Use a gluten-free option, like tamari, to avoid gluten. These changes keep the flavor while making it safe for everyone. You can add grilled chicken, shrimp, or tofu for protein. Cook the chicken or shrimp until fully done. For tofu, press it first, then pan-fry until crispy. Each protein adds flavor and makes the salad more filling. This blog post covered the key steps for making a delicious Asian Sesame Noodle Salad. We explored the main ingredients, like whole wheat spaghetti and fresh veggies, and crafted a tasty dressing. You learned how to cook noodles perfectly and combine everything for great flavor. Remember, adjusting ingredients lets you fit your diet and taste. Store leftovers properly to keep them fresh. Enjoy experimenting with seasonal produce for variety. This salad is not just a meal; it’s a canvas for your creativity. Happy cooking!](https://soyumrecipes.com/wp-content/uploads/2025/07/67f7e5f9-0439-4ba5-abb1-7c9512f179f6.webp)
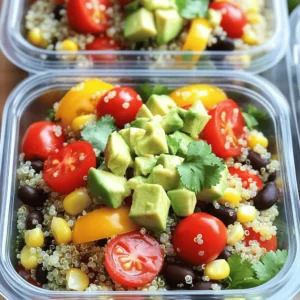
Savory Asian Sesame Noodle Salad Fresh and Tasty Dish
Are you ready to dive into a fresh and flavorful dish that’s perfect for any meal? This Asian Sesame Noodle Salad is a delightful…
My Latest Desserts
-

Caramel Pecan Sticky Buns Sweet and Gooey Treat
Are you ready to treat yourself to the ultimate indulgence? Caramel Pecan Sticky Buns are sweet, gooey, and packed with Read Full Recipe -

Pumpkin Spice French Toast Casserole Easy and Tasty
Looking for a cozy fall breakfast that’s easy and delicious? You’ll love my Pumpkin Spice French Toast Casserole! This dish Read Full Recipe -

Fluffy Pumpkin Pancakes Perfectly Delicious Breakfast
Start your morning with a treat you won’t forget: fluffy pumpkin pancakes! They bring fall flavors to your breakfast table Read Full Recipe -

Brown Butter Banana Chocolate Chip Muffins Delight
Are you craving a warm, cozy treat? Look no further than these Brown Butter Banana Chocolate Chip Muffins! This recipe Read Full Recipe -

Chewy Salted Caramel Pretzel Brownies Delightful Treat
Are you ready to indulge in a treat that combines sweet, salty, and chewy goodness? These Chewy Salted Caramel Pretzel Read Full Recipe -
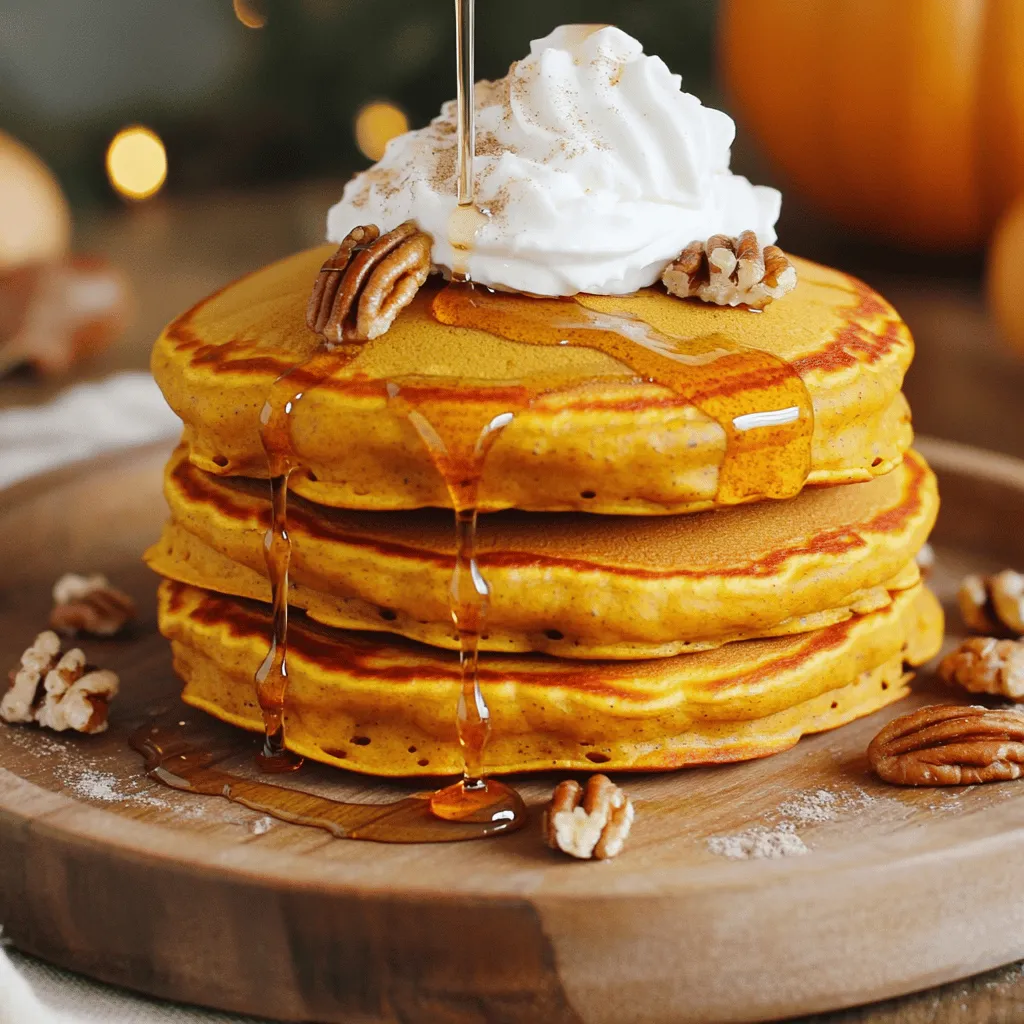
Fluffy Pumpkin Pancakes Easy and Delicious Recipe
Looking to spice up your breakfast with something special? You’re in for a treat! These fluffy pumpkin pancakes are not Read Full Recipe -
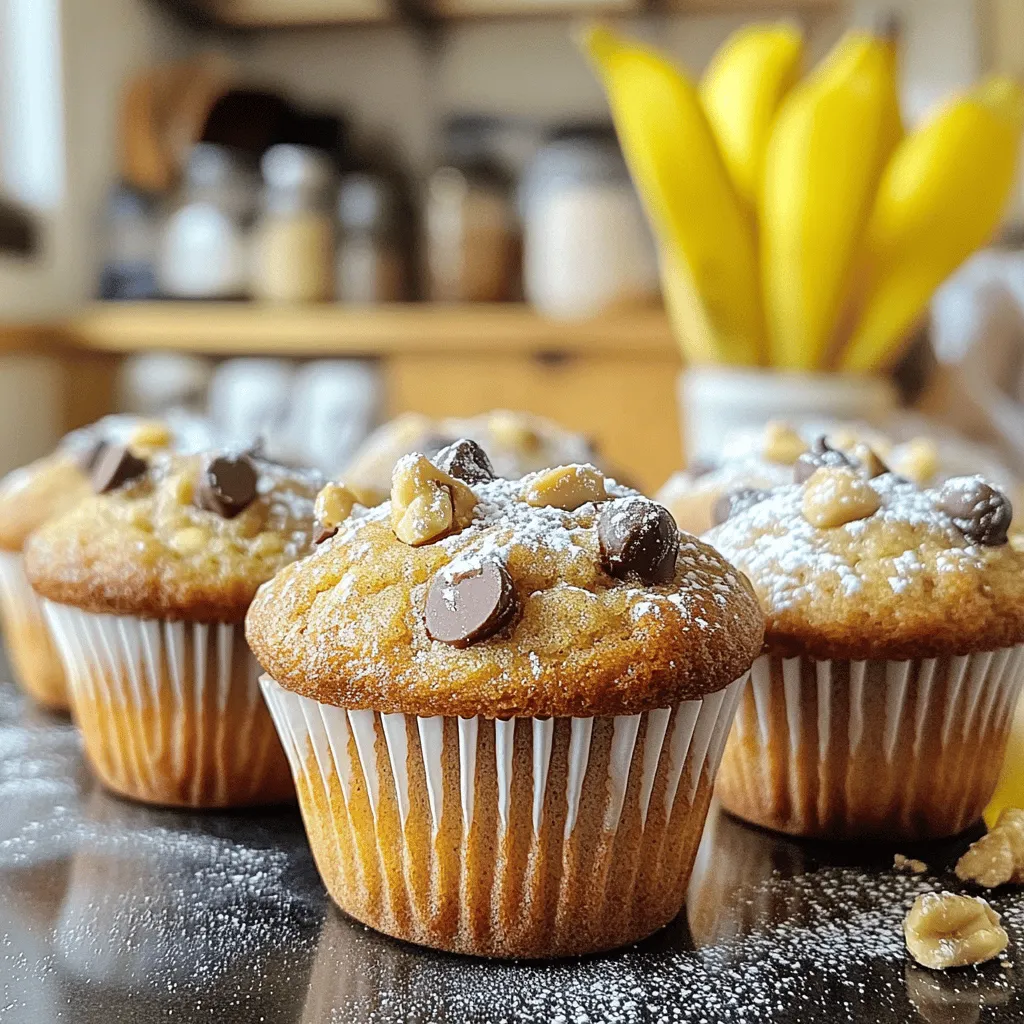
Brown Butter Banana Chocolate Chip Muffins Delight
Welcome to the delicious world of Brown Butter Banana Chocolate Chip Muffins! You’re about to discover a simple recipe that Read Full Recipe -
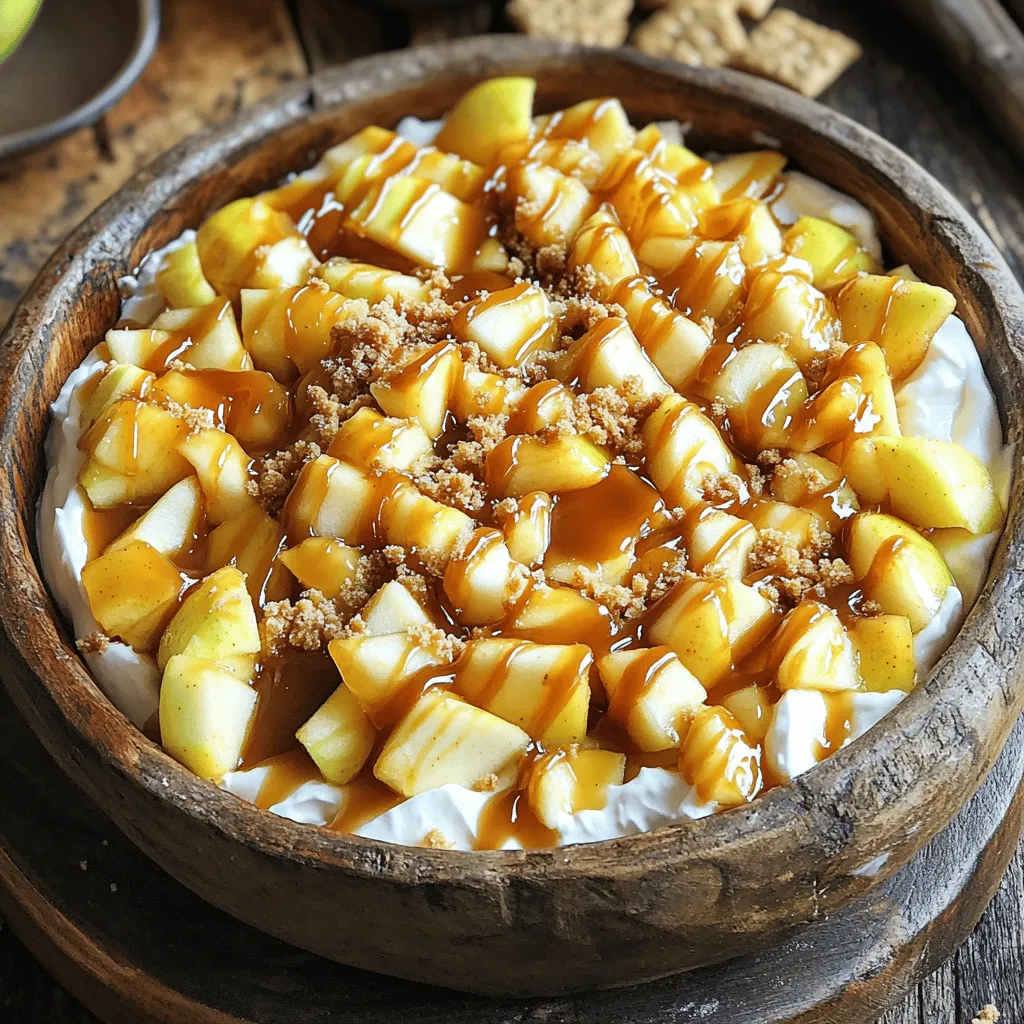
Caramel Apple Pie Dip Delightfully Sweet Treat
Get ready to dive into a sweet treat that’s perfect for any occasion: Caramel Apple Pie Dip! If you love Read Full Recipe -

Chewy Salted Caramel Pretzel Brownies Delight
Get ready to indulge in a sweet and salty treat that you won’t forget! My Chewy Salted Caramel Pretzel Brownies Read Full Recipe -

Cherry Almond Overnight French Toast Easy Morning Dish
Looking for a quick and delicious breakfast? Cherry Almond Overnight French Toast could be your new favorite dish! This easy Read Full Recipe
My Latest Recipes

hey,
i’m !
I’m so happy you’re here!
I love creating dishes that bring joy to the table. I hope they bring the same joy to yours. Let’s enjoy this flavorful journey together.


Buffalo Chicken Dip Irresistible Party Favorite Treat
Looking for the ultimate crowd-pleaser? Buffalo Chicken Dip is your go-to party favorite! With its creamy texture and spicy kick, it’s a treat that…
. Enjoy making this crowd-pleaser! Buffalo Chicken Dip is a fun and tasty dish. We covered its main ingredients, like chicken and cheese, and the easy steps to make it. Remember to check the tips for the best taste and texture. You can try variations for those who love spice or want healthier options. Store leftovers right, and you’ll enjoy this dip later. It’s perfect for gatherings and pairs well with many snacks. Make it your own and enjoy every bite!](https://soyumrecipes.com/wp-content/uploads/2025/06/cc7ddf1e-ea33-495d-b9e9-a2cd4d99c46c.webp)
