Latest & Greatest

browse recipes

- 1 cup all-purpose flour - 1/2 cup unsweetened cocoa powder - 1 teaspoon baking powder - 1/2 teaspoon baking soda - 1/4 teaspoon salt - 1 cup granulated sugar - 1/2 cup unsalted butter, softened - 2 large eggs - 1 teaspoon vanilla extract - 1/2 cup buttermilk - 6 ounces dark chocolate (70% cacao), chopped - 1 tablespoon sugar - 3 large egg whites - 1 cup heavy cream - 6 ounces milk chocolate, chopped - 1 tablespoon sugar - 3 large egg whites - 1 cup heavy cream - 6 ounces white chocolate, chopped - 1 tablespoon sugar - 3 large egg whites - 1 cup heavy cream - Shaved chocolate or cocoa powder - Fresh berries - Whipped cream When I make this cake, I love picking the best chocolate. Quality chocolate makes a big difference in taste. The three types of chocolate give this dessert rich flavors. Use good butter too; it adds creaminess to the cake. I always use fresh eggs for the mousses. They help keep everything light and fluffy. You can find the full recipe in the main article. It guides you through each step clearly. Happy baking! - Preheat your oven to 350°F (175°C). Grease and flour an 8-inch round cake pan. - In a medium bowl, mix 1 cup of flour, 1/2 cup of cocoa powder, 1 teaspoon of baking powder, 1/2 teaspoon of baking soda, and 1/4 teaspoon of salt. - In a large bowl, cream together 1 cup of sugar and 1/2 cup of softened butter until light and fluffy. - Add 2 large eggs, one at a time, mixing well after each. Stir in 1 teaspoon of vanilla extract. - Gradually mix in the dry ingredients, alternating with 1/2 cup of buttermilk, until you have a smooth batter. - Pour the batter into the prepared cake pan. Bake for 25-30 minutes or until a toothpick comes out clean. Allow the cake to cool completely. - Melt 6 ounces of dark chocolate in a heatproof bowl over simmering water, stirring until smooth. Let it cool slightly. - In a separate bowl, whip 1 cup of heavy cream until soft peaks form. - In another bowl, beat 3 egg whites until soft peaks form. Gradually add 1 tablespoon of sugar and beat until stiff peaks form. - Fold a bit of whipped cream into the melted chocolate to lighten it. Then, gently fold in the remaining whipped cream and egg whites until fully combined. - Repeat the same steps as the dark chocolate mousse, but use 6 ounces of milk chocolate instead. - Again, repeat the process, this time using 6 ounces of white chocolate. - Place the cooled chocolate cake on a serving plate. - Spread the dark chocolate mousse evenly on top of the cake. Refrigerate for 30 minutes to set. - Next, layer the milk chocolate mousse on top of the dark chocolate mousse. Refrigerate for another 30 minutes. - Finally, layer the white chocolate mousse on top and refrigerate for at least 2 hours, or overnight, to set completely. - Once set, garnish the cake with shaved chocolate, fresh berries, and whipped cream if desired. Slice and serve chilled for a delightful treat! For the complete directions, check out the Full Recipe. Using room temperature ingredients is key to great mousse. Cold eggs or cream can lead to lumps. Let them sit out for about 30 minutes before starting. When you fold the mixtures, use a gentle motion. This keeps the air in the mousse and makes it light. Choose high-quality chocolate for rich flavor. I recommend using chocolate with at least 70% cacao for dark mousse. For milk mousse, pick a creamy milk chocolate. White chocolate should be smooth and sweet. The chocolate you use will greatly affect the taste and richness of your dessert. Take your time with cooling layers. Let the cake cool completely before adding mousse. Each mousse layer needs to chill for about 30 minutes. This helps them set well. For the final layer, refrigerate for at least two hours to make sure it holds its shape. These steps help your cake look and taste amazing. For the full recipe, check the section above. {{image_2}} You can enhance the taste of your mousse cake in fun ways. Try adding coffee or espresso. This will deepen the chocolate flavor. A small amount goes a long way. You can also use fruit purees. Berries, mangoes, or passion fruit can add freshness. Just blend the fruit and fold it into the mousse. This gives a nice burst of flavor. If you need gluten-free options, use gluten-free flour for the cake. Almond flour or a gluten-free blend works well. You can also make this dessert vegan. For the mousses, use aquafaba instead of egg whites. This is the liquid from canned chickpeas. For the cream, try coconut cream or a vegan whipped topping. These swaps keep the textures light and fluffy. Toppings can make your cake shine. Use seasonal fruits like strawberries or raspberries for color. You can also add themed decorations for holidays. Think chocolate shavings for birthdays or edible flowers for spring. These little touches make your cake special and fun to serve. Remember, presentation matters! For the full recipe, check out the detailed instructions provided earlier. To keep your Triple Chocolate Mousse Cake fresh, store it in the fridge. Use an airtight container or cover it well with plastic wrap. This keeps out moisture and odors. The cake lasts about 3 to 4 days in the fridge. If you want the best flavor, serve it within this time. You can freeze this cake, but it's best to freeze the mousse layers separately. First, let the mousse layers set completely in the fridge. Then, put them in a freezer-safe container. Make sure to label them. They can last in the freezer for up to 2 months. When you’re ready to serve, take the mousse layers out and thaw them in the fridge overnight. This helps keep the texture smooth and creamy. After refrigerating or freezing, you want the cake to taste as fresh as possible. If stored in the fridge, let it sit at room temperature for about 15 minutes before serving. This helps soften the mousse. If frozen, make sure it thaws completely in the fridge. Serve the cake chilled for the best experience. Enjoy every delicious bite! To keep your mousse layers stable, use fresh ingredients. Make sure to whip your cream until it forms soft peaks. When you fold in the whipped cream, do it gently. This keeps air in the mousse. Avoid overmixing, as that can make the mousse lose its light texture. Chilling each layer well also helps set the mousse before adding the next layer. Yes, you can prepare this cake ahead of time. You can bake the chocolate cake layer a day in advance. Store it in a sealed container at room temperature. You can also make mousse layers a day ahead. Just chill them in the fridge. Assemble the cake just a few hours before serving. This way, it stays fresh and delicious for your guests. If you don’t have buttermilk, you can make a substitute. Combine one cup of milk with one tablespoon of white vinegar or lemon juice. Let it sit for about five minutes. This will thicken and sour the milk, giving you a buttermilk-like texture. You can also use yogurt or sour cream mixed with water. Both options work well in this recipe. For a gluten-free cake, replace all-purpose flour with a gluten-free flour blend. Look for blends that contain xanthan gum, as it helps provide structure. Almond flour can also be a tasty option, but it will change the texture. Always check that the chocolate you use is gluten-free too. This way, you can enjoy this cake worry-free. A gritty mousse often comes from improperly melted chocolate or under-beaten egg whites. Ensure you melt your chocolate gently, as overheating can cause it to seize. For egg whites, beat them until stiff peaks form, but not too long. If your mousse is gritty, try gently re-melting the chocolate. This can help smooth out the texture. Always use high-quality chocolate for the best results. This blog post guides you through making a layered chocolate cake with three delicious mousses. You learned the key ingredients, step-by-step instructions, and essential tips for the best texture. Remember, the type of chocolate you choose directly affects the taste. Don’t hesitate to try flavor variations and dietary adjustments. This cake is a fun and rewarding project, perfect for any occasion. Enjoy the process and impress your friends and family with your baking skills!

Triple Chocolate Mousse Cake Decadent Dessert Recipe

Are you ready to indulge in a dessert that will wow your taste buds? The Triple Chocolate Mousse Cake offers three rich, creamy layers…

My Latest Desserts

My Latest Drinks

hey,

i’m !

I’m so happy you’re here!

I love creating dishes that bring joy to the table. I hope they bring the same joy to yours. Let’s enjoy this flavorful journey together.

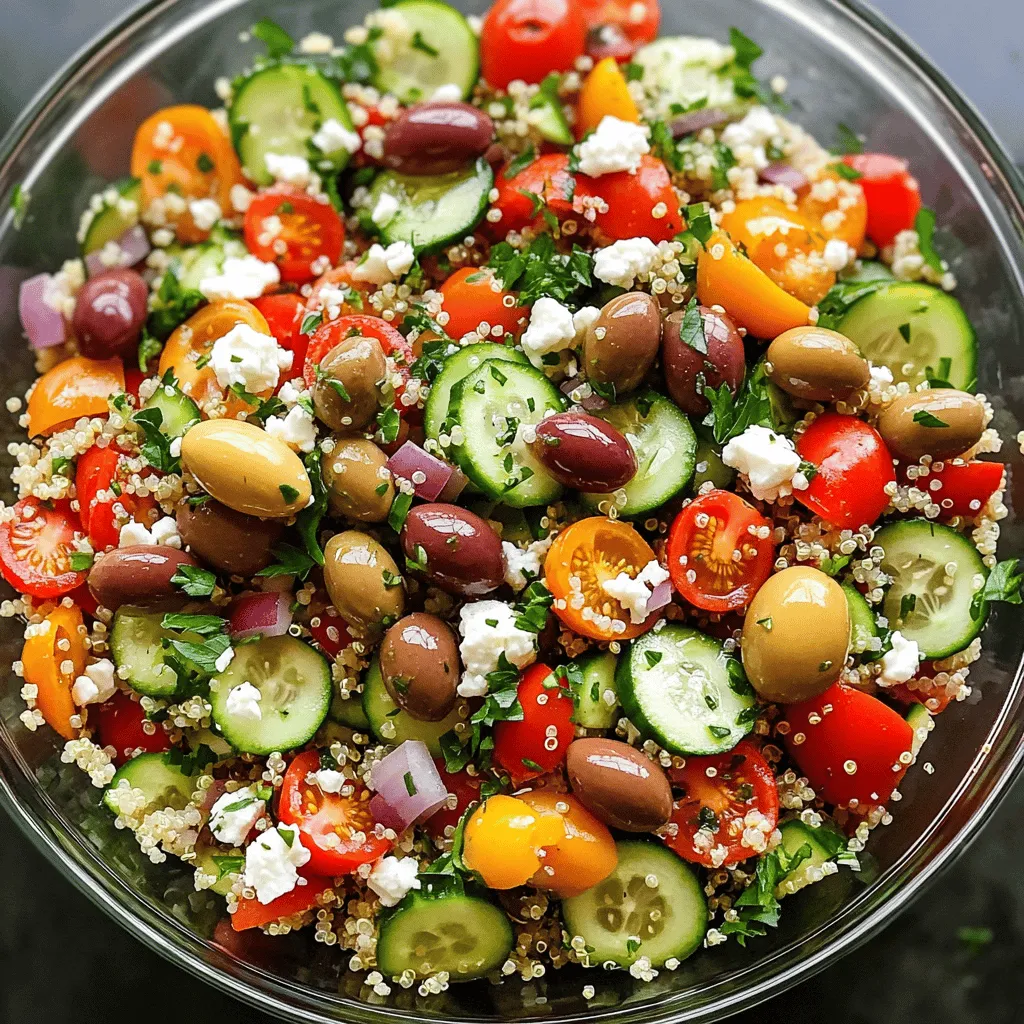
Lemon Herb Quinoa Pilaf Flavorful and Nourishing Dish

If you seek a dish that’s both tasty and good for you, try my Lemon Herb Quinoa Pilaf. This dish bursts with flavor while…

To make a tasty Lemon Herb Quinoa Pilaf, you need some key items: - 1 cup quinoa, rinsed - 2 cups vegetable broth - 1 tablespoon olive oil - 1 small onion, finely chopped - 2 cloves garlic, minced - 1 carrot, diced - 1 red bell pepper, diced - 1 teaspoon dried oregano - 1 teaspoon dried thyme - Zest of 1 lemon - Juice of 1 lemon - Salt and pepper to taste - ¼ cup fresh parsley, chopped (for garnish) These ingredients come together to create a bright and fresh dish. The quinoa acts as a healthy base, soaking up all the flavors. You can add extra ingredients to boost the taste. Consider these options: - ½ cup frozen peas for sweetness - 1 tablespoon capers for a salty bite - ¼ cup chopped nuts for crunch - A pinch of red pepper flakes for heat Adding these ingredients can make your pilaf even more exciting. I often get asked if fresh herbs are better than dried. Here’s the answer: - Fresh herbs bring a bright flavor. Use them if you can. - Dried herbs are great for convenience. They work well too. In this recipe, you can use fresh parsley for garnish. It adds a pop of color and flavor. If you only have dried herbs, don’t worry. They will still add depth to your dish. Start by heating one tablespoon of olive oil in a medium saucepan over medium heat. Once the oil is hot, add one small onion, finely chopped. Sauté this for about three to four minutes until the onion turns soft and clear. Then, mix in two cloves of minced garlic and cook for one more minute. You want to smell the garlic's nice aroma. Next, add one diced carrot and one diced red bell pepper to the pan. Cook these veggies for five minutes, stirring now and then. This will help them soften and bring out their sweet taste. Now it’s time to add the star of the dish, one cup of rinsed quinoa. Stir this into the pan for one to two minutes. Toasting the quinoa helps add flavor and a nice nutty note. After toasting, pour in two cups of vegetable broth. Then, add one teaspoon each of dried oregano and thyme, the zest of one lemon, and a pinch of salt and pepper. Bring this mixture to a boil. When it starts bubbling, lower the heat to low. Cover the pan and let it simmer for about fifteen minutes. The quinoa will absorb the broth and become fluffy. Once the quinoa is cooked, remove the pan from heat. Use a fork to fluff the quinoa gently. This makes it light and airy. After fluffing, stir in the juice of one lemon. This will give your pilaf a fresh and zesty kick. Finally, transfer the quinoa pilaf to a serving dish. Sprinkle a quarter cup of chopped fresh parsley on top for a bright finish. Enjoy your flavorful and nourishing Lemon Herb Quinoa Pilaf! To cook quinoa just right, start by rinsing it well. Rinsing removes a bitter coating called saponin. Use two parts liquid for every one part quinoa. This mix ensures the quinoa cooks evenly. Once boiling, reduce the heat and cover. Let it simmer for about 15 minutes. After cooking, let it sit for five minutes. This resting time helps it become fluffy. Use a fork to fluff the quinoa gently. Want to kick up the flavor? Fresh herbs make a big difference. Try adding thyme or dill for extra taste. You can also mix in basil or cilantro for a fresh twist. If you love a strong flavor, add more lemon zest. You can even squeeze in more lemon juice. This keeps the dish bright and zesty. Play around and find what you love most. Serving your Lemon Herb Quinoa Pilaf well makes it pop. Try placing it in a nice bowl or on a plate. Top it with fresh parsley for a splash of color. You can also add lemon slices on the side. This not only looks nice but also invites guests to add more lemon. For a festive touch, serve it with a sprinkle of toasted nuts or seeds. These add a nice crunch and flavor contrast. {{image_2}} You can boost the protein in your Lemon Herb Quinoa Pilaf. Adding chickpeas is a simple choice. They add texture and flavor that pairs well with the dish. Just rinse a can of chickpeas and stir them in when you add the quinoa. If you prefer meat, grilled chicken works great too. Cube the grilled chicken and mix it in after cooking the quinoa. This adds a savory touch and makes the dish more filling. Feel free to change the vegetables in your pilaf. You can use zucchini, spinach, or peas instead of carrots and red bell peppers. Just chop them finely and add them when you cook the onions. This will keep the flavors fresh and exciting. Each vegetable brings a unique taste. This way, you can enjoy different flavors every time you make it. This Lemon Herb Quinoa Pilaf is already gluten-free. Quinoa is a great choice for those who avoid gluten. For a vegan twist, ensure that your vegetable broth is vegan. You can add more veggies or herbs to enhance the flavor without any animal products. This makes the dish suitable for everyone. Plus, you can enjoy it guilt-free, knowing it’s both healthy and tasty. After enjoying your Lemon Herb Quinoa Pilaf, store any leftovers in an airtight container. This helps keep the dish fresh and tasty. Make sure the pilaf cools down to room temperature before sealing. If you have extra vegetables, you can store them separately to keep their crunch. When stored properly in the fridge, Lemon Herb Quinoa Pilaf lasts about 3 to 5 days. If you want to keep it longer, consider freezing it. In the freezer, it can last up to 2 months. Just remember to label the container with the date. To reheat your pilaf, use either the microwave or a stovetop. If using the microwave, heat it in short bursts, stirring in between. Add a splash of water to keep it moist. On the stovetop, warm it gently over low heat, stirring occasionally. This way, you keep the fluffy texture of the quinoa. Yes, you can make Lemon Herb Quinoa Pilaf ahead of time. Cook it and let it cool. Store it in an airtight container in the fridge. It stays fresh for up to three days. When you're ready to eat, just reheat it on the stove or in the microwave. This makes it a great option for meal prep. You can serve Lemon Herb Quinoa Pilaf with many dishes. It pairs well with grilled chicken, fish, or roasted vegetables. You can add a green salad for crunch and freshness. This pilaf also works as a side for a hearty soup. The bright lemon flavor complements a wide range of foods. Yes, quinoa is a very healthy choice. It is a complete protein, meaning it has all nine essential amino acids. Quinoa is also high in fiber, which helps with digestion. It is gluten-free, making it safe for those with gluten issues. Plus, it is rich in vitamins and minerals, adding more nutrition to your meals. Lemon Herb Quinoa Pilaf is easy and fun to make. We covered key ingredients and ways to boost flavor. Cooking steps help you create a perfect dish. You learned tips for great texture and how to present it well. With protein and veggie swaps, this dish suits many diets. Store leftovers safely so they last longer. Enjoy trying out variations and serving ideas. Quinoa is both tasty and healthy. With these tips, you can impress anyone at your table!