
Latest & Greatest
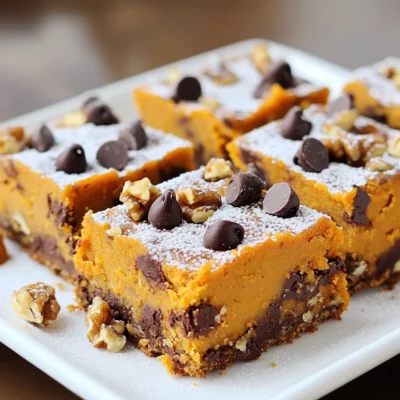
Pumpkin Chocolate Chip Bars Tasty and Simple Treat
Craving a warm, spiced treat? These Pumpkin Chocolate Chip Bars are the answer! They mix rich pumpkin flavor with sweet
Read more…
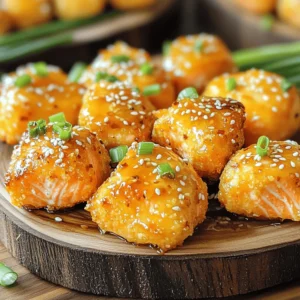
Irresistible Air Fryer Korean BBQ Wings Recipe
Are you ready to impress your friends at your next gathering? These Irresistible Air Fryer Korean BBQ Wings are a
Read more…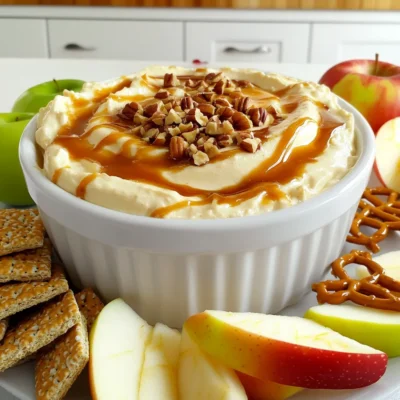
Caramel Apple Cream Cheese Dip Easy and Flavorful Treat
Are you ready to impress your friends at the next gathering? This Caramel Apple Cream Cheese Dip is not just
Read more…
Savory Slow Cooker Pumpkin Lasagna Soup Delight
Do you crave a unique fall dish that’s both hearty and easy to make? My Savory Slow Cooker Pumpkin Lasagna
Read more…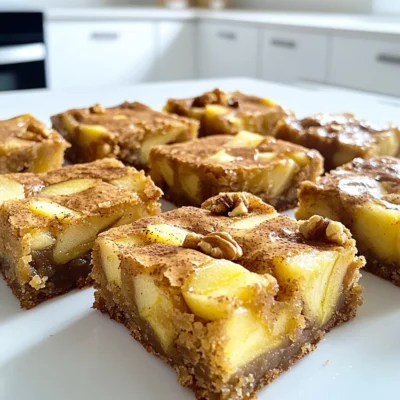
Brown Butter Apple Blondies Delightful Sweet Treat
Craving a sweet treat that’s full of flavor? Brown Butter Apple Blondies are the answer! These blondies blend nutty brown
Read more…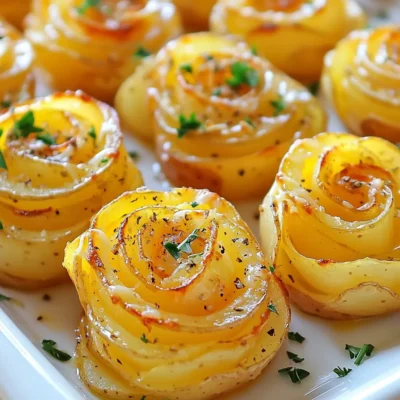
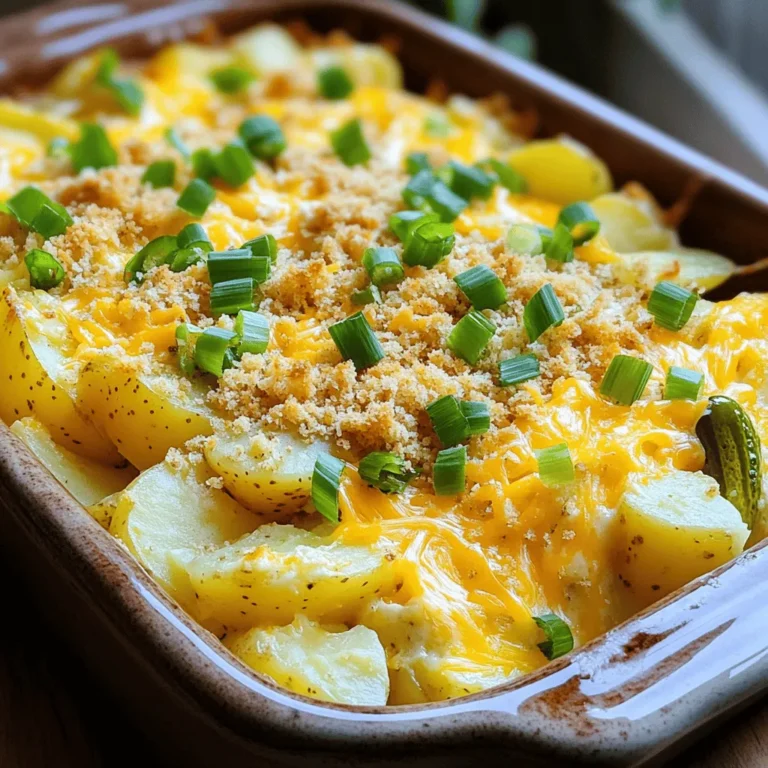
Potato Roses Delightful and Simple Recipe Guide
Looking for a fun and easy dish to impress your friends? Potato Roses are a perfect choice! This guide will
Read more…
Brown Butter Maple Donuts Irresistible Sweet Treat
If you love donuts, get ready for a treat! Brown Butter Maple Donuts are rich, sweet, and oh-so-delicious. I’ll guide
Read more…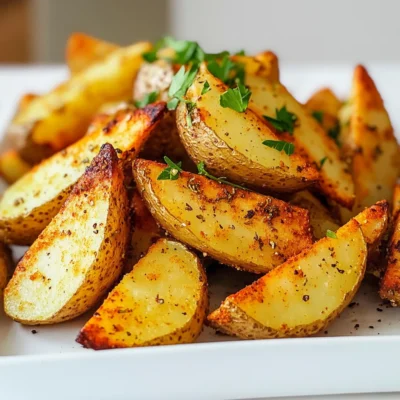
Air Fryer Potato Wedges Crispy and Flavorful Treat
Looking for a delicious snack that’s easy and quick? Try these air fryer potato wedges! They’re crispy, flavorful, and perfect
Read more…browse recipes

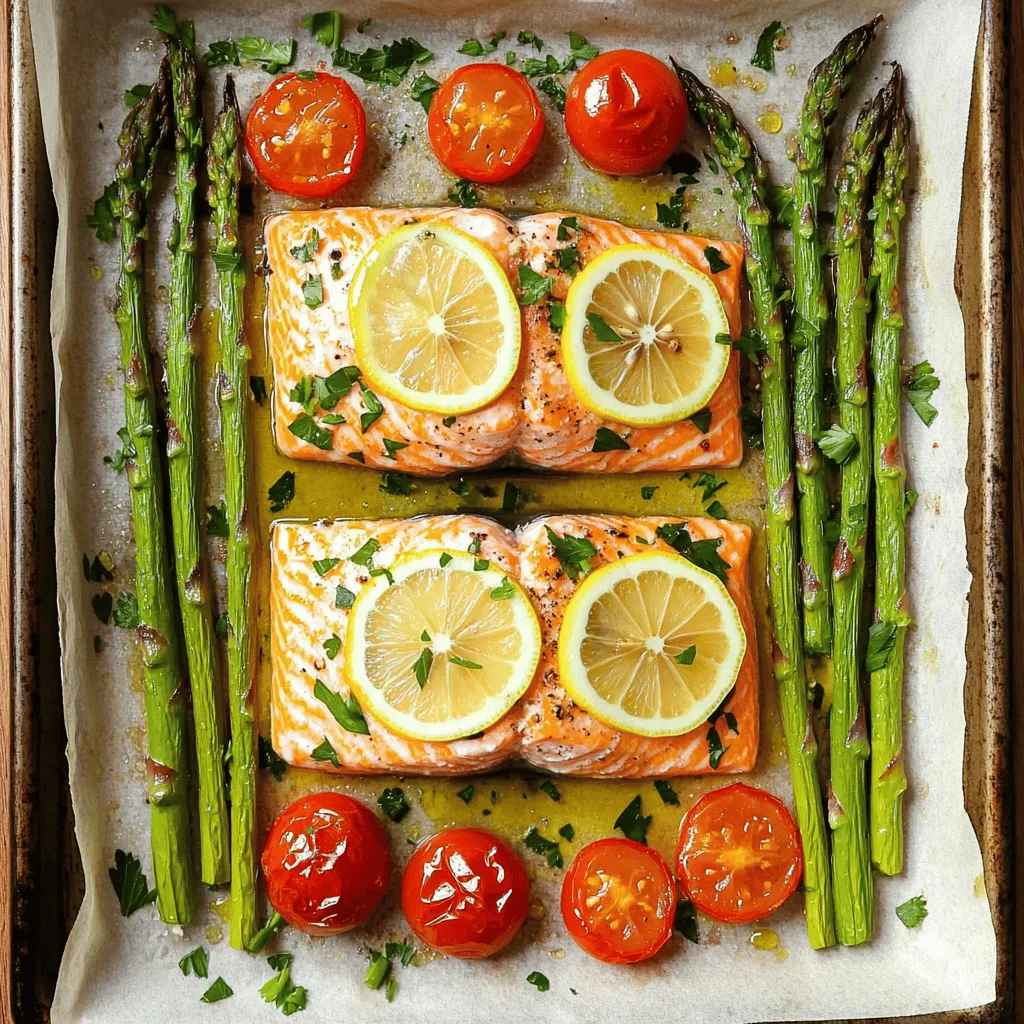
Easy Sheet Pan Salmon Quick and Flavorful Recipe
Are you looking for a quick and tasty dinner option? You’ve come to the right place! This Easy Sheet Pan Salmon recipe makes cooking…
My Latest Desserts

Strawberry Lemonade Cupcakes Fresh and Flavorful Treat
Craving a sweet, tangy treat? Dive into the world of Strawberry Lemonade Cupcakes! These delightful cupcakes blend fresh strawberries and Read Full Recipe-
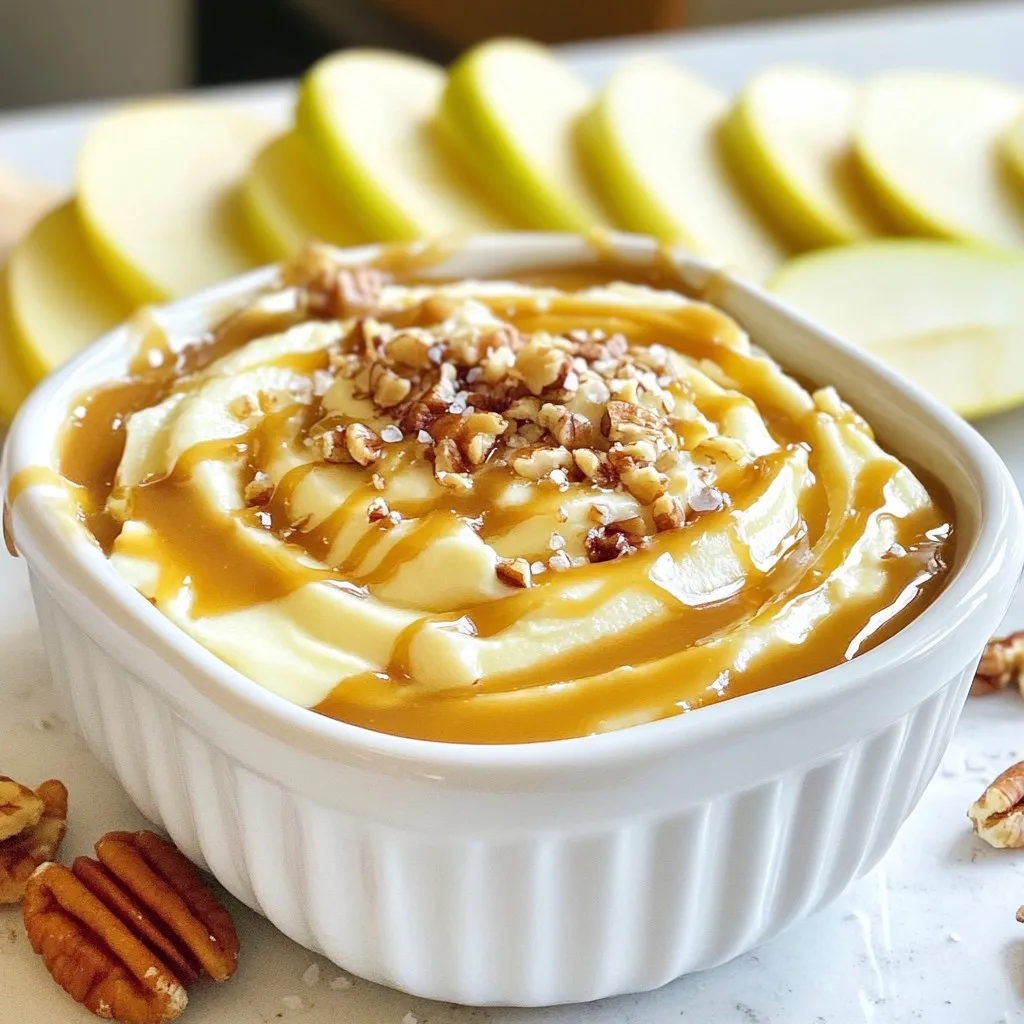
Salted Caramel Apple Dip Creamy and Delicious Treat
If you’re looking for a tasty treat that combines sweet and salty, you’re in for a delight! This Salted Caramel Read Full Recipe -
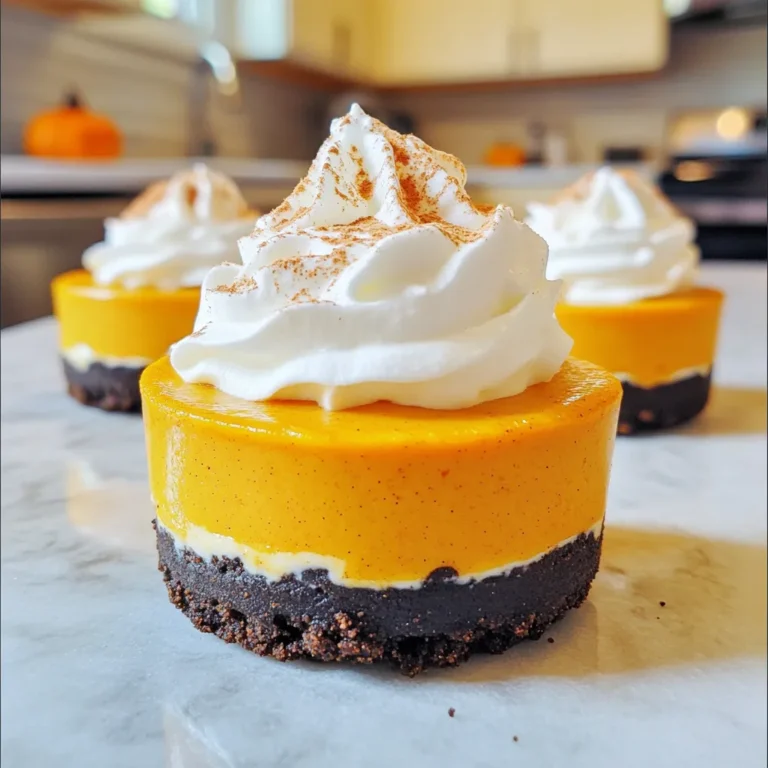
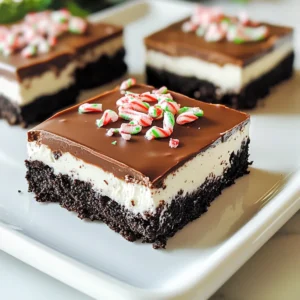
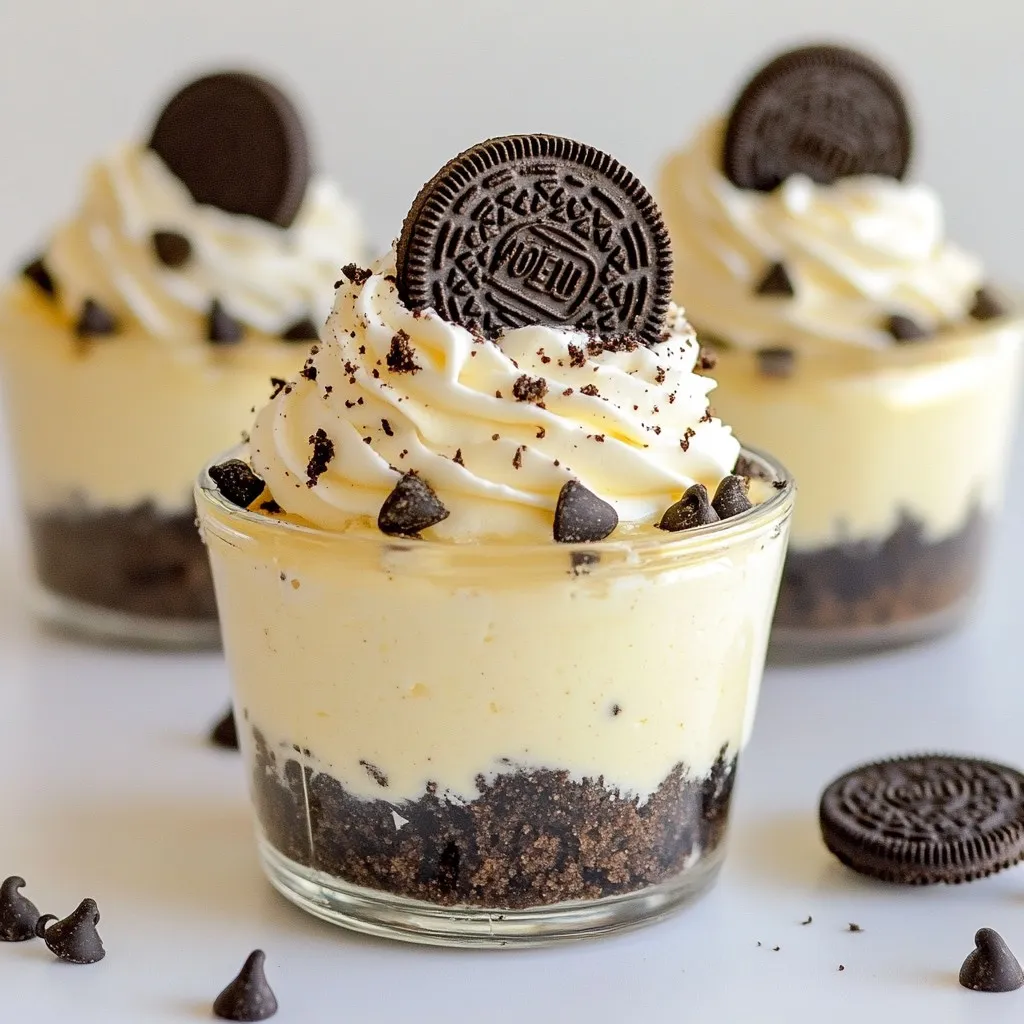
No-Bake Oreo Cheesecake Cups Delightful Easy Treat
Craving a sweet, creamy treat that’s easy to make? These No-Bake Oreo Cheesecake Cups are perfect for you! With just Read Full Recipe -
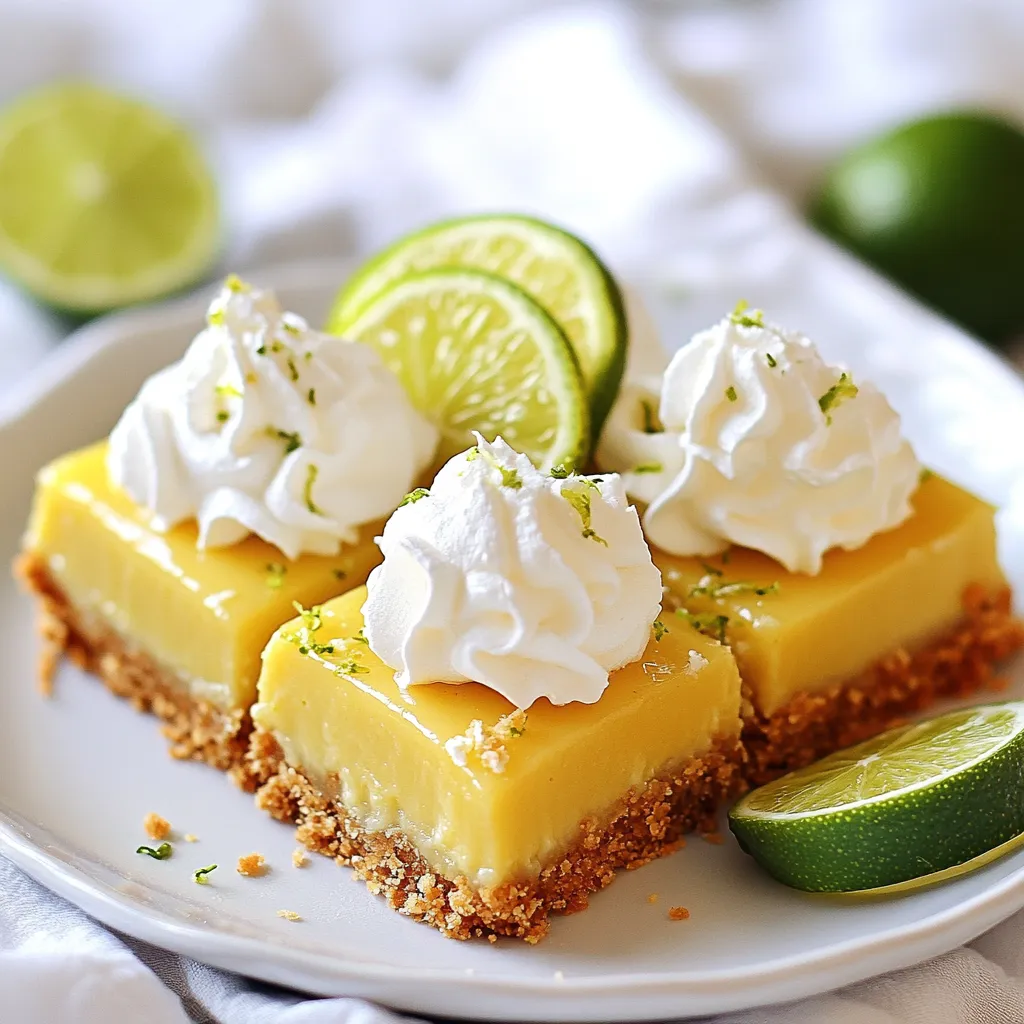
Key Lime Pie Bars Simple and Tangy Dessert Treat
Are you ready to enjoy a treat that’s both simple and zesty? Key Lime Pie Bars combine the tart zing Read Full Recipe -
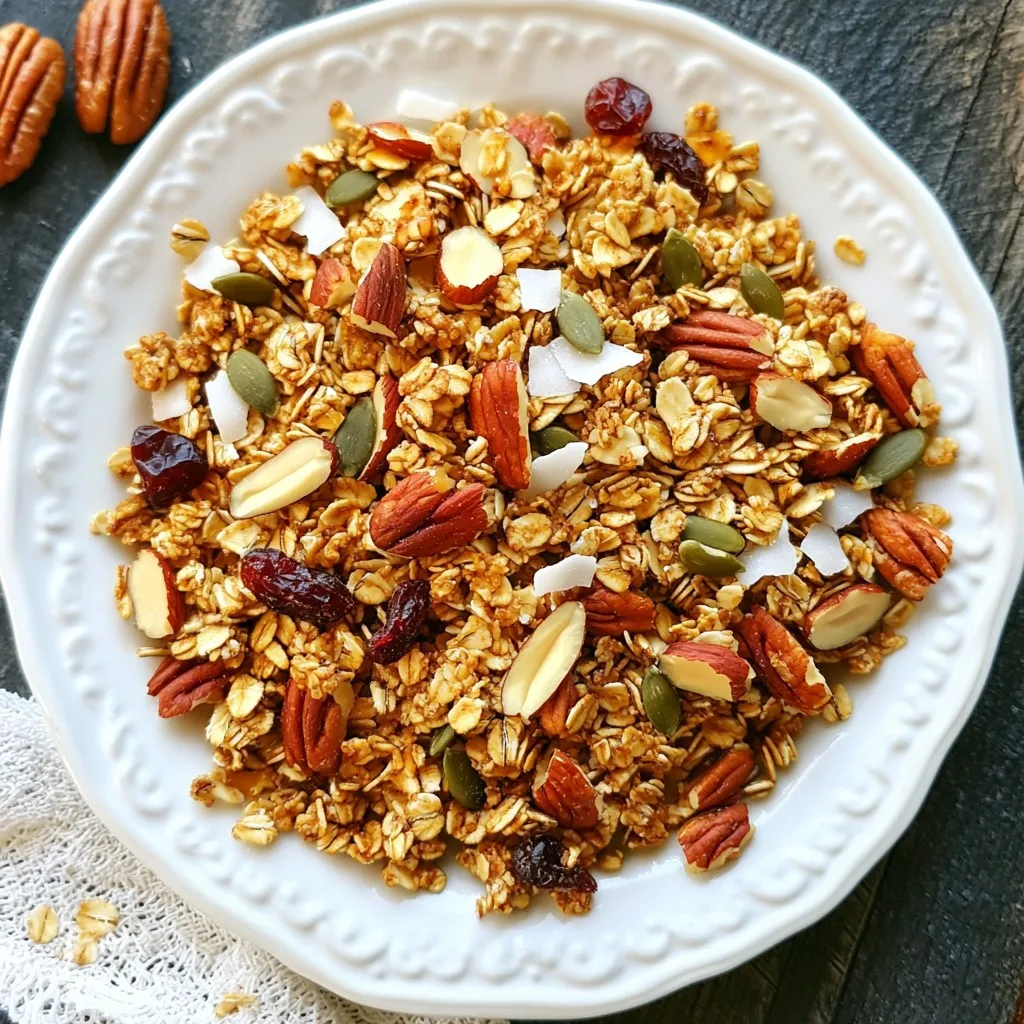
Maple Pecan Granola Crunchy and Nutritious Snack
Looking for a tasty and healthy snack? You’ve found it! My Maple Pecan Granola is crunchy, packed with flavor, and Read Full Recipe -
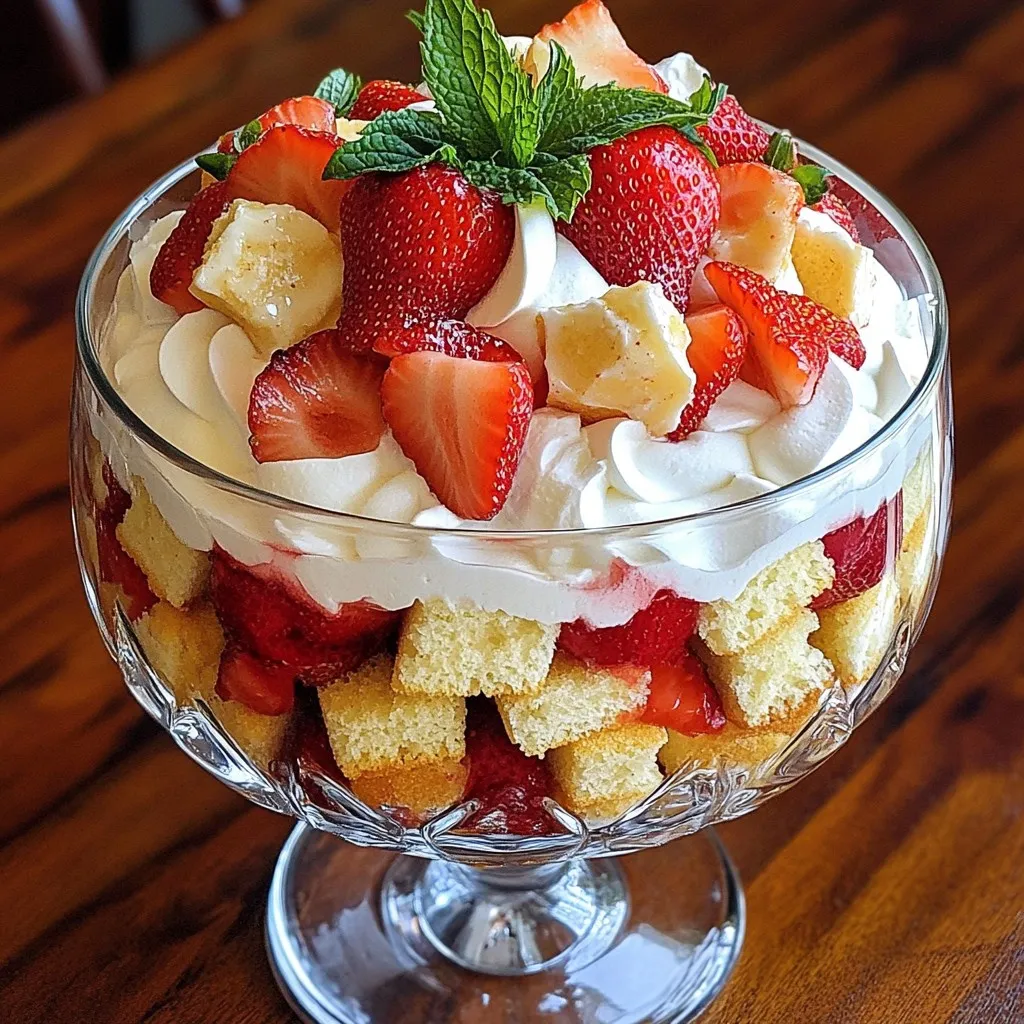
Strawberry Shortcake Trifle Delightful and Simple Treat
Get ready to impress your family and friends with a Strawberry Shortcake Trifle that’s both delightful and simple. This layered Read Full Recipe

My Latest Drinks
-
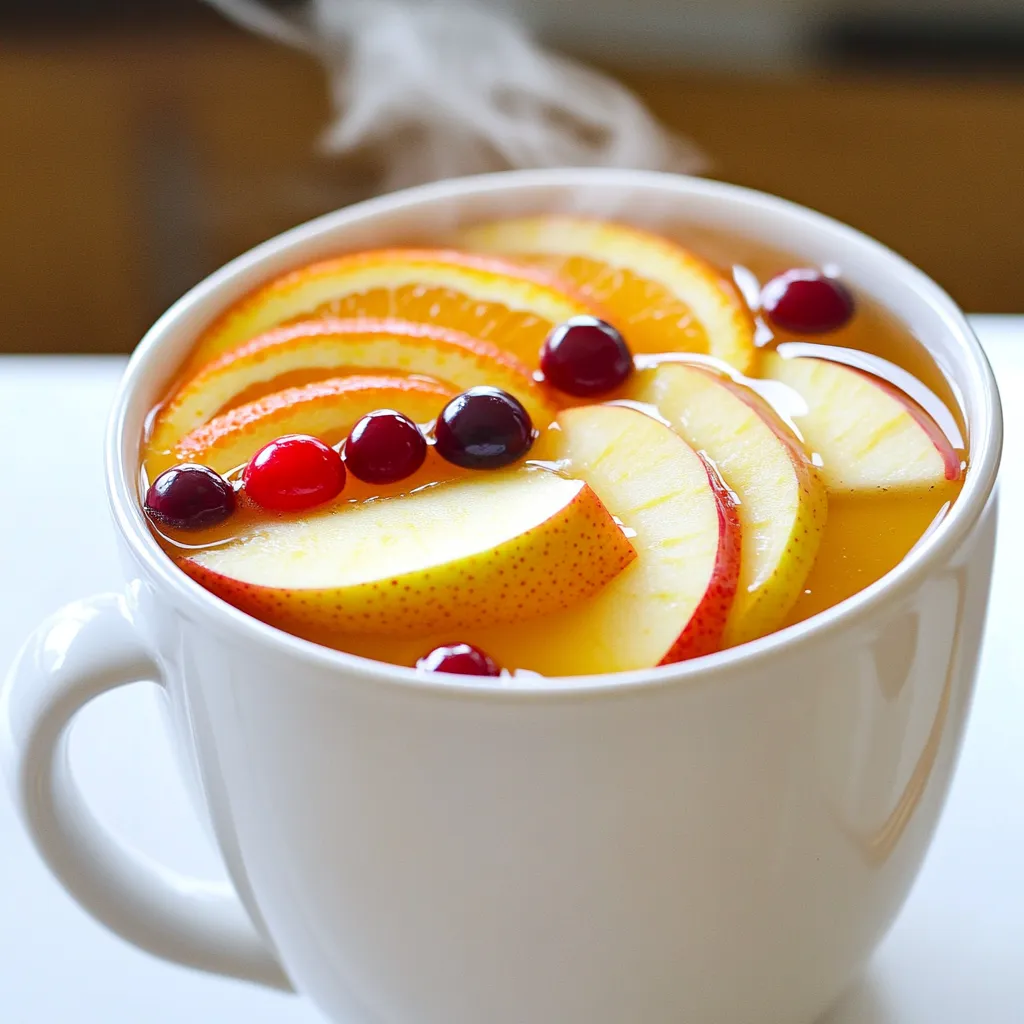
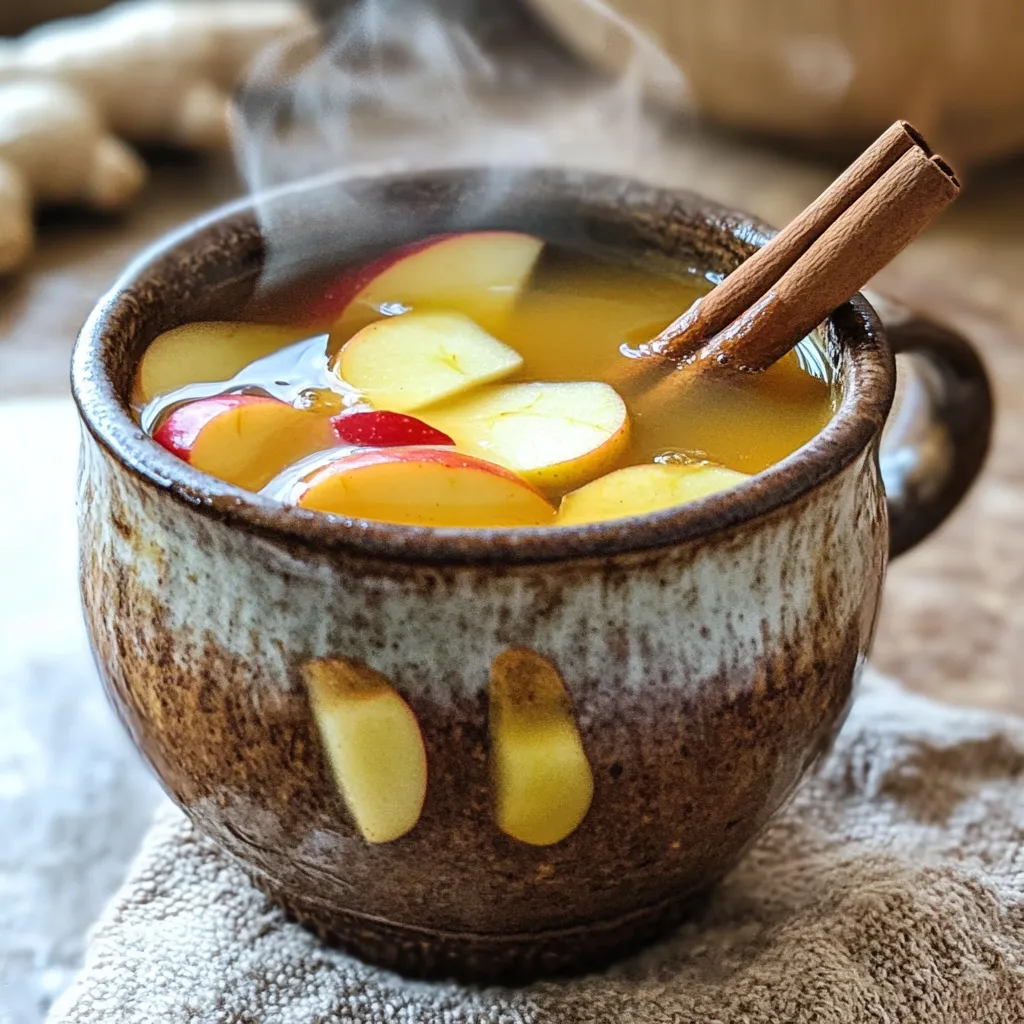
Spiced Apple Cider Punch Festive and Flavorful Drink
Warm up your gatherings with my Spiced Apple Cider Punch! This festive drink bursts with cozy flavors, perfect for chilly Read Full Recipe -
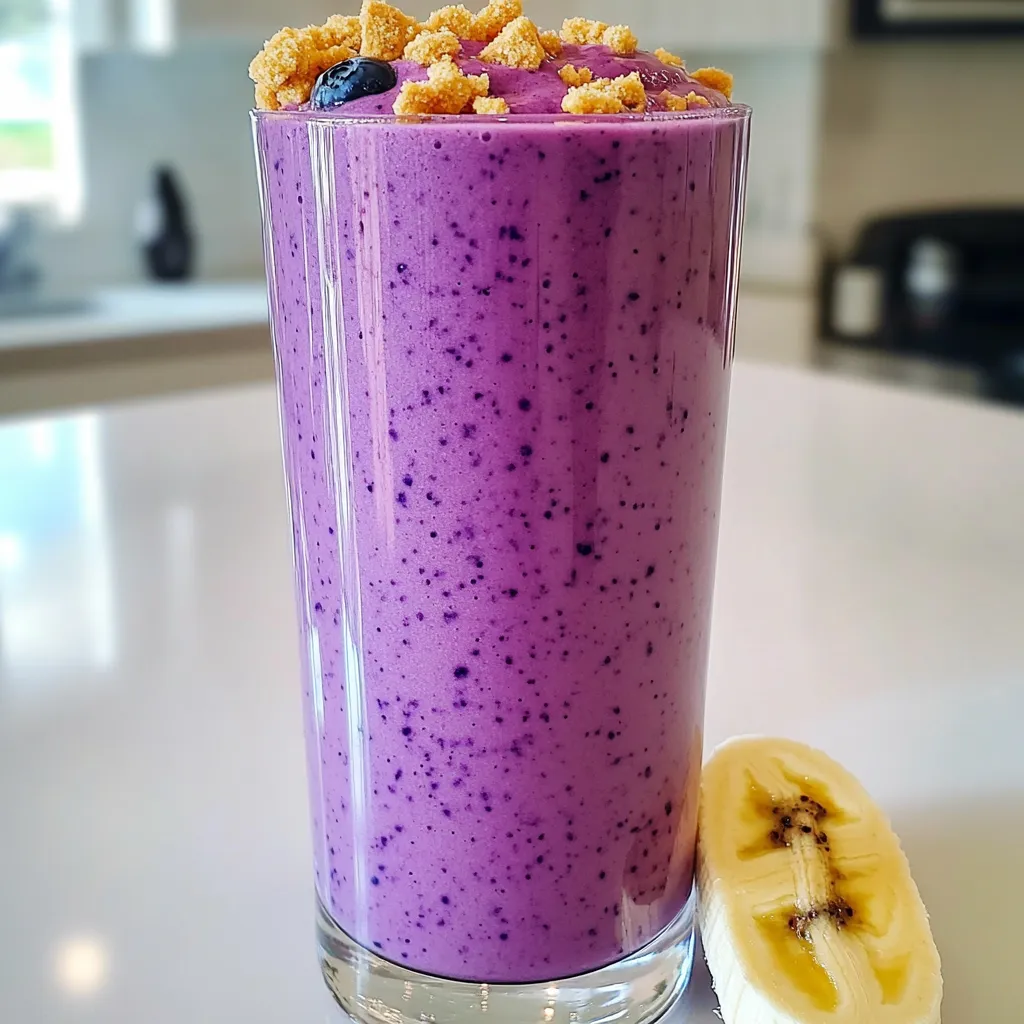
Blueberry Cheesecake Smoothie Protein Delight
Are you ready to treat yourself to a delicious and healthy drink? The Blueberry Cheesecake Smoothie Protein Delight packs all Read Full Recipe -
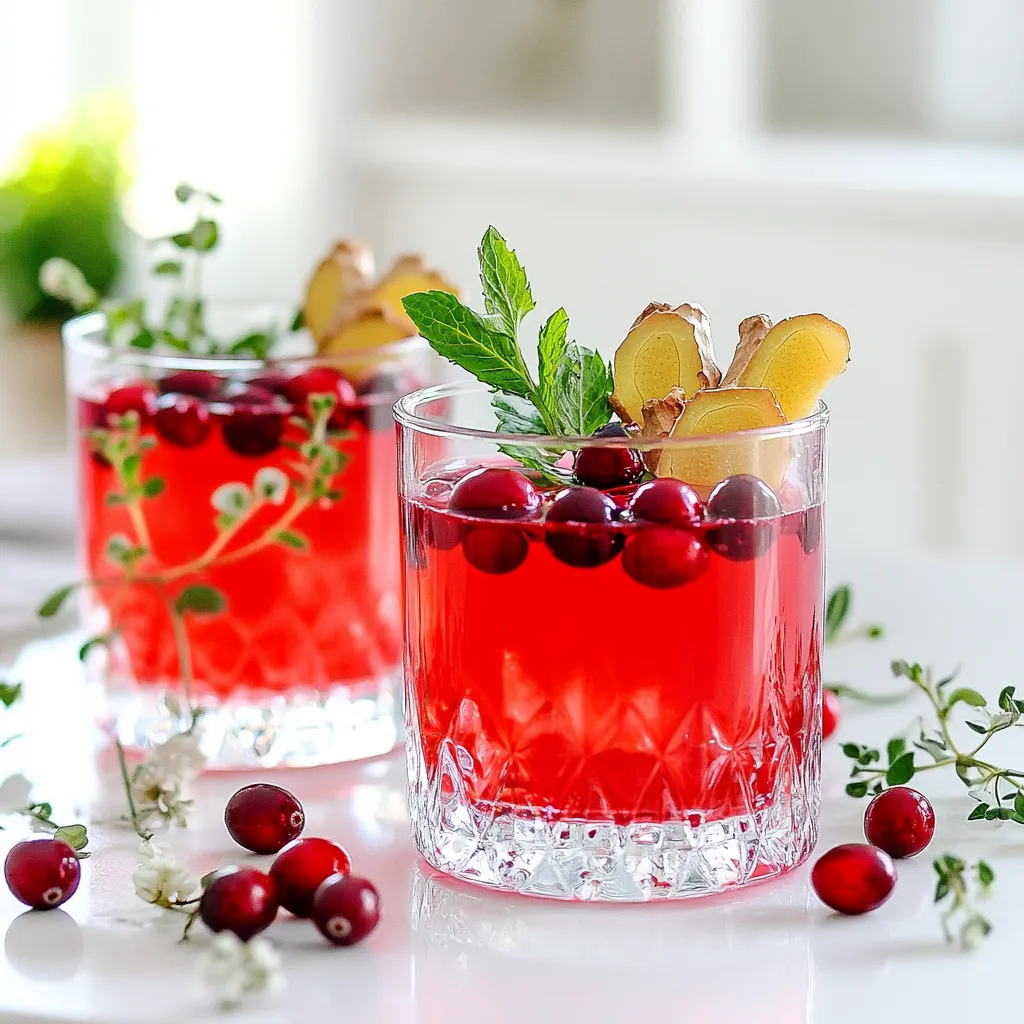
Warm Cranberry Ginger Mocktail Spritzer Recipe Delight
Welcome to my cozy kitchen! Today, I’m excited to share a delightful warm cranberry ginger mocktail spritzer that brightens up Read Full Recipe -
Spiced Apple Cider Chai Bold and Flavorful Drink Recipe
Looking for a cozy drink this season? Try my Spiced Apple Cider Chai! This bold, flavorful beverage combines warm apple Read Full Recipe -
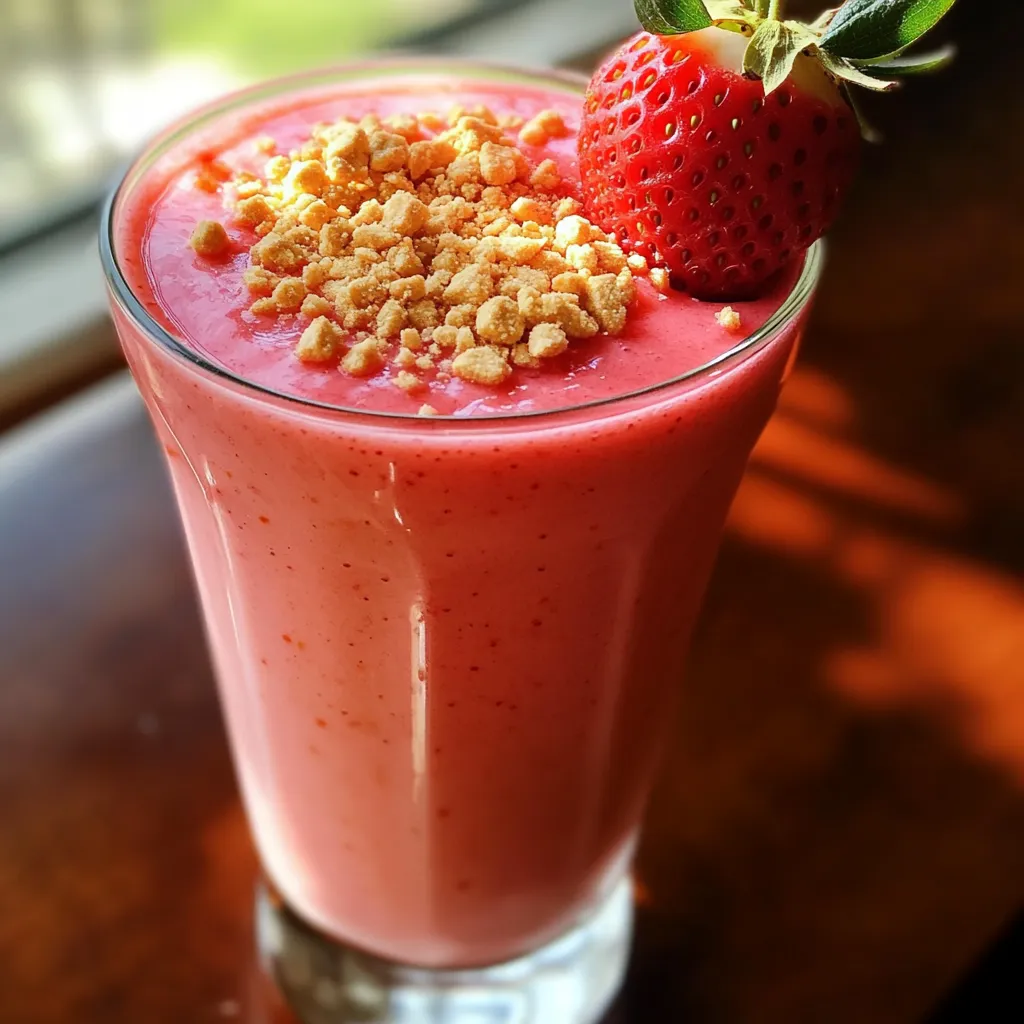
Strawberry Cheesecake Smoothie Tasty and Easy Recipe
Are you ready for a treat that’s both tasty and easy? This Strawberry Cheesecake Smoothie blends the rich flavors of Read Full Recipe -
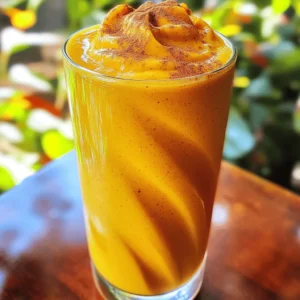
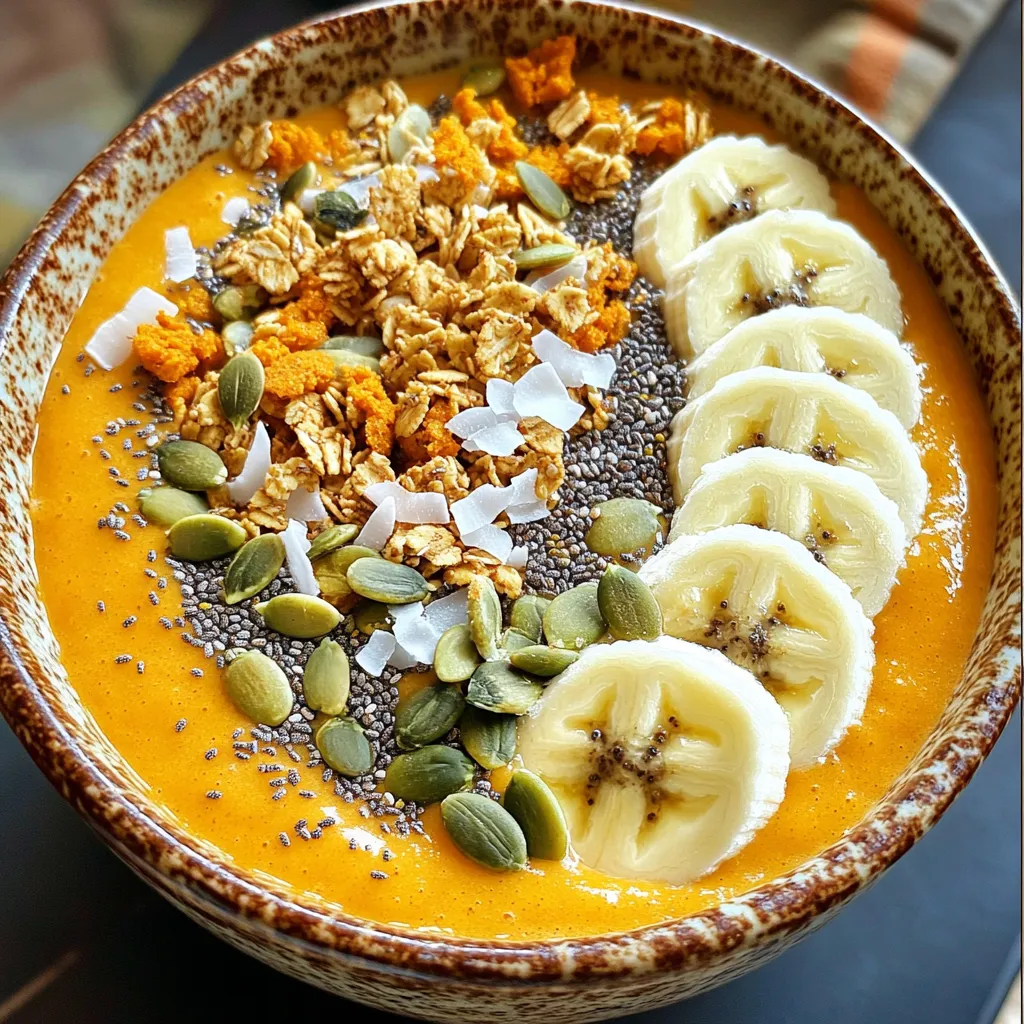
Pumpkin Spice Smoothie Bowl Protein Packed Delight
Are you ready to dive into the cozy world of pumpkin spice? This Pumpkin Spice Smoothie Bowl is not only Read Full Recipe

hey,
i’m !
I’m so happy you’re here!
I love creating dishes that bring joy to the table. I hope they bring the same joy to yours. Let’s enjoy this flavorful journey together.
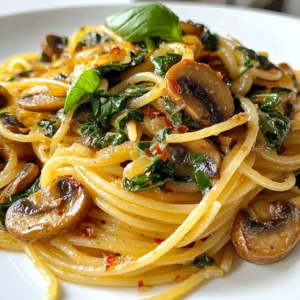
. This recipe has all the steps and tips to make it perfect. Enjoy making this easy and tasty dish! Spaghetti Aglio e Olio is simple yet flavorful. We covered essential ingredients, cooking steps, and tips for perfect pasta. I shared common mistakes to avoid and ways to add more flavor. You learned about classic variations and creative twists to try. Plus, you got your storage and reheating tips. In closing, this dish is easy to make and fun to customize. Enjoy this Italian favorite, and don't hesitate to experiment with your own ideas!](https://soyumrecipes.com/wp-content/uploads/2025/05/5fa6ba80-43f0-4f36-8d15-1e45e1d16377-300x300.webp)
. This blog post detailed a tasty recipe for Tuscan shrimp and scallops. You learned about the key ingredients, preparation steps, and helpful tips for cooking. I shared variations to make the dish your own and how to store leftovers for later. Remember, using quality ingredients and fresh herbs boosts flavor. Enjoy creating this dish for your next meal and impressing your friends and family with your skill. Trust me, it’s worth it!](https://soyumrecipes.com/wp-content/uploads/2025/05/ad437808-7667-4775-805a-430c37664738-300x300.webp)

Ham and Cheese Sliders Flavorful and Easy Recipe
Are you ready to impress your family and friends with a quick and tasty treat? My Ham and Cheese Sliders recipe is perfect for…