

Latest & Greatest
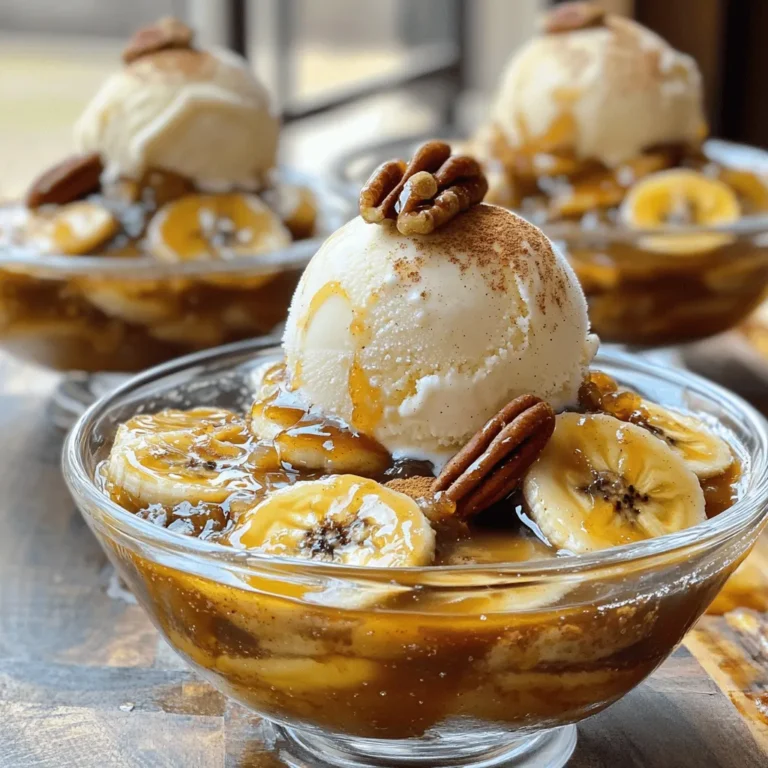
Best Banana Pudding Rich and Creamy Delight Recipe
Are you ready to indulge in the best banana pudding you’ve ever tasted? This rich and creamy delight is perfect
Read more…
Easy Strawberry Shortcake Simple and Tasty Recipe
If you’re craving a dessert that’s simple and delicious, you’re in the right place! This Easy Strawberry Shortcake recipe will
Read more…
Crockpot Mexican Chicken Flavorful and Easy Meal
Looking for an easy and flavorful meal? You’ll love this Crockpot Mexican Chicken! With tender chicken breasts, zesty tomatoes, and
Read more…
Spring Hash Brown Crust Quiche Savory Breakfast Delight
Are you ready to impress your family with a breakfast dish that looks as good as it tastes? My Spring
Read more…browse recipes


Best Jalapeño Poppers Flavorful and Fun Snack Recipe
Are you ready to spice up your snack game? In this post, I’ll share the best jalapeño poppers recipe that’s both flavorful and fun…
My Latest Desserts
-

Peanut Butter Fluff Delightful and Easy Recipe
Are you ready to whip up something delicious and simple? Peanut Butter Fluff is the perfect treat that combines rich Read Full Recipe -

Sweet Berry Loaf Delight Simple and Fresh Recipe
Are you ready to bake a delicious Sweet Berry Loaf? This simple recipe bursts with the fresh taste of mixed Read Full Recipe -

Boston Cream Bars Irresistible and Easy Delight
If you crave a sweet treat that’s simple yet impressive, look no further! Boston Cream Bars deliver all the classic Read Full Recipe -

Delightful Pistachio Cake Simple and Tasty Recipe
Craving a unique dessert that’s simple yet delicious? Look no further! This Delightful Pistachio Cake recipe combines rich flavors with Read Full Recipe -

No-Bake Mini Lemon Cheesecakes Delightful Easy Treat
Looking for a simple dessert that packs a citrusy punch? These No-Bake Mini Lemon Cheesecakes are your answer! With a Read Full Recipe -

Jolly Rancher Candy Apples Delightful and Fun Treat
Are you looking for a fun, tasty treat? Jolly Rancher Candy Apples are the perfect mix of sweet and sour Read Full Recipe -

Black Forest No-Bake Cheesecake Delightful Creamy Treat
Are you ready to indulge in a sweet treat that’s both easy to make and oh-so-delicious? This Black Forest No-Bake Read Full Recipe -
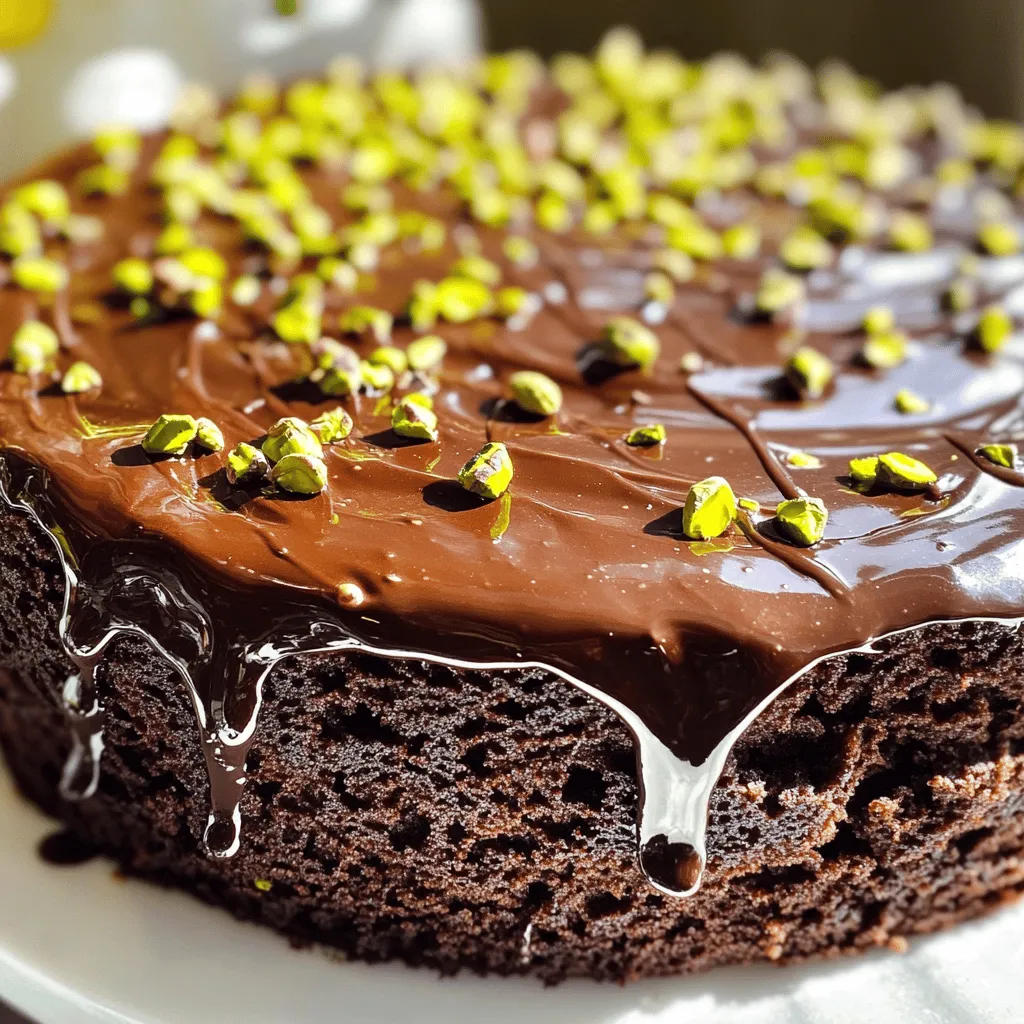
Chocolate Pistachio Cake Rich Flavor and Easy Recipe
If you’re craving a dessert that bursts with rich chocolate flavor and crunchy pistachios, you’re in the right place! This Read Full Recipe -

Buckeye Dip Creamy Delight for Any Gathering
Do you want a show-stopping dip for your next party? Buckeye Dip is a creamy delight that everyone will love! Read Full Recipe -

Grilled S’mores Quesadillas Sweet and Simple Delight
If you love s’mores and want a quick treat, you’re in for a real treat! Grilled S’mores Quesadillas are the Read Full Recipe
My Latest Recipes

hey,
i’m !
I’m so happy you’re here!
I love creating dishes that bring joy to the table. I hope they bring the same joy to yours. Let’s enjoy this flavorful journey together.


Paneer Lemongrass Coconut Curry Flavorful Comfort Dish
Are you ready to dive into a bowl of comfort? Paneer Lemongrass Coconut Curry is a dish that wraps you in warmth and flavor.…
![- 400g paneer, cubed - 1 can (400ml) coconut milk - 2 stalks of lemongrass, finely chopped (white part only) - 1 onion, finely chopped - 3 cloves garlic, minced - 1 inch ginger, grated - 2 green chilies, slit (adjust based on spice preference) - 1 teaspoon turmeric powder - 1 tablespoon curry powder - 1 tablespoon soy sauce - Fresh cilantro, for garnish - Salt to taste To make Paneer Lemongrass Coconut Curry, you need fresh and vibrant ingredients. The star of this dish is the paneer, which is soft and rich. The coconut milk adds creaminess, while lemongrass gives a bright flavor. I love to use fresh lemongrass when I can. It adds a lovely citrus note. If you can’t find it, use lemongrass paste as a substitute. It’s still tasty. The aromatics, like onion, garlic, and ginger, bring warmth to the dish. These flavors mix beautifully with the spices. Turmeric and curry powder create a lovely golden color and depth. Don’t forget about the soy sauce. It adds a hint of umami. This balance of flavors makes each bite so good. When serving, top with fresh cilantro for a pop of color and freshness. This dish is great with rice or naan. You can find the full recipe for all the steps to create this delightful meal. Enjoy cooking! - Heat vegetable oil over medium heat. - Sauté onion until translucent (about 5 minutes). These steps start the magic. The oil warms up and helps to release flavors. When the onion turns translucent, it adds a sweet base to the dish. - Stir in garlic and ginger; cook until fragrant (1-2 minutes). - Incorporate lemongrass and green chilies, cooking for a couple of minutes. Garlic and ginger work together to create an amazing aroma. Lemongrass gives a fresh, citrusy touch. Green chilies add spice, so adjust based on your taste. - Add turmeric and curry powder; mix well and cook for another minute. - Gently add paneer; stir to combine, then pour in coconut milk and soy sauce. - Allow the mixture to simmer, adjusting salt to taste. Turmeric adds color and warmth. Mixing in the paneer lets it soak up all those tasty flavors. The coconut milk makes it creamy and rich. Let it simmer so the flavors meld beautifully. For the full recipe, you can refer to the [Full Recipe]. Enjoy the process of creating this delightful dish! To keep your paneer soft, use fresh paneer. Cut it into cubes, but avoid overcooking. Add the paneer gently to the pan, letting it soak up the flavors without breaking apart. If your curry is too thick, simply add a splash of water. Stir it in slowly until you reach your desired consistency. Want a bolder taste? Add more green chilies or a pinch of chili powder for heat. For sweetness, try stirring in a teaspoon of sugar or a splash of maple syrup. To balance flavors, squeeze some fresh lime juice into the dish. This adds a nice tang and makes everything pop! Use a non-stick pan for the best results. This helps prevent sticking and makes serving easier. A heavy-bottomed skillet works well, too. It distributes heat evenly, ensuring your curry cooks properly. Always keep your utensils handy, as you’ll need to stir often to blend those rich flavors together. For the full recipe, check out the complete guide to making Paneer Lemongrass Coconut Curry! {{image_2}} You can make this dish even better by adding more veggies. Bell peppers bring a nice crunch. Spinach adds a lovely green color and extra nutrients. Both mix well with the creamy curry. Want to switch up the protein? You could use chicken, shrimp, or even chickpeas. Each option provides a unique taste. This way, you can keep the recipe fresh and exciting. If you want to change the flavor, try different spices. Instead of curry powder, use garam masala for a warm taste. You can also try cumin or coriander for a new twist. Fresh herbs can also change things up. Basil or mint can add bright notes. Experimenting with spices and herbs can lead to delightful surprises. You can easily make this recipe vegan. Just swap the paneer for tofu. Tofu soaks up flavors well and gets creamy when cooked. If you're gluten-free, serve the curry with rice instead of naan. This makes it safe for those with gluten sensitivities. With these small changes, everyone can enjoy this dish. For the full recipe, check out the details above. After cooking Paneer Lemongrass Coconut Curry, store any leftovers in an airtight container. The best practice is to let it cool before sealing. This helps keep it fresh. In the fridge, the curry stays good for about 3 to 4 days. Always check for signs of spoilage before eating. To freeze your curry, choose a freezer-safe container. Leave some space at the top for expansion. You can also use freezer bags; just make sure to remove excess air. The curry can last up to 2 to 3 months in the freezer. When you're ready to eat, thaw it overnight in the fridge. Reheat gently on the stove, stirring often. This helps keep the flavors intact. You can also microwave it in short bursts, stirring in between. If the curry thickens too much after freezing, add a splash of coconut milk or water to reach your desired consistency. Enjoy the rich flavors just like when it was first made! Yes, you can use frozen paneer. First, take it out of the freezer. Place the paneer in warm water for about 15 minutes. This helps it to thaw quickly. After that, cut it into cubes. Using thawed paneer works well in this dish. It absorbs all the lovely flavors of the curry. You can serve this curry with several tasty sides. Here are some popular options: - Jasmine rice - Warm naan - Roti or chapati - Quinoa for a healthy twist Pairing these sides makes the meal complete and satisfying. The spiciness of this curry depends on your choice of green chilies. If you want it mild, use one chili or none. For a spicier kick, add two or three. You can also add a pinch of cayenne if you like heat. Remember, you control the spice level! This blog post shows you how to make a delicious Paneer Lemongrass Coconut Curry. We covered the main ingredients and spices, plus step-by-step instructions to cook your dish perfectly. I shared tips for great texture and flavor, and offered variations for dietary needs. In closing, this recipe is flexible and full of flavors. With simple adjustments, you can suit your taste. Enjoy cooking, and don’t forget to share your results with others!](https://soyumrecipes.com/wp-content/uploads/2025/05/49e3defc-af21-4ec3-ab39-2f73aa1d6000.webp)
