
Latest & Greatest
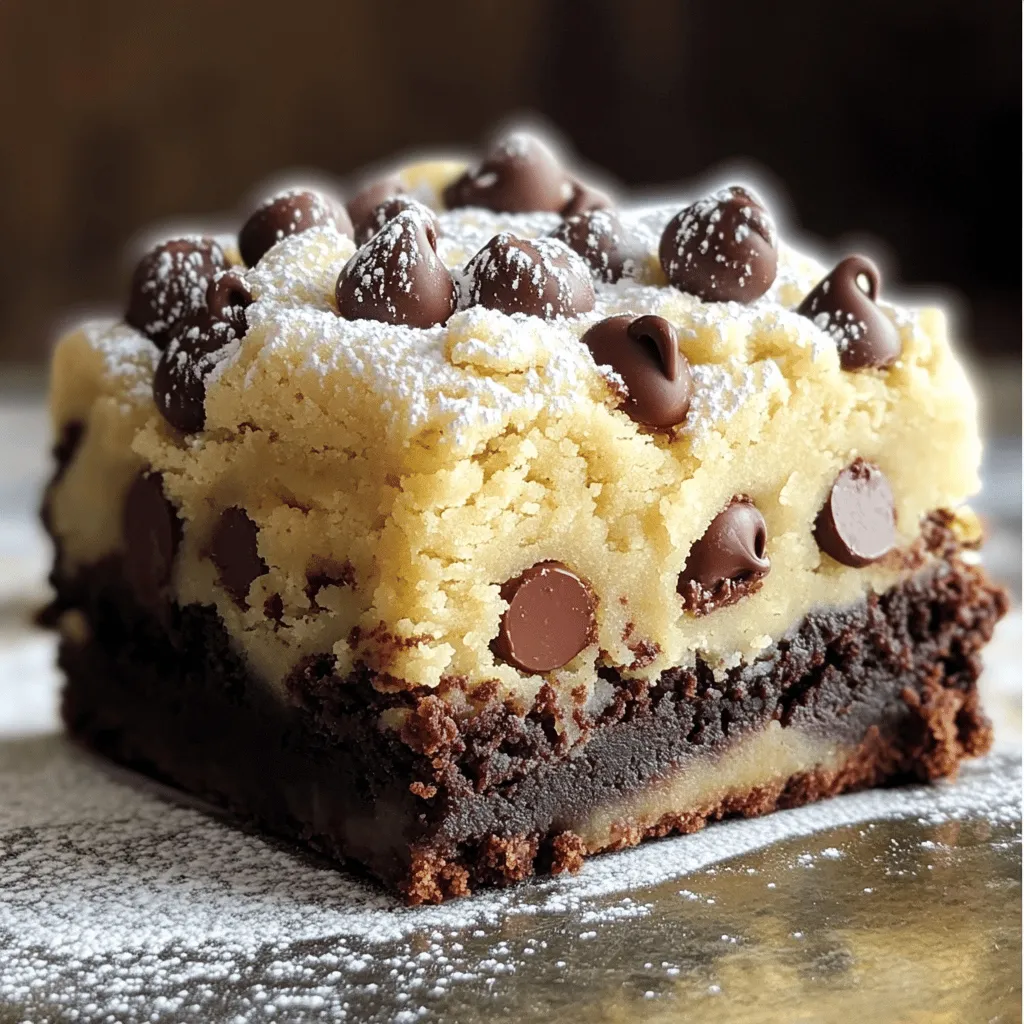
Chocolate Chip Cookie Dough Brownies Irresistible Treat
Get ready for a delicious treat that combines two favorites: brownies and cookie dough! In this post, I’ll show you
Read more…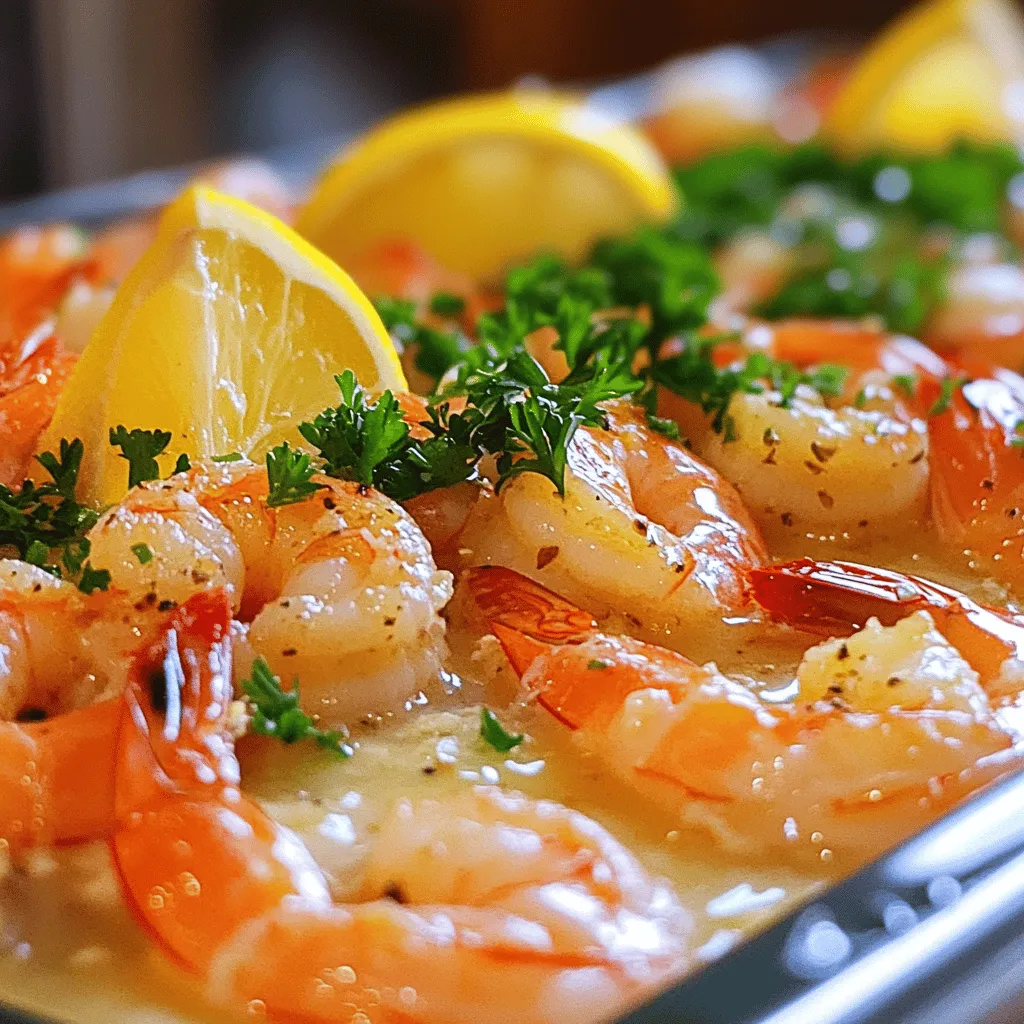
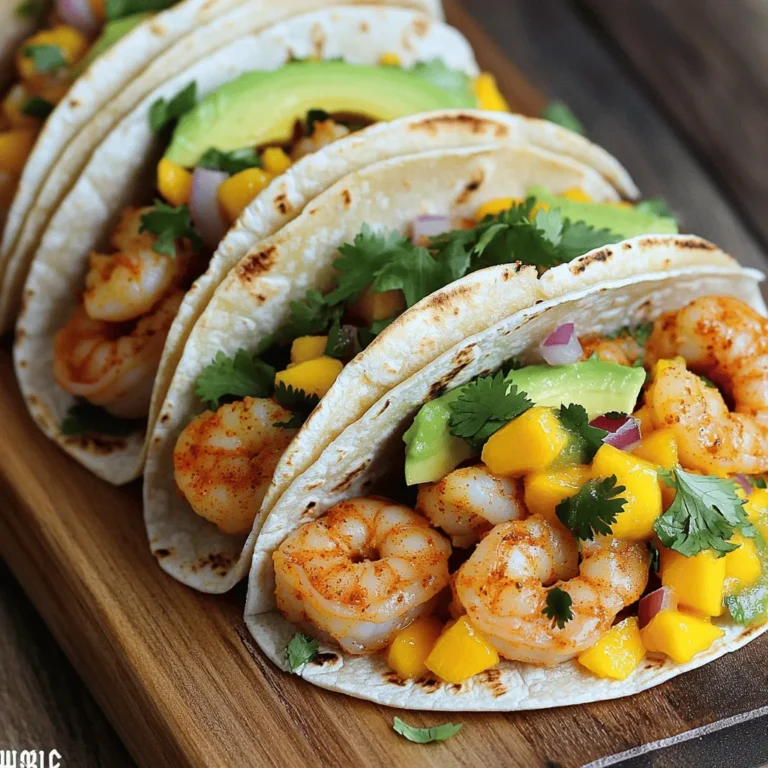
Flavorful 5-Ingredient Garlic Butter Shrimp Recipe
Craving a quick, delicious meal? You’re in luck! My 5-Ingredient Garlic Butter Shrimp Recipe is simple yet bursting with flavor.
Read more…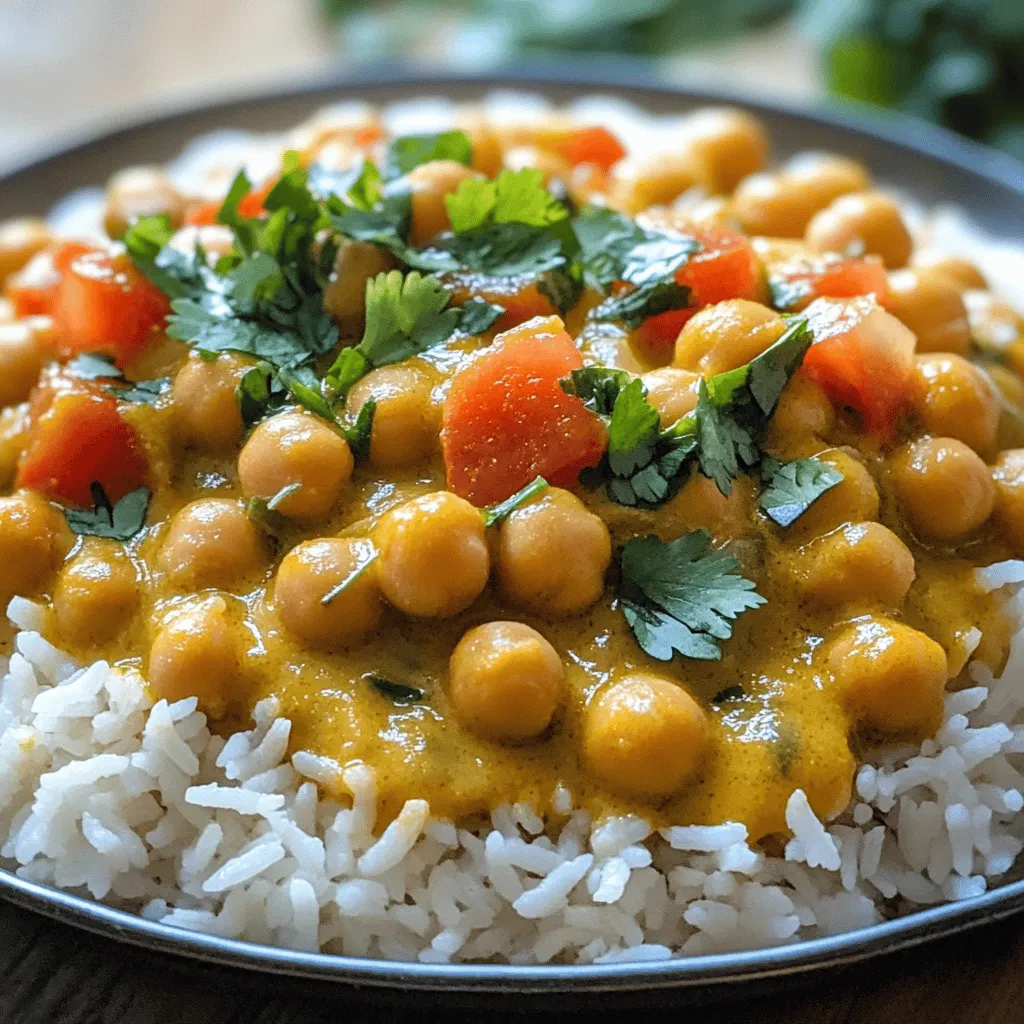
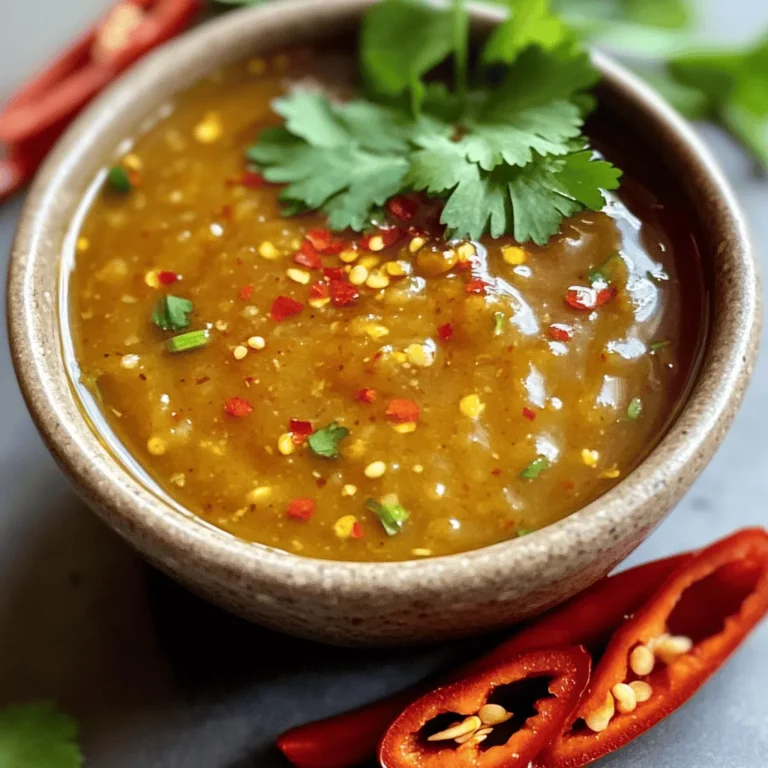
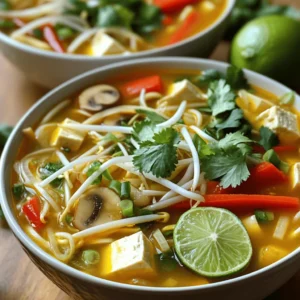
Vegan Chickpea Curry Flavorful and Easy Meal Idea
Are you ready to spice up your dinner routine? This Vegan Chickpea Curry is not just flavorful; it’s also simple
Read more…
Glazed Lemon Sugar Cookies Delightful and Simple Treat
If you’re craving a sweet treat that’s simple yet bursting with flavor, look no further! These Glazed Lemon Sugar Cookies
Read more…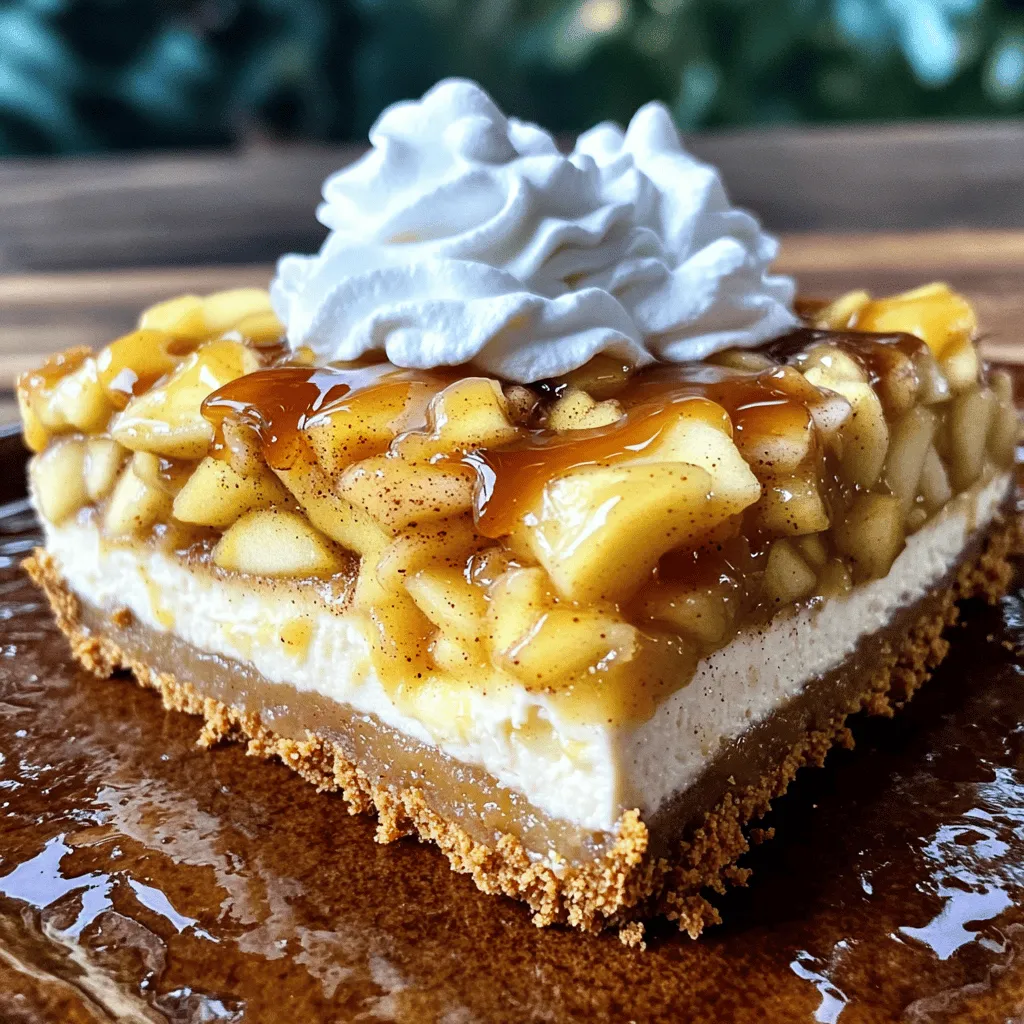
Apple Pie Stuffed Cheesecake Irresistible Desserts
If you love desserts that combine flavors, you’re in for a treat! My Apple Pie Stuffed Cheesecake takes two classics
Read more…
Best Homemade Cinnamon Rolls Flavorful and Easy Recipe
Are you ready to make the best homemade cinnamon rolls? This easy recipe combines warm, fluffy dough with a sweet
Read more…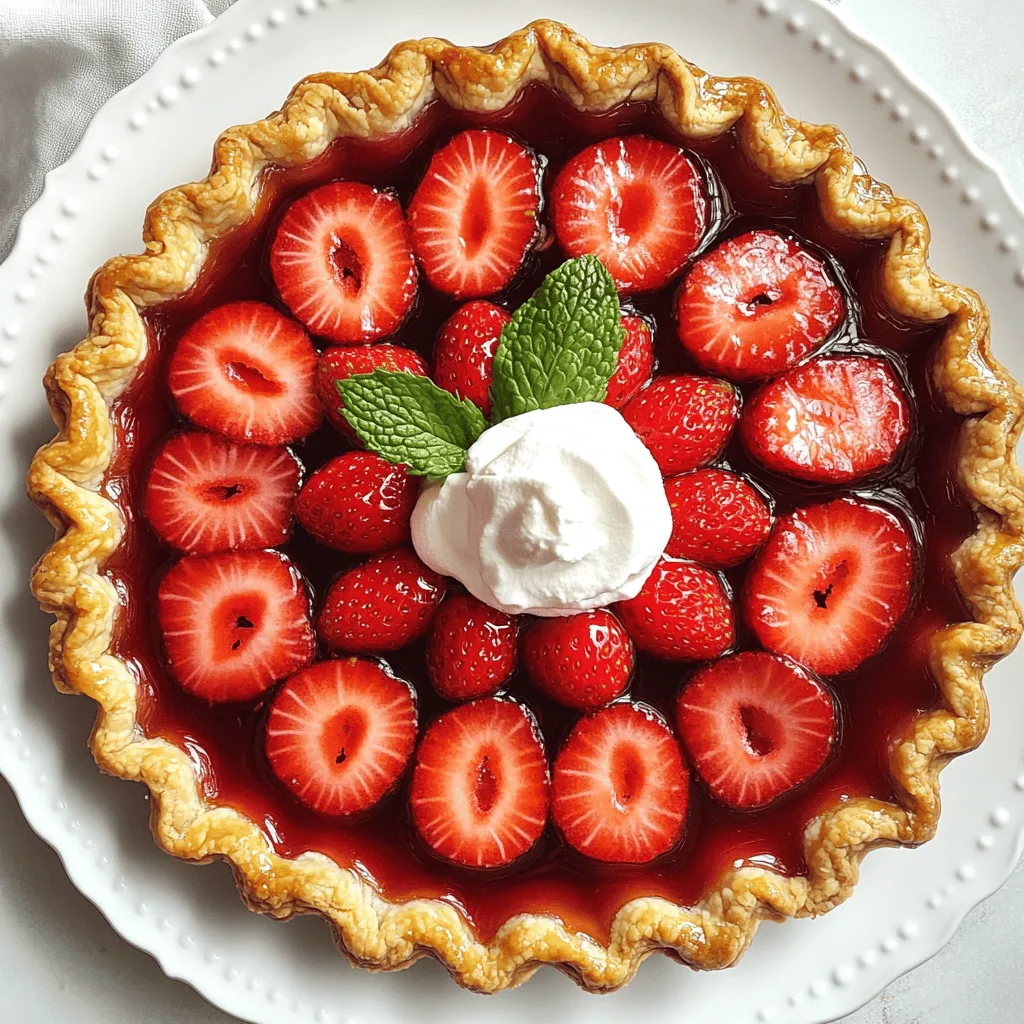
Best Strawberry Pie Delightful and Easy Recipe Guide
Are you ready to impress your friends and family with the best strawberry pie? This delightful and easy recipe guide
Read more…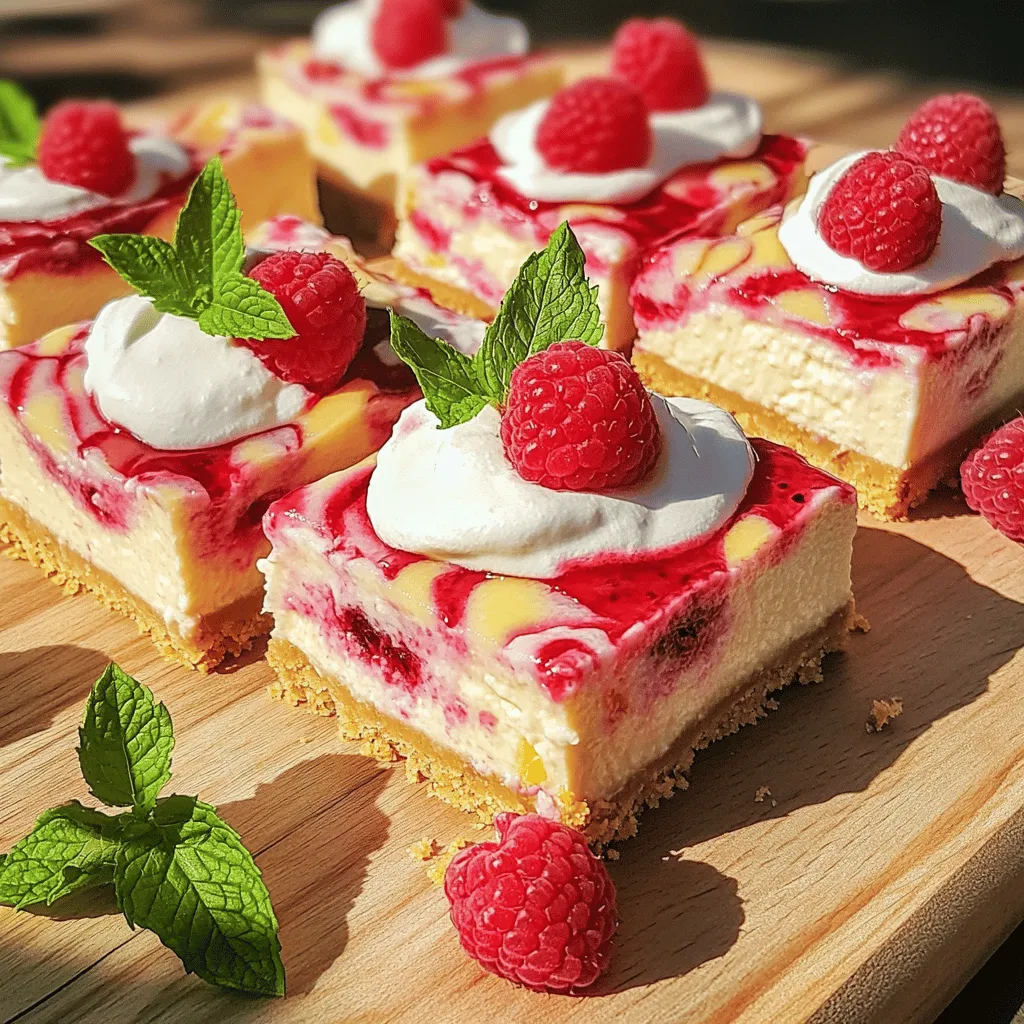
Raspberry Lemon Cheesecake Bars Easy and Creamy Treat
Craving a sweet and tangy treat? You’ll love these easy Raspberry Lemon Cheesecake Bars! This recipe combines creamy cheese with
Read more…browse recipes


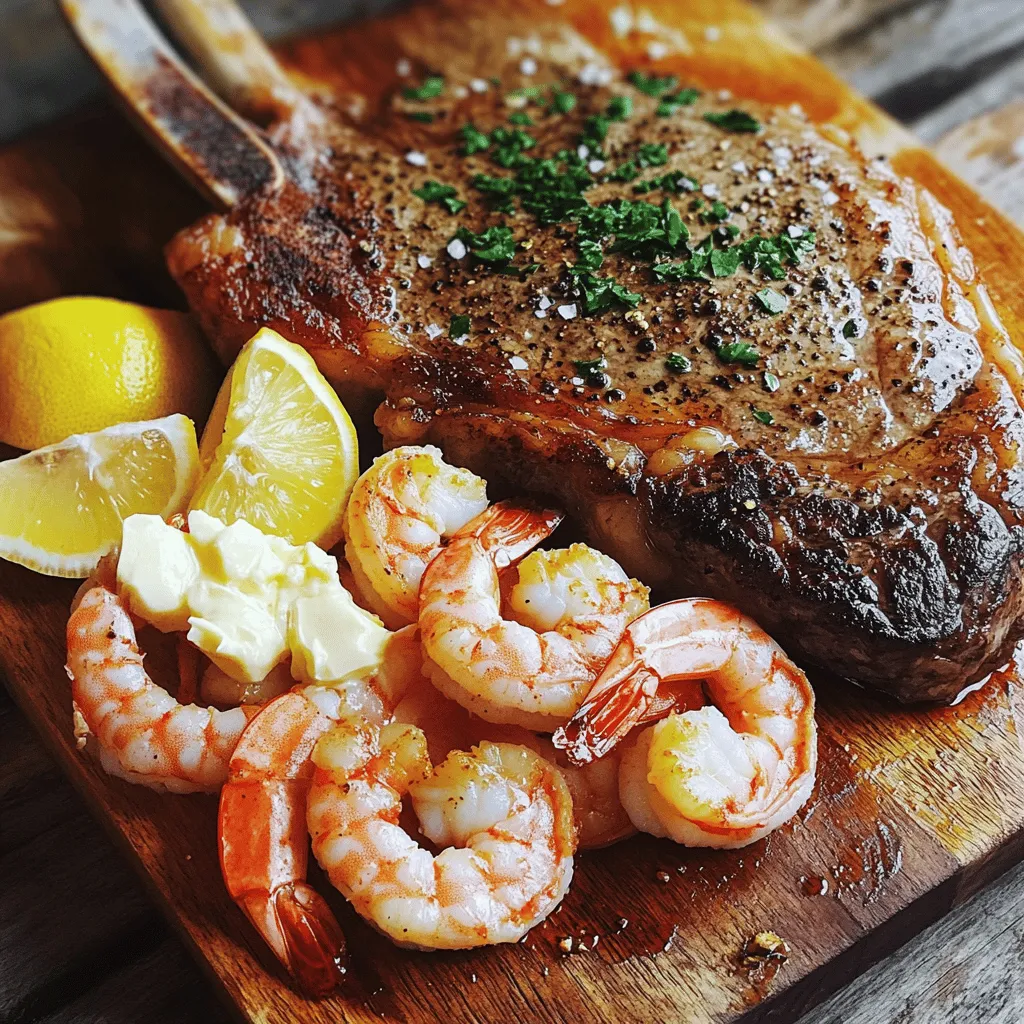
Surf & Turf Tomahawk Steak Juicy and Flavorful Meal
Are you ready to elevate your dinner game? The Surf & Turf Tomahawk Steak is the ultimate meal for meat lovers. Combining a thick,…
My Latest Desserts
-
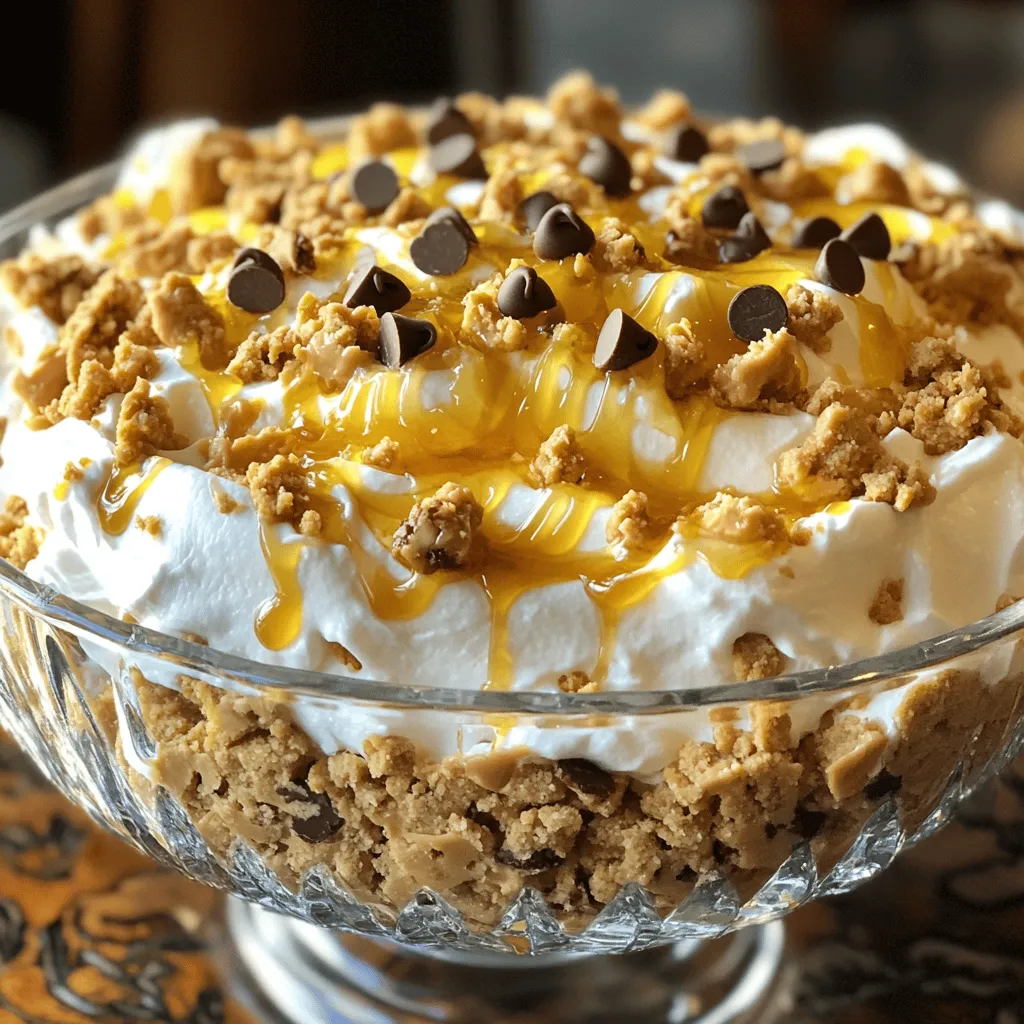
Peanut Butter Fluff Delightful and Easy Recipe
Are you ready to whip up something delicious and simple? Peanut Butter Fluff is the perfect treat that combines rich Read Full Recipe -
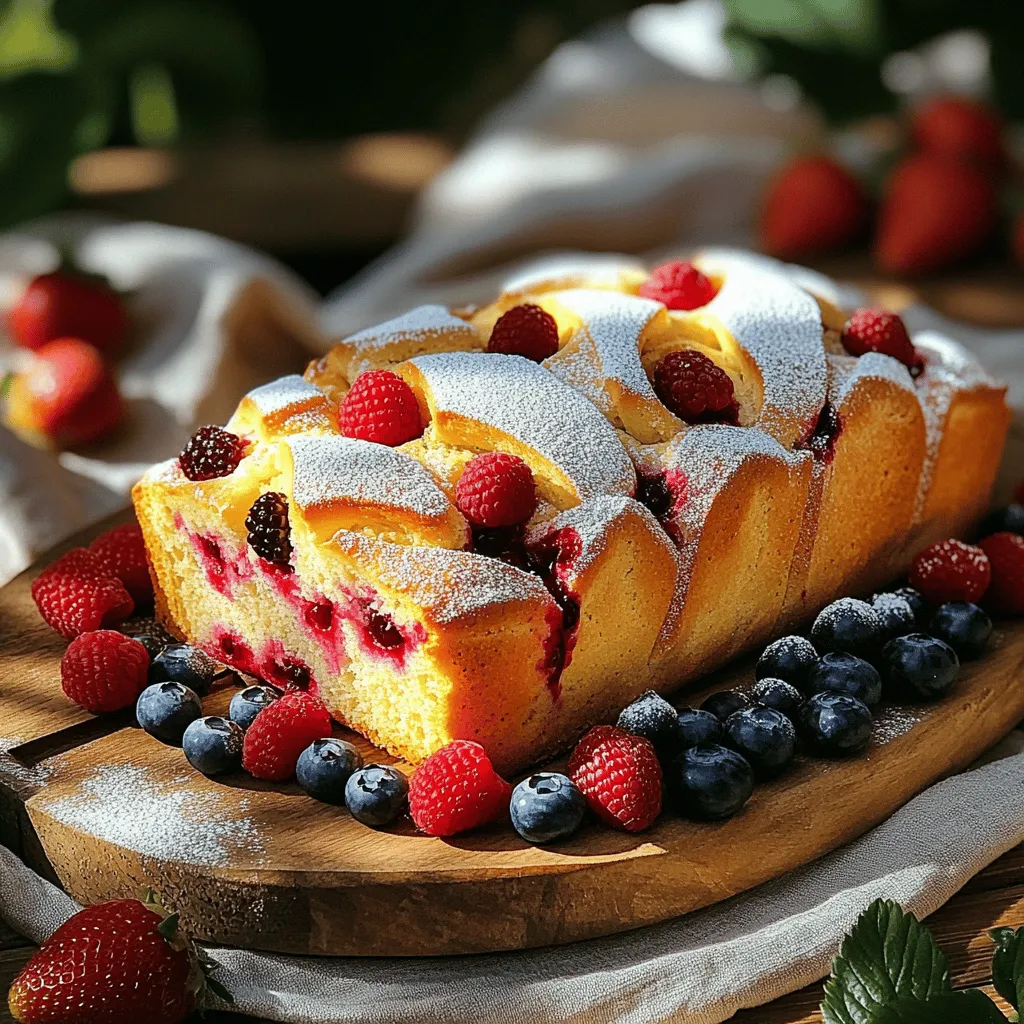
Sweet Berry Loaf Delight Simple and Fresh Recipe
Are you ready to bake a delicious Sweet Berry Loaf? This simple recipe bursts with the fresh taste of mixed Read Full Recipe -
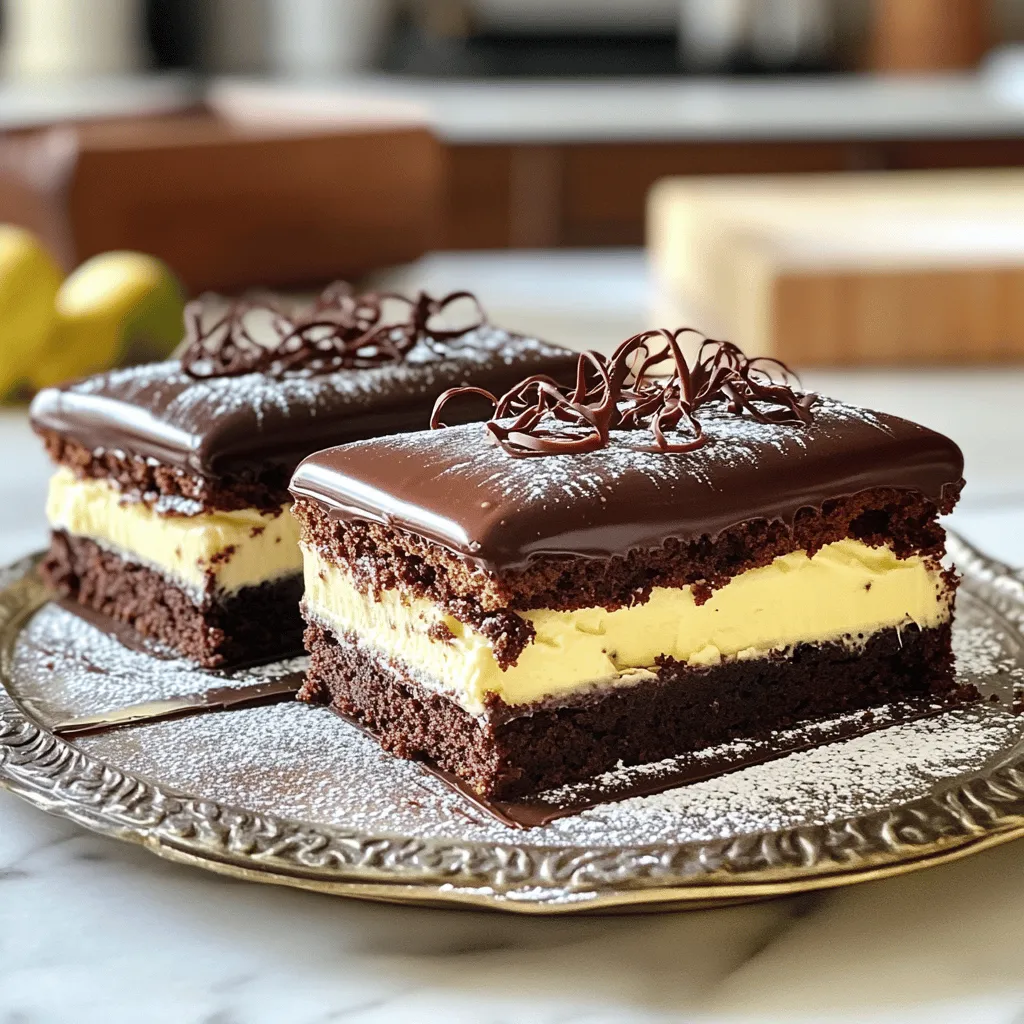
Boston Cream Bars Irresistible and Easy Delight
If you crave a sweet treat that’s simple yet impressive, look no further! Boston Cream Bars deliver all the classic Read Full Recipe -
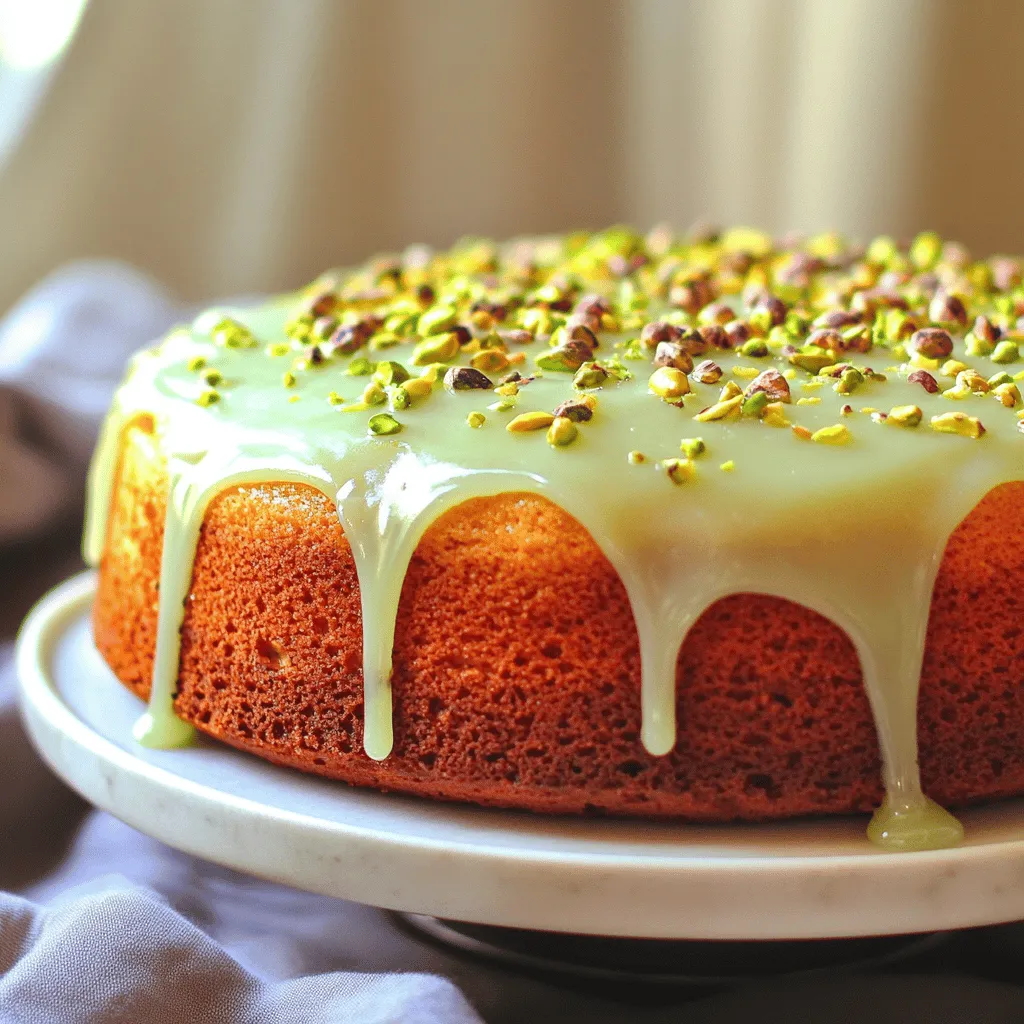
Delightful Pistachio Cake Simple and Tasty Recipe
Craving a unique dessert that’s simple yet delicious? Look no further! This Delightful Pistachio Cake recipe combines rich flavors with Read Full Recipe -

No-Bake Mini Lemon Cheesecakes Delightful Easy Treat
Looking for a simple dessert that packs a citrusy punch? These No-Bake Mini Lemon Cheesecakes are your answer! With a Read Full Recipe -
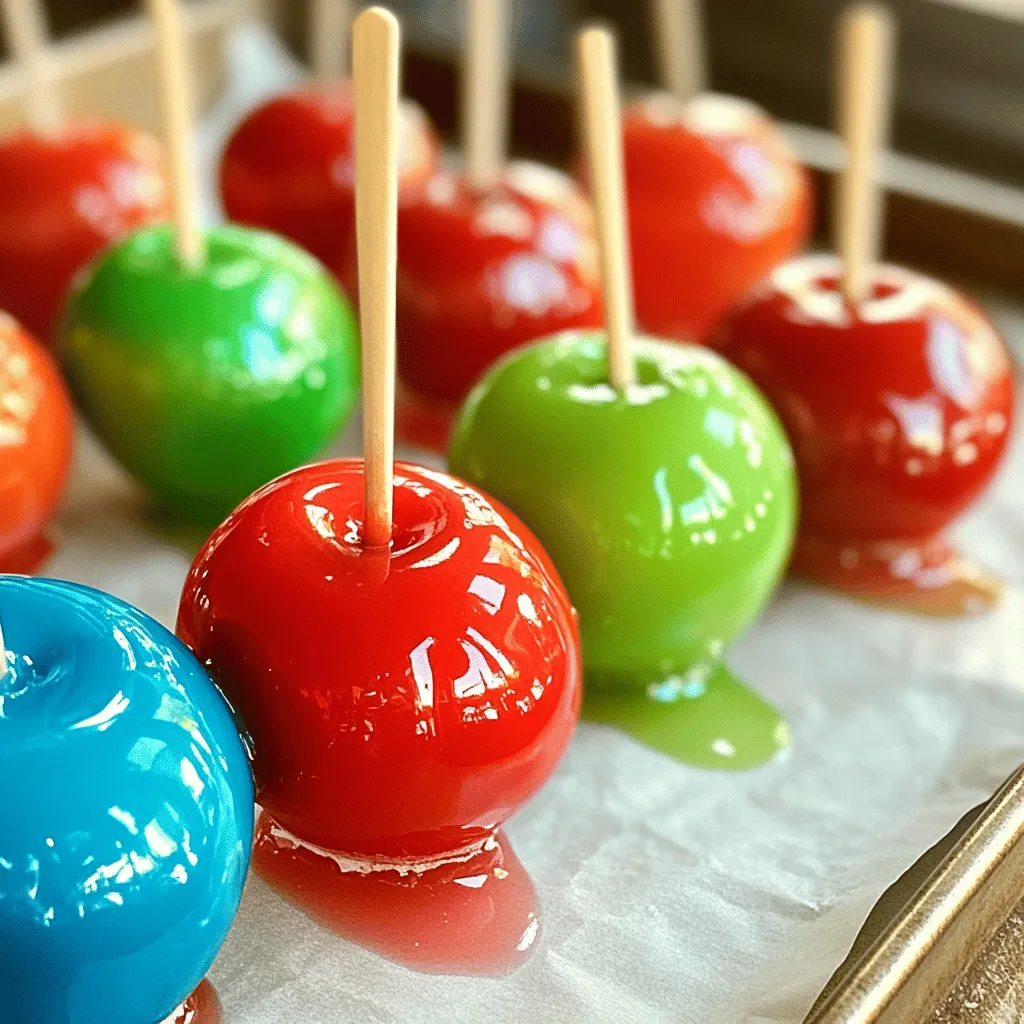
Jolly Rancher Candy Apples Delightful and Fun Treat
Are you looking for a fun, tasty treat? Jolly Rancher Candy Apples are the perfect mix of sweet and sour Read Full Recipe -
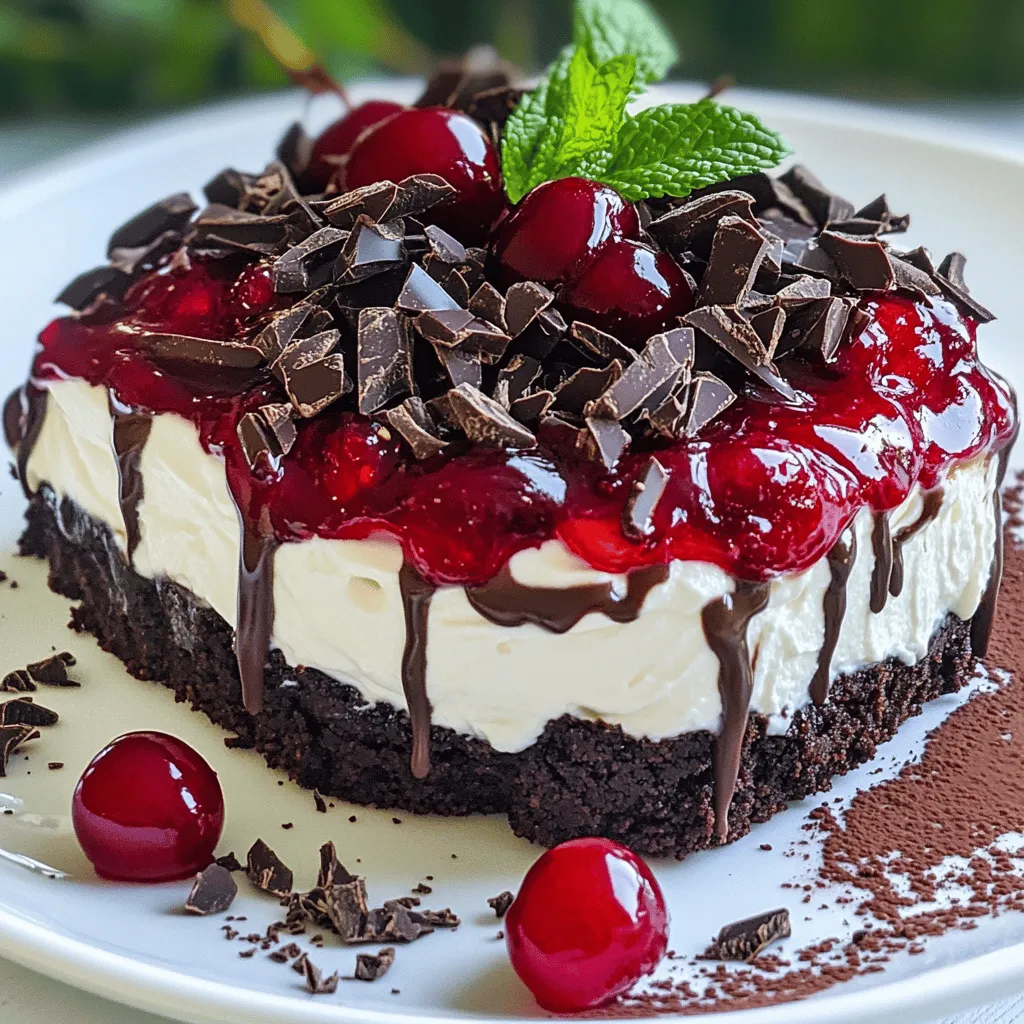
Black Forest No-Bake Cheesecake Delightful Creamy Treat
Are you ready to indulge in a sweet treat that’s both easy to make and oh-so-delicious? This Black Forest No-Bake Read Full Recipe -
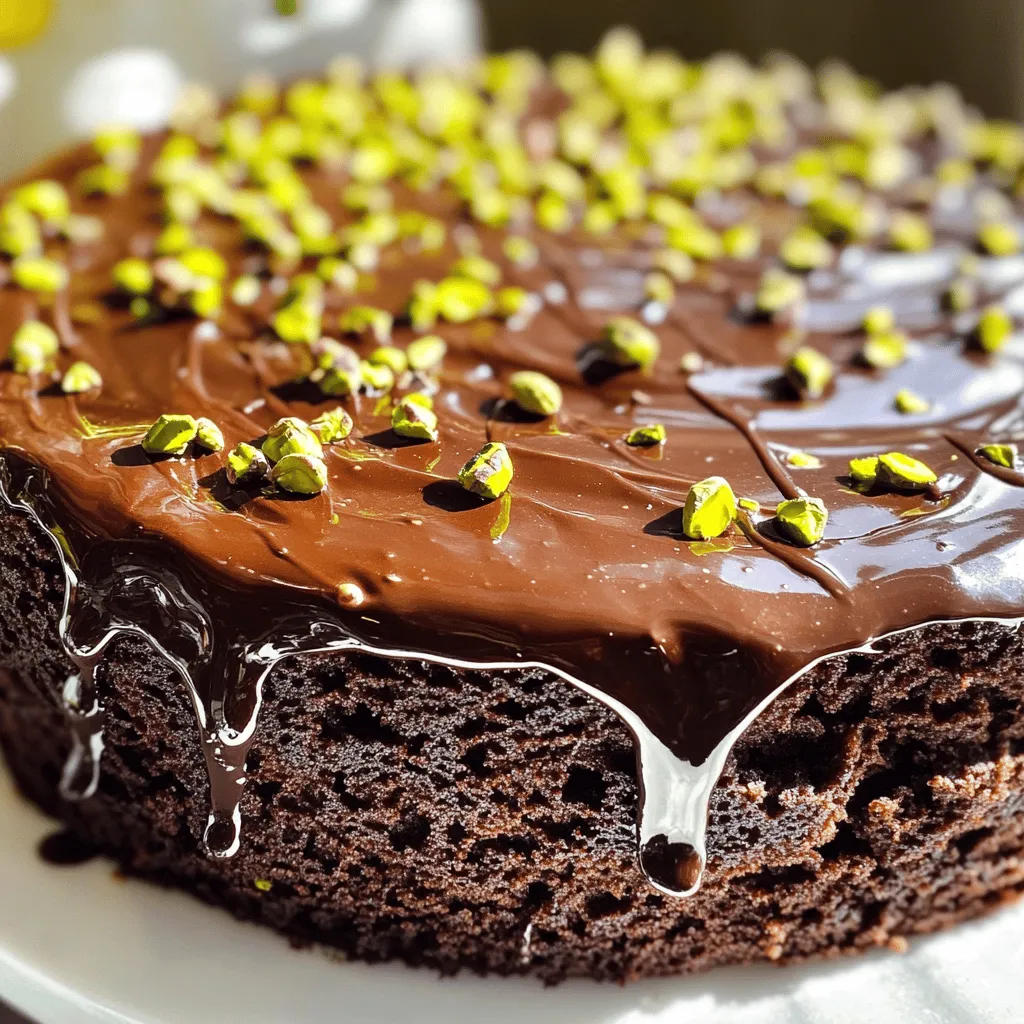
Chocolate Pistachio Cake Rich Flavor and Easy Recipe
If you’re craving a dessert that bursts with rich chocolate flavor and crunchy pistachios, you’re in the right place! This Read Full Recipe -
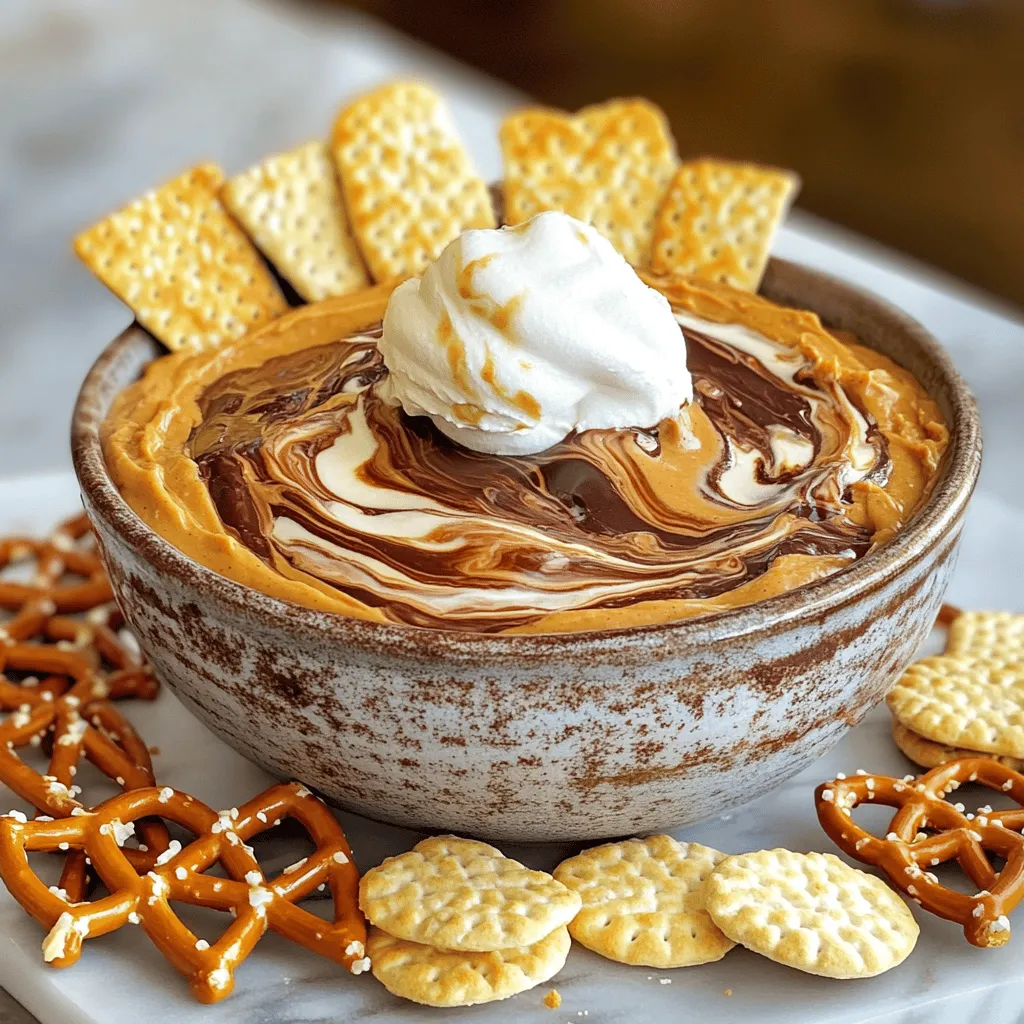
Buckeye Dip Creamy Delight for Any Gathering
Do you want a show-stopping dip for your next party? Buckeye Dip is a creamy delight that everyone will love! Read Full Recipe -

Grilled S’mores Quesadillas Sweet and Simple Delight
If you love s’mores and want a quick treat, you’re in for a real treat! Grilled S’mores Quesadillas are the Read Full Recipe
My Latest Recipes

hey,
i’m !
I’m so happy you’re here!
I love creating dishes that bring joy to the table. I hope they bring the same joy to yours. Let’s enjoy this flavorful journey together.
![For a tasty Coconut Lime Chicken, you need just a few main ingredients. Here’s what you will need: - 4 boneless, skinless chicken breasts - 1 can (13.5 oz) coconut milk - 2 limes (juice and zest) - 2 tablespoons honey - 3 cloves garlic, minced - 1 tablespoon fresh ginger, grated - 1 teaspoon ground cumin - 1 teaspoon paprika - Salt and pepper to taste - Fresh cilantro for garnish The chicken breasts are the star here. They should be fresh and plump for the best results. The coconut milk adds richness, while lime gives a bright, tangy flavor. Honey balances the taste and keeps the chicken moist. Garlic and ginger add depth, making every bite special. You can switch things up with some optional ingredients. Here are a few ideas: - Different herbs: Try fresh basil or mint for a twist. These can enhance the dish and add a unique taste. - Spice adjustments: If you like heat, add a pinch of cayenne. For a smoky flavor, think about using smoked paprika. Feel free to get creative! Mixing and matching flavors can make your Coconut Lime Chicken even more exciting. For the full recipe, check out the complete guide. To start, mix the marinade essentials in a large bowl. Combine the coconut milk, lime juice, lime zest, honey, minced garlic, grated ginger, cumin, paprika, salt, and pepper. Whisk these ingredients until they blend well. This mix gives the chicken its rich flavor. For maximum flavor absorption, let the chicken sit in the marinade. Cover it and refrigerate for at least 1 hour. If you have time, let it marinate for up to 4 hours. This extra time allows the chicken to soak up all the tasty flavors. Next, it's time to cook the chicken. Preheat your grill or skillet over medium-high heat. After removing the chicken from the marinade, let the excess drip off. You can save the marinade to use later. If you grill the chicken, cook it for about 6-7 minutes on each side. Aim for an internal temperature of 165°F (75°C) to ensure it's fully cooked. If you prefer a skillet, you can use the same cooking time. The key is to achieve a nice golden brown on both sides. Once the chicken is cooked, take it off the grill and let it rest for a few minutes. This resting period helps keep the chicken juicy. After resting, slice the chicken into pieces. Finally, drizzle the thickened marinade over the chicken slices. This adds more flavor and makes the dish look appealing. Garnish with fresh cilantro for a burst of color. Enjoy your delicious Coconut Lime Chicken! For the complete recipe, check out the [Full Recipe]. Over-marinating tips: Marinating chicken can add great flavor. However, too much time in the marinade can make the chicken mushy. I suggest marinating for 1 to 4 hours. If you go over 4 hours, the texture may change. Trust me, less is more when it comes to marinating. Cooking temperature misconceptions: Many cooks think higher heat means faster cooking. This is not true. Cooking chicken on medium heat helps it cook evenly. Aim for 165°F (75°C) inside. A meat thermometer is your best friend here. Once you reach this temperature, the chicken is safe to eat. Suggested side dishes: Coconut lime chicken pairs well with rice or a fresh salad. Fluffy rice soaks up the sauce. A crisp salad adds texture and freshness. You can even add mango or avocado for a tropical twist. Cooking tips for juiciness: To keep your chicken juicy, let it rest after cooking. This helps the juices settle back in. Slicing too soon can cause the juices to run out. After resting, drizzle the reduced marinade over the chicken for extra flavor. This step makes a big difference! You can find the full recipe [here](#). {{image_2}} You can swap chicken for other proteins. Shrimp works great with the same marinade. Just marinate for 30 minutes. Grill or sauté shrimp for about 3-4 minutes per side. Tofu is another tasty choice. Use firm tofu, and press it to remove extra moisture. Cut it into cubes, marinate, and grill or pan-fry until golden. These options keep the dish fresh and fun. If you need gluten-free options, this recipe is already safe. Just check your honey and spices to ensure they are gluten-free. For dairy-free, the coconut milk provides a rich base. You can also use almond or soy milk if you prefer. These swaps help everyone enjoy this meal without worry. Want to add more tropical flair? Try adding pineapple or mango chunks to the marinade. These fruits add sweetness and a nice bite. You can also toss in some chopped jalapeños for heat. Fresh herbs like mint or basil can give the dish an extra layer of flavor. Get creative and make this Coconut Lime Chicken your own! For the full recipe, check out the details above. After enjoying your Coconut Lime Chicken, store any leftovers in the fridge. Use an airtight container. This keeps the chicken fresh for up to three days. For best taste, chill the chicken within two hours of cooking. Ensure it cools down a bit before sealing it. If you want to store it longer, freeze the chicken. Wrap it tightly in plastic wrap, then place it in a freezer bag. It can last up to three months in the freezer. Reheating chicken can be tricky. You want it warm but not dry. To keep the moisture, use the microwave. Place the chicken on a microwave-safe plate. Cover it with a damp paper towel. Heat it in short bursts, checking often. This helps steam the chicken. Another great option is the oven. Preheat it to 350°F (175°C). Place the chicken in a baking dish. Add a splash of coconut milk or broth to the dish. Cover it with foil. Bake for about 15 minutes or until heated through. This method helps the chicken stay juicy and flavorful. For quick reheating, you can also use a skillet. Heat it over medium heat. Add a bit of oil or butter to the pan. Cook the chicken for just a few minutes on each side. This method gives a nice crisp to the outside while keeping the inside moist. By following these tips, you can enjoy your Coconut Lime Chicken even on day two! Yes, you can marinate the chicken overnight. This gives the chicken more flavor. If you choose to marinate longer, it can become very tender. Just be careful not to overdo it. The acid from the lime juice can change the chicken's texture if left too long. A good rule is to marinate for 12 hours at most. You have many tasty options for sides. Here are some ideas: - Fluffy rice or quinoa - Steamed vegetables like broccoli or green beans - A fresh salad with mixed greens - Grilled corn on the cob - Tropical fruits like mango or pineapple - Light beverages like coconut water or a lime soda These sides make a colorful plate and add more flavor. To check if the chicken is cooked, use a meat thermometer. The safe internal temperature is 165°F (75°C). Insert the thermometer into the thickest part of the chicken. If you don’t have one, cut the chicken in the middle. The meat should be white with no pink. Juices should run clear, too. Let the chicken rest for a few minutes after cooking. This keeps it juicy. For more tips, see the Full Recipe. Coconut Lime Chicken is a tasty dish that you can easily make. We discussed main and optional ingredients, plus tips for flavor. I shared step-by-step instructions, cooking methods, and how to avoid common mistakes. We also explored variations for dietary needs and discussed storage tips. Remember, this dish is flexible; feel free to experiment with flavors and sides. Enjoying a delicious, homemade meal is rewarding. Don’t hesitate to try this recipe and make it your own!](https://soyumrecipes.com/wp-content/uploads/2025/04/2448a00c-65be-41b1-b275-319157058407-300x300.webp)
Cheesy Chicken Wraps Tasty and Quick Meal Idea
Looking for a quick and tasty meal that your whole family will love? Cheesy Chicken Wraps are the answer! With a few simple ingredients…