Latest & Greatest
Easy Chicken Pot Pie Comfort Food Made Simple
Are you craving warm comfort food that’s easy to make? Look no further! This Easy Chicken Pot Pie brings all
Read more…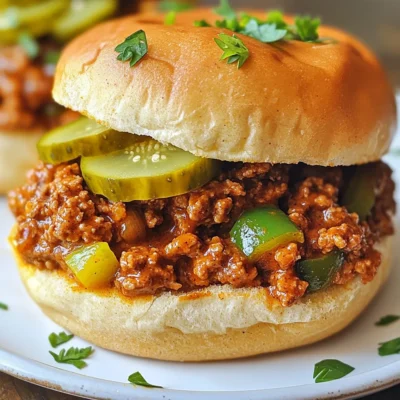
Cajun Chicken Sloppy Joes Flavorful Dinner Delight
Get ready to spice up your dinner with Cajun Chicken Sloppy Joes! This twist on a classic will tickle your
Read more…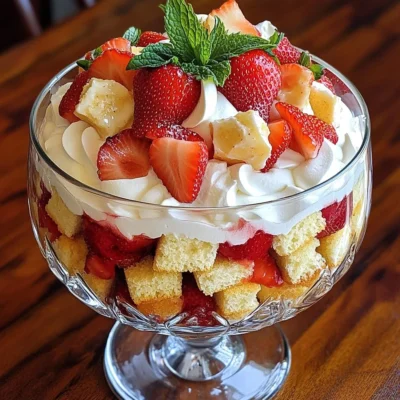
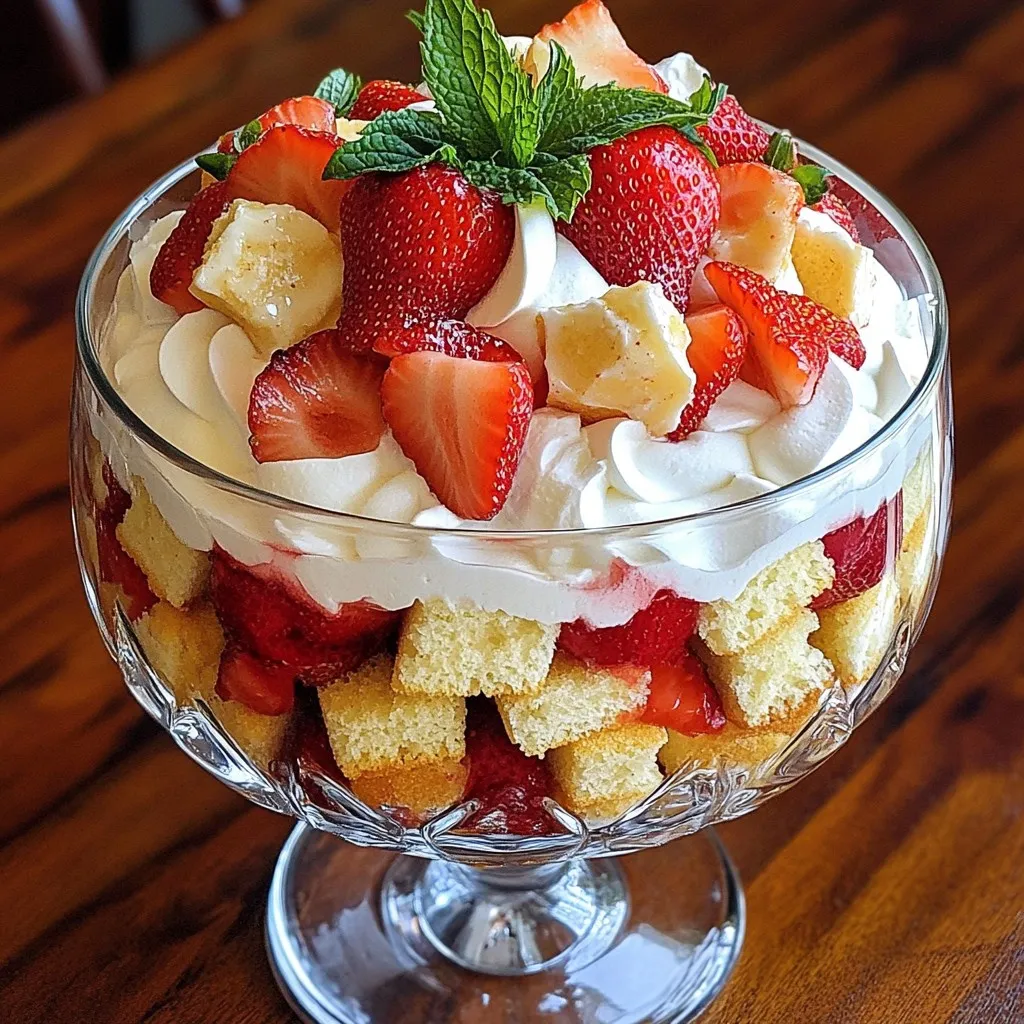
Strawberry Shortcake Trifle Delightful and Simple Treat
Get ready to impress your family and friends with a Strawberry Shortcake Trifle that’s both delightful and simple. This layered
Read more…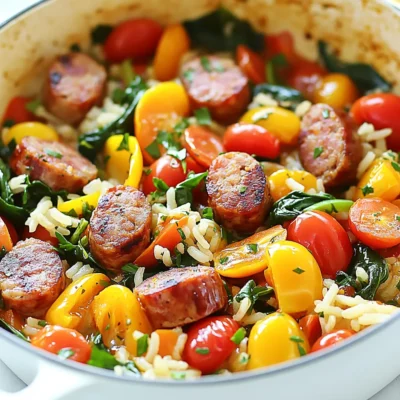
One Pot Smoked Sausage Dinner Quick and Flavorful Meal
Looking for a quick and tasty meal that’ll satisfy the whole family? This One Pot Smoked Sausage Dinner is just
Read more…
Chickpea Spinach Stuffed Sweet Potatoes Delightfully Healthy
Are you ready to enjoy a meal that’s both tasty and good for you? These Chickpea Spinach Stuffed Sweet Potatoes
Read more…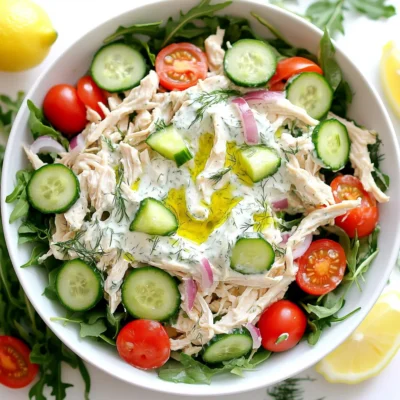
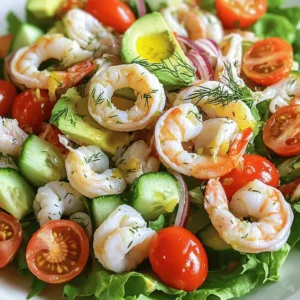
Tzatziki Chicken Salad Flavorful and Easy Recipe
Looking for a refreshing meal that bursts with flavor? Try my Tzatziki Chicken Salad! This easy recipe combines juicy chicken
Read more…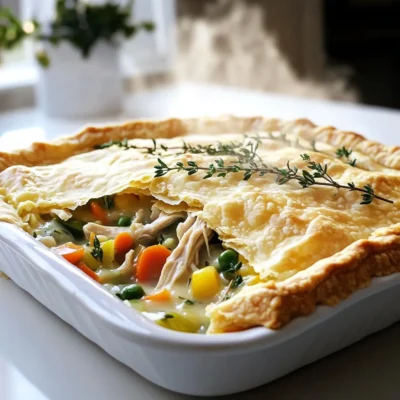
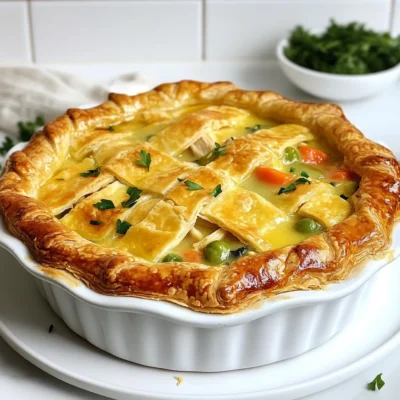
Savory Chicken Pot Pie Bake Easy and Delicious Meal
Are you craving a warm, filling meal that’s easy to make? Look no further! My Savory Chicken Pot Pie Bake
Read more…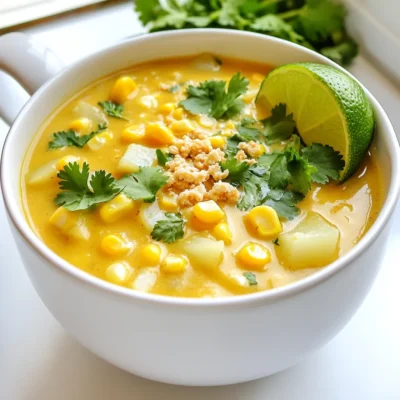
Mexican Street Corn Soup Hearty and Flavorful Delight
Welcome to a bold, tasty adventure! Mexican Street Corn Soup blends sweet corn, spices, and cream into a warm hug
Read more…browse recipes
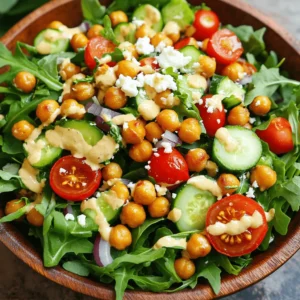

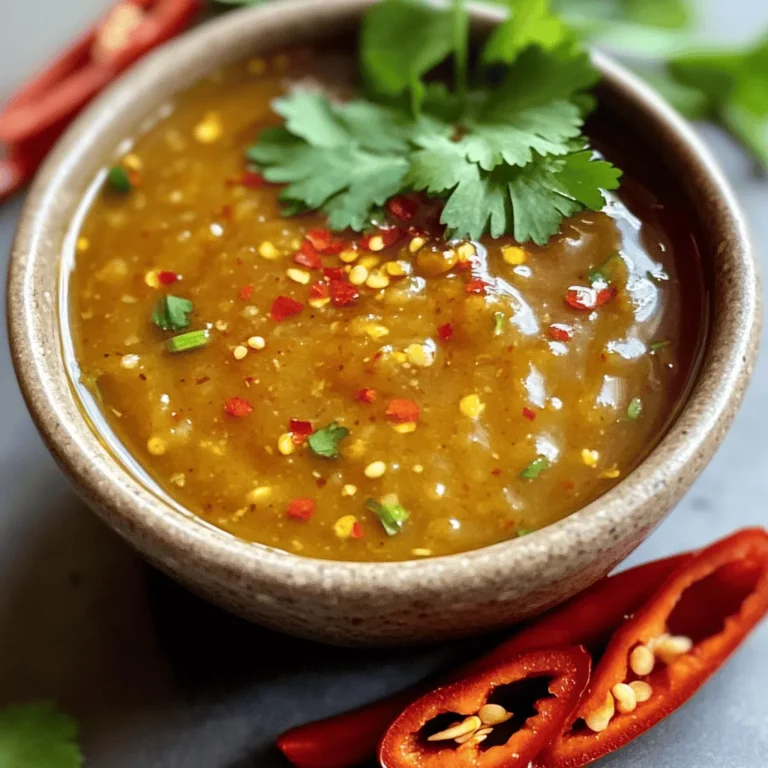
Spinach & Feta Stuffed Peppers Flavorful Health Boost
Looking for a delicious way to boost your health? Try my Spinach & Feta Stuffed Peppers! These vibrant, colorful peppers are not just easy…
My Latest Desserts

Strawberry Lemonade Cupcakes Fresh and Flavorful Treat
Craving a sweet, tangy treat? Dive into the world of Strawberry Lemonade Cupcakes! These delightful cupcakes blend fresh strawberries and Read Full Recipe-
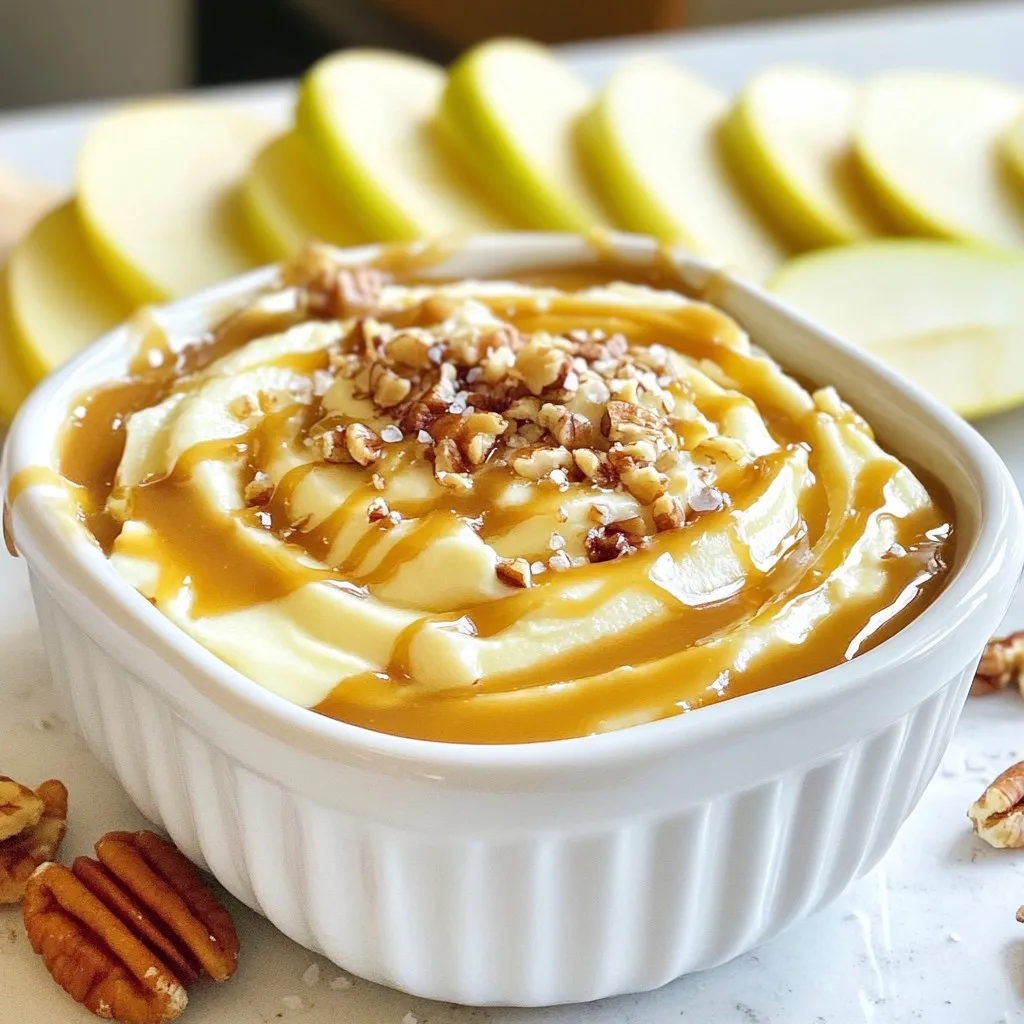
Salted Caramel Apple Dip Creamy and Delicious Treat
If you’re looking for a tasty treat that combines sweet and salty, you’re in for a delight! This Salted Caramel Read Full Recipe -
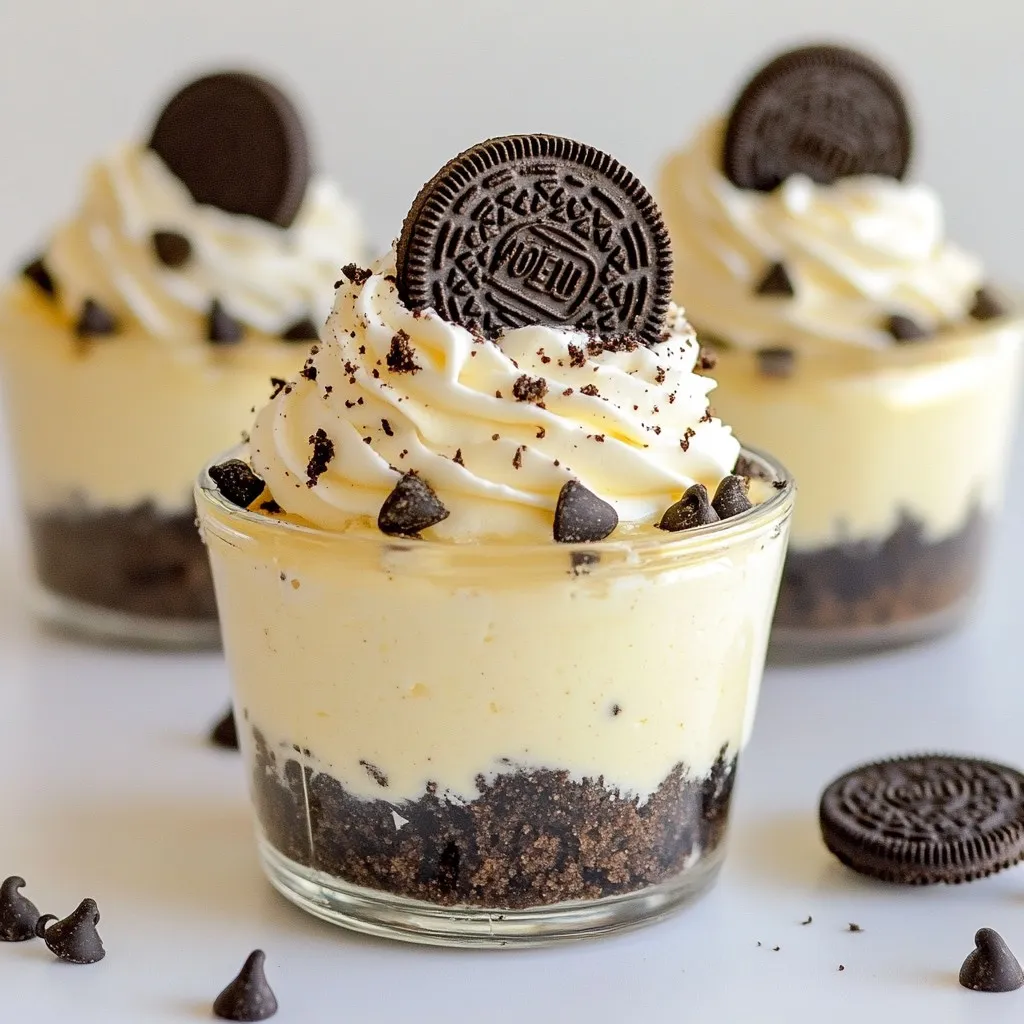
No-Bake Oreo Cheesecake Cups Delightful Easy Treat
Craving a sweet, creamy treat that’s easy to make? These No-Bake Oreo Cheesecake Cups are perfect for you! With just Read Full Recipe -
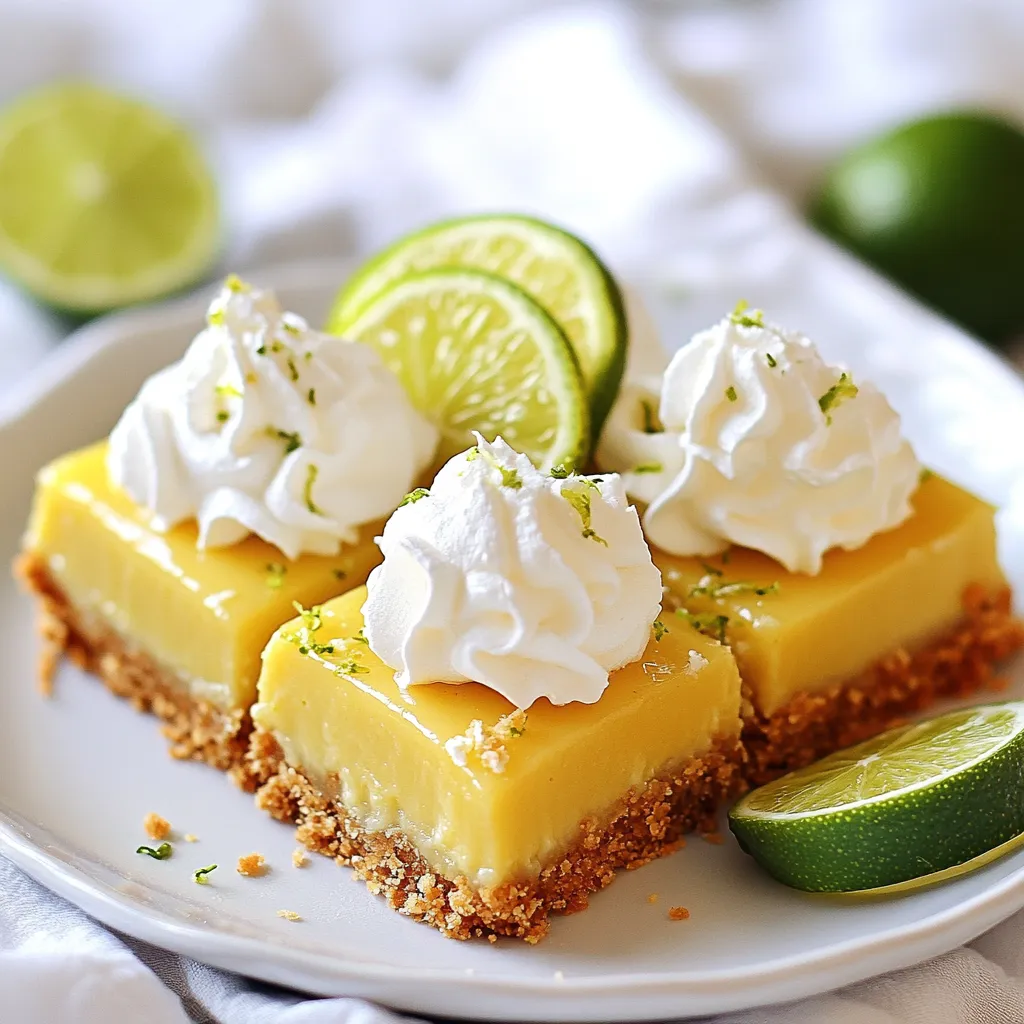
Key Lime Pie Bars Simple and Tangy Dessert Treat
Are you ready to enjoy a treat that’s both simple and zesty? Key Lime Pie Bars combine the tart zing Read Full Recipe -
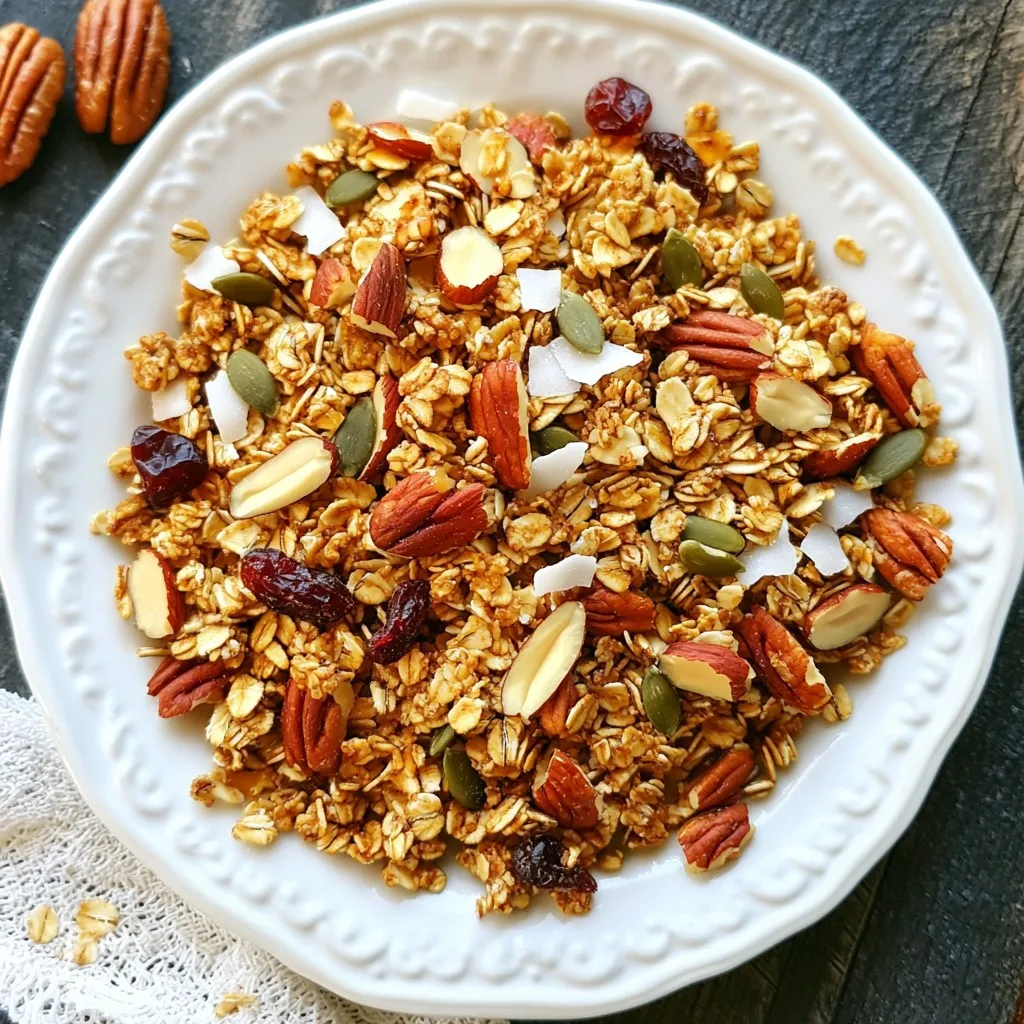
Maple Pecan Granola Crunchy and Nutritious Snack
Looking for a tasty and healthy snack? You’ve found it! My Maple Pecan Granola is crunchy, packed with flavor, and Read Full Recipe -
Strawberry Shortcake Trifle Delightful and Simple Treat
Get ready to impress your family and friends with a Strawberry Shortcake Trifle that’s both delightful and simple. This layered Read Full Recipe

My Latest Drinks
-
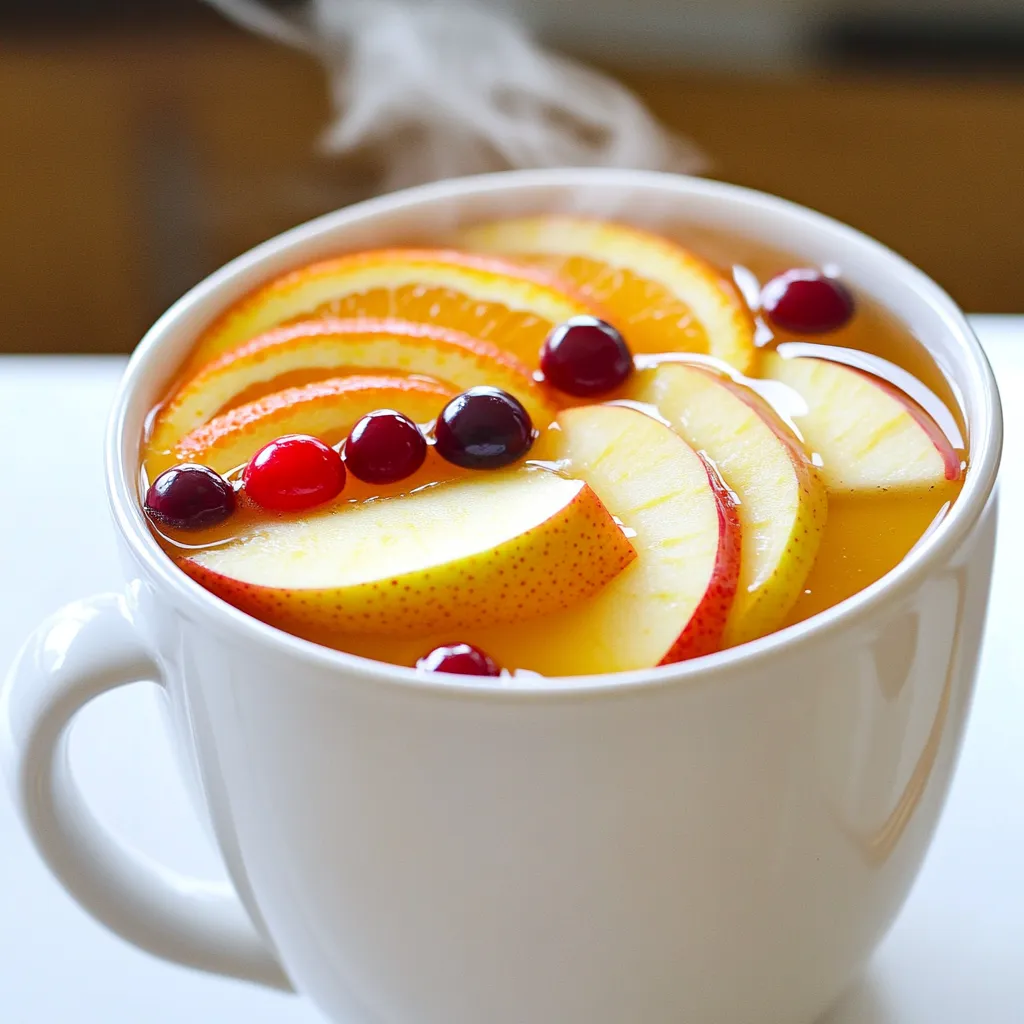
Spiced Apple Cider Punch Festive and Flavorful Drink
Warm up your gatherings with my Spiced Apple Cider Punch! This festive drink bursts with cozy flavors, perfect for chilly Read Full Recipe -
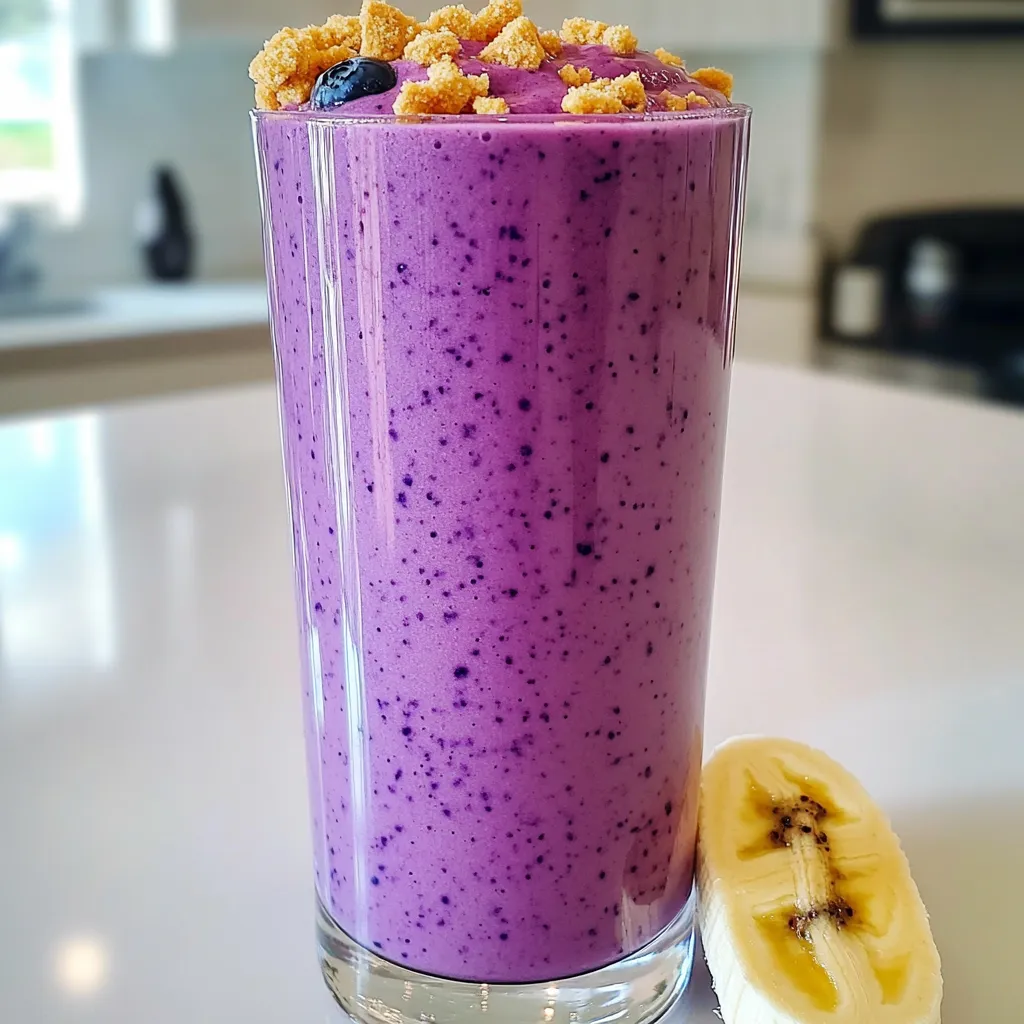
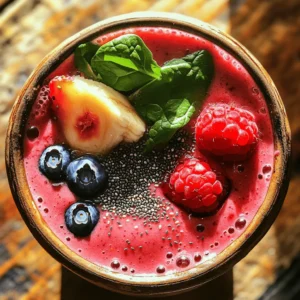
Blueberry Cheesecake Smoothie Protein Delight
Are you ready to treat yourself to a delicious and healthy drink? The Blueberry Cheesecake Smoothie Protein Delight packs all Read Full Recipe -
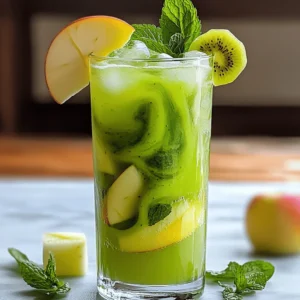
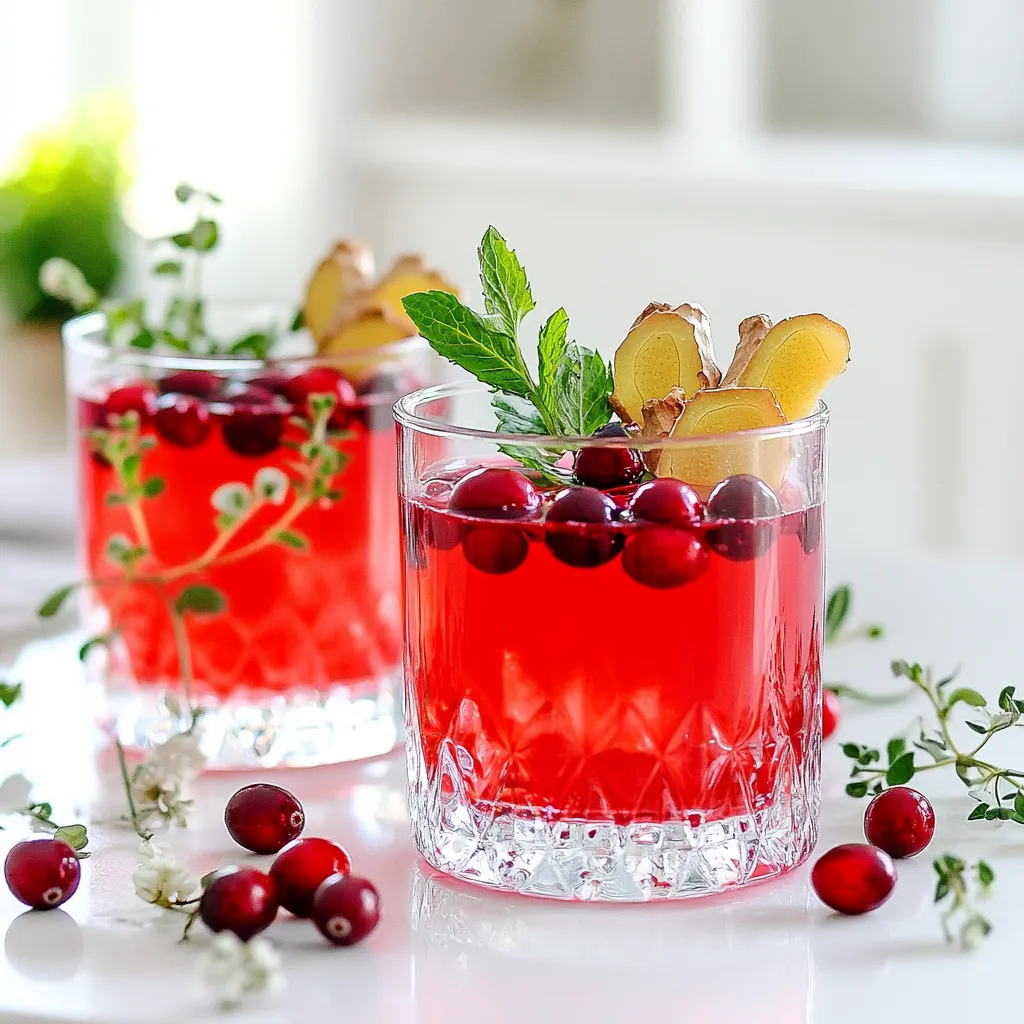
Warm Cranberry Ginger Mocktail Spritzer Recipe Delight
Welcome to my cozy kitchen! Today, I’m excited to share a delightful warm cranberry ginger mocktail spritzer that brightens up Read Full Recipe -
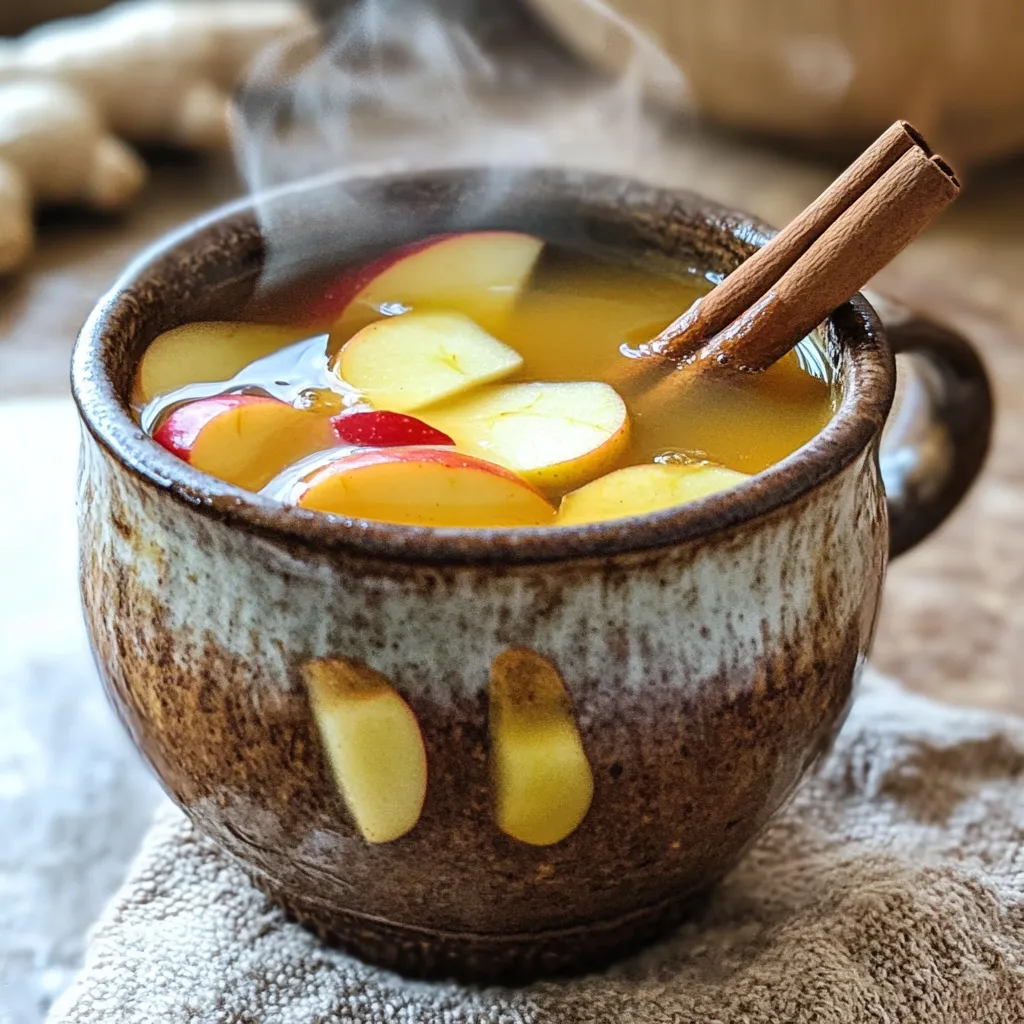
Spiced Apple Cider Chai Bold and Flavorful Drink Recipe
Looking for a cozy drink this season? Try my Spiced Apple Cider Chai! This bold, flavorful beverage combines warm apple Read Full Recipe -
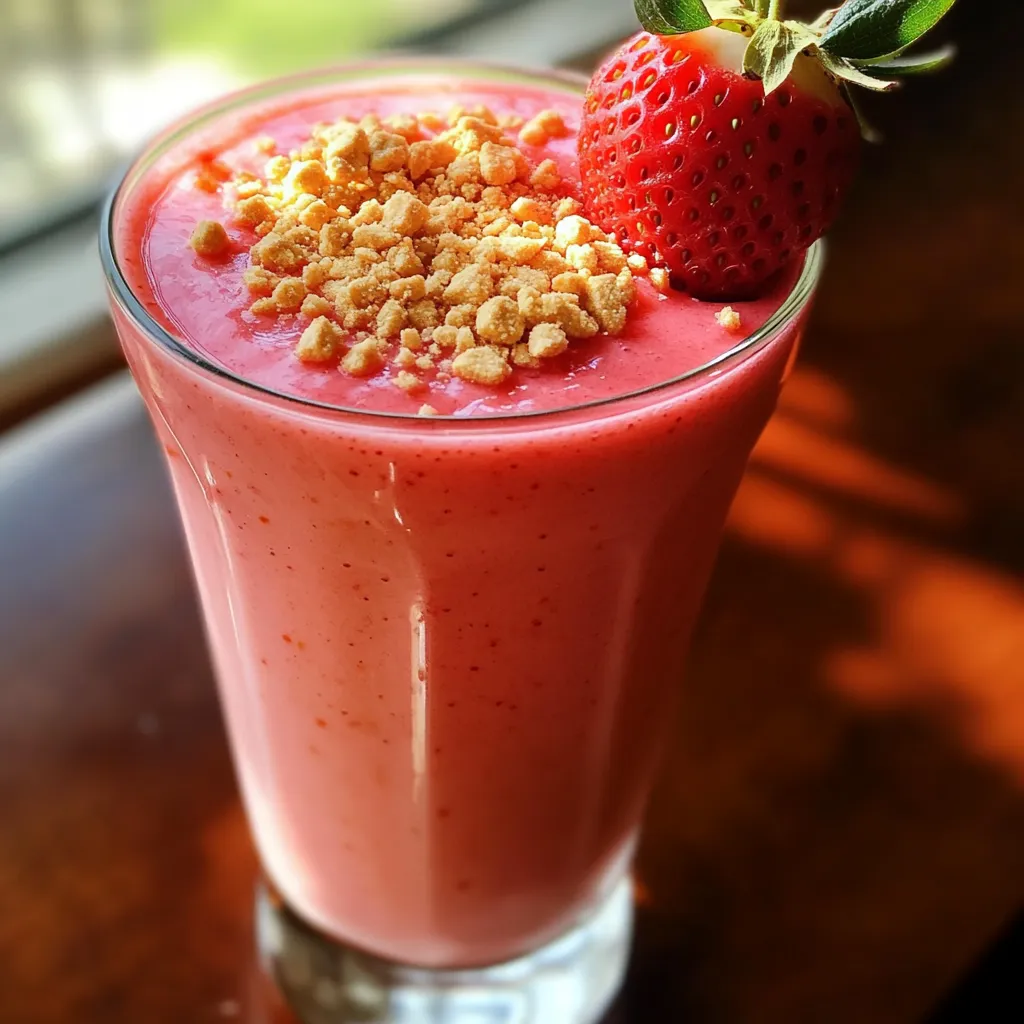
Strawberry Cheesecake Smoothie Tasty and Easy Recipe
Are you ready for a treat that’s both tasty and easy? This Strawberry Cheesecake Smoothie blends the rich flavors of Read Full Recipe -
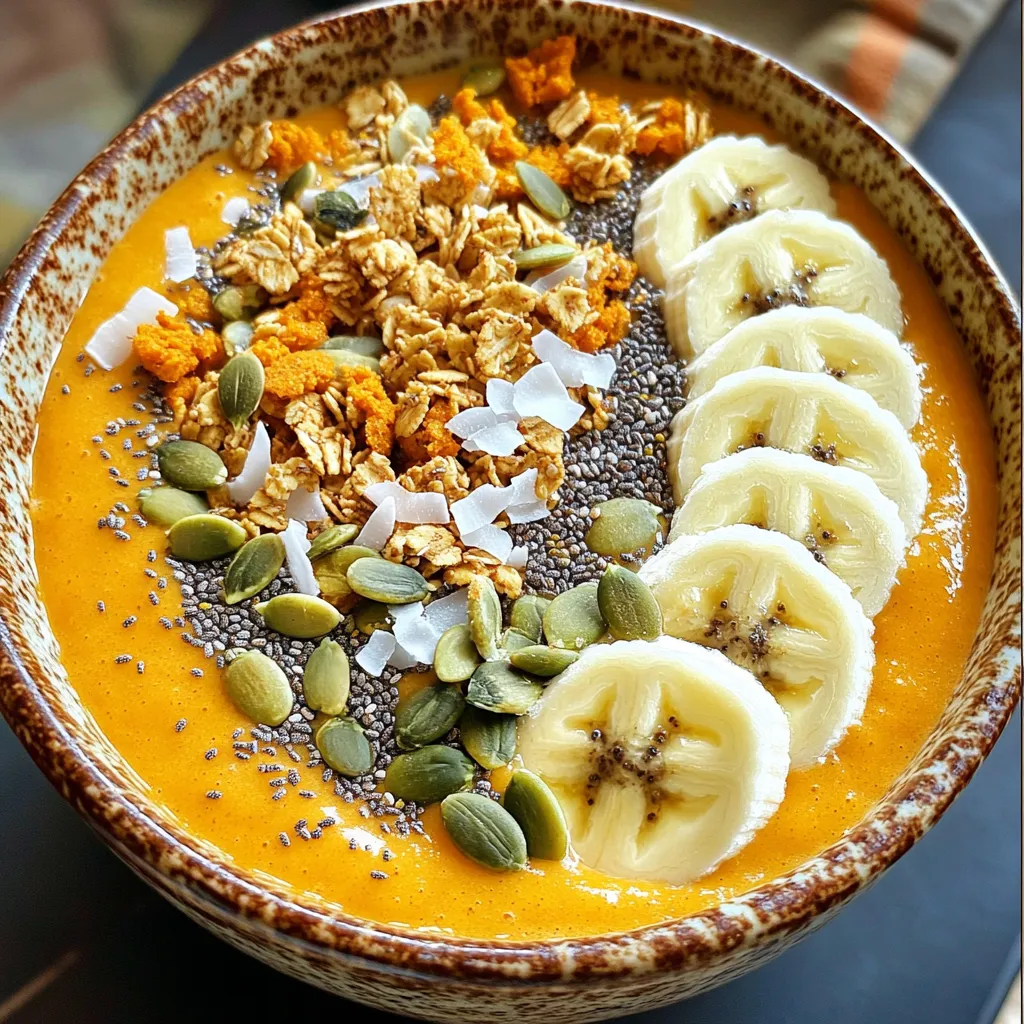
Pumpkin Spice Smoothie Bowl Protein Packed Delight
Are you ready to dive into the cozy world of pumpkin spice? This Pumpkin Spice Smoothie Bowl is not only Read Full Recipe

hey,
i’m !
I’m so happy you’re here!
I love creating dishes that bring joy to the table. I hope they bring the same joy to yours. Let’s enjoy this flavorful journey together.

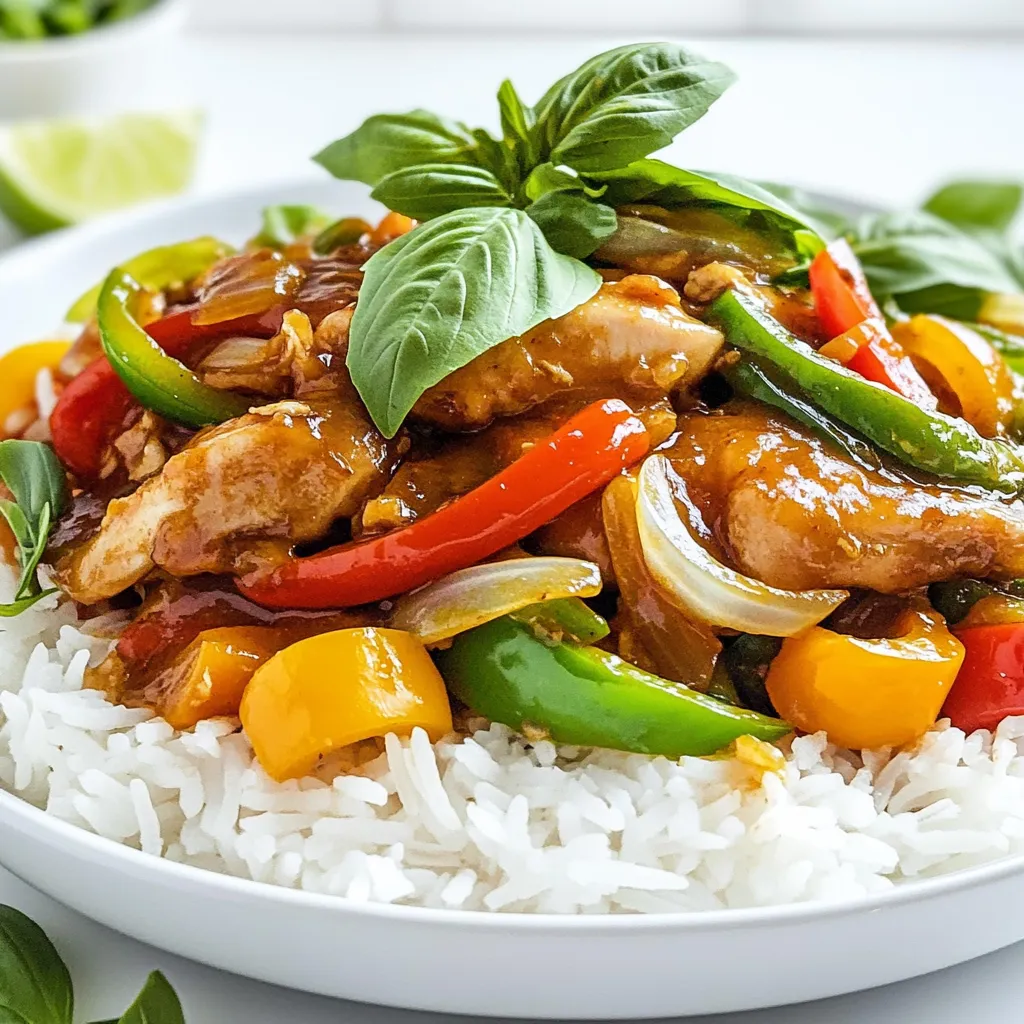
Thai Basil Chicken Better Than Takeout Delight
Craving a takeout classic that’s bursting with flavor? You’re in for a treat! Thai Basil Chicken is easy to make and even better than…