


Latest & Greatest
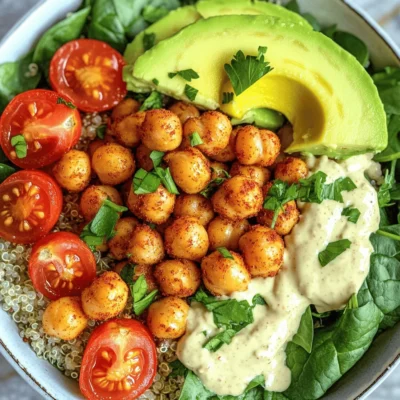
Crispy Chickpea Power Bowl Flavorful and Healthy Meal
Looking for a healthy yet flavorful meal? The Crispy Chickpea Power Bowl is your answer! Packed with protein-rich chickpeas, nutrient-dense
Read more…
Vegan Lentil Sloppy Joes Delicious and Satisfying Meal
Are you ready for a meal that’s both tasty and filling? In this blog, I’ll show you how to make
Read more…
Raspberry White Chocolate Muffins Delightful Treats
Get ready for a sweet treat that’s bursting with flavor! In this blog post, we’ll whip up Raspberry White Chocolate
Read more…
Classic Margherita Pizza Savory and Simple Recipe
If you love pizza, you can’t go wrong with a Classic Margherita Pizza. This simple dish offers fresh flavors in
Read more…
Teriyaki Tofu Stir Fry Quick and Flavorful Meal
Looking for a quick and tasty meal? You’ve come to the right place! My Teriyaki Tofu Stir Fry is not
Read more…
Caprese Pasta Salad Fresh and Flavorful Summer Dish
Looking for a bright and fresh dish to elevate your summer meals? Caprese Pasta Salad is the perfect choice! This
Read more…
Easy Garlic Parmesan Knots Tasty and Fun Snack Idea
Are you ready to impress your family and friends with a delicious snack? My Easy Garlic Parmesan Knots are the
Read more…
Pesto Chicken Flatbread Simple and Flavorful Meal
Looking for a quick and tasty meal? You’re in the right place! This Pesto Chicken Flatbread is simple, flavorful, and
Read more…browse recipes


![To make a great taco soup, you need some key items. Start with: - 1 pound ground turkey or beef - 1 medium onion, diced - 2 cloves garlic, minced - 4 cups chicken or vegetable broth These main ingredients form the base of the soup. The ground meat adds protein, while onion and garlic enhance the flavor. The broth gives the soup its hearty texture. Next, grab some canned goods to save time. You will need: - 1 can (15 oz) black beans, rinsed and drained - 1 can (15 oz) kidney beans, rinsed and drained - 1 can (15 oz) corn kernels, drained - 1 can (28 oz) diced tomatoes with green chilies These canned ingredients add depth and nutrition. Black and kidney beans offer fiber and protein. The corn brings sweetness, while the diced tomatoes add a nice tang. Finally, you cannot forget the seasonings and toppings. Get: - 1 packet taco seasoning - 1 tablespoon olive oil - Salt and pepper to taste - Optional toppings: sour cream, shredded cheese, chopped cilantro, sliced jalapeños, tortilla chips The taco seasoning gives the soup its signature flavor. Olive oil helps sauté the onion and garlic. Toppings can elevate the soup and make it special. You can mix and match toppings to suit your taste. For the complete recipe, check out the Full Recipe section. First, heat the olive oil in a large pot over medium heat. Add the diced onion and sauté until the onion is soft and clear, which takes about 3 to 4 minutes. This step builds a nice flavor base. Next, toss in the minced garlic and stir it for one minute. You will smell the wonderful aroma. Now, add the ground turkey or beef to the pot. Break it apart with a spoon as it cooks. You want to brown the meat for about 5 to 7 minutes. Drain any extra fat if needed. This keeps your soup light and tasty. Once the meat is browned, sprinkle in the taco seasoning. Mix it well and let it cook for about 2 minutes. This lets the spices blend with the meat. Now, it’s time to add the canned items. Pour in the black beans, kidney beans, corn, and diced tomatoes with their juice. Then, add the chicken or vegetable broth. Stir everything until it is well mixed. Bring the soup to a boil, then reduce the heat to low. Let it simmer for 20 to 25 minutes. This step allows all the flavors to meld together, making every bite delicious. After simmering, taste the soup. Add salt and pepper as needed to enhance the flavor. This is your chance to make it perfect. When ready, serve the soup hot, and don’t forget your favorite toppings! You can use sour cream, shredded cheese, cilantro, jalapeños, or crunchy tortilla chips. For the full recipe, check out the details above and enjoy this simple yet flavorful comfort dish! You can switch out the meat for leaner options. Ground turkey works well. If you prefer vegetarian, use lentils or more beans. This keeps the soup hearty and healthy. You can also use quinoa for a twist. Both options make the dish tasty and filling. To boost flavor, add spices like cumin, paprika, or chili powder. Fresh herbs like cilantro or parsley can brighten the soup. Consider using a squeeze of lime juice for a zesty kick. You can also use smoked paprika for a deeper taste. These small changes can make a big difference in your soup. The right pot makes cooking easier. A large pot or Dutch oven works best for soup. It helps heat everything evenly. Use a wooden spoon for stirring; it won’t scratch your pot. A good ladle is key for serving. With these tools, you’ll whip up a delicious taco soup in no time. For a full recipe and detailed instructions, check out the [Full Recipe]. {{image_2}} To make a spicy taco soup, add extra chili peppers. You can use jalapeños or serranos. Start with one pepper, then taste the soup. Add more if you want more heat. Fresh peppers bring a lively kick. You can also add hot sauce to boost the flavor. This variation is perfect for heat lovers. It warms you up on a cold day. For a vegetarian taco soup, use only beans and vegetables. Replace meat with an extra can of black beans. Add more corn and diced tomatoes for body. You can also include bell peppers, zucchini, or carrots. These veggies add nutrition and flavor. This version is hearty yet light. It’s a great dish for anyone avoiding meat. You can easily make taco soup in a slow cooker. Start by browning the meat in a pan. Then, add it to the slow cooker. Toss in all the other ingredients: beans, corn, tomatoes, and broth. Set your slow cooker on low for six to eight hours. This method allows the flavors to meld perfectly. It’s an easy way to prepare a meal ahead of time. You can find the full recipe online for more details. After you enjoy your taco soup, store any leftovers in the fridge. Use an airtight container to keep it fresh. Let the soup cool down before sealing it. This helps avoid condensation, which can make it soggy. Leftovers are best if eaten within three to four days. To freeze taco soup, first, let it cool completely. Use freezer-safe containers or bags to store it. Leave some space at the top of the container. The soup will expand when frozen. When ready to eat, thaw it in the fridge overnight. Reheat it on the stove over low heat. Stir often to avoid burning. In the fridge, taco soup lasts for about three to four days. If you freeze it, it can last for up to three months. The flavor may change a bit over time, but it will still be good. Always check for any signs of spoilage before eating. Enjoy your tasty taco soup later with confidence! Yes, you can use fresh ingredients. Fresh produce can enhance the flavor. For example, use fresh beans instead of canned ones. If you choose fresh tomatoes, peel and chop them. Use about 4 medium tomatoes for this soup. For corn, use fresh ears. One ear gives about one cup when cut off. Fresh onions and garlic are also great. Just chop them as you would for canned. To make Taco Soup dairy-free, skip the cheese and sour cream. Use dairy-free yogurt or avocado instead. These add creaminess without dairy. Some brands sell dairy-free cheese. It melts well and tastes good. You can also use coconut cream for a rich texture. Taco Soup pairs well with several sides. You can serve it with tortilla chips for crunch. A simple green salad adds freshness. Cornbread is another warm option that complements the soup. For toppings, consider sliced avocado, green onions, or jalapeños. You can find more ideas in the Full Recipe. In this blog post, I shared how to make a flavorful taco soup. We covered ingredients like ground turkey or beef, canned beans, and fresh veggies. I detailed steps to prepare the base and combine everything for a tasty meal. We explored tips for substitutions, how to enhance flavor, and cooking methods, including slow cooker options. Taco soup is flexible and easy to store. You can enjoy it now or save some for later. Use these ideas to create a dish that warms your heart and fills your belly.](https://soyumrecipes.com/wp-content/uploads/2025/06/34e26899-f688-455e-9c0e-6548278b83d8.webp)
Easy Taco Soup Simple Flavorful Comfort Dish
Craving a warm, tasty dish that’s fast and easy to make? Look no further! My Easy Taco Soup is the answer you need for…
My Latest Desserts
-
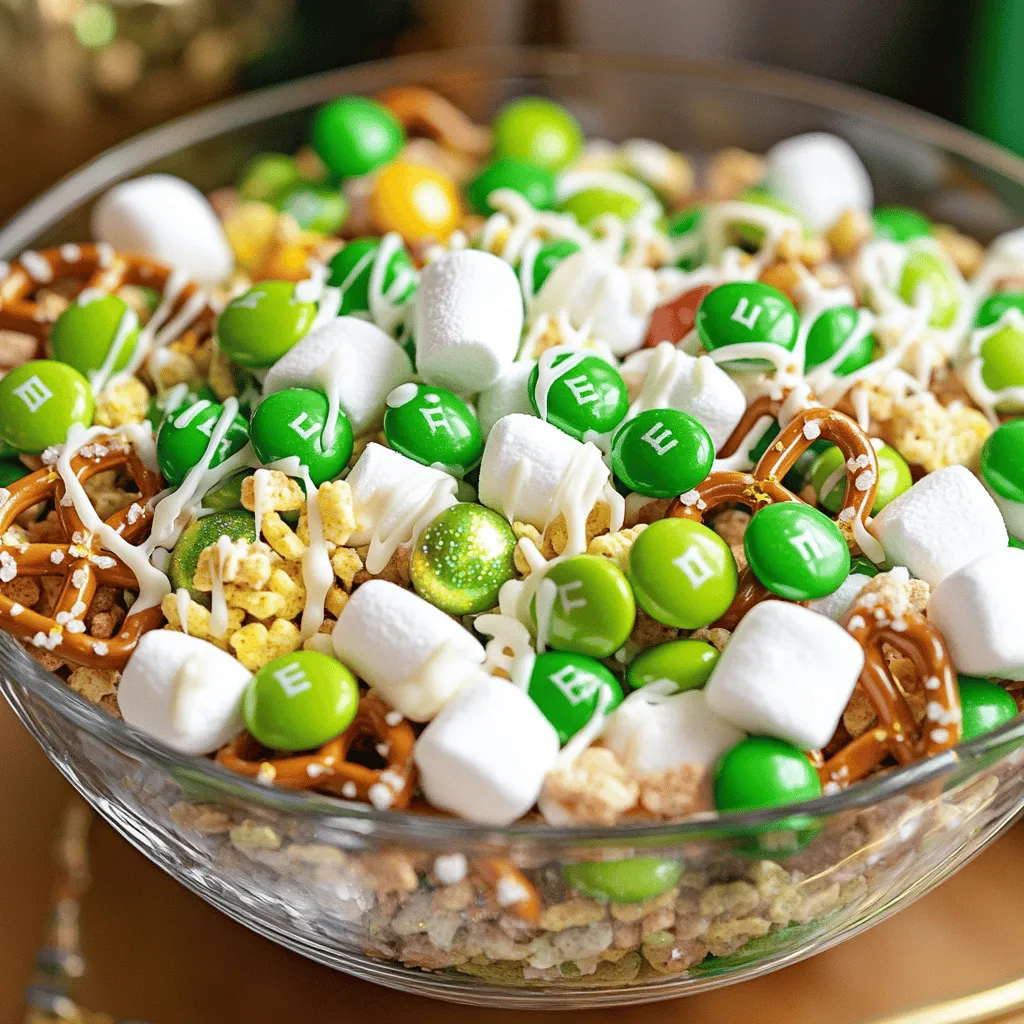
Lucky Charms St. Patrick Snack Mix Festive Treat
Get ready to sprinkle some magic into your snack time with my Lucky Charms St. Patrick Snack Mix! This festive Read Full Recipe -
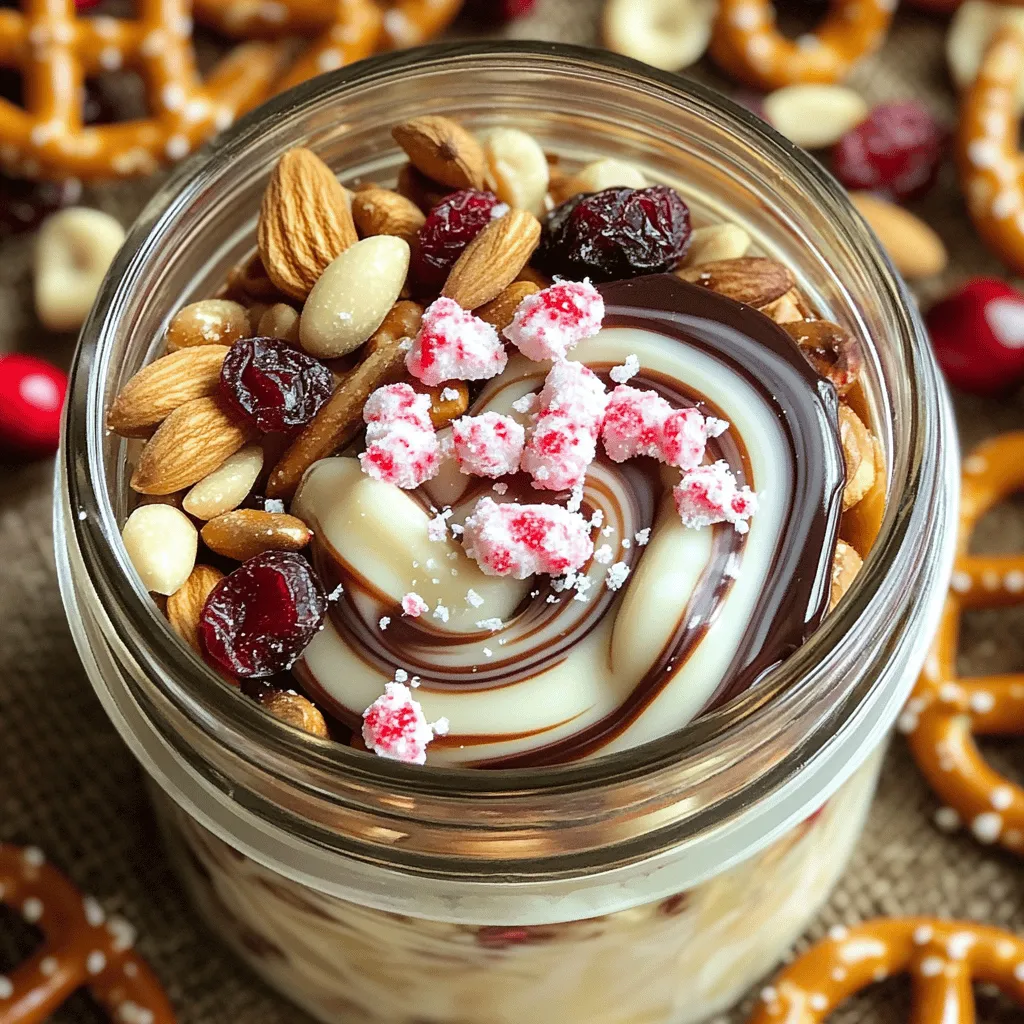
Peppermint Bark Trail Mix Festive and Tasty Treat
Get ready to elevate your holiday snacking with Peppermint Bark Trail Mix! This treat combines the rich taste of dark Read Full Recipe -

Reindeer Chow Christmas Snack Mix Festive Delight
Get ready to spread holiday cheer with my Reindeer Chow Christmas Snack Mix! This fun and easy treat combines sweet Read Full Recipe -

Gingerbread House Snack Mix Festive Holiday Treat
Are you ready to add some holiday cheer to your snack time? This Gingerbread House Snack Mix is the perfect Read Full Recipe -

Caramel Pecan Sticky Buns Sweet and Gooey Treat
Are you ready to treat yourself to the ultimate indulgence? Caramel Pecan Sticky Buns are sweet, gooey, and packed with Read Full Recipe -

Pumpkin Spice French Toast Casserole Easy and Tasty
Looking for a cozy fall breakfast that’s easy and delicious? You’ll love my Pumpkin Spice French Toast Casserole! This dish Read Full Recipe -

Fluffy Pumpkin Pancakes Perfectly Delicious Breakfast
Start your morning with a treat you won’t forget: fluffy pumpkin pancakes! They bring fall flavors to your breakfast table Read Full Recipe -

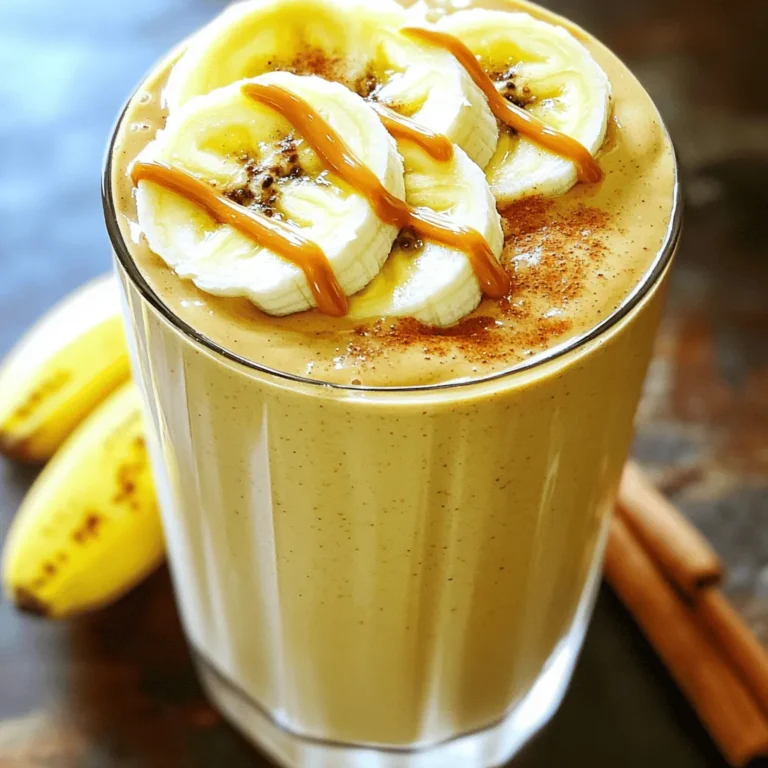
Brown Butter Banana Chocolate Chip Muffins Delight
Are you craving a warm, cozy treat? Look no further than these Brown Butter Banana Chocolate Chip Muffins! This recipe Read Full Recipe -

Chewy Salted Caramel Pretzel Brownies Delightful Treat
Are you ready to indulge in a treat that combines sweet, salty, and chewy goodness? These Chewy Salted Caramel Pretzel Read Full Recipe -

Fluffy Pumpkin Pancakes Easy and Delicious Recipe
Looking to spice up your breakfast with something special? You’re in for a treat! These fluffy pumpkin pancakes are not Read Full Recipe
My Latest Recipes

hey,
i’m !
I’m so happy you’re here!
I love creating dishes that bring joy to the table. I hope they bring the same joy to yours. Let’s enjoy this flavorful journey together.


Easy Chicken Enchiladas Simple and Delicious Recipe
Are you ready to whip up a meal that’s both easy and delicious? In this post, I’ll guide you through making Easy Chicken Enchiladas…