Latest & Greatest

Teriyaki Chicken Lettuce Cups Flavorful and Quick Meal
Looking for a quick and tasty meal? Teriyaki Chicken Lettuce Cups are here to impress! In this blog, I’ll share
Read more…
Buffalo Cauliflower Mac and Cheese Satisfying Delight
Are you ready for a dish that brings comfort and a kick? Buffalo Cauliflower Mac and Cheese combines creamy cheese
Read more…
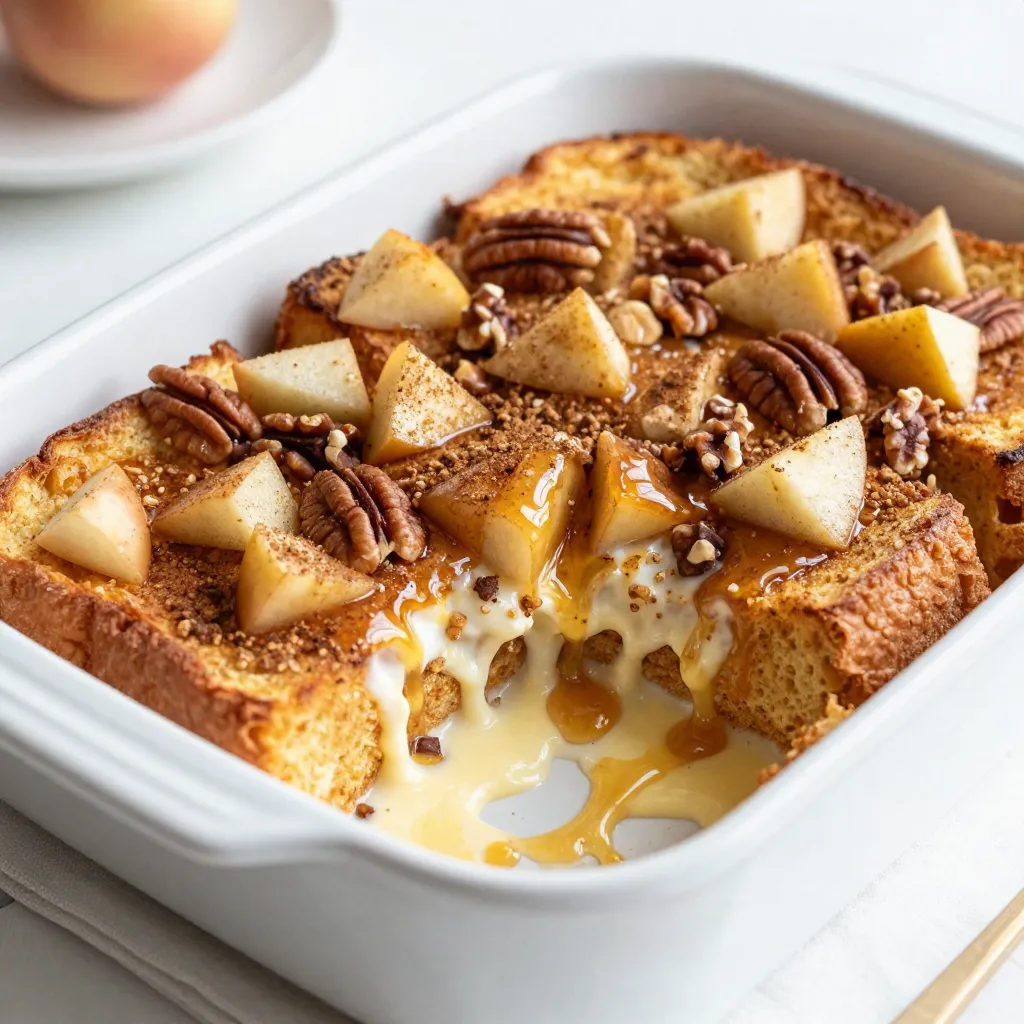
Savory Apple Cinnamon French Toast Bake Delight
If you crave a cozy breakfast that wraps you in warmth, my Savory Apple Cinnamon French Toast Bake is just
Read more…
Roasted Red Pepper Hummus Creamy and Flavorful Dip
Are you ready to elevate your snack game? This Roasted Red Pepper Hummus is creamy, flavorful, and oh-so-simple to make!
Read more…
Copycat Starbucks Egg Bites Flavorful and Easy Recipe
If you love Starbucks’ egg bites but want to make them at home, you’re in the right place! This easy
Read more…
Creamy Avocado Ranch Dip Perfect for Any Occasion
If you love creamy dips, you will love my Creamy Avocado Ranch Dip! It’s perfect for parties, game days, or
Read more…
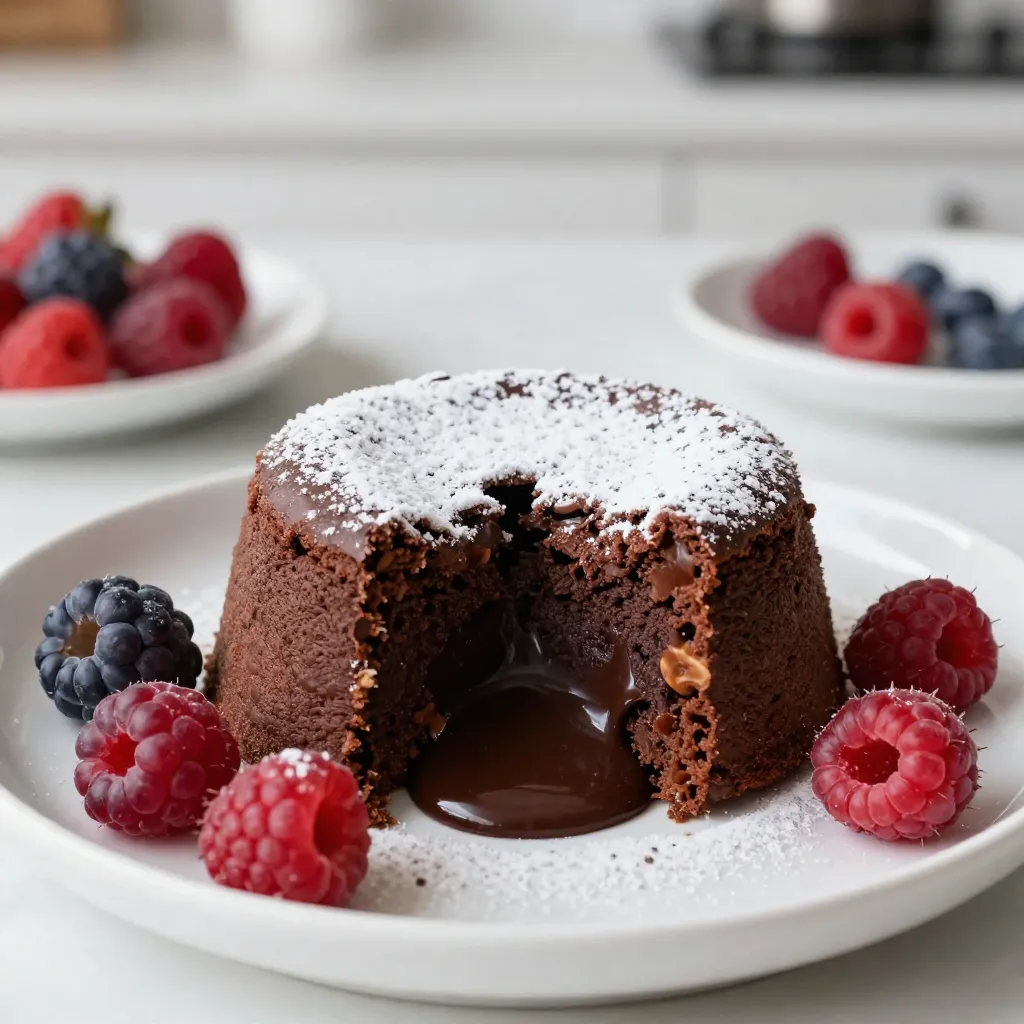
Chocolate Caramel Lava Cakes Delightful Dessert Recipe
If you love chocolate, you’re in for a treat! Chocolate Caramel Lava Cakes blend rich chocolate with gooey caramel in
Read more…
Creamy Garlic Spinach Orzo Simple and Flavorful Dish
Looking for a delicious, easy dish that packs flavor? Creamy Garlic Spinach Orzo is your answer! In this article, I’ll
Read more…browse recipes


One Pot Taco Pasta Quick and Flavorful Dinner Dish
Looking for a quick dinner that’s bursting with flavor? One Pot Taco Pasta is your answer! In just one pot, you can whip up…
My Latest Desserts

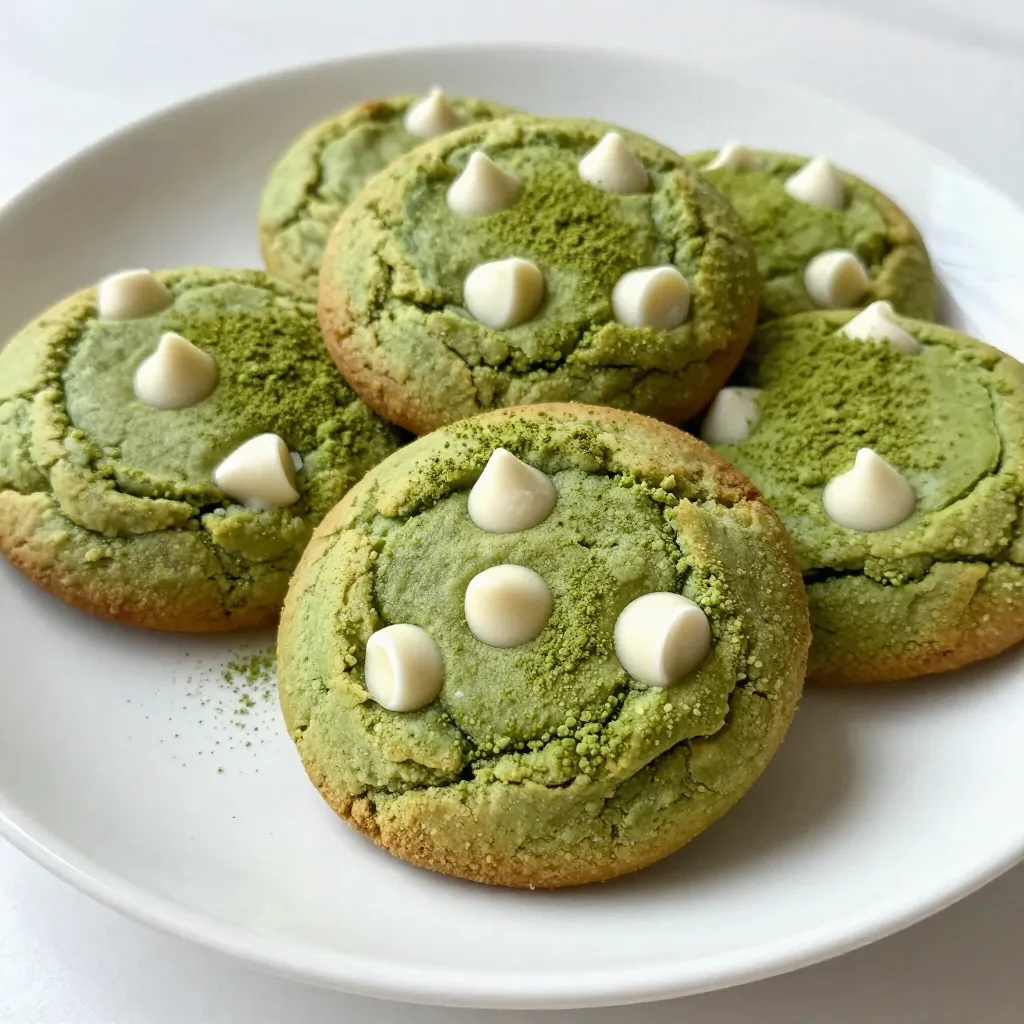
Matcha White Chocolate Cookies Delightful Treat Recipe
Are you ready to bake something extraordinary? Matcha White Chocolate Cookies combine the earthy taste of matcha with sweet, creamy Read Full Recipe-
Chocolate Hazelnut Lava Cake Irresistible Dessert Delight
Get ready to treat yourself! This Chocolate Hazelnut Lava Cake is an irresistible dessert delight that melts in your mouth. Read Full Recipe 
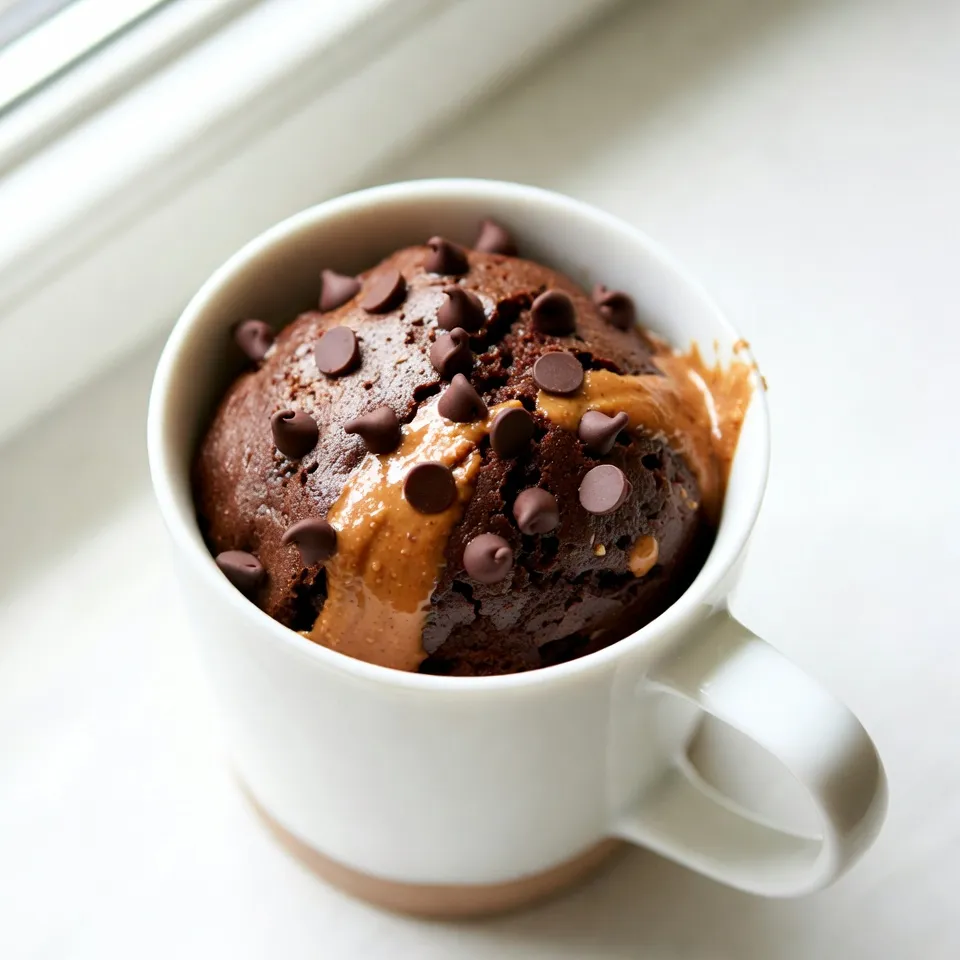
Chocolate Peanut Butter Mug Cake Delightful Treat
Craving a sweet fix that’s quick and easy? You’re in for a treat! This Chocolate Peanut Butter Mug Cake is Read Full Recipe-
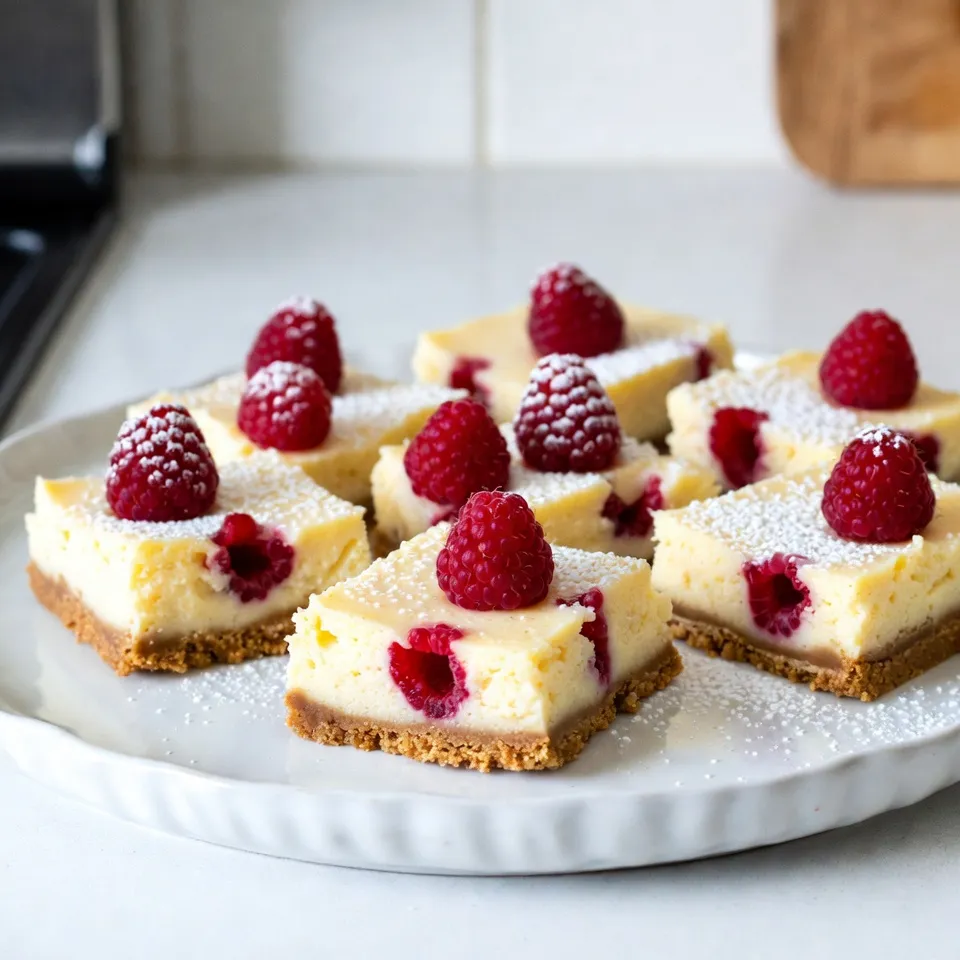
Lemon Raspberry Cheesecake Bars Delightful and Easy
If you’re craving a sweet, tangy treat that’s both easy to make and delicious, you’ll love these Lemon Raspberry Cheesecake Read Full Recipe -
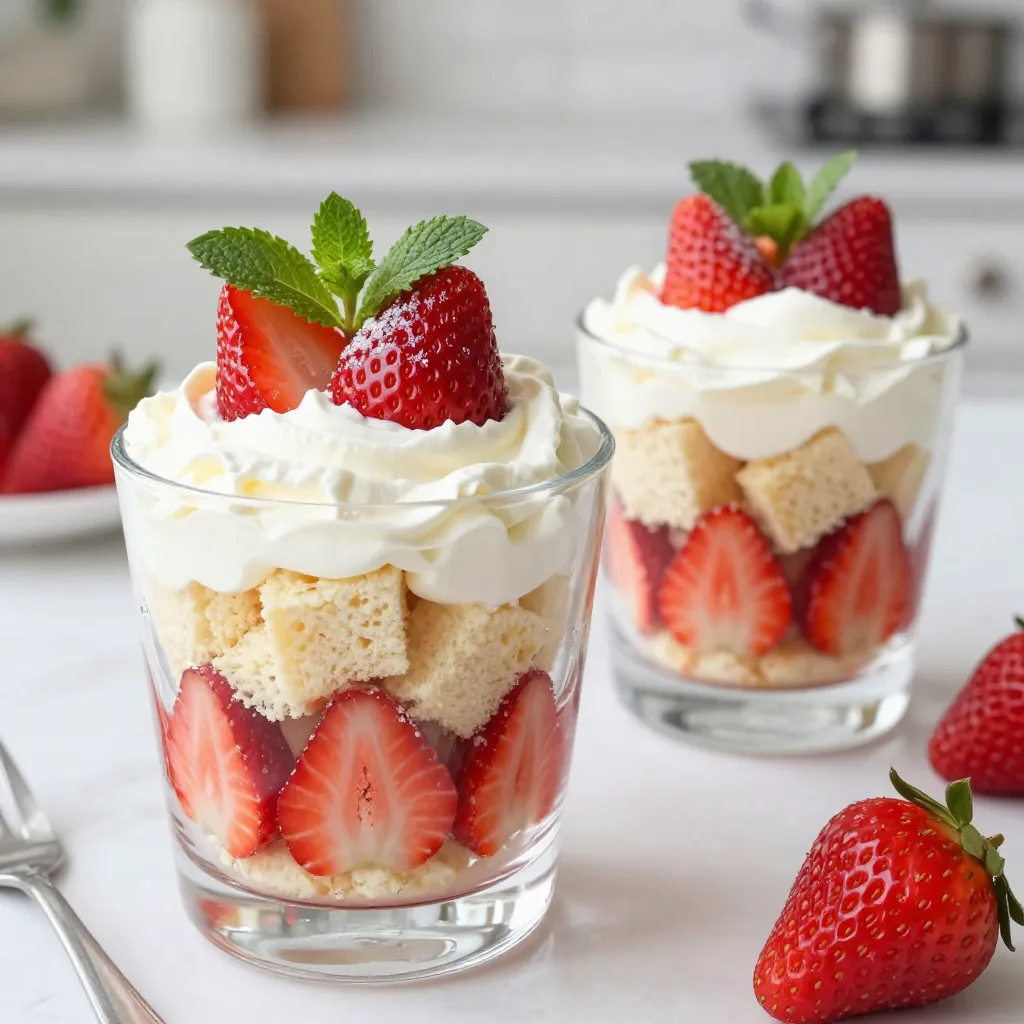
Strawberry Shortcake Trifle Delightful and Easy Recipe
Are you ready to impress your friends with a show-stopping dessert? This Strawberry Shortcake Trifle is not only delightful but Read Full Recipe -
Savory Apple Cinnamon French Toast Bake Delight
If you crave a cozy breakfast that wraps you in warmth, my Savory Apple Cinnamon French Toast Bake is just Read Full Recipe
My Latest Drinks
-
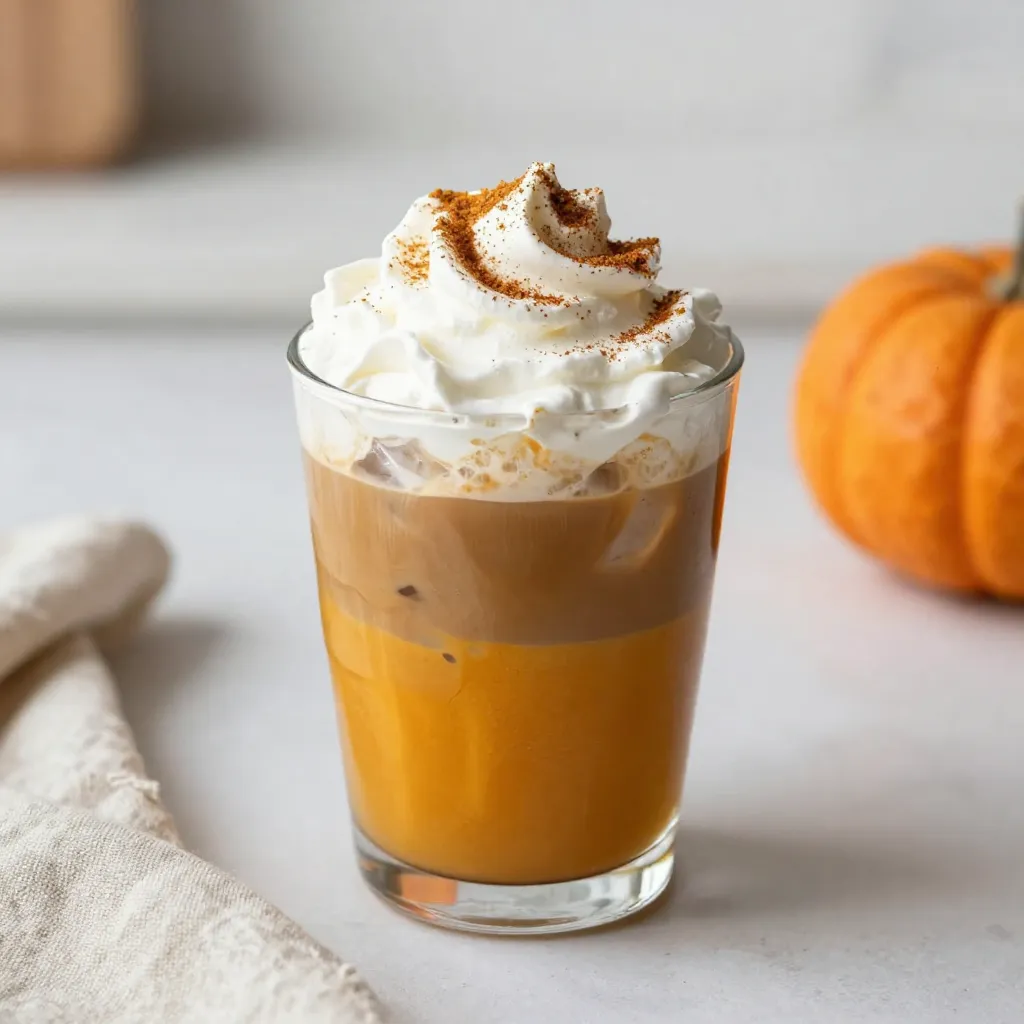
Pumpkin Cream Cold Brew Copycat Simple and Tasty Recipe
Love the flavors of fall? You can bring that cozy vibe home with my Pumpkin Cream Cold Brew Copycat recipe! Read Full Recipe -
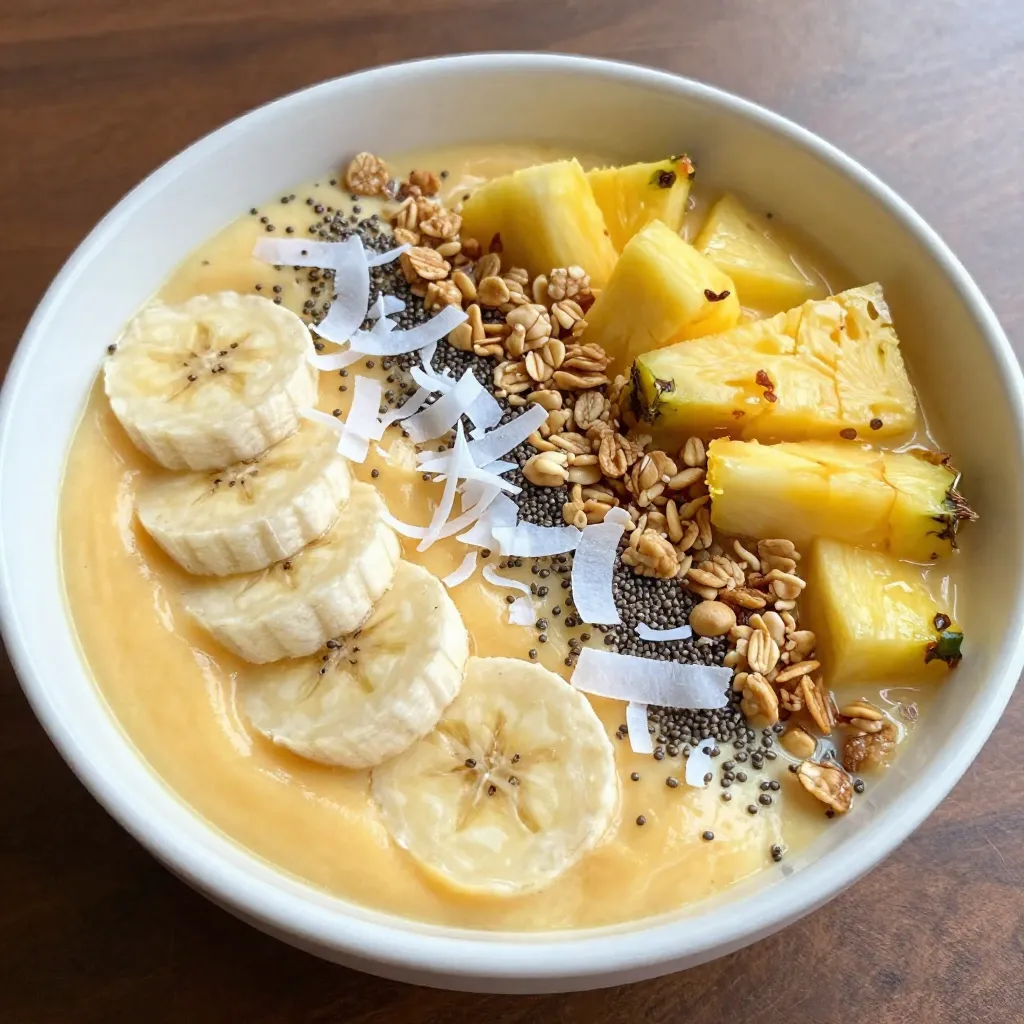
Coconut Pineapple Smoothie Bowl Energizing and Easy Recipe
Looking for a quick and tasty way to kickstart your day? This Coconut Pineapple Smoothie Bowl is the answer! Packed Read Full Recipe -
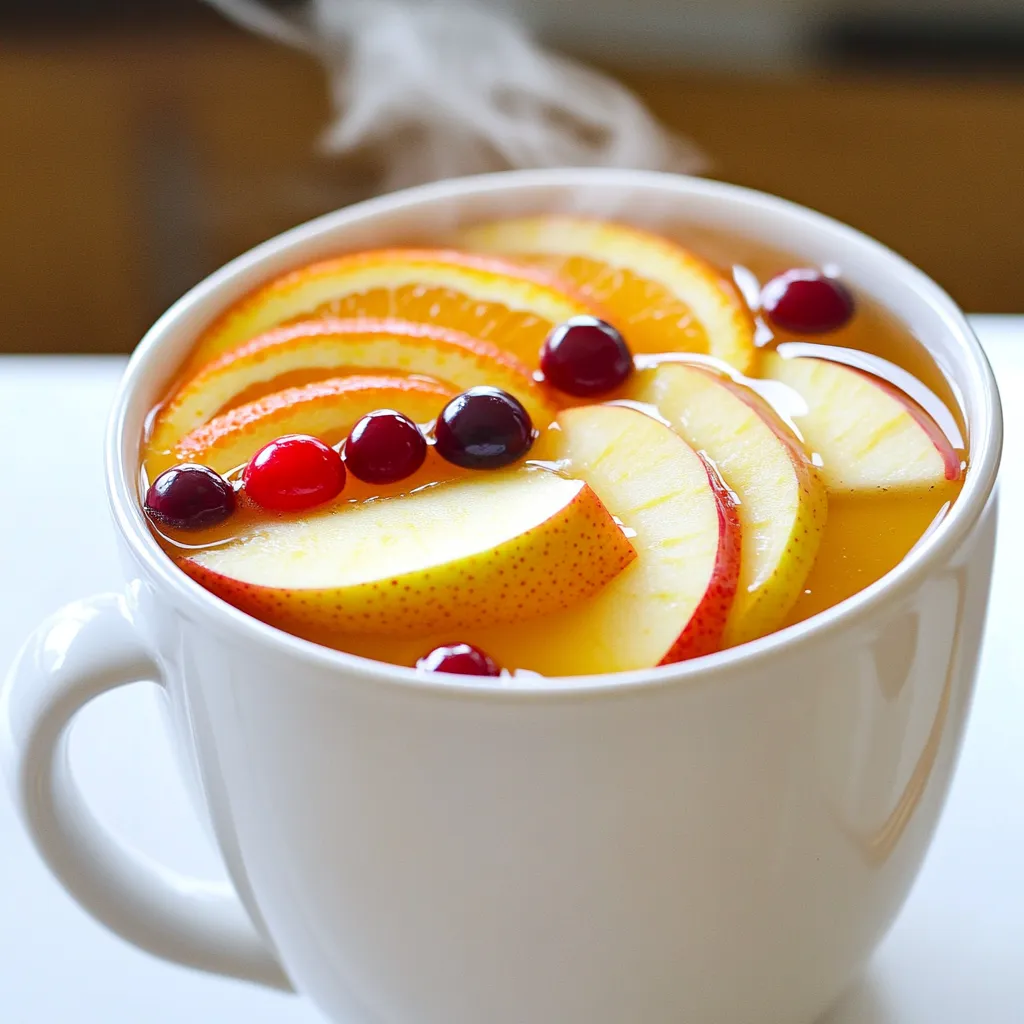
Spiced Apple Cider Punch Festive and Flavorful Drink
Warm up your gatherings with my Spiced Apple Cider Punch! This festive drink bursts with cozy flavors, perfect for chilly Read Full Recipe -
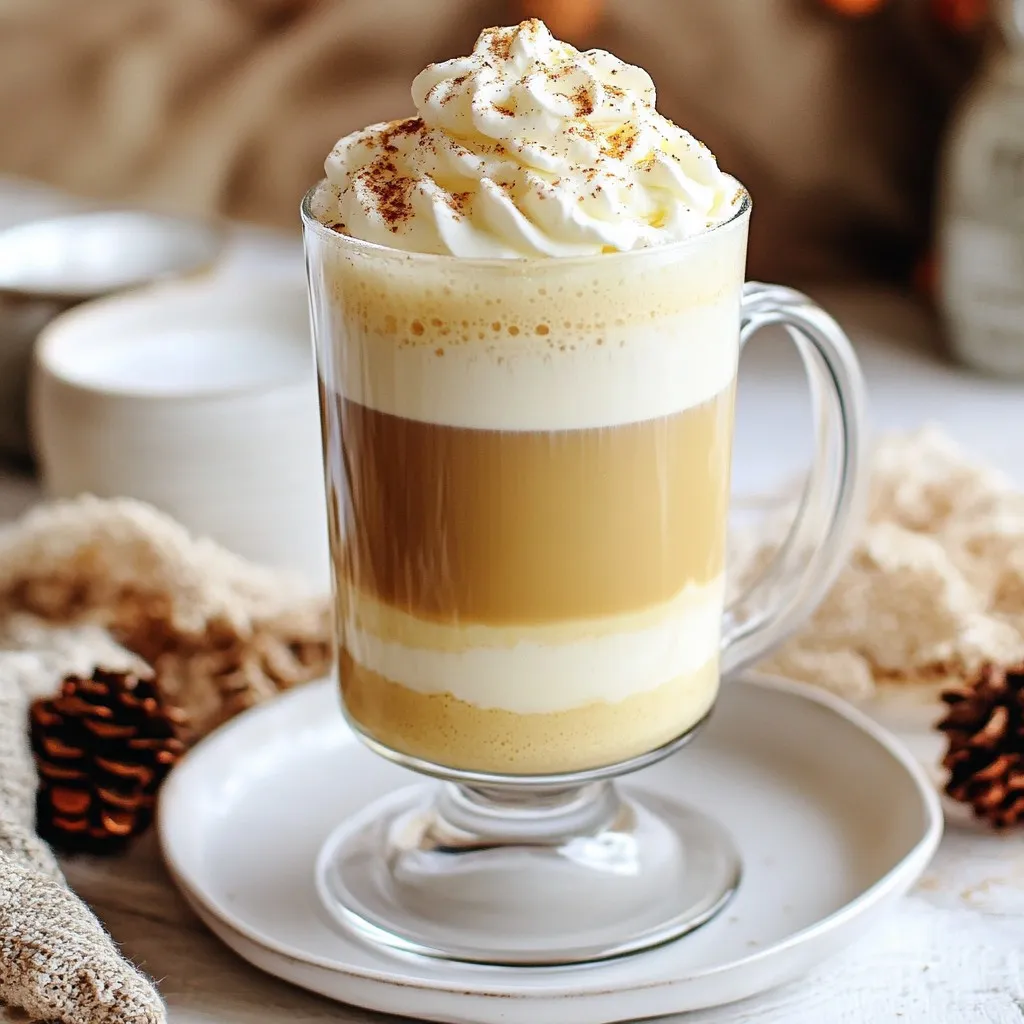
Copycat Starbucks Eggnog Latte Simple and Tasty Recipe
Craving a warm, festive drink without leaving home? You can whip up a Copycat Starbucks Eggnog Latte that’s simple and Read Full Recipe -
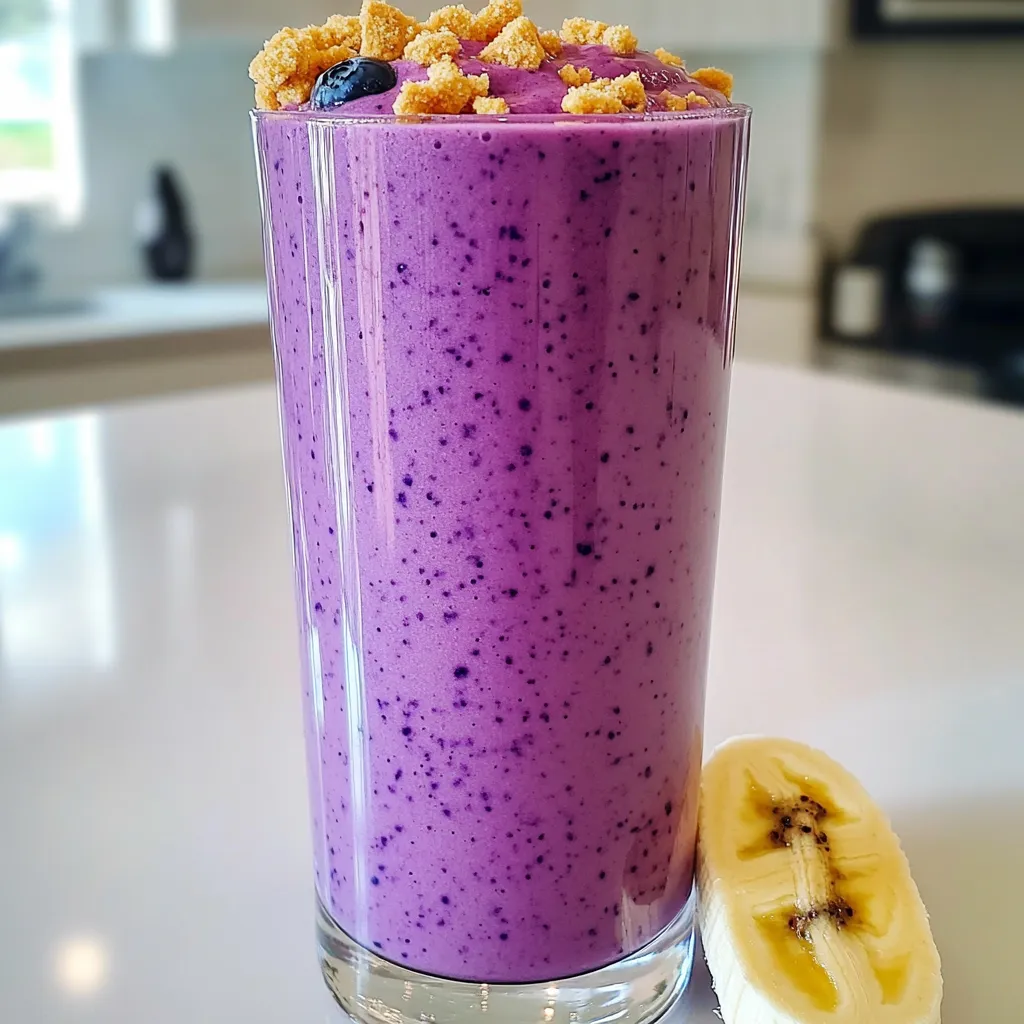
Blueberry Cheesecake Smoothie Protein Delight
Are you ready to treat yourself to a delicious and healthy drink? The Blueberry Cheesecake Smoothie Protein Delight packs all Read Full Recipe -
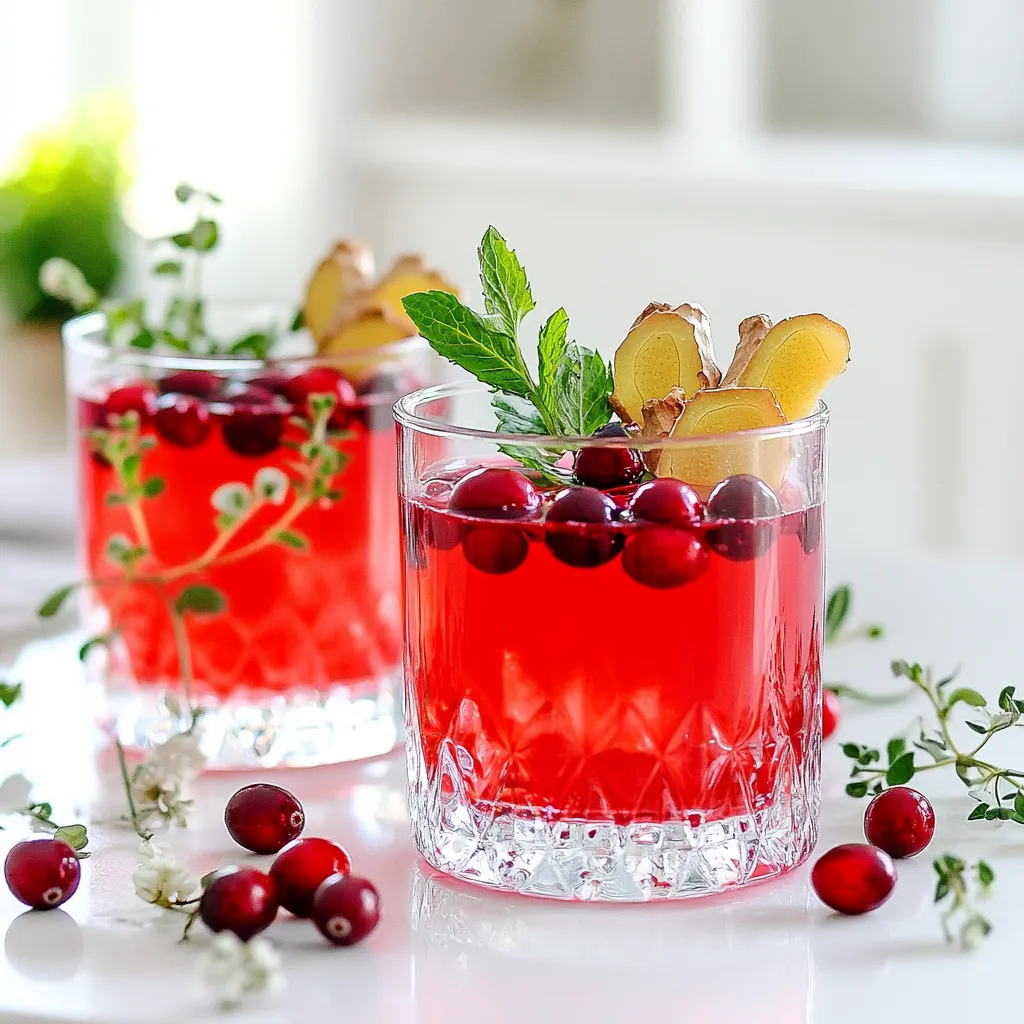
Warm Cranberry Ginger Mocktail Spritzer Recipe Delight
Welcome to my cozy kitchen! Today, I’m excited to share a delightful warm cranberry ginger mocktail spritzer that brightens up Read Full Recipe

hey,
i’m !
I’m so happy you’re here!
I love creating dishes that bring joy to the table. I hope they bring the same joy to yours. Let’s enjoy this flavorful journey together.


Veggie Rice Stuffed Bell Peppers Flavorful Meal Idea
Looking for a tasty and healthy meal idea? Veggie Rice Stuffed Bell Peppers are the answer! These vibrant peppers are packed with wholesome ingredients…

