Latest & Greatest
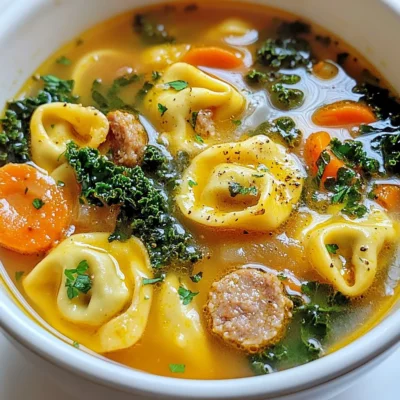
Autumn Sausage Tortellini Soup Hearty and Warm Meal
As the leaves turn and a chill fills the air, there’s nothing quite like a warm bowl of Autumn Sausage
Read more…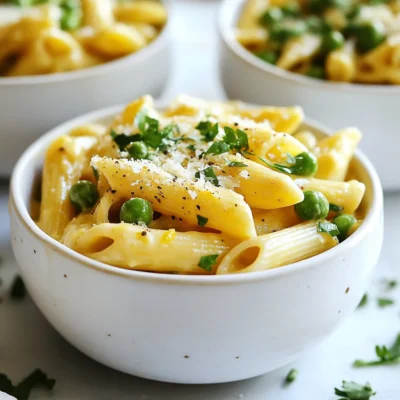
One Pot Creamy Cajun Pasta Simple and Tasty Meal
Are you craving a meal that’s quick, creamy, and full of flavor? This One Pot Creamy Cajun Pasta is your
Read more…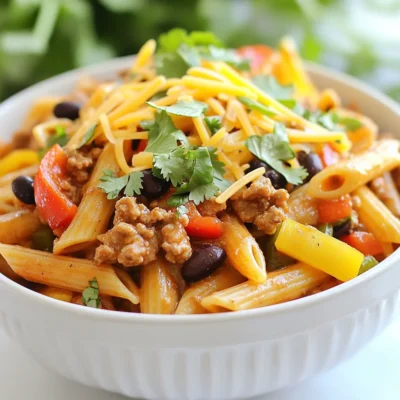
One Pot Taco Pasta Quick and Flavorful Dinner Dish
Looking for a quick dinner that’s bursting with flavor? One Pot Taco Pasta is your answer! In just one pot,
Read more…
Savory Steak Tacos with Chimichurri Recipe
If you’re craving a bold and tasty dish, look no further than these savory steak tacos with chimichurri. This recipe
Read more…
Fluffy Strawberry Shortcake Delightful and Easy Recipe
If you love strawberries, you’ll adore this Fluffy Strawberry Shortcake recipe! I’ll show you how to make a light, tender
Read more…
Crispy Garlic Chicken Fried Rice Flavorful Dinner Recipe
If you’re craving a quick and tasty meal, I have just the recipe for you! My Crispy Garlic Chicken Fried
Read more…
Stovetop Butter Chicken Simple and Flavorful Recipe
Discover the rich, creamy goodness of stovetop butter chicken with my simple and flavorful recipe. Perfect for busy weeknights, this
Read more…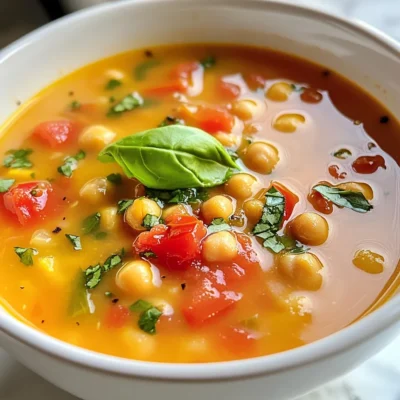
Chickpea Tomato Soup Hearty and Nourishing Comfort
Craving warmth and comfort in a bowl? My Chickpea Tomato Soup is here to deliver. This hearty and nourishing recipe
Read more…browse recipes


 to help you create this classic dish. {{image_2}} Traditional Aglio e Olio is simple and uses just three main ingredients: spaghetti, garlic, and olive oil. This dish shines because of its bold garlic flavor. You can keep it classic, or add a twist. Adding vegetables like spinach or cherry tomatoes can boost the dish’s nutrition and color. Spinach wilts nicely, while cherry tomatoes add a sweet burst. Both make your plate more appealing and exciting. Want to make your meal heartier? Incorporating shrimp or chicken gives a protein boost. Shrimp cooks quickly and adds a nice seafood touch. Chicken can be grilled or sautéed, offering a satisfying bite. If you prefer a plant-based option, try chickpeas. They add protein and a creamy texture. This variation makes the dish filling and satisfying for everyone. If you need gluten-free options, worry not! You can use gluten-free pasta made from rice or quinoa. These options cook well and taste great. Ensure your sauces and extra ingredients are also gluten-free. Always check labels on olive oil and spices to avoid hidden gluten. With these swaps, you can enjoy Aglio e Olio without compromise. For a full recipe, check the [Full Recipe] section. After enjoying your spaghetti, let any leftovers cool down. Place the spaghetti in an airtight container. Store it in the refrigerator for up to three days. When you want to reheat, add a splash of water or olive oil to keep it moist. Heat it gently on the stove or in the microwave until warm. This way, it stays tasty and does not dry out. If you want to save spaghetti for later, freezing is a great option. First, let the spaghetti cool completely. Then, portion it into freezer bags. Squeeze out the air before sealing. This helps prevent freezer burn and keeps the flavor intact. You can freeze it for up to three months. When ready to eat, thaw it overnight in the fridge before reheating. You can get creative with leftover spaghetti. Use it in a stir-fry with veggies and protein. Another fun idea is to turn it into a cold pasta salad. Just toss the spaghetti with some olive oil, fresh veggies, and your favorite dressing. This way, you enjoy a new dish and reduce waste. For the full recipe, check out Spaghetti Aglio e Olio with a Twist. To make Spaghetti Aglio e Olio, you need simple ingredients and easy steps. Here’s what you’ll need: - 400g spaghetti - 6 cloves garlic, thinly sliced - 1/2 cup extra-virgin olive oil - 1 teaspoon red pepper flakes - 1/4 cup fresh parsley, chopped - Zest and juice of 1 lemon - Salt, to taste - Grated Parmesan cheese (optional for serving) Start by boiling salted water. Cook the spaghetti until it’s al dente. Save some pasta water, then drain the spaghetti. Next, heat the olive oil in a skillet. Add the sliced garlic and red pepper flakes. Cook until the garlic is golden, about 2-3 minutes. Be careful not to burn it. Then, toss the drained spaghetti into the skillet. Mix well with the garlic oil. If it looks dry, add the reserved pasta water a little at a time. Finally, stir in the lemon zest, lemon juice, and chopped parsley. Add salt to taste. Serve with grated Parmesan if you like. This dish is quick and full of flavor! Spaghetti Aglio e Olio comes from Naples, Italy. It started as a simple dish for poor workers. They had few ingredients: garlic, oil, and spaghetti. Over time, it gained fame for its taste and ease. Now, it is loved worldwide. The dish shows how simple items can create great flavors. It reflects Italian cooking's heart—using fresh, quality ingredients. Yes, you can prep Spaghetti Aglio e Olio ahead of time. Cook the spaghetti and garlic oil but do not mix them. Store them separately in the fridge. To store, use an airtight container. For the garlic oil, let it cool first before sealing it. When ready to eat, reheat the garlic oil. Then, toss in the spaghetti with lemon zest and parsley. This way, you keep the flavors fresh and vibrant! Spaghetti Aglio e Olio is simple, tasty, and uses just a few good ingredients. We discussed key components, cooking steps, and great storage tips. With fresh garlic and olive oil, you create a dish that shines with flavor. Remember, you can customize it with veggies, proteins, or spices. Enjoy the process, get creative, and impress your family and friends. Cooking can be fun, and this recipe is a great way to start.](https://soyumrecipes.com/wp-content/uploads/2025/04/9905d5c3-d4c6-44ad-91ef-c518e27228b2.webp)
Spaghetti Aglio e Olio Simple and Flavorful Recipe
Craving a quick, tasty meal? Spaghetti Aglio e Olio is your answer! This simple dish uses just a few fresh ingredients. With garlic, olive…
My Latest Desserts

Strawberry Lemonade Cupcakes Fresh and Flavorful Treat
Craving a sweet, tangy treat? Dive into the world of Strawberry Lemonade Cupcakes! These delightful cupcakes blend fresh strawberries and Read Full Recipe-
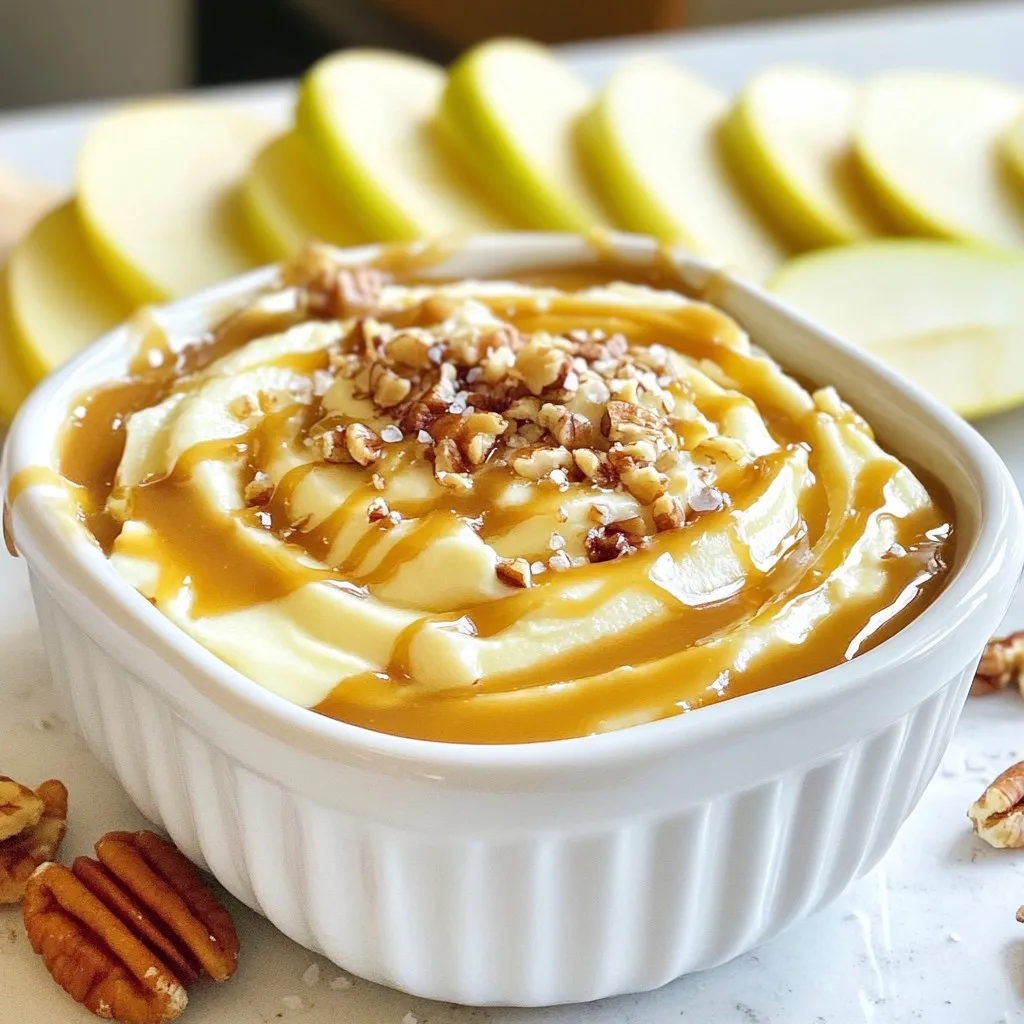
Salted Caramel Apple Dip Creamy and Delicious Treat
If you’re looking for a tasty treat that combines sweet and salty, you’re in for a delight! This Salted Caramel Read Full Recipe -
No-Bake Oreo Cheesecake Cups Delightful Easy Treat
Craving a sweet, creamy treat that’s easy to make? These No-Bake Oreo Cheesecake Cups are perfect for you! With just Read Full Recipe -
Key Lime Pie Bars Simple and Tangy Dessert Treat
Are you ready to enjoy a treat that’s both simple and zesty? Key Lime Pie Bars combine the tart zing Read Full Recipe -
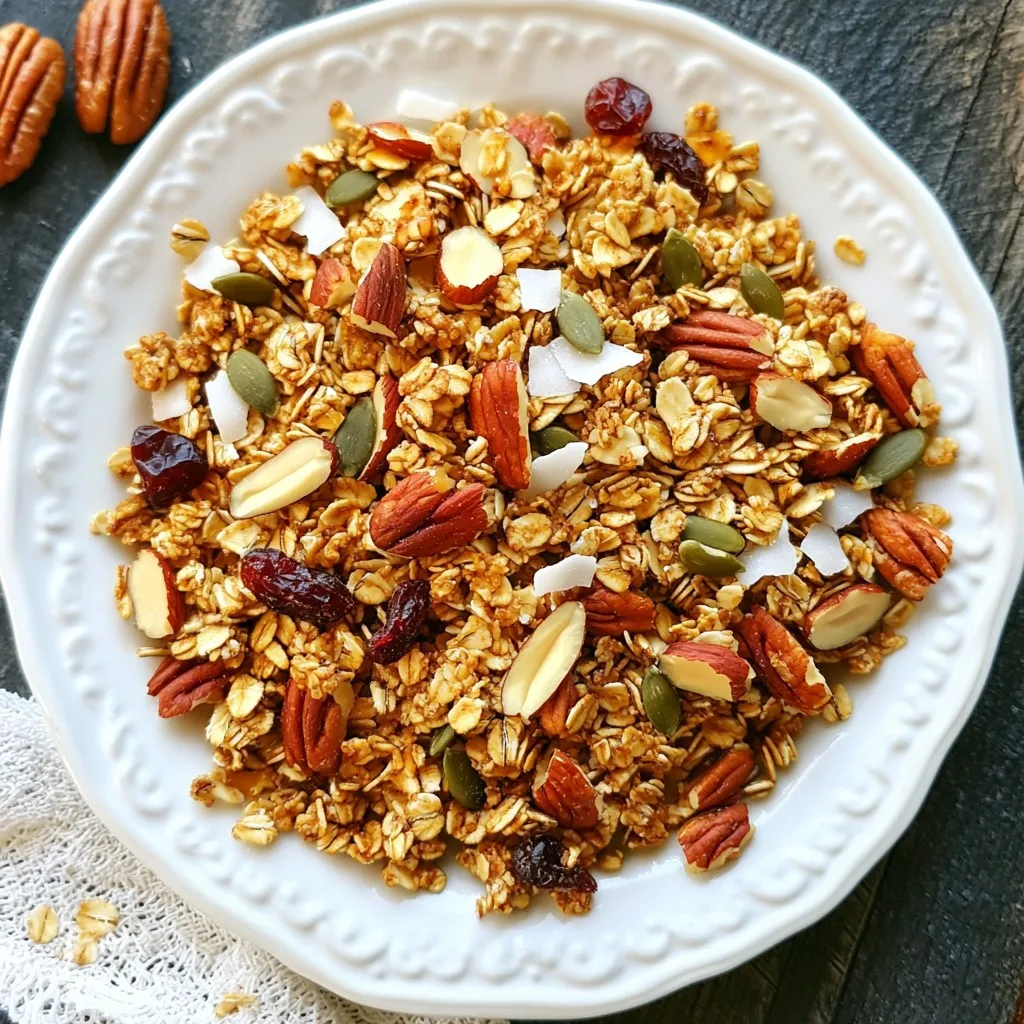
Maple Pecan Granola Crunchy and Nutritious Snack
Looking for a tasty and healthy snack? You’ve found it! My Maple Pecan Granola is crunchy, packed with flavor, and Read Full Recipe -
Strawberry Shortcake Trifle Delightful and Simple Treat
Get ready to impress your family and friends with a Strawberry Shortcake Trifle that’s both delightful and simple. This layered Read Full Recipe


My Latest Drinks
-
Spiced Apple Cider Punch Festive and Flavorful Drink
Warm up your gatherings with my Spiced Apple Cider Punch! This festive drink bursts with cozy flavors, perfect for chilly Read Full Recipe -
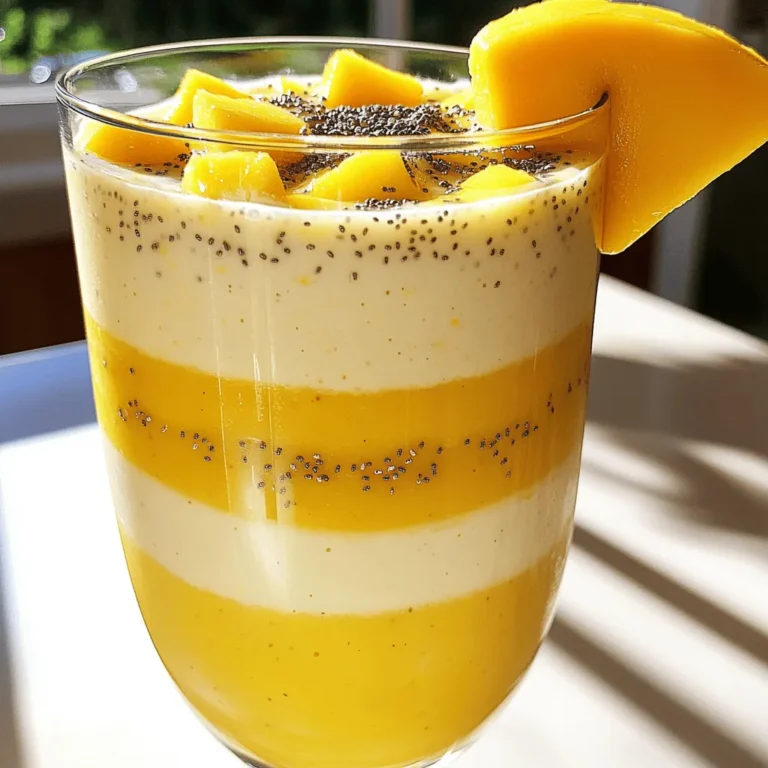
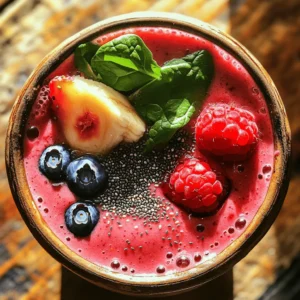
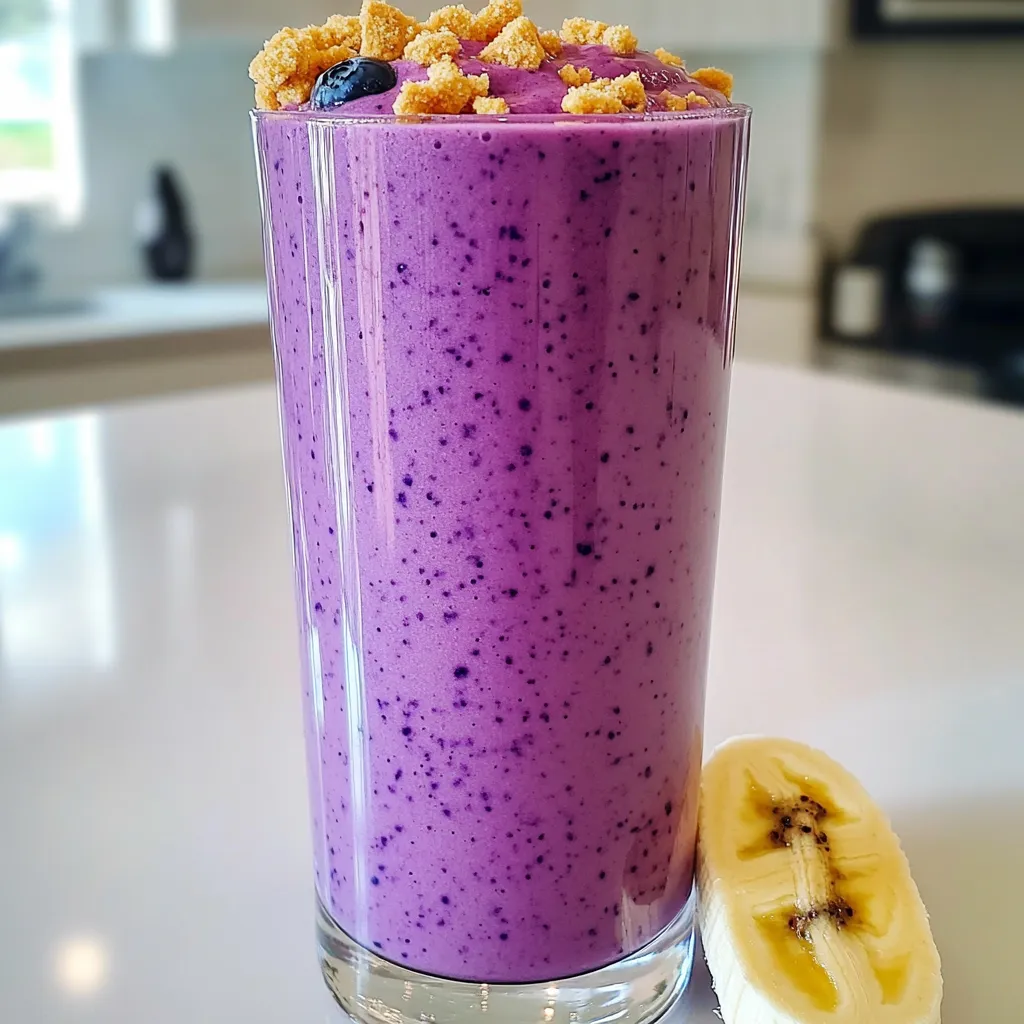
Blueberry Cheesecake Smoothie Protein Delight
Are you ready to treat yourself to a delicious and healthy drink? The Blueberry Cheesecake Smoothie Protein Delight packs all Read Full Recipe -
Warm Cranberry Ginger Mocktail Spritzer Recipe Delight
Welcome to my cozy kitchen! Today, I’m excited to share a delightful warm cranberry ginger mocktail spritzer that brightens up Read Full Recipe -
Spiced Apple Cider Chai Bold and Flavorful Drink Recipe
Looking for a cozy drink this season? Try my Spiced Apple Cider Chai! This bold, flavorful beverage combines warm apple Read Full Recipe -
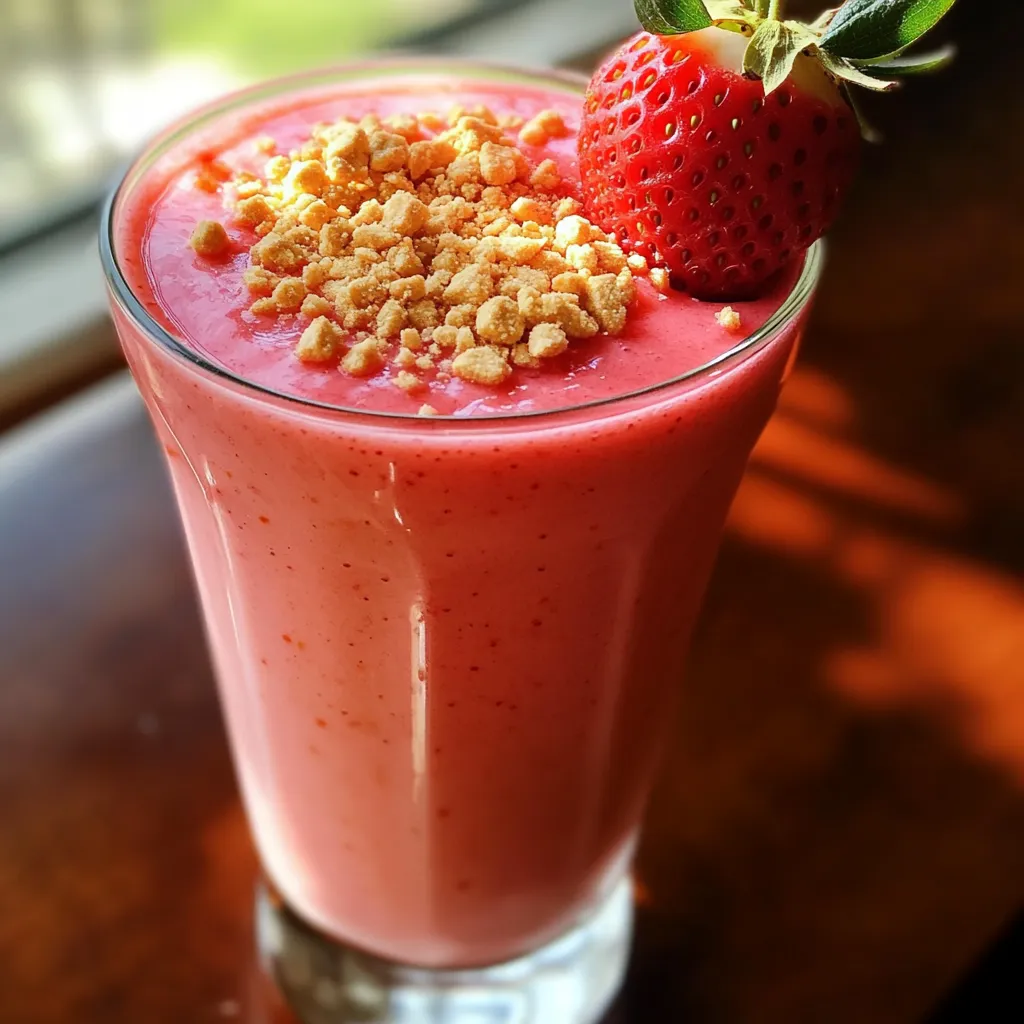
Strawberry Cheesecake Smoothie Tasty and Easy Recipe
Are you ready for a treat that’s both tasty and easy? This Strawberry Cheesecake Smoothie blends the rich flavors of Read Full Recipe -
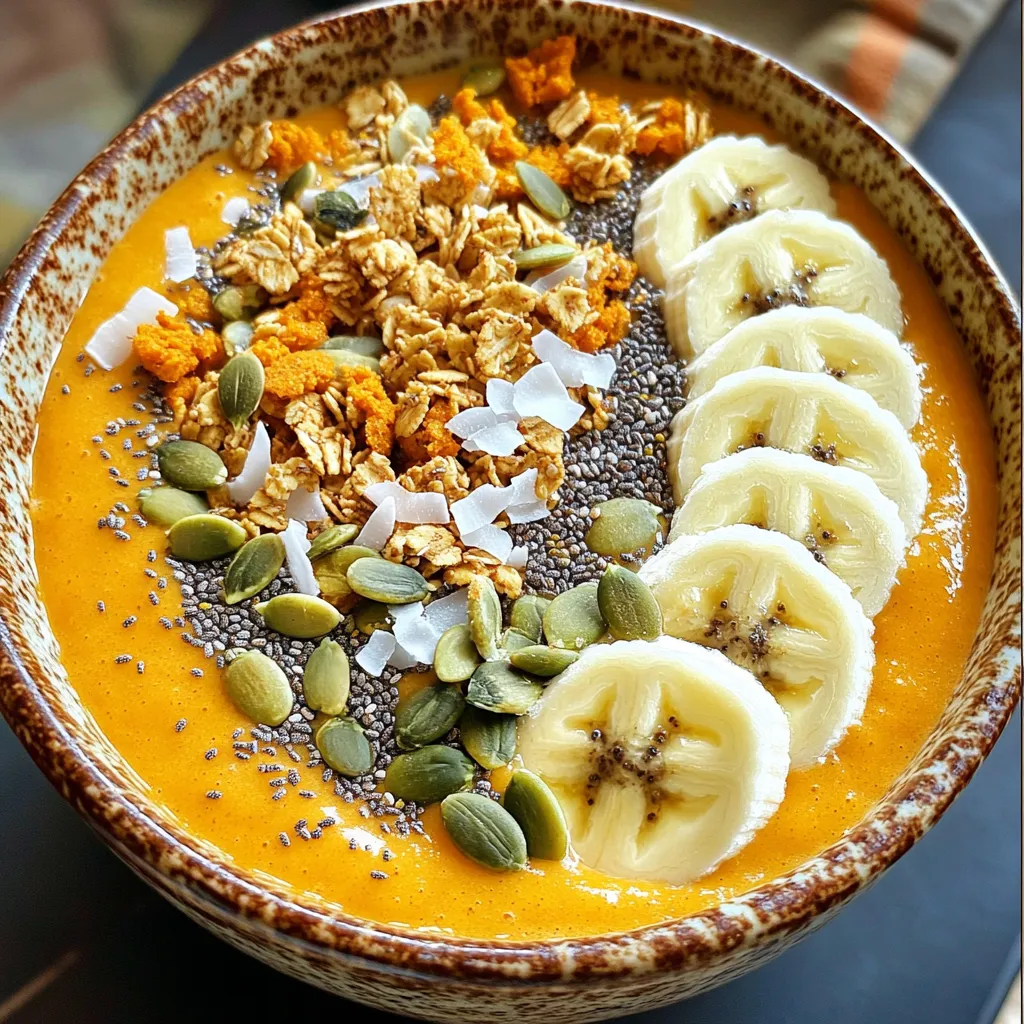
Pumpkin Spice Smoothie Bowl Protein Packed Delight
Are you ready to dive into the cozy world of pumpkin spice? This Pumpkin Spice Smoothie Bowl is not only Read Full Recipe


hey,
i’m !
I’m so happy you’re here!
I love creating dishes that bring joy to the table. I hope they bring the same joy to yours. Let’s enjoy this flavorful journey together.


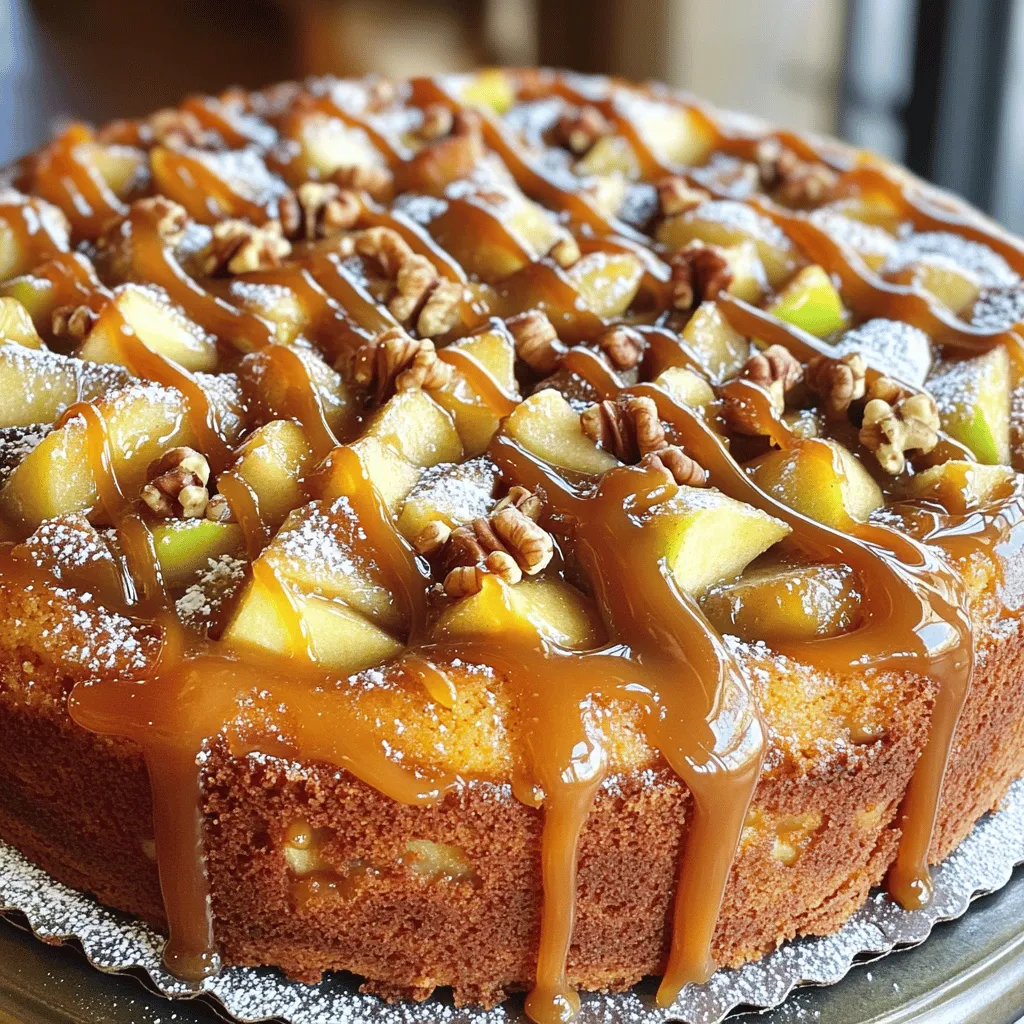
Caramel Apple Coffee Cake Scrumptious and Simple Recipe
Are you ready for a treat that combines sweet, warm apples with rich caramel? My Caramel Apple Coffee Cake is the perfect dessert for…