Latest & Greatest
Cottage Cheese Beef Stroganoff Hearty Comfort Meal
Cottage Cheese Beef Stroganoff is a hearty comfort meal that you need in your kitchen. This simple dish combines tender
Read more…
Diabetes Friendly Quinoa Bowl Energizing and Nutritious
Are you looking for a tasty and healthy meal that fits your diabetes needs? Look no further! This Diabetes Friendly
Read more…
Healthy Sesame Chicken Easy and Flavorful Recipe
Are you craving a tasty yet healthy meal? Look no further than my Healthy Sesame Chicken! This easy and flavorful
Read more…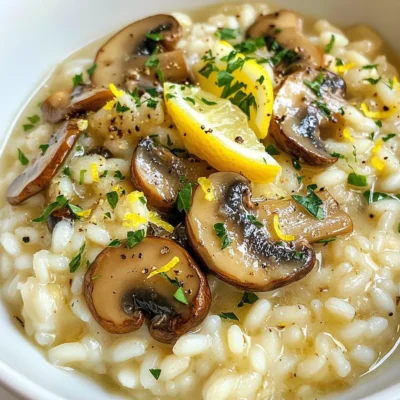
Garlic Butter Mushroom Risotto Simple and Rich Recipe
Looking for a dish that warms your soul? Garlic Butter Mushroom Risotto is simple, rich, and packed with flavor. No
Read more…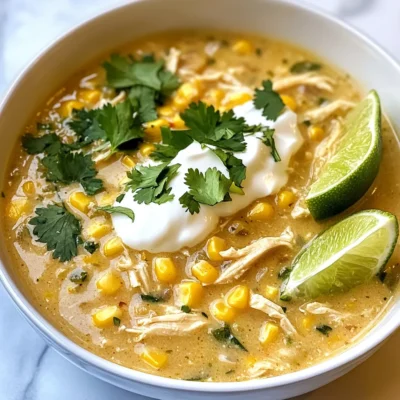
White Chicken Chili Simple and Flavorful Recipe
Looking for a warm, hearty dish that’s simple and bursting with flavor? You’ve found it! This White Chicken Chili recipe
Read more…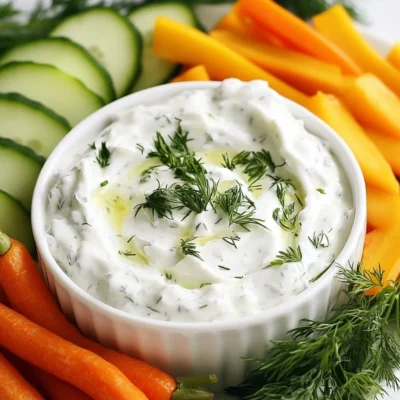
Greek Yogurt Ranch Dip Flavorful and Fresh Delight
Looking for a fresh and tasty dip? My Greek Yogurt Ranch Dip is perfect for you! This creamy blend is
Read more…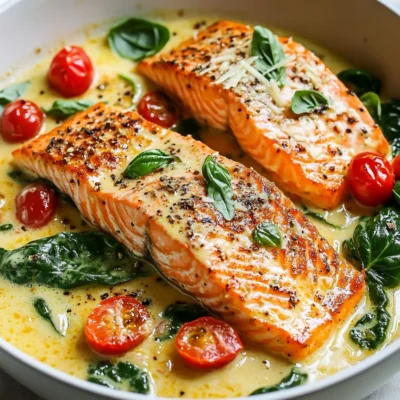
Creamy Tuscan Salmon Skillet Flavorful and Simple Recipe
Craving a simple yet flavorful meal? Let me share my Creamy Tuscan Salmon Skillet recipe with you. This dish brings
Read more…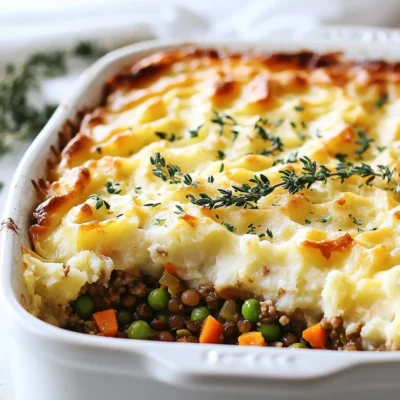
Protein Packed Shepherds Pie Healthy Dinner Option
Looking for a healthy dinner that fills you up and tastes great? I’ve got the perfect solution: Protein Packed Shepherd’s
Read more…browse recipes


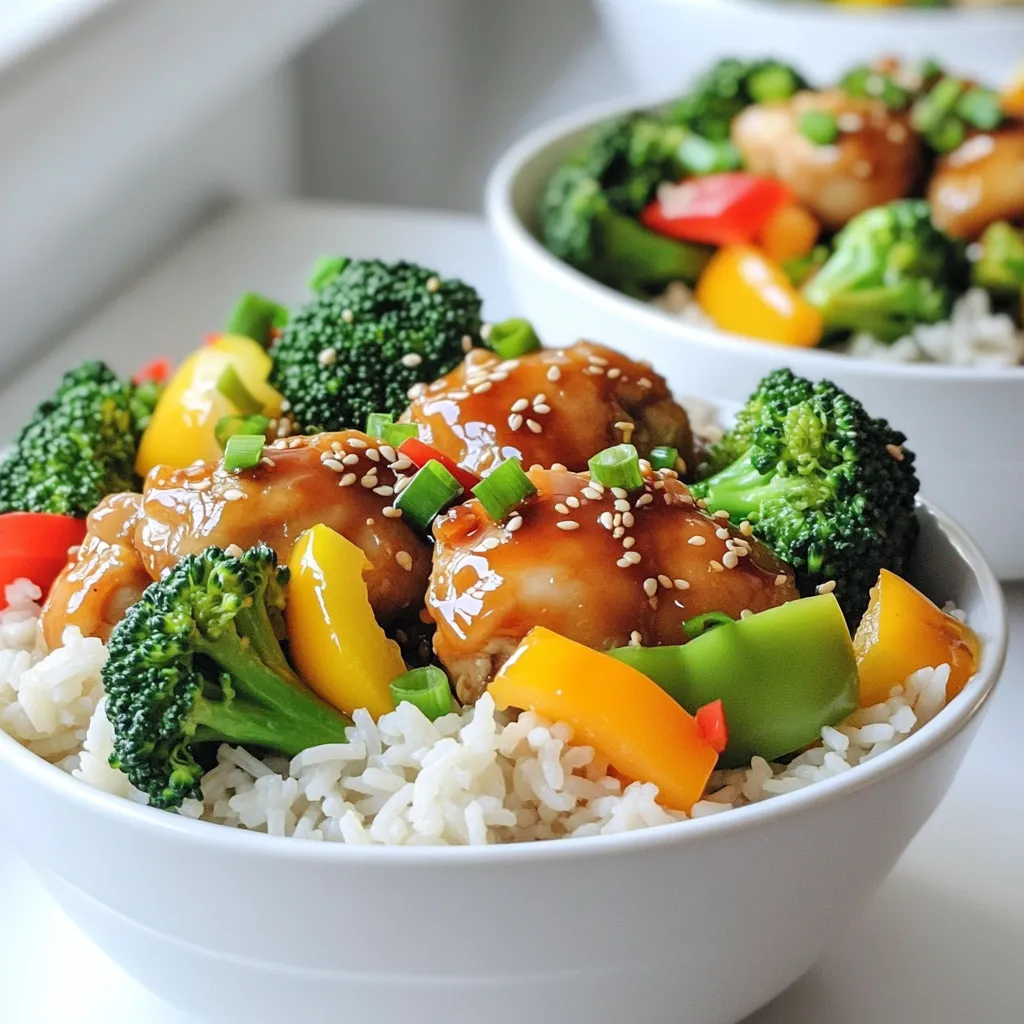
Minute Teriyaki Chicken Bowls Quick and Flavorful Meal
Looking for a quick and tasty meal? Minute Teriyaki Chicken Bowls are here to save the day! Packed with tender chicken and colorful veggies,…
My Latest Desserts

Strawberry Lemonade Cupcakes Fresh and Flavorful Treat
Craving a sweet, tangy treat? Dive into the world of Strawberry Lemonade Cupcakes! These delightful cupcakes blend fresh strawberries and Read Full Recipe-
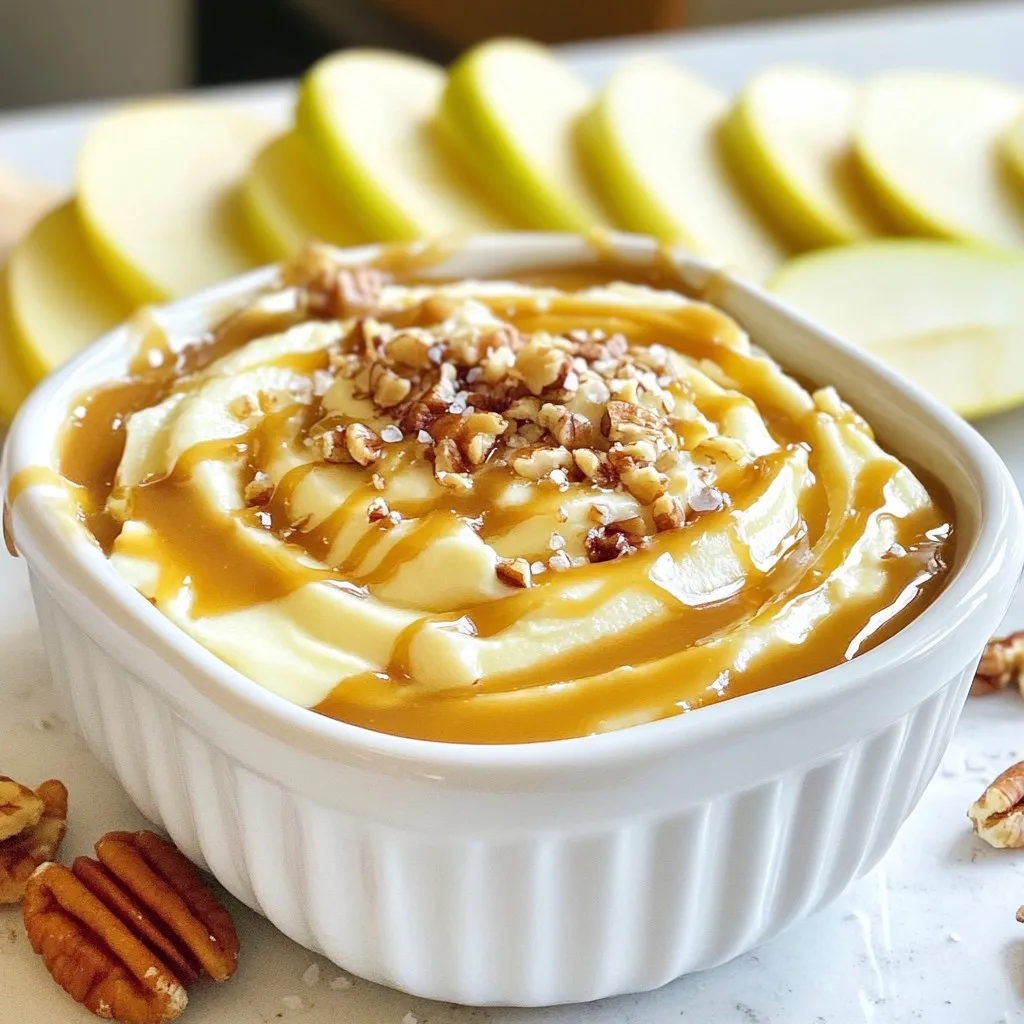
Salted Caramel Apple Dip Creamy and Delicious Treat
If you’re looking for a tasty treat that combines sweet and salty, you’re in for a delight! This Salted Caramel Read Full Recipe -
No-Bake Oreo Cheesecake Cups Delightful Easy Treat
Craving a sweet, creamy treat that’s easy to make? These No-Bake Oreo Cheesecake Cups are perfect for you! With just Read Full Recipe -
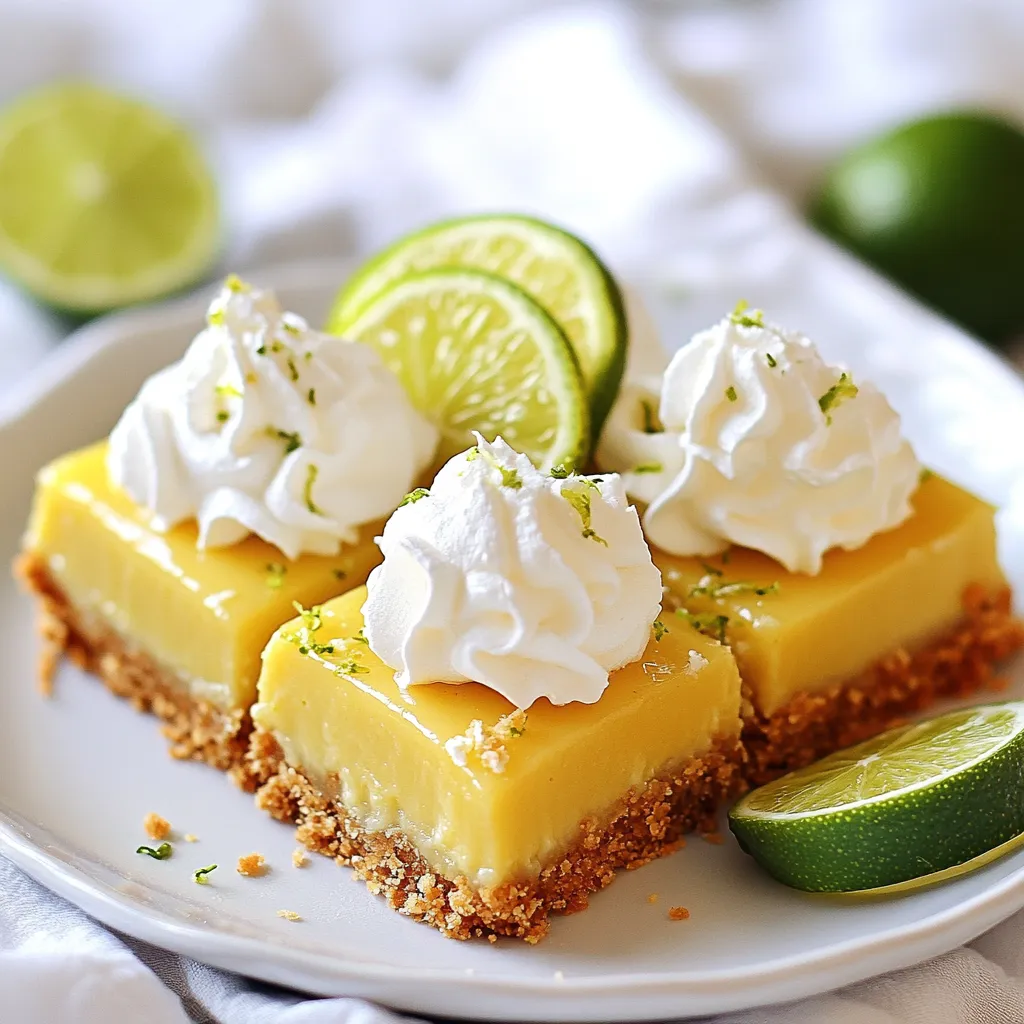
Key Lime Pie Bars Simple and Tangy Dessert Treat
Are you ready to enjoy a treat that’s both simple and zesty? Key Lime Pie Bars combine the tart zing Read Full Recipe -
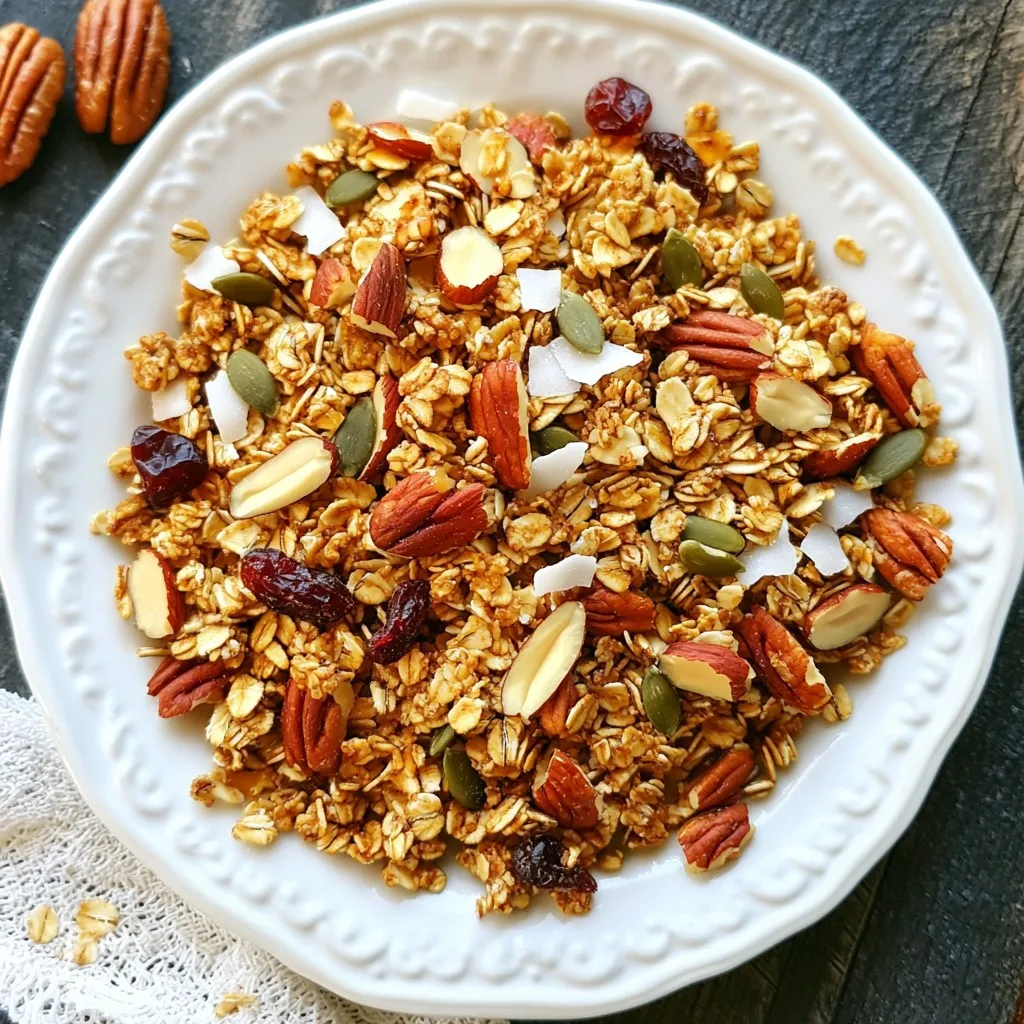
Maple Pecan Granola Crunchy and Nutritious Snack
Looking for a tasty and healthy snack? You’ve found it! My Maple Pecan Granola is crunchy, packed with flavor, and Read Full Recipe -
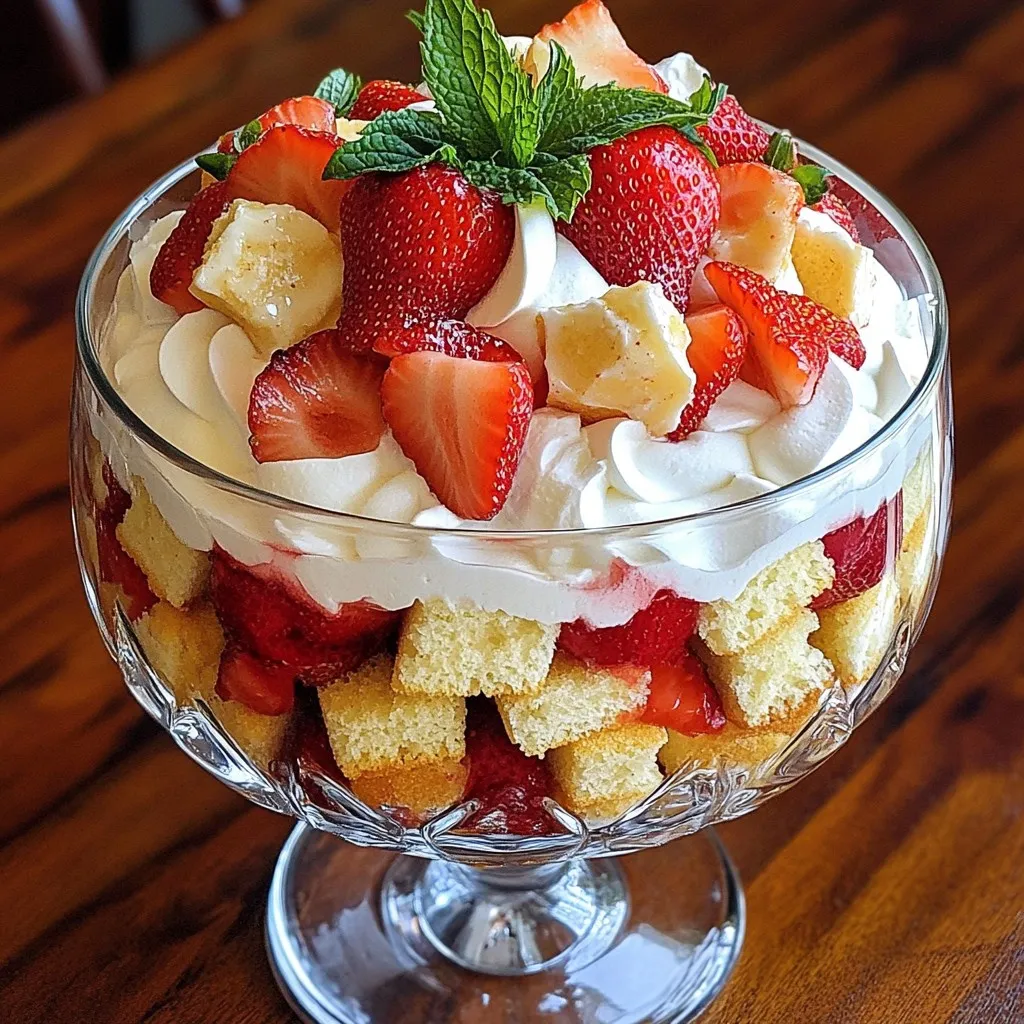
Strawberry Shortcake Trifle Delightful and Simple Treat
Get ready to impress your family and friends with a Strawberry Shortcake Trifle that’s both delightful and simple. This layered Read Full Recipe


My Latest Drinks
-
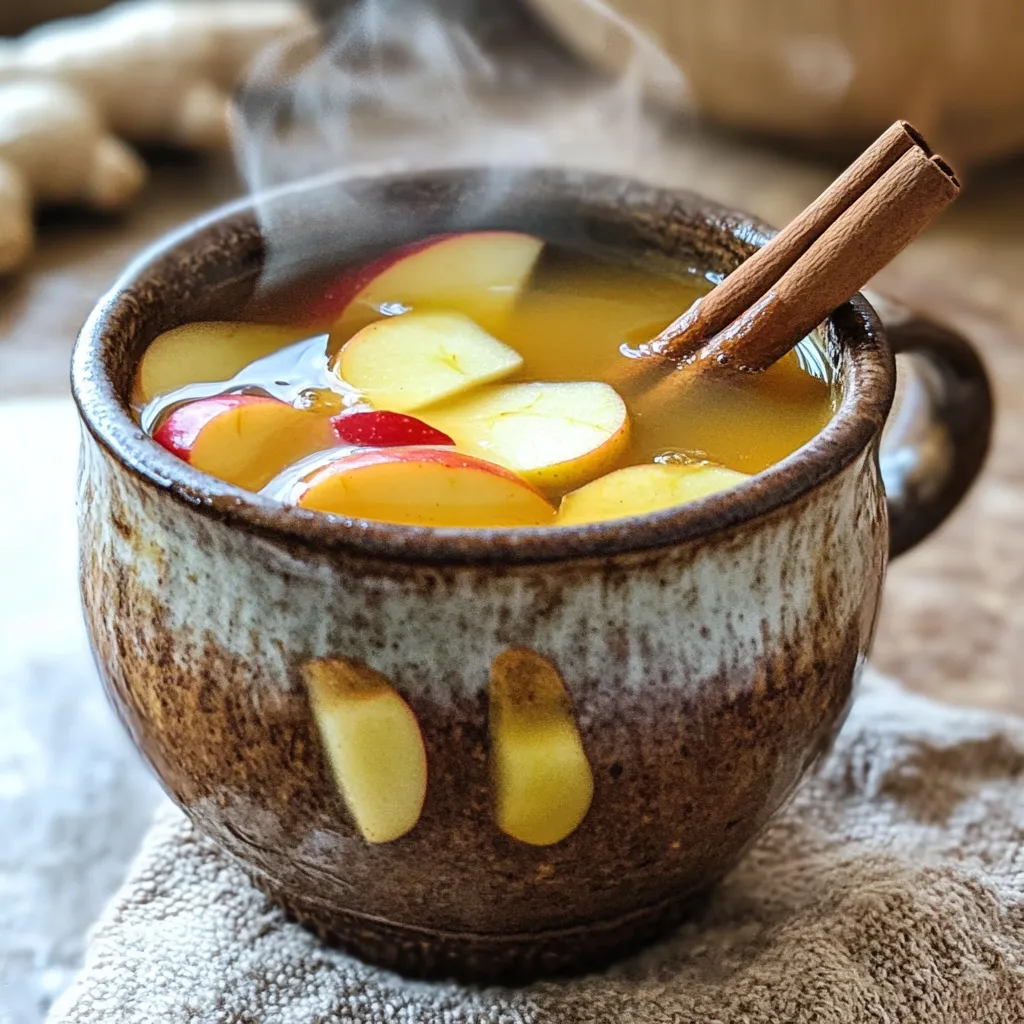
Spiced Apple Cider Punch Festive and Flavorful Drink
Warm up your gatherings with my Spiced Apple Cider Punch! This festive drink bursts with cozy flavors, perfect for chilly Read Full Recipe -
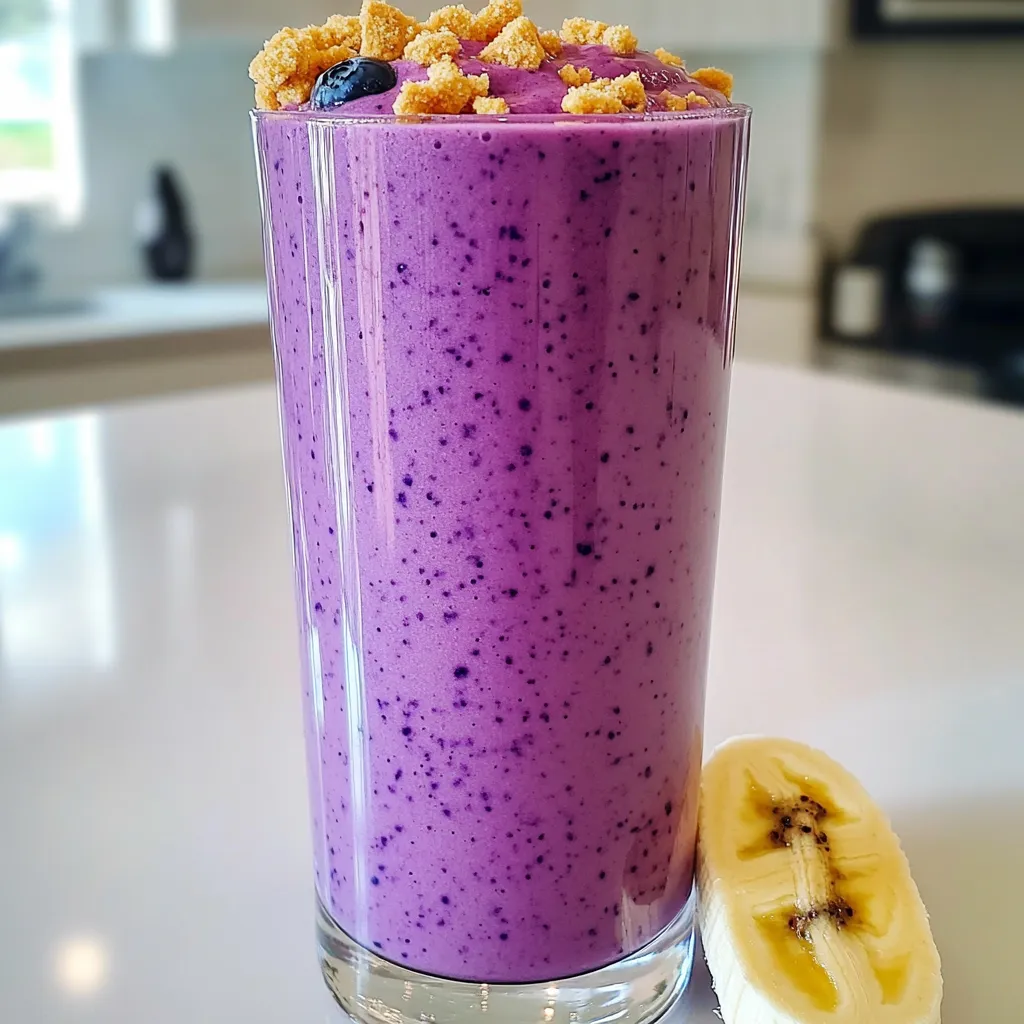
Blueberry Cheesecake Smoothie Protein Delight
Are you ready to treat yourself to a delicious and healthy drink? The Blueberry Cheesecake Smoothie Protein Delight packs all Read Full Recipe -
Warm Cranberry Ginger Mocktail Spritzer Recipe Delight
Welcome to my cozy kitchen! Today, I’m excited to share a delightful warm cranberry ginger mocktail spritzer that brightens up Read Full Recipe -
Spiced Apple Cider Chai Bold and Flavorful Drink Recipe
Looking for a cozy drink this season? Try my Spiced Apple Cider Chai! This bold, flavorful beverage combines warm apple Read Full Recipe -
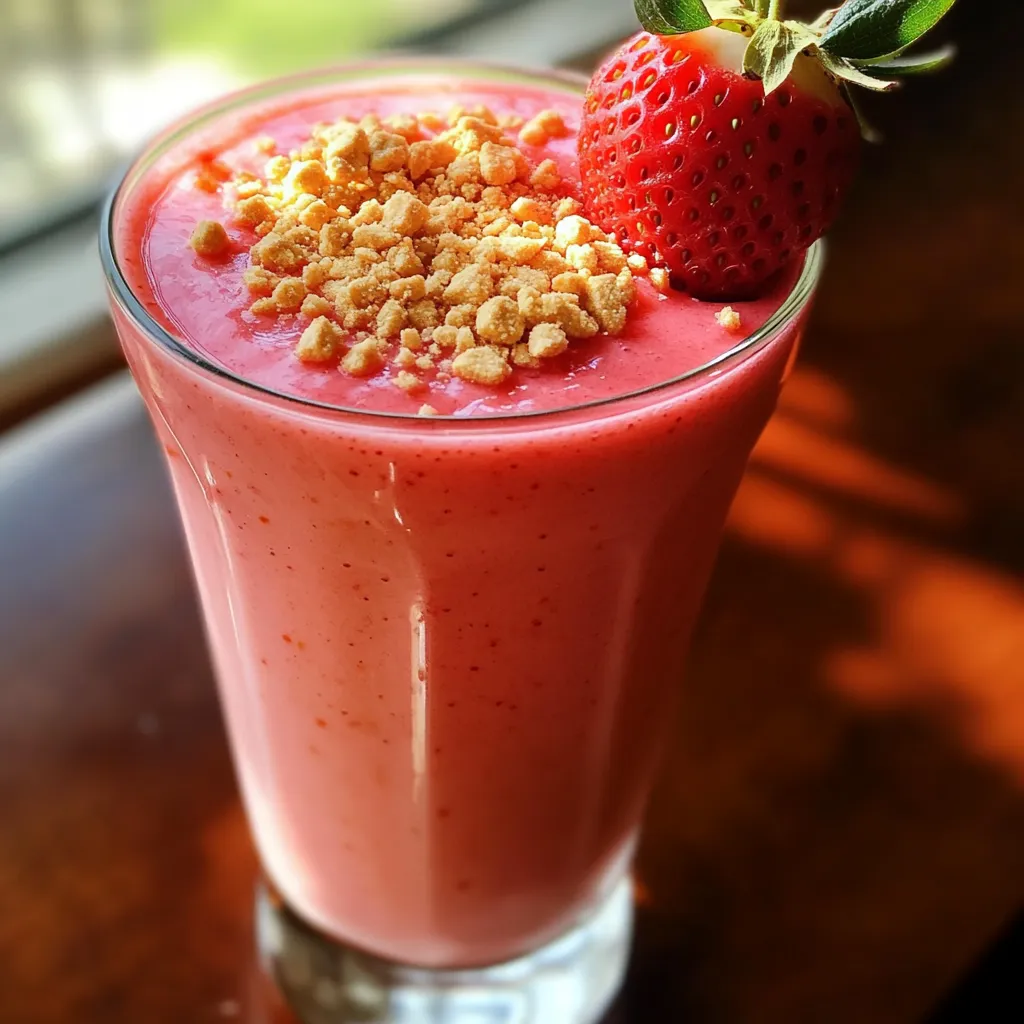
Strawberry Cheesecake Smoothie Tasty and Easy Recipe
Are you ready for a treat that’s both tasty and easy? This Strawberry Cheesecake Smoothie blends the rich flavors of Read Full Recipe -
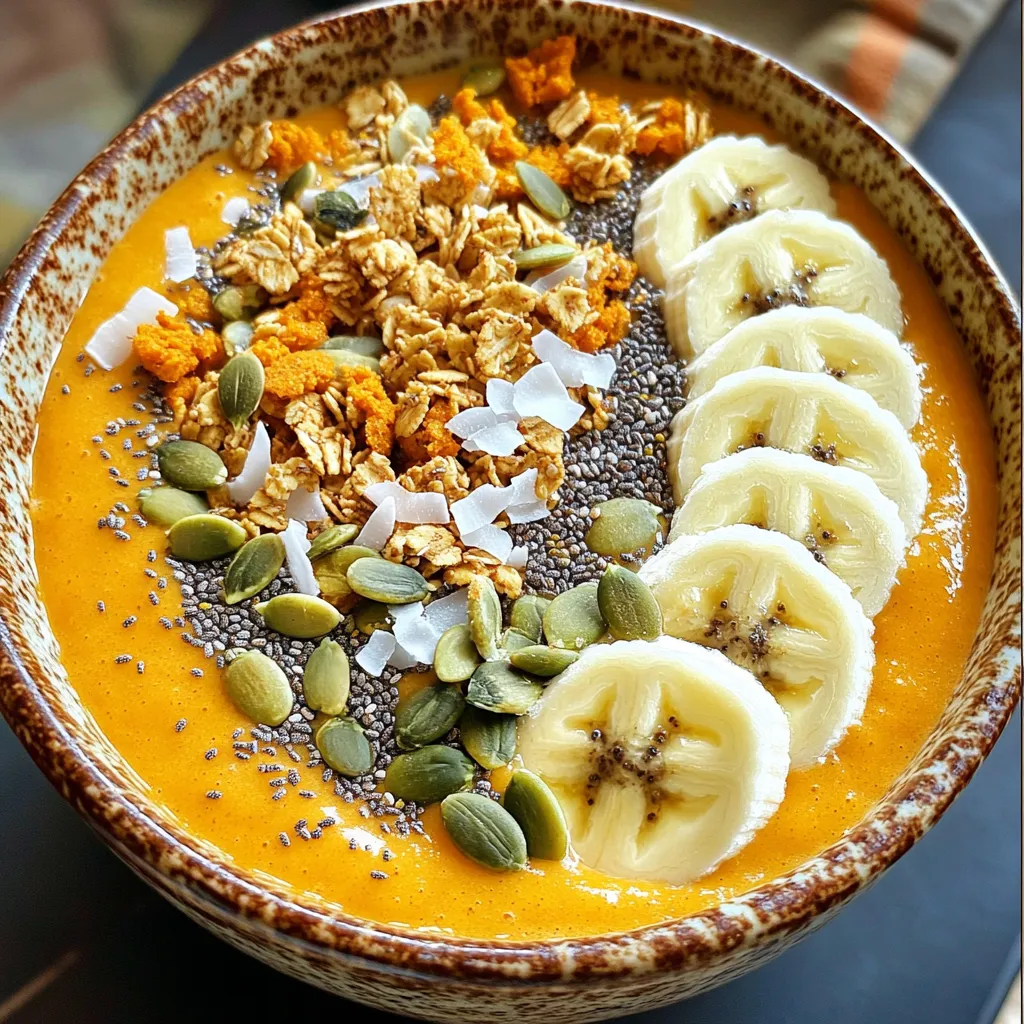
Pumpkin Spice Smoothie Bowl Protein Packed Delight
Are you ready to dive into the cozy world of pumpkin spice? This Pumpkin Spice Smoothie Bowl is not only Read Full Recipe


hey,
i’m !
I’m so happy you’re here!
I love creating dishes that bring joy to the table. I hope they bring the same joy to yours. Let’s enjoy this flavorful journey together.
![- 1 lb ground chicken - 1 tablespoon olive oil - 1 small onion, finely chopped - 2 cloves garlic, minced - 1 tablespoon chili powder - 1 teaspoon cumin - 1 teaspoon smoked paprika - ½ teaspoon salt - ½ teaspoon black pepper - 1 cup cherry tomatoes, halved - 1 cup corn kernels (fresh or canned) - 1 avocado, diced - 1 lime, juiced - 1 head of iceberg or butter lettuce, leaves separated - Fresh cilantro, chopped (for garnish) - Salsa (for serving) For this tasty dish, I use fresh ground chicken as the main protein. It cooks quickly and absorbs flavors well. I always start with a tablespoon of olive oil. This helps to sauté the onion and garlic, giving your dish a strong base flavor. Next, I add spices. Chili powder brings heat, while cumin and smoked paprika add depth. Don’t forget salt and black pepper to balance everything. Fresh ingredients make this recipe pop. I use cherry tomatoes and corn for sweetness. Diced avocado adds creaminess. A squeeze of lime juice brightens the flavors. Finally, I choose iceberg or butter lettuce for the wraps. Their crisp leaves hold the filling well. I also garnish with fresh cilantro and serve with salsa on the side for extra zest. You can find the full recipe in the article. 1. Heat 1 tablespoon of olive oil in a large skillet over medium heat. 2. Add 1 small chopped onion and sauté it for about 3-4 minutes until it turns soft. 3. Stir in 2 cloves of minced garlic and cook for 1 more minute until you smell that great aroma. 4. Now, add 1 pound of ground chicken to the skillet. Break it apart with a wooden spoon. Cook it for about 6-8 minutes. You want it all browned and cooked through. 5. Sprinkle in 1 tablespoon of chili powder, 1 teaspoon of cumin, 1 teaspoon of smoked paprika, ½ teaspoon of salt, and ½ teaspoon of black pepper. Mix well to coat the chicken in spices. 1. Next, stir in 1 cup of halved cherry tomatoes and 1 cup of corn kernels. Cook this for another 2-3 minutes until the tomatoes soften up. 2. Remove the skillet from the heat. Drizzle the chicken mixture with the juice of 1 lime. Toss it gently to combine all the flavors. 1. Grab a clean lettuce leaf from your head of iceberg or butter lettuce. This will be your wrap. 2. Scoop a generous amount of the chicken mixture into the center of the leaf. 3. Top it with diced avocado and a sprinkle of fresh chopped cilantro. 4. Serve your wraps with salsa on the side for that extra kick of flavor. For the complete recipe, be sure to check the [Full Recipe]. Use fresh ingredients for the best flavor. Fresh ground chicken makes a big difference. I always choose ripe tomatoes and sweet corn. These ingredients enhance the taste of your dish. Spice levels can change the whole meal. Adjust spices like chili powder and cumin to suit your taste. Start with less if you're unsure, then add more if needed. When picking lettuce, consider texture and taste. Iceberg lettuce is crisp and strong. It holds the filling well. Butter lettuce is softer and has a sweet flavor. Both are great choices for wraps. You can even mix them for a fun texture. Always wash and dry your lettuce leaves. This step keeps them fresh and crunchy when you serve. These wraps pair well with low-carb sides. Think of fresh salsa, guacamole, or a tangy dip. You can also serve them with a green salad. It adds more crunch and nutrients. For a twist, try a side of roasted veggies. These options keep your meal light and tasty. Enjoy experimenting with different flavors! For the complete recipe, refer to the Full Recipe section. {{image_2}} You can switch up the protein in your chicken taco lettuce wraps. Ground turkey or beef works well. Both options keep the dish tasty and satisfying. If you want a veggie option, try beans or lentils. They add fiber and protein. This makes the meal hearty without meat. Toppings can change your wraps in fun ways. Hot sauce adds heat, while yogurt adds creaminess. Chopped onions, jalapeños, or radishes give extra crunch and flavor. You can also add fresh veggies like bell peppers or cucumbers. These bright colors make the dish look great and taste fresh. Changing the flavor profile can create a new dish. Add jalapeños for a spicy kick. For a Mediterranean twist, use feta cheese and olives. These flavors bring a new taste to your wraps. Don't be afraid to experiment with spices and toppings. Each variation can be just as delicious as the original. For the full recipe, check out the detailed instructions. To store leftover chicken filling, place it in an airtight container. This keeps the filling fresh. You can store it in the fridge for up to three days. Make sure to cool it down before sealing. If you want to keep it longer, consider freezing it. To freeze the chicken filling, let it cool first. Then, scoop it into freezer-safe bags. Remove as much air as possible before sealing. Label the bags with the date. This way, you can track how long it has been frozen. The filling can last up to three months in the freezer. To keep lettuce crisp, store the leaves in a dry container. You can wrap them in a paper towel to absorb moisture. Place them in the fridge, but not near fruits like apples or bananas. These fruits release gas that can wilt the lettuce faster. Enjoy your fresh lettuce for up to a week! Iceberg lettuce is crisp and crunchy. It holds the filling well. Butter lettuce is tender and has a mild flavor. It wraps easily around the filling. Choose iceberg for a crunch. Opt for butter if you like softer wraps. Yes, you can prep this meal ahead. Cook the chicken filling and store it in the fridge. You can keep it fresh for up to three days. Just assemble the wraps when you're ready to eat. This saves time on busy days. Each serving has about 8 grams of carbs. This low-carb dish is great for many diets. Most of the carbs come from corn and tomatoes. If you want even fewer carbs, skip the corn. Absolutely! The chicken filling is perfect for meal prep. You can double the recipe for extra servings. Store it in separate containers. Add lettuce and toppings fresh before serving. This way, your meal stays crisp and tasty. Yes, you can try different meats. Ground turkey or beef works well. For a vegetarian option, use black beans or lentils. Each option will give a unique flavor to your wraps. Feel free to get creative with your protein choice! We explored a tasty recipe for chicken taco lettuce wraps. This dish uses simple ingredients like ground chicken, spices, and fresh veggies. You can adjust flavors and toppings to fit your taste. Wrap the savory filling in crisp lettuce leaves for a healthy meal. Don’t forget to keep your leftovers fresh in the fridge or freezer. This easy-to-make recipe is perfect for meal prep or a weeknight dinner. Enjoy experimenting with different proteins and flavors!](https://soyumrecipes.com/wp-content/uploads/2025/06/59dbaaa7-0afa-420f-8f3b-4bd93e77d3b2-300x300.webp)
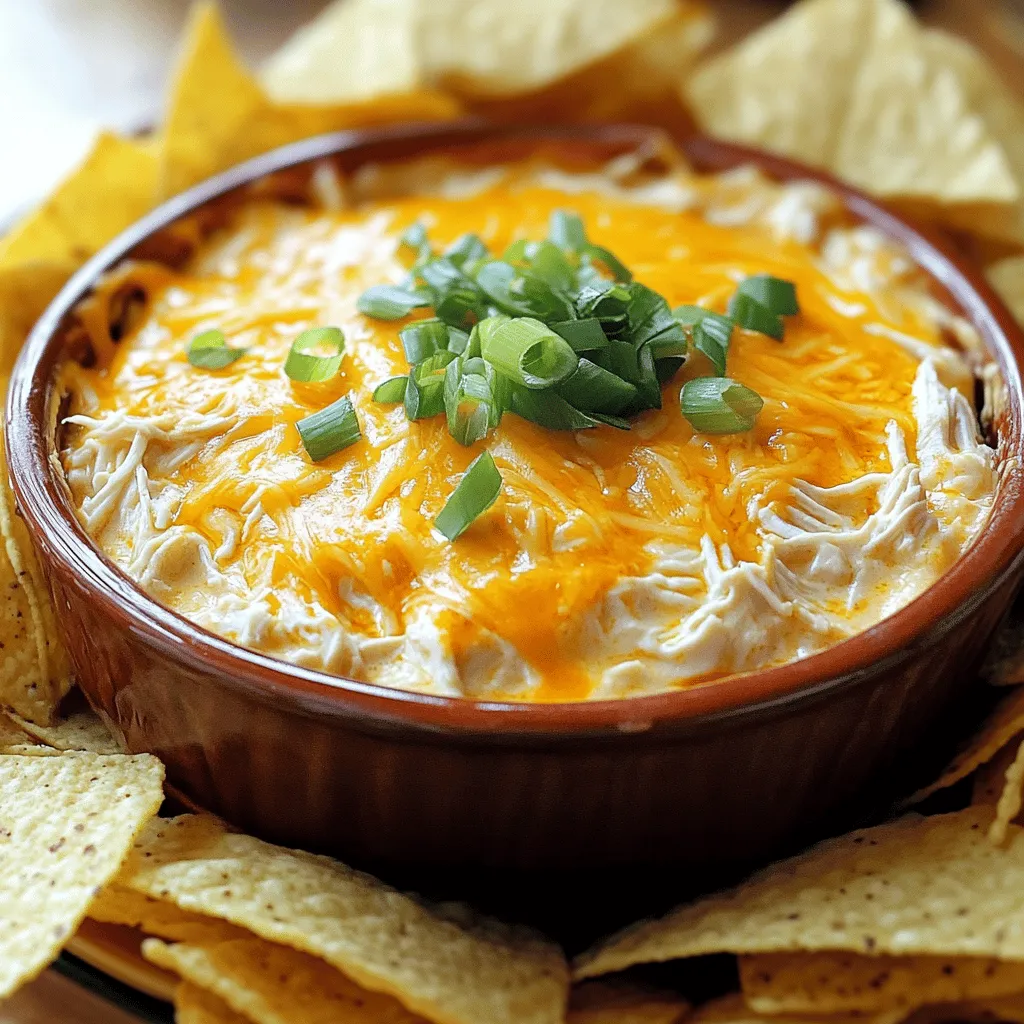
Buffalo Ranch Chicken Dip Satisfying Party Snack
Looking for a party snack that packs a punch? Buffalo Ranch Chicken Dip is your answer! This creamy, savory treat combines juicy chicken, zesty…