
Latest & Greatest
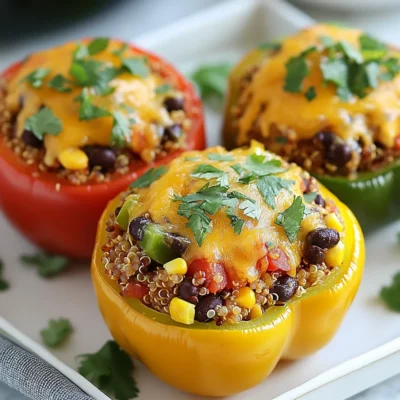
Classic Stuffed Peppers Flavorful and Easy Recipe
If you’re craving a delicious meal that’s both simple and satisfying, you’re in the right place! Classic stuffed peppers are
Read more…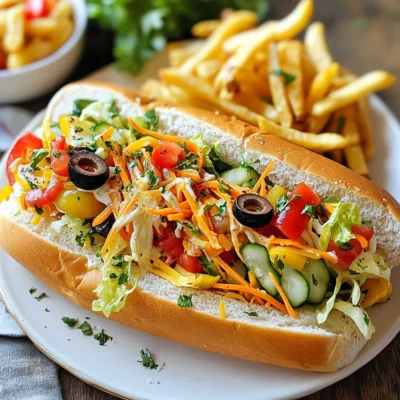
Grinder Salad Sandwich Tasty and Simple Recipe
Are you ready to try a sandwich that’s both tasty and simple? The Grinder Salad Sandwich brings fresh flavors and
Read more…
Bavette Steak with Roasted Garlic Sauce Delight
Ready to elevate your dinner game? Bavette steak, known for its rich flavor, pairs perfectly with a creamy roasted garlic
Read more…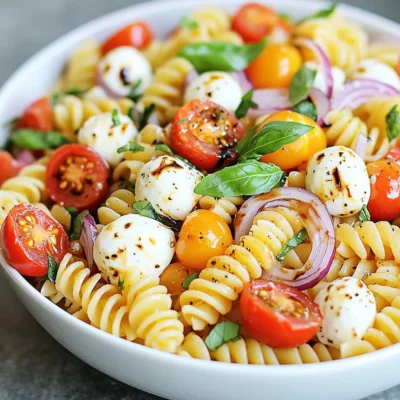
Tomato Mozzarella Pasta Salad Fresh and Tasty Delight
Are you ready for a fresh and tasty delight? This Tomato Mozzarella Pasta Salad is perfect for any meal or
Read more…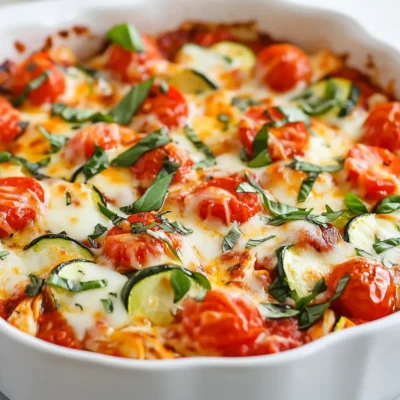
Crustless Pizza Bowl Tasty and Easy Weeknight Meal
Looking for a meal that’s both tasty and quick? The Crustless Pizza Bowl is your answer! This dish packs all
Read more…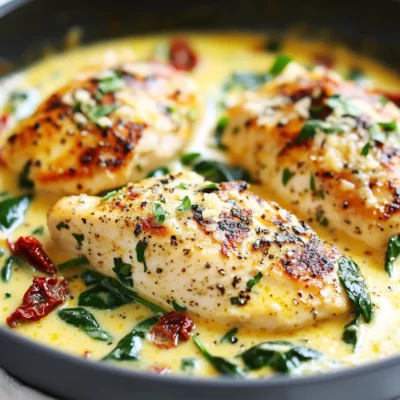
High Protein Creamy Chicken Simple and Flavorful Meal
Are you searching for a delicious, high-protein meal that’s easy to make? Look no further! This High Protein Creamy Chicken
Read more…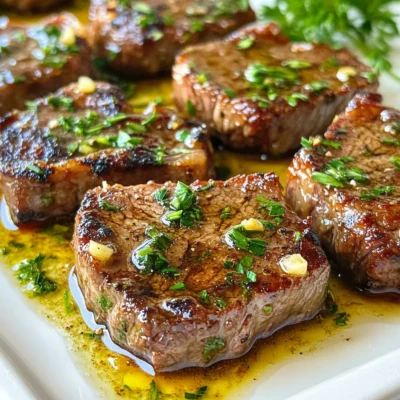
Garlic Butter Steak Bites Flavorful and Simple Recipe
If you crave a quick and tasty dinner, I’ve got just the dish for you: Garlic Butter Steak Bites. This
Read more…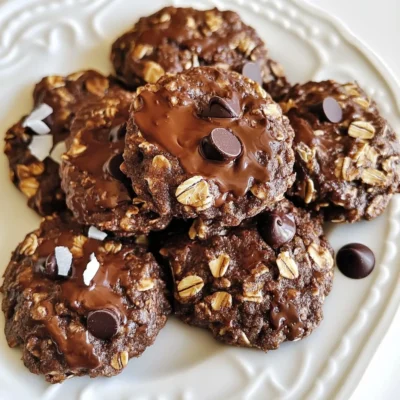
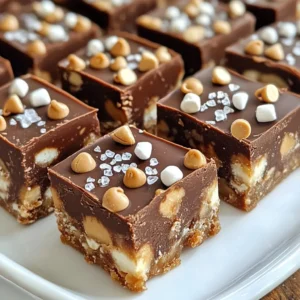
No-Bake Chocolate Oatmeal Cookies Simple Treat
If you love cookies but hate the oven, you’re in the right place! No-Bake Chocolate Oatmeal Cookies are quick, easy,
Read more…browse recipes
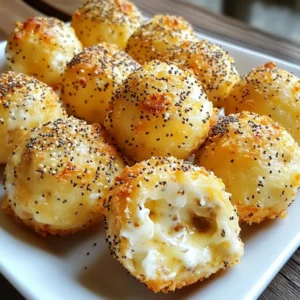


![To make these tasty bites, you need simple, easy-to-find ingredients. The recipe combines creamy cheese and pasta into a fun, crunchy snack. You can find the full recipe at the end of this section. Here’s what you need for the base of your baked mac and cheese bites: - 2 cups elbow macaroni - 2 cups shredded sharp cheddar cheese - 1 cup shredded mozzarella cheese - 1/2 cup grated Parmesan cheese - 1/4 cup cream cheese, softened - 2 large eggs - 1/2 cup milk - 1 teaspoon garlic powder - 1 teaspoon onion powder - 1/2 teaspoon smoked paprika - Salt and black pepper to taste - 1 cup breadcrumbs (panko for extra crunch) - Cooking spray or olive oil for greasing Each ingredient adds flavor and texture. The cheeses melt together, creating a creamy filling. The spices bring out the taste and the breadcrumbs add a crispy top. You can switch things up with these optional ingredients: - Cooked bacon or ham for extra protein - Chopped spinach or broccoli for added veggies - Different cheese types like gouda or pepper jack for unique flavors Feel free to mix and match. This way, you can tailor the bites to your liking! To start, I preheat my oven to 375°F (190°C). This step is key for getting a nice golden color. While the oven warms up, I cook 2 cups of elbow macaroni according to the package. I aim for al dente, so it stays firm when baked. After cooking, I drain the pasta and set it aside to cool a bit. Next, I grab a large mixing bowl. I add the cooked macaroni, 2 cups of shredded sharp cheddar cheese, 1 cup of shredded mozzarella cheese, 1/2 cup of grated Parmesan cheese, and 1/4 cup of softened cream cheese. I mix this all together until the cheese is well spread throughout the pasta. In a separate bowl, I whisk together 2 large eggs, 1/2 cup of milk, 1 teaspoon of garlic powder, 1 teaspoon of onion powder, and 1/2 teaspoon of smoked paprika. I also add salt and black pepper to taste. Once it's all mixed, I pour this egg mixture over the mac and cheese. I stir until everything is combined. Now, I get my mini muffin tin ready. I grease it using cooking spray or a light coat of olive oil. This helps the bites come out easily after baking. I then use a spoon to fill each muffin cup with the mac and cheese mix. I press down slightly to make sure they hold together well. I finish by sprinkling 1 cup of breadcrumbs over the top of each muffin cup. Using panko breadcrumbs gives a nice extra crunch. I place the tin in the preheated oven and bake for about 20-25 minutes. I look for a golden brown color on top and a firm texture when I touch them. After baking, I let the bites cool for a few minutes. Then, I use a small spatula to carefully remove them from the muffin tin. For a fun twist, I serve them warm with marinara sauce or my favorite dipping sauce. That's how I make baked mac and cheese bites! For the detailed steps, check out the Full Recipe. To get crunchy bites, use panko breadcrumbs. They add a nice, crisp layer. Make sure to fill the muffin tin cups well. Press the mixture down firmly. This helps them hold their shape while baking. Bake until the tops are golden brown. This step makes them crispy outside but soft inside. For a richer taste, mix different cheeses. Try adding Gouda or pepper jack. These will add depth to your bites. Don't skip the spices! Garlic powder and smoked paprika bring warmth. Adjust the salt and pepper to your liking. A hint of cayenne can add a nice kick. Serve the bites warm for the best taste. Arrange them on a nice platter. Pair with marinara or ranch dressing for dipping. This adds fun and flavor. You can also garnish with fresh herbs. Chopped parsley or basil can brighten the dish. Enjoy these bites at parties or as a snack! {{image_2}} You can mix up the types of cheese in your bites. Cheddar is great, but you can try gouda or pepper jack for extra flavor. Mixing cheeses adds depth and makes each bite unique. A blend of mozzarella and cheddar gives a nice stretch. Consider using fontina for a creamy touch. Each cheese has a different taste and texture, so feel free to play around! Want to make your bites heartier? Adding veggies or proteins is a fun way to do it. Spinach, broccoli, or diced bell peppers add color and nutrients. You can also add cooked chicken or bacon for a savory twist. Chopped tomatoes give a fresh burst of flavor. These additions can make your mac and cheese bites more filling and enjoyable. You can spice up your bites with different flavors. Adding a pinch of cayenne pepper makes them hot and tasty. Fresh herbs like basil or parsley can add a bright, fresh taste. You might even try adding a dash of hot sauce for an extra kick. These little changes can make a big difference in how your bites taste and feel. Get creative and find your favorite flavor combinations! For the full recipe, check the [Full Recipe] section. After you enjoy your baked mac and cheese bites, store the leftovers. Place them in an airtight container. Keep them in the fridge for up to three days. Make sure they cool down before you seal the container. This helps keep them fresh and tasty. When you're ready to eat the leftovers, reheating is simple. Preheat your oven to 350°F (175°C). Place the bites on a baking sheet. Heat for about 10-15 minutes until they are warm. This method keeps them crispy. You can also use the microwave, but they may lose some crunch. Heat for 30 seconds, then check. If they need more time, heat in short bursts. If you want to save some for later, freezing works great. First, let the bites cool completely. Then, place them in a single layer on a baking sheet. Freeze them for 1-2 hours until firm. After that, transfer them to a freezer-safe bag or container. They can last up to three months in the freezer. When you're ready to eat, bake them straight from the freezer. Just add a few extra minutes to the baking time. Enjoy your baked mac and cheese bites anytime! Yes, you can use gluten-free pasta. Look for options made from rice or corn. These types work well in baked mac and cheese bites. Just cook them al dente as you would regular pasta. They will hold up nicely in the mix and won’t change the taste much. To make your mac and cheese bites crispy, use panko breadcrumbs. They give a nice crunch when baked. You can also spray a little olive oil on top before baking. This adds extra crispiness. Baking them longer can help too, but watch closely to avoid burning. Baked mac and cheese bites taste great with many sauces. Marinara sauce is a classic choice. It adds a nice tang. Ranch or garlic aioli also work well. For a kick, try a spicy sriracha sauce. These dips enhance the flavors and make eating fun. Don't forget to try different sauces to find your favorite! We've covered the full recipe for mac and cheese bites, including key ingredients, steps, and tips. You learned how to create the perfect texture and enhance flavors. Variations allow you to try different cheeses, veggies, or spices. Don’t forget how to store and reheat those tasty leftovers. I hope you feel ready to make these bites your own! Enjoy experimenting and savoring each cheesy bite. Happy cooking!](https://soyumrecipes.com/wp-content/uploads/2025/06/c7601742-8308-414e-82ec-1dfc0c9e9278.webp)
Baked Mac and Cheese Bites Tasty and Simple Recipe
If you’re craving a fun, tasty snack, you’re in the right spot! Baked Mac and Cheese Bites are not just easy to make; they’re…
My Latest Desserts

Strawberry Lemonade Cupcakes Fresh and Flavorful Treat
Craving a sweet, tangy treat? Dive into the world of Strawberry Lemonade Cupcakes! These delightful cupcakes blend fresh strawberries and Read Full Recipe-
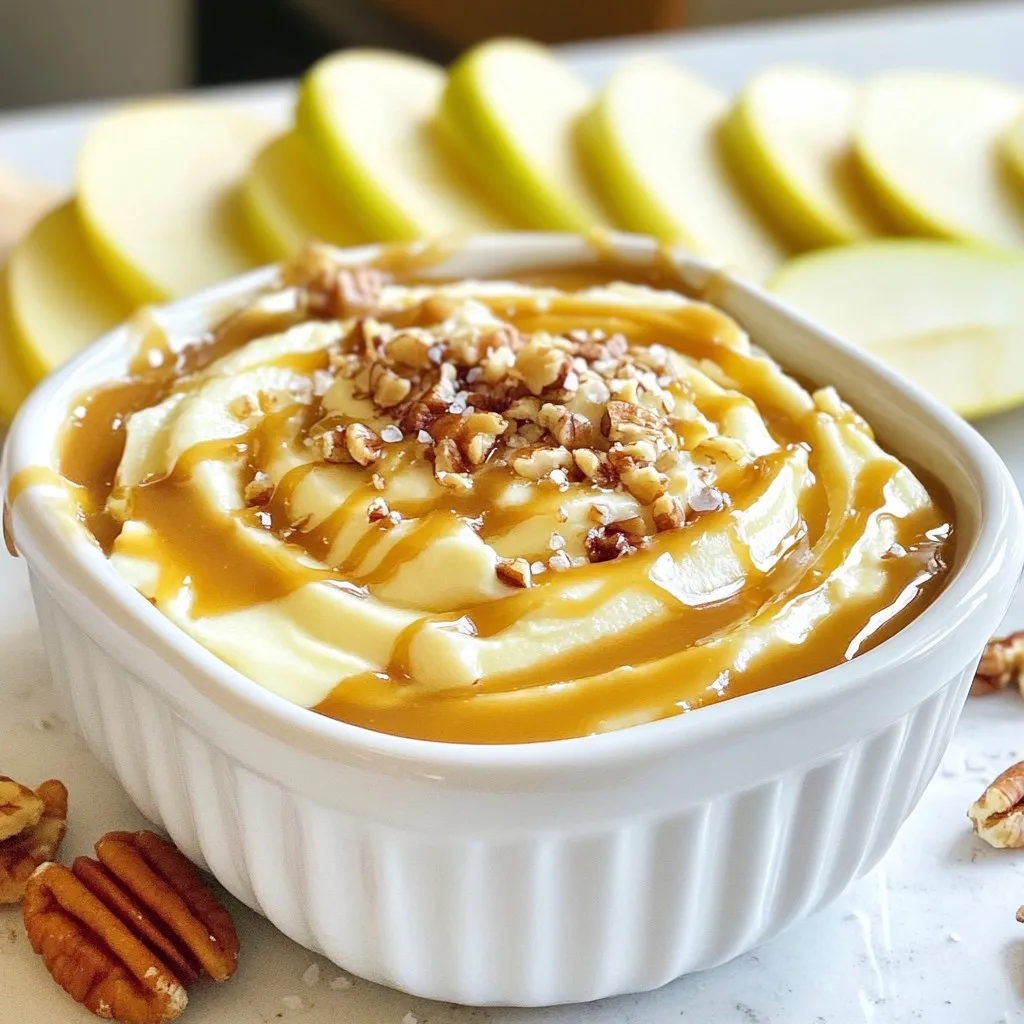
Salted Caramel Apple Dip Creamy and Delicious Treat
If you’re looking for a tasty treat that combines sweet and salty, you’re in for a delight! This Salted Caramel Read Full Recipe -
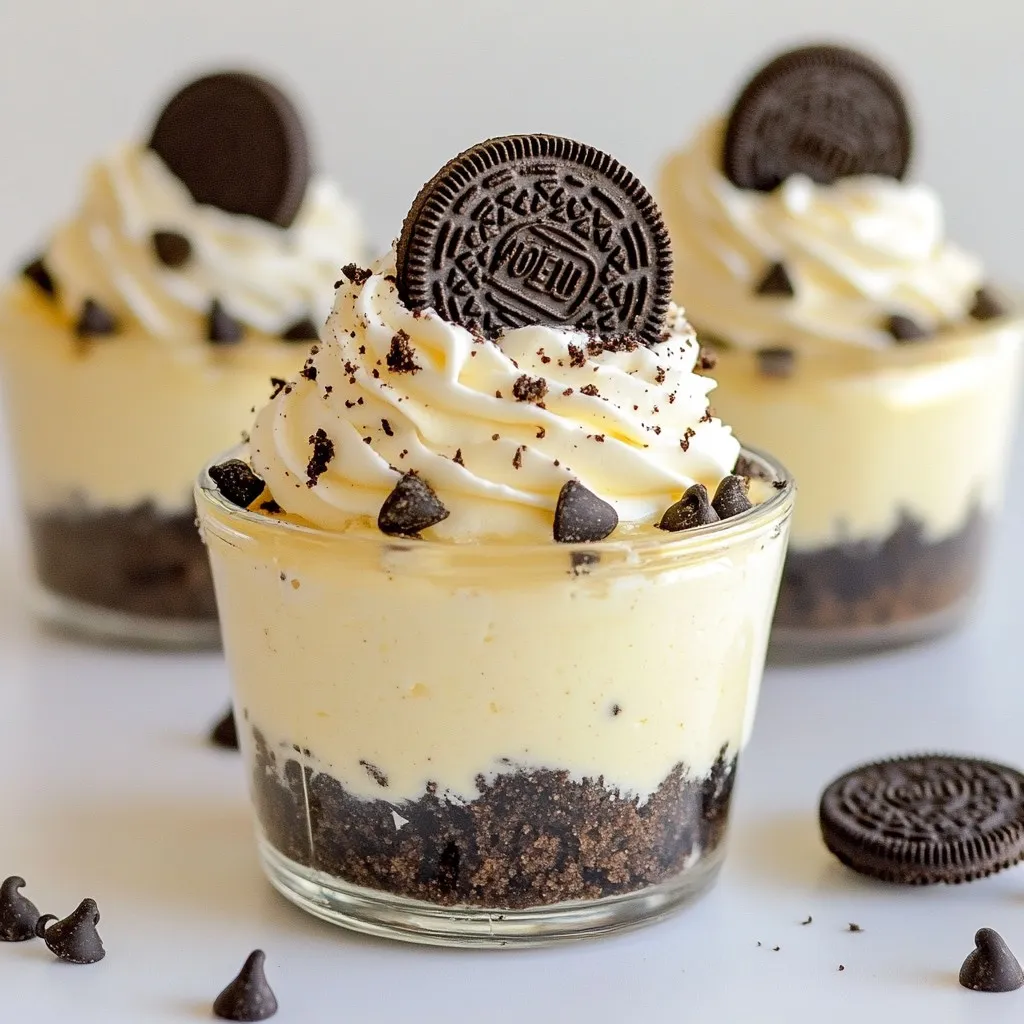
No-Bake Oreo Cheesecake Cups Delightful Easy Treat
Craving a sweet, creamy treat that’s easy to make? These No-Bake Oreo Cheesecake Cups are perfect for you! With just Read Full Recipe -
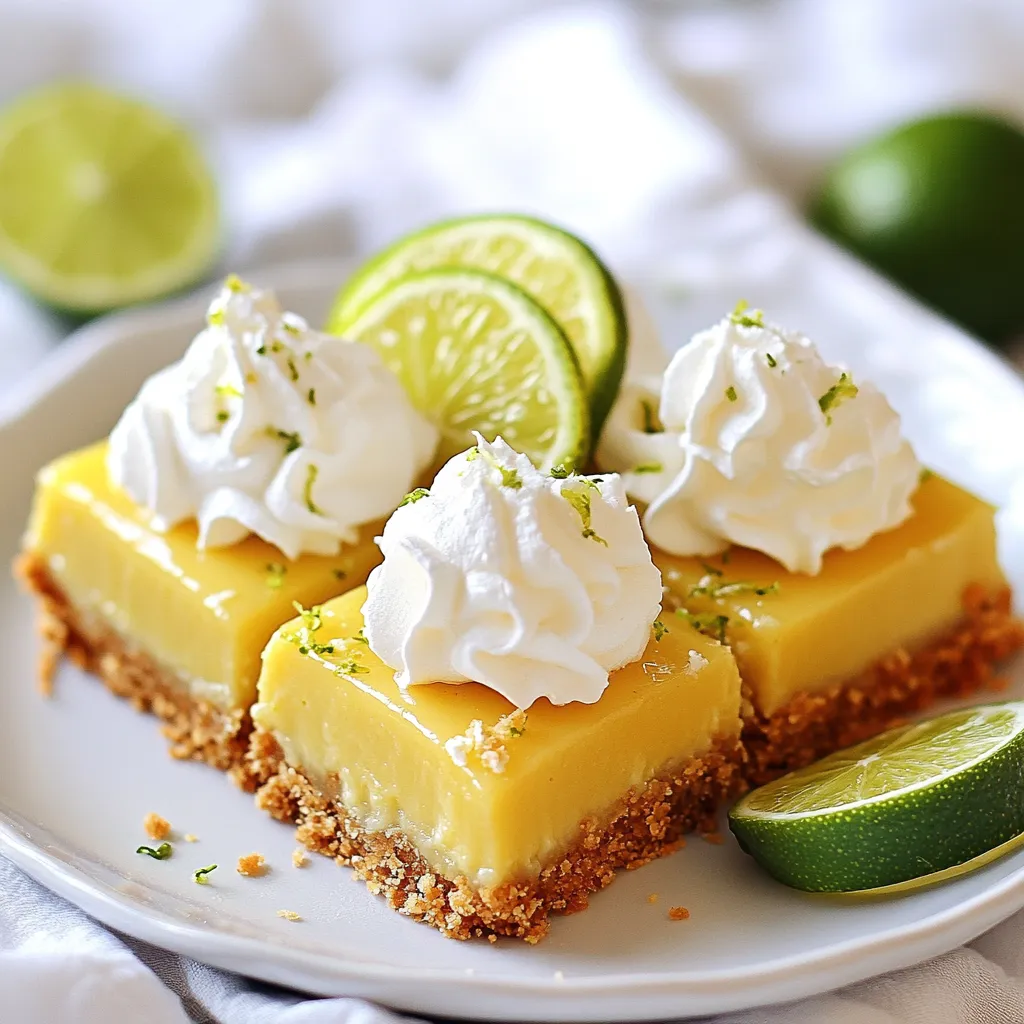
Key Lime Pie Bars Simple and Tangy Dessert Treat
Are you ready to enjoy a treat that’s both simple and zesty? Key Lime Pie Bars combine the tart zing Read Full Recipe -
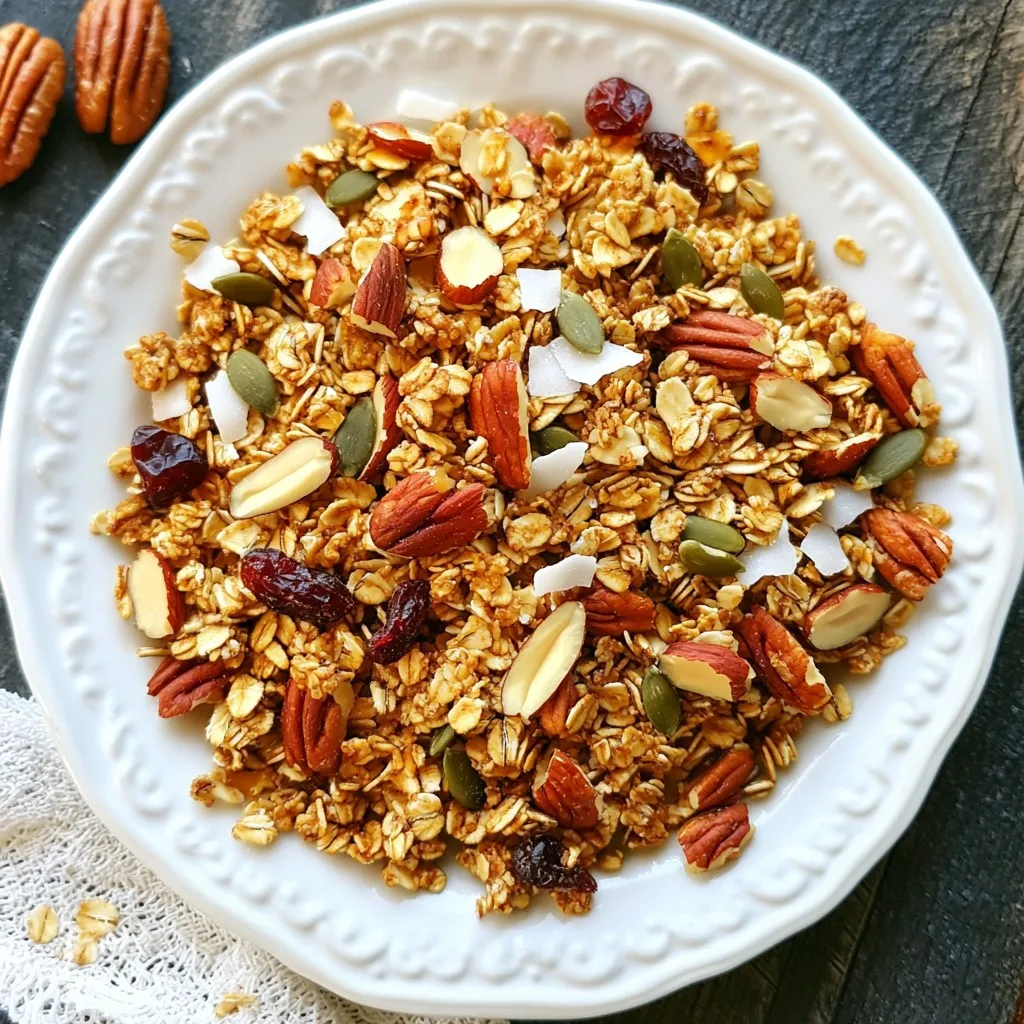
Maple Pecan Granola Crunchy and Nutritious Snack
Looking for a tasty and healthy snack? You’ve found it! My Maple Pecan Granola is crunchy, packed with flavor, and Read Full Recipe -
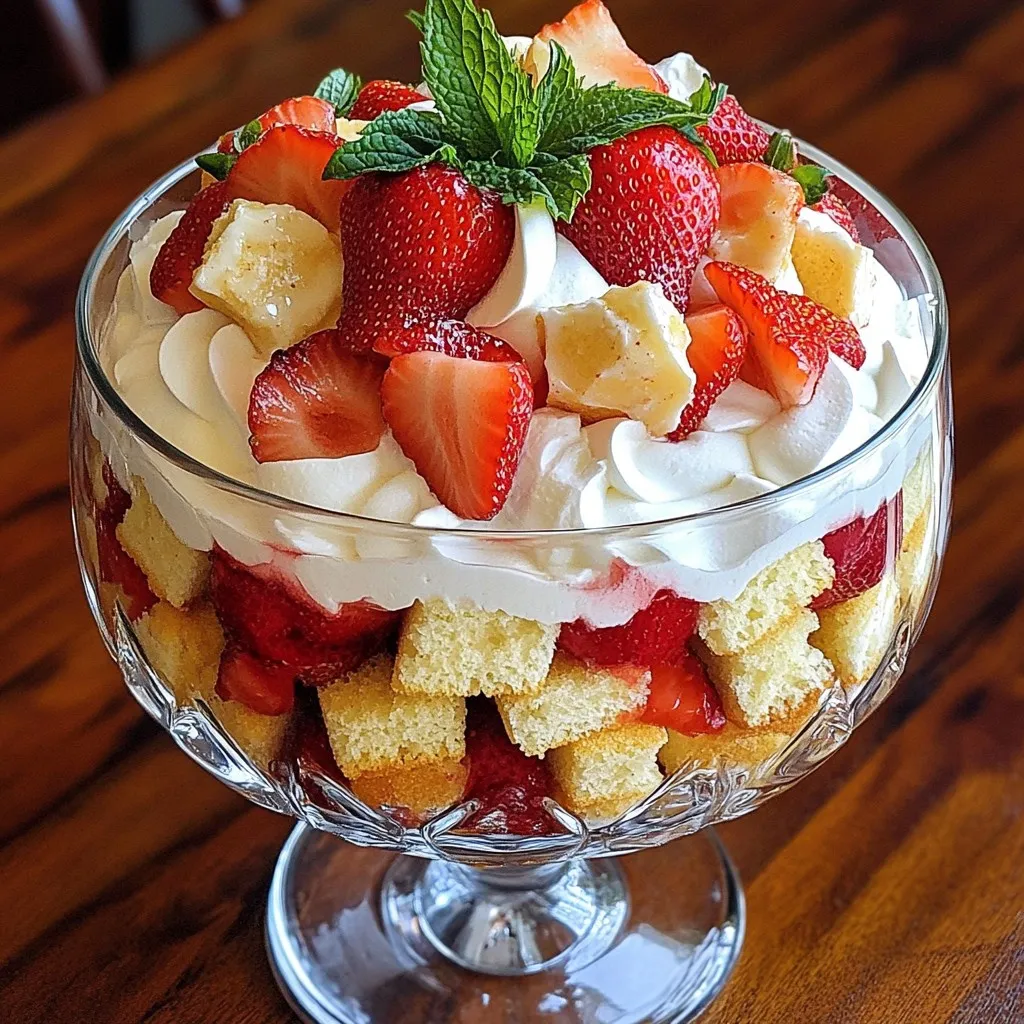
Strawberry Shortcake Trifle Delightful and Simple Treat
Get ready to impress your family and friends with a Strawberry Shortcake Trifle that’s both delightful and simple. This layered Read Full Recipe

My Latest Drinks
-
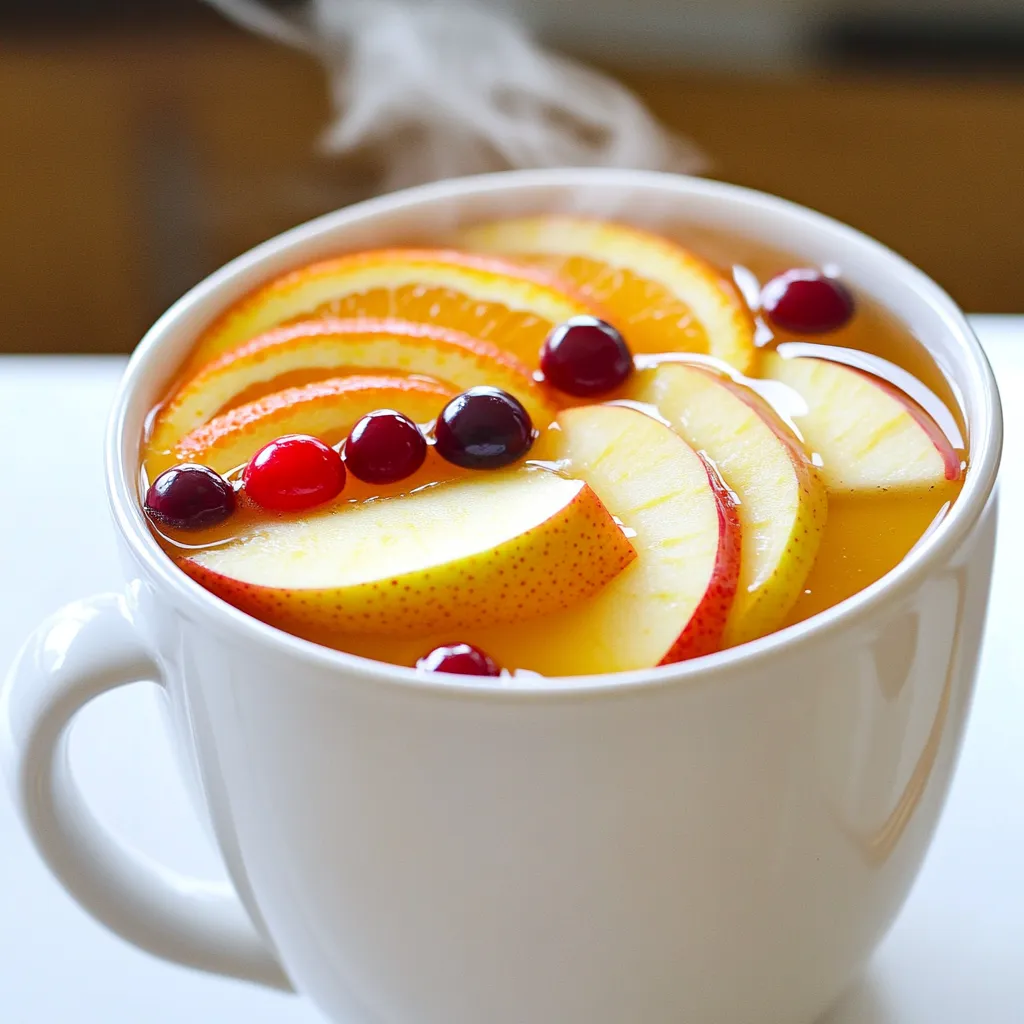
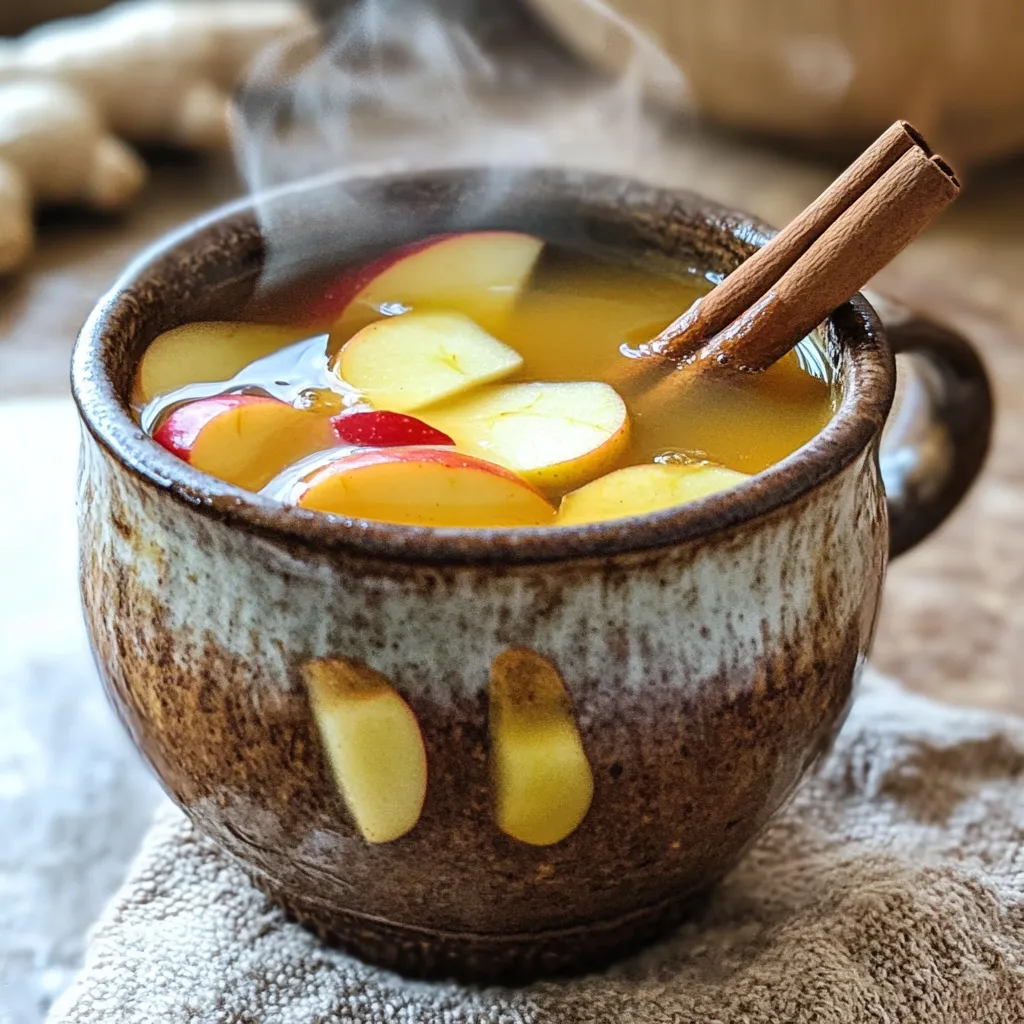
Spiced Apple Cider Punch Festive and Flavorful Drink
Warm up your gatherings with my Spiced Apple Cider Punch! This festive drink bursts with cozy flavors, perfect for chilly Read Full Recipe -
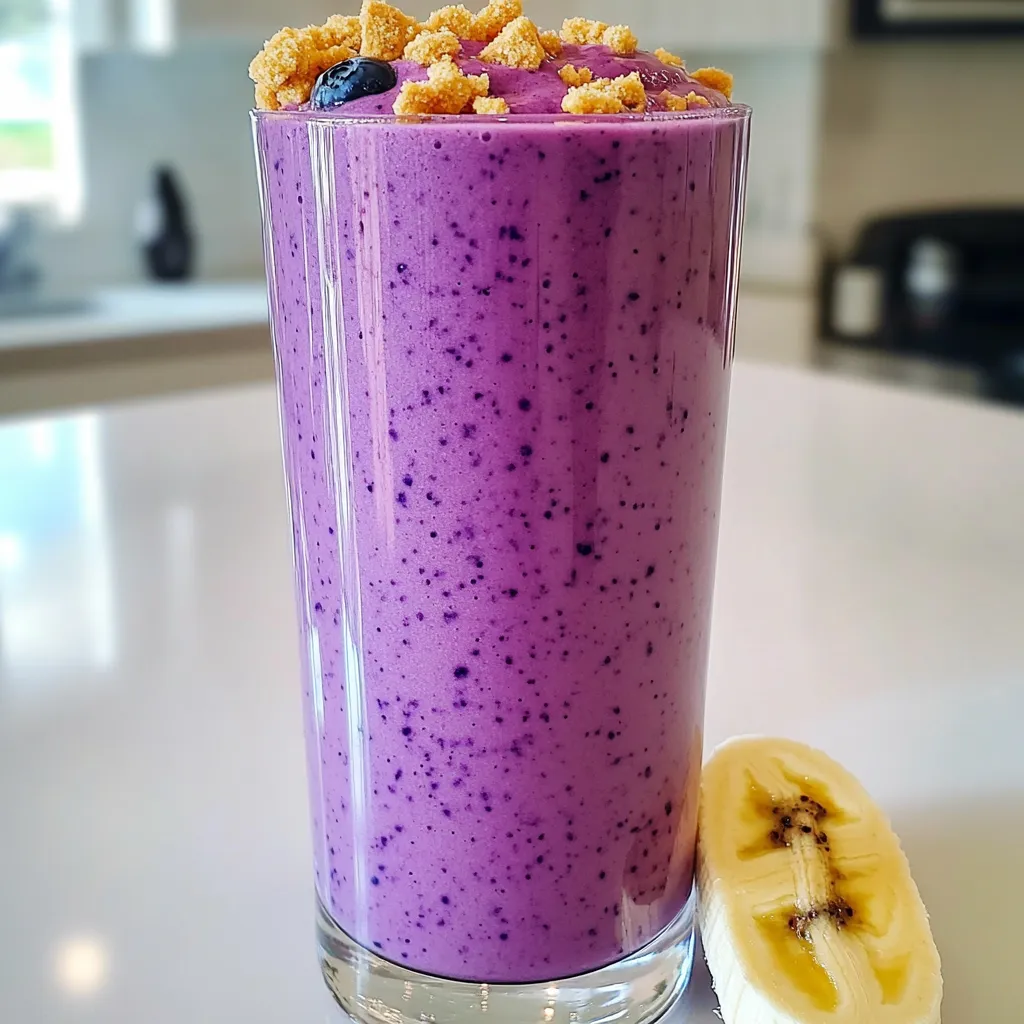
Blueberry Cheesecake Smoothie Protein Delight
Are you ready to treat yourself to a delicious and healthy drink? The Blueberry Cheesecake Smoothie Protein Delight packs all Read Full Recipe -
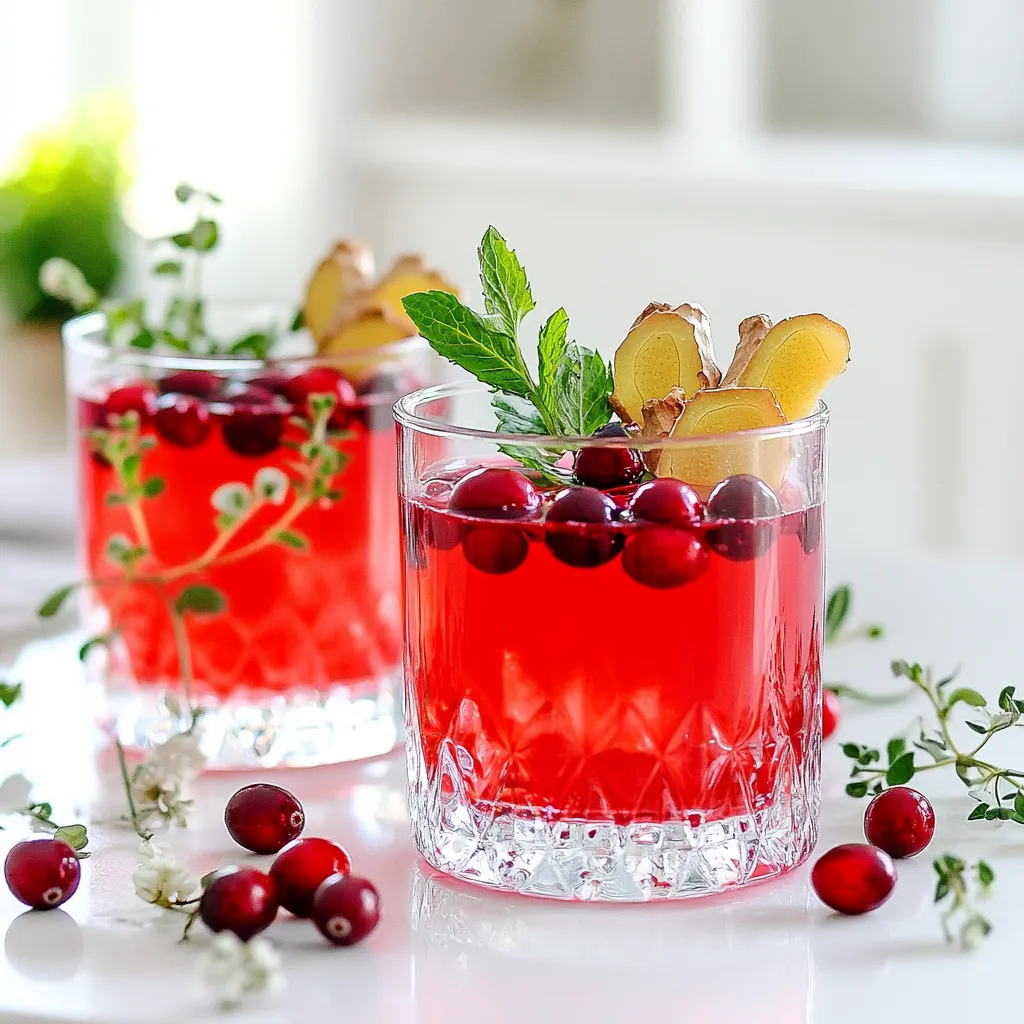
Warm Cranberry Ginger Mocktail Spritzer Recipe Delight
Welcome to my cozy kitchen! Today, I’m excited to share a delightful warm cranberry ginger mocktail spritzer that brightens up Read Full Recipe -
Spiced Apple Cider Chai Bold and Flavorful Drink Recipe
Looking for a cozy drink this season? Try my Spiced Apple Cider Chai! This bold, flavorful beverage combines warm apple Read Full Recipe -
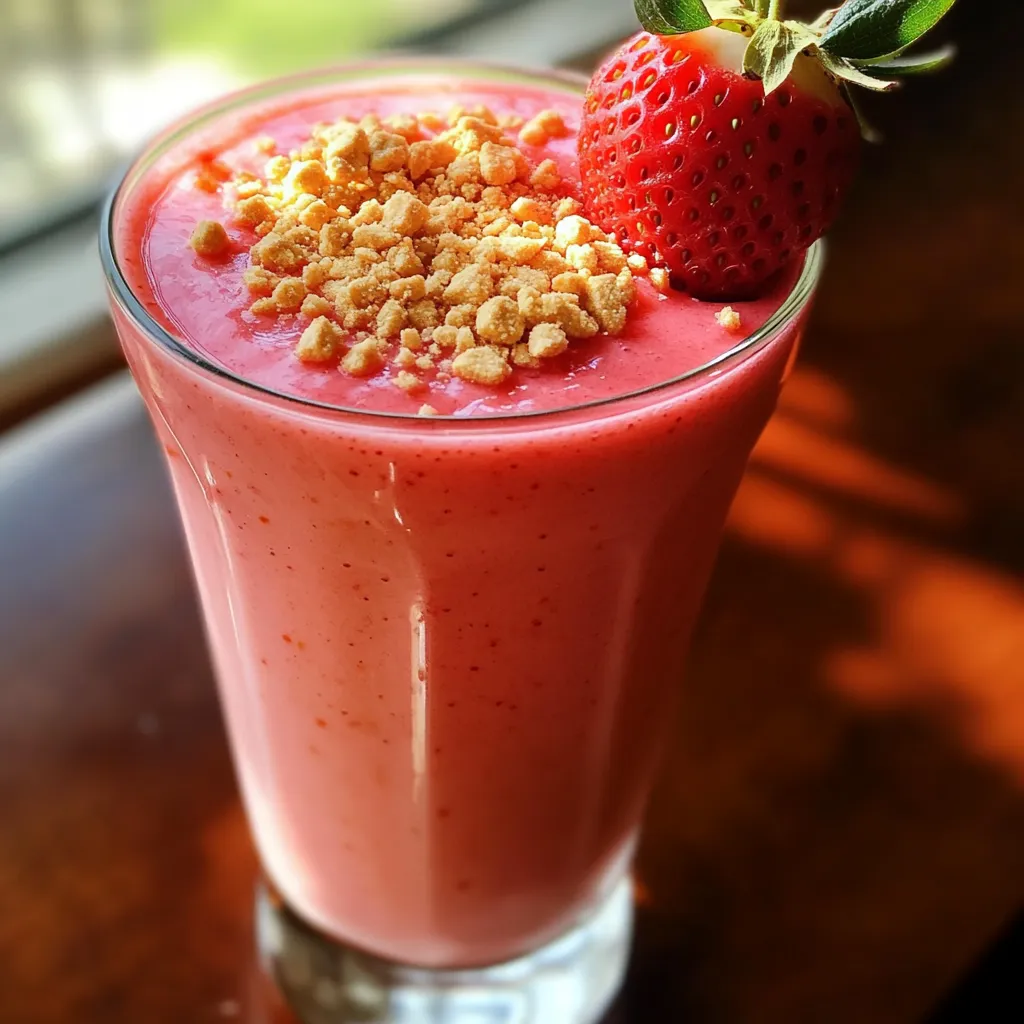
Strawberry Cheesecake Smoothie Tasty and Easy Recipe
Are you ready for a treat that’s both tasty and easy? This Strawberry Cheesecake Smoothie blends the rich flavors of Read Full Recipe -
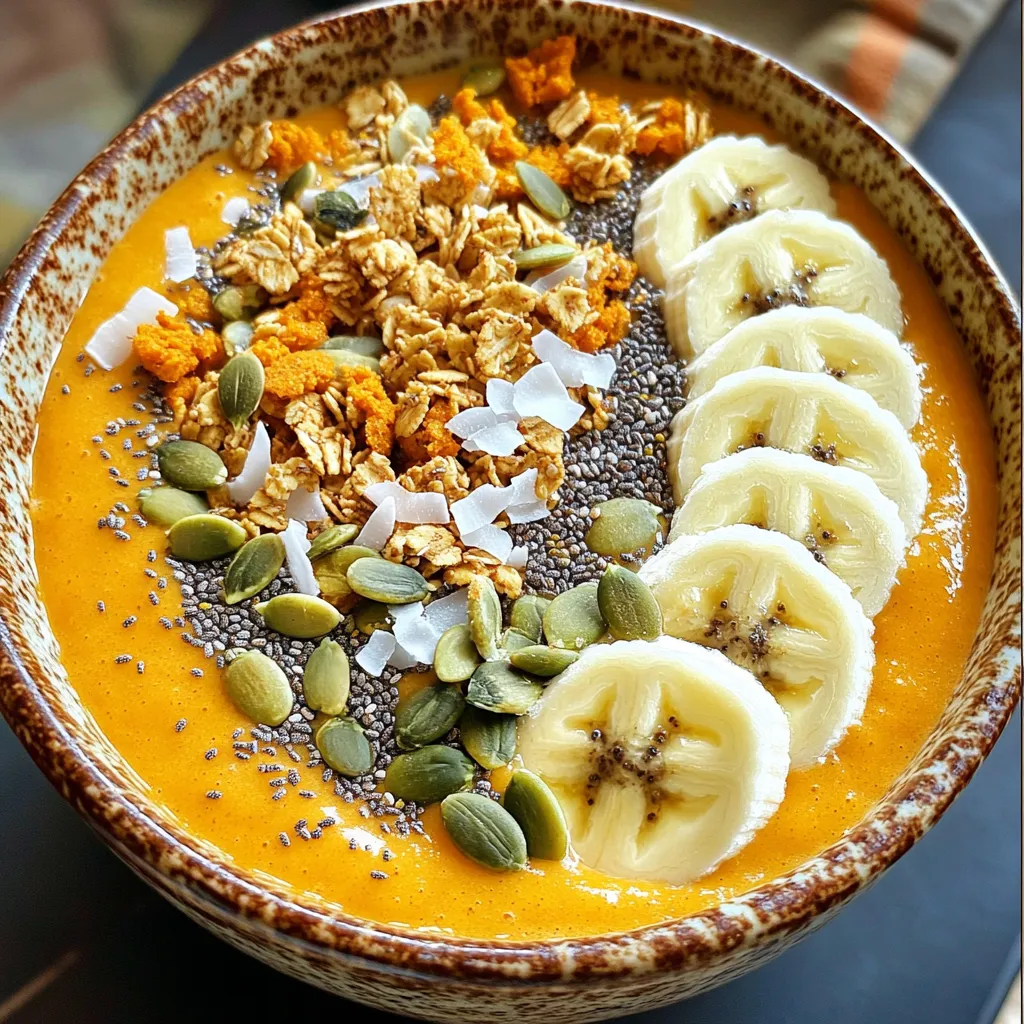
Pumpkin Spice Smoothie Bowl Protein Packed Delight
Are you ready to dive into the cozy world of pumpkin spice? This Pumpkin Spice Smoothie Bowl is not only Read Full Recipe

hey,
i’m !
I’m so happy you’re here!
I love creating dishes that bring joy to the table. I hope they bring the same joy to yours. Let’s enjoy this flavorful journey together.
Orange Chicken Better Than Takeout Flavorful Feast
Craving something flavorful that’s better than takeout? You’re in the right place! In this recipe, I’ll show you how to make Orange Chicken with…