

Latest & Greatest

Chocolate Chip Banana Bread Muffins Delightfully Easy
Who doesn’t love warm, fresh muffins? Chocolate Chip Banana Bread Muffins are the perfect blend of sweet and comforting. They’re
Read more…
High Protein Beef Pasta Flavorful and Filling Meal
Are you ready for a meal that’s both tasty and packed with protein? My High Protein Beef Pasta is your
Read more…
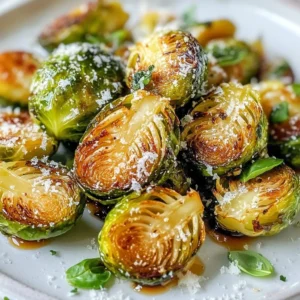
Creamy Steak Bites Cauliflower Skillet Delight
Looking for a delicious dish that combines tender steak bites and creamy cauliflower? You’re in the right place! In this
Read more…
Sheet Pan Greek Chicken Flavorful and Easy Recipe
Are you ready to bring the vibrant flavors of Greece to your kitchen? My Sheet Pan Greek Chicken recipe simplifies
Read more…
Creamy White Bean Chili Hearty and Flavorful Meal
If you crave a hearty and flavorful meal, this Creamy White Bean Chili is perfect for you. Packed with fresh
Read more…
Italian Chicken Casserole Flavorful and Easy Recipe
Looking for a dish that combines rich flavors and ease? This Italian Chicken Casserole is your answer! It features tender
Read more…
One-Pot Garlic Parmesan Orzo Creamy Satisfaction
If you’re craving a warm, creamy dish that’s quick and easy, you’re in the right place! My One-Pot Garlic Parmesan
Read more…
Chicken Shawarma with Garlic Sauce Simple and Tasty
Are you ready to spice up your dinner routine? Discover how to make Chicken Shawarma with Garlic Sauce that’s not
Read more…browse recipes


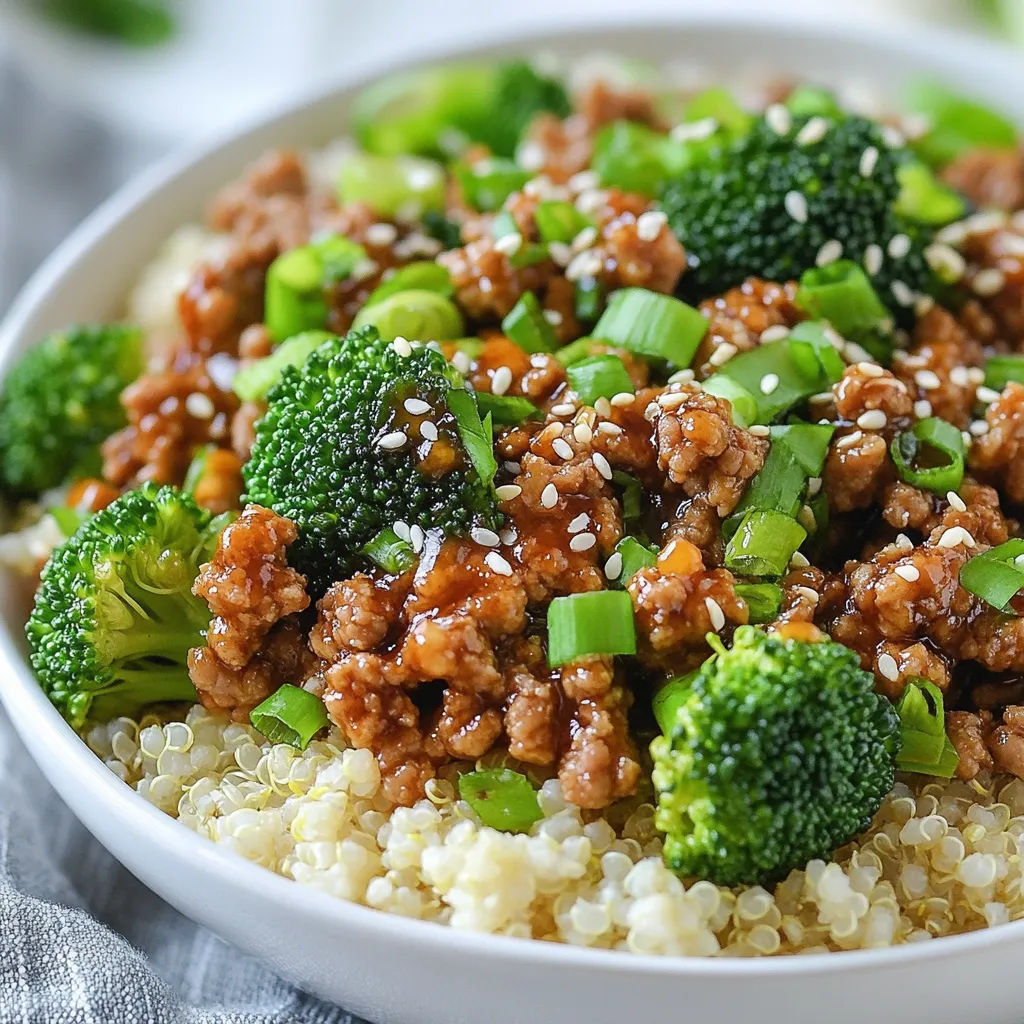
Ground Turkey Broccoli Bowls Flavorful and Easy Meal
Looking for a tasty, quick meal? Ground Turkey Broccoli Bowls are your answer! Packed with protein and fresh veggies, this dish is perfect for…
My Latest Desserts

Strawberry Lemonade Cupcakes Fresh and Flavorful Treat
Craving a sweet, tangy treat? Dive into the world of Strawberry Lemonade Cupcakes! These delightful cupcakes blend fresh strawberries and Read Full Recipe-
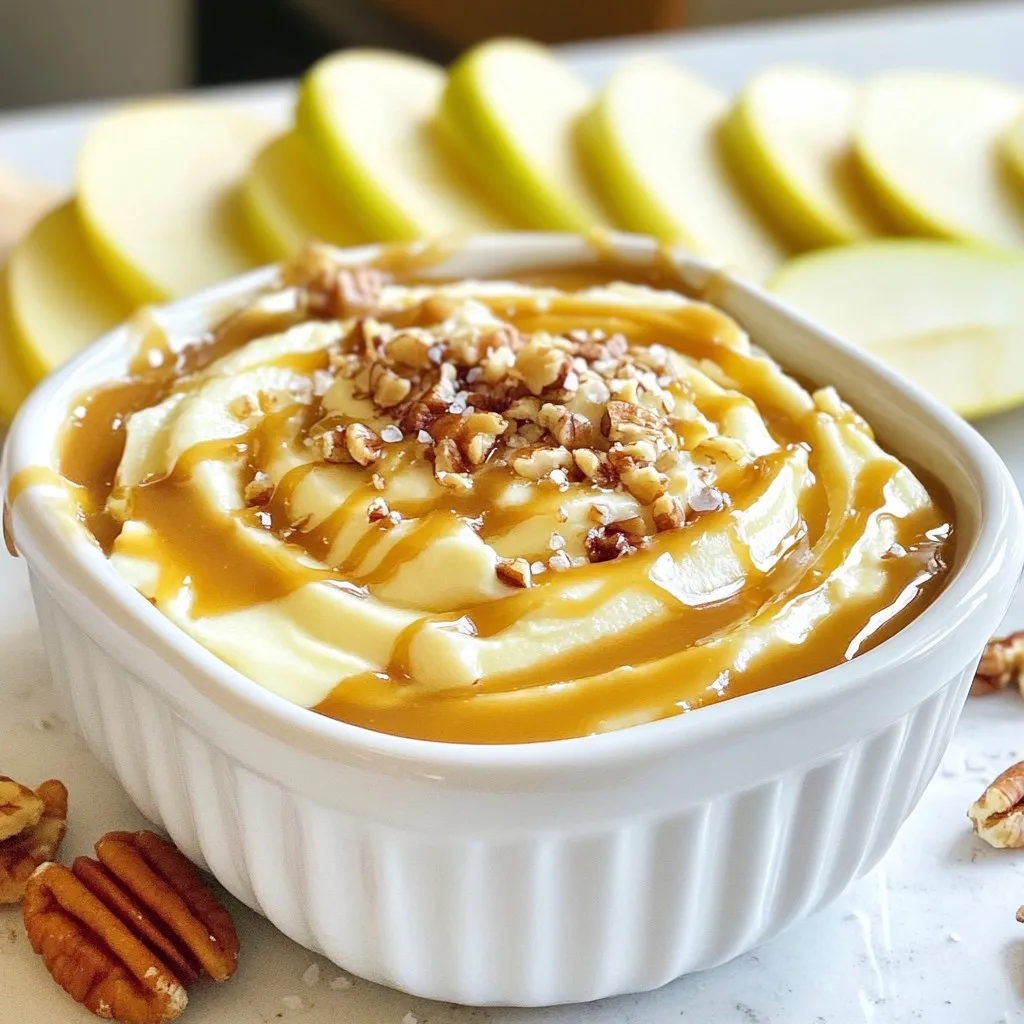
Salted Caramel Apple Dip Creamy and Delicious Treat
If you’re looking for a tasty treat that combines sweet and salty, you’re in for a delight! This Salted Caramel Read Full Recipe -
No-Bake Oreo Cheesecake Cups Delightful Easy Treat
Craving a sweet, creamy treat that’s easy to make? These No-Bake Oreo Cheesecake Cups are perfect for you! With just Read Full Recipe -
Key Lime Pie Bars Simple and Tangy Dessert Treat
Are you ready to enjoy a treat that’s both simple and zesty? Key Lime Pie Bars combine the tart zing Read Full Recipe -
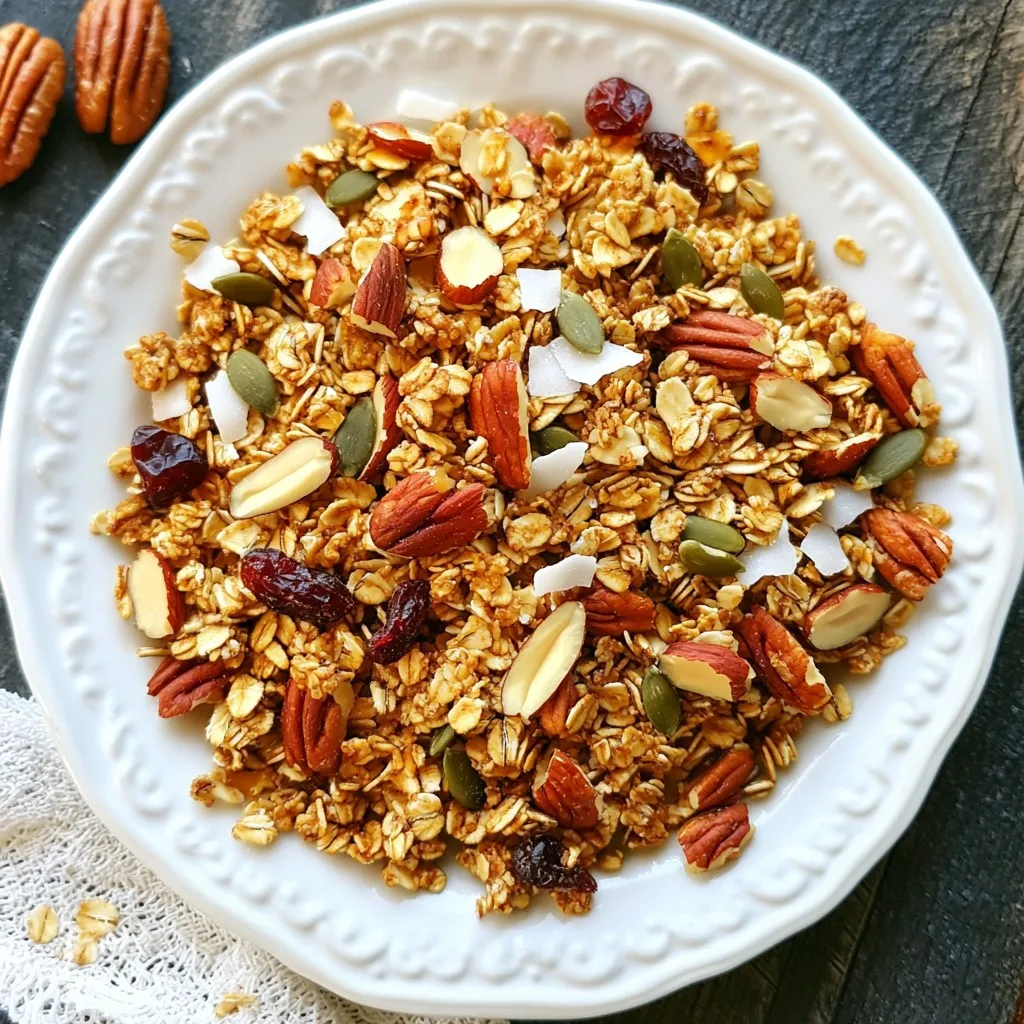
Maple Pecan Granola Crunchy and Nutritious Snack
Looking for a tasty and healthy snack? You’ve found it! My Maple Pecan Granola is crunchy, packed with flavor, and Read Full Recipe -
Strawberry Shortcake Trifle Delightful and Simple Treat
Get ready to impress your family and friends with a Strawberry Shortcake Trifle that’s both delightful and simple. This layered Read Full Recipe


My Latest Drinks
-
Spiced Apple Cider Punch Festive and Flavorful Drink
Warm up your gatherings with my Spiced Apple Cider Punch! This festive drink bursts with cozy flavors, perfect for chilly Read Full Recipe -
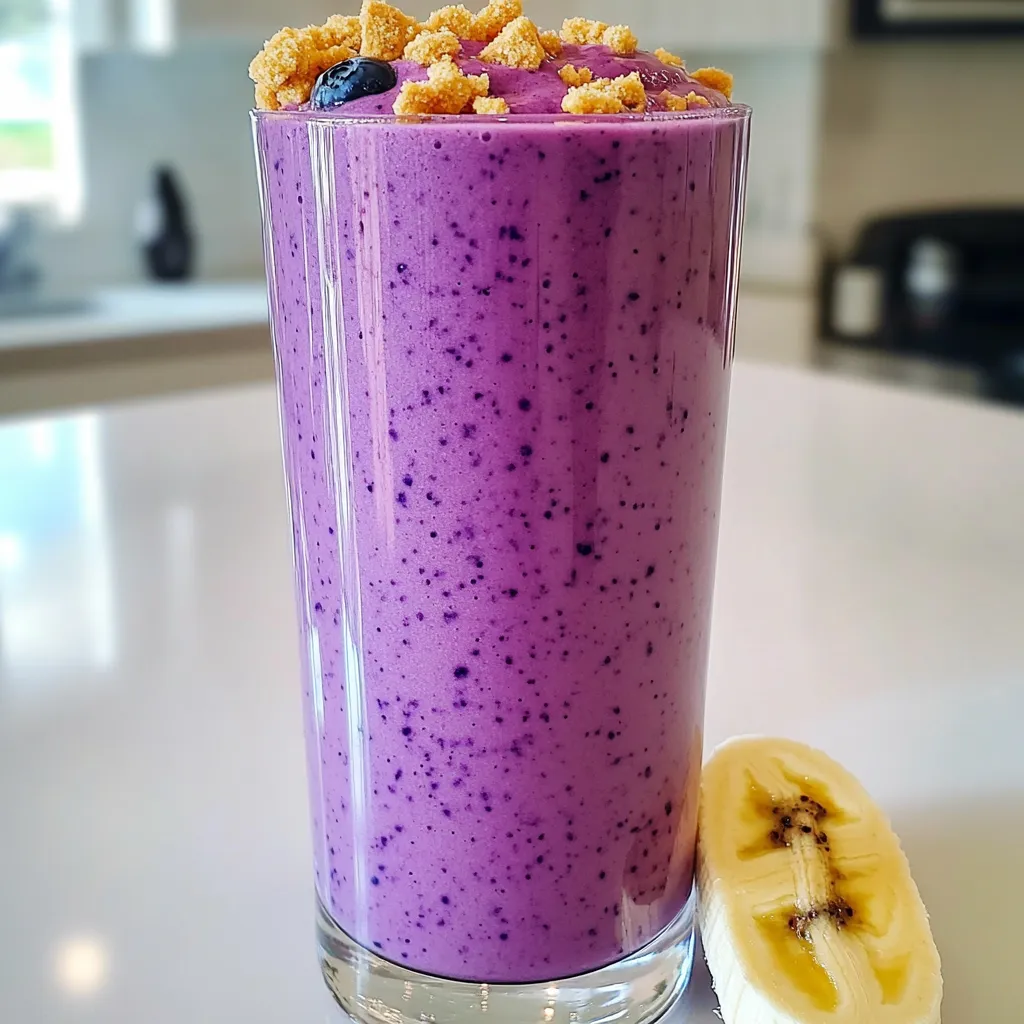
Blueberry Cheesecake Smoothie Protein Delight
Are you ready to treat yourself to a delicious and healthy drink? The Blueberry Cheesecake Smoothie Protein Delight packs all Read Full Recipe -
Warm Cranberry Ginger Mocktail Spritzer Recipe Delight
Welcome to my cozy kitchen! Today, I’m excited to share a delightful warm cranberry ginger mocktail spritzer that brightens up Read Full Recipe -
Spiced Apple Cider Chai Bold and Flavorful Drink Recipe
Looking for a cozy drink this season? Try my Spiced Apple Cider Chai! This bold, flavorful beverage combines warm apple Read Full Recipe -
Strawberry Cheesecake Smoothie Tasty and Easy Recipe
Are you ready for a treat that’s both tasty and easy? This Strawberry Cheesecake Smoothie blends the rich flavors of Read Full Recipe -
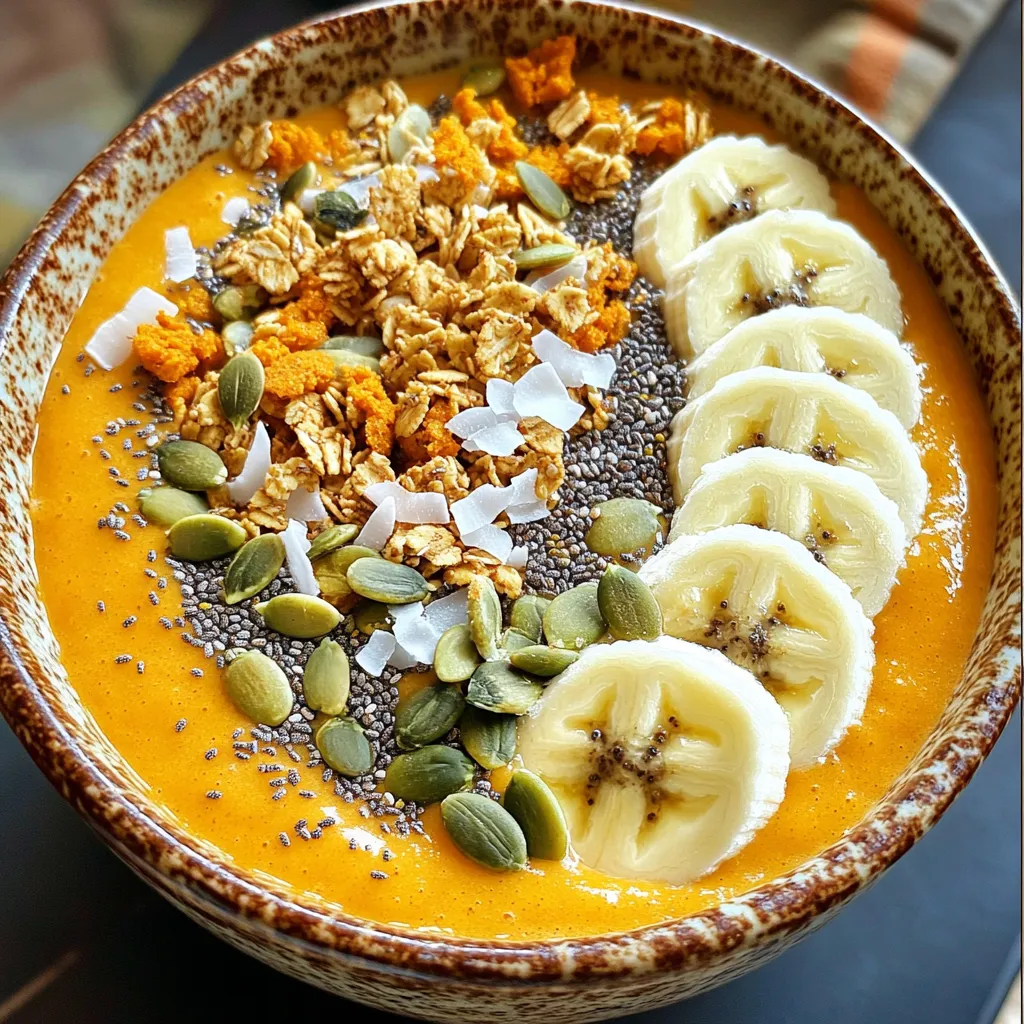
Pumpkin Spice Smoothie Bowl Protein Packed Delight
Are you ready to dive into the cozy world of pumpkin spice? This Pumpkin Spice Smoothie Bowl is not only Read Full Recipe


hey,
i’m !
I’m so happy you’re here!
I love creating dishes that bring joy to the table. I hope they bring the same joy to yours. Let’s enjoy this flavorful journey together.
. It gives all the details you need to create this tasty dish. Enjoy cooking! This blog post covered how to make Taco Stuffed Zucchini Boats. We explored the main ingredients and tasty toppings. I shared step-by-step instructions to ease your cooking. Next, I gave tips for perfecting the filling and selecting zucchini. We also looked at fun variations to try. Lastly, I explained how to store and reheat your leftovers. Embrace your cooking journey with this simple and tasty recipe! Enjoy every bite!](https://soyumrecipes.com/wp-content/uploads/2025/06/beefab14-0b63-40b8-b221-b583c53af4aa-300x300.webp)


Vibrant Avocado Cucumber Gazpacho Refreshing Chill Dish
Looking for a refreshing dish that bursts with flavor? You’ve found it! This vibrant Avocado Cucumber Gazpacho is a cool, creamy delight perfect for…
![To make a delicious avocado cucumber gazpacho, you need: - 2 ripe avocados, peeled and pitted - 1 large cucumber, peeled and diced - 1 cup ripe tomatoes, chopped - 1 small red onion, roughly chopped - 2 cloves garlic, minced - 2 cups vegetable broth (chilled) - 2 tablespoons fresh lime juice - 1 tablespoon olive oil - 1 teaspoon ground cumin - Salt and pepper to taste - Fresh cilantro or mint leaves for garnish Each ingredient plays an important role in the flavor and texture of the gazpacho. The ripe avocados add creaminess, while the cucumber keeps it light and fresh. Tomatoes bring color and sweetness. The red onion and garlic add depth. For the broth, use chilled vegetable broth to keep your soup cool. Lime juice gives it a nice zing, while olive oil adds richness. Ground cumin adds warmth, and salt and pepper balance everything. If you want to change things up, consider these substitutions: - Use Greek yogurt instead of olive oil for a creamier texture. - Swap fresh lime juice for lemon juice for a different citrus kick. - Try adding basil or dill instead of cilantro or mint for a unique flavor. - For heat, add chopped jalapeños or a dash of hot sauce. - If you prefer a chunkier soup, leave some diced veggies aside and stir them in after blending. You can find the full recipe to get all the steps for this refreshing dish. Start with your fresh ingredients. Gather two ripe avocados, one large cucumber, and one cup of ripe tomatoes. You also need one small red onion and two cloves of garlic. Peel and pit the avocados. Next, peel and dice the cucumber. Chop the tomatoes and roughly chop the red onion. Finally, mince the garlic. This prep work makes blending easier. Now, it’s time to blend. In a blender, add the avocados, cucumber, tomatoes, red onion, and minced garlic. Then pour in two cups of chilled vegetable broth. Add two tablespoons of fresh lime juice, one tablespoon of olive oil, and one teaspoon of ground cumin. Season with salt and pepper to taste. Blend this mixture on high. You want it to be smooth and creamy. If you want a thinner consistency, add more broth. After blending, taste the gazpacho and adjust the seasoning if needed. Pour it into a bowl or an airtight container. Cover it and refrigerate for at least 30 minutes. This chilling time lets the flavors mix together. When ready to serve, give it a good stir. Pour the gazpacho into bowls and garnish with fresh cilantro or mint leaves. Enjoy this refreshing dish as a light meal or appetizer. For the full recipe, check the details above. To get the best texture for your gazpacho, blend until smooth. Start with ripe avocados and cucumber. They create a creamy base. If the mixture is too thick, add more chilled vegetable broth. A little at a time works best. You want it silky, not too runny. This way, each spoonful feels rich and satisfying. Seasoning is key for great flavor. Start with salt and pepper to taste. You can always add more, but it's hard to take it out. The lime juice adds a nice zing and balances the creaminess. Taste as you go. You may want to add more cumin for warmth. Fresh herbs like cilantro or mint also boost the taste. Garnishes make your dish eye-catching. Use fresh cilantro or mint leaves for color. You can also add thin cucumber slices on top. A drizzle of olive oil adds shine and flavor. For a crunch, sprinkle some toasted seeds or nuts. These little touches make your gazpacho look gourmet and fun to eat. For the full recipe, check out the details above. {{image_2}} Want a kick? Add jalapeños to your gazpacho. Start with one small jalapeño, seeds removed. Chop it finely and blend it with the other ingredients. This adds heat and flavor. You can adjust the spice by adding more or less. The heat pairs well with the cool avocado. For a rich twist, mix in yogurt or sour cream. Add about half a cup when blending. This makes the soup creamy and adds a tangy taste. Greek yogurt works great if you want extra protein. The creaminess complements the fresh flavors beautifully. No blender? No problem! You can chop everything by hand. Dice the avocados, cucumber, tomatoes, and onion into small pieces. Mix them together in a bowl with garlic and lime juice. Add the cold broth and stir well. This gives your gazpacho a nice texture. Plus, it looks great with big chunks of veggies. For the full recipe, check out the [Full Recipe]. To keep your avocado cucumber gazpacho fresh, use an airtight container. This helps seal in flavors and maintain texture. Make sure to cool it down to room temperature before sealing. If you have extra, consider dividing it into smaller portions. This way, you can enjoy it later without opening the entire batch. Store your gazpacho in the fridge for the best taste. It stays fresh for about three days. If you want to keep it longer, freezing is an option. However, keep in mind that freezing may change the texture. Pour the gazpacho into freezer-safe containers, leaving space for expansion. Label them with the date, and you can enjoy it later! In the fridge, avocado cucumber gazpacho lasts about three days. After that, it may lose its freshness and flavor. Always check for any signs of spoilage before eating. If it smells off or has changed color, it’s better to toss it. Enjoy your gazpacho while it's still delicious! Avocado Cucumber Gazpacho is a cold soup. It blends ripe avocados and cucumbers with fresh tomatoes. This dish is creamy, smooth, and full of flavor. The lime juice adds brightness, while cumin gives depth. It’s refreshing and perfect for hot days. You can find the full recipe in the article for easy cooking. Yes, you can make this gazpacho a day ahead. It tastes even better after chilling overnight. Just store it in an airtight container. This helps the flavors mix well and improve. Make sure to stir it before serving. You can serve this gazpacho with crusty bread or crackers. A simple green salad pairs well too. Grilled shrimp or chicken can add protein to the meal. For a light lunch, you might enjoy it with a sandwich. Yes, this gazpacho is great for meal prep. It lasts up to three days in the fridge. Just keep it in an airtight container. Portion it out for easy meals throughout the week. Enjoy this healthy and simple dish anytime! Avocado cucumber gazpacho is fresh, easy, and full of flavor. We covered the key ingredients, how to prepare them, and tips for the best texture. You can make variations to suit your taste or use what you have. Remember to store leftovers properly to enjoy later. This dish is perfect for hot days or meal prep. By following these steps, you can make a delicious soup everyone will love. Now, grab your ingredients and get started on your refreshing gazpacho!](https://soyumrecipes.com/wp-content/uploads/2025/07/c5efed30-59f9-4be9-bb09-cffefb3b66e5.webp)
