Latest & Greatest
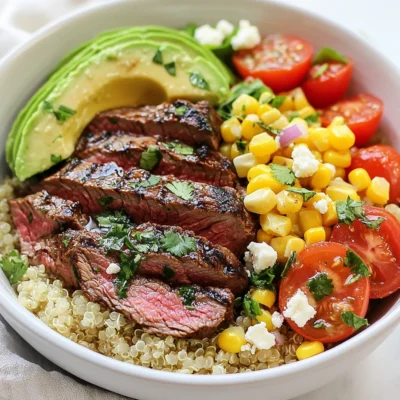
Cilantro Lime Steak Bowls Flavorful and Easy Meal
Looking for a quick, tasty meal? Cilantro Lime Steak Bowls are the perfect choice! This dish pairs zesty flank steak
Read more…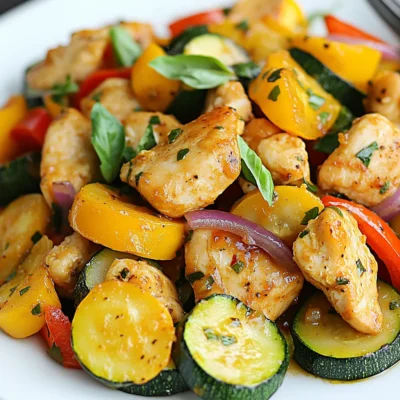
Chicken Zucchini Skillet Flavorful and Simple Meal
Looking for a quick and tasty dinner idea? This Chicken Zucchini Skillet is simple, flavorful, and packed with good ingredients.
Read more…
Chocolate Dipped Shortbread Hearts Irresistible Treat
Indulging in a sweet treat is always a delight, especially when it’s a Chocolate Dipped Shortbread Heart! In this guide,
Read more…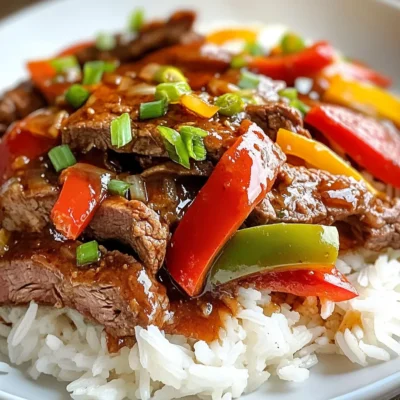
Crockpot Pepper Steak Flavorful and Easy Dinner Recipe
Are you looking for a simple yet flavorful dinner dish? Look no further than my Crockpot Pepper Steak recipe! With
Read more…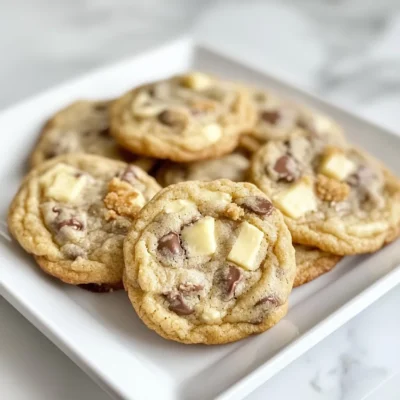
Chocolate Chip Cheesecake Cookies Tasty Delight Recipe
Get ready for a treat that combines two favorites—cheesecake and cookies! In this post, I will show you how to
Read more…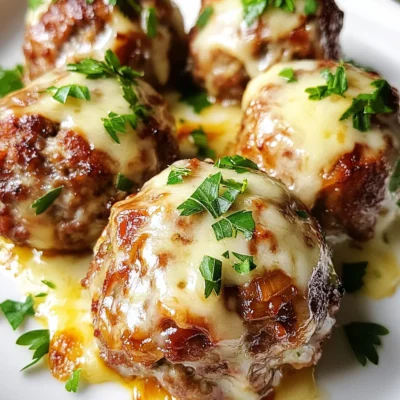
French Onion Meatballs Bursting with Flavor
Are you ready to wow your taste buds? French Onion Meatballs Bursting with Flavor offer a delicious twist on a
Read more…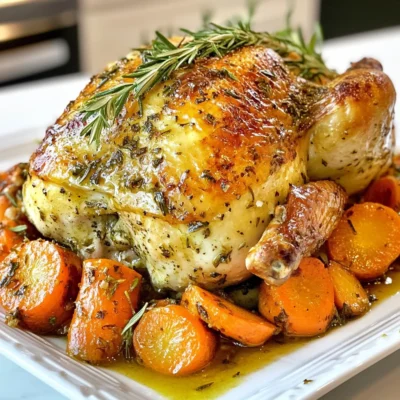
Garlic Herb Roasted Chicken Juicy and Flavorful Dish
Welcome to the ultimate guide on making Garlic Herb Roasted Chicken! If you crave a juicy, flavorful dish, you’re in
Read more…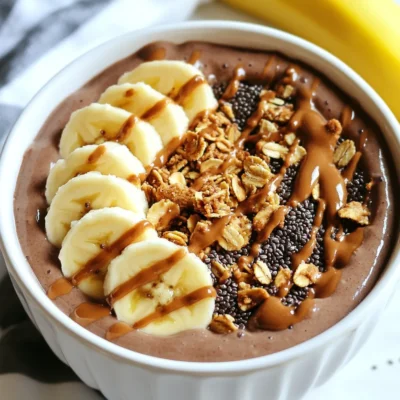
Chocolate Peanut Butter Smoothie Bowl Deliciously Rich
Craving a sweet and healthy treat? Look no further! This Chocolate Peanut Butter Smoothie Bowl combines rich flavors with simple
Read more…browse recipes


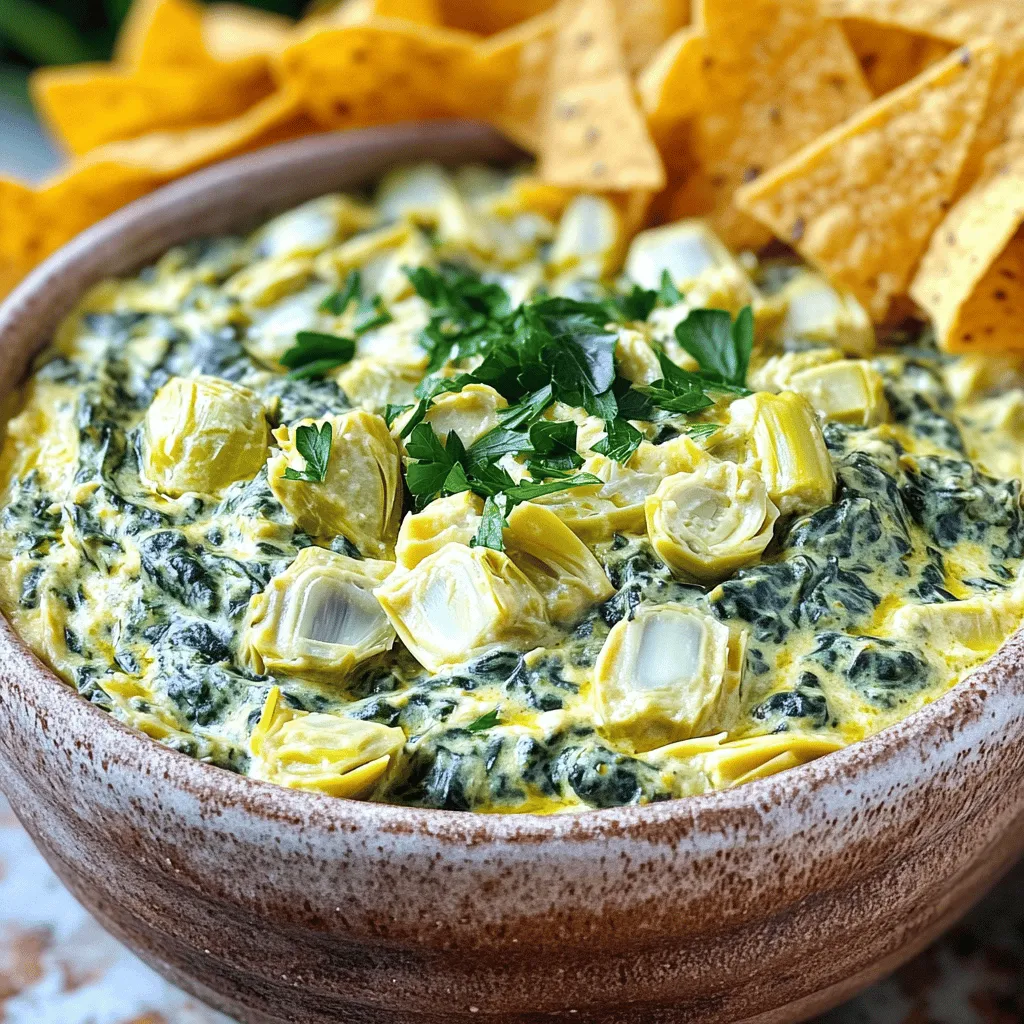
Slow Cooker Creamy Spinach Artichoke Dip Delight
Are you ready for a warm, creamy treat? My Slow Cooker Creamy Spinach Artichoke Dip Delight is the perfect party snack or game day…
My Latest Desserts

Strawberry Lemonade Cupcakes Fresh and Flavorful Treat
Craving a sweet, tangy treat? Dive into the world of Strawberry Lemonade Cupcakes! These delightful cupcakes blend fresh strawberries and Read Full Recipe-
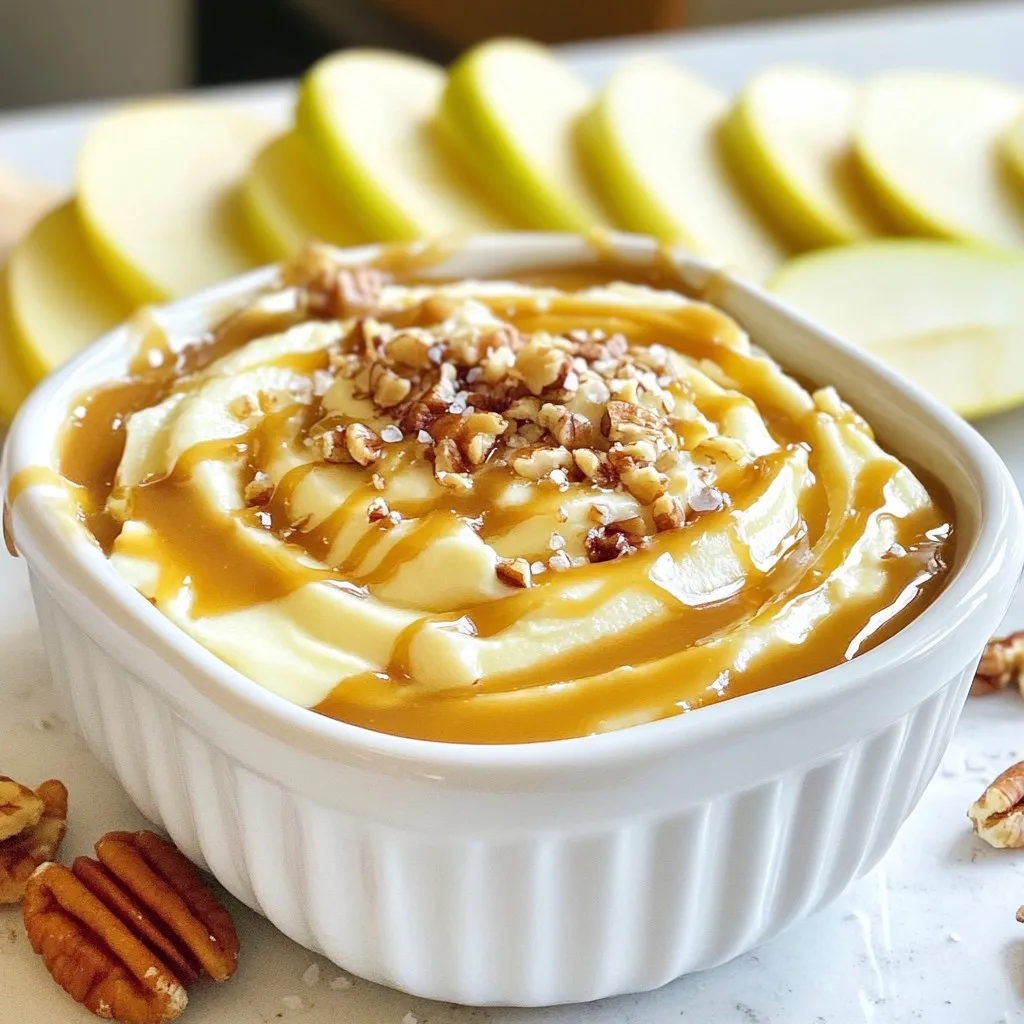
Salted Caramel Apple Dip Creamy and Delicious Treat
If you’re looking for a tasty treat that combines sweet and salty, you’re in for a delight! This Salted Caramel Read Full Recipe -
No-Bake Oreo Cheesecake Cups Delightful Easy Treat
Craving a sweet, creamy treat that’s easy to make? These No-Bake Oreo Cheesecake Cups are perfect for you! With just Read Full Recipe -
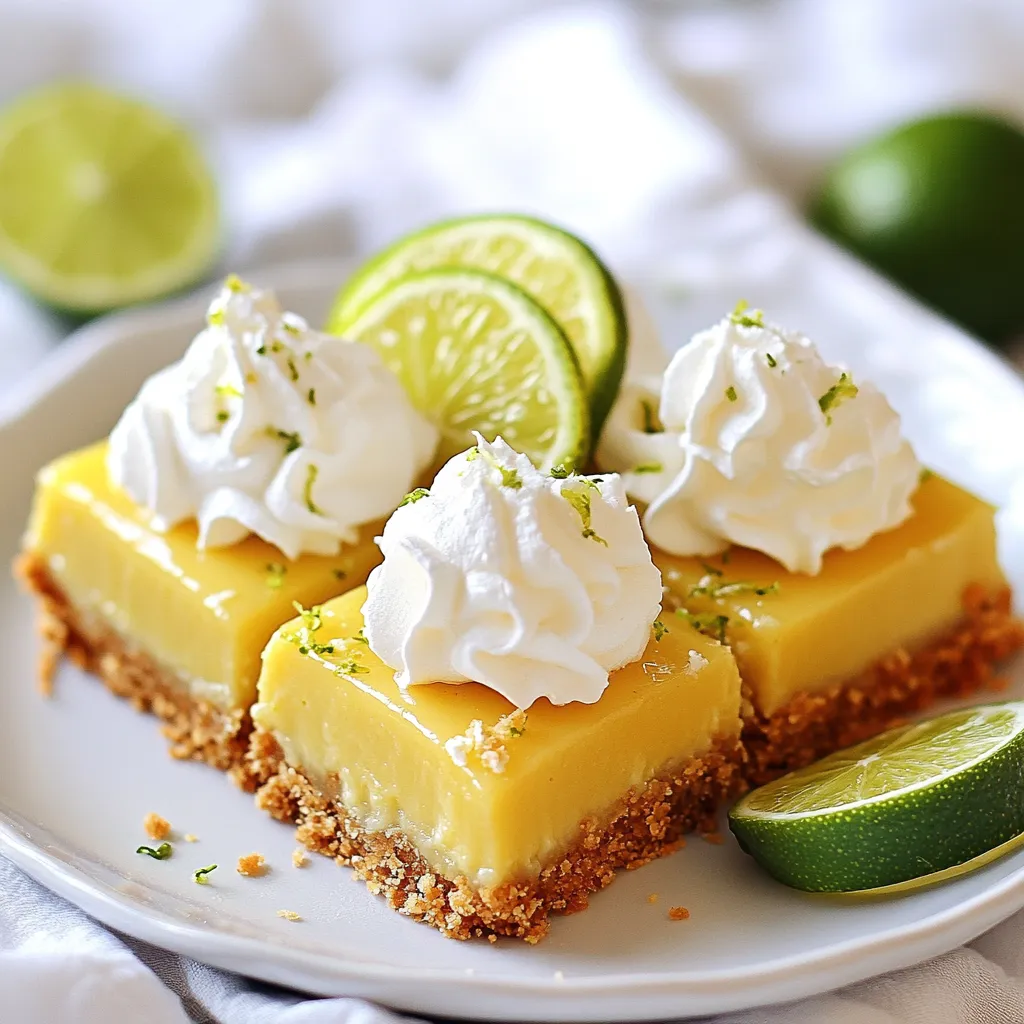
Key Lime Pie Bars Simple and Tangy Dessert Treat
Are you ready to enjoy a treat that’s both simple and zesty? Key Lime Pie Bars combine the tart zing Read Full Recipe -
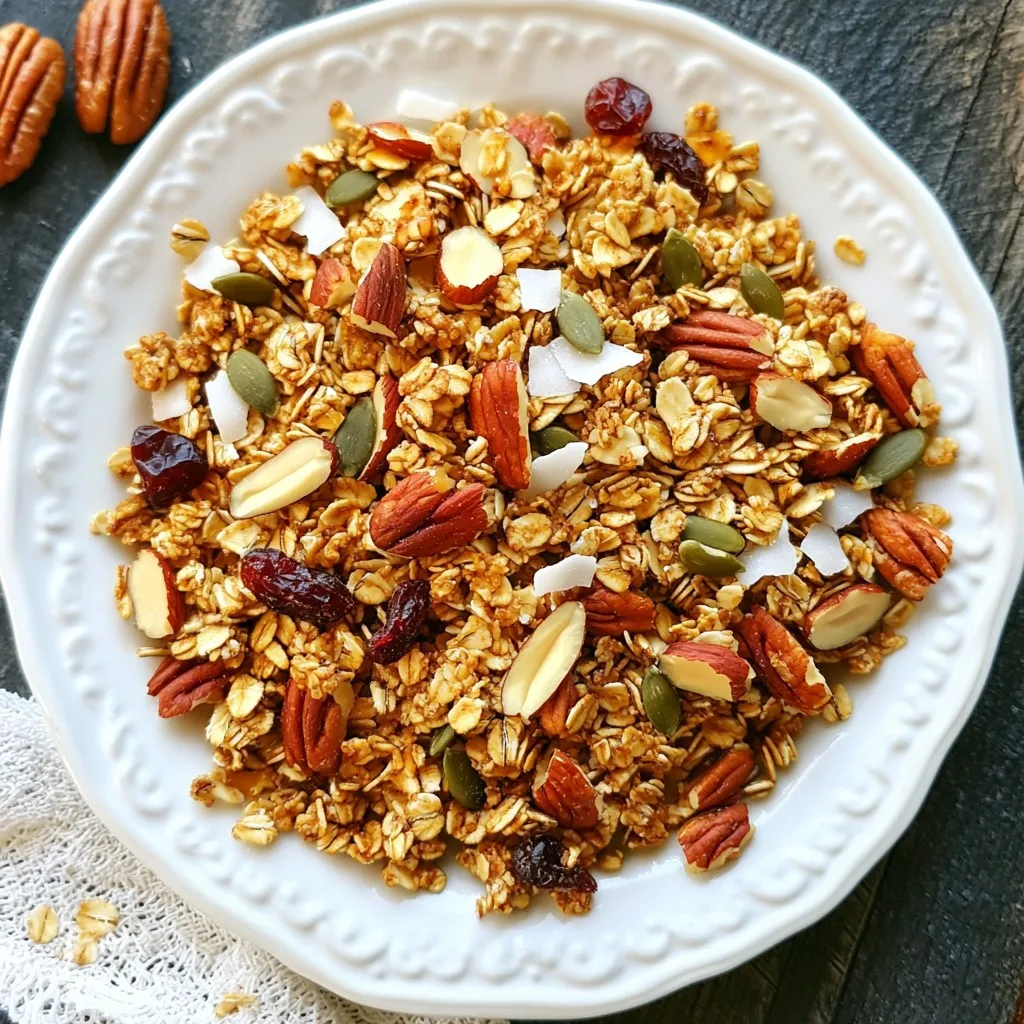
Maple Pecan Granola Crunchy and Nutritious Snack
Looking for a tasty and healthy snack? You’ve found it! My Maple Pecan Granola is crunchy, packed with flavor, and Read Full Recipe -
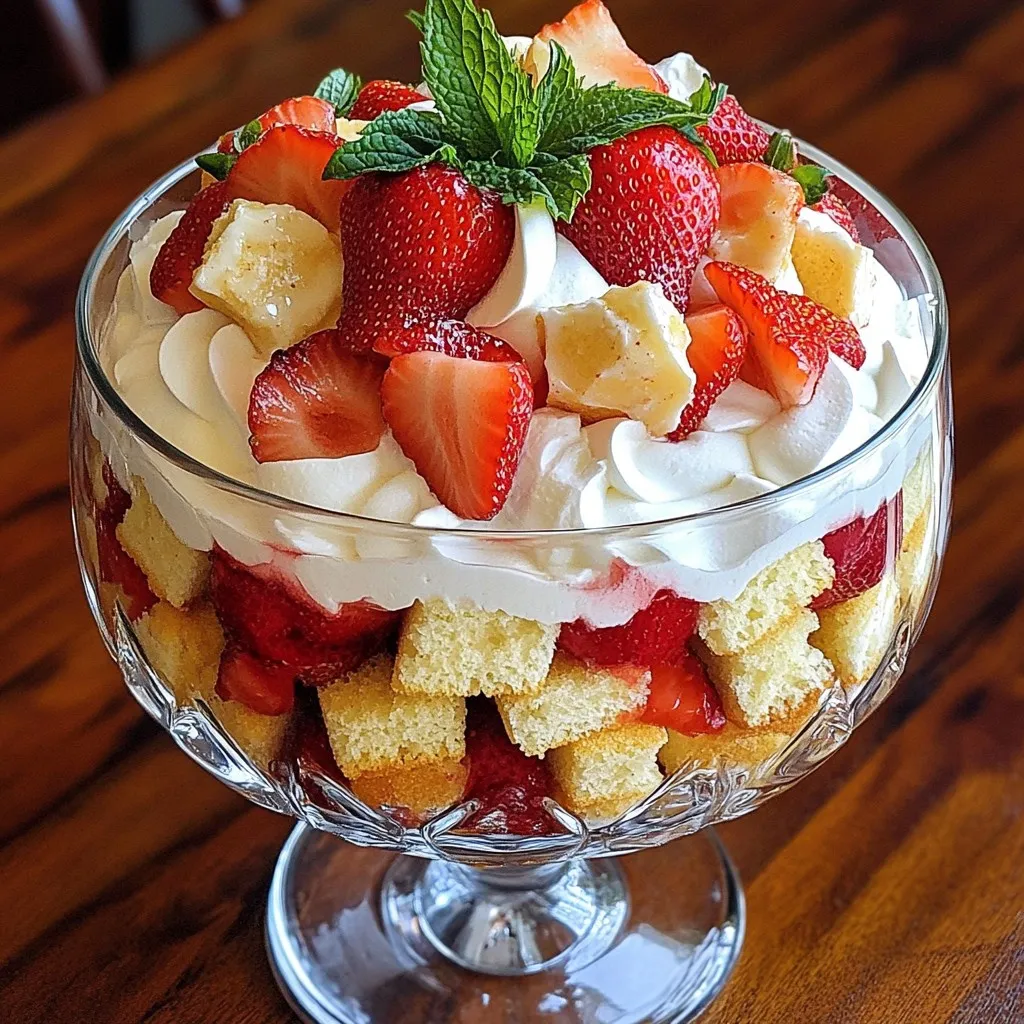
Strawberry Shortcake Trifle Delightful and Simple Treat
Get ready to impress your family and friends with a Strawberry Shortcake Trifle that’s both delightful and simple. This layered Read Full Recipe


My Latest Drinks
-
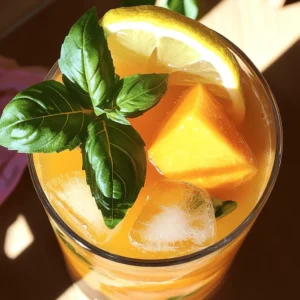
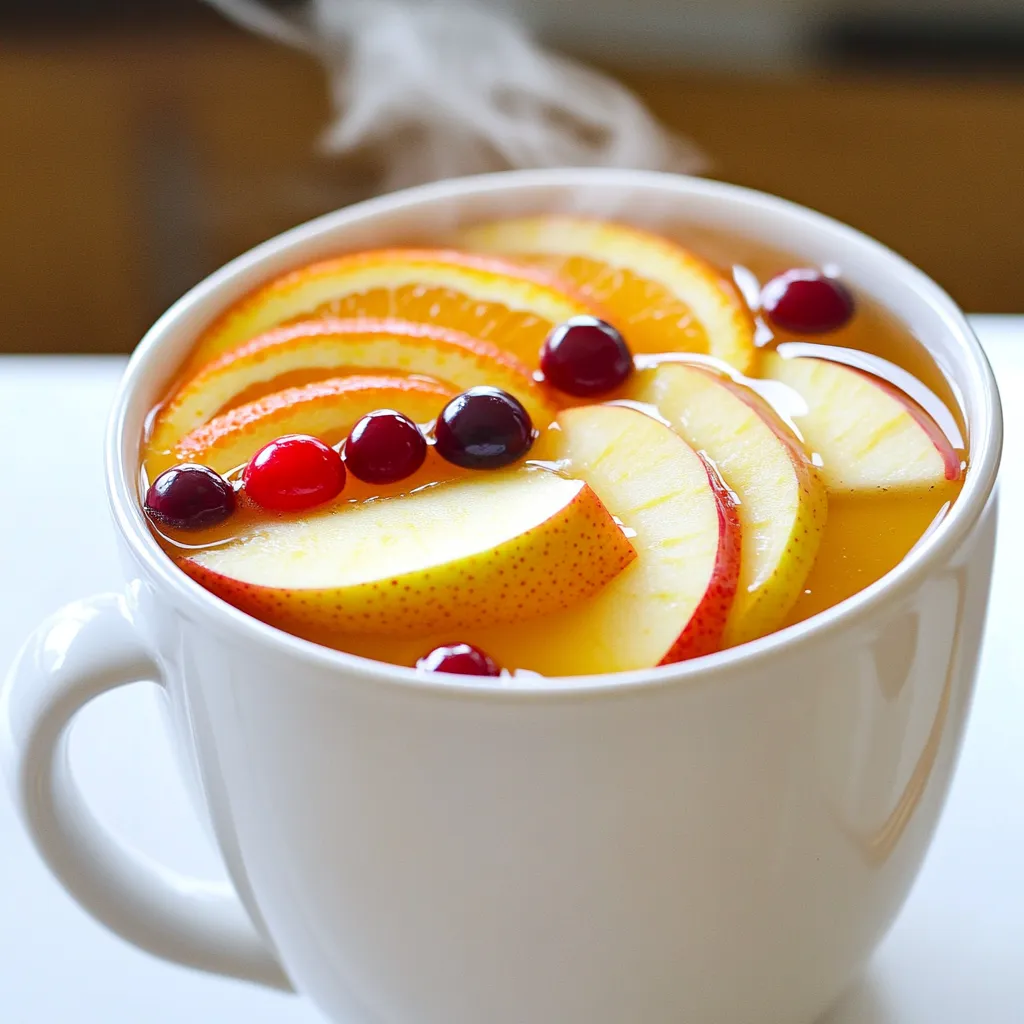
Spiced Apple Cider Punch Festive and Flavorful Drink
Warm up your gatherings with my Spiced Apple Cider Punch! This festive drink bursts with cozy flavors, perfect for chilly Read Full Recipe -
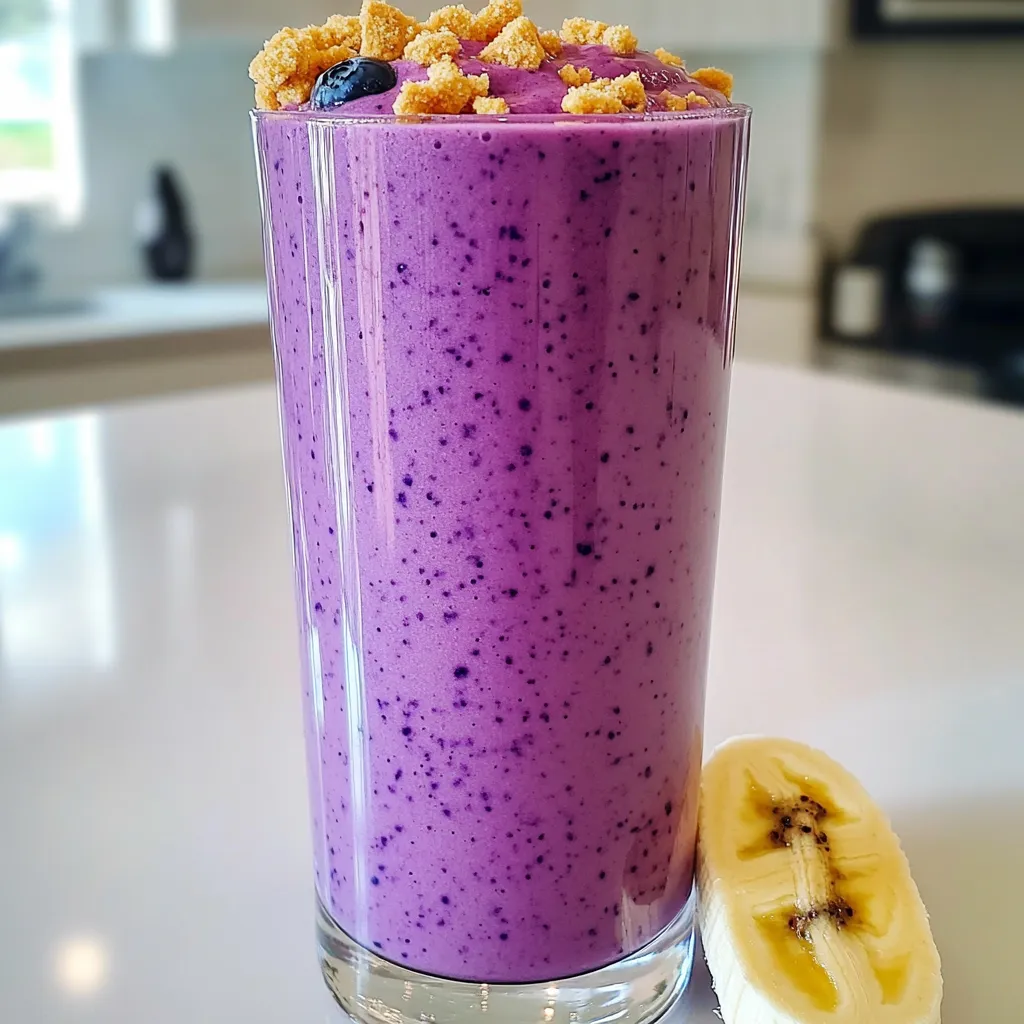
Blueberry Cheesecake Smoothie Protein Delight
Are you ready to treat yourself to a delicious and healthy drink? The Blueberry Cheesecake Smoothie Protein Delight packs all Read Full Recipe -
Warm Cranberry Ginger Mocktail Spritzer Recipe Delight
Welcome to my cozy kitchen! Today, I’m excited to share a delightful warm cranberry ginger mocktail spritzer that brightens up Read Full Recipe -
Spiced Apple Cider Chai Bold and Flavorful Drink Recipe
Looking for a cozy drink this season? Try my Spiced Apple Cider Chai! This bold, flavorful beverage combines warm apple Read Full Recipe -
Strawberry Cheesecake Smoothie Tasty and Easy Recipe
Are you ready for a treat that’s both tasty and easy? This Strawberry Cheesecake Smoothie blends the rich flavors of Read Full Recipe -
Pumpkin Spice Smoothie Bowl Protein Packed Delight
Are you ready to dive into the cozy world of pumpkin spice? This Pumpkin Spice Smoothie Bowl is not only Read Full Recipe

hey,
i’m !
I’m so happy you’re here!
I love creating dishes that bring joy to the table. I hope they bring the same joy to yours. Let’s enjoy this flavorful journey together.

Chicken Enchilada Casserole Easy Family Dinner Idea
Looking for an easy family dinner? You’re in the right place! My Chicken Enchilada Casserole is a tasty, simple dish that will please everyone…
![- 2 cups cooked chicken, shredded - 1 can (15 oz) black beans, drained and rinsed - 1 can (10 oz) enchilada sauce (red or green) - 1 cup corn kernels (fresh, frozen, or canned) - 1 cup diced bell peppers (any color) - 1 medium onion, chopped - 2 cups shredded cheese (cheddar and Monterey Jack blend) - 8-10 corn tortillas, torn into pieces - 1 tablespoon cumin - 1 tablespoon chili powder - 1 teaspoon garlic powder - Salt and pepper to taste - Fresh cilantro for garnish (optional) - Sour cream for serving (optional) The main star of this dish is the shredded chicken. It gives the casserole its heartiness. You can use rotisserie chicken for quick prep. Black beans add protein and fiber, making the dish filling. Corn adds sweetness and texture, while the bell peppers bring color and crunch. The enchilada sauce is key to flavor. Choose red for a rich taste or green for a fresh kick. Cheese melts beautifully, creating a gooey topping. I love using a blend of cheddar and Monterey Jack for a balanced flavor. Tortillas act as the layers, soaking up all the tasty sauce. If you don't have cooked chicken, try ground turkey or beef. You can swap black beans for pinto beans or even kidney beans. For a dairy-free option, use vegan cheese or skip the cheese altogether. If you prefer, you can use flour tortillas instead of corn. Fresh cilantro adds a nice touch, but if you don't like it, skip it! Sour cream is optional but adds creaminess. You could use Greek yogurt as a healthier alternative. Making Chicken Enchilada Casserole is simple and fun. First, gather your ingredients. You will need cooked chicken, black beans, enchilada sauce, corn, bell peppers, onion, cheese, corn tortillas, and spices. This dish takes about 15 minutes to prep and 50 minutes to cook. 1. Preheat Oven: Start by preheating your oven to 350°F (175°C). This step is key for even cooking. 2. Sauté Vegetables: Heat a drizzle of oil in a large skillet over medium heat. Add the chopped onion and bell peppers. Sauté them for about 5-7 minutes until they soften. 3. Combine Ingredients: In a large mixing bowl, mix the shredded chicken, black beans, corn, sautéed vegetables, 1 cup of enchilada sauce, cumin, chili powder, garlic powder, and salt and pepper. Make sure everything is well combined. 4. Layering: Grease a 9x13 inch baking dish. Spread a thin layer of enchilada sauce on the bottom. Layer half of the torn corn tortillas over the sauce. Add half of the chicken mixture on top, then sprinkle with 1 cup of cheese. Repeat with the remaining tortillas, chicken mixture, and finish with another cup of cheese and the rest of the enchilada sauce. 5. Bake: Cover the dish with aluminum foil and bake for 25 minutes. After that, remove the foil. Bake for an additional 10-15 minutes until the cheese is bubbly and golden. 6. Cool and Serve: Let the casserole cool for a few minutes before serving. Garnish it with fresh cilantro and offer sour cream on the side. For a clear visual guide, I suggest checking out cooking videos on platforms like YouTube. These videos can show you the steps in action, making it easier to follow along. Seeing the layering and cooking process can boost your confidence in making this delicious casserole. You can find a great video by searching for "Chicken Enchilada Casserole recipe." To make your Chicken Enchilada Casserole shine, focus on fresh ingredients. Use homemade or high-quality enchilada sauce. This adds rich flavor. Shredded chicken works best when it's juicy and tender. If you have leftover rotisserie chicken, it saves time and adds great taste. Layering is key! Spread sauce evenly for each layer. This helps keep everything moist. Mix different cheeses for a fun twist. Try adding pepper jack for spice! One common mistake is overcooking the casserole. Keep an eye on the time. Bake until bubbly and golden, but do not let it dry out. Another mistake is skimping on seasoning. Use salt, pepper, and spices generously. Taste as you mix! Avoid using large tortilla pieces. Torn pieces help the layers stay together. Lastly, don’t forget to let it cool before serving. This helps the layers set nicely. Serve the casserole hot from the oven. A nice side salad pairs well. Offer sour cream and fresh cilantro on the side. These add coolness and brightness. You can also serve with tortilla chips for crunch. For a fun twist, let everyone build their own plate. Offer extra toppings like jalapeños, avocado, or diced tomatoes. This makes dinner more interactive and fun! For the full recipe, check out the [Full Recipe]. {{image_2}} To make a vegetarian version, swap the chicken with extra beans or tofu. You can use black beans or pinto beans for protein. For a vegan option, choose a plant-based cheese. You can also skip the cheese and use avocado instead. This keeps the dish creamy and flavorful without dairy. If you like heat, add diced jalapeños to the mix. You can also use spicy enchilada sauce. For a milder dish, use sweet bell peppers and a mild sauce. Adjust spices based on your family’s taste. You can even serve hot sauce on the side for those who want more kick. You can make this casserole in a slow cooker or an instant pot. For the slow cooker, layer your ingredients as usual and cook on low for 4-6 hours. For the instant pot, use the sauté function for vegetables, then add everything and pressure cook for 10 minutes. Both methods keep the flavors rich and tasty. For the full recipe, check out the details above. To keep your chicken enchilada casserole fresh, store it in an airtight container. Make sure it cools completely before sealing. This helps prevent moisture build-up. You can keep it in the fridge for up to three days. If you want to keep it longer, freezing is a great option. When you're ready to enjoy leftovers, preheat your oven to 350°F (175°C). Place the casserole in a baking dish and cover it with foil. Heat for about 20-25 minutes. This helps keep the cheese from burning. You can also microwave individual portions for a quicker meal. Just make sure to cover them to avoid drying out. If you want to freeze your chicken enchilada casserole, it’s best to do this before baking. Assemble the casserole as per the full recipe, then wrap it tightly in plastic wrap and foil. This keeps it fresh for up to three months. When you’re ready to eat, let it thaw in the fridge overnight before baking it at 350°F (175°C) for about 40-50 minutes. Enjoy a quick, tasty meal anytime! To make Chicken Enchilada Casserole, follow these steps: 1. Preheat your oven to 350°F (175°C). 2. Sauté a chopped onion and bell peppers in a skillet for 5-7 minutes. 3. Mix cooked chicken, black beans, corn, sautéed veggies, and spices in a bowl. 4. Layer enchilada sauce, torn tortillas, chicken mix, and cheese in a baking dish. 5. Cover and bake for 25 minutes. Then bake uncovered for 10-15 more minutes. 6. Cool for a few minutes, garnish with cilantro, and serve with sour cream if you wish. This process creates a warm, cheesy delight that brings joy to dinner time. For the full details, check the Full Recipe. The best cheese for Chicken Enchilada Casserole is a blend of cheddar and Monterey Jack. This mix melts well and adds a rich flavor. Cheddar gives a sharp taste, while Monterey Jack adds creaminess. You can also try pepper jack for a spicy kick. Feel free to mix in other cheeses like queso blanco for extra depth. Yes, you can prepare Chicken Enchilada Casserole ahead of time. Assemble it completely, then cover and refrigerate for up to 24 hours. When ready to cook, bake it straight from the fridge. You may need to add a few extra minutes to the baking time. This makes it perfect for busy days or family gatherings. This post covered key ingredients for Chicken Enchilada Casserole and how to use them. I shared step-by-step cooking instructions and tips for success. I also included variations and storage advice. Remember, small changes can make a big difference in flavor. Always use trusted recipes and techniques to get the best results. Enjoy making your casserole, and don’t forget to share your creations!](https://soyumrecipes.com/wp-content/uploads/2025/07/12532fe8-89e5-469f-9c40-9c5d30e3450e.webp)
