Latest & Greatest
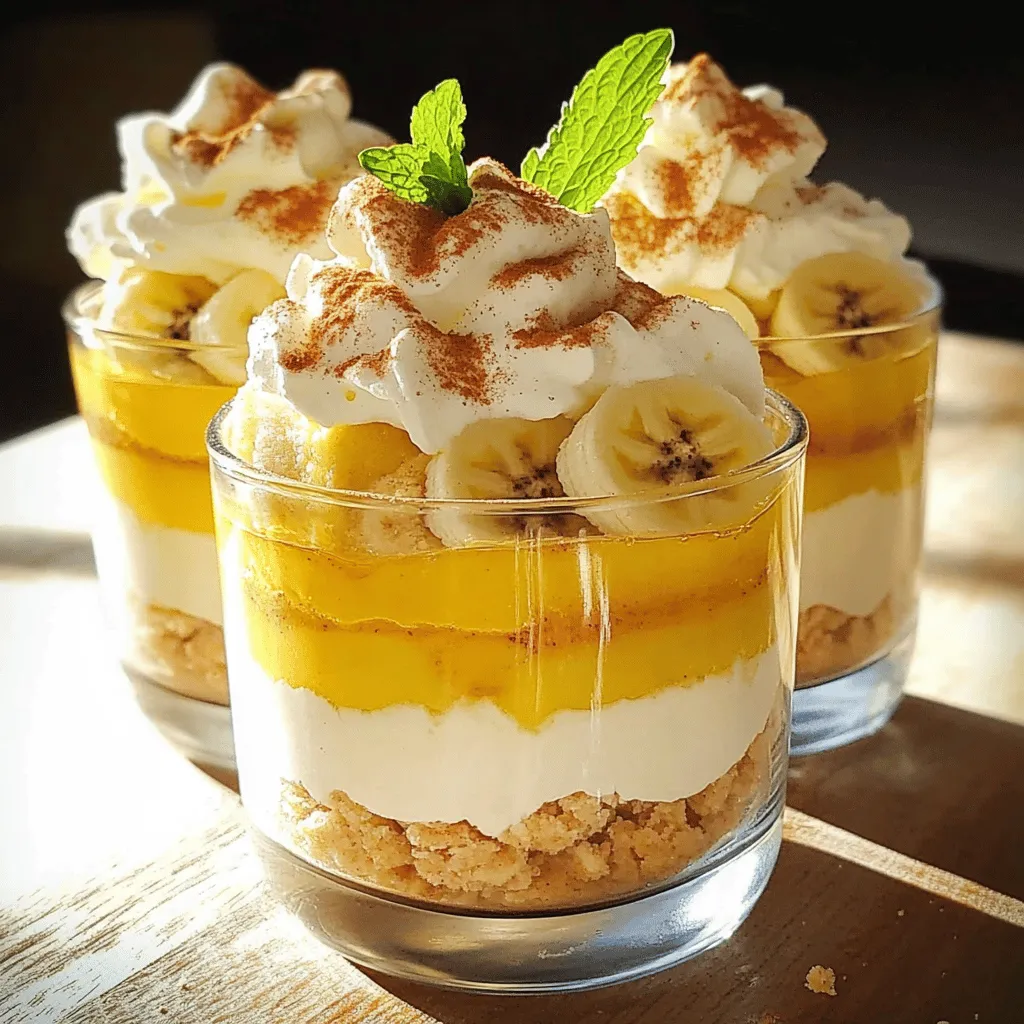
Best Banana Pudding Rich and Creamy Delight Recipe
Are you ready to indulge in the best banana pudding you’ve ever tasted? This rich and creamy delight is perfect
Read more…
Easy Strawberry Shortcake Simple and Tasty Recipe
If you’re craving a dessert that’s simple and delicious, you’re in the right place! This Easy Strawberry Shortcake recipe will
Read more…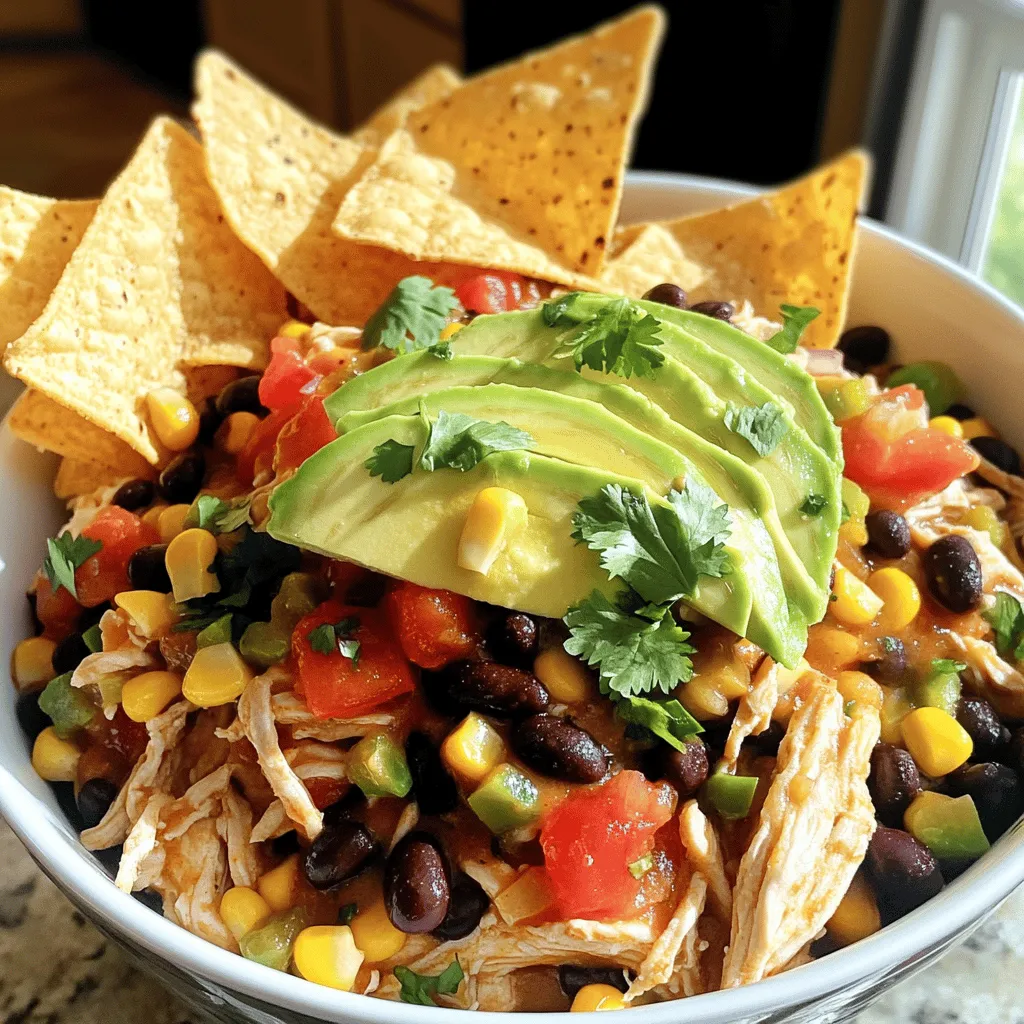
Crockpot Mexican Chicken Flavorful and Easy Meal
Looking for an easy and flavorful meal? You’ll love this Crockpot Mexican Chicken! With tender chicken breasts, zesty tomatoes, and
Read more…
Spring Hash Brown Crust Quiche Savory Breakfast Delight
Are you ready to impress your family with a breakfast dish that looks as good as it tastes? My Spring
Read more…browse recipes

Chocolate Chip Zucchini Muffins Tasty and Tempting Recipe
Are you ready for a delicious twist on a classic treat? Chocolate chip zucchini muffins are both tasty and healthy. They hide veggies inside…
My Latest Desserts
Maple Pecan Cinnamon Roll Pudding Irresistible Delight
If you’re looking for a dessert that combines rich maple, crunchy pecans, and soft cinnamon rolls, you’re in for a Read Full RecipeCaramel Apple Oatmeal Cookies Delightful Fall Treat
Fall is the perfect time for warm, comforting treats, and nothing says cozy quite like Caramel Apple Oatmeal Cookies. These Read Full RecipePumpkin Spice Icebox Cheesecake Creamy Dream Delight
Are you ready to treat yourself to a slice of heaven? My Pumpkin Spice Icebox Cheesecake Creamy Dream Delight is Read Full RecipeSalted Caramel Pretzel Cheesecake Bars Delightful Treat
Indulge your sweet tooth with my Salted Caramel Pretzel Cheesecake Bars! These layers of creamy cheesecake, crunchy pretzel crust, and Read Full RecipeDelicious Banana Nutella Swirl Pancakes Recipe
Get ready to whip up a breakfast treat that will rock your morning! My Banana Nutella Swirl Pancakes blend rich Read Full RecipeSlow Cooker Caramel Pecan Sticky Buns Irresistible Treat
Are you ready to indulge in a sweet delight? Slow Cooker Caramel Pecan Sticky Buns are the perfect treat for Read Full Recipe
My Latest Drinks
Protein Cookies & Cream Milkshake Simple Treat Recipe
If you’re craving a delicious treat that packs a protein punch, look no further! This Protein Cookies & Cream Milkshake Read Full RecipeSpiced Pumpkin Lattes Slow Cooker Recipe Delight
Are you ready to warm up your chilly days with a cozy Spiced Pumpkin Latte? I’ve crafted the perfect slow Read Full RecipePeanut Butter Chocolate Protein Shake Tasty Delight
Satisfy your cravings with a Peanut Butter Chocolate Protein Shake! This tasty delight is not only delicious but also healthy. Read Full RecipePeanut Butter Banana Smoothie Bowl Simple and Tasty
Looking for a quick, tasty treat? The Peanut Butter Banana Smoothie Bowl is your answer! Packed with ripe bananas and Read Full RecipePumpkin Cream Cold Brew Copycat Simple and Tasty Recipe
Craving a Pumpkin Cream Cold Brew but want to make it at home? You’re in the right place! I’ll show Read Full RecipePineapple Mango Smoothie Refreshing and Nutritious Drink
Looking for a tasty and healthy drink? A Pineapple Mango Smoothie might be just what you need! Packed with fresh Read Full Recipe
hey,
i’m !
I’m so happy you’re here!
I love creating dishes that bring joy to the table. I hope they bring the same joy to yours. Let’s enjoy this flavorful journey together.
Savory Sun Dried Tomato Hummus Easy and Flavorful Recipe
Are you ready to elevate your snacking game? This easy and flavorful sun-dried tomato hummus will have you craving more! With just a few…
![- 1 can (15 oz) chickpeas, drained and rinsed - 1/2 cup sun dried tomatoes (packed in oil, drained) - 1/4 cup tahini - 3 tablespoons olive oil - 2 tablespoons lemon juice - 1 garlic clove, minced - 1 teaspoon ground cumin - Salt and pepper, to taste - Water, as needed for consistency The main ingredients create a rich and flavorful base. Chickpeas bring protein and creaminess. Sun dried tomatoes add a sweet and tangy taste. Tahini offers a nutty flavor and smooth texture. Olive oil enhances richness, while lemon juice brightens the dish. Garlic provides depth, and cumin adds warmth. - Extra olive oil for drizzling - Fresh herbs for garnish (e.g., parsley, basil) - Crushed red pepper flakes Garnishes can take your hummus to the next level. A drizzle of olive oil adds a shiny finish. Fresh herbs bring color and freshness. Crushed red pepper flakes add a bit of heat. Feel free to mix and match these garnishes to suit your taste. Don't forget to check the [Full Recipe] for all the steps! - Step 1: In a food processor, combine the drained chickpeas, sun dried tomatoes, tahini, olive oil, lemon juice, minced garlic, and ground cumin. - Step 2: Blend the mixture until it is smooth. Stop to scrape the sides as needed. - Step 3: If the hummus is too thick, add water one tablespoon at a time. Blend again until you reach your desired creamy texture. - Step 4: Season the hummus with salt and pepper to taste. Blend once more to mix well. - Step 5: Transfer the hummus to a serving bowl. Drizzle a bit of olive oil on top for flavor. - Step 6: Chill the hummus for at least 30 minutes. This helps the flavors blend together nicely. For the full recipe, check out the instructions above! To make hummus smooth, use high-quality olive oil. It adds richness and flavor. A good oil can make a big difference. When blending, it’s key to avoid a grainy texture. To do this, ensure all ingredients are well combined. If the hummus doesn’t blend smoothly, add a bit of water. Do this one tablespoon at a time. Keep blending until you achieve that creamy consistency. To boost the flavor, try adding spices like smoked paprika or cayenne pepper. These give your hummus depth and warmth. Roasted garlic can also make a big impact. It offers a sweeter taste compared to raw garlic. Roasting the garlic before adding it brings out its natural sweetness. This small change can elevate your sun dried tomato hummus to a new level. For more tips and a full recipe, check the recipe section. {{image_2}} You can take sun dried tomato hummus to new levels with simple tweaks. Adding fresh herbs, like basil or cilantro, gives the hummus a bright taste. Just chop them fine and mix them in. For a spicy kick, try adding jalapeños or harissa. This adds heat and depth to the flavor. Both options keep your hummus fresh and exciting. If you need gluten-free options, rest easy. Chickpeas are naturally gluten-free, so you’re already set. For a nut-free alternative to tahini, use sunflower seed butter. It blends well and keeps that creamy texture. You can still enjoy this yummy hummus, even with dietary needs. Just remember, these swaps can change the flavor a bit, but they keep it tasty! For the full recipe, check out the details above and get cooking! To keep your sun-dried tomato hummus fresh, store it in an airtight container. This helps keep out air and moisture. Place the container in the fridge. Homemade hummus stays good for about 4 to 7 days in the fridge. Always check for any off smells or changes in texture before eating. If you want to save some for later, you can freeze it. Spoon the hummus into a freezer-safe container. Leave some space at the top because it will expand when frozen. You can freeze it for up to three months. When you're ready to enjoy it, take it out and thaw it in the fridge overnight. If you're in a hurry, you can use the microwave, but do so in short bursts. Stir it well after thawing to make it smooth again. Enjoy your sun-dried tomato hummus anytime! For the full recipe, check the ingredients and steps earlier in this article. Can I use dried sun-dried tomatoes instead of oil-packed? Yes, you can! If you choose dried sun-dried tomatoes, soak them in warm water. This helps soften them before blending. Oil-packed tomatoes add a richer flavor. So, if you have the option, go for oil-packed for the best taste. What can I serve with sun-dried tomato hummus? You can serve sun-dried tomato hummus with many tasty options. Try fresh veggies like carrots and bell peppers. Pita bread or crackers work great too. You can also use it as a spread on sandwiches or wraps. How to make the hummus creamier? To make hummus creamier, use high-quality olive oil. Adding water gradually while blending also helps. If it’s still thick, try adding more tahini. This will enhance the flavor and texture. Health benefits of chickpeas Chickpeas are packed with protein and fiber. They help keep you full and satisfied. They also support heart health and help control blood sugar. This makes them a great choice for a healthy diet. Advantages of tahini and olive oil in the recipe Tahini adds healthy fats and calcium. It gives a creamy texture to the hummus. Olive oil is rich in antioxidants and good for your heart. Together, they make this hummus not just tasty but also nutritious. Top brands to look for When buying pre-made hummus, some great brands include Sabra, Tribe, and Cedar's. These brands offer tasty options that are easy to find in stores. Look for ones with simple ingredients for the best flavor. What to check on labels for quality Always check the ingredient list. Choose hummus with real sun-dried tomatoes and no preservatives. Avoid brands with added sugars or artificial flavors for a healthier choice. Quality ingredients make a big difference in taste. For the full recipe, check out the detailed instructions in the previous section. Creating sun-dried tomato hummus is simple and fun. We covered key ingredients, best storage tips, and ways to enhance flavor. You can add herbs, spices, or even go spicy with jalapeños. Remember, the quality of your olive oil and fresh ingredients matters most. Once you make this hummus, serve it cooled for the best taste. Enjoy your tasty creation, knowing it’s healthy and quick to make. Now, it’s time to dive in and enjoy every bite!](https://soyumrecipes.com/wp-content/uploads/2025/06/3cf2fdba-0142-4a83-a7bf-d21765c57837.webp)
