Latest & Greatest
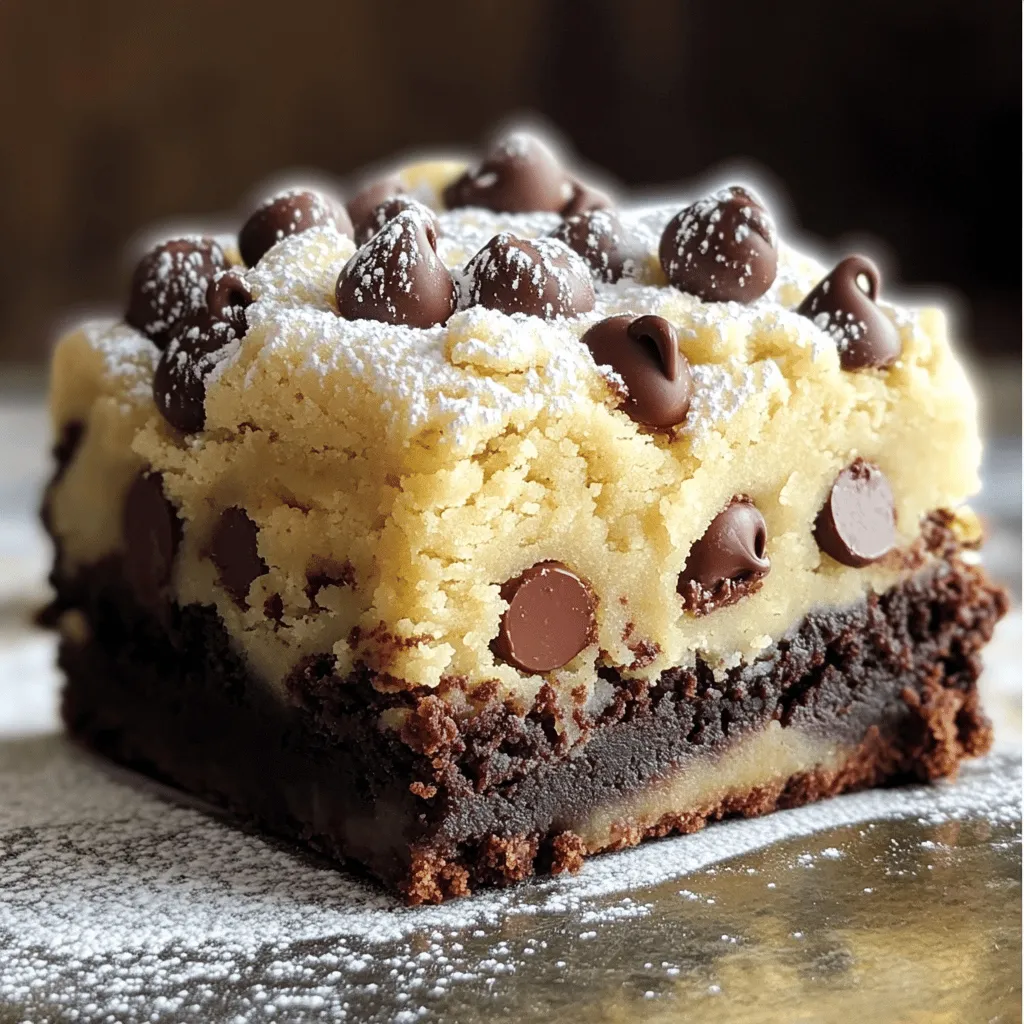
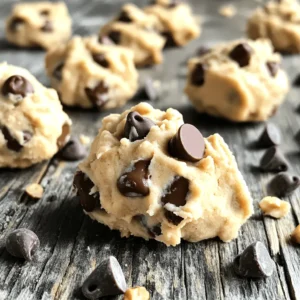
Chocolate Chip Cookie Dough Brownies Irresistible Treat
Get ready for a delicious treat that combines two favorites: brownies and cookie dough! In this post, I’ll show you
Read more…
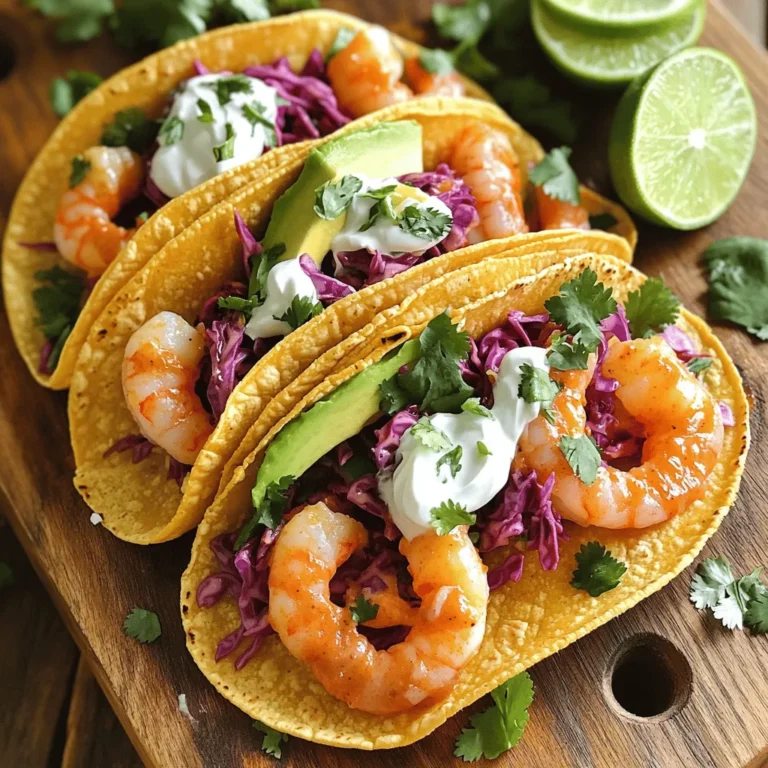
Flavorful 5-Ingredient Garlic Butter Shrimp Recipe
Craving a quick, delicious meal? You’re in luck! My 5-Ingredient Garlic Butter Shrimp Recipe is simple yet bursting with flavor.
Read more…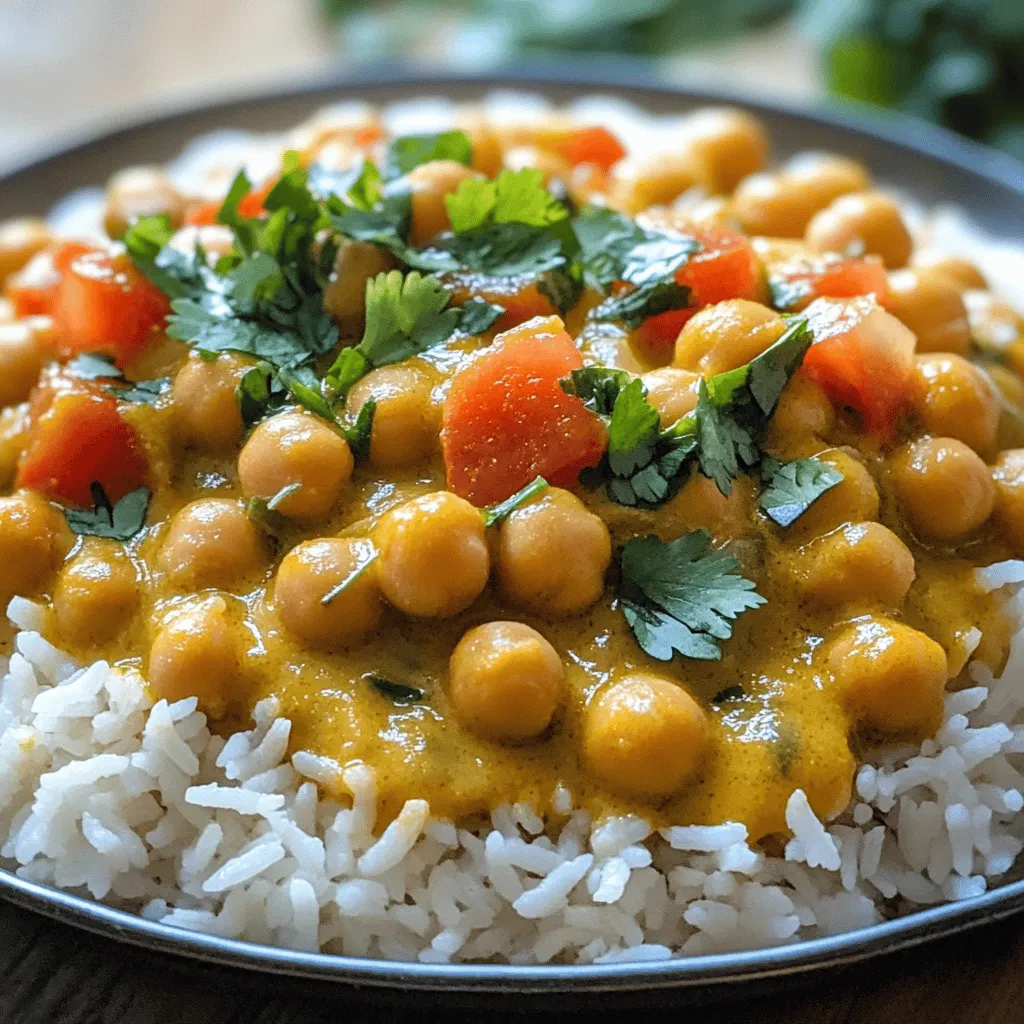
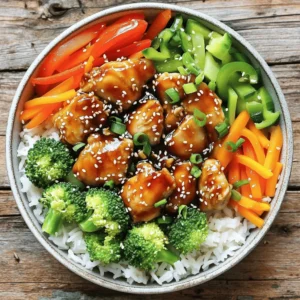
Vegan Chickpea Curry Flavorful and Easy Meal Idea
Are you ready to spice up your dinner routine? This Vegan Chickpea Curry is not just flavorful; it’s also simple
Read more…
Glazed Lemon Sugar Cookies Delightful and Simple Treat
If you’re craving a sweet treat that’s simple yet bursting with flavor, look no further! These Glazed Lemon Sugar Cookies
Read more…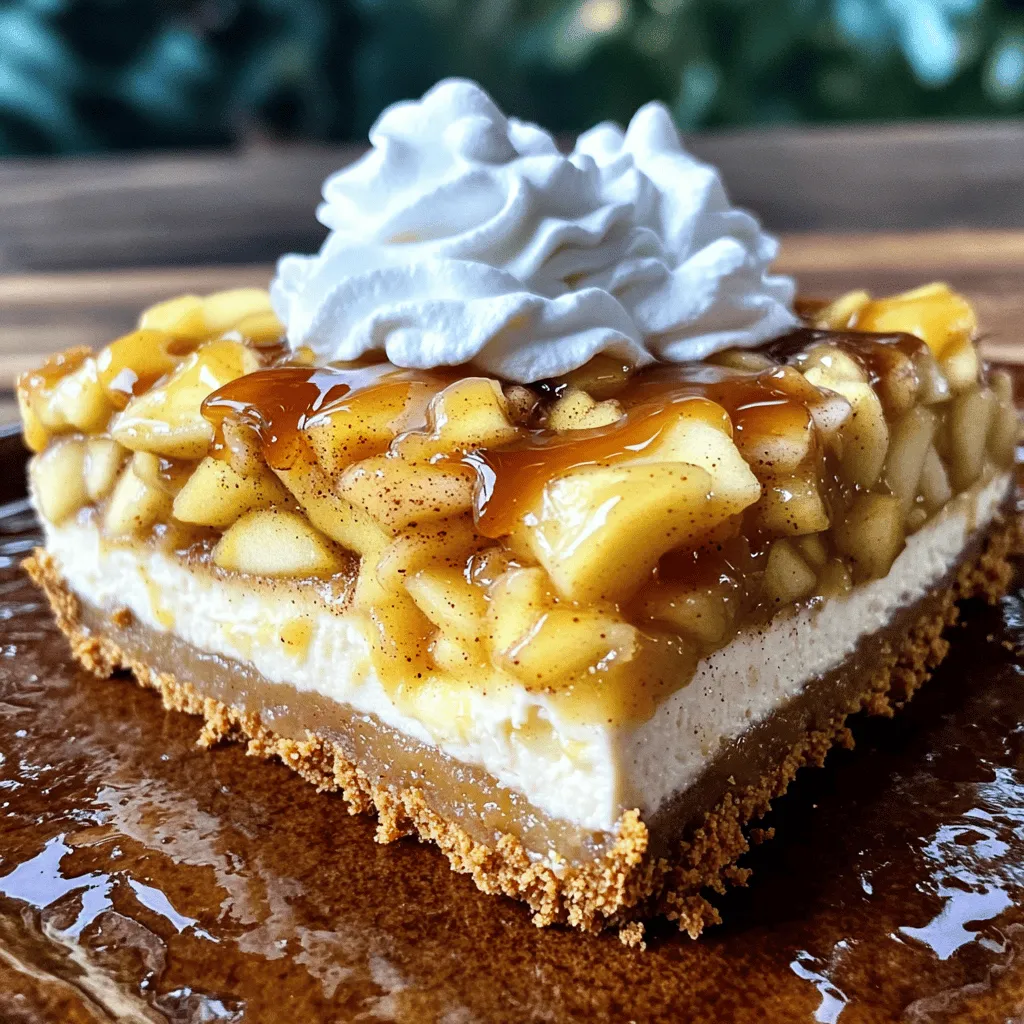
Apple Pie Stuffed Cheesecake Irresistible Desserts
If you love desserts that combine flavors, you’re in for a treat! My Apple Pie Stuffed Cheesecake takes two classics
Read more…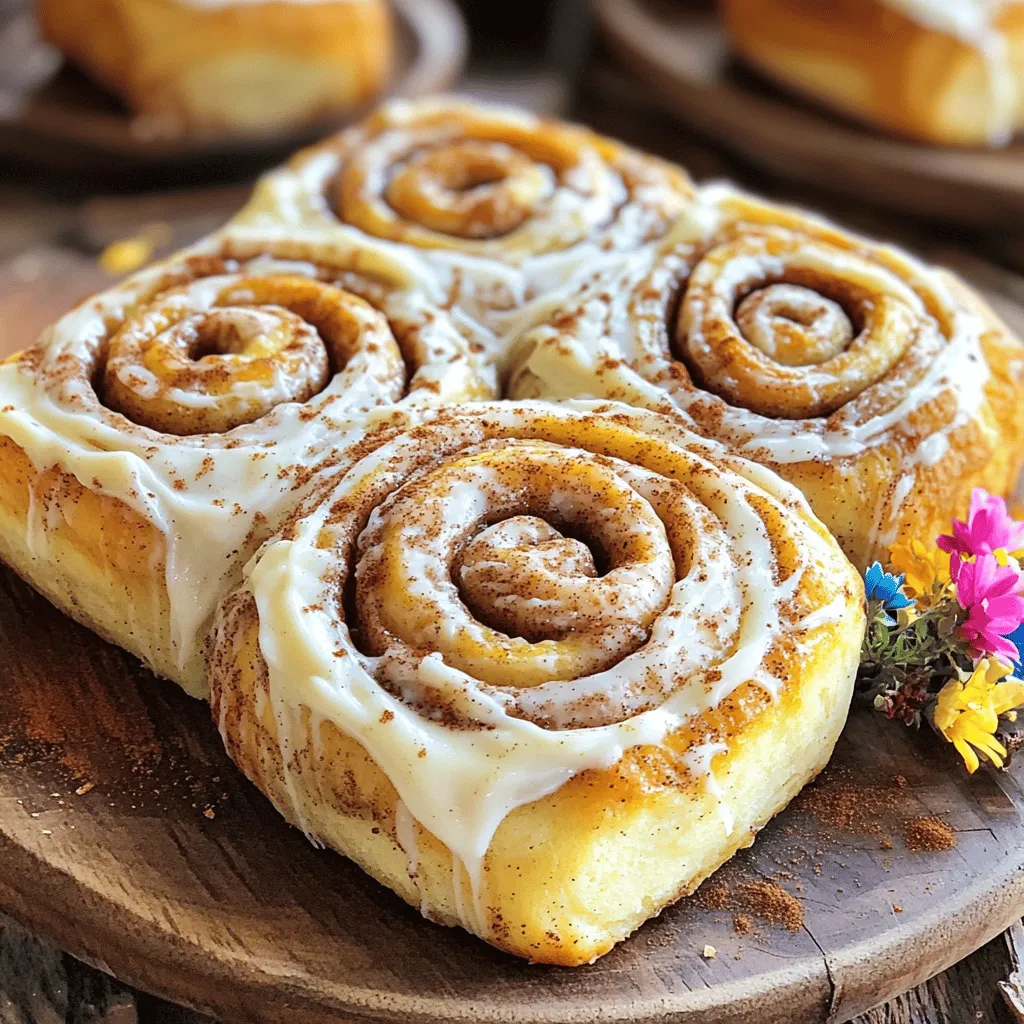
Best Homemade Cinnamon Rolls Flavorful and Easy Recipe
Are you ready to make the best homemade cinnamon rolls? This easy recipe combines warm, fluffy dough with a sweet
Read more…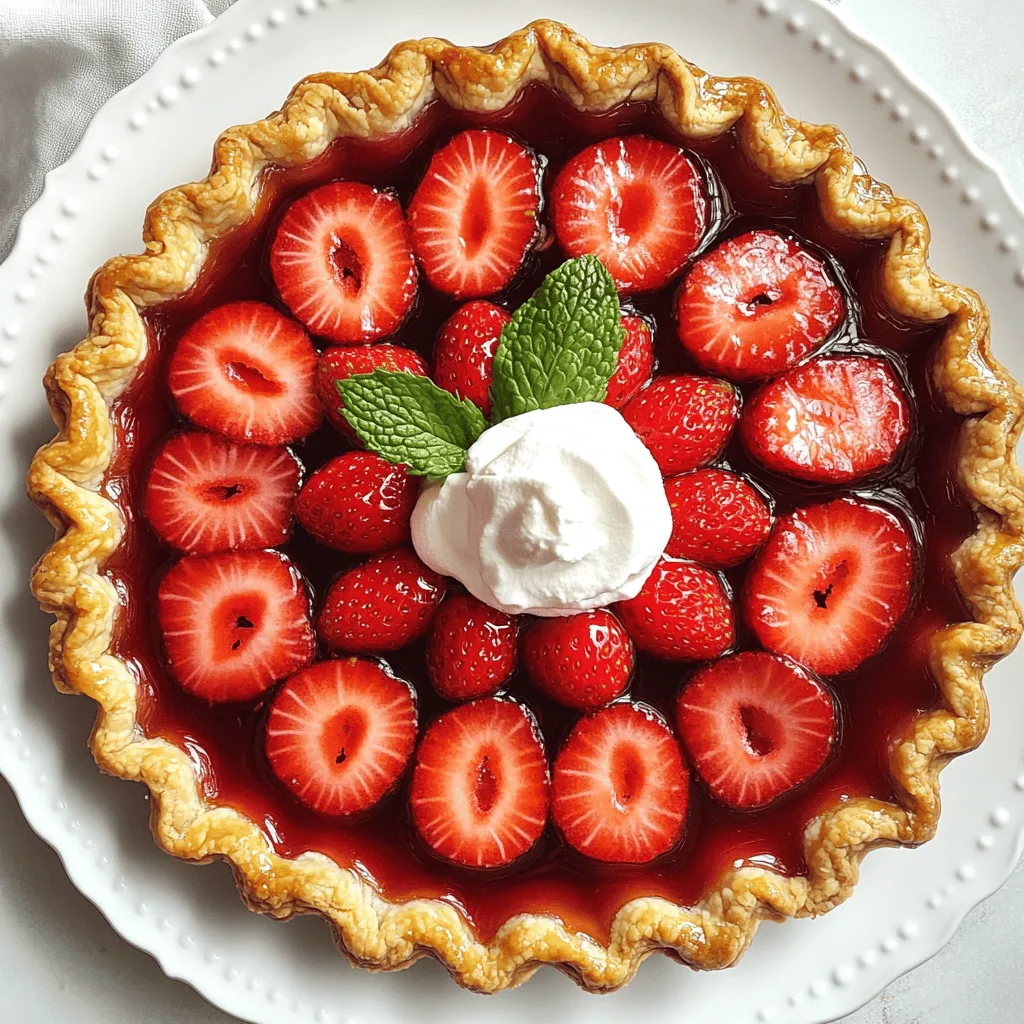
Best Strawberry Pie Delightful and Easy Recipe Guide
Are you ready to impress your friends and family with the best strawberry pie? This delightful and easy recipe guide
Read more…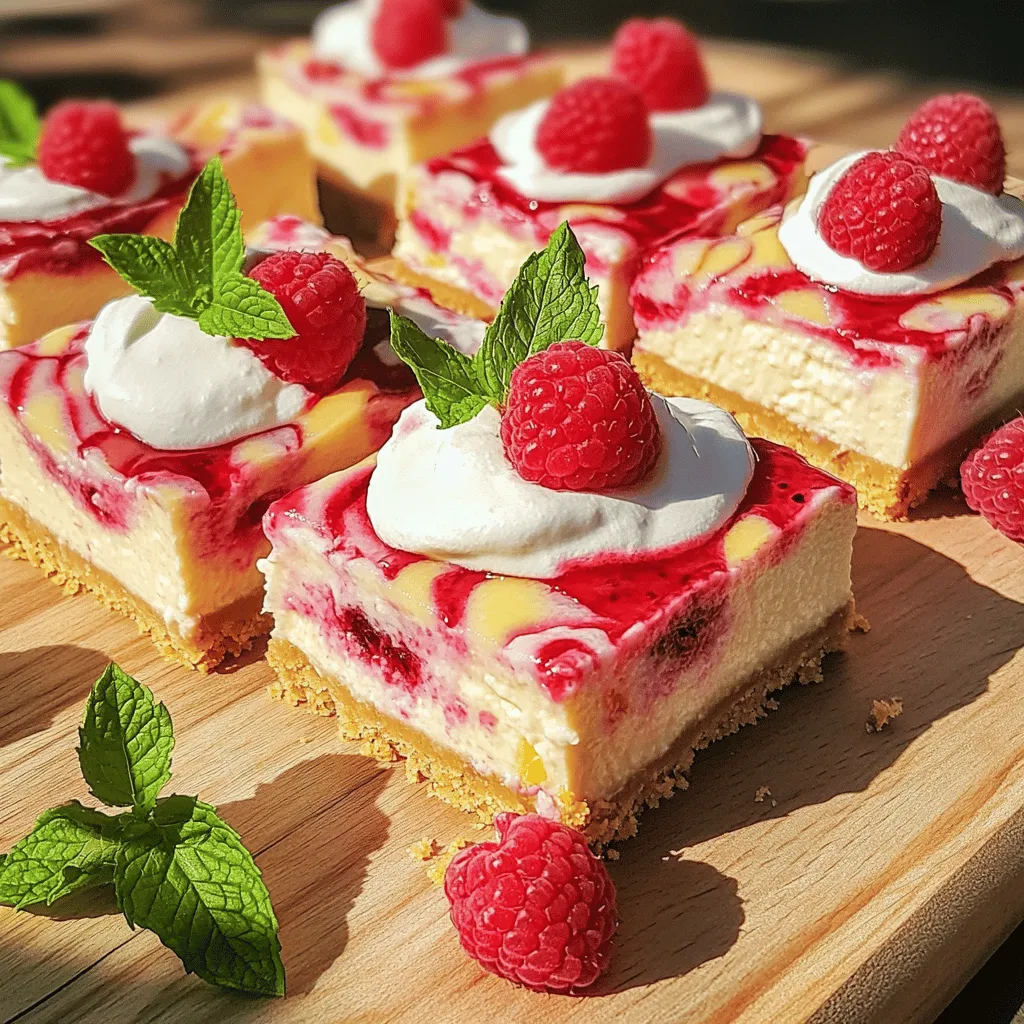
Raspberry Lemon Cheesecake Bars Easy and Creamy Treat
Craving a sweet and tangy treat? You’ll love these easy Raspberry Lemon Cheesecake Bars! This recipe combines creamy cheese with
Read more…browse recipes


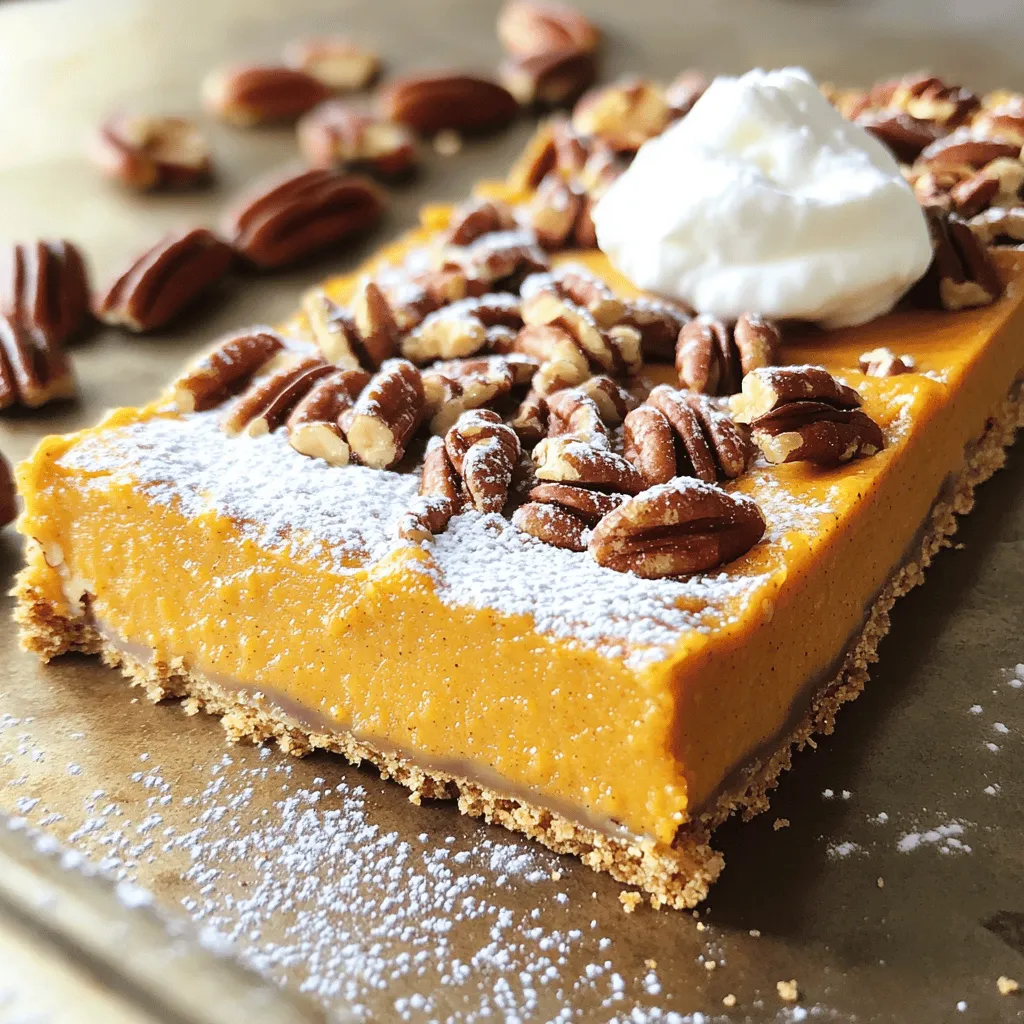
Irresistible Pumpkin Pecan Pie Bars Easy and Delicious
Looking for a sweet treat that combines two fall favorites? You’re in the right place! These Pumpkin Pecan Pie Bars are easy to make…
My Latest Desserts

Maple Pecan Cinnamon Roll Pudding Irresistible Delight
If you’re looking for a dessert that combines rich maple, crunchy pecans, and soft cinnamon rolls, you’re in for a Read Full Recipe-
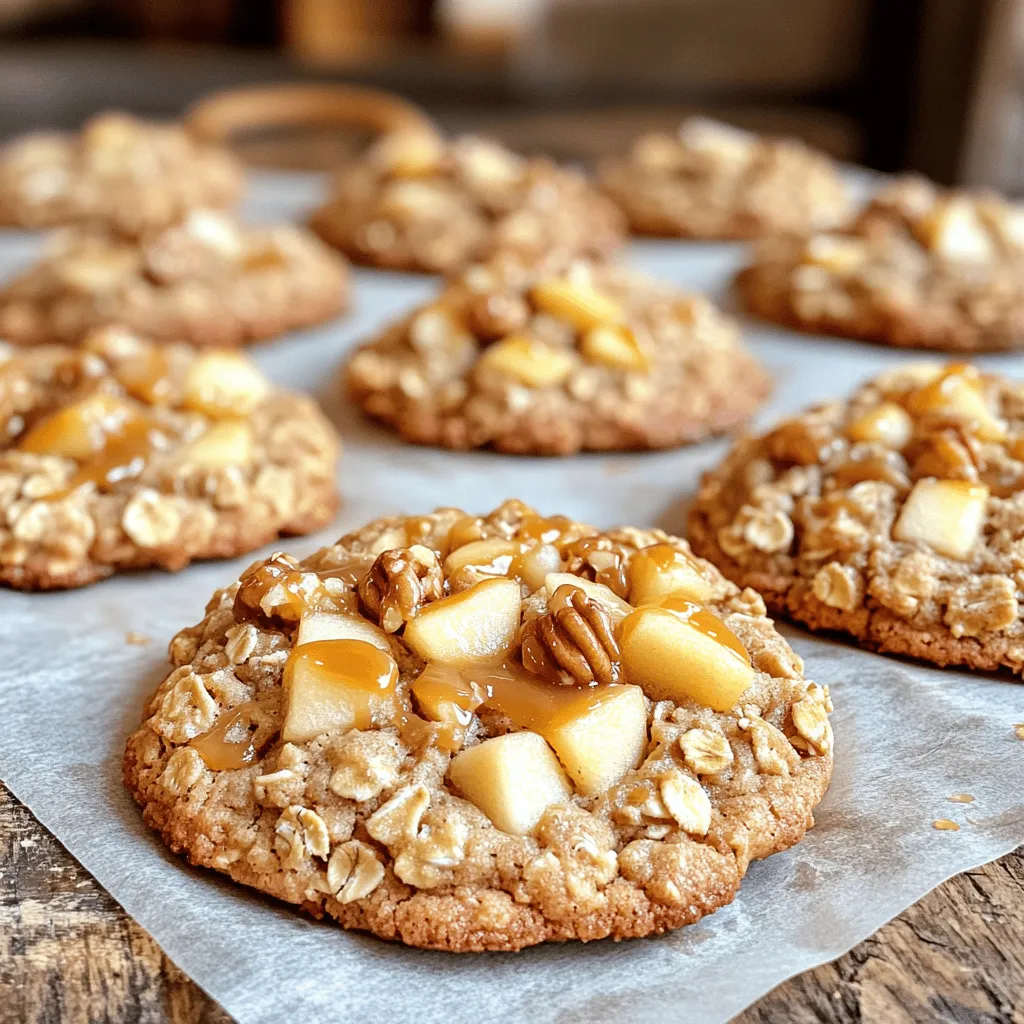
Caramel Apple Oatmeal Cookies Delightful Fall Treat
Fall is the perfect time for warm, comforting treats, and nothing says cozy quite like Caramel Apple Oatmeal Cookies. These Read Full Recipe -
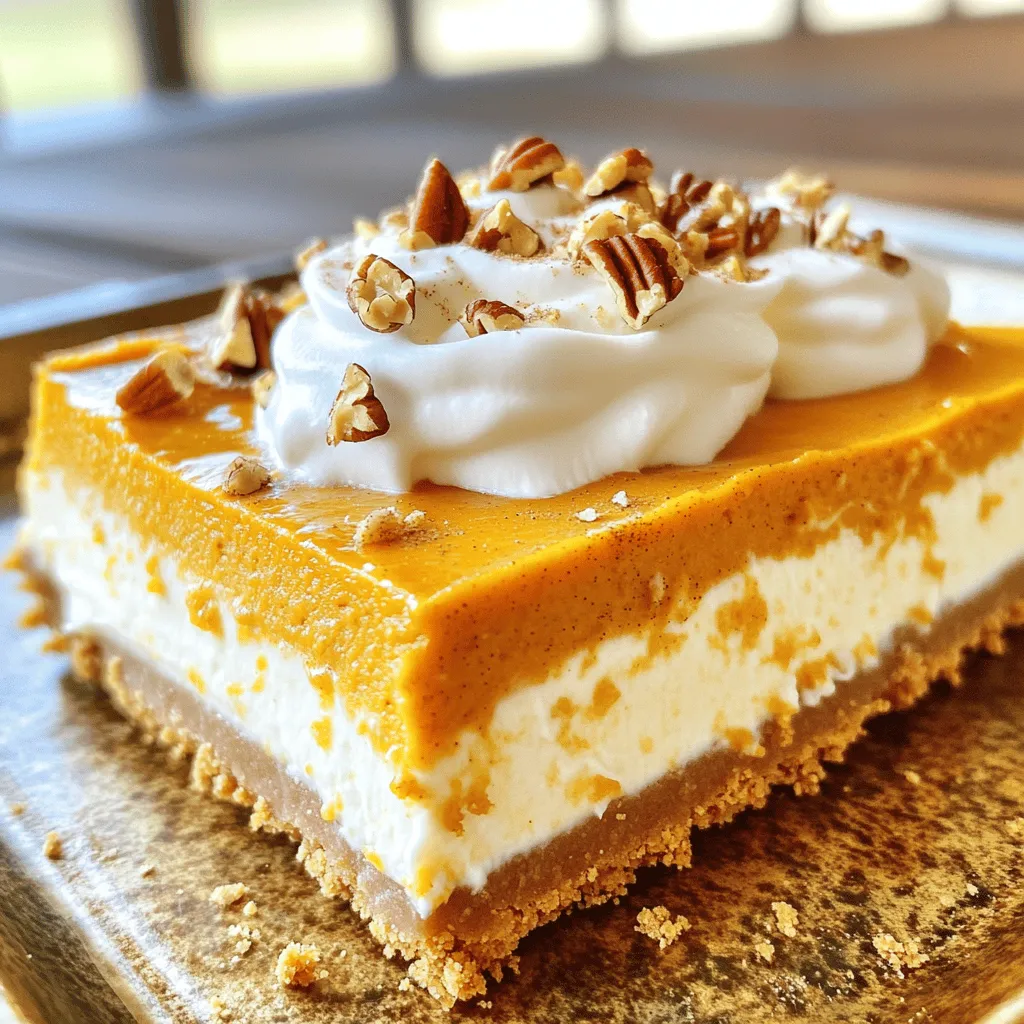
Pumpkin Spice Icebox Cheesecake Creamy Dream Delight
Are you ready to treat yourself to a slice of heaven? My Pumpkin Spice Icebox Cheesecake Creamy Dream Delight is Read Full Recipe -
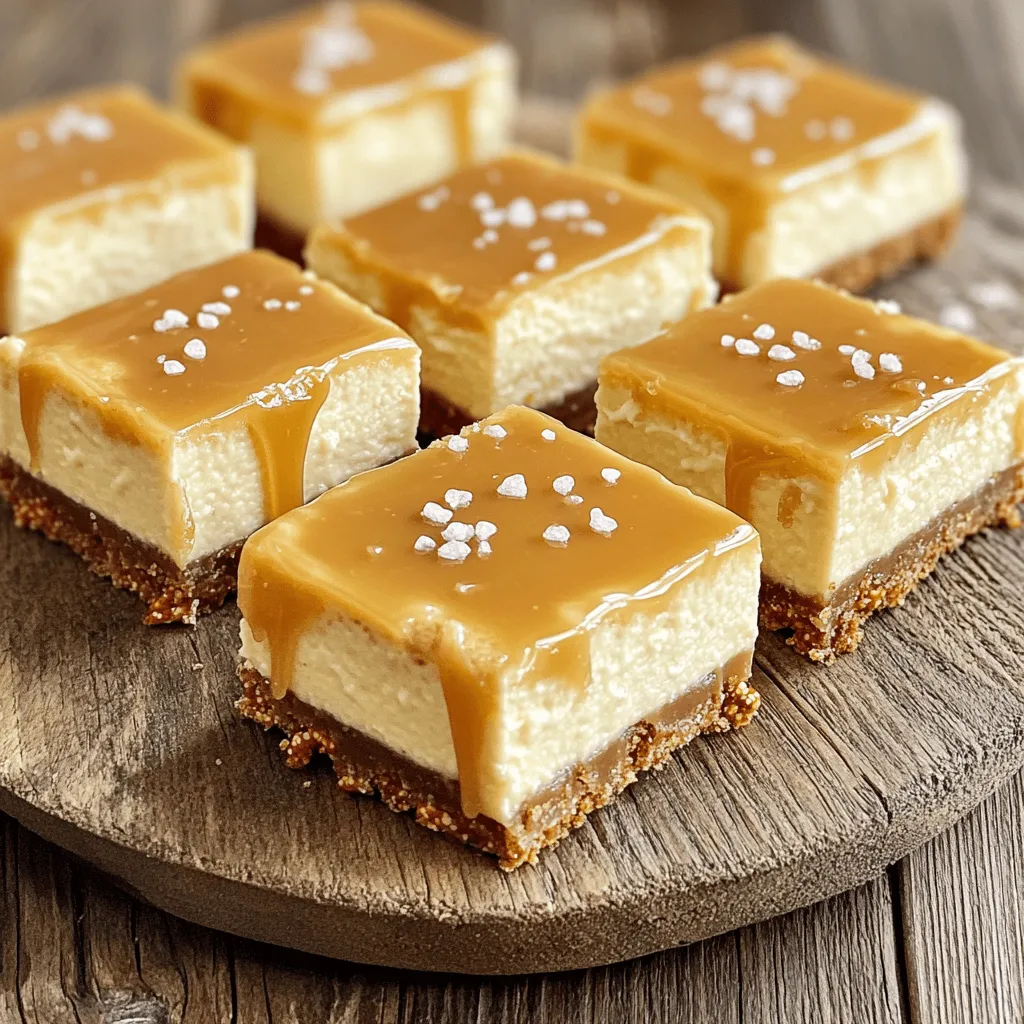
Salted Caramel Pretzel Cheesecake Bars Delightful Treat
Indulge your sweet tooth with my Salted Caramel Pretzel Cheesecake Bars! These layers of creamy cheesecake, crunchy pretzel crust, and Read Full Recipe -
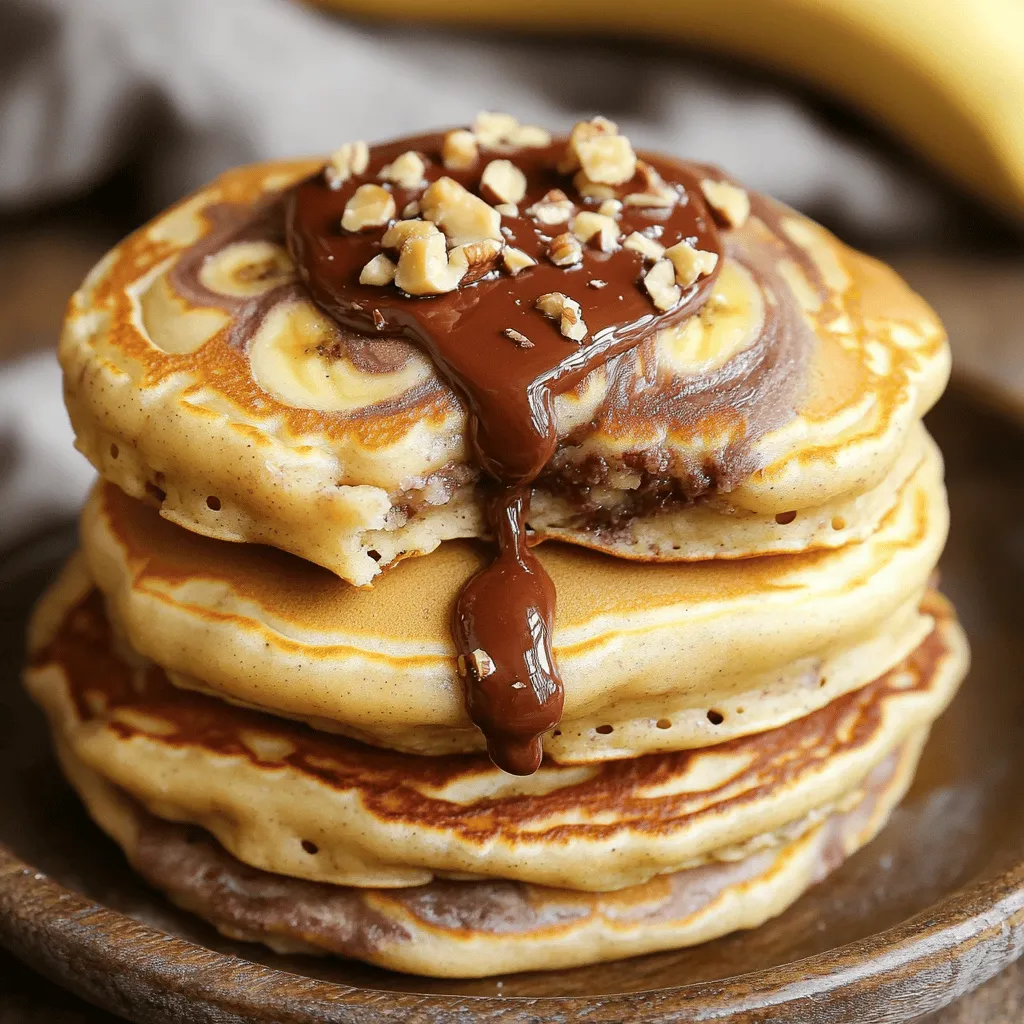
Delicious Banana Nutella Swirl Pancakes Recipe
Get ready to whip up a breakfast treat that will rock your morning! My Banana Nutella Swirl Pancakes blend rich Read Full Recipe -
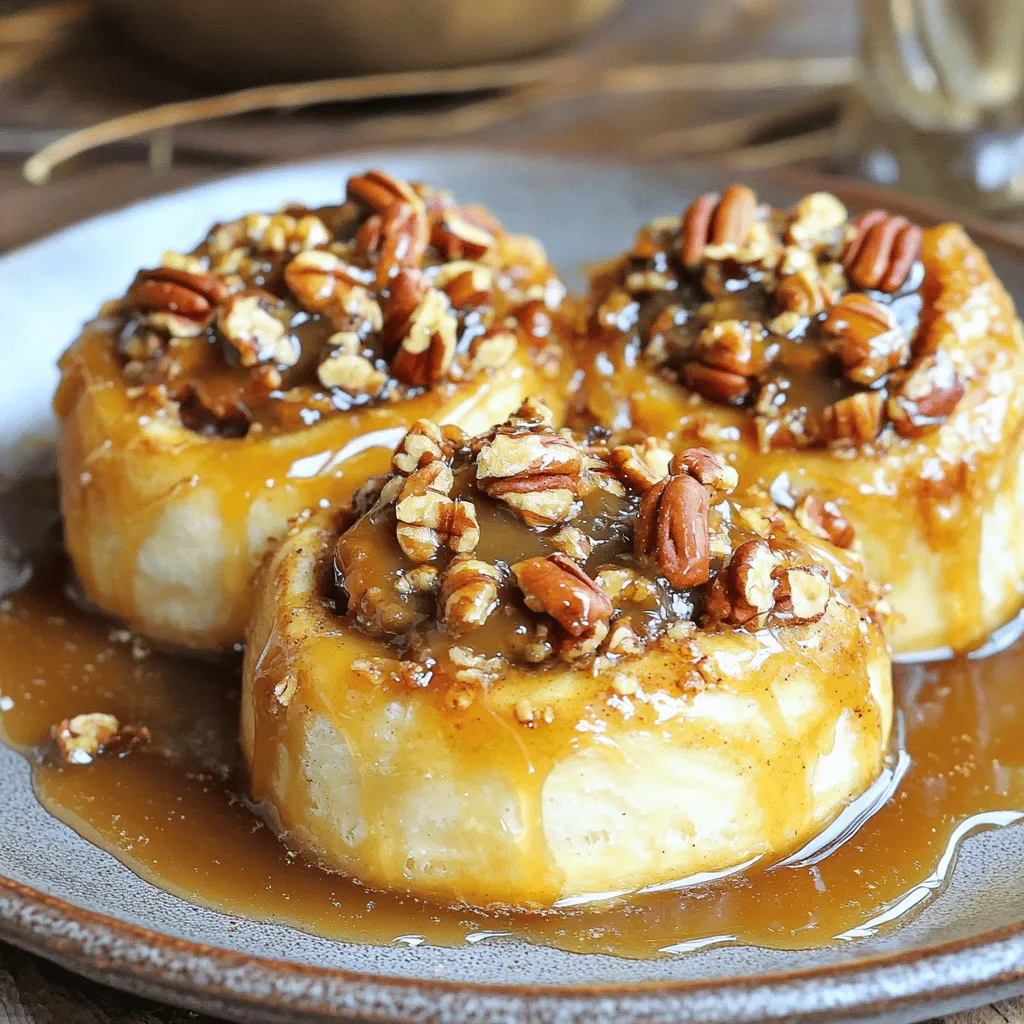
Slow Cooker Caramel Pecan Sticky Buns Irresistible Treat
Are you ready to indulge in a sweet delight? Slow Cooker Caramel Pecan Sticky Buns are the perfect treat for Read Full Recipe

My Latest Drinks
-
Protein Cookies & Cream Milkshake Simple Treat Recipe
If you’re craving a delicious treat that packs a protein punch, look no further! This Protein Cookies & Cream Milkshake Read Full Recipe -
Spiced Pumpkin Lattes Slow Cooker Recipe Delight
Are you ready to warm up your chilly days with a cozy Spiced Pumpkin Latte? I’ve crafted the perfect slow Read Full Recipe -
Peanut Butter Chocolate Protein Shake Tasty Delight
Satisfy your cravings with a Peanut Butter Chocolate Protein Shake! This tasty delight is not only delicious but also healthy. Read Full Recipe -
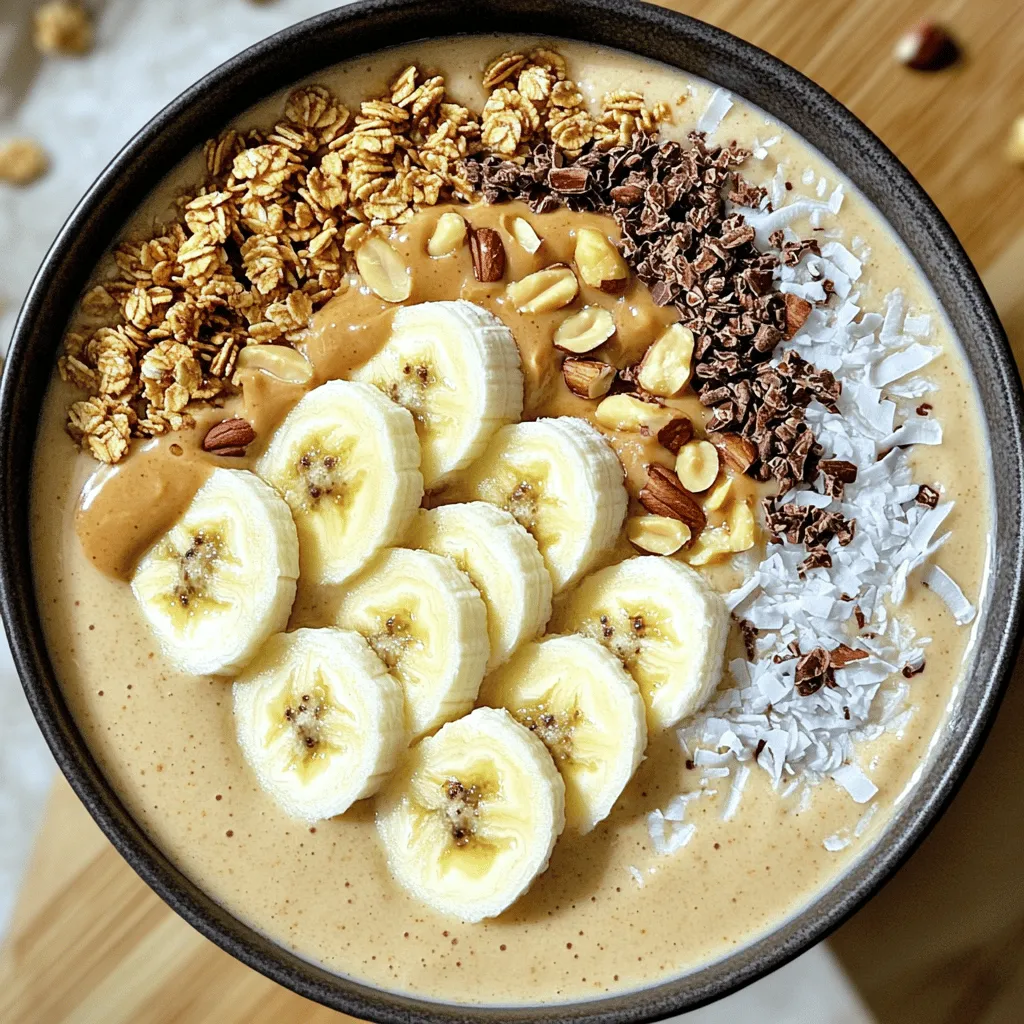
Peanut Butter Banana Smoothie Bowl Simple and Tasty
Looking for a quick, tasty treat? The Peanut Butter Banana Smoothie Bowl is your answer! Packed with ripe bananas and Read Full Recipe -
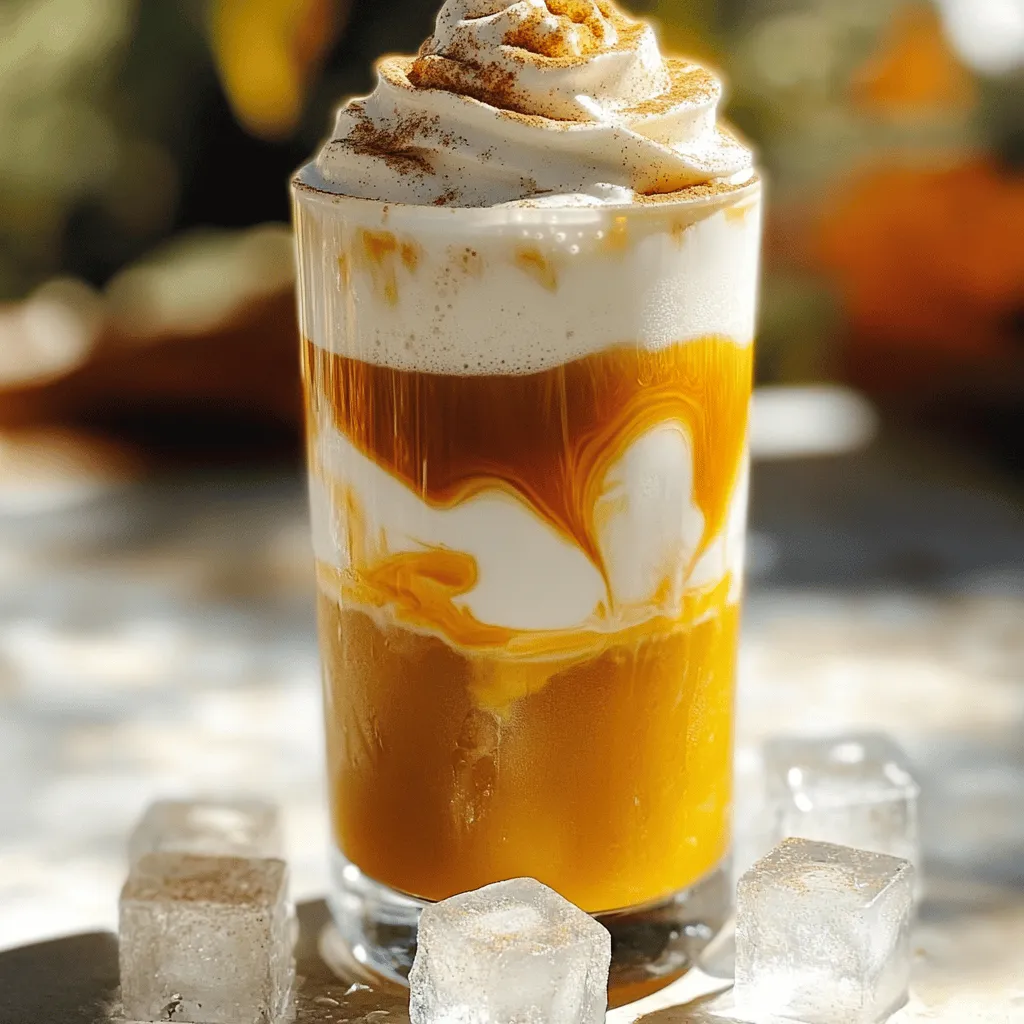
Pumpkin Cream Cold Brew Copycat Simple and Tasty Recipe
Craving a Pumpkin Cream Cold Brew but want to make it at home? You’re in the right place! I’ll show Read Full Recipe -
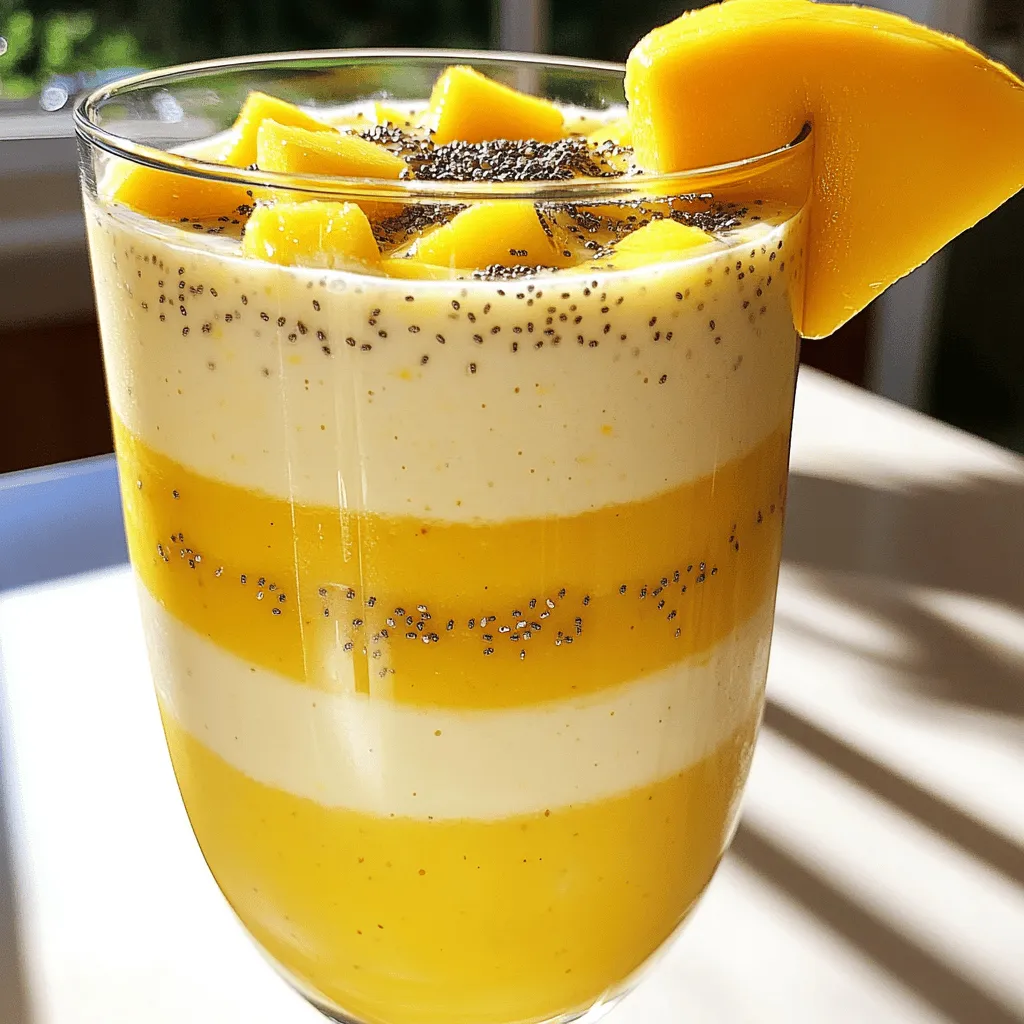
Pineapple Mango Smoothie Refreshing and Nutritious Drink
Looking for a tasty and healthy drink? A Pineapple Mango Smoothie might be just what you need! Packed with fresh Read Full Recipe


hey,
i’m !
I’m so happy you’re here!
I love creating dishes that bring joy to the table. I hope they bring the same joy to yours. Let’s enjoy this flavorful journey together.
![To make the best Instant Pot mac and cheese, you need a few key items: - 2 cups elbow macaroni - 4 cups vegetable broth - 2 tablespoons unsalted butter - 1 cup sharp cheddar cheese, shredded - 1 cup mozzarella cheese, shredded - 1 teaspoon garlic powder - 1 teaspoon onion powder - 1 teaspoon dried basil - 1 teaspoon dried parsley - ½ teaspoon smoked paprika - Salt and pepper to taste - ½ cup heavy cream - Optional: Fresh herbs for garnish (like parsley or chives) These ingredients come together to create a creamy, rich dish that delights everyone. Cheese plays a huge role in mac and cheese. I love using sharp cheddar for its strong flavor. It gives the dish a nice bite. Mozzarella adds creaminess, making it melt perfectly. You can also mix in some Gruyère or Monterey Jack for unique tastes. Experimenting with different cheeses can elevate your mac and cheese game. Choosing the right pasta is key for good mac and cheese. Elbow macaroni is the classic choice. It holds the cheese sauce well. You can also try cavatappi or shells for a fun twist. Just make sure the pasta can withstand pressure cooking. This way, it stays tender but not mushy. First, gather your ingredients. You need 2 cups of elbow macaroni and 4 cups of vegetable broth. Add the macaroni to the Instant Pot. Pour the broth over the macaroni. Make sure all the pasta is under the broth. This helps it cook evenly. Next, close the lid tightly. Seal the valve to trap the steam. Select the "Manual" or "Pressure Cook" setting. Set the timer for 4 minutes. Cooking under pressure makes the pasta soft and creamy. When the timer is up, let it release pressure for 5 minutes naturally. Then, do a quick release for any remaining steam. After releasing the pressure, remove the lid. Stir the macaroni. It should be tender and some liquid should remain. Add 2 tablespoons of butter, garlic powder, onion powder, dried basil, dried parsley, and smoked paprika. Mix it well until the butter melts completely. Now, add ½ cup of heavy cream. Stir until the pasta is coated. Finally, add 1 cup of shredded cheddar and 1 cup of mozzarella cheese. Keep stirring until all the cheese melts smoothly. If the sauce is too thick, add a splash of broth or cream. For the full recipe, check the details above. Enjoy your creamy mac and cheese! When making Instant Pot mac and cheese, a few mistakes can ruin your dish. First, don't skip the natural pressure release. It helps the pasta finish cooking and keeps it tender. Second, avoid using too much broth. The pasta needs enough liquid to cook, but too much can make it soupy. Lastly, don’t rush when mixing in the cheese. Stir it slowly to create that creamy texture you want. You can boost the flavor of your mac and cheese with some fun add-ins. Try adding cooked bacon for a smoky touch. You can also mix in sautéed onions or garlic for extra depth. If you like spice, toss in some jalapeños. For a fresh kick, add a squeeze of lemon juice or some chopped fresh herbs like basil or chives. To speed things up, prep your ingredients ahead of time. Measure out your cheese and spices before you start. You can also use pre-shredded cheese to cut down on prep time. If you’re in a hurry, consider using a quick-cooking pasta. Just adjust the cooking time in your Instant Pot. For the full recipe, check out the detailed steps above. {{image_2}} You can easily make this dish vegan. Swap the butter for plant-based butter. Use cashew cream or coconut milk instead of heavy cream. For cheese, try a vegan cheese blend. Nutritional yeast adds a cheesy flavor, too. This way, you get a rich and creamy mac without any dairy. If you like heat, add jalapeños. Chop fresh jalapeños and mix them in with the macaroni. You can also use pickled jalapeños for a tangy kick. Adjust the amount based on your spice level. This twist makes the dish exciting and flavorful. Add protein to your mac and cheese for a complete meal. Cook diced chicken in the Instant Pot before adding the pasta. For a smoky flavor, use crispy bacon. If you prefer plant-based protein, add cubed tofu. Mix any of these in before serving for extra taste and texture. For more ideas, check out the [Full Recipe]. To store your leftover Instant Pot mac and cheese, place it in an airtight container. This helps keep it fresh. Make sure to let it cool first. Store it in the fridge for up to three days. Always label your container with the date. This way, you know when to eat it. You can freeze mac and cheese for later enjoyment. First, let it cool down completely. Then, transfer it to a freezer-safe container. Leave some space at the top because it will expand when frozen. You can freeze it for up to three months. When you are ready to eat, just thaw it in the fridge overnight. Reheating mac and cheese can be tricky. To keep it creamy, add a splash of milk or broth before reheating. You can use the microwave or the stovetop. If using the microwave, heat it in short bursts and stir often. If using the stovetop, heat it over low heat while stirring. This helps avoid drying it out. Enjoy your creamy dish again! It takes about 20 minutes to make this dish. You spend 5 minutes prepping and 15 minutes cooking. The pressure cooking takes just 4 minutes. After that, you need a few minutes for pressure release. Yes, you can use gluten-free pasta! It works well in the Instant Pot. Just ensure you check the cooking time on the package. You may need to adjust it a bit if the pasta cooks faster or slower. If you want to avoid heavy cream, try using milk or a dairy-free option. Unsweetened almond milk or coconut milk works well. Your mac and cheese will still be creamy and delicious. To make a small batch, reduce the ingredients by half. Use 1 cup of elbow macaroni and 2 cups of vegetable broth. Adjust the cheese and cream accordingly. This way, you get just enough for one or two servings. Yes, you can make mac and cheese on the stovetop. Cook the pasta in a pot with boiling water. Once it’s tender, drain and return it to the pot. Add butter, cheese, and cream, mixing until creamy. It takes a bit longer but still tastes great. For the full recipe, check out the Creamy Garlic & Herb Instant Pot Mac and Cheese. In this blog post, we covered everything you need for Instant Pot mac and cheese. You learned about key ingredients and cheese types that boost flavor. I shared step-by-step instructions to make it easy. You also found tips to avoid common mistakes and variations to try. Remember, cooking should be fun. Enjoy experimenting with new flavors and textures. Make this dish your own, and share it with friends and family!](https://soyumrecipes.com/wp-content/uploads/2025/07/e1087d90-33eb-4f2f-8155-cc62928ee604-300x300.webp)


Chocolate Dipped Coconut Macaroons Easy Delight Recipe
If you crave sweet treats that are easy to make, you’ll love my Chocolate Dipped Coconut Macaroons recipe. With just a few simple ingredients,…
![- 2 ½ cups unsweetened shredded coconut - 1 cup sweetened condensed milk - 1 teaspoon vanilla extract - ½ teaspoon almond extract - 2 large egg whites - ¼ teaspoon salt - 1 cup semi-sweet chocolate chips - 1 tablespoon coconut oil Importance of unsweetened vs. sweetened coconut: Using unsweetened shredded coconut gives you control over the sugar level. Sweetened coconut can make your macaroons overly sweet. The balance of flavors shines when you choose unsweetened coconut. This way, you can enjoy the rich coconut taste without it being too sugary. Selecting the right type of chocolate for dipping: For dipping, semi-sweet chocolate is the best choice. It offers a nice balance of sweet and bitter. You can also try dark chocolate for a richer flavor. Make sure your chocolate chips are high quality. This will enhance the overall taste of your macaroons. Each macaroon has about 100 calories. They contain around 5 grams of fat, 12 grams of carbs, and 1 gram of protein. These treats are rich and satisfying, making them a great snack. Enjoy them in moderation to balance the sweetness with your diet. 1. Preheat the oven and prepare your baking sheet: Set your oven to 325°F (160°C). While it warms up, grab a baking sheet and line it with parchment paper. This will help the macaroons not stick. 2. Combining wet and dry ingredients in separate bowls: In a large bowl, mix together 2 ½ cups of unsweetened shredded coconut, 1 cup of sweetened condensed milk, 1 teaspoon of vanilla extract, and ½ teaspoon of almond extract. Stir until everything is mixed well. In another bowl, beat 2 large egg whites with ¼ teaspoon of salt until stiff peaks form. This should take about 3-5 minutes. Be gentle when folding the egg whites into the coconut mixture. You want to keep the air in the egg whites. 1. Portioning and spacing macaroons on the baking sheet: Use a tablespoon or a small cookie scoop to drop the mixture onto your prepared baking sheet. Space each mound about 2 inches apart. This gives them room to puff up while baking. 2. Baking time and signs of doneness: Place the baking sheet in the oven and bake for 20-25 minutes. Watch for the tops to turn golden brown. Once they are golden, take them out and let them cool completely on the baking sheet. 1. Melting chocolate and coconut oil: While your macaroons cool, you can prepare the chocolate dip. In a microwave-safe bowl, mix 1 cup of semi-sweet chocolate chips with 1 tablespoon of coconut oil. Microwave this mixture in 30-second bursts, stirring in between, until it is smooth. 2. Dipping technique and optional drizzle: Once the macaroons are cool, dip the bottom half of each macaroon into the melted chocolate. Let any extra chocolate drip off. Place them back on the parchment paper. If you like, drizzle any leftover chocolate over the tops for a nice touch. For the full recipe, refer to the section above. Enjoy making these delicious treats! To make the best macaroons, start by beating your egg whites to stiff peaks. This means you should whisk the egg whites until they form firm peaks that stand tall. Use a clean, dry bowl and beaters. Any grease can prevent the whites from whipping up correctly. It usually takes about 3 to 5 minutes with an electric mixer. Next, ensure even baking and browning. Space each macaroon about 2 inches apart on the baking sheet. This gives them room to expand. Rotate the baking sheet halfway through baking for even heat. One big mistake is overmixing the batter. When you fold in the egg whites, do it gently. If you mix too hard, you can deflate the whites. This will lead to a dense macaroon instead of a light one. Another mistake is incorrect cooling techniques. Let the macaroons cool completely on the baking sheet. If you try to move them too soon, they may fall apart. Pair your macaroons with drinks like coffee or tea. The sweet flavors of the macaroons balance well with these beverages. For a fun presentation, serve macaroons on a pretty plate. You could also stack them in a glass jar. Add a ribbon for a nice touch. These small ideas make your treats more inviting. For the full recipe, check out the detailed steps provided earlier. {{image_2}} You can change the flavor of your macaroons in fun ways. Try adding a few drops of mint extract for a fresh twist. If you prefer citrus, mix in some orange zest. Both flavors add a bright note to the rich coconut. You can also get creative by mixing in nuts or dried fruits. Chopped almonds or walnuts will add crunch. Dried cranberries or cherries can bring a sweet and tart flavor. These additions make each bite unique and exciting. The chocolate you choose can change everything. You might want to use dark chocolate for a rich taste. Its deep flavor pairs well with the sweet coconut. Alternatively, white chocolate gives a creamy contrast. It adds a different sweetness that many love. Don't stop there! Experiment with flavored chocolates. You can find chocolate with hints of sea salt, coffee, or even raspberry. Each type will bring its own charm to your macaroons. If you need gluten-free options, worry not! This recipe is already gluten-free. Use unsweetened coconut to keep it clean. For vegan or dairy-free macaroons, substitute sweetened condensed milk. You can find plant-based versions in stores. Also, you can skip the egg whites. Instead, try aquafaba, the liquid from canned chickpeas. It whips up nicely and works well in this recipe. With these variations, you can enjoy Chocolate Dipped Coconut Macaroons in many ways. Feel free to explore and make them your own! For the full recipe, check out the details above. Store your chocolate dipped coconut macaroons at room temperature for short-term freshness. If you live in a warm area, keep them in the fridge. The cool air helps maintain their texture. Use an airtight container to keep them fresh longer. This helps prevent them from drying out or absorbing odors. You can freeze these yummy treats for later enjoyment. To freeze macaroons, let them cool completely. Place them in a single layer on a baking sheet. Freeze until solid, then transfer them to an airtight container. This helps avoid freezer burn. To thaw, simply leave them at room temperature for about an hour. If you want them extra fresh, warm them in the oven for a few minutes. How long do macaroons last? When stored properly, they can last about a week at room temperature. If refrigerated, they may last up to two weeks. Signs of spoilage include a strange smell or dry texture. If they feel hard or crumbly, it's best to toss them. Enjoy your delicious sweets while they're still fresh! For the full recipe, check out the [Full Recipe]. To make these macaroons, follow these steps. First, combine unsweetened shredded coconut, sweetened condensed milk, vanilla extract, and almond extract in a bowl. Mix until smooth. Then, beat the egg whites with salt until stiff peaks form. Gently fold the egg whites into the coconut mixture. Scoop the mixture onto a lined baking sheet, leaving space between each. Bake at 325°F for 20-25 minutes until golden. After cooling, dip the bottoms in melted chocolate mixed with coconut oil. Let them set in the fridge. For the complete process, check the Full Recipe. Yes, you can replace some ingredients. Instead of sweetened condensed milk, try using coconut cream for a dairy-free option. If you don’t have almond extract, vanilla extract works well. You can use any chocolate chips you prefer. Dark or white chocolate also works great! Just keep in mind that these changes may alter the flavor slightly. You can find these macaroons in many bakeries and dessert shops. Many grocery stores also carry them, especially in the baking aisle. If you want fresh ones, consider ordering online from specialty dessert shops. Some places even offer delivery right to your door, making it easy to enjoy these treats. To help prevent crumbling, ensure you beat the egg whites until they form stiff peaks. This gives the macaroons structure. Also, don’t overmix when folding in the egg whites. Overmixing can deflate the mixture and make them dense. Finally, make sure to let them cool completely before dipping in chocolate. This helps them hold their shape. Yes, you can make macaroons ahead of time! Once baked and cooled, store them in an airtight container. Keep them at room temperature for up to five days. If you want to store them longer, consider freezing them. Just thaw them in the fridge before serving. This keeps them fresh and tasty for your next treat! You learned how to make tasty chocolate-dipped coconut macaroons. We covered essential ingredients, preparation steps, and tips for success. Understanding the difference between shredded coconut types helps your macaroons shine. Storing them properly keeps them fresh longer. Feel free to get creative with flavors and variations. With these tools and insights, you can make delightful treats that impress. Enjoy your baking journey and share these sweet treats with friends and family.](https://soyumrecipes.com/wp-content/uploads/2025/07/5a5bb553-1856-4654-8d17-0a9e450a8f5c.webp)
