


Latest & Greatest
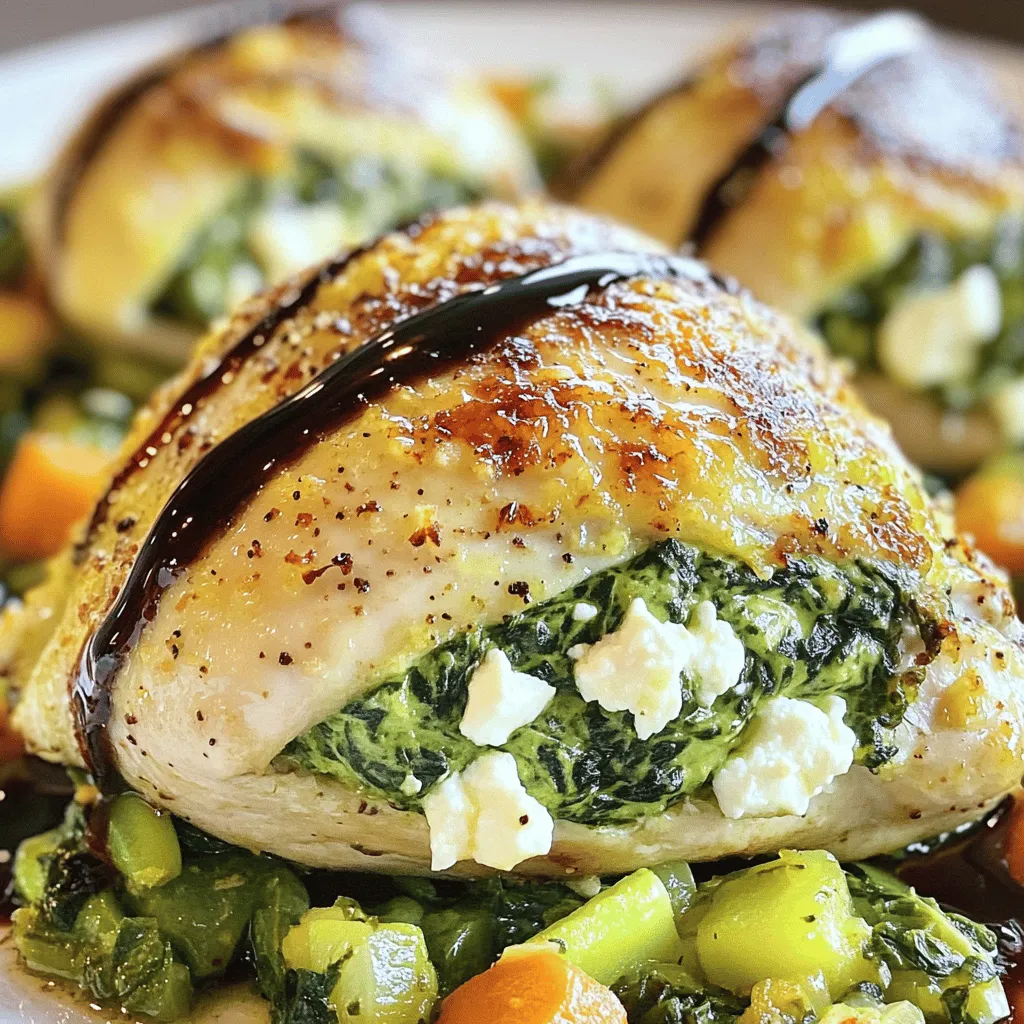
Spinach and Feta Stuffed Chicken Flavorful Weeknight Meal
Looking for a quick and tasty dinner idea? Spinach and Feta Stuffed Chicken is the answer. This flavorful weeknight meal
Read more…
No-Bake Nutella Cheesecake Delightful and Easy Dessert
Craving something sweet and creamy that’s also easy to make? Look no further! This No-Bake Nutella Cheesecake is a true
Read more…
Chocolate Chip Cookie Dough Brownies Irresistible Treat
Get ready for a delicious treat that combines two favorites: brownies and cookie dough! In this post, I’ll show you
Read more…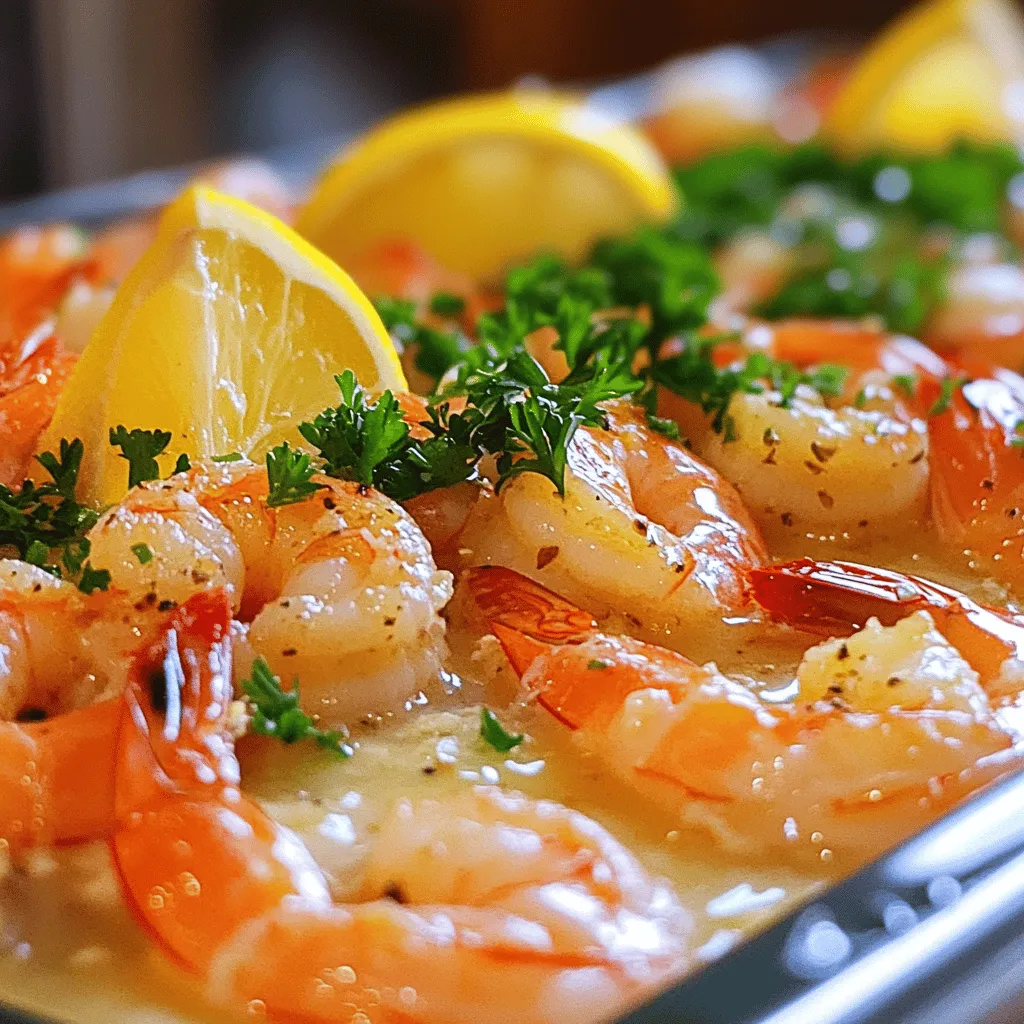
Flavorful 5-Ingredient Garlic Butter Shrimp Recipe
Craving a quick, delicious meal? You’re in luck! My 5-Ingredient Garlic Butter Shrimp Recipe is simple yet bursting with flavor.
Read more…
Vegan Chickpea Curry Flavorful and Easy Meal Idea
Are you ready to spice up your dinner routine? This Vegan Chickpea Curry is not just flavorful; it’s also simple
Read more…
Glazed Lemon Sugar Cookies Delightful and Simple Treat
If you’re craving a sweet treat that’s simple yet bursting with flavor, look no further! These Glazed Lemon Sugar Cookies
Read more…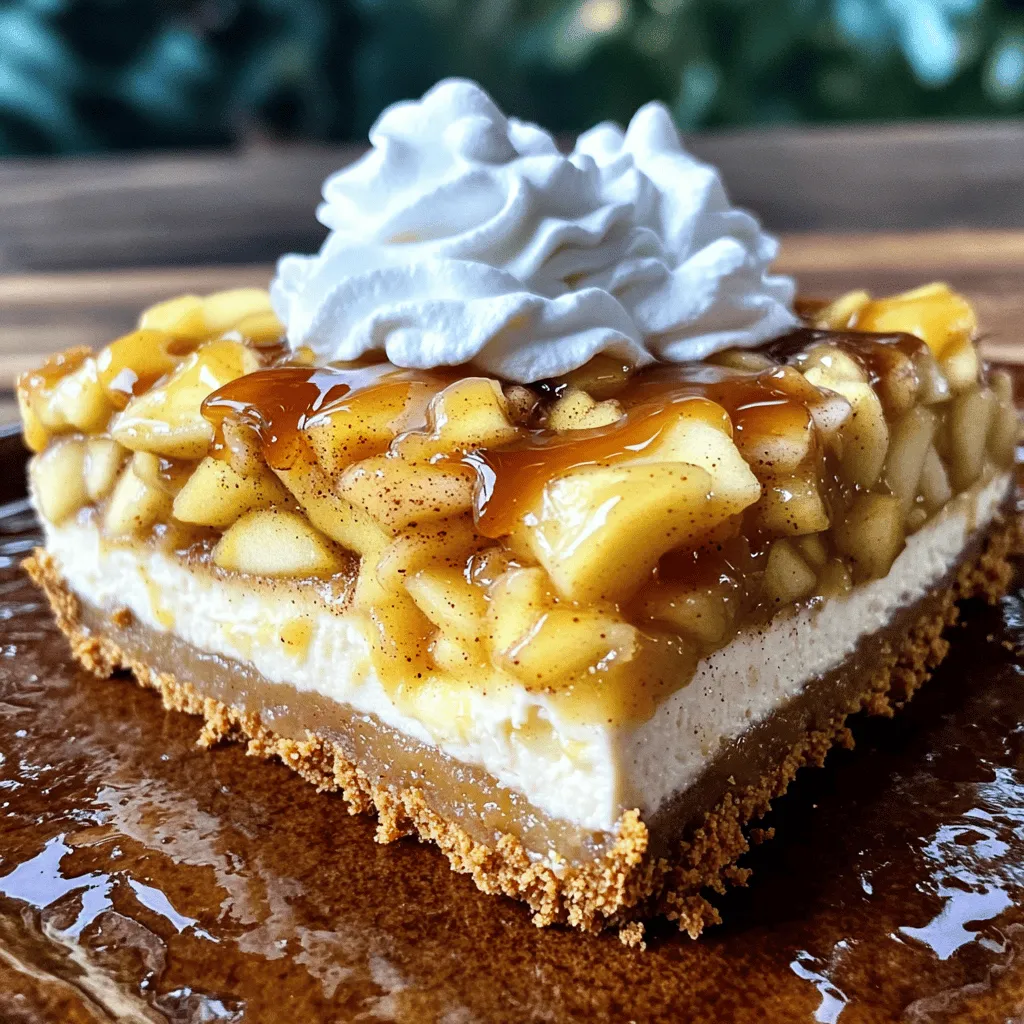
Apple Pie Stuffed Cheesecake Irresistible Desserts
If you love desserts that combine flavors, you’re in for a treat! My Apple Pie Stuffed Cheesecake takes two classics
Read more…
Best Homemade Cinnamon Rolls Flavorful and Easy Recipe
Are you ready to make the best homemade cinnamon rolls? This easy recipe combines warm, fluffy dough with a sweet
Read more…browse recipes


Chocolate Covered Strawberry Bites Delightful Treats
Looking for a sweet and simple treat? Chocolate Covered Strawberry Bites are quick to make and impossible to resist! With fresh strawberries bathed in…
My Latest Desserts

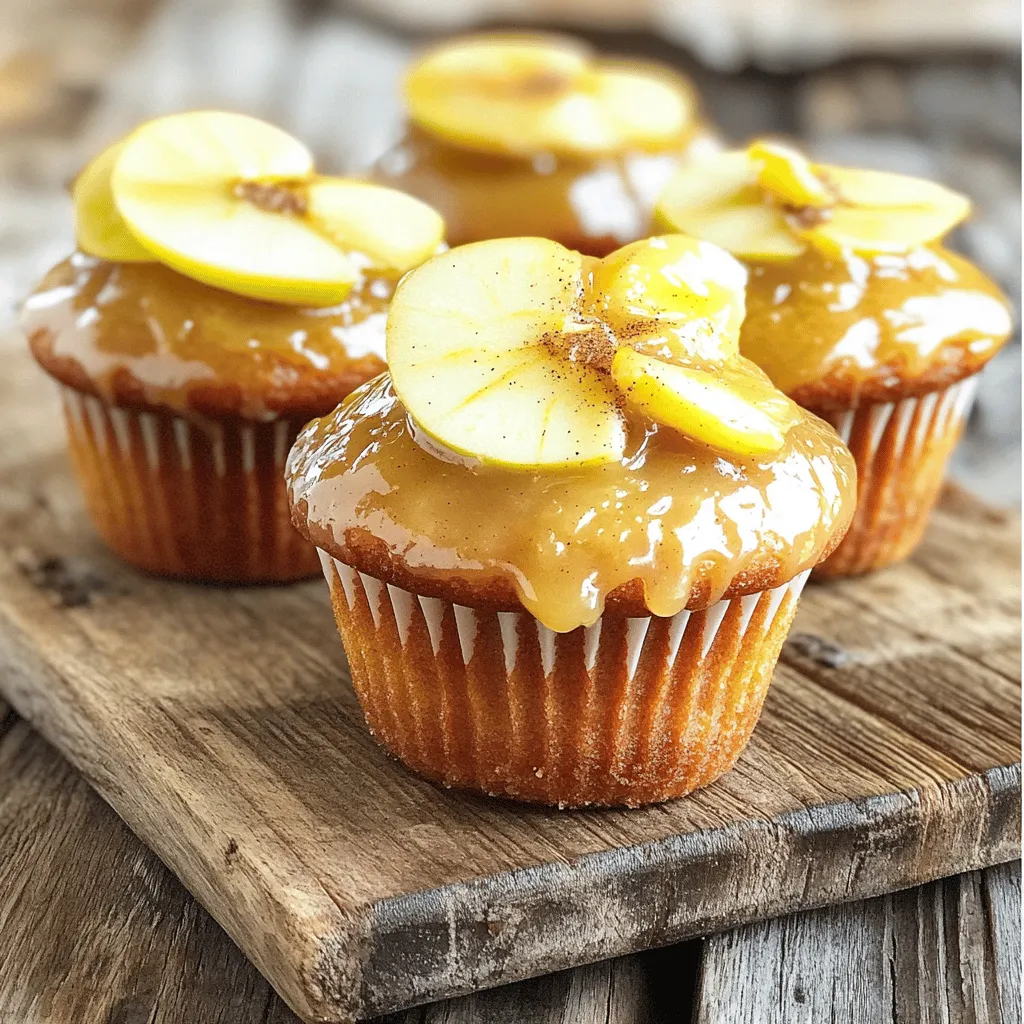
Apple Cider Glazed Donut Muffins Delightful Treat
Get ready to indulge in the cozy flavors of fall with my Apple Cider Glazed Donut Muffins. These muffins blend Read Full Recipe-
Chocolate Cottage Cheese Pudding Cups Delightful Treat
If you’re craving a sweet treat that won’t derail your health goals, you’ve got to try Chocolate Cottage Cheese Pudding Read Full Recipe -
No-Bake Peanut Butter Cup Cheesecake Bars Delight
Get ready for a sweet treat that’s easy and fun! My No-Bake Peanut Butter Cup Cheesecake Bars are a dessert Read Full Recipe -
Cinnamon Roll Coffee Cake Delightful and Easy Recipe
If you love coffee cakes or cinnamon rolls, this recipe is for you! My Cinnamon Roll Coffee Cake combines soft, Read Full Recipe -
Pumpkin Spice Donut Muffins Tasty Fall Delight
Are you ready to dive into the cozy flavors of fall? Imagine biting into soft, warm Pumpkin Spice Donut Muffins, Read Full Recipe -
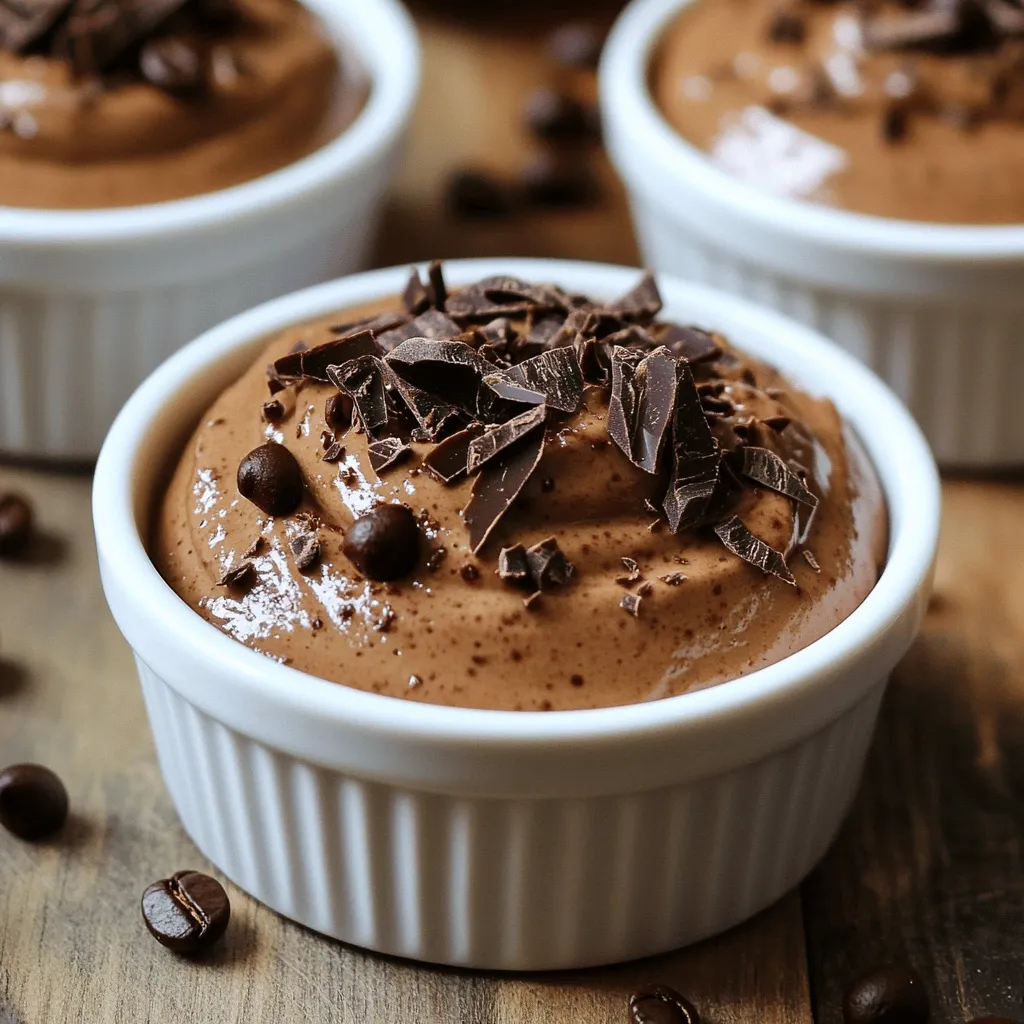
Mocha Greek Yogurt Mousse Protein Rich Dessert Delight
If you’re craving a dessert that’s both delicious and packed with protein, look no further! My Mocha Greek Yogurt Mousse Read Full Recipe


My Latest Drinks
-
Spiced Pumpkin Lattes Slow Cooker Recipe Delight
Are you ready to warm up your chilly days with a cozy Spiced Pumpkin Latte? I’ve crafted the perfect slow Read Full Recipe -
Peanut Butter Chocolate Protein Shake Tasty Delight
Satisfy your cravings with a Peanut Butter Chocolate Protein Shake! This tasty delight is not only delicious but also healthy. Read Full Recipe -
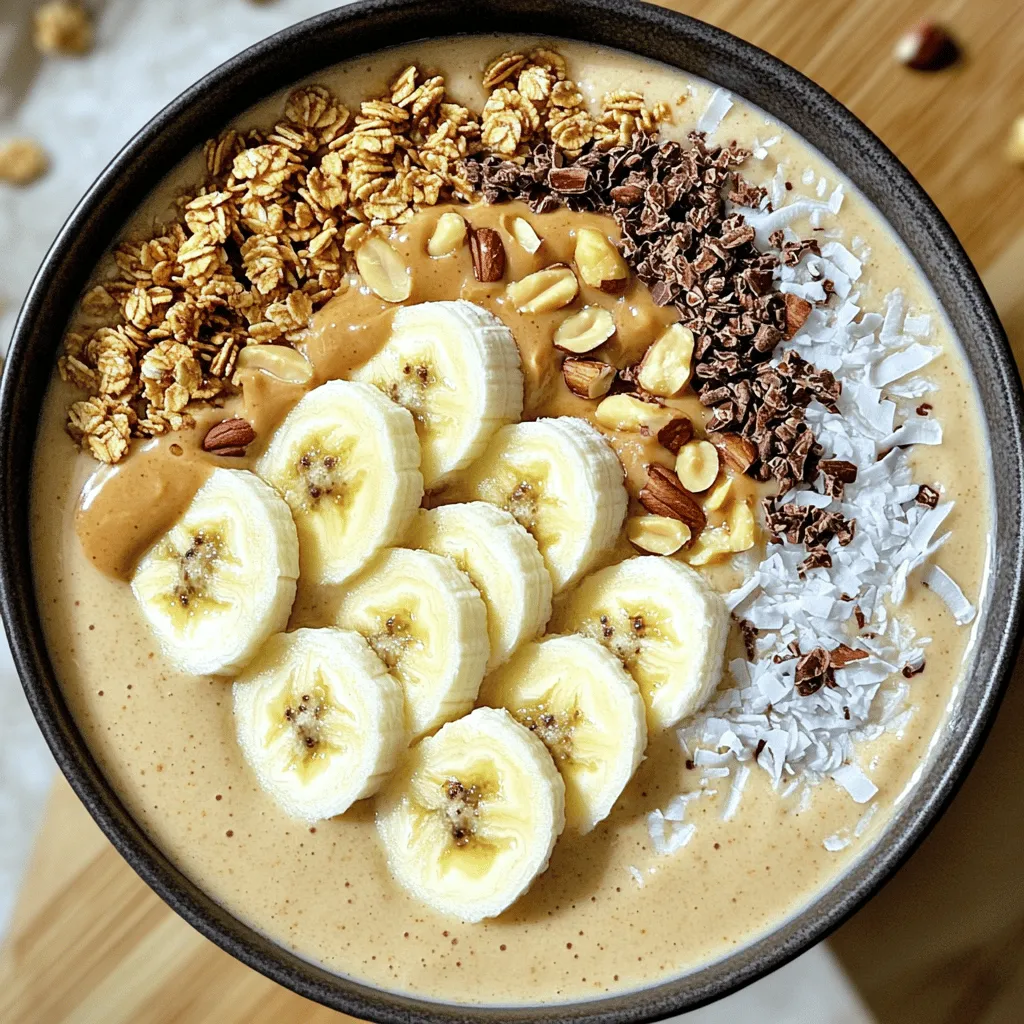
Peanut Butter Banana Smoothie Bowl Simple and Tasty
Looking for a quick, tasty treat? The Peanut Butter Banana Smoothie Bowl is your answer! Packed with ripe bananas and Read Full Recipe -
Pumpkin Cream Cold Brew Copycat Simple and Tasty Recipe
Craving a Pumpkin Cream Cold Brew but want to make it at home? You’re in the right place! I’ll show Read Full Recipe -
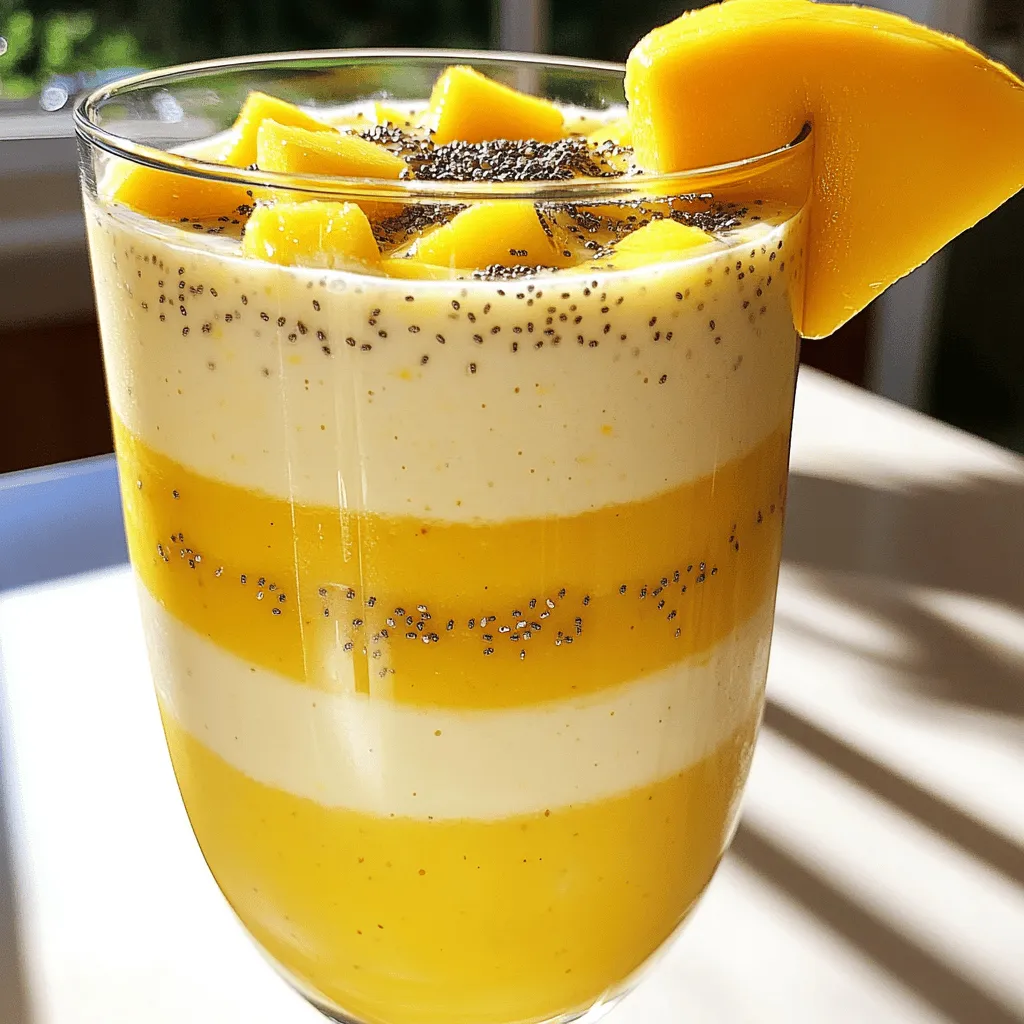
Pineapple Mango Smoothie Refreshing and Nutritious Drink
Looking for a tasty and healthy drink? A Pineapple Mango Smoothie might be just what you need! Packed with fresh Read Full Recipe -
Pumpkin Spice Protein Shake Nutritional Power Boost
Are you craving a delicious way to boost your nutrition? Look no further than this Pumpkin Spice Protein Shake! Packed Read Full Recipe


hey,
i’m !
I’m so happy you’re here!
I love creating dishes that bring joy to the table. I hope they bring the same joy to yours. Let’s enjoy this flavorful journey together.


 to explore these variations! To keep your lemon garlic roasted potatoes fresh, use airtight containers. Glass containers work best because they do not retain odors. Make sure the potatoes are cool before sealing them. Store them in the fridge for up to five days. To reheat your potatoes, the oven is the best choice. Preheat your oven to 350°F (175°C). Spread the potatoes on a baking sheet and heat for about 10 to 15 minutes. This keeps them crispy. You can also use the microwave for quick heating. Place the potatoes in a microwave-safe dish and cover with a paper towel. Heat in 30-second intervals until warm. You can freeze lemon garlic roasted potatoes, but there are some do's and don'ts. Do let them cool completely before freezing. Use freezer-safe bags or containers to avoid freezer burn. Don't freeze them if they are still warm, as this can create ice crystals. To thaw, leave them in the fridge overnight. When ready to eat, reheat in the oven to restore crispiness. Lemon garlic roasted potatoes can last about 3 to 5 days in the fridge. To store them, place the potatoes in an airtight container. Make sure they cool down first. This helps keep them fresh and tasty. When you want to eat them again, check for any signs of spoilage. If they smell off or look strange, throw them away. Yes, you can use different herbs to change the flavor. Here are some good options: - Rosemary: It adds a woodsy note. - Thyme: This herb has a mild taste that works well. - Basil: It offers a sweet and peppery flavor. Feel free to mix and match herbs to find your favorite blend. Each herb adds its own twist to the dish. Lemon garlic roasted potatoes pair well with many meals. Here are some great options: - Grilled chicken: The lemon flavor goes nicely with the meat. - Fish: Roasted potatoes complement the light taste of fish. - Salads: A fresh salad can balance the rich flavors. Try these pairings to create a full meal. You can also serve them as a side at a BBQ or family dinner. For more ideas, check the Full Recipe. This blog post showed how to make lemon garlic roasted potatoes. We covered the ingredients, simple steps, and tips for perfect roasting. You learned about substitutions, serving ideas, and storage methods. Remember, you can customize the recipe to fit your taste. Try different herbs or cooking methods for a new twist. These versatile potatoes pair well with many meals. Enjoy creating delicious dishes that everyone will love!](https://soyumrecipes.com/wp-content/uploads/2025/06/3bd656d2-a8b7-427b-98ef-c656e6f5aedf-300x300.webp)

Orange Glazed Chicken Stir Fry Delicious Weeknight Meal
Looking for a quick and tasty dinner? You’re in the right place! My Orange Glazed Chicken Stir Fry is a hit for busy weeknights.…