Latest & Greatest

Creamy Tomato Basil Soup Delicious Comfort in a Bowl
Indulging in a bowl of creamy tomato basil soup is pure comfort. With its rich flavors and vibrant colors, this
Read more…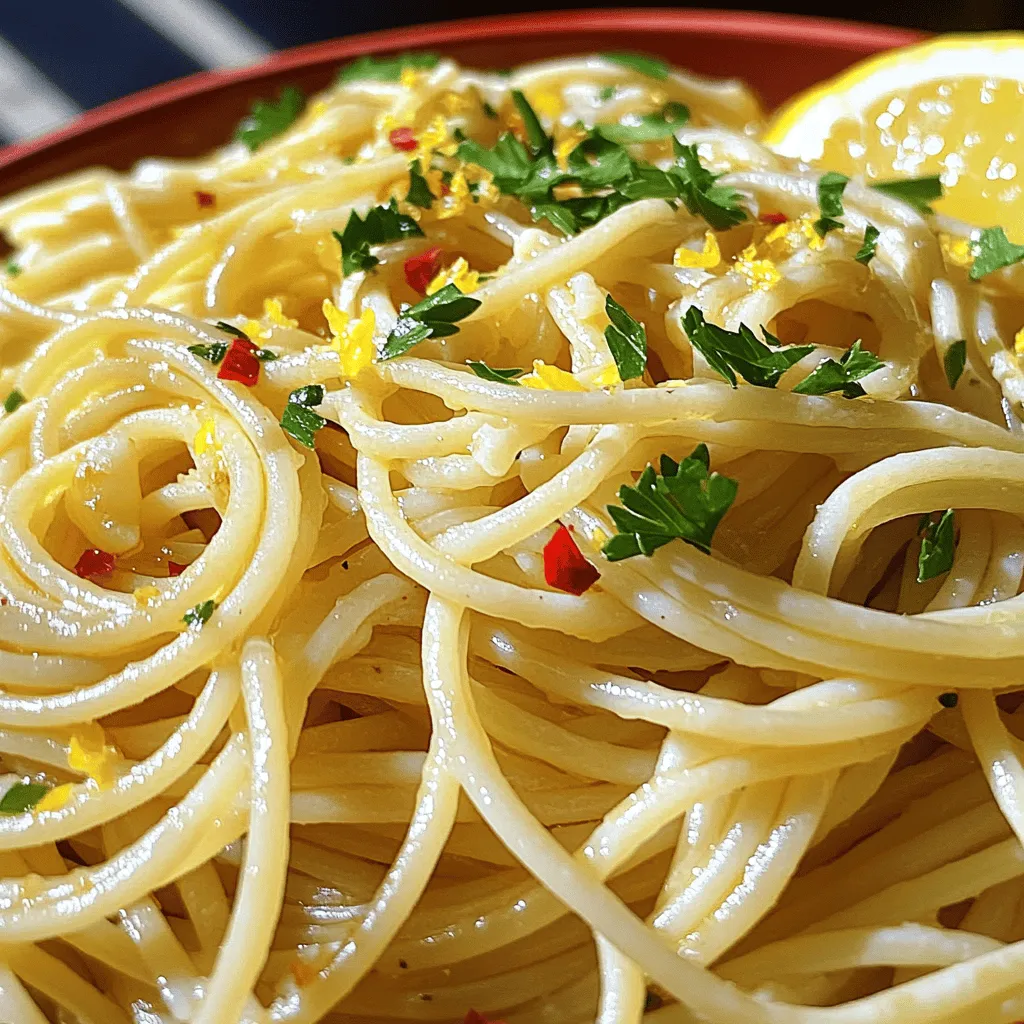
Spaghetti Aglio e Olio Simple and Flavorful Recipe
Craving a quick, tasty meal? Spaghetti Aglio e Olio is your answer! This simple dish uses just a few fresh
Read more…
Honey Garlic Shrimp and Broccoli Flavorful Delight
Are you ready to whip up a quick, tasty meal that shines? Honey Garlic Shrimp and Broccoli is the perfect
Read more…
Delicious No-Bake Cheesecake Jars Easy and Quick Treat
If you’re craving a sweet treat but lack the time or energy for baking, you’re in luck! These no-bake cheesecake
Read more…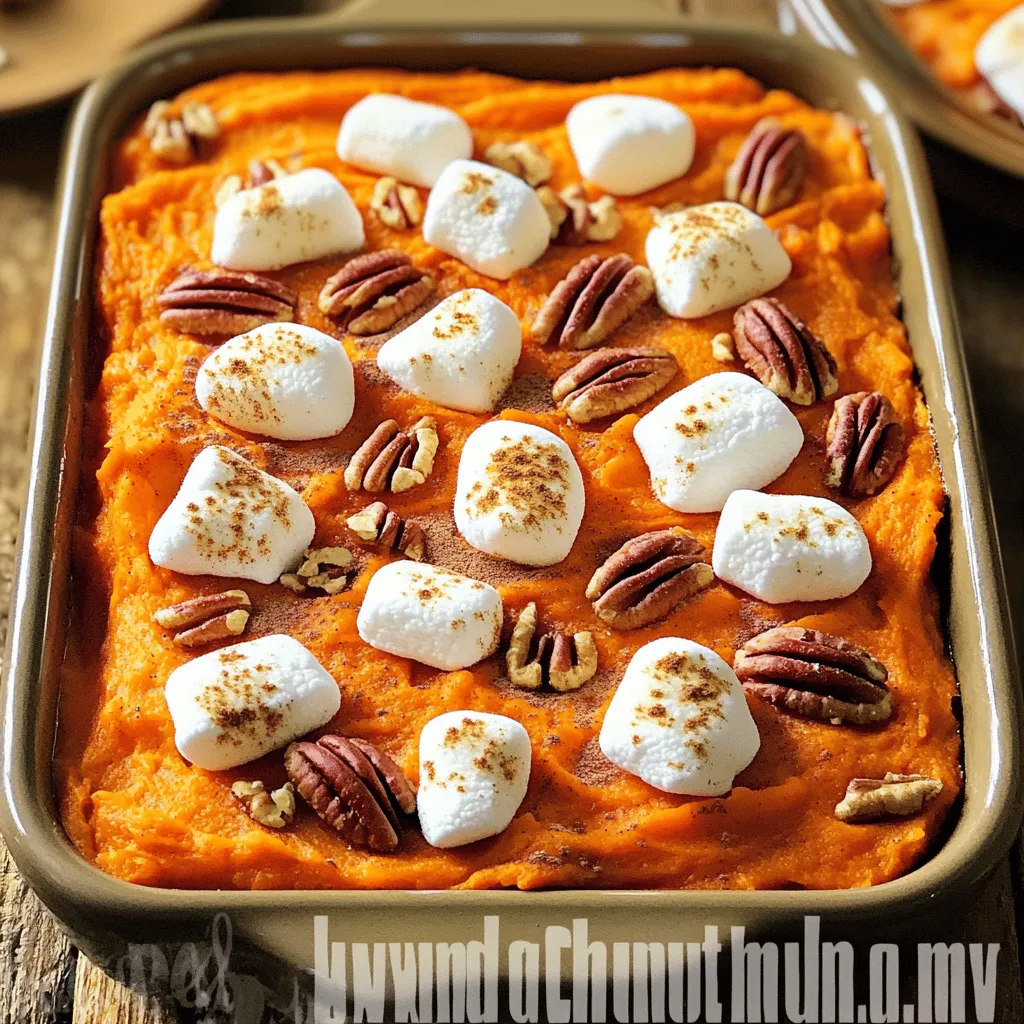
Sweet Potato Casserole with Marshmallows Delight
Are you ready to elevate your holiday meals with a dish everyone loves? Sweet potato casserole with marshmallows is the
Read more…
Easy Chicken Alfredo Pasta Bake Savory and Satisfying
Looking for a quick and tasty dinner idea? This Easy Chicken Alfredo Pasta Bake is just what you need! It’s
Read more…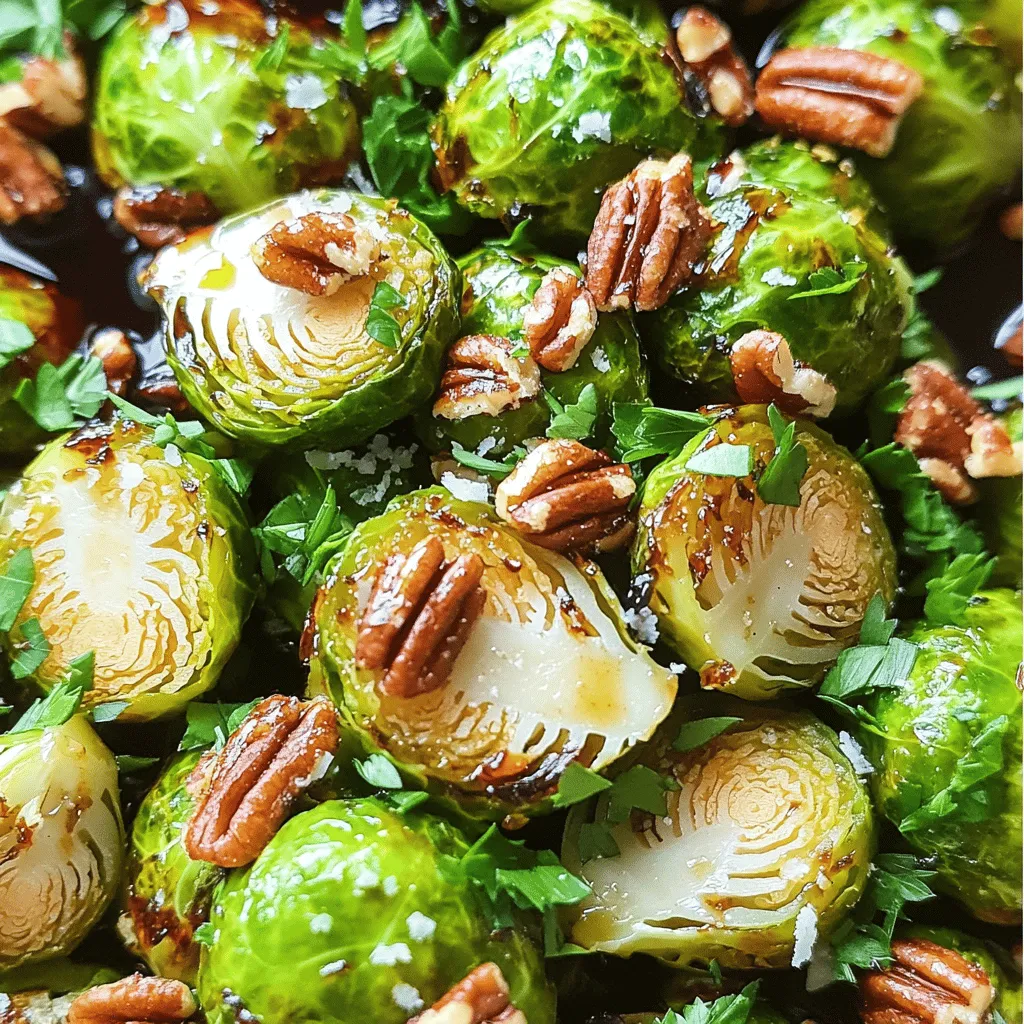
Balsamic Glazed Brussels Sprouts Delicious and Easy Recipe
Are you ready to impress your taste buds? Balsamic Glazed Brussels Sprouts are the perfect mix of sweet and savory.
Read more…
Savory Slow Cooker Chicken Tikka Masala Recipe
If you crave a warm and flavorful meal, this Savory Slow Cooker Chicken Tikka Masala recipe is for you. With
Read more…browse recipes

Crispy Buffalo Cauliflower Wings Easy and Tasty Recipe
Looking for a tasty twist on game day snacks? Try my crispy Buffalo cauliflower wings! They’re easy to make and packed with flavor. In…
My Latest Desserts
Pumpkin Spice Donut Muffins Tasty Fall Delight
Are you ready to dive into the cozy flavors of fall? Imagine biting into soft, warm Pumpkin Spice Donut Muffins, Read Full RecipeMocha Greek Yogurt Mousse Protein Rich Dessert Delight
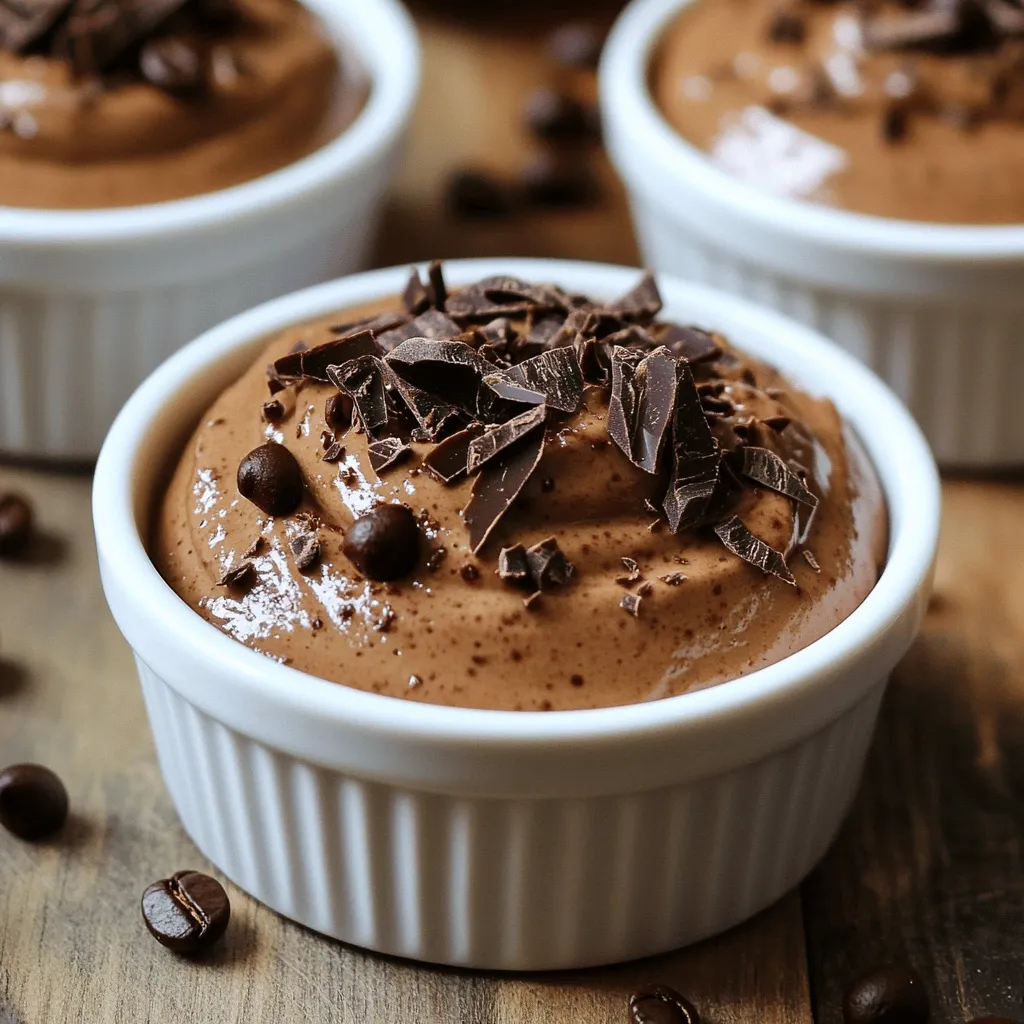
If you’re craving a dessert that’s both delicious and packed with protein, look no further! My Mocha Greek Yogurt Mousse Read Full RecipeChocolate Espresso Brownies Bakery Delicious Treat
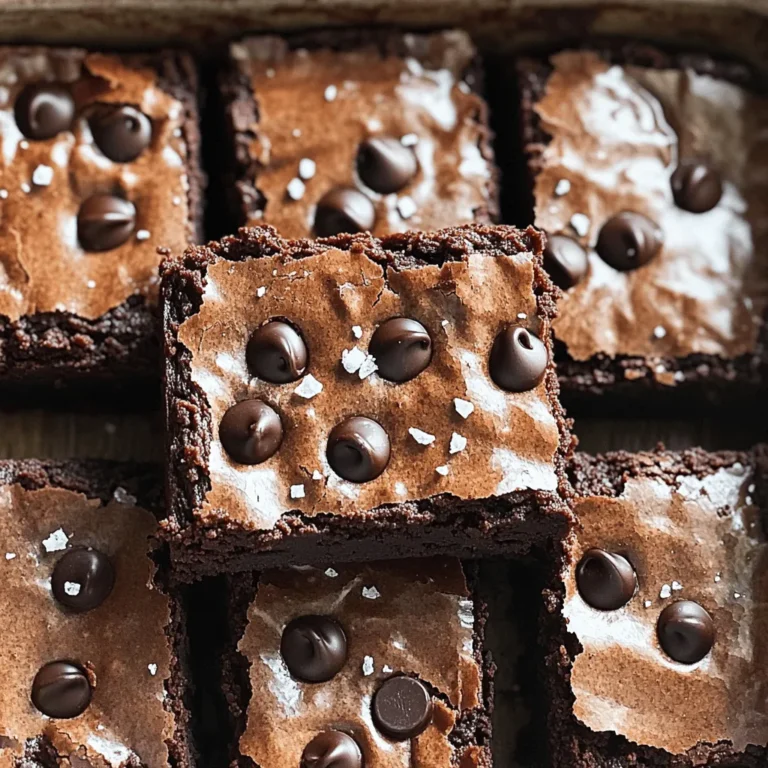
Welcome to the world of Chocolate Espresso Brownies! If you love rich, chocolatey treats with a coffee kick, you’re in Read Full RecipeNo-Bake White Chocolate Cranberry Bark Delightful Treat
Have you ever craved a sweet treat that’s simple and delicious? I’ve got just the thing for you: No-Bake White Read Full RecipeNo-Bake Cranberry Cheesecake Cups Delicious Dessert Treat
Craving a treat that’s easy to make and full of flavor? You’ll love my No-Bake Cranberry Cheesecake Cups! They combine Read Full RecipePumpkin Spice Oatmeal Cream Pies Irresistible Treat
Get ready to delight your taste buds with Pumpkin Spice Oatmeal Cream Pies! This easy recipe combines soft oatmeal cookies Read Full Recipe
My Latest Drinks
Spiced Pumpkin Lattes Slow Cooker Recipe Delight
Are you ready to warm up your chilly days with a cozy Spiced Pumpkin Latte? I’ve crafted the perfect slow Read Full RecipePeanut Butter Chocolate Protein Shake Tasty Delight
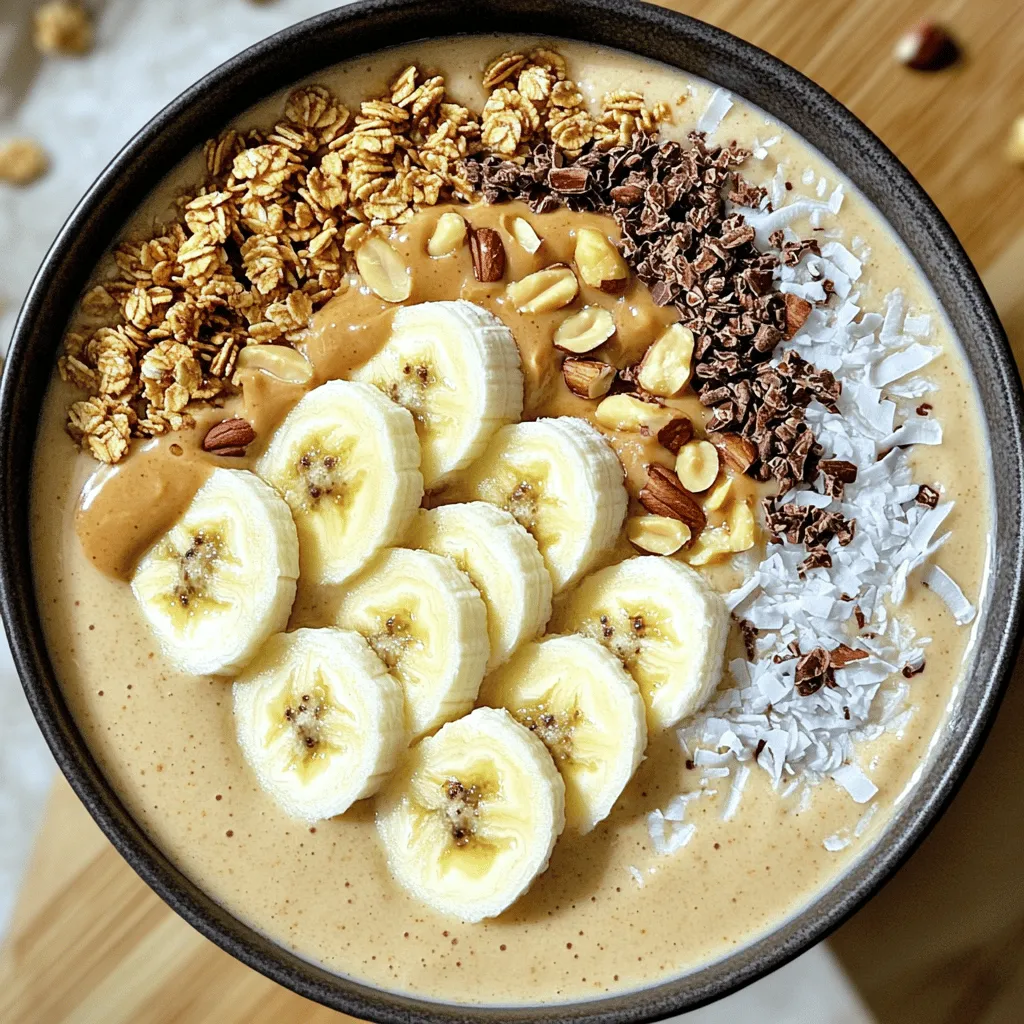
Satisfy your cravings with a Peanut Butter Chocolate Protein Shake! This tasty delight is not only delicious but also healthy. Read Full RecipePeanut Butter Banana Smoothie Bowl Simple and Tasty
Looking for a quick, tasty treat? The Peanut Butter Banana Smoothie Bowl is your answer! Packed with ripe bananas and Read Full RecipePumpkin Cream Cold Brew Copycat Simple and Tasty Recipe
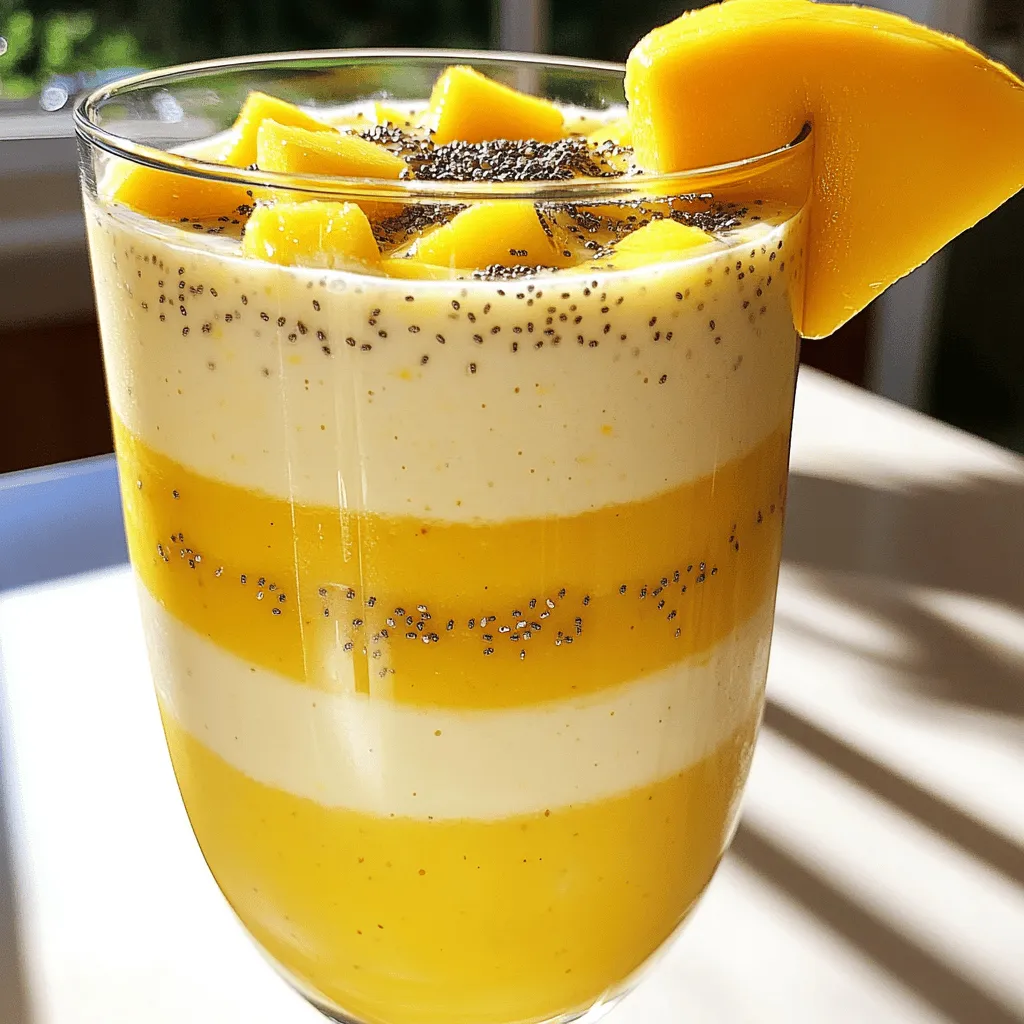
Craving a Pumpkin Cream Cold Brew but want to make it at home? You’re in the right place! I’ll show Read Full RecipePineapple Mango Smoothie Refreshing and Nutritious Drink
Looking for a tasty and healthy drink? A Pineapple Mango Smoothie might be just what you need! Packed with fresh Read Full RecipePumpkin Spice Protein Shake Nutritional Power Boost
Are you craving a delicious way to boost your nutrition? Look no further than this Pumpkin Spice Protein Shake! Packed Read Full Recipe
hey,
i’m !
I’m so happy you’re here!
I love creating dishes that bring joy to the table. I hope they bring the same joy to yours. Let’s enjoy this flavorful journey together.
Breakfast Burrito Casserole Tasty and Easy Dish
Looking for a quick, mouth-watering breakfast idea? This Breakfast Burrito Casserole combines savory sausage, fresh veggies, and creamy cheese into one delicious dish. Perfect…
. Enjoy your delicious breakfast burrito casserole! - Ensure even browning of sausage by stirring frequently. - Use a non-stick spray generously to prevent sticking. - Allow the casserole to rest after baking for easier slicing. Cooking this Breakfast Burrito Casserole is fun and simple. I always make sure my sausage gets nice and brown. Stirring it often helps. This way, I get that rich flavor and good texture. Using a non-stick spray is key too. I spray my baking dish well to keep everything from sticking. After baking, I let the casserole rest for a few minutes. This step makes slicing easier and keeps it from falling apart. Trust me, you’ll appreciate this tip when serving! - Substitute sausage with turkey, chicken, or a plant-based option. - Add more veggies like spinach or mushrooms for added nutrition. - Experiment with cheese types like pepper jack for heat. I love to mix things up with my casseroles. You can swap sausage for turkey or chicken if you want. If you prefer plant-based options, that works too! Adding extra veggies like spinach or mushrooms boosts the nutrition and flavor. Don’t forget about cheese! I often use pepper jack for a spicy kick. It really makes the casserole pop with flavor! - Serve with additional salsa on the side. - Pair with avocado slices for a creamy touch. - Offer fresh fruit as a light side dish. When it’s time to serve, I always have extra salsa on the side. It adds a nice zing to each bite. I also like to offer avocado slices. They bring a creamy texture that complements the casserole. For a light side, fresh fruit is perfect. It balances the rich flavors of the casserole and adds a nice crunch. Enjoy the dish! For the full recipe, check out the links provided. {{image_2}} For a tasty vegetarian option, swap out the meat. Use black beans and a mix of colorful vegetables. You can add diced zucchini, spinach, or mushrooms for extra flavor and nutrition. If you want a fluffy texture instead of eggs, consider using tofu scramble. This will keep the dish light and packed with protein. If you need a gluten-free meal, it’s easy to adapt. Simply replace flour tortillas with corn tortillas. Make sure to check that all other ingredients, like sausage or cheese, are certified gluten-free. This keeps your dish safe and delicious for everyone. Want to kick up the flavor? Try adding chorizo for a spicy twist. It adds a rich taste that pairs well with the other ingredients. You can also toss in jalapeños for extra heat in the sausage mixture. This will give your casserole a bold and exciting flavor. For the full recipe, check out the [Full Recipe]. Store leftovers in an airtight container for up to 3 days. This keeps the dish fresh. For the best taste, reheat it in the oven. If you need a quick fix, the microwave works too. You can freeze the unbaked casserole for up to 3 months. This is great for meal prep! Just make sure to wrap it well. When you are ready, thaw it overnight in the refrigerator before baking. To reheat, bake in a preheated oven at 350°F (175°C) until heated through. This helps keep the texture nice. For quick reheating, microwave individual portions. This way, you can enjoy your delicious breakfast burrito casserole anytime! - Yes, prepare the casserole up to the baking step and refrigerate overnight. It saves time in the morning, and flavors blend overnight. - You can use a flaxseed mixture or commercial egg replacers for a vegan option. Mix 1 tablespoon of ground flaxseeds with 3 tablespoons of water for each egg. Let it sit until it thickens. - The casserole should be set in the center and golden brown on top. A knife inserted should come out clean. This shows it's fully cooked. - This recipe serves approximately 8 people when sliced into portions. It's great for family brunches or meal prep for the week. - Absolutely! Consider adding chili flakes or hot sauce to the egg mixture for more heat. You can also mix in jalapeños for extra flavor. This Breakfast Burrito Casserole combines key ingredients for a tasty dish. You start with savory sausage, fresh veggies, and eggs. Layer everything with tortillas and bake to perfection. Remember, customize it with your favorite spices or veggies. You can even make a gluten-free or vegetarian version. Leftovers store well and reheat easily. Enjoy making this fun casserole, and share it with friends!](https://soyumrecipes.com/wp-content/uploads/2025/06/eff092db-7bd1-4925-812b-1723c4c7f518.webp)












. You now have all the details to make perfect Raspberry Almond Thumbprint Cookies. We covered essential ingredients, precise measurements, and helpful tips for excellent results. Remember to try different jams or nuts to make this recipe your own. Store your cookies properly to keep them fresh for longer. Enjoy these tasty delights anytime! Happy baking, and I hope these cookies bring joy to your kitchen.](https://soyumrecipes.com/wp-content/uploads/2025/06/dc1d577c-7c0d-4136-9a4e-aaaba9fd1937-300x300.webp)
