


Latest & Greatest

Pineapple Fried Rice Flavorful and Easy Recipe
Are you ready to elevate your dinner game? Pineapple Fried Rice is a colorful dish that bursts with flavor. This
Read more…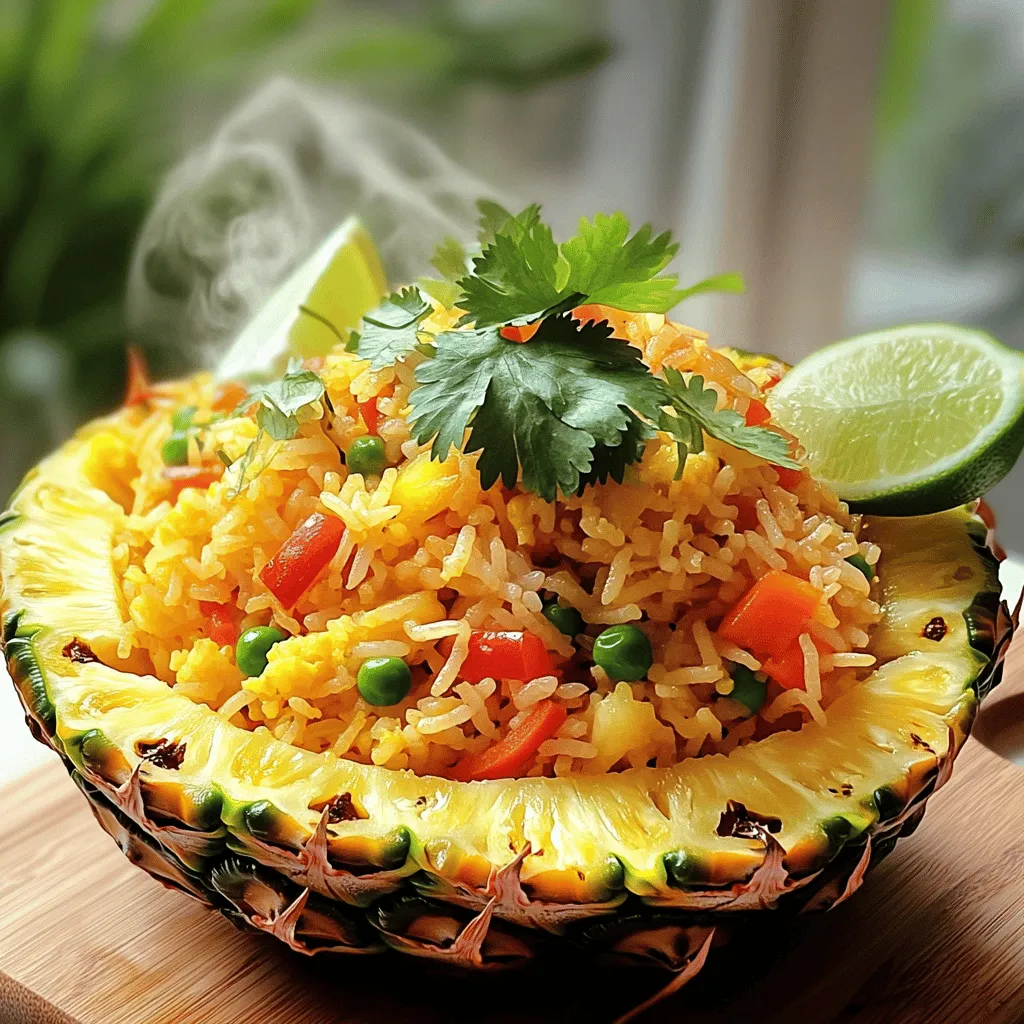
Pineapple Fried Rice Flavorful and Easy Recipe
Are you ready to elevate your dinner game? Pineapple Fried Rice is a colorful dish that bursts with flavor. This
Read more…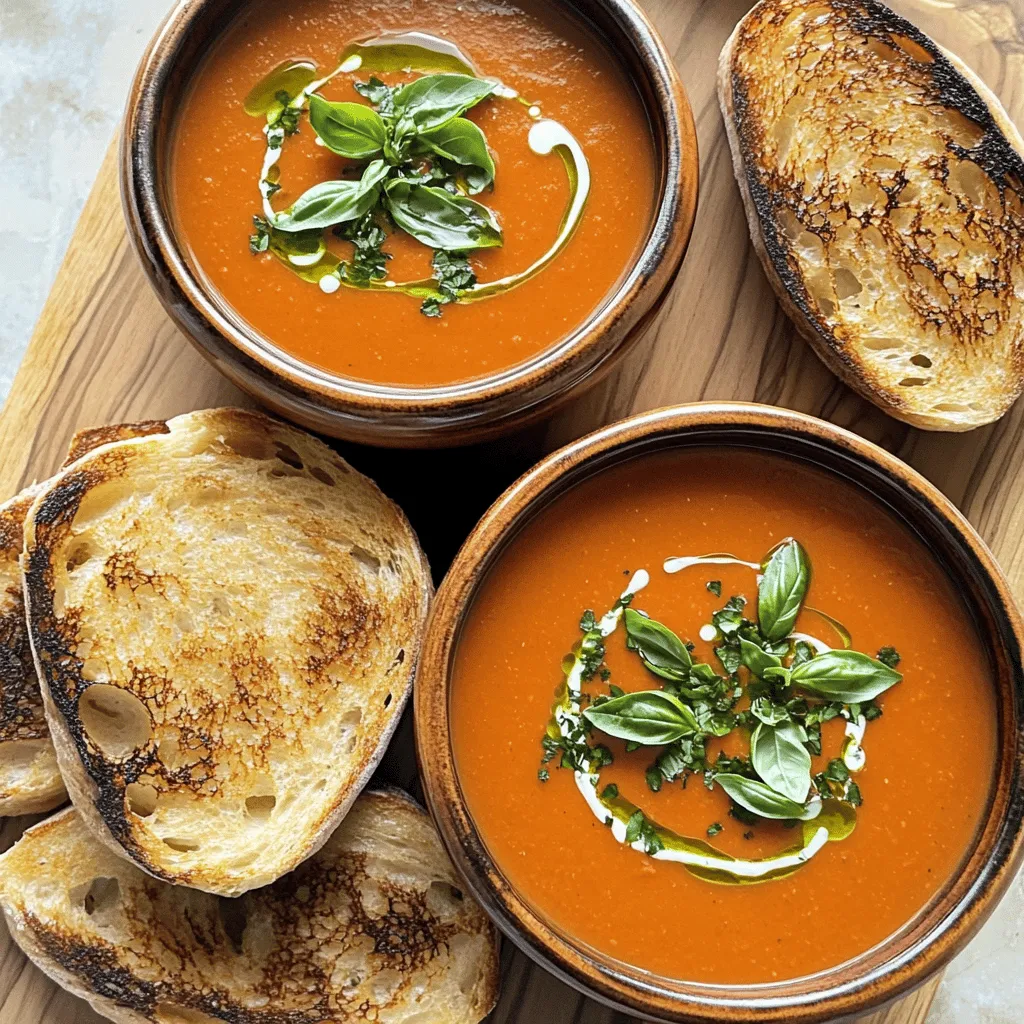
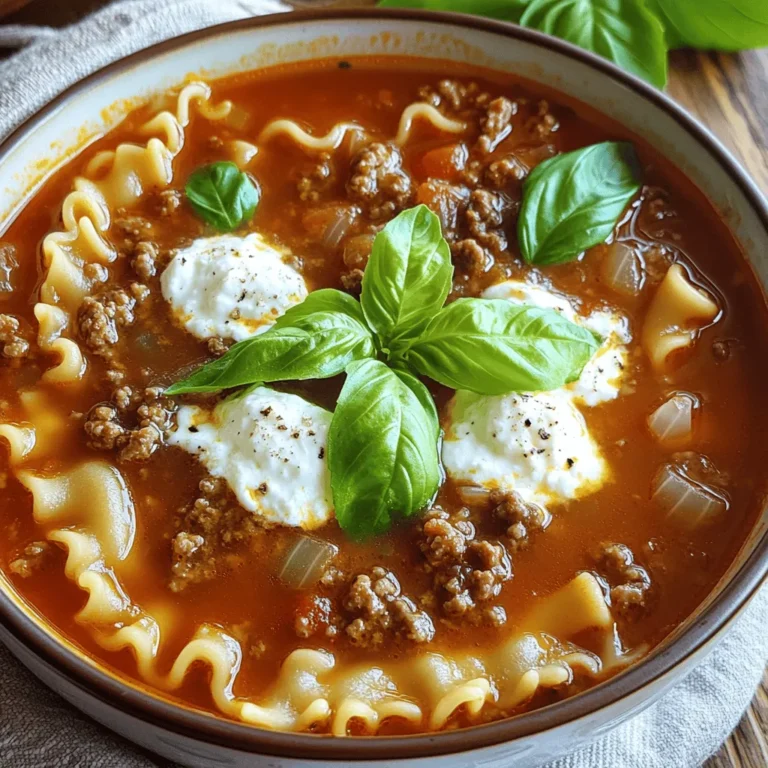
Creamy Tomato Basil Soup Delicious Comfort in a Bowl
Indulging in a bowl of creamy tomato basil soup is pure comfort. With its rich flavors and vibrant colors, this
Read more…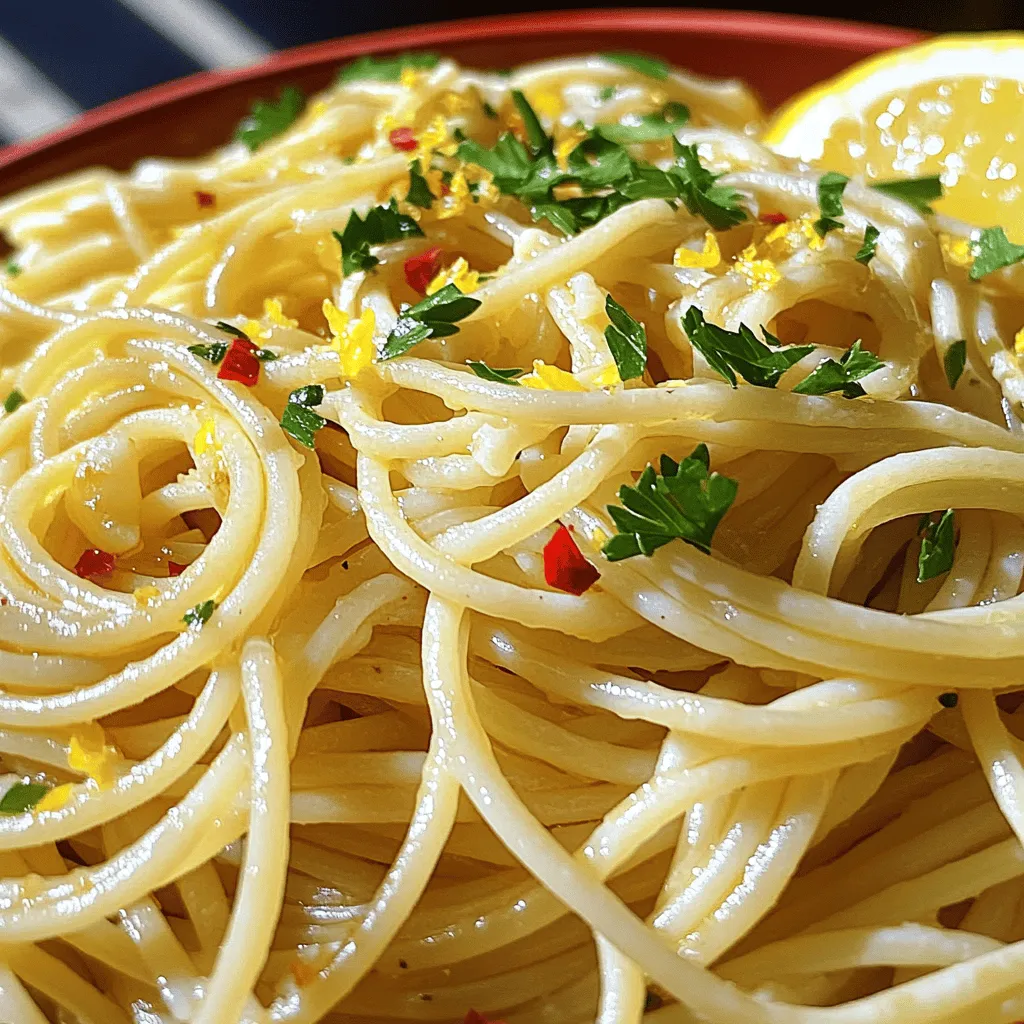
Spaghetti Aglio e Olio Simple and Flavorful Recipe
Craving a quick, tasty meal? Spaghetti Aglio e Olio is your answer! This simple dish uses just a few fresh
Read more…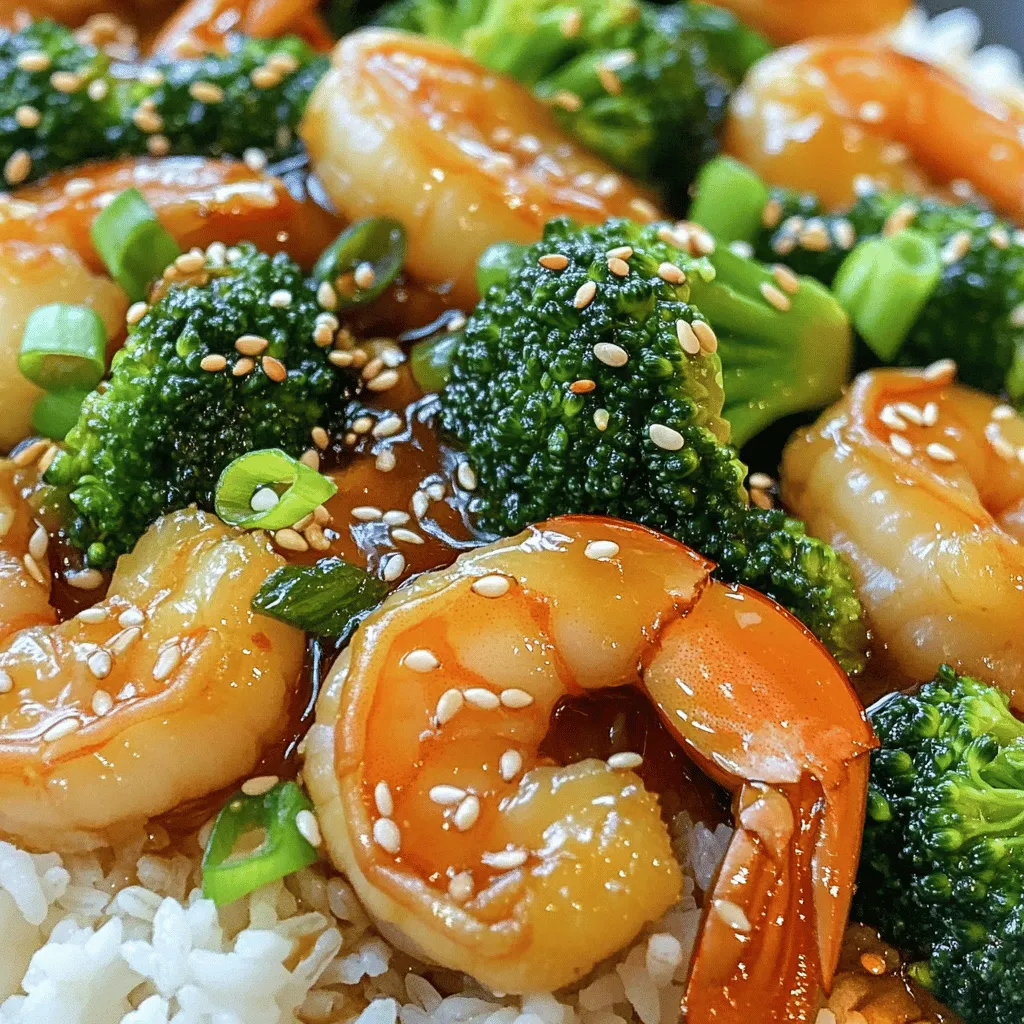
Honey Garlic Shrimp and Broccoli Flavorful Delight
Are you ready to whip up a quick, tasty meal that shines? Honey Garlic Shrimp and Broccoli is the perfect
Read more…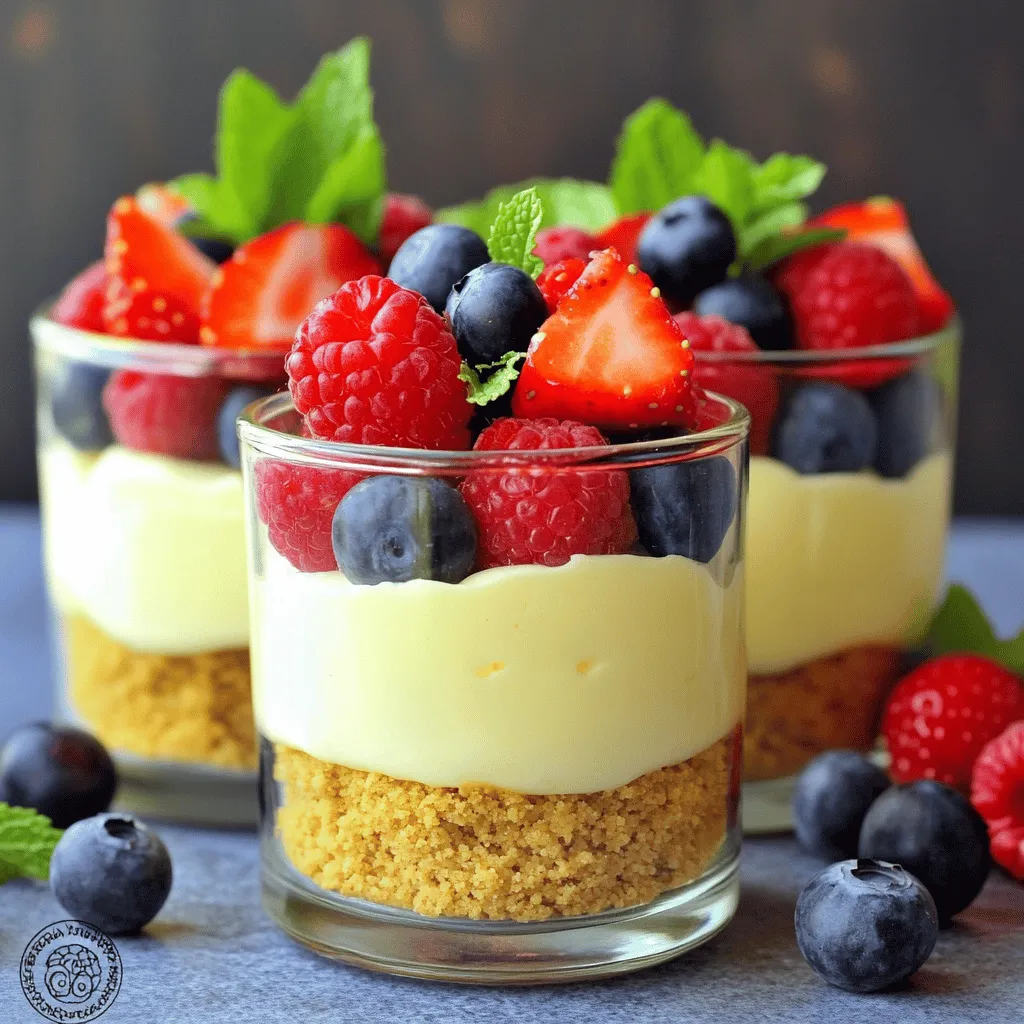
Delicious No-Bake Cheesecake Jars Easy and Quick Treat
If you’re craving a sweet treat but lack the time or energy for baking, you’re in luck! These no-bake cheesecake
Read more…
Sweet Potato Casserole with Marshmallows Delight
Are you ready to elevate your holiday meals with a dish everyone loves? Sweet potato casserole with marshmallows is the
Read more…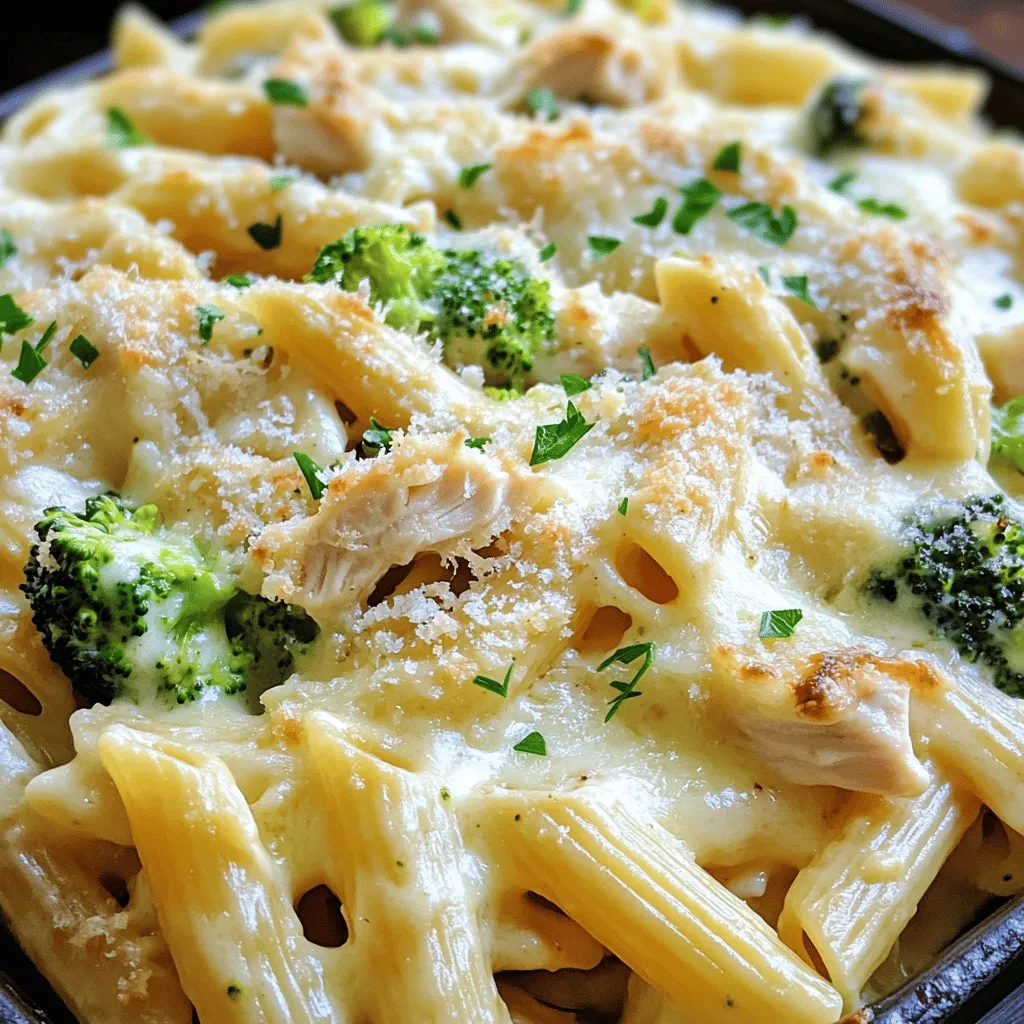
Easy Chicken Alfredo Pasta Bake Savory and Satisfying
Looking for a quick and tasty dinner idea? This Easy Chicken Alfredo Pasta Bake is just what you need! It’s
Read more…browse recipes


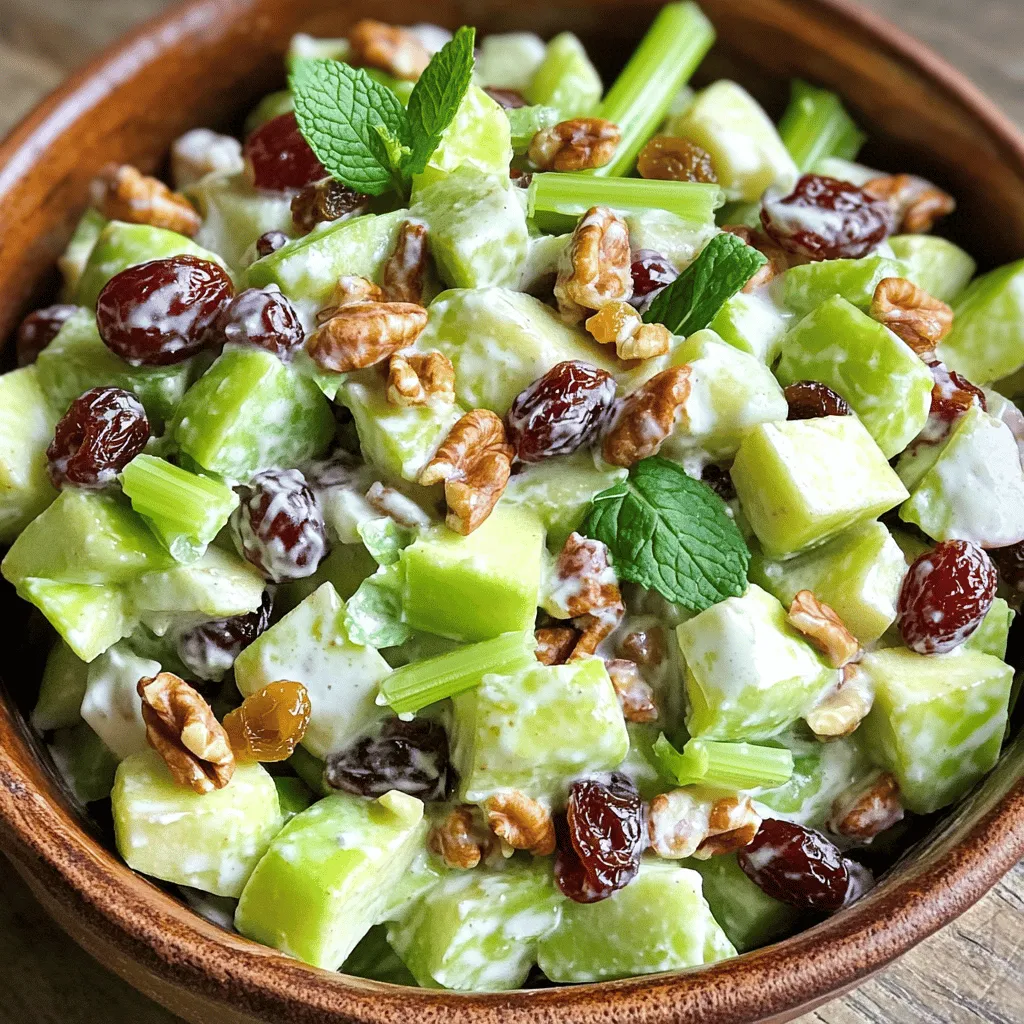
Classic Waldorf Salad Fresh and Flavorful Delight
Are you ready to indulge in a fresh and flavorful delight? The Classic Waldorf Salad combines crisp apples, crunchy celery, and sweet grapes for…
My Latest Desserts

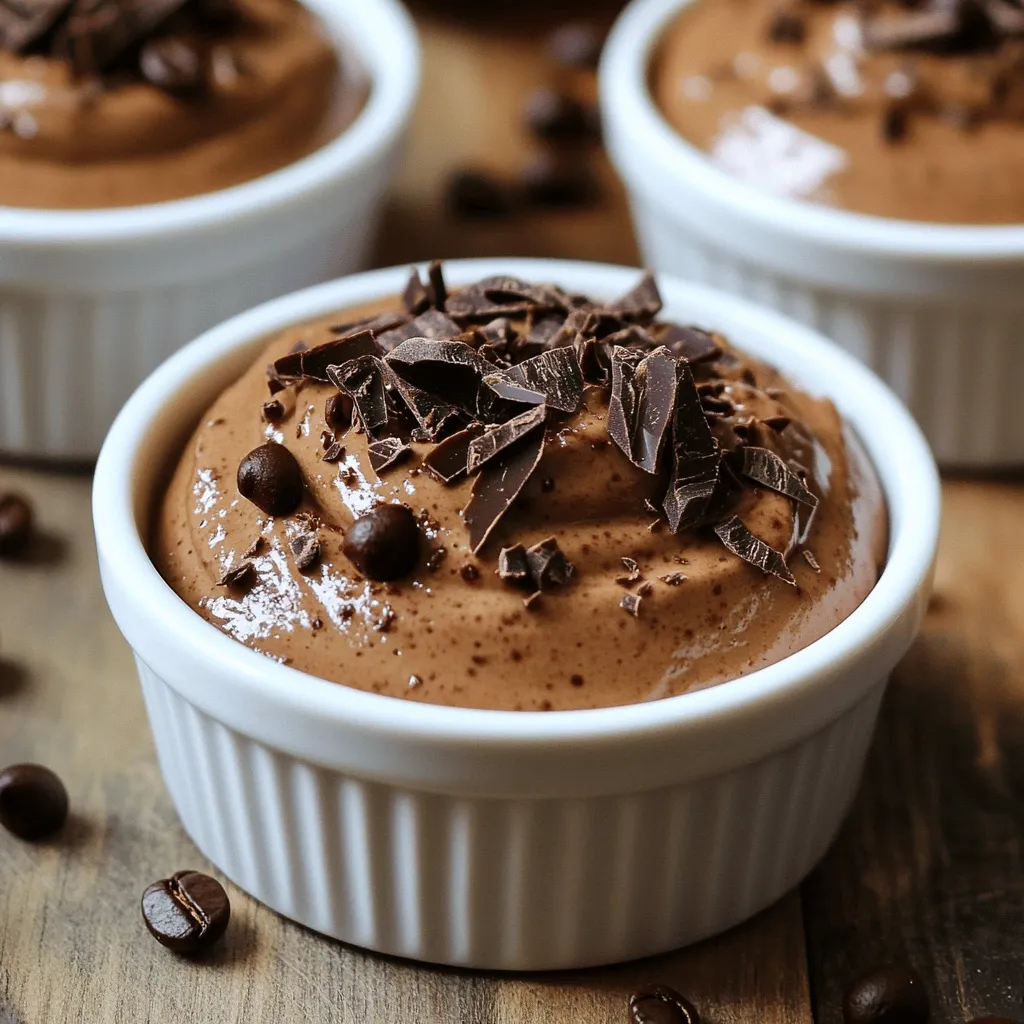
Mocha Greek Yogurt Mousse Protein Rich Dessert Delight
If you’re craving a dessert that’s both delicious and packed with protein, look no further! My Mocha Greek Yogurt Mousse Read Full Recipe-
Chocolate Espresso Brownies Bakery Delicious Treat
Welcome to the world of Chocolate Espresso Brownies! If you love rich, chocolatey treats with a coffee kick, you’re in Read Full Recipe -
No-Bake White Chocolate Cranberry Bark Delightful Treat
Have you ever craved a sweet treat that’s simple and delicious? I’ve got just the thing for you: No-Bake White Read Full Recipe -
No-Bake Cranberry Cheesecake Cups Delicious Dessert Treat
Craving a treat that’s easy to make and full of flavor? You’ll love my No-Bake Cranberry Cheesecake Cups! They combine Read Full Recipe -
Pumpkin Spice Oatmeal Cream Pies Irresistible Treat
Get ready to delight your taste buds with Pumpkin Spice Oatmeal Cream Pies! This easy recipe combines soft oatmeal cookies Read Full Recipe -
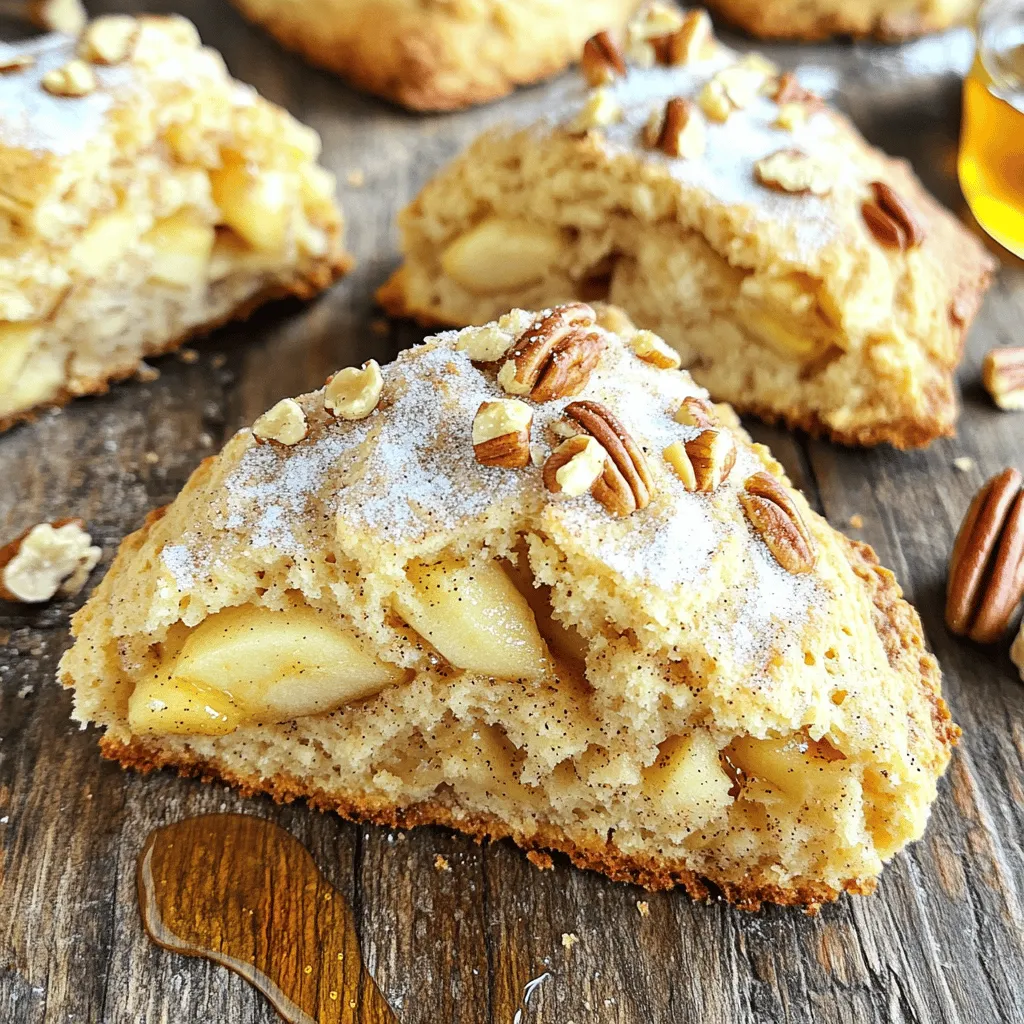
Warm Apple Cinnamon Pecan Scones Irresistible Delight
If you crave a warm and cozy treat, I have just the recipe for you! These Warm Apple Cinnamon Pecan Read Full Recipe


My Latest Drinks
-
Spiced Pumpkin Lattes Slow Cooker Recipe Delight
Are you ready to warm up your chilly days with a cozy Spiced Pumpkin Latte? I’ve crafted the perfect slow Read Full Recipe -
Peanut Butter Chocolate Protein Shake Tasty Delight
Satisfy your cravings with a Peanut Butter Chocolate Protein Shake! This tasty delight is not only delicious but also healthy. Read Full Recipe -
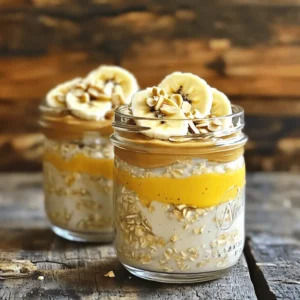
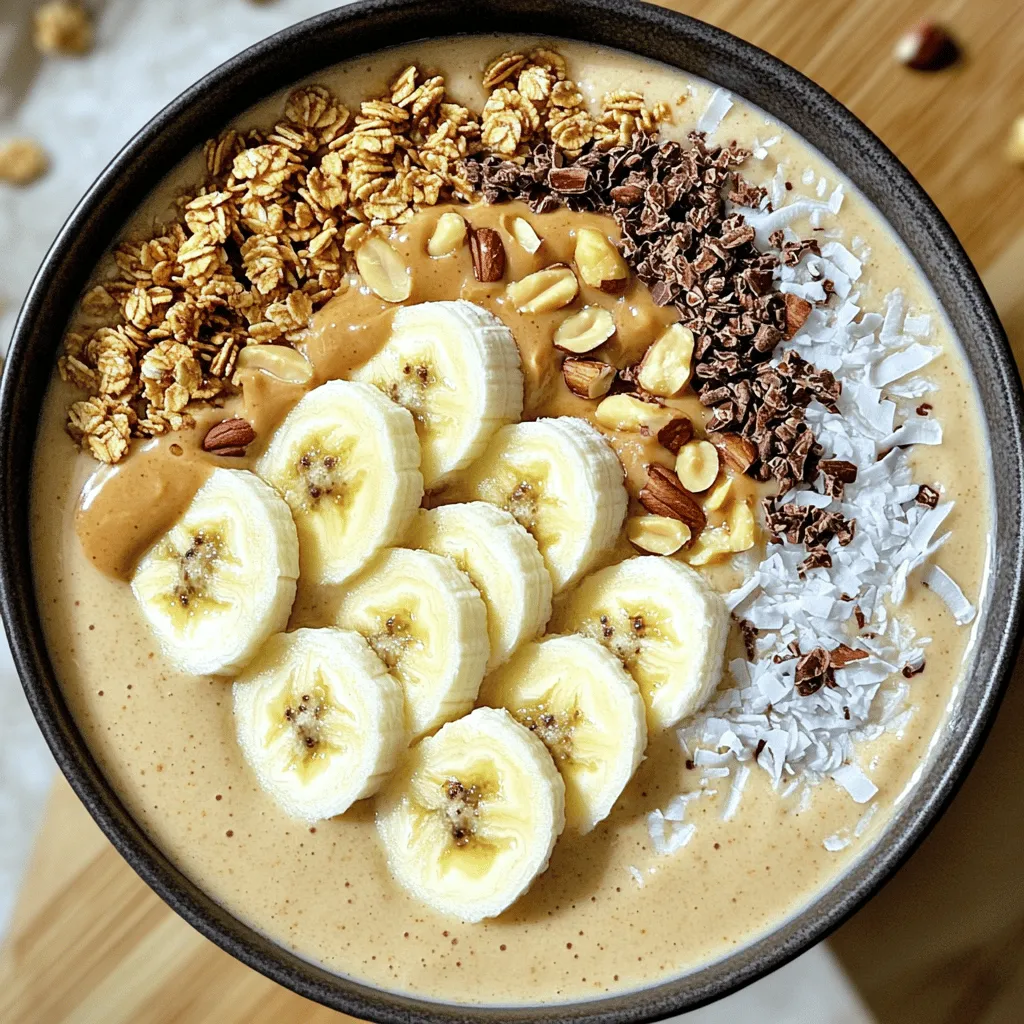
Peanut Butter Banana Smoothie Bowl Simple and Tasty
Looking for a quick, tasty treat? The Peanut Butter Banana Smoothie Bowl is your answer! Packed with ripe bananas and Read Full Recipe -
Pumpkin Cream Cold Brew Copycat Simple and Tasty Recipe
Craving a Pumpkin Cream Cold Brew but want to make it at home? You’re in the right place! I’ll show Read Full Recipe -
Pineapple Mango Smoothie Refreshing and Nutritious Drink
Looking for a tasty and healthy drink? A Pineapple Mango Smoothie might be just what you need! Packed with fresh Read Full Recipe -
Pumpkin Spice Protein Shake Nutritional Power Boost
Are you craving a delicious way to boost your nutrition? Look no further than this Pumpkin Spice Protein Shake! Packed Read Full Recipe


hey,
i’m !
I’m so happy you’re here!
I love creating dishes that bring joy to the table. I hope they bring the same joy to yours. Let’s enjoy this flavorful journey together.
![- 2 cups cooked jasmine rice (preferably cold) - 1 cup mixed bell peppers (red, yellow, green), diced - 1 cup broccoli florets - 1 cup peas (fresh or frozen) - 2 carrots, diced - 2 green onions, sliced - 3 cloves garlic, minced - 2 tablespoons soy sauce (low sodium) - 1 tablespoon sesame oil - 1 tablespoon vegetable oil - 1 teaspoon ginger, grated - Salt and pepper to taste - Optional: 2 eggs, beaten for a vegetarian option When you gather your ingredients, aim for freshness. Cold jasmine rice works best. This rice does not clump, and it adds nice texture. Mix bell peppers add color and sweetness. Broccoli adds crunch and nutrition. Peas give a pop of flavor. Carrots offer sweetness and color, while green onions bring a mild onion taste. Garlic and ginger amplify the dish's flavor. For seasoning, use low-sodium soy sauce and sesame oil. These enhance the taste without overpowering it. Optional eggs can add protein and richness. You can skip them for a vegan version. Understanding these ingredients helps you make the best vegetable fried rice. If you are curious about nutritional facts or serving ideas, check the full recipe for more details. First, gather your ingredients. This makes cooking easier and more fun. Chop all your vegetables. Dice the bell peppers and carrots. Slice the green onions. Break the broccoli into small florets. If you use frozen peas, there’s no need to chop them. Next, cook jasmine rice. Cold rice works best. If you have leftover rice, use that! It prevents clumping and helps with frying. Heat the vegetable oil in a large skillet or wok over medium-high heat. Add the minced garlic and grated ginger. Sauté for about 30 seconds until they smell great. Now it’s time to add the veggies. Toss in the bell peppers, carrots, and broccoli. Stir-fry for 3-4 minutes until they start to soften. Add the peas and cook for one more minute. Push the veggies to one side of the skillet. If you want to add eggs, pour the beaten eggs on the empty side. Scramble them until they are fully cooked. Then mix them with the vegetables. Next, add the cold jasmine rice. Use a spatula to break up any clumps gently. Drizzle soy sauce and sesame oil over the rice mixture. Stir everything together for 2-3 minutes until well combined and hot. Now for the final touches! Season with salt and pepper to your liking. Add the sliced green onions and mix well. With these steps, you’ll have a tasty dish. If you want more detailed instructions, check the Full Recipe for all the steps! - Best type of rice to use: I recommend jasmine rice. Its fluffy texture works well. It absorbs flavors without becoming mushy. - Importance of using cold rice: Cold rice is key. Freshly cooked rice can be sticky. Cold rice separates easily. It keeps your fried rice light and fluffy. - Recommended cooking oil choices: For the best flavor, use a mix of sesame oil and vegetable oil. Sesame oil adds depth. Vegetable oil has a high smoke point, great for frying. - Additional seasonings to consider: Try adding chili sauce for some heat. You can also use oyster sauce or hoisin sauce. These boost the taste and add more layers to your dish. - How to customize vegetable choices: Feel free to swap in your favorite veggies. Zucchini, corn, or snap peas all work well. Mix and match for fun flavors and colors. - Presentation ideas for serving: Serve your fried rice in bowls. Top with sliced green onions and sesame seeds. This adds a nice crunch and a pop of color. - Dish pairings and accompaniments: Fried rice pairs well with dishes like spring rolls or dumplings. You can also serve it alongside grilled meats or tofu for a complete meal. Enjoy every bite! {{image_2}} To make your vegetable fried rice fully vegan, skip the eggs. You can add more veggies or plant-based protein. Tofu is a great choice. Just cube it and sauté until golden. You can also use tempeh or edamame for extra protein. Both options keep the dish filling and tasty. For a gluten-free version, choose gluten-free soy sauce. Tamari is a popular choice. You can also try coconut aminos for a sweeter flavor. If you need to avoid rice, use quinoa or cauliflower rice. These options add great texture and flavor while keeping it gluten-free. Want to spice things up? Add proteins like shrimp or chicken. Cook them first, then mix with the veggies. For plant-based options, try crispy tofu or seitan. Creative veggie combos can include zucchini, snap peas, or mushrooms. This keeps your dish interesting and colorful. For the complete recipe, check out the [Full Recipe]. To store leftover vegetable fried rice, let it cool first. Place it in an airtight container. This keeps the rice fresh. Use a container that seals well to avoid moisture. You can store it in the fridge for up to three days. The best way to reheat vegetable fried rice is in a skillet. Heat it over medium heat. Add a little oil or water to keep it moist. Stir it often to heat evenly. If you want fluffy rice, break apart any clumps before reheating. This keeps your fried rice light and tasty. Yes, you can freeze vegetable fried rice. Make sure to cool it completely before packing. Use freezer-safe bags or containers. This helps prevent freezer burn. When you’re ready to eat, thaw it in the fridge overnight. Reheat it in a skillet for the best results. You can add chili sauce, red pepper flakes, or sriracha. These spices boost heat and flavor. A splash of soy sauce mixed with chili oil works too. You can also toss in fresh chopped chili peppers. Start with a little, then add more if you like it hot! Yes, using leftover rice is perfect for fried rice. Cold, day-old rice has a firmer texture. This helps each grain stay separate while cooking. Freshly cooked rice can become mushy. So, always opt for chilled rice if possible. It will give you the best results. Vegetable fried rice lasts about 3 to 5 days in the fridge. Store it in an airtight container. To keep it fresh, cool it before refrigerating. When you are ready to eat, just reheat it well. Make sure it gets hot all the way through. This blog has covered how to make a tasty vegetable fried rice. We discussed main ingredients like rice, fresh veggies, and seasonings. You learned step-by-step instructions to make it just right. I also shared tips for flavor and storage. In the end, vegetable fried rice is simple, flexible, and delicious. Feel free to adjust it to suit your taste. Enjoy creating your own version!](https://soyumrecipes.com/wp-content/uploads/2025/06/868843f9-ef4f-4c56-97aa-654e4a5d87b0-300x300.webp)


Funfetti Birthday Cake Cookies Festive and Flavorful Treat
Looking for a fun and tasty treat to celebrate a special birthday? I’ve got you covered with my Funfetti Birthday Cake Cookies! These colorful,…