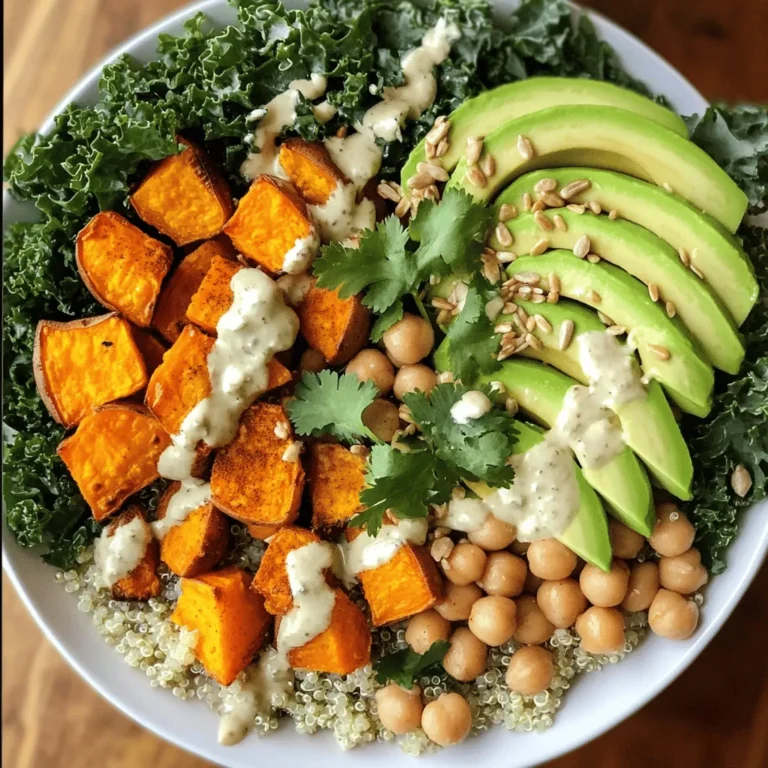

Latest & Greatest
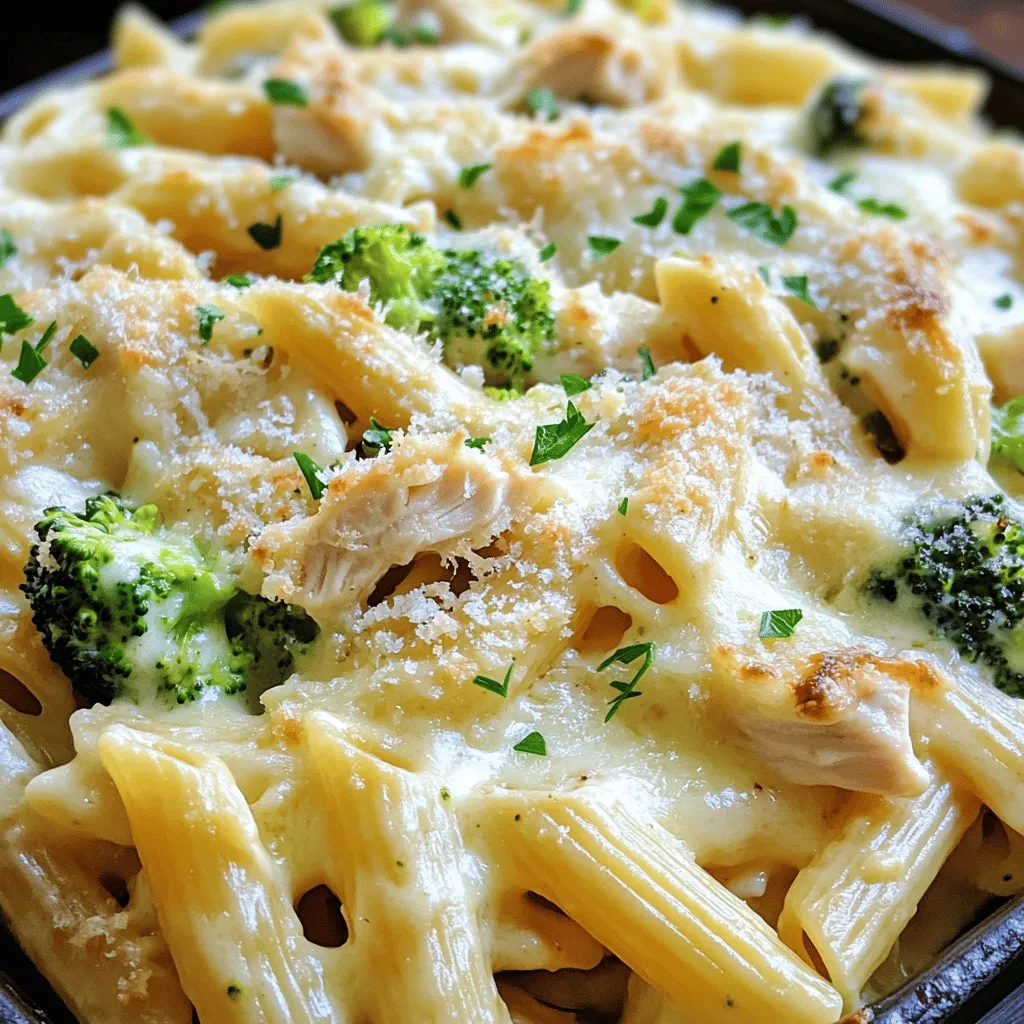
Easy Chicken Alfredo Pasta Bake Savory and Satisfying
Looking for a quick and tasty dinner idea? This Easy Chicken Alfredo Pasta Bake is just what you need! It’s
Read more…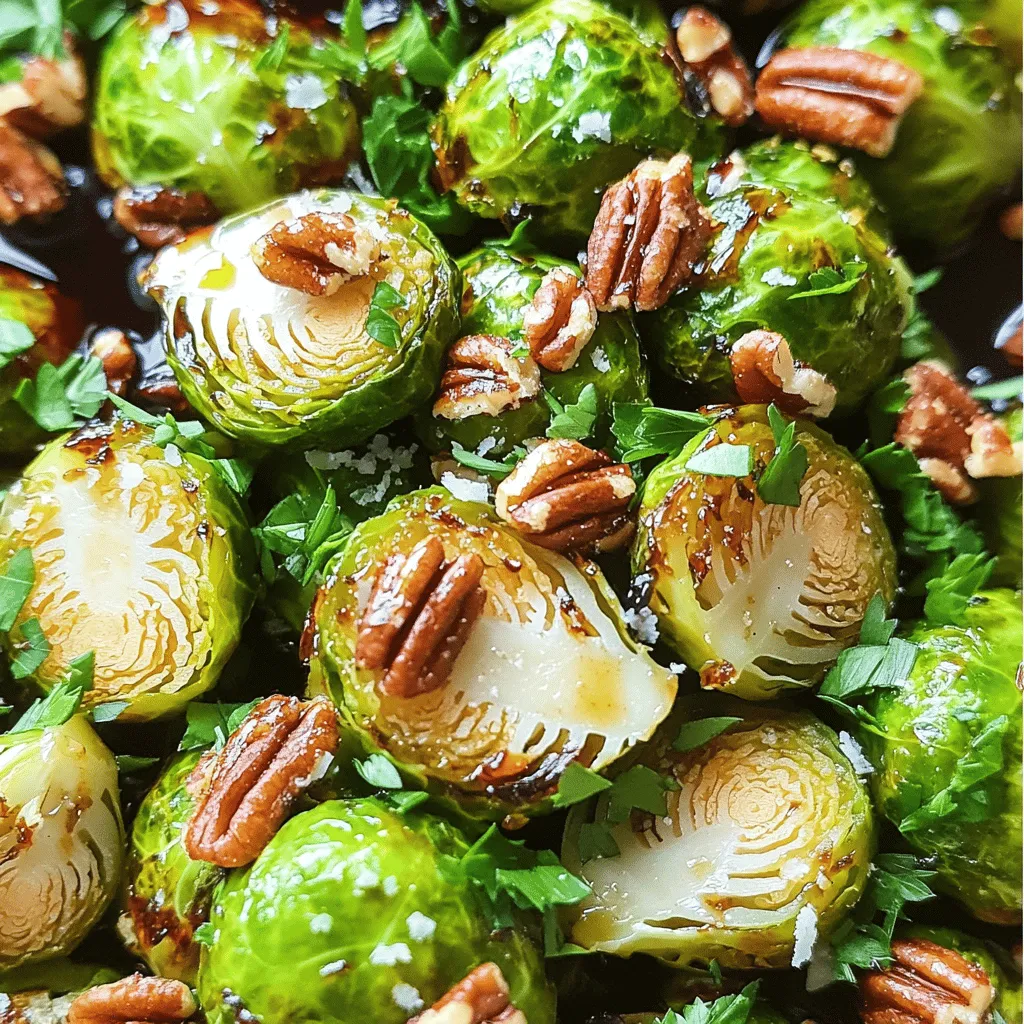
Balsamic Glazed Brussels Sprouts Delicious and Easy Recipe
Are you ready to impress your taste buds? Balsamic Glazed Brussels Sprouts are the perfect mix of sweet and savory.
Read more…
Savory Slow Cooker Chicken Tikka Masala Recipe
If you crave a warm and flavorful meal, this Savory Slow Cooker Chicken Tikka Masala recipe is for you. With
Read more…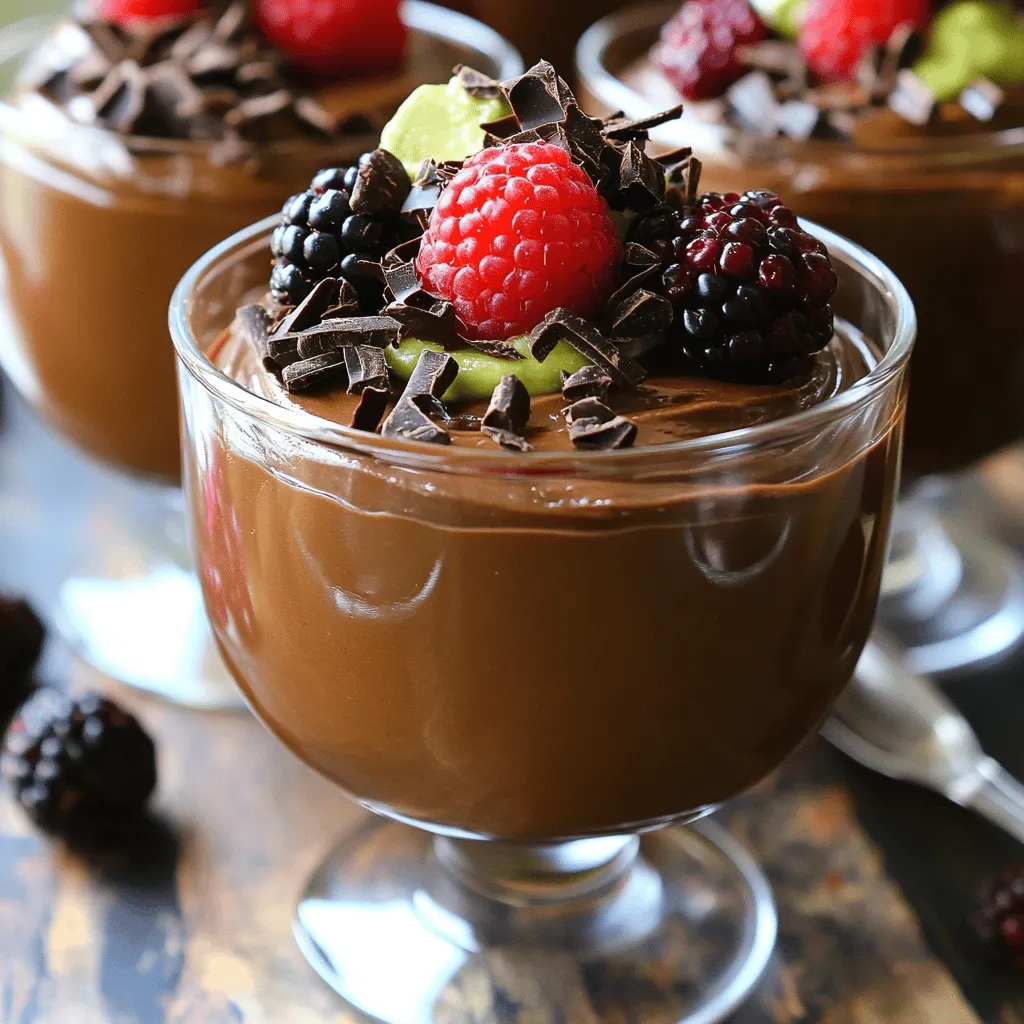
Chocolate Avocado Mousse Rich and Creamy Delight
Are you ready to indulge in a rich dessert that’s also good for you? In this blog post, I’ll guide
Read more…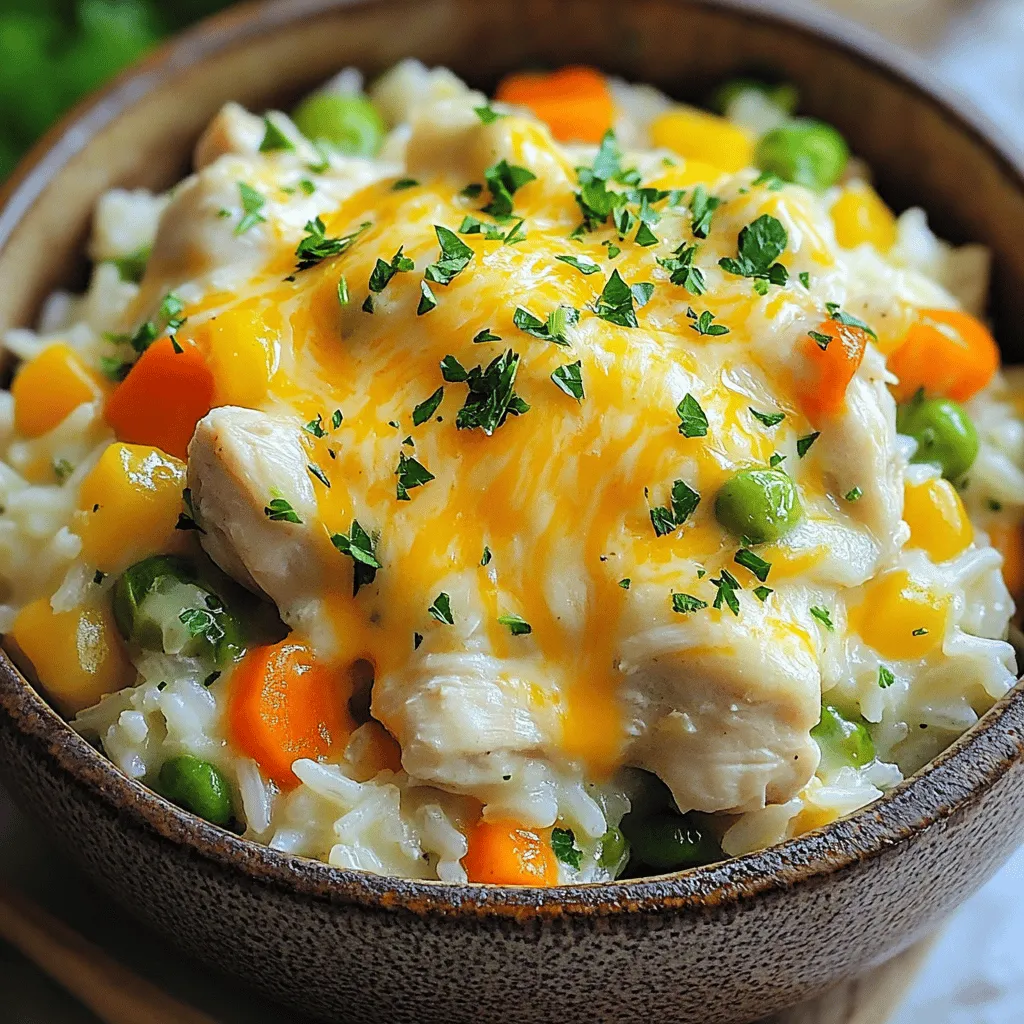
Instant Pot Chicken and Rice Casserole Delight
Looking for a quick, tasty meal? My Instant Pot Chicken and Rice Casserole Delight is the answer. This one-pot wonder
Read more…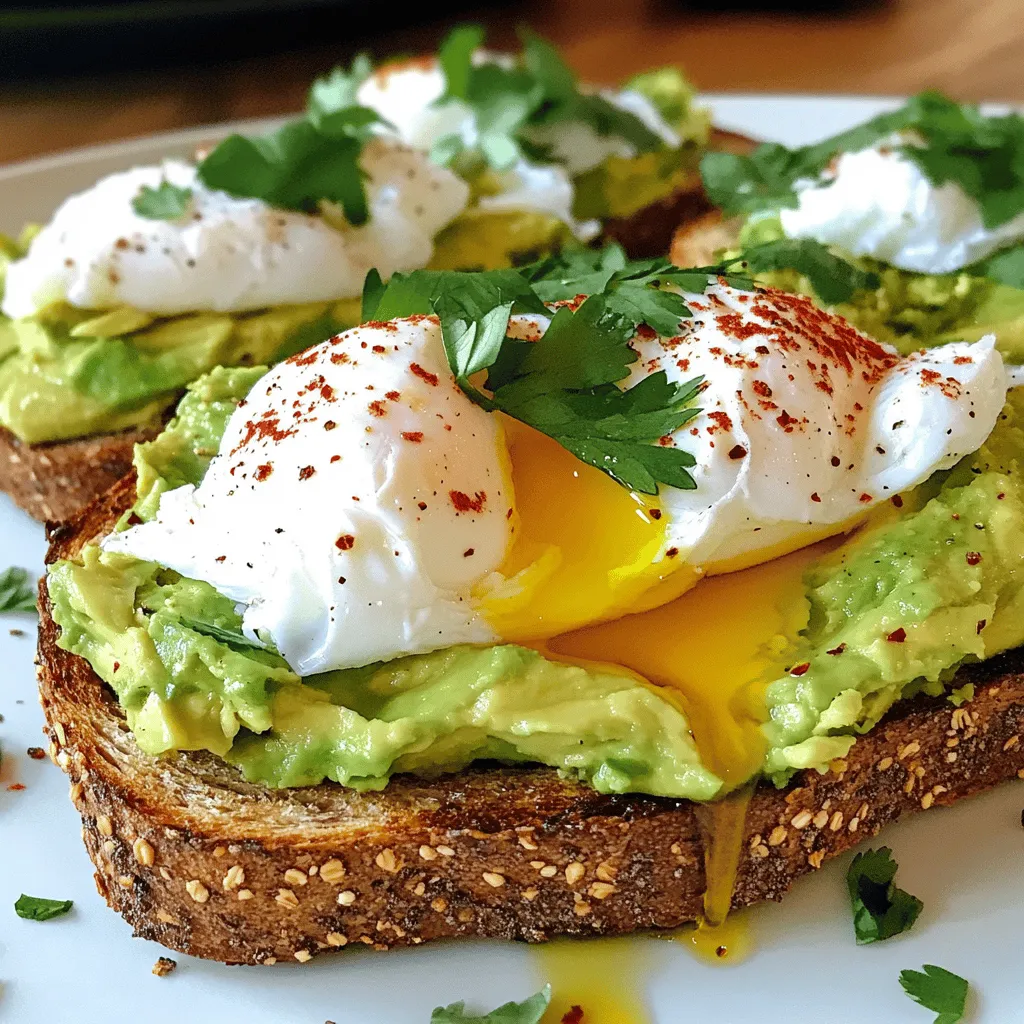
Savory Avocado Toast with Poached Egg Delight
Welcome to the world of Savory Avocado Toast with Poached Egg Delight! If you crave a tasty breakfast that’s simple
Read more…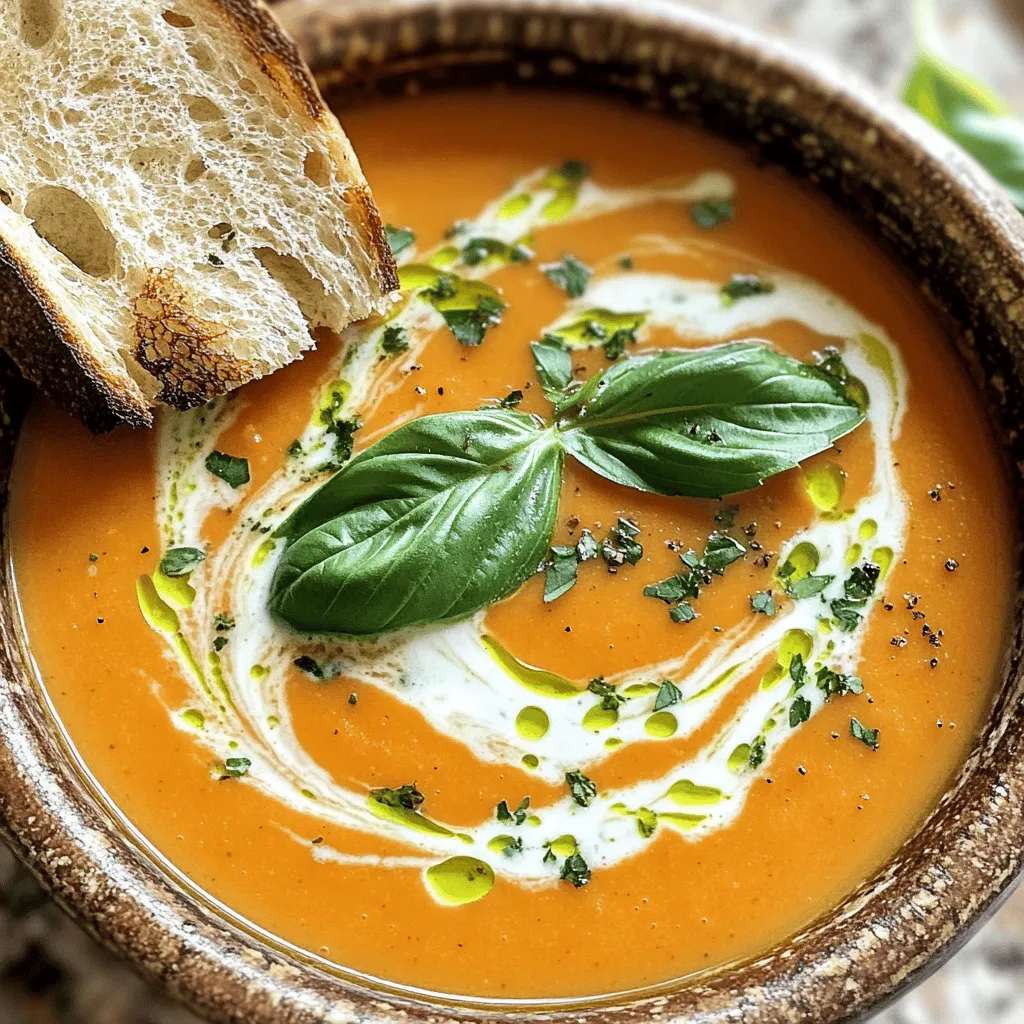
Creamy Tomato Basil Soup Flavorful and Easy Recipe
Craving a warm, comforting bowl of creamy tomato basil soup? You’re in the right place! This flavorful and easy recipe
Read more…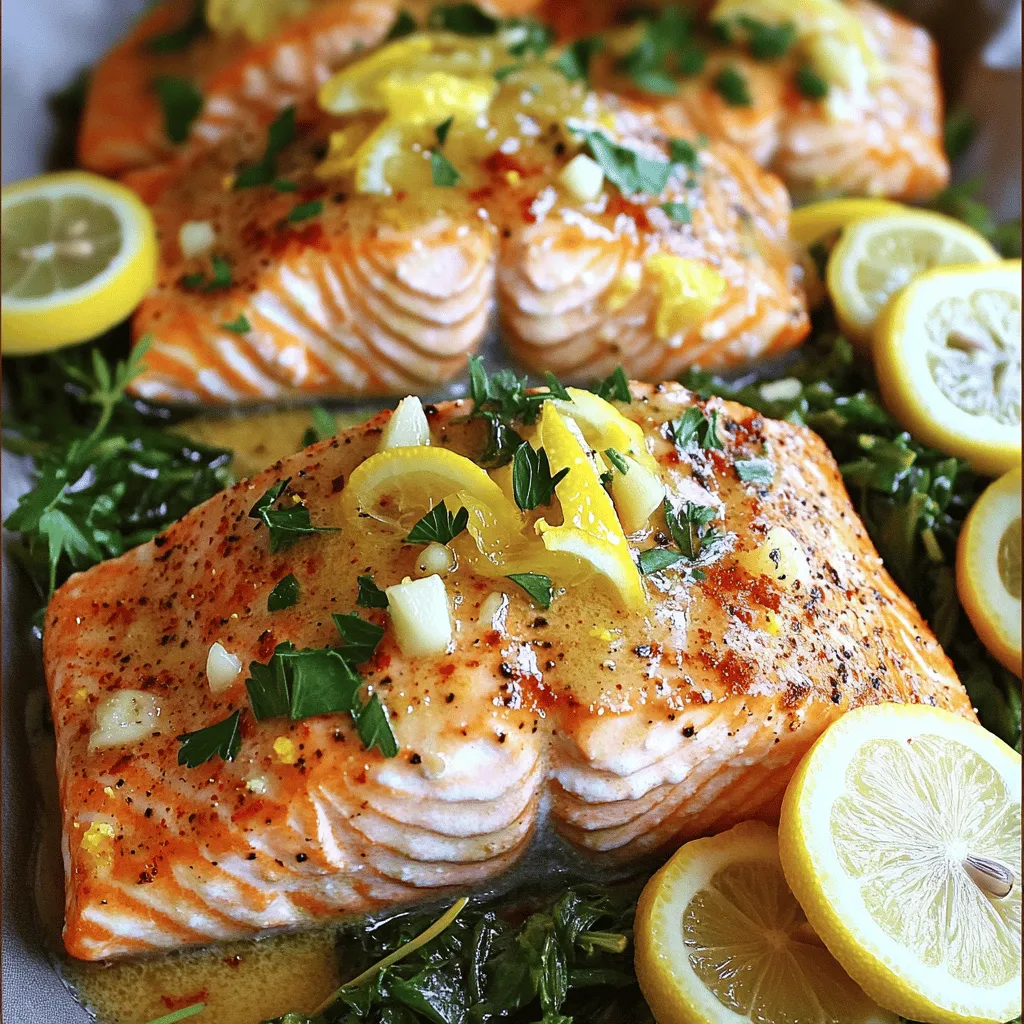
Lemon Garlic Butter Salmon Simple and Flavorful Dish
If you want a dish that shines with flavor but is easy to make, Lemon Garlic Butter Salmon is the
Read more…browse recipes


Loaded Ranch Potato Wedges Crunchy and Flavorful Treat
Get ready for a snack that’s both crunchy and packed with flavor! Loaded Ranch Potato Wedges are the perfect treat for any occasion. I’ll…
My Latest Desserts

No-Bake Mocha Cheesecake Bars Easy and Delicious Treat
Craving a sweet treat that’s easy and packed with flavor? You’ll love my No-Bake Mocha Cheesecake Bars! These simple bars Read Full Recipe-
Fluffy Apple Pie Cinnamon Rolls Easy and Delicious Treat
Are you ready to elevate your baking game? Fluffy Apple Pie Cinnamon Rolls are a delightful way to combine the Read Full Recipe -
Caramel Pecan Chocolate Chip Blondies Delightful Treat
Are you ready to indulge in a rich, tasty treat? I present to you the ultimate dessert: Caramel Pecan Chocolate Read Full Recipe -
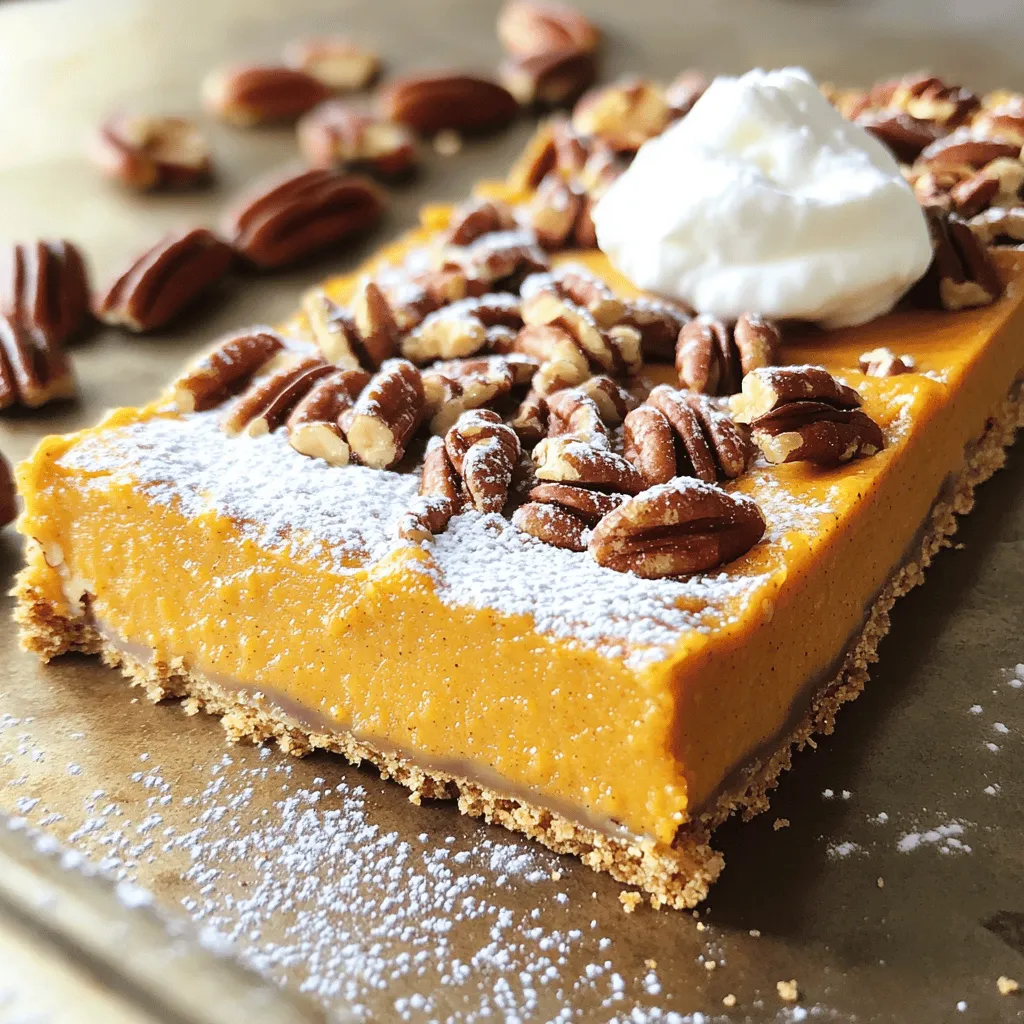
Irresistible Pumpkin Pecan Pie Bars Easy and Delicious
Looking for a sweet treat that combines two fall favorites? You’re in the right place! These Pumpkin Pecan Pie Bars Read Full Recipe -
No-Bake Chocolate Hazelnut Cheesecake Cups Delight
Love dessert but don’t want to bake? You’re in the right place! These No-Bake Chocolate Hazelnut Cheesecake Cups are easy, Read Full Recipe -
Apple Cinnamon Coffee Cake Irresistible and Tasty Recipe
Are you ready for a delicious treat that combines the warm flavors of apple and cinnamon? This Apple Cinnamon Coffee Read Full Recipe


My Latest Drinks
-
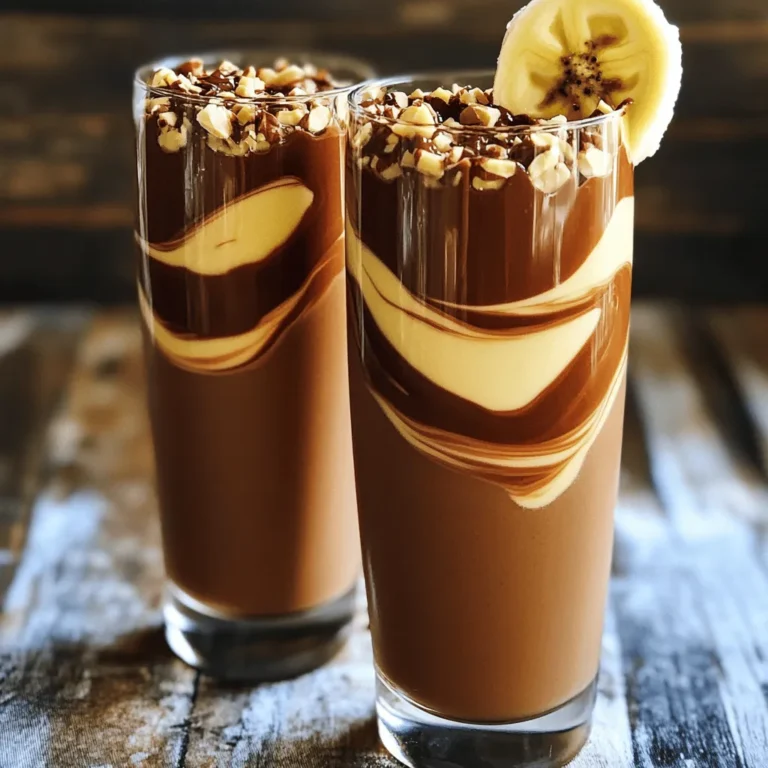
Peanut Butter Chocolate Protein Shake Tasty Delight
Satisfy your cravings with a Peanut Butter Chocolate Protein Shake! This tasty delight is not only delicious but also healthy. Read Full Recipe -
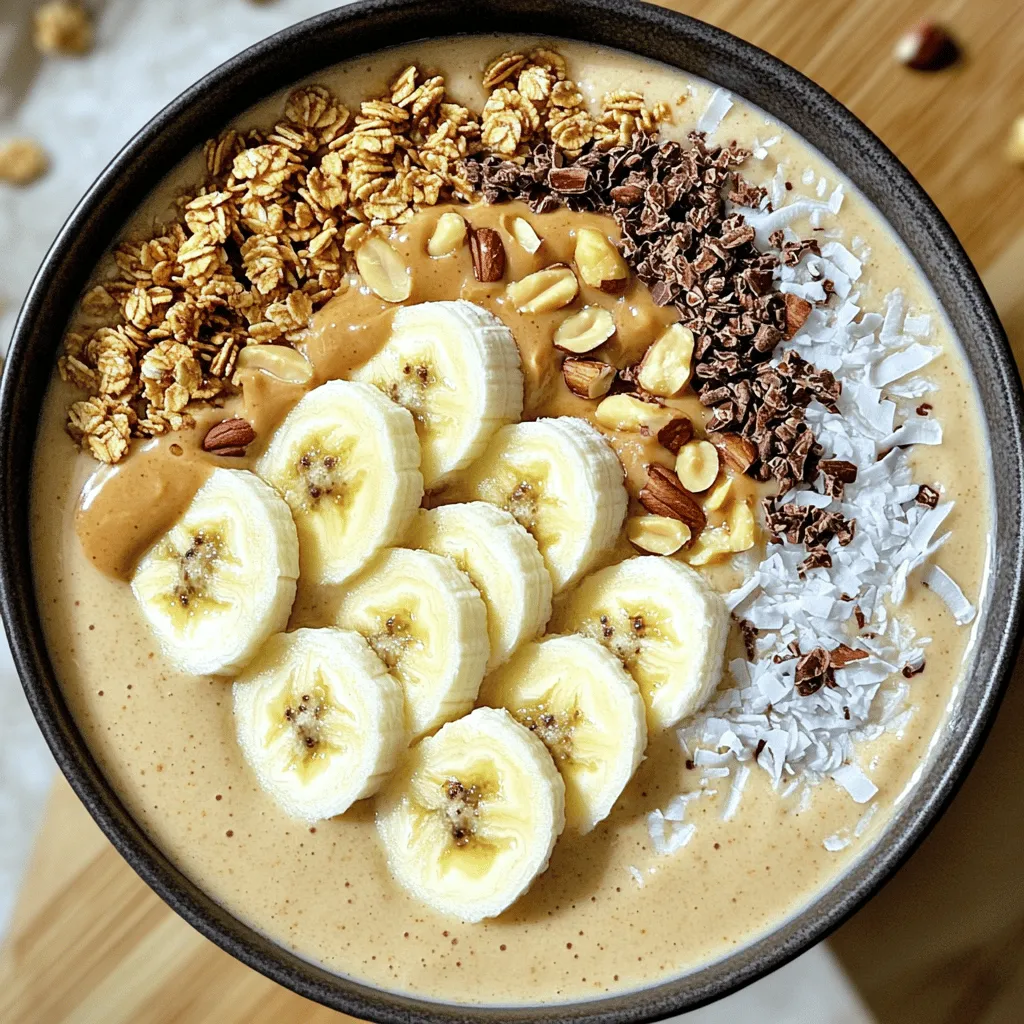
Peanut Butter Banana Smoothie Bowl Simple and Tasty
Looking for a quick, tasty treat? The Peanut Butter Banana Smoothie Bowl is your answer! Packed with ripe bananas and Read Full Recipe -
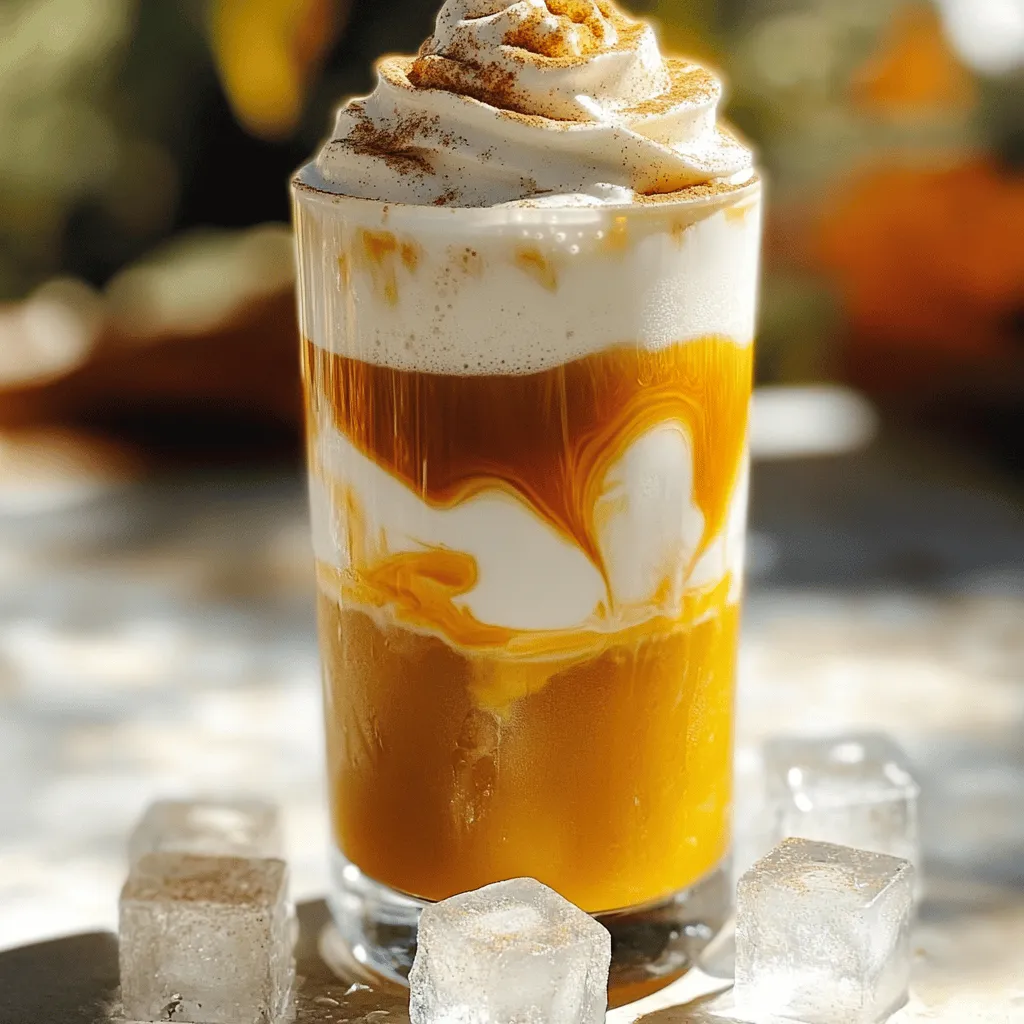
Pumpkin Cream Cold Brew Copycat Simple and Tasty Recipe
Craving a Pumpkin Cream Cold Brew but want to make it at home? You’re in the right place! I’ll show Read Full Recipe -
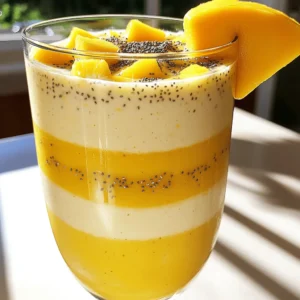
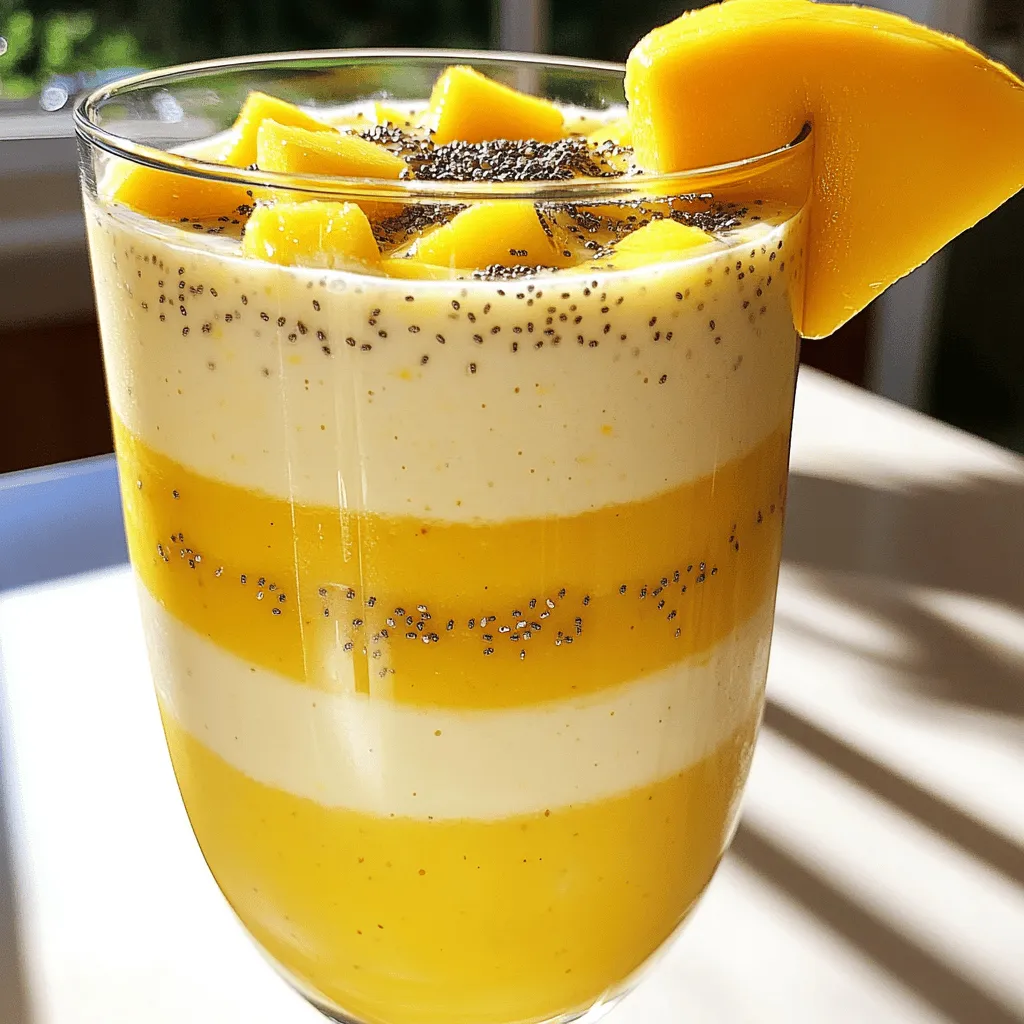
Pineapple Mango Smoothie Refreshing and Nutritious Drink
Looking for a tasty and healthy drink? A Pineapple Mango Smoothie might be just what you need! Packed with fresh Read Full Recipe -
Pumpkin Spice Protein Shake Nutritional Power Boost
Are you craving a delicious way to boost your nutrition? Look no further than this Pumpkin Spice Protein Shake! Packed Read Full Recipe -
Whipped Hot Chocolate Blissfully Creamy Delight
Craving comfort on a chilly day? Whipped hot chocolate is your answer! This blissfully creamy delight combines rich cocoa with Read Full Recipe


hey,
i’m !
I’m so happy you’re here!
I love creating dishes that bring joy to the table. I hope they bring the same joy to yours. Let’s enjoy this flavorful journey together.

![- 2 large apples (any variety, such as Fuji or Honeycrisp) - 1 teaspoon ground cinnamon - 1 tablespoon coconut sugar (or brown sugar) - A pinch of salt Baked cinnamon apple chips provide a healthy snack option. Each serving contains about 100 calories. They deliver 0.5 grams of protein, 25 grams of carbs, and 2 grams of fiber. The sugars from the apples and coconut sugar make them sweet but still healthy. When you choose apples, you get fiber and vitamins. The cinnamon adds flavor and may help with blood sugar control. Coconut sugar has a lower glycemic index than white sugar, making it a better choice for many. These chips are a great snack for kids and adults alike. They are crunchy, sweet, and full of flavor. Check out the Full Recipe for more details on making these tasty treats. 1. Preheat your oven to 200°F (90°C). Line two baking sheets with parchment paper. 2. Rinse and dry your apples. Cut them into thin slices, about 1/8 inch thick. A sharp knife or mandoline helps with even slices. 3. In a small bowl, mix together 1 teaspoon of ground cinnamon, 1 tablespoon of coconut sugar, and a pinch of salt. This blend adds flavor to your chips. 4. Place the apple slices in a large bowl. Sprinkle the cinnamon mixture evenly over them. Toss gently to coat each slice. 5. Arrange the apple slices in a single layer on your baking sheets. Make sure they do not overlap. 6. Bake in the preheated oven for about 2 hours. This time may vary based on slice thickness. Flip the slices halfway through to ensure even crispness. 7. Once the apple slices are golden brown and crisp, remove them from the oven. Let them cool completely on the baking sheets. 8. Store your baked cinnamon apple chips in an airtight container. This way, you can enjoy a crunchy snack anytime! For the complete recipe, check out [Full Recipe]. To get that perfect crisp, pay close attention to how you slice the apples. Aim for about 1/8 inch thick slices. If they are too thick, they won't crisp up well. Thin slices allow for even baking, leading to that delightful crunch. Another key step is flipping the apple slices halfway through baking. This ensures both sides get the same heat and helps them become evenly crispy. Feel free to get creative with flavors! You can add different spices like nutmeg or ginger to change the taste. If you want a sweeter kick, try using honey or maple syrup instead of sugar. Each option gives your baked cinnamon apple chips a unique twist, making snack time more fun. Presentation plays a big role in how we enjoy our food. Serve your apple chips in a rustic bowl and sprinkle a bit of extra cinnamon on top. This simple touch makes the dish look appealing. Pair them with almond butter for dipping. The creamy texture of the almond butter complements the crispness of the apple chips perfectly. For more ideas, check out the Full Recipe! {{image_2}} For baked cinnamon apple chips, the type of apple matters. You want crisp apples that hold up well during baking. My favorites are Fuji and Honeycrisp. Both offer a nice balance of sweet and tart. - Fuji Apples: These are sweet and juicy. They create a lovely flavor when baked. - Honeycrisp Apples: They have a crunchy texture and a refreshing taste. They make the chips extra tasty. Other good choices include Granny Smith for a tart kick or Pink Lady for a unique flavor. Each apple brings its own twist to your chips. While coconut sugar is great, you can try other sweeteners too. Honey or maple syrup can add a different taste. Just remember to adjust the amount. - Honey: This adds a floral note. It can make the chips a bit stickier. - Maple Syrup: This gives a warm, rich flavor. You may want to use less than coconut sugar. By playing with sweeteners, you can find the flavor that fits your taste buds best. Spices can elevate your baked apple chips. While cinnamon is classic, you can add nutmeg or ginger for a twist. - Nutmeg: This spice adds warmth and depth. Just a pinch can go a long way. - Ginger: It brings a zing that pairs well with apples. You can even create a pumpkin spice version. Mix cinnamon, nutmeg, ginger, and a touch of allspice for a seasonal treat. This makes your apple chips more exciting and fun! To keep your baked cinnamon apple chips crispy, store them in an airtight container. This keeps moisture out, which can make them soft. You can use a glass jar or a plastic container with a good seal. For the best flavor and texture, enjoy your apple chips within one week. If you keep them in a cool, dry place, they will last longer. If your apple chips lose their crunch, don’t worry! You can easily restore their crispness. To recrisp them, use an oven. Preheat it to 200°F (90°C) and bake the chips for about 10 minutes. Check them often to avoid burning. You can also use a microwave. Place a few chips on a microwave-safe plate. Heat them for 20 seconds. Check if they are crispy. If not, heat for another 10 seconds. These methods will help you enjoy your tasty snack again! Baked apple chips can last about one week. Store them in an airtight container. This keeps them fresh and crunchy. If stored well, they can remain tasty for days. Yes, you can use other fruits! Pears, mangoes, and bananas work well. Just remember to adjust the baking time. Each fruit has its own moisture level. If your apple chips aren't crisp, try these tips. First, ensure the slices are thin. Thicker slices take longer to bake. Second, increase the baking time slightly. Flip them halfway for better results. Baked apple chips are a healthy snack. They are low in calories and high in fiber. You get the sweetness of apples without added fats. Plus, you control the sugar level with your choice of sweetener. You can freeze baked apple chips, but they may lose some crispness. Place them in a freezer-safe bag. When ready, thaw them at room temperature. A quick re-bake can help restore some crunch. Baked apple chips are simple and fun to make. You need just a few ingredients and easy steps. Start with your apples, spice them, and bake until crisp. Remember to slice evenly for the best texture. You can also change flavors with different spices or sweeteners. These chips are not only tasty but a healthy snack option. Store them well to keep that crunch. Now you have all the tools to enjoy this delightful treat. Get baking and explore your own variations!](https://soyumrecipes.com/wp-content/uploads/2025/07/33dc01a6-ecfa-43a3-b125-861b4c817e5e-300x300.webp)

![To make garlic roasted broccoli, gather these simple ingredients: - Fresh broccoli florets - Minced garlic - Olive oil - Red pepper flakes - Lemon zest - Salt and pepper - Parmesan cheese (optional) - Balsamic vinegar These ingredients create a bright and savory dish that brings out the best in broccoli. The fresh florets give it a nice crunch. The minced garlic adds a bold flavor that you will love. Olive oil helps everything roast evenly. Red pepper flakes add a touch of heat, making it exciting. Lemon zest brightens the dish with its fresh taste. Salt and pepper are key for balance. If you want a creamy touch, sprinkle some Parmesan cheese on top. Finally, a drizzle of balsamic vinegar adds a sweet finish. For the full recipe, check out the detailed steps in the next section. First, set your oven to 425°F (220°C). This high heat helps the broccoli get crispy. Next, grab a baking sheet and line it with parchment paper. This makes cleaning easy later. In a large mixing bowl, add the broccoli florets and minced garlic. Stir them gently. Now drizzle the olive oil over the mix. Make sure every piece gets coated. Sprinkle red pepper flakes, lemon zest, salt, and pepper on top. Toss everything together well. Each piece should be well-seasoned for the best flavor. Spread the broccoli mixture evenly on the baking sheet. Don't overcrowd the pan. Roast in your preheated oven for 20-25 minutes. Halfway through, give it a quick toss. This helps it cook evenly. You'll know it's done when the broccoli is tender and the tips look crispy. Enjoy this delicious dish! For the full recipe, check out the complete guide. To get the best roast, spread the broccoli evenly on the baking sheet. This helps each piece cook well. If they are too close, some will steam instead of roast. Check for doneness by looking for a nice brown color on the tips. Broccoli should feel tender but not mushy. You can boost the flavor by adding other spices or herbs. Try red onion or smoked paprika for a twist. A drizzle of balsamic vinegar after roasting adds a sweet tang. It pairs well with the garlic and lemon zest. Garlic roasted broccoli goes great with chicken or fish. It adds color and flavor to any plate. For a nice touch, sprinkle some extra Parmesan on top before serving. You can also add lemon wedges for extra zest. For the complete recipe, check out the [Full Recipe]. {{image_2}} To make this dish vegan, you can leave out the Parmesan cheese. Instead, try adding sunflower seeds. They bring a nice crunch and extra nutrients. Sunflower seeds also add a nutty flavor that pairs well with garlic. If you love spice, increase the red pepper flakes. You can also use different hot sauces for a kick. A drizzle of sriracha or chili oil can elevate the heat. Adjust the spice level to match your taste buds. You can add nuts like almonds or walnuts to this dish. They provide a great crunch and healthy fats. Almonds are rich in vitamin E, while walnuts offer omega-3 fatty acids. Both nuts enhance the flavor and nutrition of the dish. For more details, check the Full Recipe to see how to prepare these variations. To store leftover garlic roasted broccoli, let it cool first. Place it in an air-tight container. This keeps the broccoli fresh for up to three days. To maintain the flavor, avoid adding any sauces until you’re ready to eat. When reheating, try using the oven or a skillet. This helps keep the broccoli crispy. You can freeze garlic roasted broccoli to enjoy later. First, let it cool completely. Then, spread the broccoli on a baking sheet. Freeze it for about an hour. After that, transfer it to a zip-top bag. Press out the air and seal it tight. You can freeze it for up to three months. To reheat, you can bake it from frozen at 400°F (200°C) for about 15-20 minutes. For storage, use air-tight containers for the best results. They keep moisture out and help prevent freezer burn. Zip-top bags are great for freezing. They take up less room and are easy to label. Always label your containers with the date. This way, you know when to use them. To make garlic roasted broccoli crispy, you need to follow a few easy tips: - Use fresh broccoli florets. Freshness helps with texture. - Cut the florets into similar sizes. This helps them cook evenly. - Spread the broccoli in a single layer on your baking sheet. Crowding will steam the broccoli instead of roasting it. - Don't skip the tossing step halfway through cooking. This ensures even browning. - Roast at a high temperature, around 425°F (220°C). High heat makes the edges crispy while keeping the insides tender. Yes, you can prepare garlic roasted broccoli ahead of time: - Store leftovers in an airtight container in the fridge. They stay fresh for up to three days. - If you want to reheat, use an oven. This helps keep the broccoli crispy. Heat at 350°F (175°C) for about 10 minutes. You can also use a microwave. Just know it may not stay crispy. Garlic roasted broccoli goes well with many dishes: - Pair it with grilled chicken or fish for a balanced meal. - It also complements pasta dishes nicely. Try it with a light lemon sauce. - For a vegetarian option, serve it alongside quinoa or couscous. - You can also use it as a side for a hearty steak or pork chop. It adds color and flavor to your plate. Try out the [Full Recipe] for garlic roasted broccoli and enjoy this simple and tasty side dish! Roasting garlic broccoli is easy and fun with the right ingredients and steps. From fresh broccoli to Parmesan cheese, each item adds flavor. Remember to preheat your oven and check for doneness during roasting. You can even change the recipe to suit your taste. Store leftovers well to enjoy later. Try the tips provided for the best results. By following these steps, you’ll have a tasty, healthy dish ready for any meal. Enjoy making your garlic roasted broccoli!](https://soyumrecipes.com/wp-content/uploads/2025/06/5011cbf3-a3be-448f-8aa5-7dcd0c316ac4-300x300.webp)
Greek Chicken Souvlaki Flavorful and Simple Recipe
Greek Chicken Souvlaki is a perfect dish for any meal. It’s tasty, simple, and fun to make! You’ll love the bright flavors of the…

