Latest & Greatest
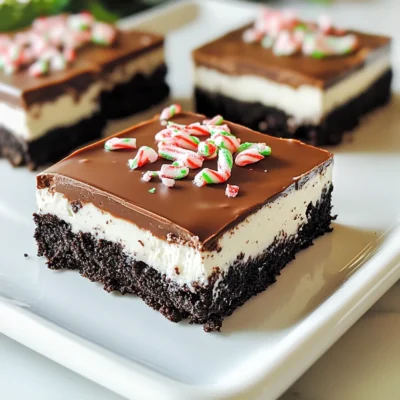
No-Bake Chocolate Peppermint Oreo Bars Delight
Get ready to indulge in a sweet treat that’s easy to make and oh-so-delicious! My No-Bake Chocolate Peppermint Oreo Bars
Read more…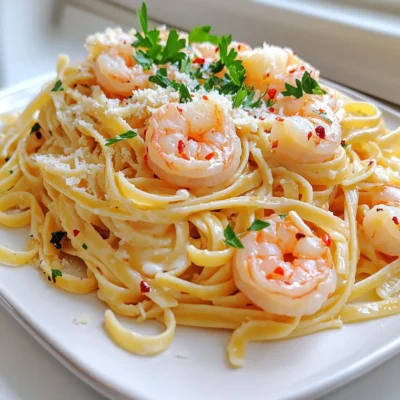
Minute Garlic Butter Shrimp Linguine Quick and Easy Dish
Are you craving a quick and tasty meal? Try my Minute Garlic Butter Shrimp Linguine! You’ll love how easy it
Read more…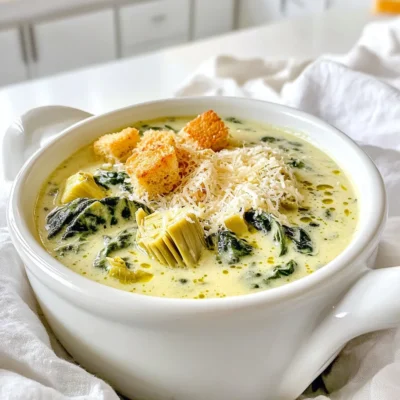
Slow Cooker Creamy Spinach Artichoke Soup Delight
Are you ready to warm up with a bowl of delicious comfort? This Slow Cooker Creamy Spinach Artichoke Soup Delight
Read more…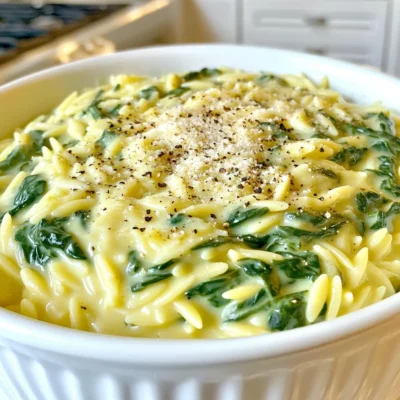
Creamy Spinach Parmesan Orzo One Pot Delightful Dish
Welcome to my kitchen! Today, I’m excited to share a delightful dish: Creamy Spinach Parmesan Orzo. This one-pot wonder is
Read more…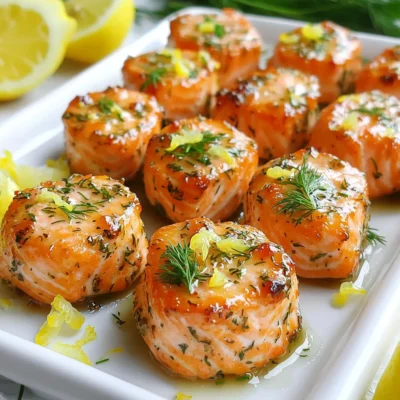
Garlic Herb Salmon Bites Air Fryer Delightful Dinner
Craving a quick and tasty dinner? Try Garlic Herb Salmon Bites made in an air fryer! These bites are simple
Read more…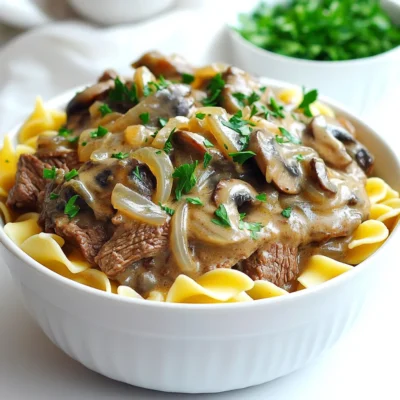
Beef Stroganoff Slow Cooker Hearty and Comforting Meal
Looking for a warm, hearty meal that cooks itself while you go about your day? Beef Stroganoff in a slow
Read more…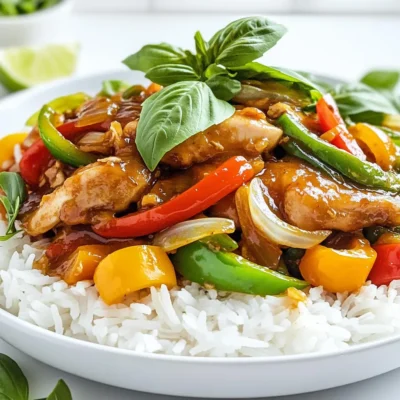
Thai Basil Chicken Better Than Takeout Delight
Craving a takeout classic that’s bursting with flavor? You’re in for a treat! Thai Basil Chicken is easy to make
Read more…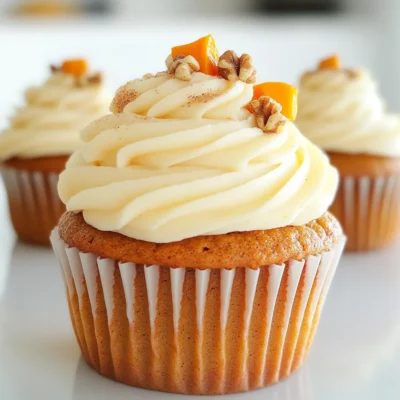
Pumpkin Spice Cupcakes Cream Cheese Frosting Delight
Get ready to savor fall with my Pumpkin Spice Cupcakes topped with cream cheese frosting! These treats blend warm spices
Read more…browse recipes
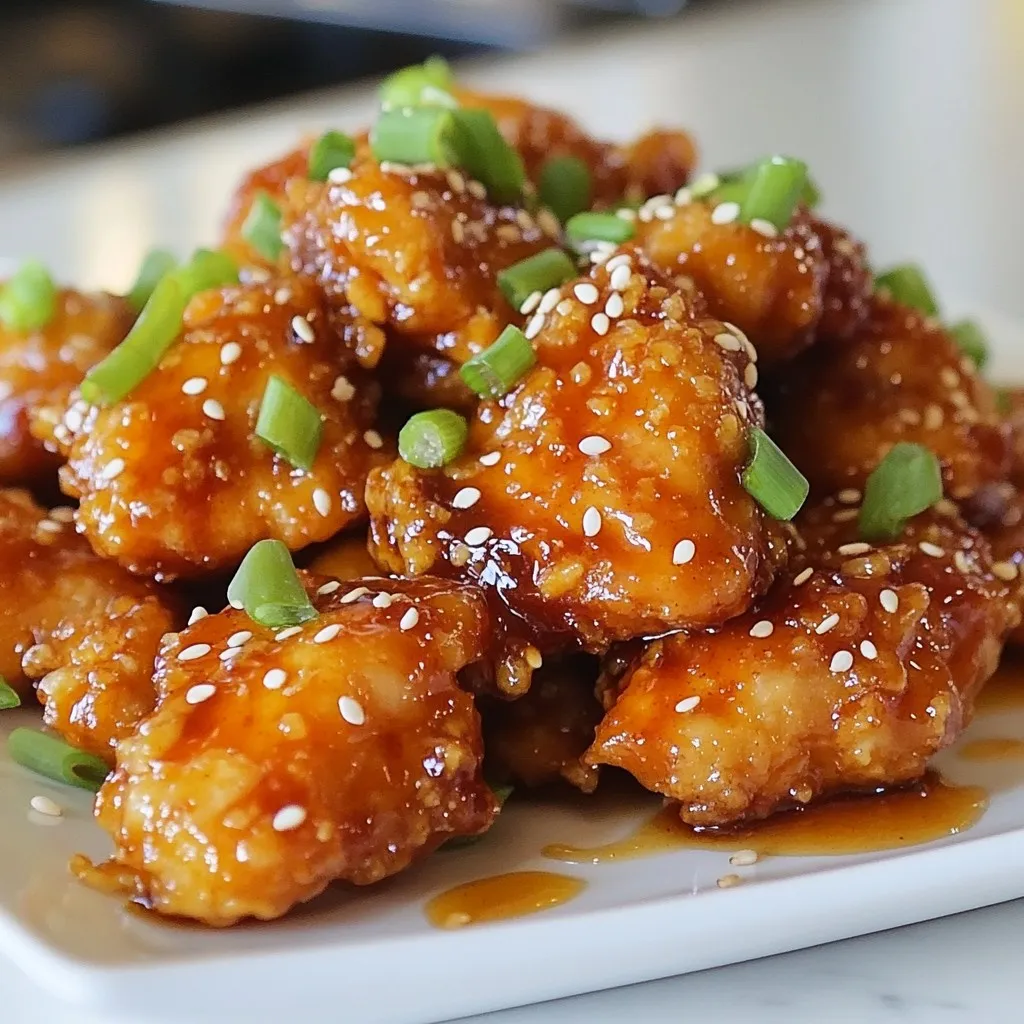
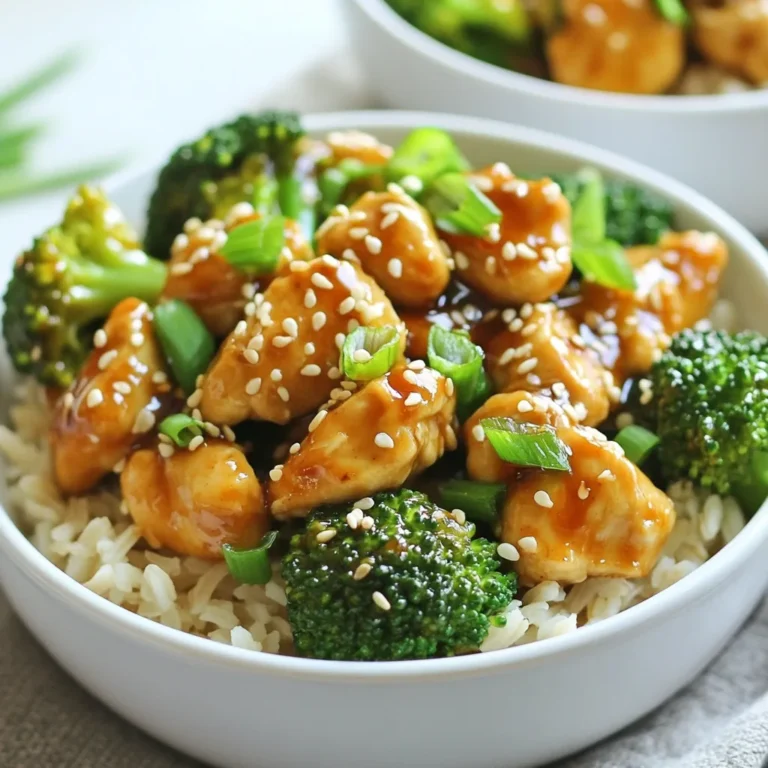
Crispy Honey Sesame Chicken Simple and Tasty Recipe
Looking for a delicious meal that packs a crunch? You’re in the right place! My Crispy Honey Sesame Chicken recipe is simple, tasty, and…
My Latest Desserts

Strawberry Lemonade Cupcakes Fresh and Flavorful Treat
Craving a sweet, tangy treat? Dive into the world of Strawberry Lemonade Cupcakes! These delightful cupcakes blend fresh strawberries and Read Full Recipe-
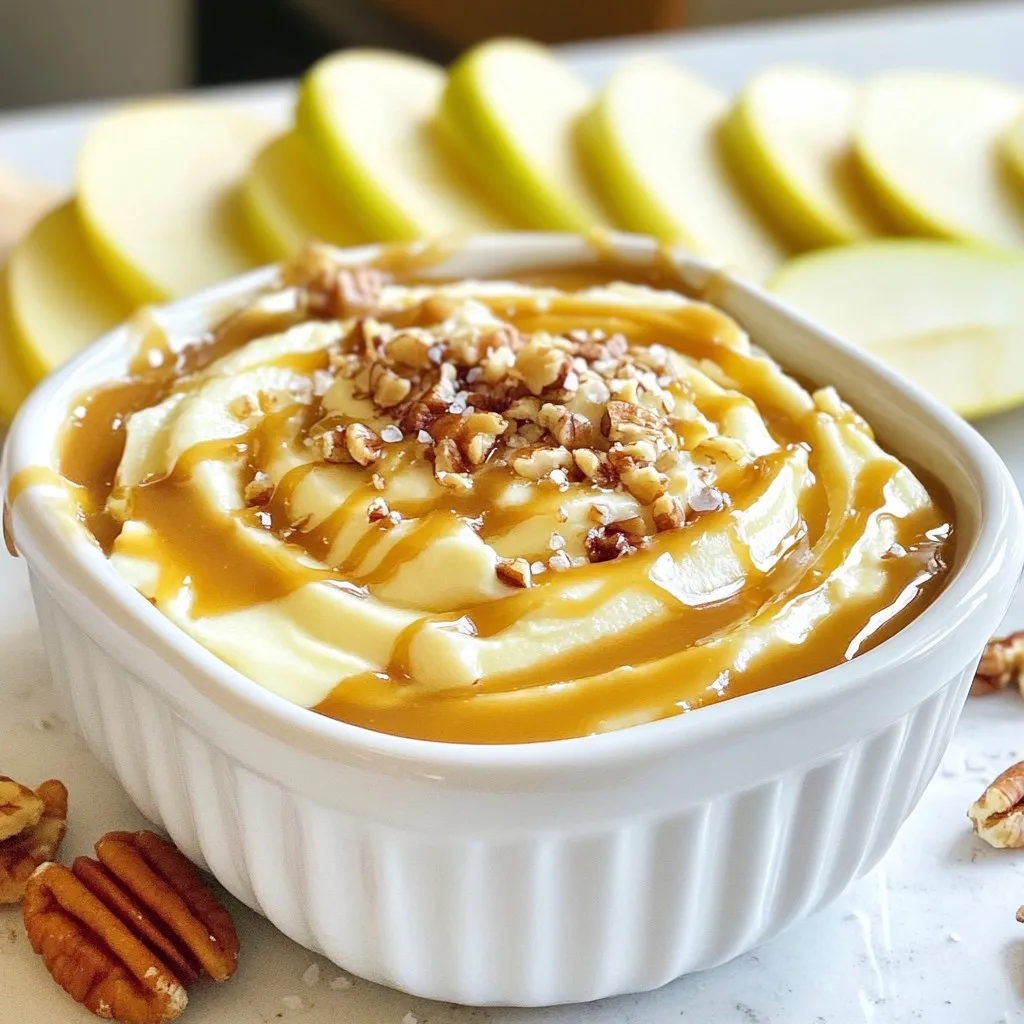
Salted Caramel Apple Dip Creamy and Delicious Treat
If you’re looking for a tasty treat that combines sweet and salty, you’re in for a delight! This Salted Caramel Read Full Recipe -
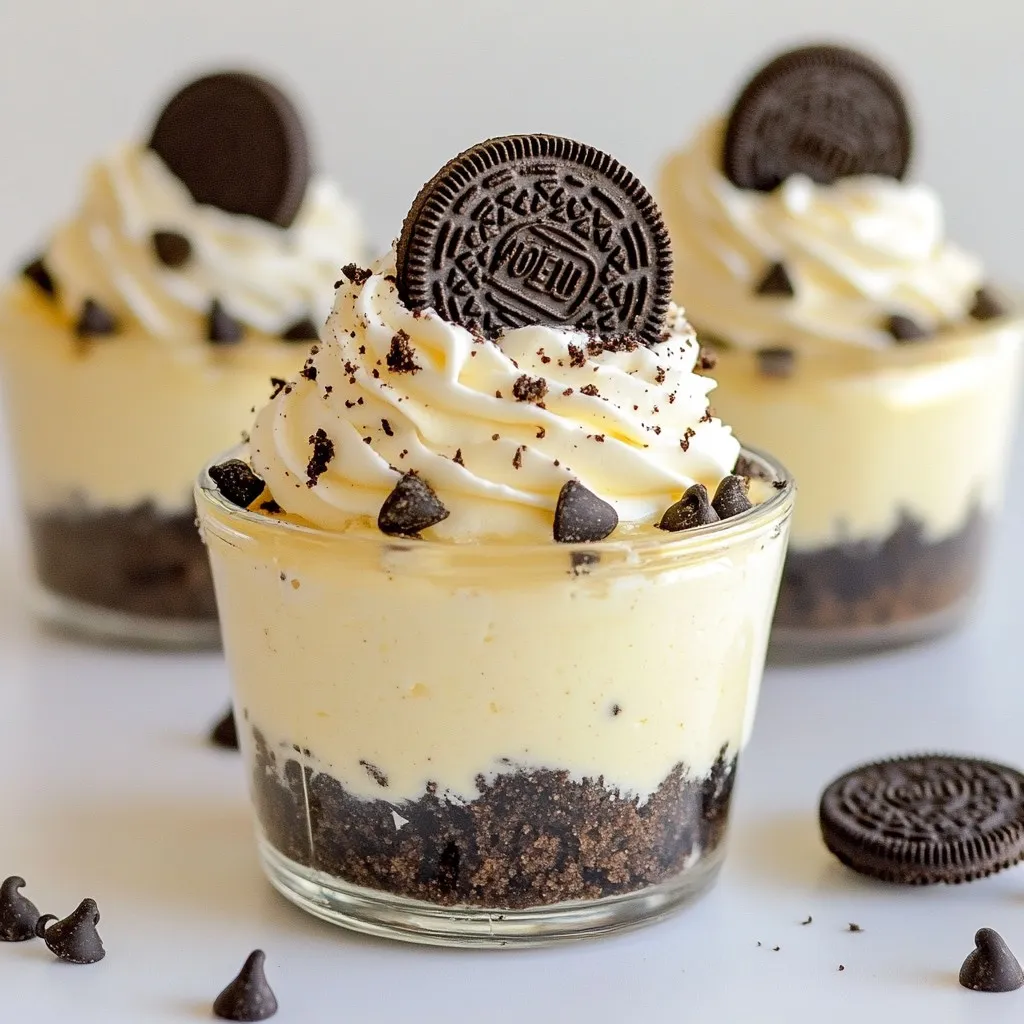
No-Bake Oreo Cheesecake Cups Delightful Easy Treat
Craving a sweet, creamy treat that’s easy to make? These No-Bake Oreo Cheesecake Cups are perfect for you! With just Read Full Recipe -
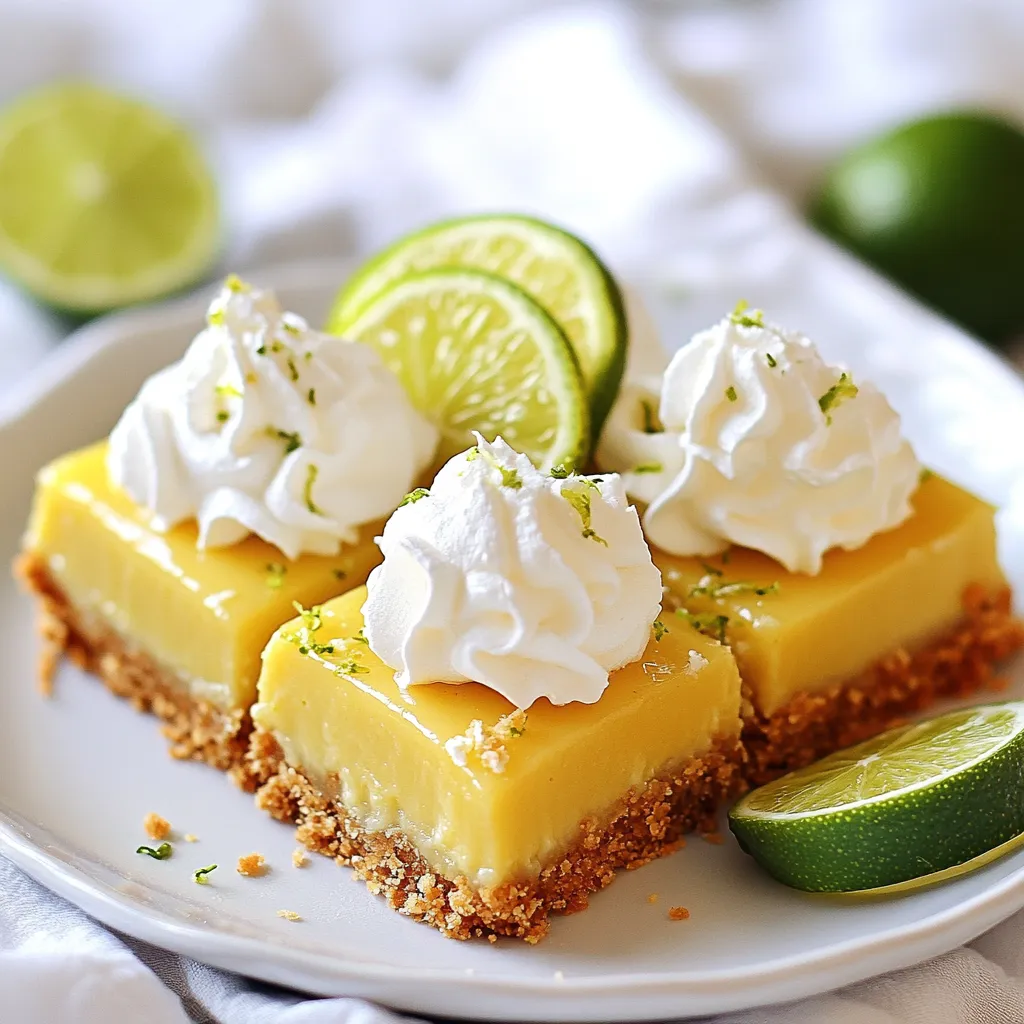
Key Lime Pie Bars Simple and Tangy Dessert Treat
Are you ready to enjoy a treat that’s both simple and zesty? Key Lime Pie Bars combine the tart zing Read Full Recipe -
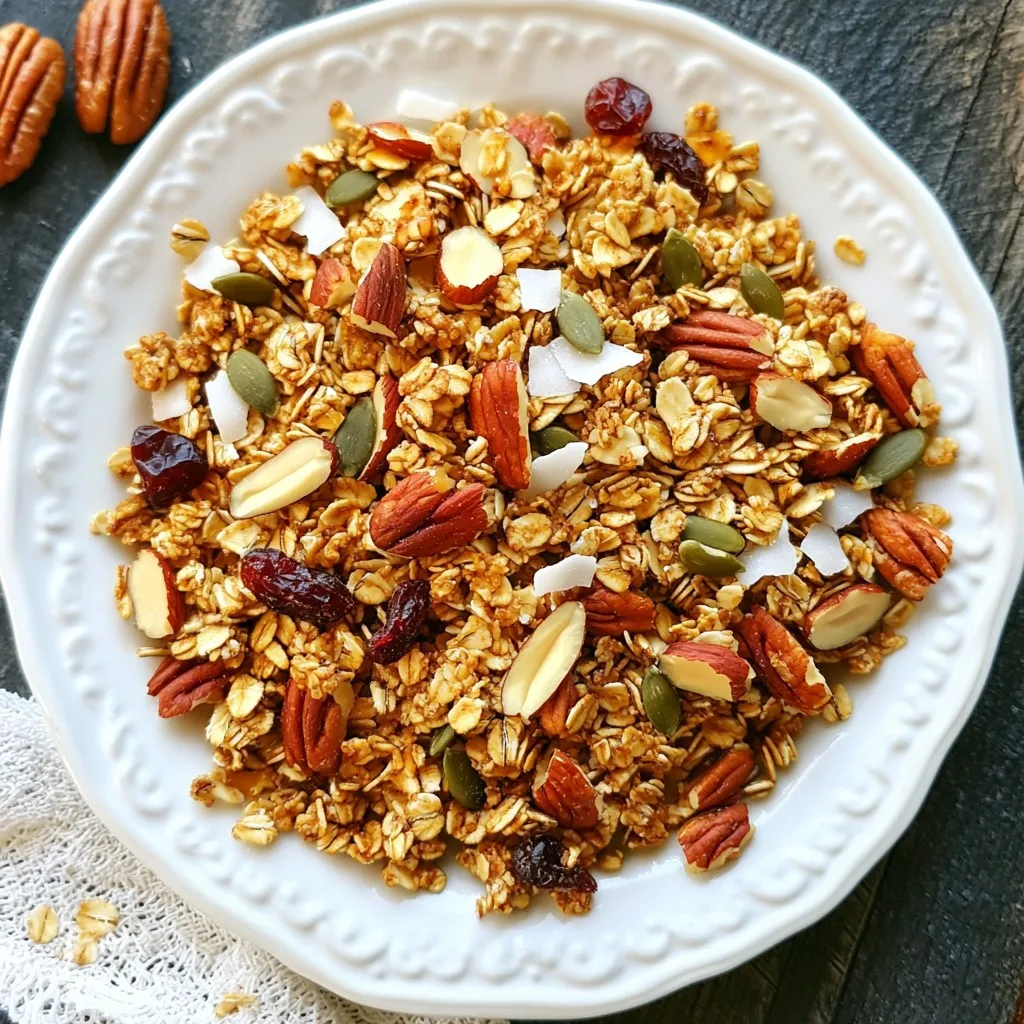
Maple Pecan Granola Crunchy and Nutritious Snack
Looking for a tasty and healthy snack? You’ve found it! My Maple Pecan Granola is crunchy, packed with flavor, and Read Full Recipe -
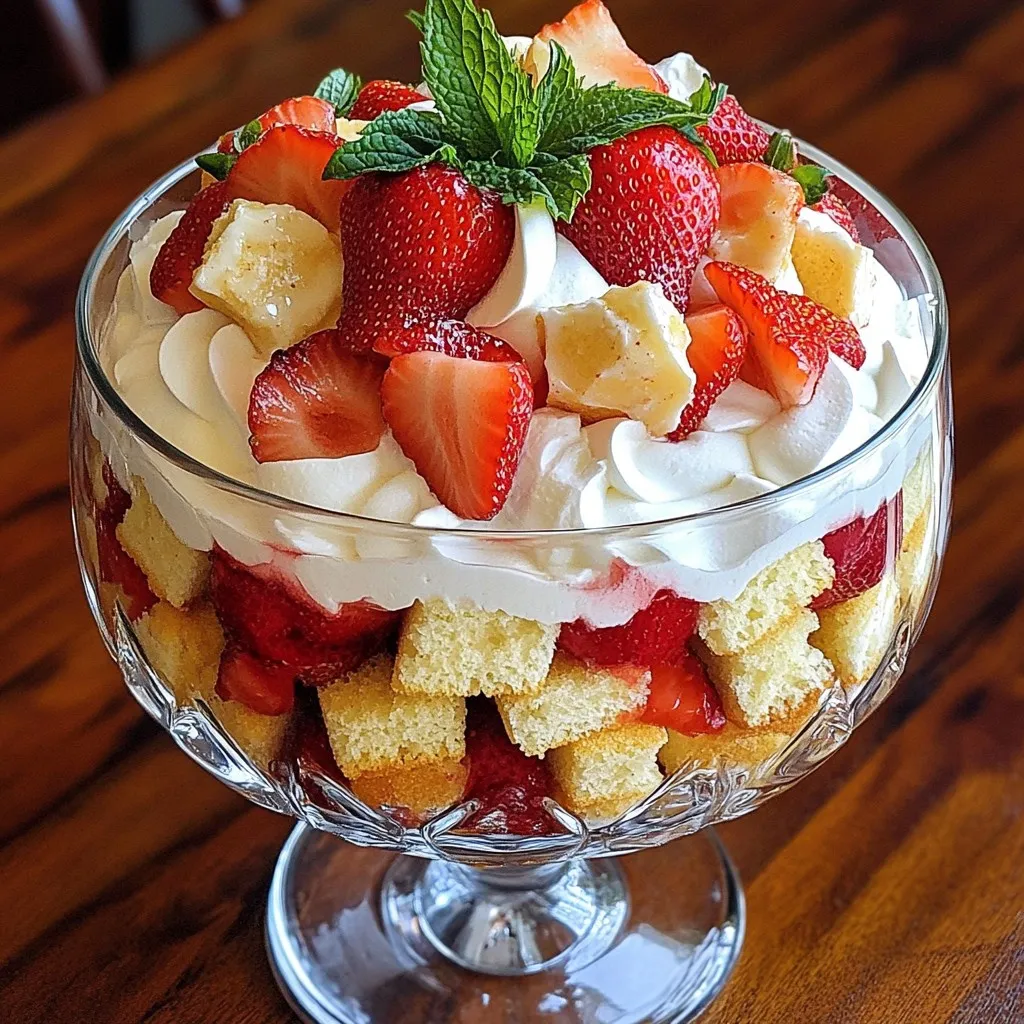
Strawberry Shortcake Trifle Delightful and Simple Treat
Get ready to impress your family and friends with a Strawberry Shortcake Trifle that’s both delightful and simple. This layered Read Full Recipe

My Latest Drinks
-
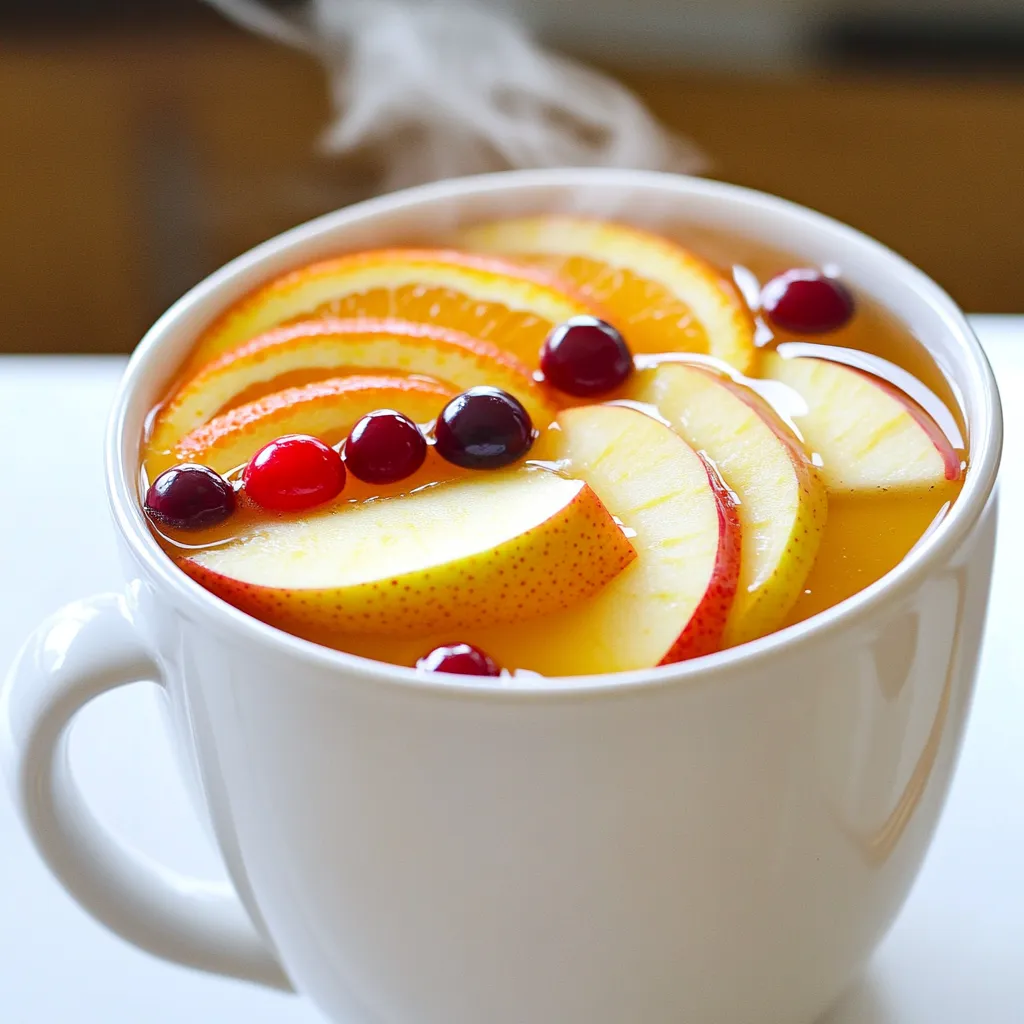
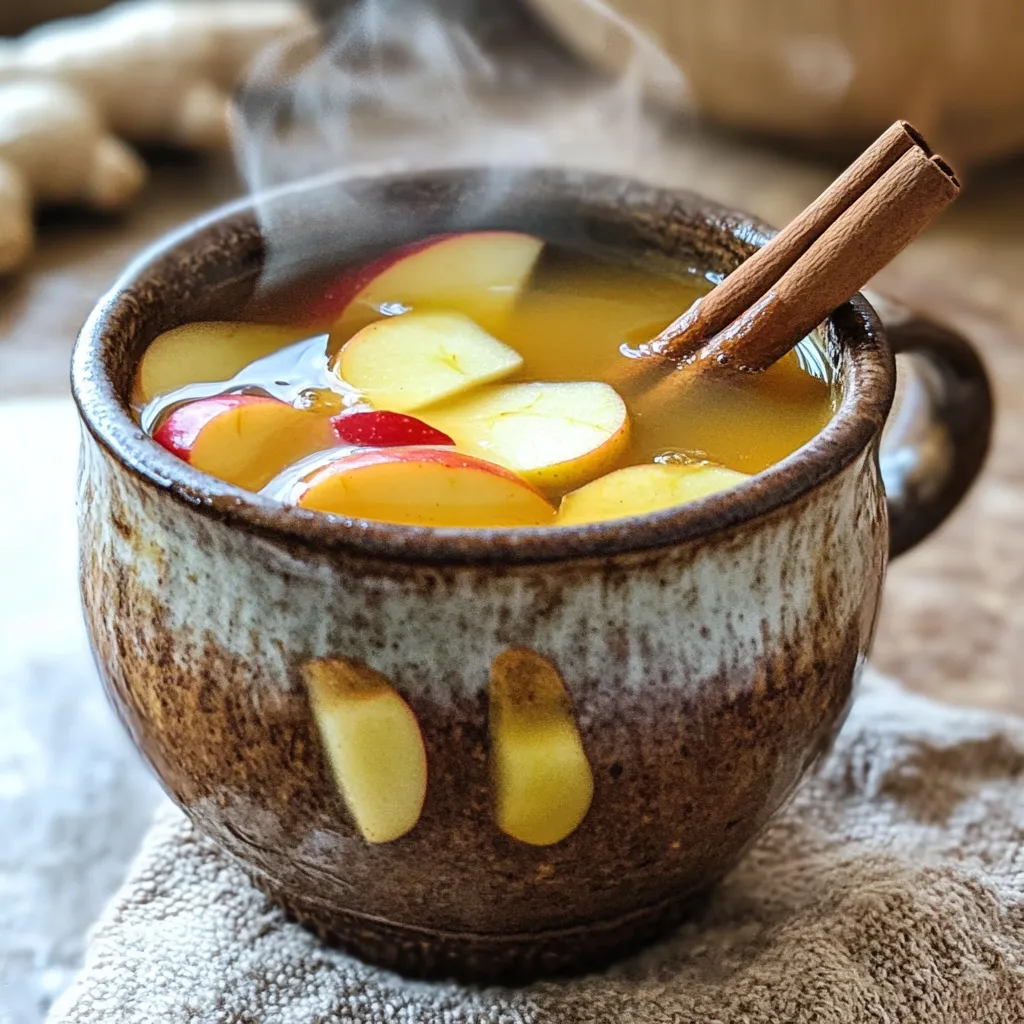
Spiced Apple Cider Punch Festive and Flavorful Drink
Warm up your gatherings with my Spiced Apple Cider Punch! This festive drink bursts with cozy flavors, perfect for chilly Read Full Recipe -
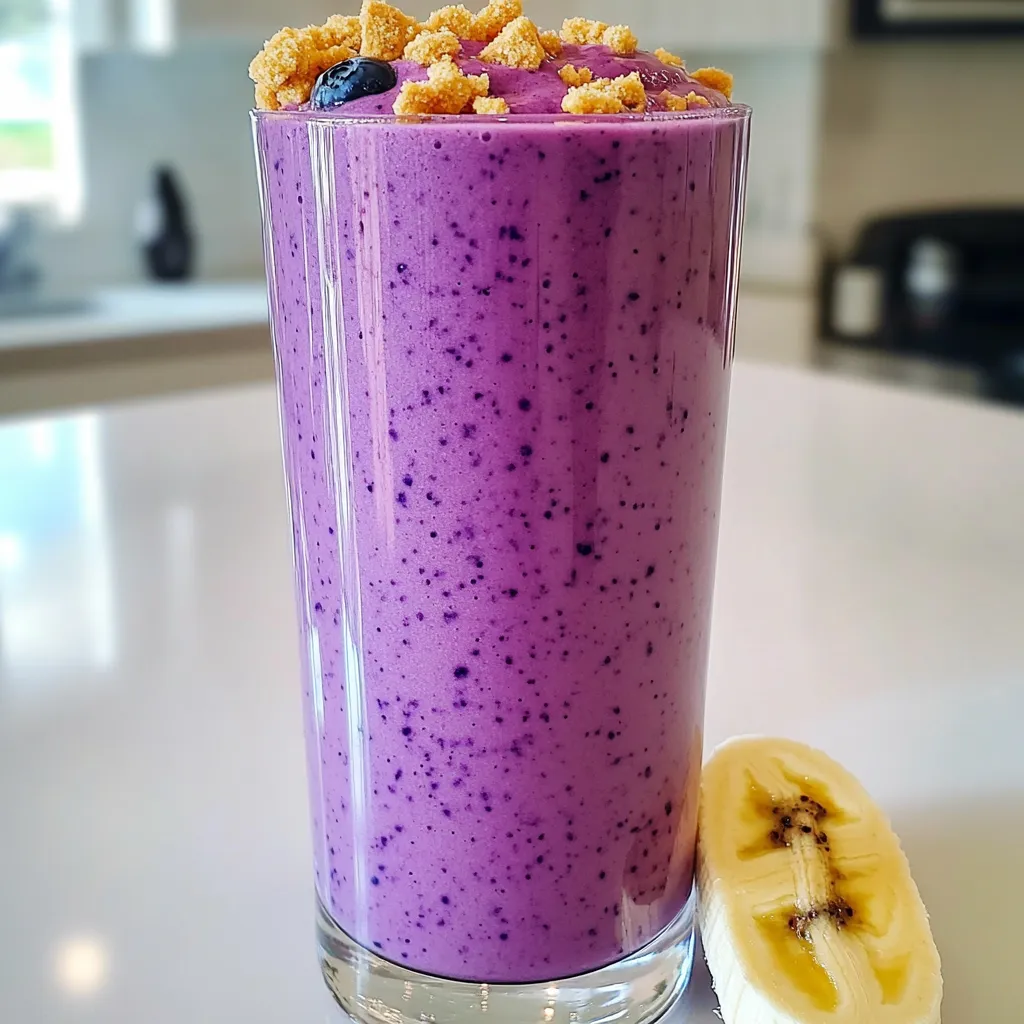
Blueberry Cheesecake Smoothie Protein Delight
Are you ready to treat yourself to a delicious and healthy drink? The Blueberry Cheesecake Smoothie Protein Delight packs all Read Full Recipe -
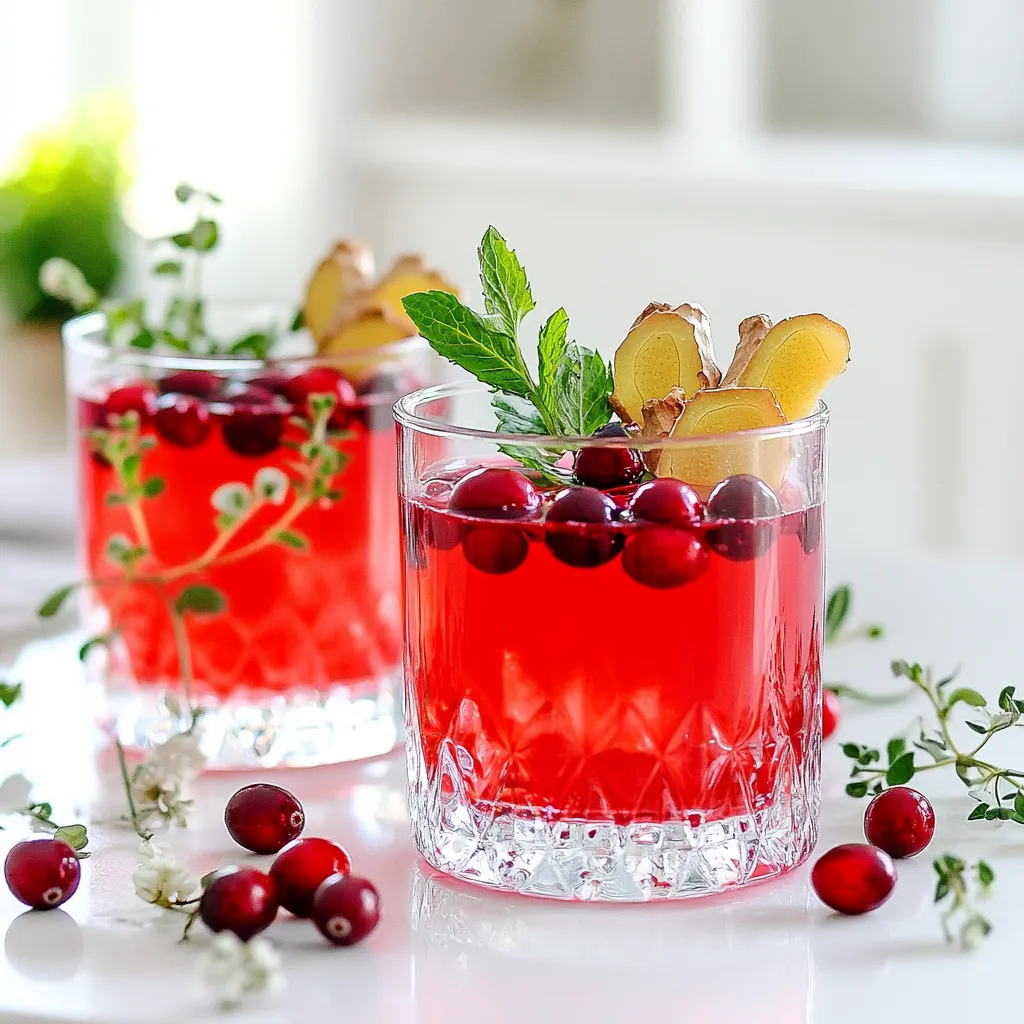
Warm Cranberry Ginger Mocktail Spritzer Recipe Delight
Welcome to my cozy kitchen! Today, I’m excited to share a delightful warm cranberry ginger mocktail spritzer that brightens up Read Full Recipe -
Spiced Apple Cider Chai Bold and Flavorful Drink Recipe
Looking for a cozy drink this season? Try my Spiced Apple Cider Chai! This bold, flavorful beverage combines warm apple Read Full Recipe -
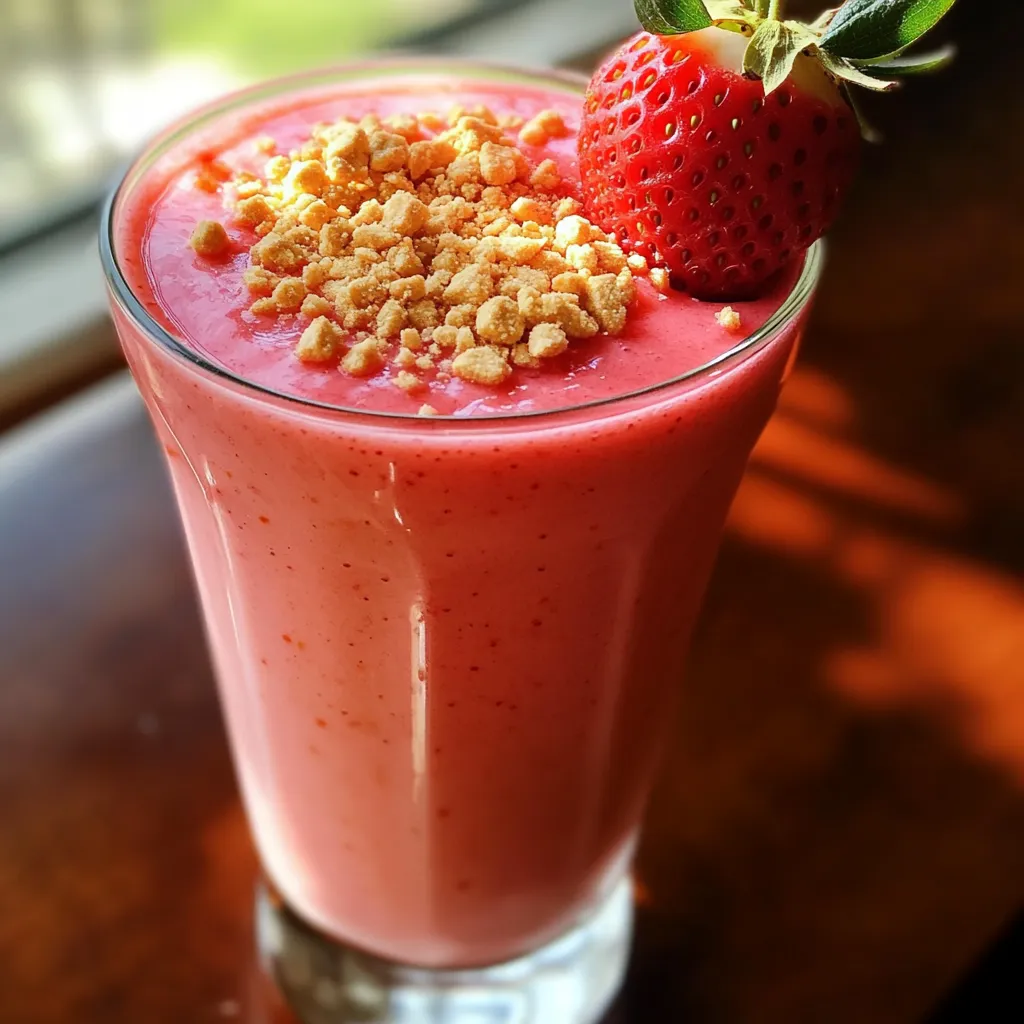
Strawberry Cheesecake Smoothie Tasty and Easy Recipe
Are you ready for a treat that’s both tasty and easy? This Strawberry Cheesecake Smoothie blends the rich flavors of Read Full Recipe -
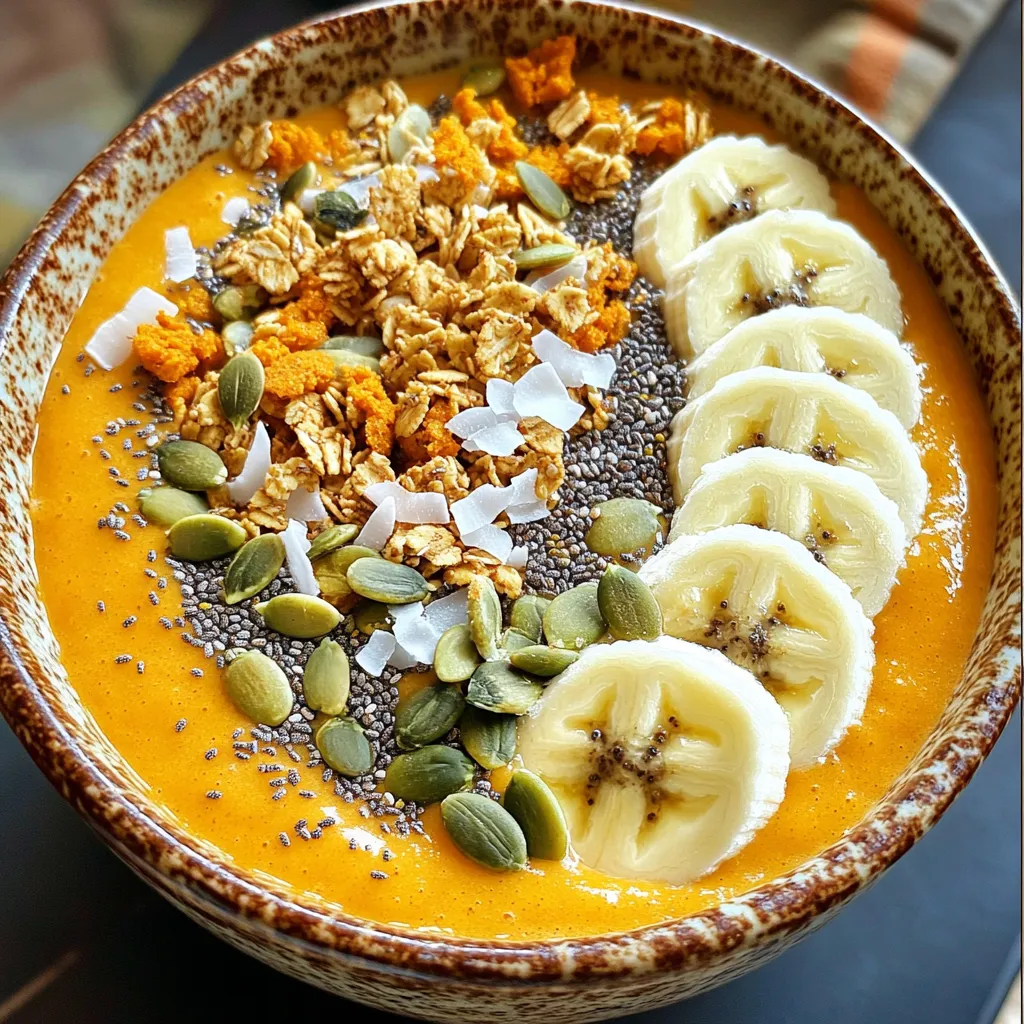
Pumpkin Spice Smoothie Bowl Protein Packed Delight
Are you ready to dive into the cozy world of pumpkin spice? This Pumpkin Spice Smoothie Bowl is not only Read Full Recipe

hey,
i’m !
I’m so happy you’re here!
I love creating dishes that bring joy to the table. I hope they bring the same joy to yours. Let’s enjoy this flavorful journey together.
![- 2 medium zucchinis, grated - 1 cup fresh corn kernels - 1/2 cup all-purpose flour - 1/4 cup cornmeal - 2 large eggs - 1/4 cup green onions, finely chopped - 1/4 cup fresh cilantro, chopped - 1 teaspoon baking powder - 1 teaspoon garlic powder - 1/2 teaspoon cumin powder - Salt and pepper to taste - Olive oil for frying To make my zucchini corn fritters, I use simple, fresh ingredients. The main stars are grated zucchinis and sweet corn. These two give a great flavor and texture. I also add flour and cornmeal to bind everything together. Eggs act as glue, while green onions and cilantro add freshness. - You can substitute all-purpose flour with gluten-free options like almond flour or chickpea flour. This works well and keeps the fritters tasty. - If you want to use frozen corn, that's fine too. Just make sure to thaw and drain it before adding. - For dairy-free needs, you can replace eggs with a flaxseed mix. Just mix one tablespoon of ground flaxseed with three tablespoons of water and let it sit for a few minutes. These alternatives make it easy for everyone to enjoy my fritters. You can find the full recipe to guide you through. First, grate the zucchinis using a box grater. You want small shreds to mix well. After grating, squeeze out excess moisture. This step is key for crispy fritters. Next, chop the green onions and cilantro finely. In a large bowl, mix the dry ingredients: flour, cornmeal, baking powder, garlic powder, cumin, salt, and pepper. In another bowl, whisk the eggs. Combine both mixtures. Add the grated zucchini and corn kernels last. Stir until everything is well mixed. Heat a large skillet over medium heat. Add a tablespoon of olive oil and let it get hot. Use a 1/4 cup measure to scoop the mixture. Carefully drop the mixture into the skillet. Flatten each scoop slightly to form fritters. Be careful not to overcrowd the pan. Fry for about 3-4 minutes on each side. Look for a golden brown color and crispy edges. Once cooked, place the fritters on a paper towel to absorb excess oil. Keep frying until all the batter is used. Serve the fritters hot for the best flavor. I love adding a dollop of Greek yogurt or sour cream on top. A sprinkle of extra cilantro adds a nice touch. For a zesty kick, place a wedge of lime on the side. You can find the full recipe in the earlier section. Enjoy your delicious zucchini corn fritters! To fry zucchini corn fritters perfectly, aim for medium heat. If your oil is too cool, the fritters will absorb oil and become soggy. You want them crispy and golden. A good test is to drop a small amount of batter into the oil. If it sizzles right away, you’re ready to go. To avoid sogginess, ensure you squeeze out excess moisture from the zucchini. This step is key. Too much water will make your fritters soft. Use paper towels or a clean kitchen cloth to help. When grating zucchini, use a box grater or a food processor. Both work well. The goal is to have small, even pieces. This helps them cook evenly. After grating, place the zucchini in a clean cloth. Twist the cloth to squeeze out as much water as you can. This makes a big difference in texture. You can also use a fine-mesh strainer. Let the grated zucchini sit for about 10 minutes. You’ll see water collect at the bottom. This method works if you don’t want to use a cloth. To add more flavor, consider spices like smoked paprika or chili powder. Both will give your fritters a nice kick. Fresh herbs, such as dill or parsley, can also brighten the dish. For a cheesy twist, try adding shredded cheese to the mix. Feta or cheddar work great. Just fold it in gently before frying. The cheese melts and adds a lovely creaminess to each bite. For the full recipe, check out the [Full Recipe]. {{image_2}} You can change up the zucchini corn fritters easily. Adding bell peppers or jalapeños gives a nice kick. Just chop them finely and mix them in. These flavors blend well with the corn. You can also include cheese for creaminess. Feta brings a salty touch, while cheddar adds a rich flavor. Mix in a half cup of either cheese for a tasty twist. Want to explore different flavors? Try making Mexican-style fritters. Add chili powder, cumin, and a bit of lime juice. This twist gives a zesty flair. For an Asian-inspired version, mix in soy sauce and sesame oil. These ingredients add depth and a unique flavor to the fritters. You can make vegan zucchini corn fritters too. Simply replace eggs with flaxseed meal mixed with water. This works as a great binder. For a keto-friendly option, swap out the flour with almond flour. This keeps the fritters low in carbs while still tasty. Enjoy experimenting with these variations! You can find the full recipe in the article. To store leftovers properly, place the fritters in an airtight container. Make sure they cool before sealing. This helps keep them fresh. Zucchini corn fritters last in the fridge for about three days. If you want to enjoy them later, follow these storage tips. You can freeze both un-cooked and cooked fritters. For un-cooked fritters, scoop the batter onto a baking sheet lined with parchment paper. Freeze them until firm, then transfer to a freezer bag. For cooked fritters, let them cool first. Then place them in a freezer-safe container. When reheating, the best practice is to thaw them in the fridge overnight. This helps retain their flavor and texture. For the best results, use an oven or skillet to reheat your fritters. If using an oven, preheat it to 350°F (175°C). Place the fritters on a baking sheet for about 10 minutes. This warms them up nicely. If you choose a skillet, heat a small amount of oil over medium heat. Fry the fritters for a few minutes on each side. This keeps them crispy and delicious. To keep fritters crispy when reheating, avoid covering them. This helps prevent steam from making them soggy. How long do zucchini corn fritters last? Zucchini corn fritters stay fresh for about three days in the fridge. Store them in an airtight container. To keep them crispy, place a paper towel in the container. You can also freeze fritters for up to three months. Just make sure they cool down first. Can I bake these fritters instead of frying them? Yes, you can bake zucchini corn fritters! Preheat your oven to 400°F (200°C). Place the fritters on a lined baking sheet. Brush or spray them lightly with oil for a golden finish. Bake for about 20 minutes, flipping halfway through. Baking makes them a bit drier but still tasty! Why are my fritters falling apart? Fritters may fall apart if there's too much moisture in the zucchini. Always squeeze out excess liquid before mixing. Also, ensure you use enough flour and eggs to bind the mixture well. If they still break, add a bit more flour to help hold them together. What can I do if my fritters are too greasy? If your fritters are greasy, try lowering the frying heat. If the oil is too hot, they cook too fast on the outside but stay oily inside. After cooking, place them on paper towels to absorb extra oil. You can also try baking them next time for a lighter option. What to serve with zucchini corn fritters? I love serving these fritters with a dollop of Greek yogurt or sour cream. A sprinkle of fresh cilantro adds color and flavor. You can also serve them with a wedge of lime for a zesty touch. Pair them with a fresh salad or some salsa for extra crunch. Can they be an appetizer or main dish? Absolutely! Zucchini corn fritters work well as an appetizer or a light main dish. Serve them in small portions as a party snack. For a meal, add a side salad and some protein like grilled chicken or fish. They are versatile and delightful in any setting. This blog post covered how to make delicious zucchini corn fritters. We discussed all the key ingredients and provided step-by-step cooking instructions. You learned tips for the best texture and ways to add flavor. Plus, we explored variations to fit any diet and provided storage advice. In the end, these fritters are easy, fun, and packed with flavor. Enjoy making them your way!](https://soyumrecipes.com/wp-content/uploads/2025/06/03dd7493-7b8e-4899-82c2-817f35a6c0be-300x300.webp)
Honey Garlic Shrimp Tacos Flavorful and Easy Recipe
Craving a quick and tasty meal? Look no further! This Honey Garlic Shrimp Tacos recipe is not just easy—it’s delicious too. In this blog…
![To make honey garlic shrimp tacos, gather these key items: - 1 lb shrimp, peeled and deveined - 2 tablespoons honey - 3 cloves garlic, minced - 1 tablespoon soy sauce (or tamari for gluten-free) - 1 tablespoon lime juice - 1 tablespoon vegetable oil - 1 teaspoon chili powder - Salt and pepper to taste - 8 small corn tortillas - 1 cup cabbage, shredded (red or green) - ½ avocado, sliced - Fresh cilantro for garnish - Lime wedges for serving These ingredients create a sweet and savory flavor. The shrimp pairs well with the crunchy cabbage and creamy avocado. I recommend using large or medium shrimp for these tacos. You can choose: - Gulf shrimp - Argentinian shrimp - Black tiger shrimp These types of shrimp have great taste and texture. Always pick shrimp that look fresh and plump. Frozen shrimp works too; just thaw it before cooking. Feel free to add your favorite toppings. Here are some ideas: - Diced tomatoes - Sliced jalapeños - Sour cream or Greek yogurt - Sliced radishes - Cotija cheese These garnishes can boost flavor and make the tacos even more fun to eat. Explore different toppings to find your favorite mix. Check out the Full Recipe for more detailed steps on making these tasty tacos! Start by mixing the marinade. In a bowl, combine honey, minced garlic, soy sauce, lime juice, and chili powder. Stir well until it blends smoothly. This mix will bring sweetness and depth to your shrimp. Next, add your shrimp to the marinade. Make sure each piece gets a good coat. Let them sit for 15 to 20 minutes. This step lets the flavors soak into the shrimp, making them more tasty. Heat vegetable oil in a large skillet over medium-high heat. Once the oil is hot, add the marinated shrimp. Cook them for about 2 to 3 minutes on each side. You want them pink, opaque, and slightly caramelized. While the shrimp cook, warm the corn tortillas in a separate skillet. Cook them on low heat for about 30 seconds on each side. Now it’s time to build your tacos. Place a generous amount of shredded cabbage on each warm tortilla. Add the cooked shrimp on top. Then, add avocado slices and sprinkle fresh cilantro for a bright finish. Serve your tacos right away with lime wedges on the side for extra flavor. For the complete recipe, check [Full Recipe]. For shrimp tacos, I always go for fresh or frozen shrimp. Look for shrimp that are large or jumbo-sized. They hold up well in tacos. If you can, choose shrimp that are wild-caught. Farmed shrimp can have a different taste. When buying, check for a slight sea smell. This means they are fresh. If using frozen shrimp, thaw them in the fridge overnight. This keeps them firm and juicy. Cooking shrimp is fast and easy. I heat my skillet over medium-high heat. When the pan is hot, I add vegetable oil. This helps create a nice sear on the shrimp. I cook them for about 2-3 minutes on each side. They should turn pink and opaque. Do not overcook them; this can make them tough. A little caramelization adds great flavor. Always season with salt and pepper at the end for best taste. To amp up the flavor, I use a mix of spices. Chili powder adds warmth, while lime juice gives a fresh zing. You can also use paprika for a smoky flavor. If you like heat, add cayenne pepper or diced jalapeños. Fresh cilantro on top adds a burst of freshness. Pair these with a squeeze of lime for a perfect finish. Feel free to experiment with spices to suit your taste. For the full recipe, check out the Honey Garlic Shrimp Tacos 🦐 section. {{image_2}} You can switch the shrimp for other seafood. Try scallops or fish. White fish like tilapia works well. Just remember to adjust cooking time. Scallops take about 2-3 minutes per side. Fish may cook a bit faster. Choose seafood that you enjoy. Each option gives a new twist to the dish. If you prefer not to eat seafood, you can make a veggie version. Use tofu or tempeh for protein. Marinate them the same way as shrimp. You can also try mushrooms. Portobello or shiitake mushrooms add great flavor. Serve with the same toppings, like cabbage and avocado. Feel free to explore various taco styles. You can use flour tortillas instead of corn. For a crunchy twist, try taco shells. You can also go for a lettuce wrap for a low-carb option. Each style gives a different taste and texture. Mix it up based on your mood or diet! For the full recipe, check out the Honey Garlic Shrimp Tacos! Store leftover shrimp in an airtight container. Place it in the fridge. Use it within two days for the best taste. Ensure the shrimp is cooled before storage. If you want to save it longer, consider freezing. Frozen shrimp can last up to three months. Just remember to thaw it safely in the fridge before reheating. To keep your corn tortillas fresh, wrap them in foil or plastic wrap. Store them in a cool, dry place. If you have opened a package, use them within a week. You can also refrigerate them to extend their life. For long-term storage, freeze the tortillas. Place parchment paper between each tortilla to prevent sticking. When it’s time to eat, reheat the shrimp in a skillet. Heat it over medium heat for about three to four minutes. Add a splash of water to keep it moist. For the tortillas, warm them in a dry skillet for 30 seconds on each side. This way, they stay soft and pliable. Enjoy your tacos as if they were fresh! For the full recipe, check out the recipe section. To add spice, use fresh chili peppers or hot sauce. You can also increase the chili powder in the marinade. Start with small amounts and taste as you go. This lets you find the perfect heat level for your tacos. For extra flavor, consider adding diced jalapeños or a sprinkle of cayenne pepper. Yes, you can prepare the shrimp ahead of time. Marinate the shrimp and store them in the fridge. They can stay fresh for up to 24 hours. When you’re ready, just cook them as directed in the Full Recipe. This saves time and makes your meal prep easier. Great sides include black beans, corn salad, or a fresh guacamole. You can also serve with a light coleslaw for added crunch. If you want something warm, try cilantro-lime rice. These sides complement the shrimp's sweet and savory flavors well. Yes, you can freeze the shrimp, but not the assembled tacos. Wrap cooked shrimp in plastic and place in an airtight container. They can stay frozen for up to three months. When you're ready to eat, thaw the shrimp and warm them up before serving. Try a refreshing drink like limeade or a light beer. A crisp white wine also pairs nicely. For something non-alcoholic, sparkling water with lime is a great choice. These drinks balance the sweetness of the honey garlic shrimp perfectly. In this blog post, we explored how to make Honey Garlic Shrimp Tacos. We covered key ingredients, cooking steps, and tips for great flavor. Remember to pick fresh shrimp and marinate them well. You can also try different fillings or switch to vegetarian options. Don’t forget to store any leftovers properly for later. With these ideas, you can enjoy tasty tacos anytime. Keep experimenting and have fun while you cook!](https://soyumrecipes.com/wp-content/uploads/2025/05/b60785dc-5de5-4d2c-a61a-2110b780b605.webp)
