

Latest & Greatest
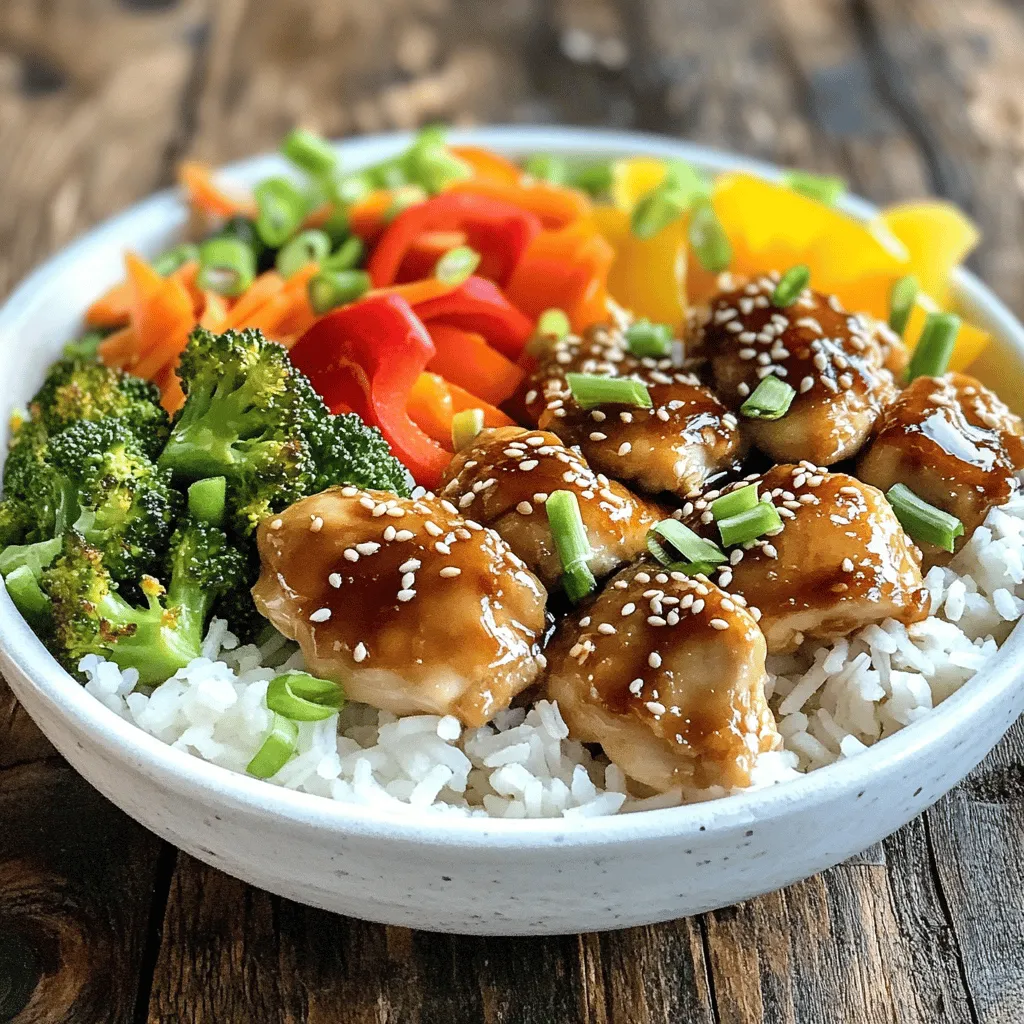
Teriyaki Chicken Bowls Flavorful and Easy Recipe
Are you ready to create a delicious Teriyaki Chicken Bowl that’s both easy and packed with flavor? You’ll love this
Read more…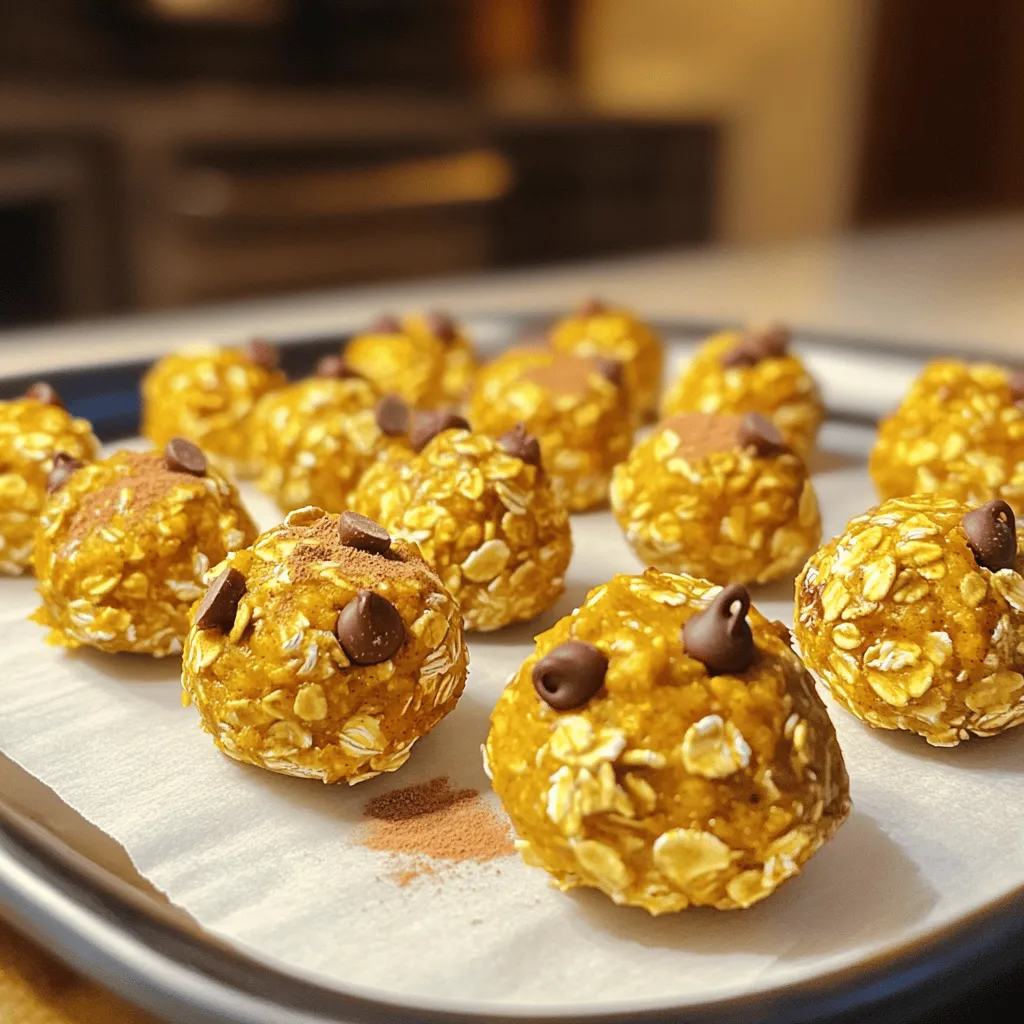
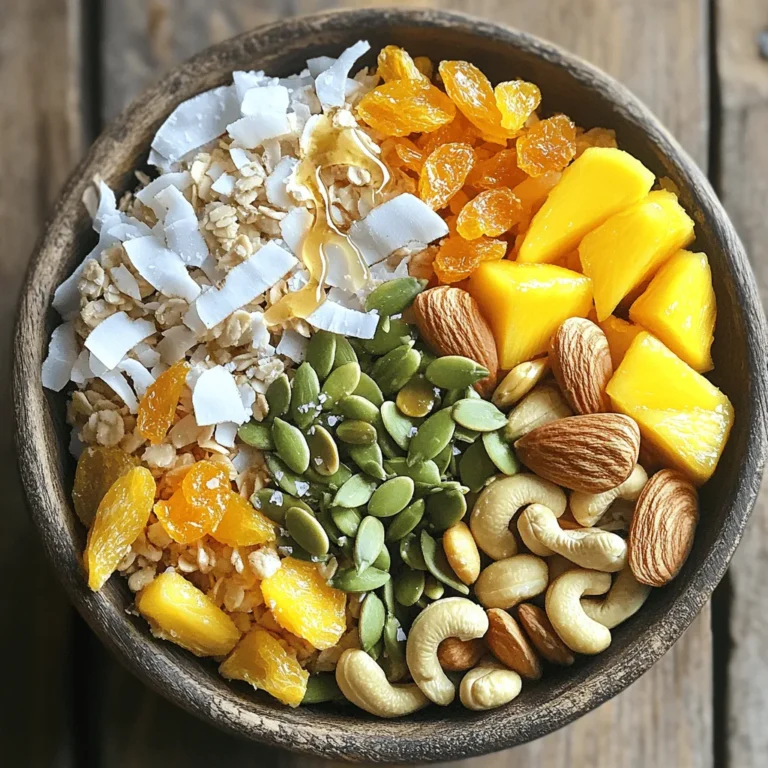
Pumpkin Spice Energy Bites Healthy Snack Boost
Looking for a healthy snack that packs a flavor punch? Try these Pumpkin Spice Energy Bites! They are quick to
Read more…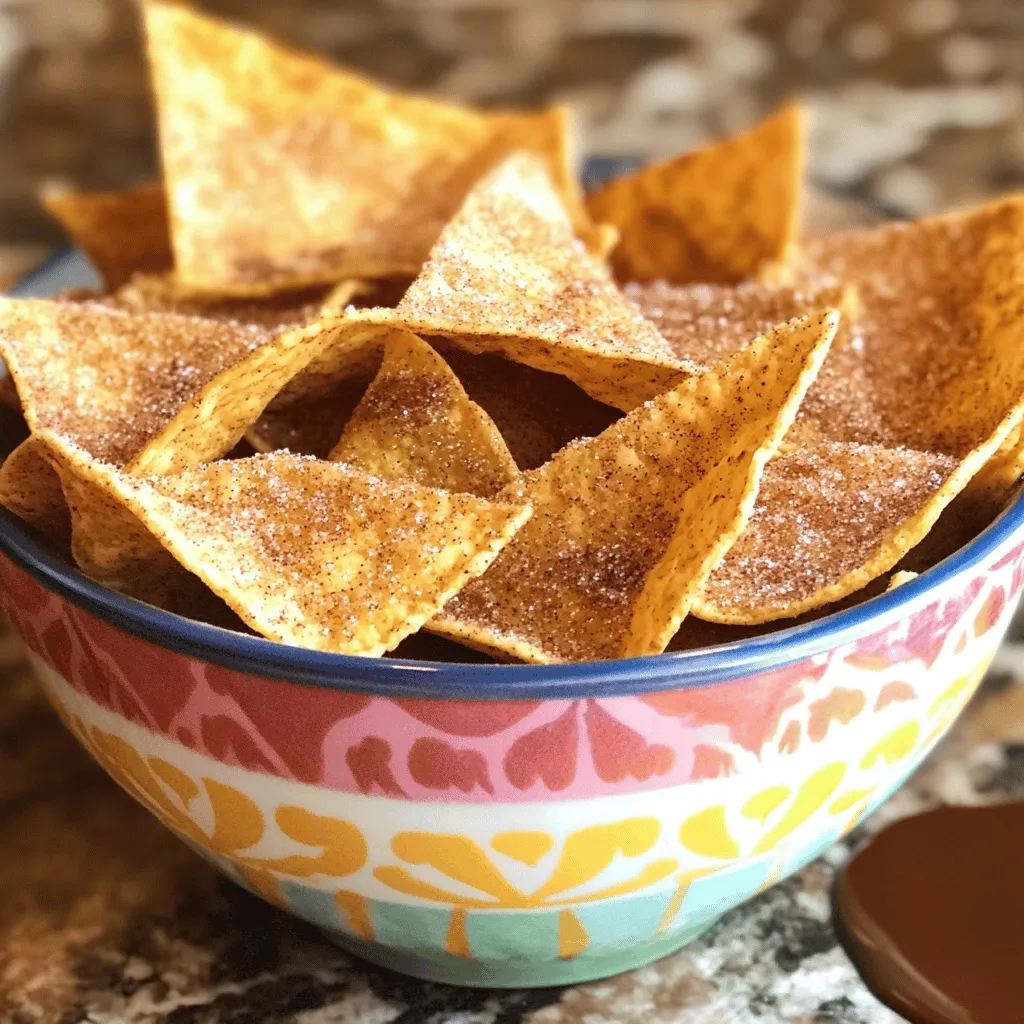
Cinnamon Sugar Tortilla Chips Irresistible Snack Idea
Ready for a snack that will take your taste buds on a sweet adventure? Cinnamon Sugar Tortilla Chips are the
Read more…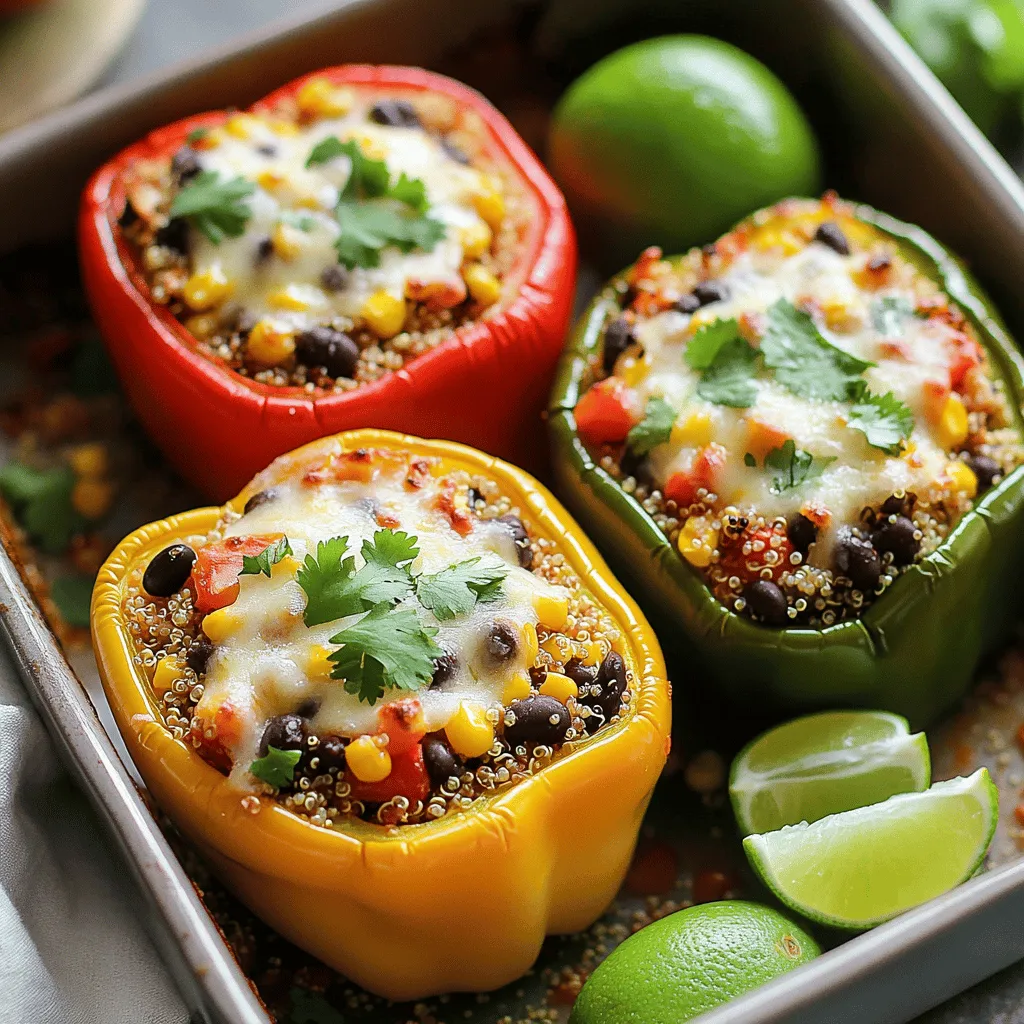
Stuffed Bell Peppers Savory and Easy Weeknight Meal
Looking for a fast and tasty dinner? Stuffed bell peppers can save your weeknights! These colorful veggies are easy to
Read more…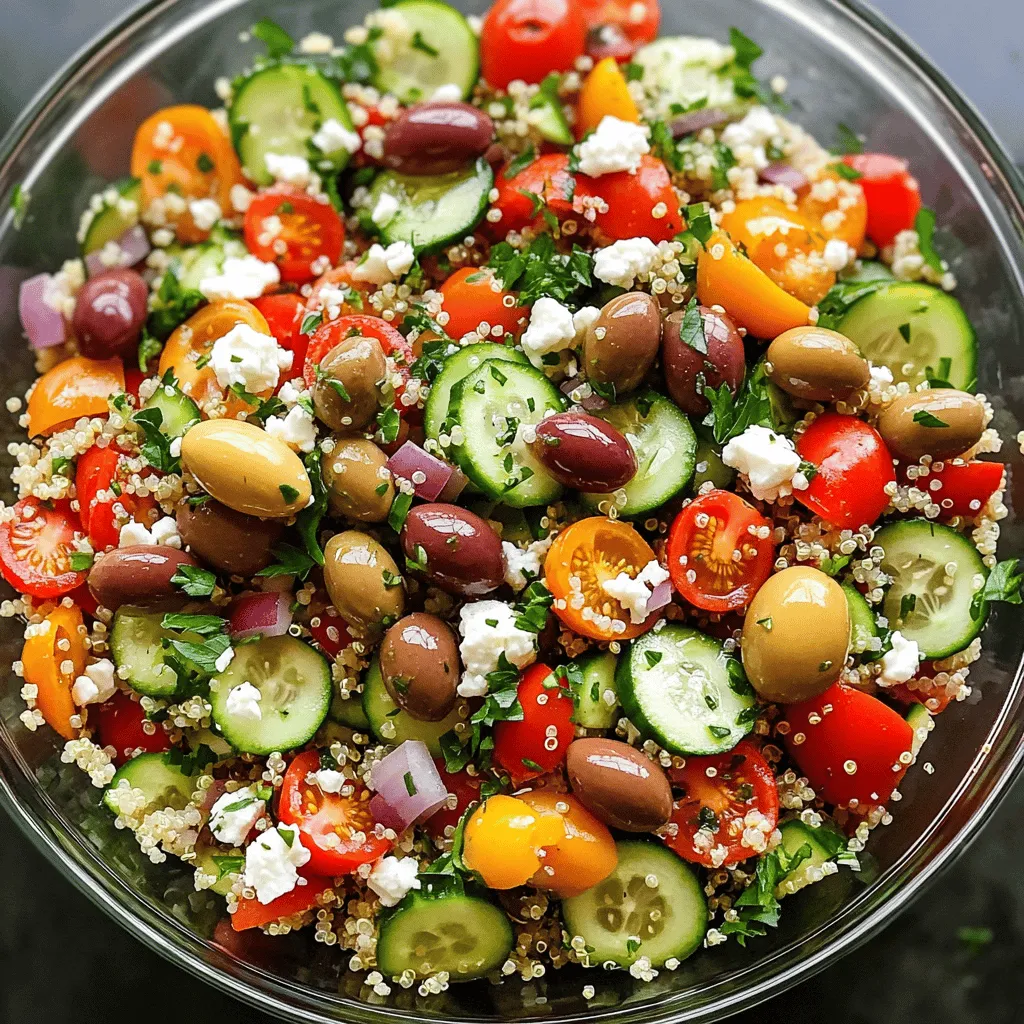
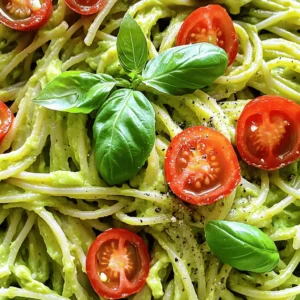
Mediterranean Quinoa Salad Fresh and Flavorful Dish
Looking for a fresh and tasty dish? Try my Mediterranean Quinoa Salad! This colorful meal combines protein-packed quinoa, crisp veggies,
Read more…
Easy Chicken Enchiladas Simple and Delicious Recipe
Are you ready to whip up a meal that’s both easy and delicious? In this post, I’ll guide you through
Read more…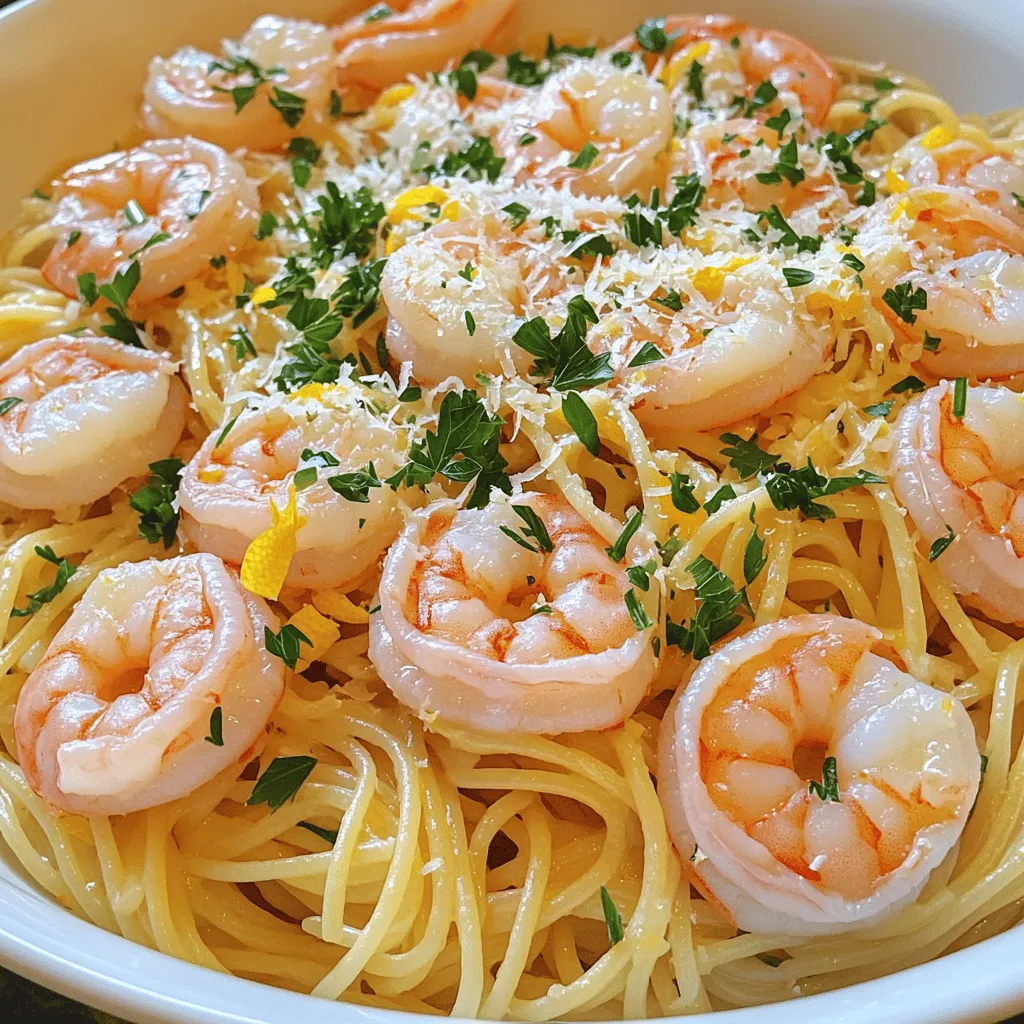
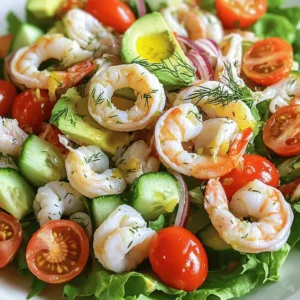
Lemon Garlic Shrimp Pasta Quick and Flavorful Meal
Looking for a quick and tasty meal? Lemon Garlic Shrimp Pasta is the answer! This dish combines juicy shrimp with
Read more…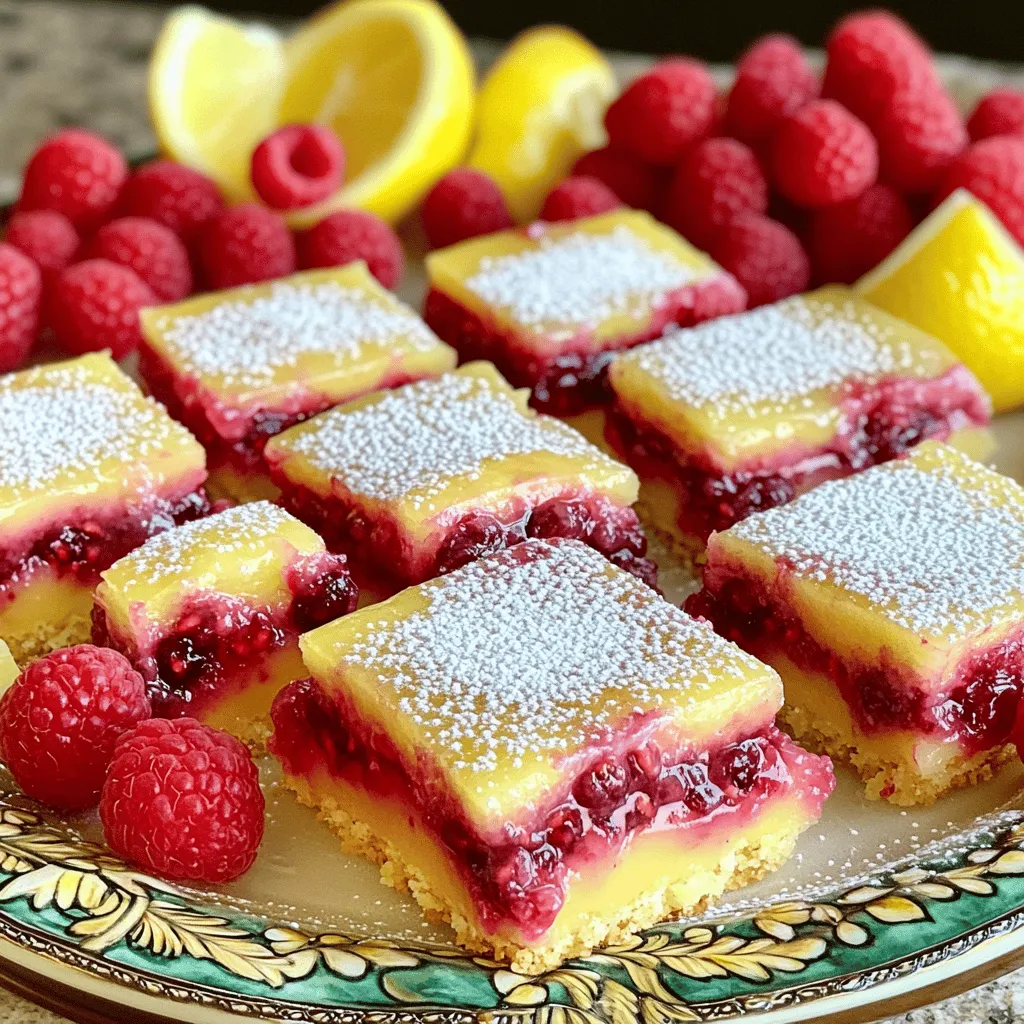
Raspberry Lemonade Bars Refreshing Sweet Summer Treat
Summer is here, and nothing beats the heat like a treat that refreshes! In this blog post, I’ll show you
Read more…browse recipes


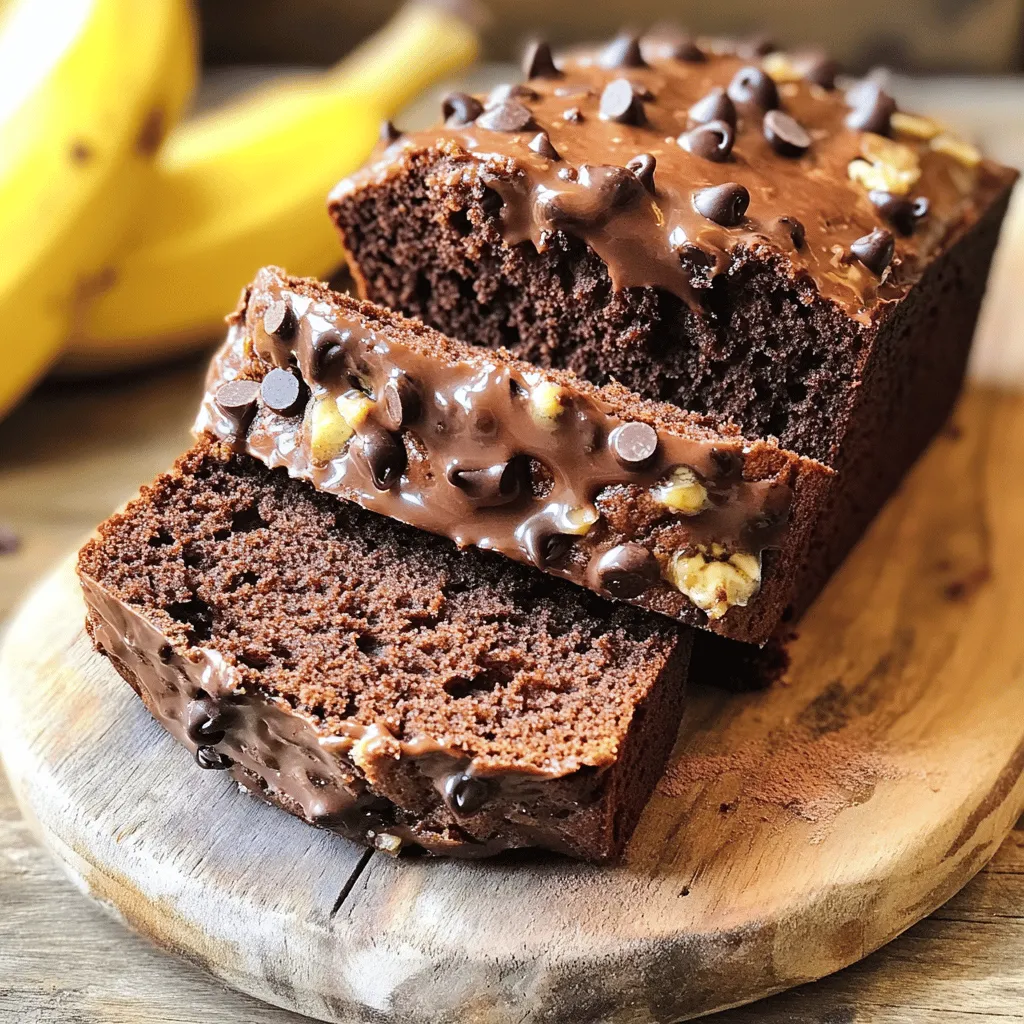
Chocolate Chip Banana Bread Simple and Moist Recipe
Ready to bake something special? This Chocolate Chip Banana Bread is simple and moist, making it the perfect treat for breakfast or a snack.…
My Latest Desserts

No-Bake Mocha Cheesecake Bars Easy and Delicious Treat
Craving a sweet treat that’s easy and packed with flavor? You’ll love my No-Bake Mocha Cheesecake Bars! These simple bars Read Full Recipe-
Fluffy Apple Pie Cinnamon Rolls Easy and Delicious Treat
Are you ready to elevate your baking game? Fluffy Apple Pie Cinnamon Rolls are a delightful way to combine the Read Full Recipe -
Caramel Pecan Chocolate Chip Blondies Delightful Treat
Are you ready to indulge in a rich, tasty treat? I present to you the ultimate dessert: Caramel Pecan Chocolate Read Full Recipe -
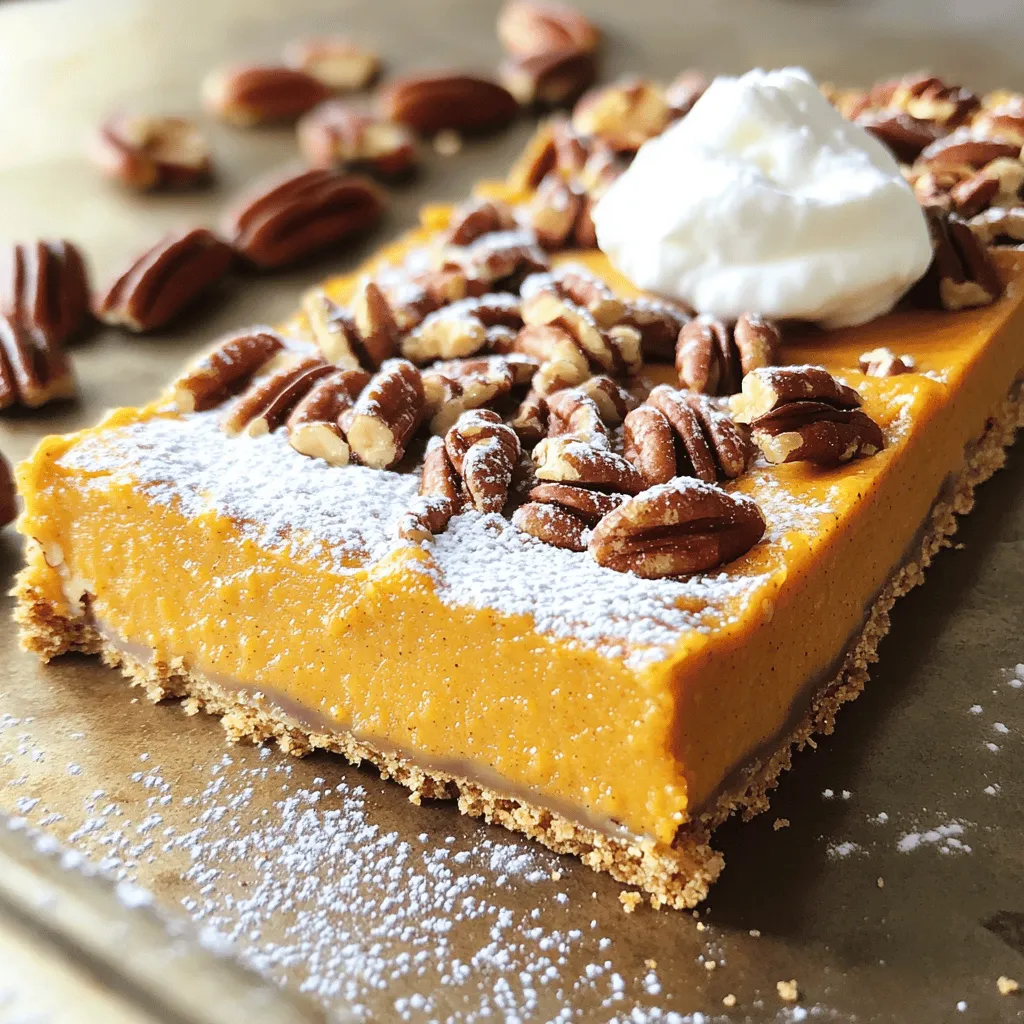
Irresistible Pumpkin Pecan Pie Bars Easy and Delicious
Looking for a sweet treat that combines two fall favorites? You’re in the right place! These Pumpkin Pecan Pie Bars Read Full Recipe -
No-Bake Chocolate Hazelnut Cheesecake Cups Delight
Love dessert but don’t want to bake? You’re in the right place! These No-Bake Chocolate Hazelnut Cheesecake Cups are easy, Read Full Recipe -
Apple Cinnamon Coffee Cake Irresistible and Tasty Recipe
Are you ready for a delicious treat that combines the warm flavors of apple and cinnamon? This Apple Cinnamon Coffee Read Full Recipe


My Latest Drinks
-
Peanut Butter Chocolate Protein Shake Tasty Delight
Satisfy your cravings with a Peanut Butter Chocolate Protein Shake! This tasty delight is not only delicious but also healthy. Read Full Recipe -
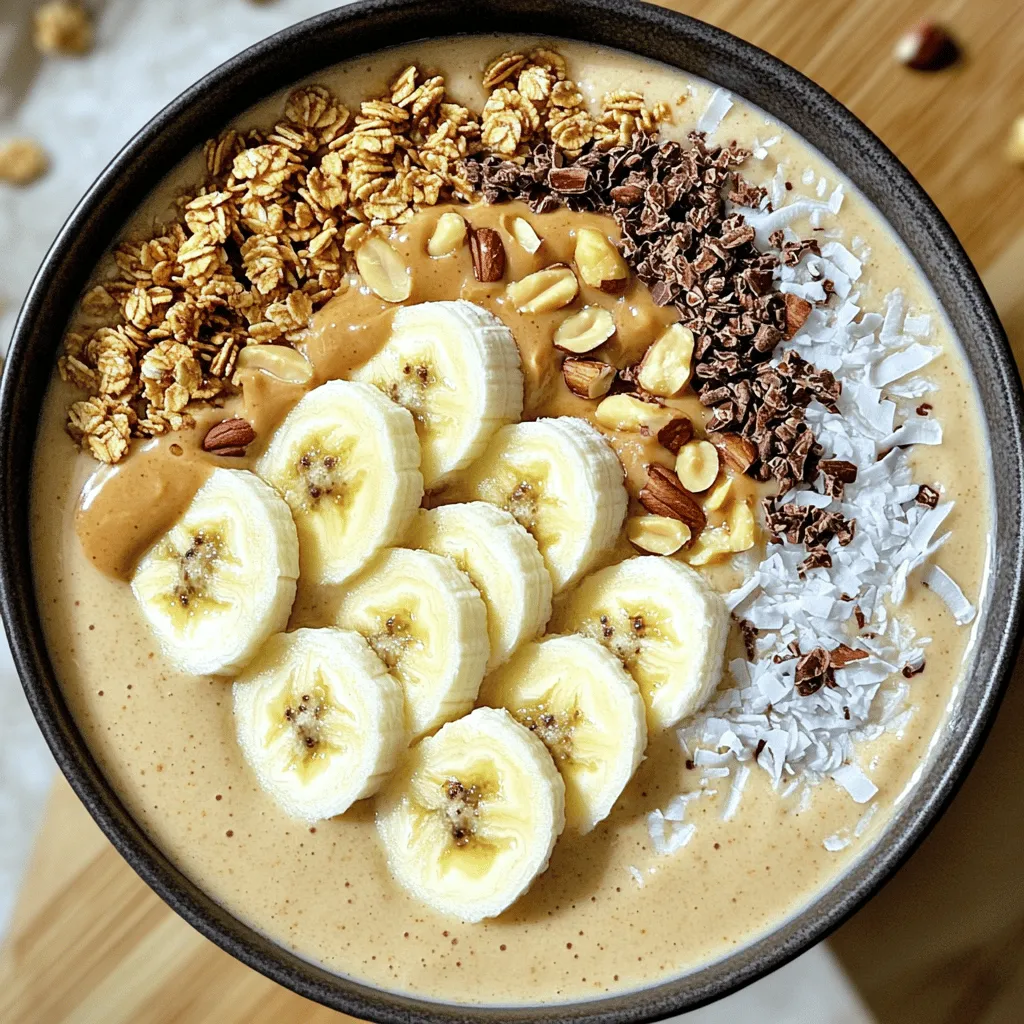
Peanut Butter Banana Smoothie Bowl Simple and Tasty
Looking for a quick, tasty treat? The Peanut Butter Banana Smoothie Bowl is your answer! Packed with ripe bananas and Read Full Recipe -
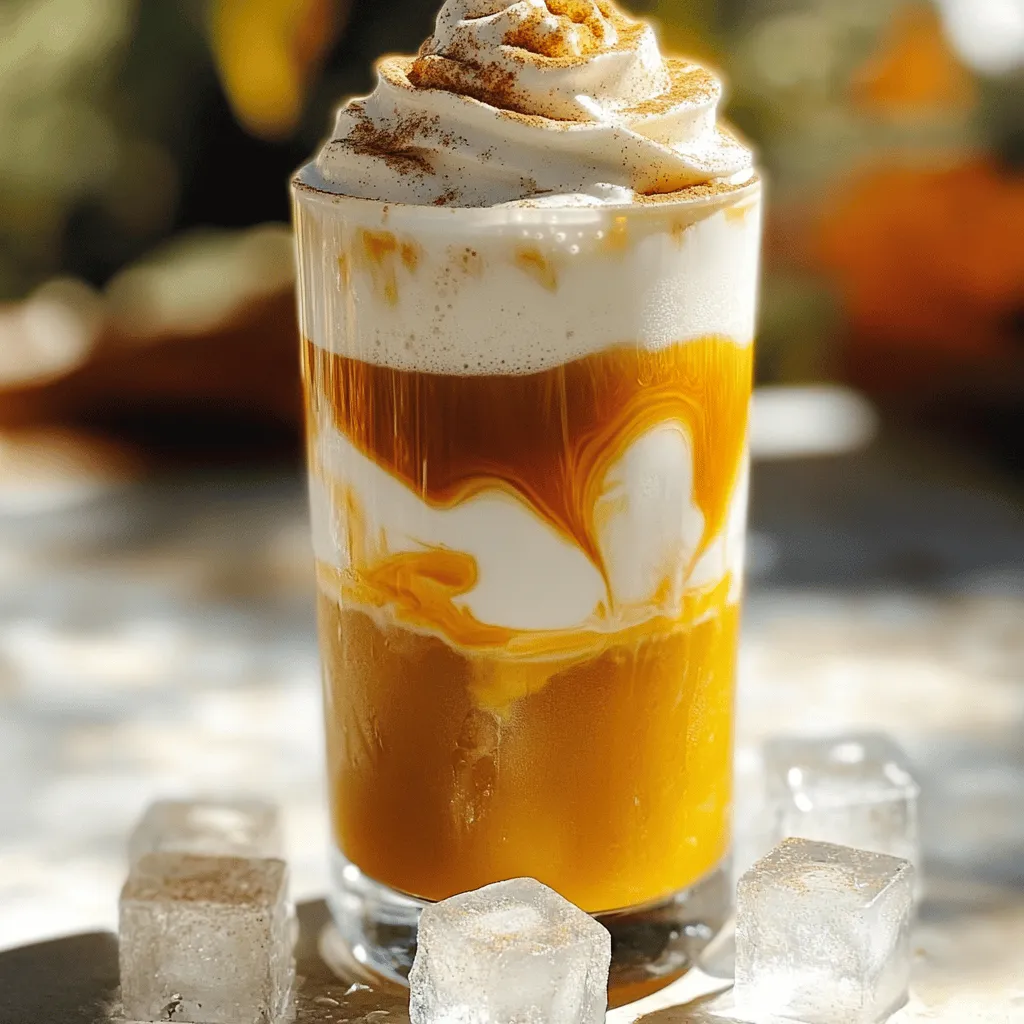
Pumpkin Cream Cold Brew Copycat Simple and Tasty Recipe
Craving a Pumpkin Cream Cold Brew but want to make it at home? You’re in the right place! I’ll show Read Full Recipe -
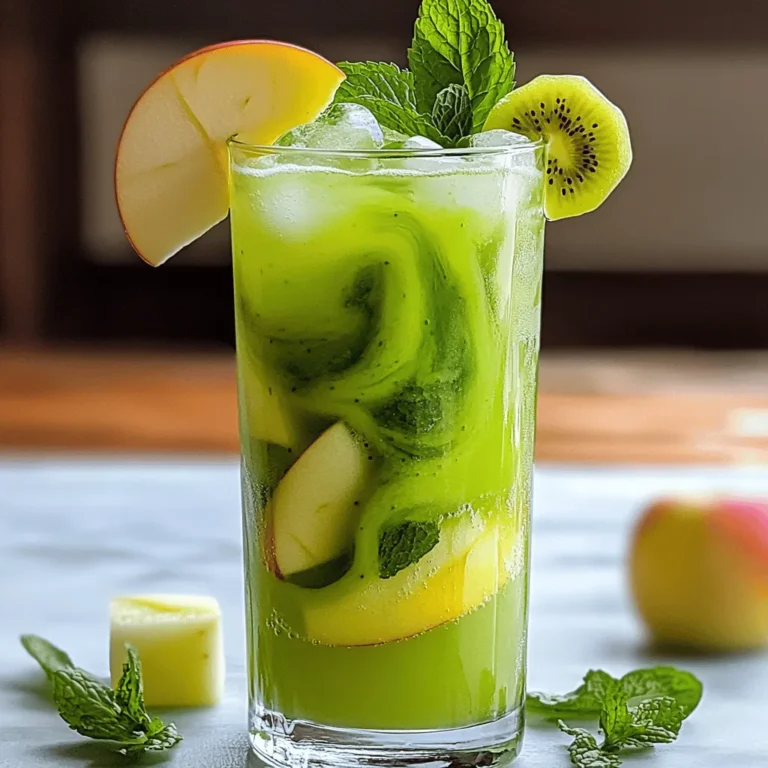
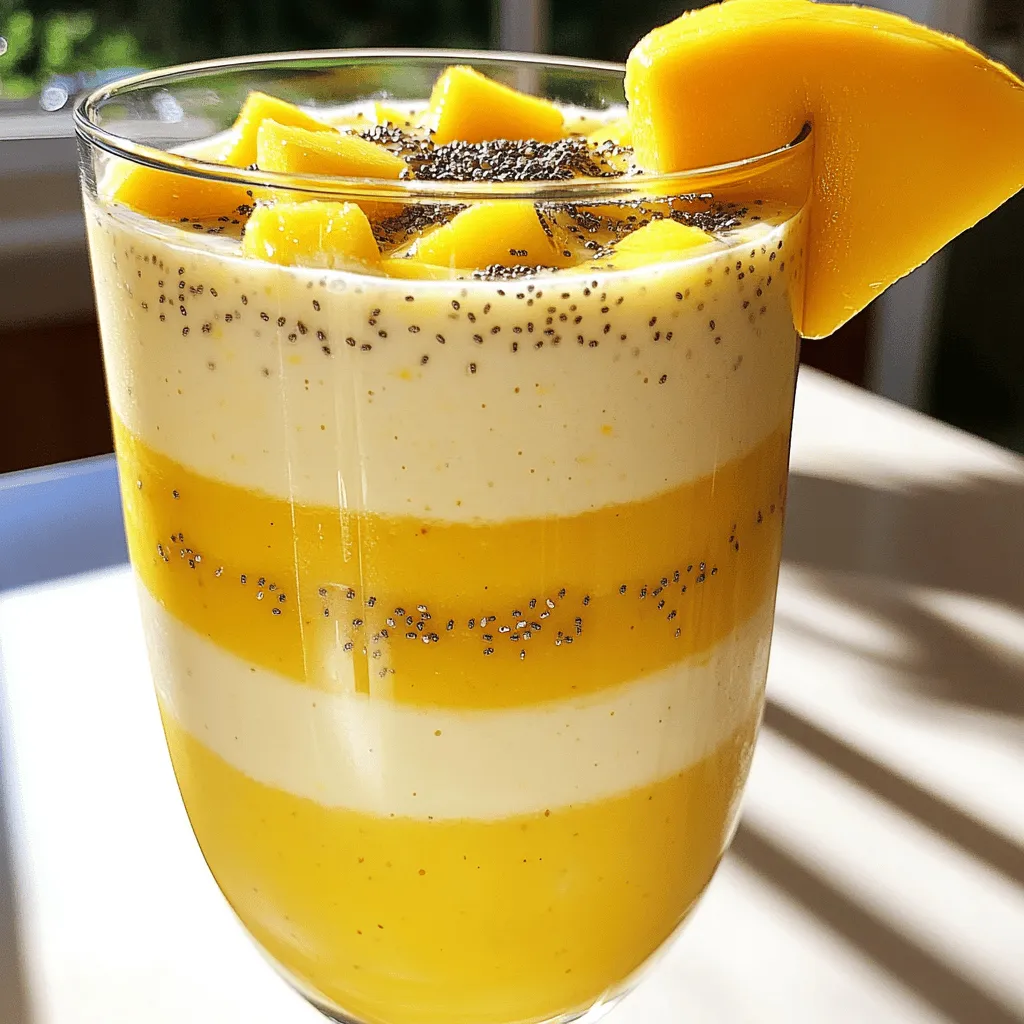
Pineapple Mango Smoothie Refreshing and Nutritious Drink
Looking for a tasty and healthy drink? A Pineapple Mango Smoothie might be just what you need! Packed with fresh Read Full Recipe -
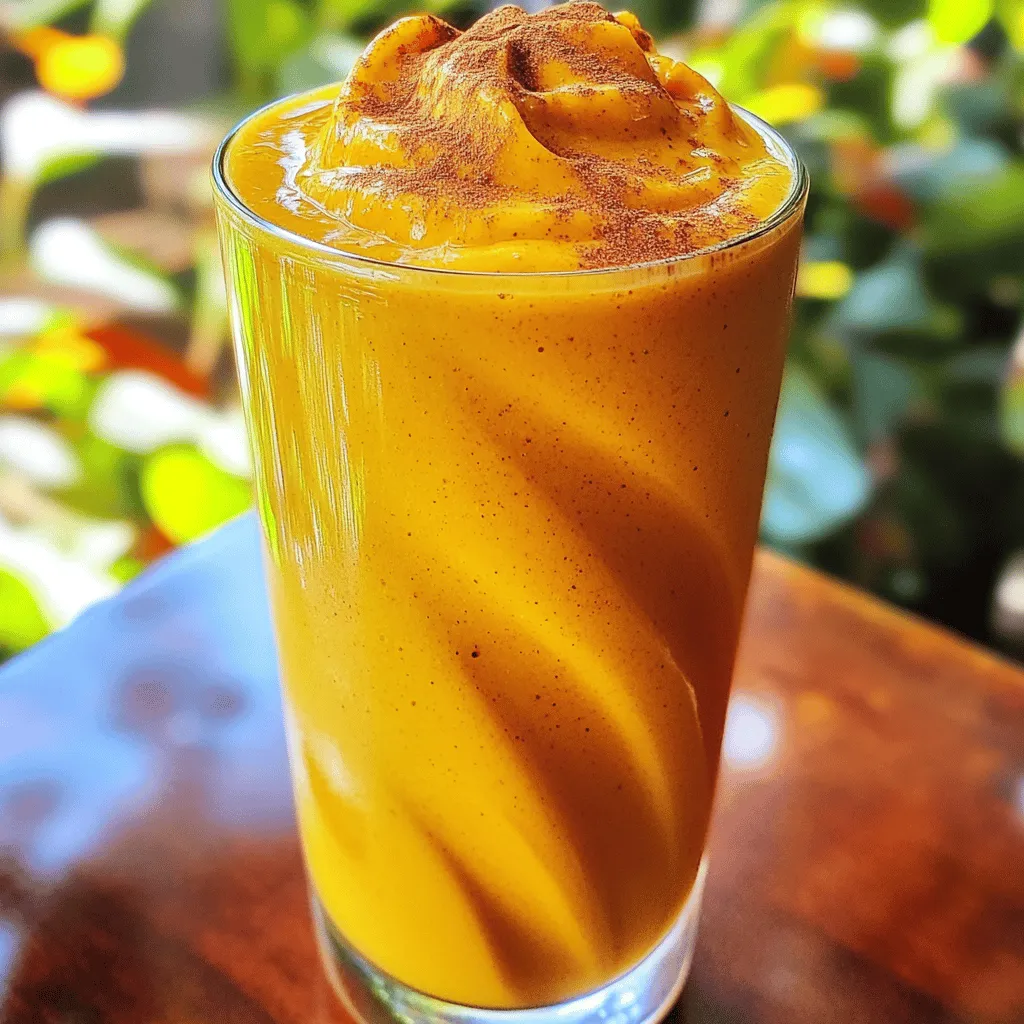
Pumpkin Spice Protein Shake Nutritional Power Boost
Are you craving a delicious way to boost your nutrition? Look no further than this Pumpkin Spice Protein Shake! Packed Read Full Recipe -
Whipped Hot Chocolate Blissfully Creamy Delight
Craving comfort on a chilly day? Whipped hot chocolate is your answer! This blissfully creamy delight combines rich cocoa with Read Full Recipe


hey,
i’m !
I’m so happy you’re here!
I love creating dishes that bring joy to the table. I hope they bring the same joy to yours. Let’s enjoy this flavorful journey together.


![- 2 cups all-purpose flour - 1/3 cup granulated sugar - 1 tablespoon baking powder - 1/2 teaspoon salt - 1/2 cup unsalted butter, chilled and cubed - 1/2 cup heavy cream - 1 large egg - 1 teaspoon vanilla extract - 1 cup fresh or frozen cherries, pitted and chopped - 1/2 cup semi-sweet chocolate chips - 1 egg wash (for brushing) When making cherry chocolate chip scones, the main ingredients are simple and easy to find. Each ingredient plays a key role in creating a light and flaky scone. The flour gives structure, while sugar adds sweetness. The baking powder helps the scones rise. The butter is crucial; it creates that tender crumb we all love. Heavy cream adds richness, while the egg binds everything together. Don’t forget the cherries and chocolate chips; they bring joy in every bite! - Powdered sugar for dusting - Whipped cream for serving Optional ingredients can enhance your scones. Dusting with powdered sugar gives a lovely finish. Whipped cream also makes for a delightful topping. You can serve these scones warm, with a dollop of whipped cream. It adds a touch of elegance to your dish. For the full recipe, check out the details above. - Preheat your oven to 400°F (200°C). - Line a baking sheet with parchment paper. - In a large bowl, mix together 2 cups of flour, 1/3 cup sugar, 1 tablespoon baking powder, and 1/2 teaspoon salt. This creates a solid base for your scones. - Add 1/2 cup of cold, cubed butter to the flour mix. - Use your fingers or a pastry cutter to blend the butter. You want it to look like coarse crumbs. - In another bowl, whisk together 1/2 cup heavy cream, 1 large egg, and 1 teaspoon vanilla extract. This mix brings moisture and flavor. - Pour the wet mix into the dry ingredients. Gently fold them together until just combined. Don’t overmix; a few lumps are okay! - Fold in 1 cup of chopped cherries and 1/2 cup of chocolate chips. This adds sweetness and texture to the dough. - Transfer the dough to a floured surface. Knead it gently a couple of times until it holds together. - Pat the dough into a circle, about 1-inch thick. Cut it into 8 wedges and place them on the baking sheet. - Brush the tops with an egg wash made from 1 egg whisked with 1 tablespoon water. This gives them a beautiful golden color. - Bake the scones for 15-20 minutes. They should turn lightly golden on top. - Let them cool for a few minutes on the baking sheet before moving them to a wire rack. Enjoy them warm for the best taste! For the full recipe, check out the Cherry Chocolate Chip Scones section. To make the best cherry chocolate chip scones, focus on texture. You want them light and fluffy. Here are a few tips to help you achieve that perfect texture: - Use cold butter: Chilled butter creates steam, helping the scones rise. - Do not overmix: Gently fold the dough until just combined. Overmixing can lead to tough scones. - Add moisture wisely: Use heavy cream to keep scones moist without making them too wet. When incorporating fruit, like cherries, consider these guidelines: - Chop cherries evenly: Cut them into small pieces for even distribution. - Use fresh or frozen: Both work well. If using frozen, do not thaw them first. - Toss in flour: Lightly coat the cherries with flour before adding them to the dough. This prevents them from sinking. Baking temperature is key to perfect scones. I recommend preheating your oven to 400°F (200°C). This high heat helps the scones rise quickly. For baking time, aim for 15-20 minutes. Your scones should be lightly golden on top. If they look pale, leave them in for a few more minutes. Cherry chocolate chip scones shine when served warm. Dust them with powdered sugar for a sweet touch. You can also add fresh cherries or a dollop of whipped cream on the side. For drinks, try pairing your scones with: - Coffee: The rich flavor balances the sweetness. - Tea: A nice herbal tea enhances the fruit notes. - Milk: Cold milk adds a creamy contrast. Explore these serving ideas to make your scones even more delightful! For the complete recipe, check out the [Full Recipe]. {{image_2}} Scones are fun to mix up! You can try different fruits like blueberries or raspberries. These fruits add a fresh twist. If you love chocolate, you can swap the semi-sweet chocolate chips for dark or white chocolate. Each type brings out new flavors. Experiment and find your favorite! If you need dairy-free options, use almond or coconut milk instead of heavy cream. For the butter, try a dairy-free spread. To make these scones gluten-free, use a gluten-free flour blend. This way, everyone can enjoy them! You can create mini scones for a fun twist. Just cut smaller shapes from the dough. They are great for parties! For a fancy touch, serve them on a tiered stand. You can also dust them with powdered sugar or add a dollop of whipped cream. This makes your scones look beautiful and inviting. For the full recipe, check out the Cherry Chocolate Chip Scones section above! To store your scones at room temperature, place them in an airtight container. This keeps them fresh for about two days. You can also wrap them in plastic wrap. Avoid storing them in a humid place. If you want to enjoy them longer, think about freezing. To freeze your scones, first, let them cool completely. Then, wrap each scone tightly in plastic wrap. Place them in a freezer bag or airtight container. They stay good for up to three months. For reheating, take the scones out of the freezer and let them thaw at room temperature. You can warm them in the oven at 350°F for about 10 minutes. This helps keep them soft and tasty. Enjoy your cherry chocolate chip scones anytime! For the full recipe, check the earlier section. How can I make my scones fluffier? To make your scones fluffier, use cold butter. Cut it into small pieces. This keeps the butter from melting before baking. Also, don't overmix the dough. Mix just until it comes together. This helps keep the scones light. Can I use frozen cherries? Will it affect the recipe? Yes, you can use frozen cherries. Just make sure to thaw and drain them first. This prevents extra moisture in your scones. They will taste just as good as fresh cherries. What's the difference between scones and biscuits? Scones are sweeter and richer than biscuits. They often contain sugar, fruits, or chocolate. Biscuits are usually flaky and buttery, with less sweetness. Both are delicious but serve different purposes. How to tell when the scones are done baking? Look for a light golden color on top. You can also tap the bottom of a scone. If it sounds hollow, it's done. A toothpick inserted should come out clean. What to do if the dough is too sticky? If your dough is too sticky, add a bit more flour. Sprinkle it in slowly while mixing. Be careful not to add too much. You want a soft but manageable dough. Solutions for dry scones If your scones turn out dry, you may have added too much flour. Make sure to measure the flour properly next time. Adding a little cream or butter on top can help fix dry scones once baked. In this post, we explored how to make delicious cherry chocolate chip scones. You learned about the main and optional ingredients, along with easy steps for preparation and baking. I shared tips for perfecting your scones and variations to try, like using other fruits or flavors. Remember, storing your scones correctly keeps them fresh. Now, you can enjoy warm, tasty scones with your favorite drink, impressing family and friends alike. Happy baking, and enjoy your delightful creation!](https://soyumrecipes.com/wp-content/uploads/2025/07/102bb05e-2e64-4415-ac77-25c2536313e9-300x300.webp)
Roasted Garlic Hummus Flavorful and Easy Dip Recipe
Are you ready to elevate your snack game? This Roasted Garlic Hummus recipe is both flavorful and easy to make! As a dip, it’s…
![To make roasted garlic hummus, you need simple ingredients. Here’s what you’ll need: - 1 cup dried chickpeas (or 2 cans of chickpeas, rinsed and drained) - 1 head of garlic - 1/4 cup tahini - 1/4 cup lemon juice (about 2 lemons) - 2 tablespoons olive oil - 1 teaspoon ground cumin - Salt to taste - Water as needed - Fresh parsley for garnish These ingredients work together to create a creamy and flavorful dip. The chickpeas give it texture, while the roasted garlic adds a rich taste. You can customize your hummus with some optional add-ins. Here are a few ideas: - 1/4 teaspoon smoked paprika - A pinch of red pepper flakes for heat - Fresh herbs like cilantro or basil - A squeeze of lime juice for a zesty kick Feel free to experiment with these add-ins to make your hummus unique. Each addition can bring a new twist to the classic recipe. Each serving of roasted garlic hummus packs a nutritious punch. Here’s a quick look at the nutrition: - Calories: 150 - Protein: 6g - Fat: 8g - Carbohydrates: 15g - Fiber: 4g This hummus is a healthy snack option. It is rich in protein and fiber, making it great for any diet. Enjoy it with veggies or pita, and feel good about what you eat! For the full recipe, check out the complete guide above. Roasting garlic is simple and rewarding. Start by preheating your oven to 400°F (200°C). Take a head of garlic and cut off the top to expose the cloves. Drizzle a teaspoon of olive oil over the cut side. Wrap the garlic in aluminum foil to keep it moist. Roast it for 30 to 35 minutes until the cloves are soft and golden. Once done, let it cool before you handle it. This step adds a sweet and rich flavor to your hummus. You can use either dried or canned chickpeas for your hummus. If you choose dried chickpeas, soak them overnight in water. This helps them cook faster. After soaking, drain and rinse them. Cook the chickpeas in boiling water for about one to two hours until they are tender. If you prefer canned chickpeas, simply rinse and drain them. Canned chickpeas are quicker and still taste great in hummus. To make smooth hummus, use a food processor. First, add the cooked chickpeas, roasted garlic, tahini, lemon juice, olive oil, ground cumin, and salt into the processor. Blend the mixture until smooth. If it feels too thick, add water one tablespoon at a time. Blend again after each addition until you reach a creamy consistency. Taste your hummus and adjust the flavors if needed. This step is key to creating a delicious dip. You can find the full recipe for roasted garlic hummus [here]. When making roasted garlic hummus, a few common mistakes can ruin your dip. First, don’t skip roasting the garlic. Raw garlic can taste sharp and bitter. Always roast it for a sweet, rich flavor. Second, avoid using canned chickpeas without rinsing. This can add a tinny taste. Always rinse and drain them well. Lastly, don’t rush the blending process. Blend until smooth for the best texture. Getting the right consistency is key for great hummus. If your hummus is too thick, just add water. Start with a tablespoon at a time. Blend well after each addition. If it’s too thin, add a bit more chickpeas or tahini. Aim for a creamy, spreadable texture. You want it smooth, but not runny. Roasted garlic hummus tastes great with many flavors. Try it with fresh veggies like carrots, cucumbers, or bell peppers. Crispy pita chips are a perfect match too. You can also serve it with olives or feta cheese for a Mediterranean twist. For an extra kick, add some red pepper flakes or a drizzle of hot sauce. Each option adds a new layer of flavor to your dip. {{image_2}} To make a spicy version, add heat! You can mix in a dash of cayenne pepper or a spoonful of harissa paste. These spices boost flavor and warmth. Blend them in with the chickpeas and garlic. Taste as you go to find your perfect spice level. Fresh herbs can brighten up your hummus. Try adding basil, cilantro, or dill. Just toss a handful into the food processor with the other ingredients. The herbs bring a fresh twist. You can also use dried herbs if fresh ones are not available. If you want a creamier texture, try adding avocado instead of tahini. This keeps the dip smooth and rich without dairy. Another option is to use sunflower seed butter in place of tahini. This change keeps it nut-free and still tasty. Remember, these swaps keep the hummus flavor exciting! For the full recipe, check out the complete details on Roasted Garlic Hummus. To keep your roasted garlic hummus fresh, store it in an airtight container. Make sure to cover the top with a thin layer of olive oil. This helps seal in moisture and flavor. Always use a clean spoon when scooping out hummus. This prevents bacteria from spoiling the dip. Keep your hummus in the fridge. It stays fresh longer when kept cold. Roasted garlic hummus can last about 5 to 7 days in the fridge. If you notice any changes in color or smell, it’s best to toss it. Always check for signs of spoilage. This ensures you enjoy the best flavor and quality. If you made a large batch, consider freezing some for later use. To freeze your roasted garlic hummus, use a freezer-safe container. Leave some space at the top, as hummus expands when frozen. You can also freeze it in ice cube trays for easy portioning. Just pop out a cube when you’re ready to enjoy. When thawing, move it to the fridge overnight. Stir well before serving to restore its creamy texture. For the full recipe, check out the earlier sections! Roasted garlic hummus is a creamy dip made from chickpeas, roasted garlic, and tahini. It has a rich, nutty flavor. The roasted garlic adds a sweet, mellow taste, making this dip special. This dish is perfect for snacks or parties. You can enjoy it with pita bread, veggies, or crackers. Yes, you can find pre-made roasted garlic hummus in many grocery stores. Look in the deli or refrigerated section. It is a quick option if you are short on time. Just check the ingredients for quality. However, making it at home gives you fresh flavors and more control. You can easily customize your hummus. Here are some ideas: - Add herbs like basil or cilantro for freshness. - Mix in roasted red peppers for sweetness. - Spice it up with chili flakes for heat. - Incorporate lemon zest for a bright flavor. Experiment with different ingredients to find your favorite blend. Roasted garlic provides many health benefits. It is rich in vitamins and minerals. Garlic may boost your immune system and lower blood pressure. It also has antioxidants that can help reduce inflammation. This makes it a great addition to your diet. Yes, hummus is vegan. It is made with plant-based ingredients like chickpeas, garlic, and tahini. This makes it a perfect snack for those who do not eat animal products. Enjoy it guilt-free and share it with your friends. Check the label if you buy it, to ensure it meets your dietary needs. For the full recipe, check out Roasted Garlic Hummus. Roasted garlic hummus is simple and delicious. We explored essential ingredients, including fun add-ins for taste. I shared step-by-step instructions, tips to avoid mistakes, and blends for the perfect consistency. Variations like spicy and herb-infused add flair to your dish. Finally, proper storage helps keep your hummus fresh longer. Now, you have the tools to make great hummus at home. Enjoy creating and tasting your own unique flavors!](https://soyumrecipes.com/wp-content/uploads/2025/06/3346dd95-3b03-4cba-9e60-d7d45a55d249.webp)
