


Latest & Greatest

Savory Vegetable Frittata Flavorful and Easy Recipe
Are you ready to whip up a dish that’s both tasty and simple? A savory vegetable frittata is the answer!
Read more…
Satisfying One-Pan Garlic Chicken and Asparagus Dish
Ready for an easy dinner that packs flavor? This One-Pan Garlic Chicken and Asparagus dish is simple and satisfying. With
Read more…
Cheesy Broccoli Rice Casserole Comforting Family Dish
If you’re looking for a dish that brings the whole family together, you’ve found it! This Cheesy Broccoli Rice Casserole
Read more…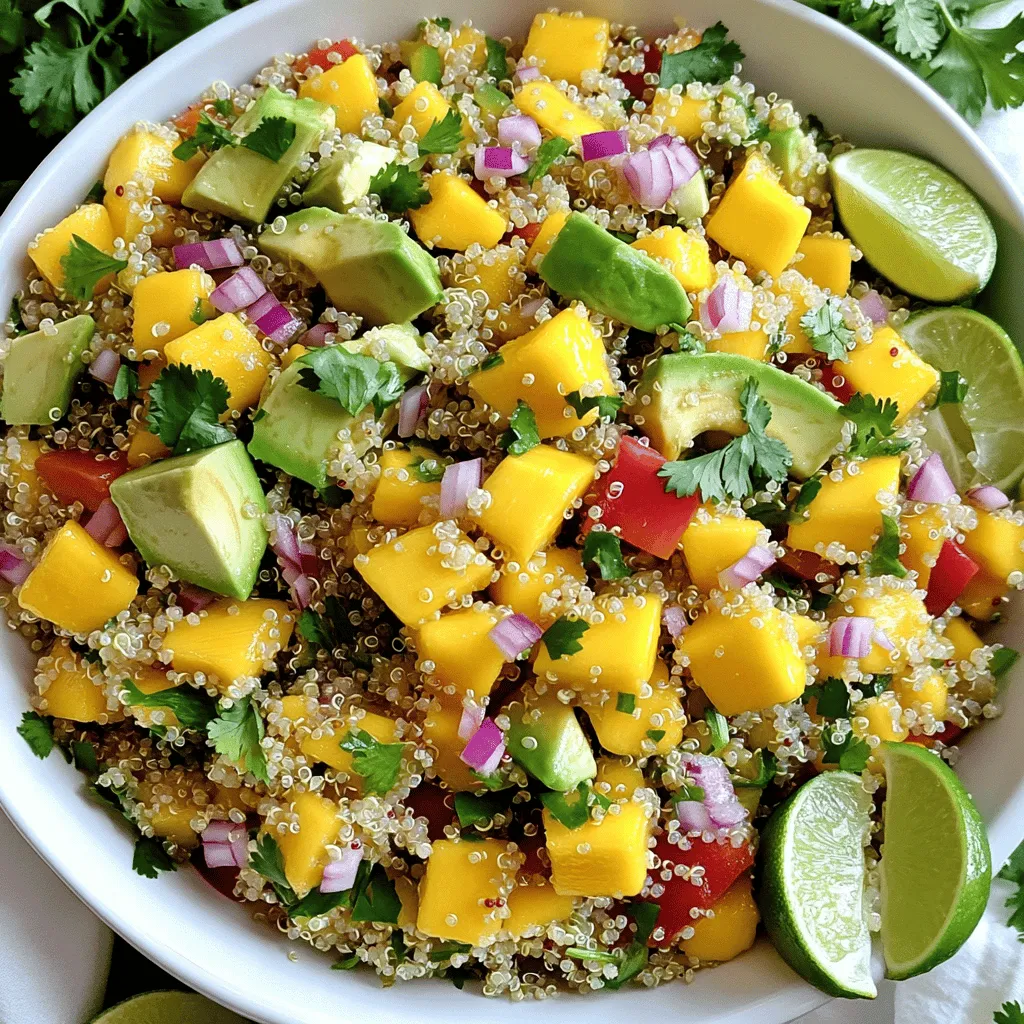
Mango Avocado Quinoa Salad Fresh and Flavorful Mix
Dive into the vibrant world of flavors with my Mango Avocado Quinoa Salad! This fresh mix combines sweet mango, creamy
Read more…
Lemon Basil Chicken Skewers Flavorful and Easy Meal
Are you ready for a dinner that’s both easy and packed with flavor? Lemon Basil Chicken Skewers bring together simple
Read more…
Easy Chicken Enchiladas Simple and Tasty Recipe
If you’re craving a quick and tasty meal, look no further! My Easy Chicken Enchiladas recipe is simple to follow
Read more…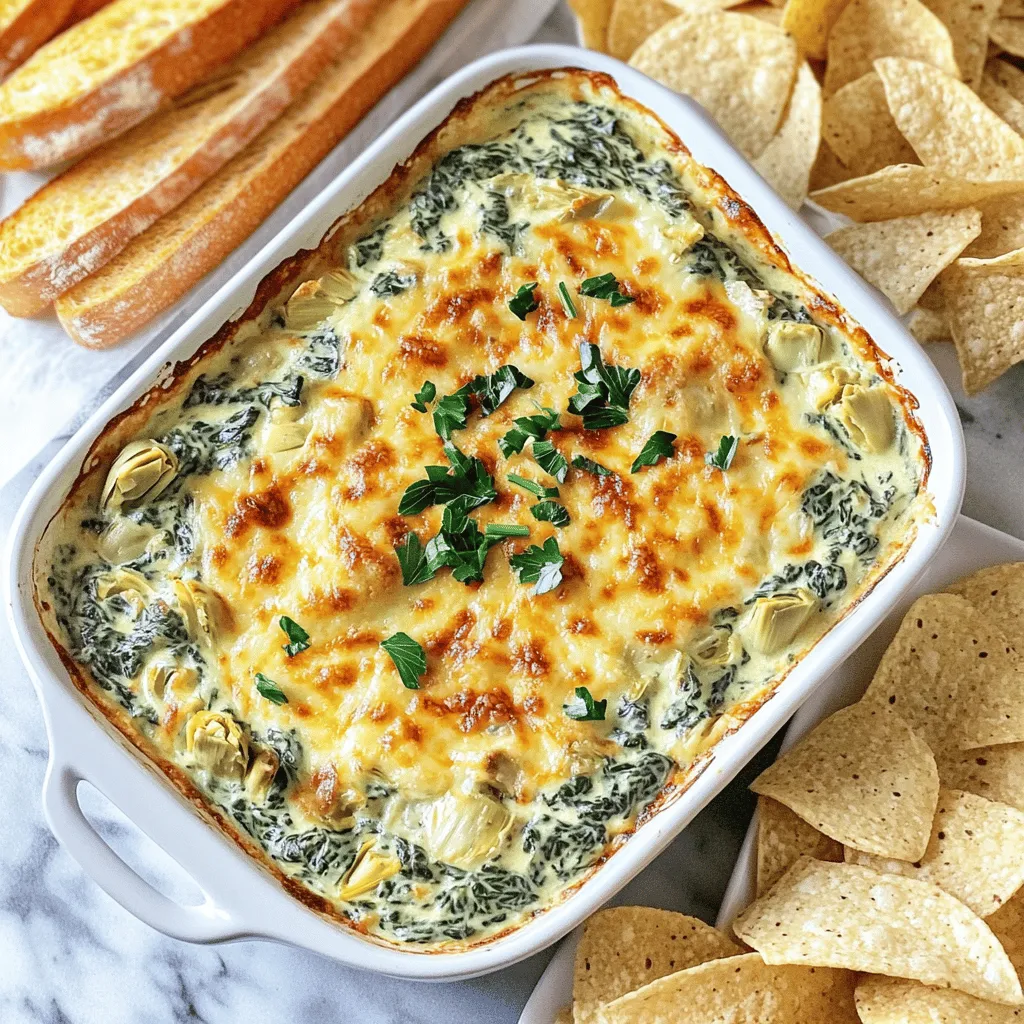
Creamy Spinach Artichoke Dip Savory and Satisfying
Looking for a dip that’s both creamy and packed with flavor? You’ve come to the right place! My Creamy Spinach
Read more…
Savory Breakfast Muffins Tasty and Easy Recipe
Looking for a delicious start to your day? You’re in the right place! Savory breakfast muffins are quick to make
Read more…browse recipes


Garlic Butter Lobster Tails Tasty Flavorful Delight
If you love seafood, you’ve got to try Garlic Butter Lobster Tails. They are a tasty treat that can impress anyone. In this article,…
My Latest Desserts

No-Bake Mocha Cheesecake Bars Easy and Delicious Treat
Craving a sweet treat that’s easy and packed with flavor? You’ll love my No-Bake Mocha Cheesecake Bars! These simple bars Read Full Recipe-
Fluffy Apple Pie Cinnamon Rolls Easy and Delicious Treat
Are you ready to elevate your baking game? Fluffy Apple Pie Cinnamon Rolls are a delightful way to combine the Read Full Recipe -
Caramel Pecan Chocolate Chip Blondies Delightful Treat
Are you ready to indulge in a rich, tasty treat? I present to you the ultimate dessert: Caramel Pecan Chocolate Read Full Recipe -
Irresistible Pumpkin Pecan Pie Bars Easy and Delicious
Looking for a sweet treat that combines two fall favorites? You’re in the right place! These Pumpkin Pecan Pie Bars Read Full Recipe -
No-Bake Chocolate Hazelnut Cheesecake Cups Delight
Love dessert but don’t want to bake? You’re in the right place! These No-Bake Chocolate Hazelnut Cheesecake Cups are easy, Read Full Recipe -
Apple Cinnamon Coffee Cake Irresistible and Tasty Recipe
Are you ready for a delicious treat that combines the warm flavors of apple and cinnamon? This Apple Cinnamon Coffee Read Full Recipe


My Latest Drinks
-
Peanut Butter Chocolate Protein Shake Tasty Delight
Satisfy your cravings with a Peanut Butter Chocolate Protein Shake! This tasty delight is not only delicious but also healthy. Read Full Recipe -
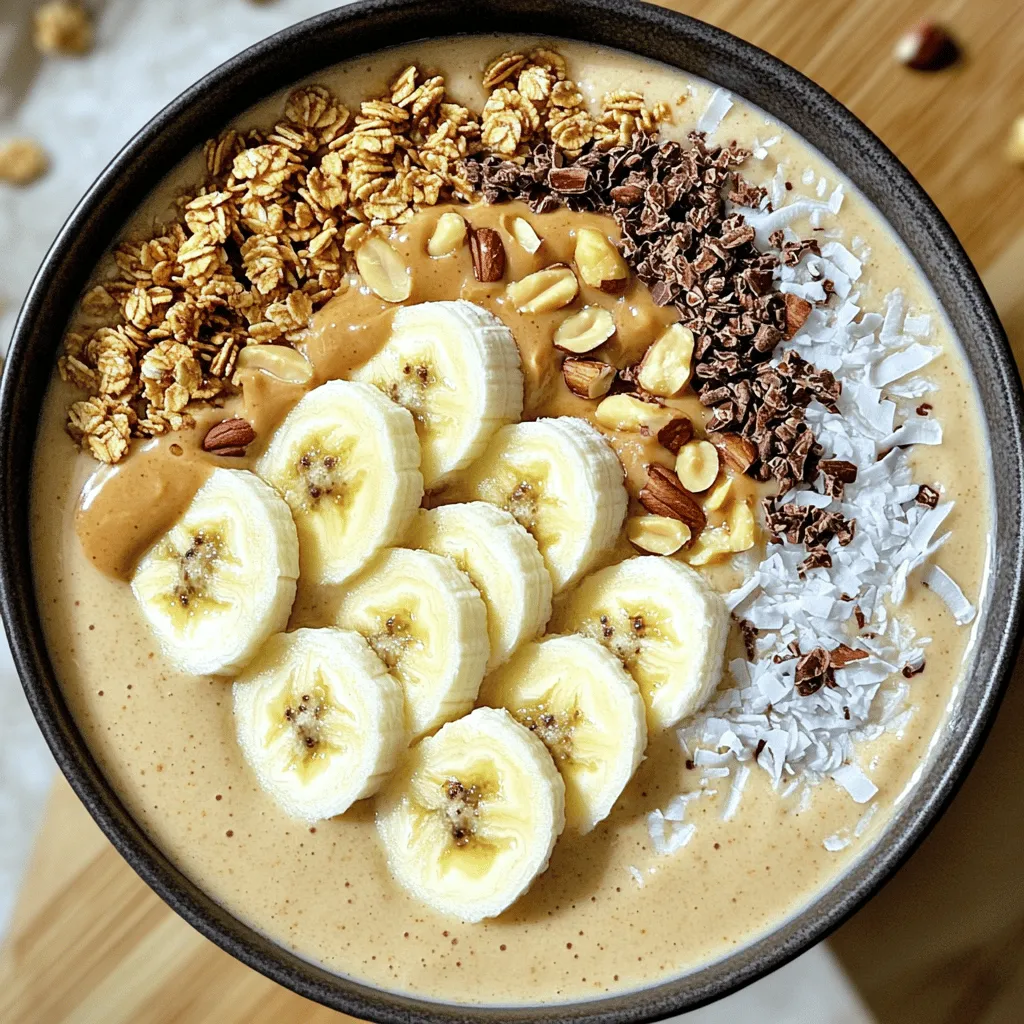
Peanut Butter Banana Smoothie Bowl Simple and Tasty
Looking for a quick, tasty treat? The Peanut Butter Banana Smoothie Bowl is your answer! Packed with ripe bananas and Read Full Recipe -
Pumpkin Cream Cold Brew Copycat Simple and Tasty Recipe
Craving a Pumpkin Cream Cold Brew but want to make it at home? You’re in the right place! I’ll show Read Full Recipe -
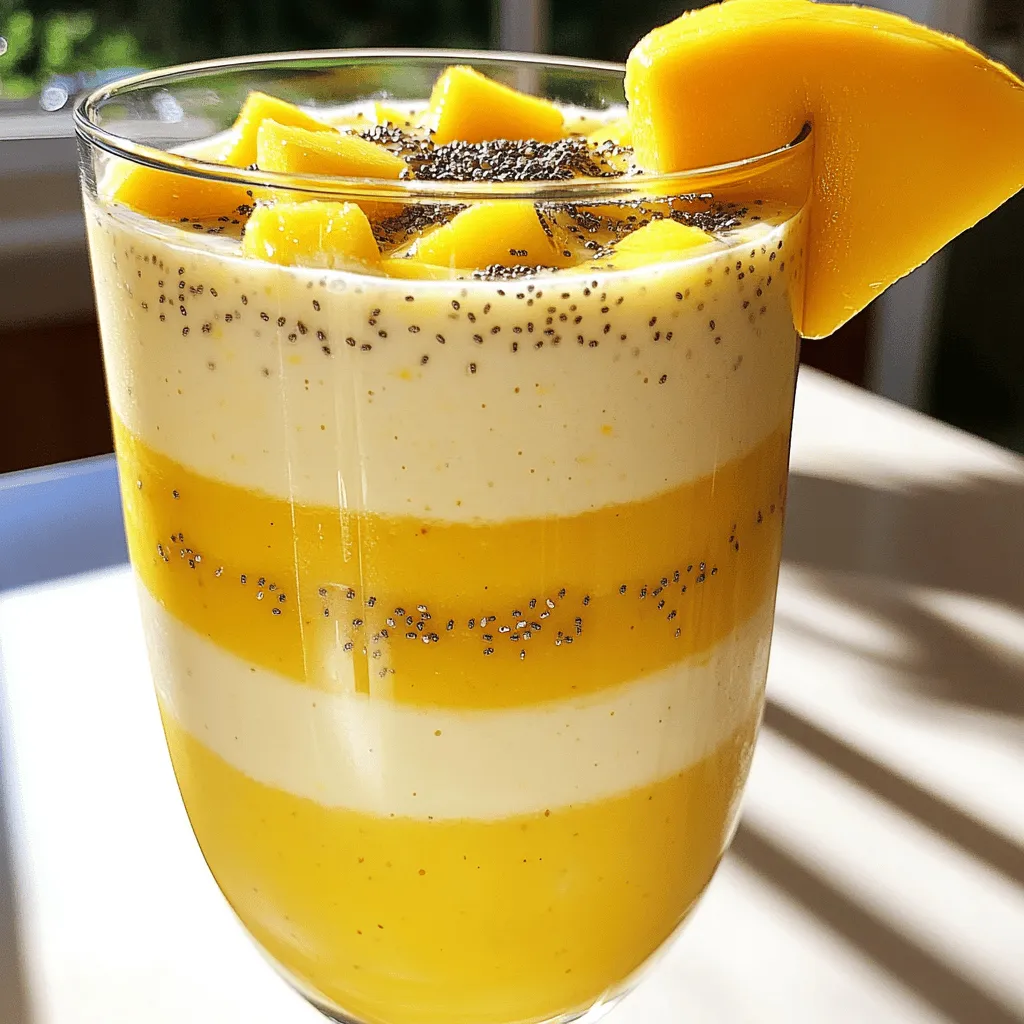
Pineapple Mango Smoothie Refreshing and Nutritious Drink
Looking for a tasty and healthy drink? A Pineapple Mango Smoothie might be just what you need! Packed with fresh Read Full Recipe -
Pumpkin Spice Protein Shake Nutritional Power Boost
Are you craving a delicious way to boost your nutrition? Look no further than this Pumpkin Spice Protein Shake! Packed Read Full Recipe -
Whipped Hot Chocolate Blissfully Creamy Delight
Craving comfort on a chilly day? Whipped hot chocolate is your answer! This blissfully creamy delight combines rich cocoa with Read Full Recipe


hey,
i’m !
I’m so happy you’re here!
I love creating dishes that bring joy to the table. I hope they bring the same joy to yours. Let’s enjoy this flavorful journey together.

![- 1 cup red lentils, rinsed - 1 can (400ml) coconut milk - 1 tablespoon coconut oil - 1 medium onion, diced - 2 cloves garlic, minced - 1-inch piece of ginger, grated - 1 tablespoon red curry paste - 4 cups vegetable broth - 1 medium carrot, diced - 1 bell pepper, diced (any color) - 1 cup spinach, roughly chopped - 1 tablespoon lime juice - Salt and pepper to taste - Fresh cilantro, for garnish Coconut Curry Lentil Soup is not just tasty; it is also filled with good stuff. The red lentils are high in protein and fiber. They help keep you full and satisfied. Coconut milk adds creaminess and a touch of sweetness. It makes the soup rich without being heavy. Using fresh veggies like carrots and bell peppers gives the soup crunch and color. The onion, garlic, and ginger build a flavorful base. Each ingredient plays a role in making this soup vibrant and healthy. For tools, grab a large pot, a cutting board, and a knife. Measuring cups and spoons are needed for accuracy. A stirring spoon helps mix all the goodness together. This soup is easy to make. You will find that it comes together quickly, perfect for a busy day. You can find the full recipe to make this delicious soup with ease. 1. Heat coconut oil and sauté onion. Start by taking a large pot. Set it on medium heat. Add one tablespoon of coconut oil. Let it melt. Then, add one diced medium onion. Sauté for about five minutes until it looks clear and soft. 2. Add garlic, ginger, and red curry paste. Next, chop two cloves of garlic and grate one inch of ginger. Toss them into the pot with the onion. Stir for about one minute. Then, add one tablespoon of red curry paste. Mix it well for two minutes. This step builds a great flavor base. 1. Pour in vegetable broth and coconut milk. Now it's time to add liquid. Pour in four cups of vegetable broth. Then, add one can of coconut milk. Stir it well to blend all the flavors. 2. Add lentils, carrot, and bell pepper. Rinse one cup of red lentils and add them to the pot. Next, chop one medium carrot and one bell pepper (any color will do). Toss them in and stir. Bring everything to a boil. After it boils, turn down the heat and let it simmer for 25 to 30 minutes. The lentils should be soft when done. 1. Stir in spinach and lime juice. Once the lentils are tender, take one cup of roughly chopped spinach. Add it to the pot along with one tablespoon of lime juice. Cook for another two to three minutes until the spinach wilts. 2. Season with salt and pepper. Finally, taste the soup and add salt and pepper as needed. This step ensures your Coconut Curry Lentil Soup is just right. For the complete recipe, refer to the [Full Recipe]. Enjoy your cooking! To boost the flavor of your coconut curry lentil soup, consider these tips: - Use homemade vegetable broth for better taste. Store-bought broth can lack depth. Homemade broth adds rich flavors. You can simmer vegetables like carrots, celery, and onions for hours to create a base that shines. - Adjust curry paste to preference for spice. Not all curry pastes are the same. Some are mild, while others pack heat. Start with a small amount, taste, and add more if needed. This way, you control the spice level. When making this soup, be aware of these common pitfalls: - Overcooking lentils for a mushy texture. Lentils cook quickly. If you cook them too long, they become mushy. Aim for tender but firm lentils. This texture adds to the soup's overall appeal. - Not rinsing lentils can cause a gritty soup. Rinsing your lentils removes dirt and dust. It also prevents grit from ending up in your soup. Take a moment to rinse them well before adding them to your pot. For the complete recipe, check out the [Full Recipe]. {{image_2}} You can switch things up in this soup. If you want a new texture, use chickpeas instead of lentils. They add a nice bite. For the coconut milk, you can choose between full-fat or light. Full-fat gives a creamier taste, while light keeps it lighter. This soup is vegan-friendly. It uses no animal products, so everyone can enjoy it. It’s also gluten-free. All the ingredients are free from gluten. This makes it a great choice for those with gluten sensitivities. How long will it keep in the fridge? Coconut Curry Lentil Soup can last for about 5 days in the fridge. Make sure to let it cool first before storing. Best practices for cooling and storing: Place the soup in an airtight container. This way, it keeps fresh and prevents spills. Label the container with the date. This helps you track freshness. How to properly freeze Coconut Curry Lentil Soup: To freeze, let the soup cool completely. Then, pour it into freezer-safe containers or bags. Leave some space at the top. Soup expands when frozen. Reheating suggestions for optimal taste: When you are ready to eat, thaw it overnight in the fridge. Heat it on the stove over low heat. Stir often to avoid sticking. Add a splash of vegetable broth if it seems thick. Enjoy the warm, flavorful soup! To add spice, you can use chili peppers. Try fresh jalapeños or serranos for heat. You can also add crushed red pepper flakes or cayenne pepper. Start with a small amount and taste. Adjust the spice level to suit your taste buds. Another option is to use a spicier red curry paste. Remember, you can always add more heat, but it's hard to remove it. Yes, you can make this soup in a slow cooker. Start by sautéing the onion, garlic, and ginger in a pan. Then, add these to your slow cooker. Pour in the vegetable broth and coconut milk next. Add all other ingredients except for spinach and lime juice. Cook on low for 6-8 hours or high for 3-4 hours. Stir in the spinach and lime juice just before serving. This soup pairs well with rice or quinoa. You can also serve it with crusty bread for dipping. A fresh salad with cucumber or avocado adds a nice crunch. For a complete meal, try serving it with grilled chicken or tofu. The soup's rich flavors balance well with light sides. This blog post showed you how to make Coconut Curry Lentil Soup, step by step. You learned about the key ingredients and the tools needed. The cooking steps are simple, ensuring you get a tasty meal quickly. Remember the tips to avoid common mistakes and enhance flavor. Feel free to try variations or dietary swaps that fit your needs. Proper storage will keep your soup fresh and tasty. Enjoy this nourishing dish and share it with others!](https://soyumrecipes.com/wp-content/uploads/2025/05/84741f8b-cbfa-4577-87ba-9ff7f518f45d-300x300.webp)


Hard Candy Without Corn Syrup Easy and Tasty Recipe
Are you tired of hard candies packed with corn syrup? You’re not alone! In my latest post, I’ll share a simple and tasty recipe…