

Latest & Greatest
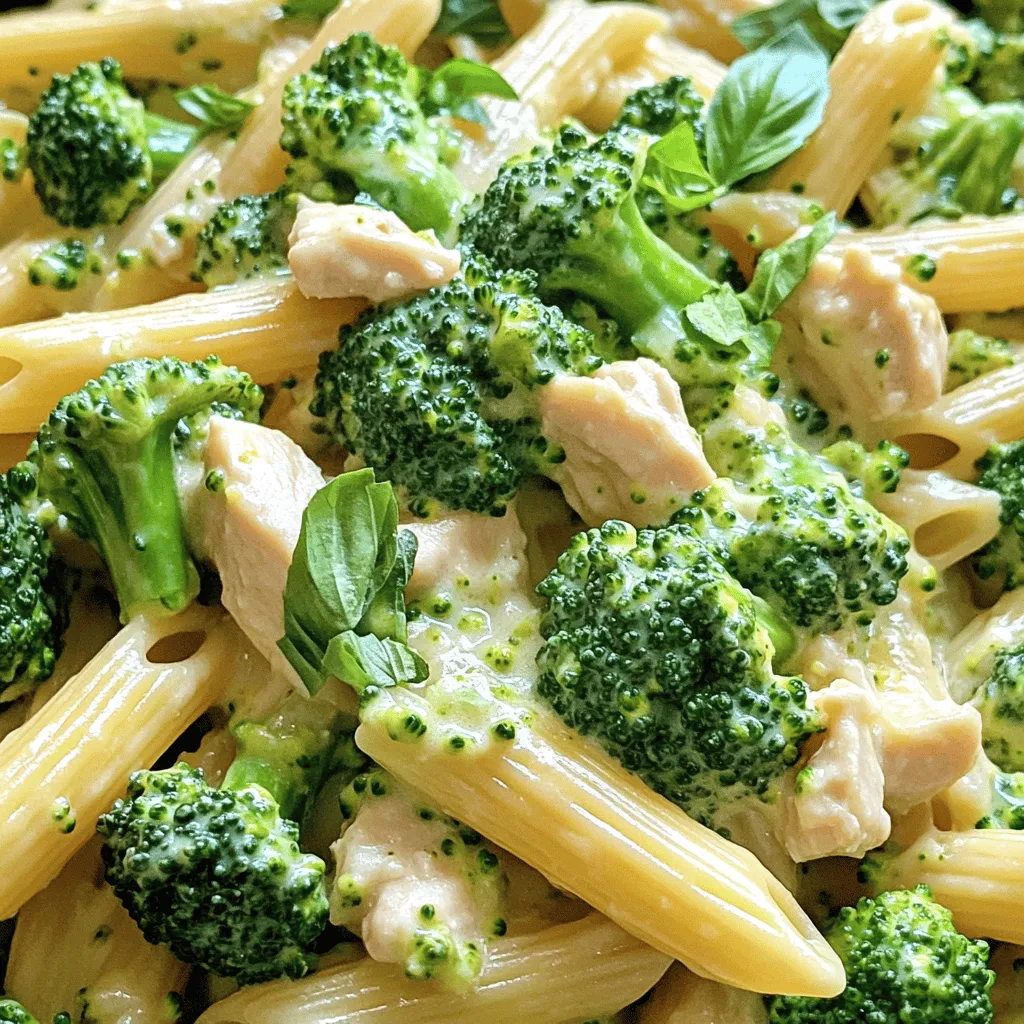
Creamy Broccoli and Chicken Penne Delightful Dish
If you crave a meal that’s both creamy and comforting, you’ve landed in the right spot! I’m excited to share
Read more…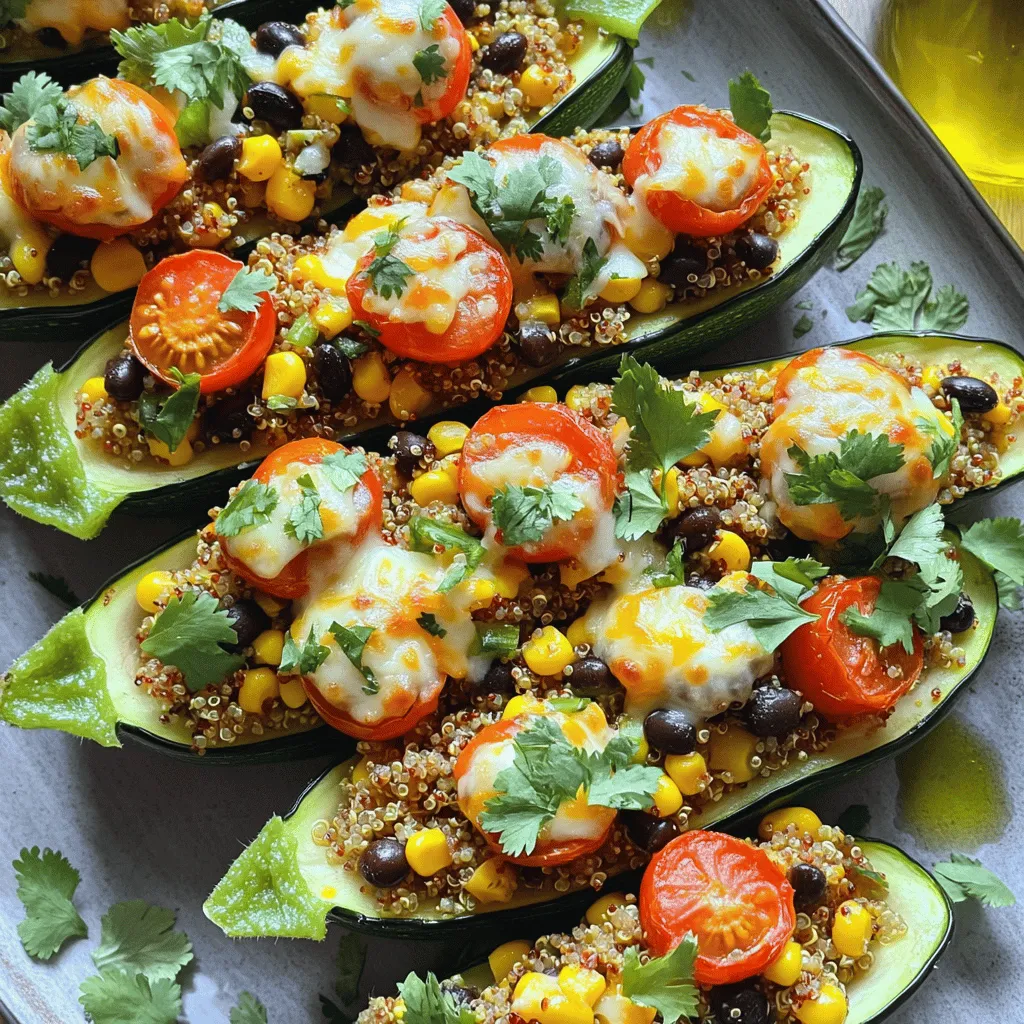
Savory Stuffed Zucchini Boats Flavorful and Easy Meal
Looking for a quick, tasty meal that will impress your family? Savory stuffed zucchini boats are your answer! These delicious
Read more…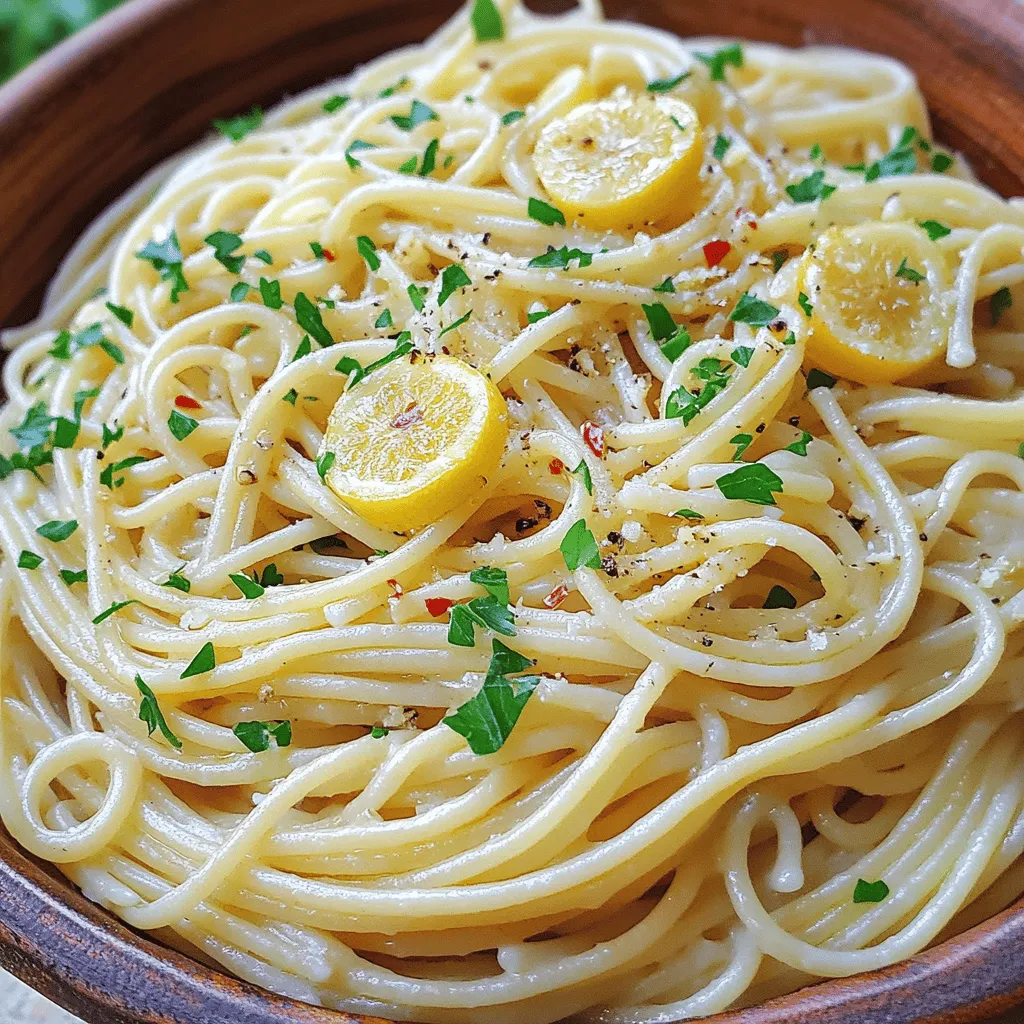
Spaghetti Aglio e Olio Simple Flavorful Recipe
Are you ready to whip up a dish that’s both simple and bursting with flavor? Spaghetti Aglio e Olio is
Read more…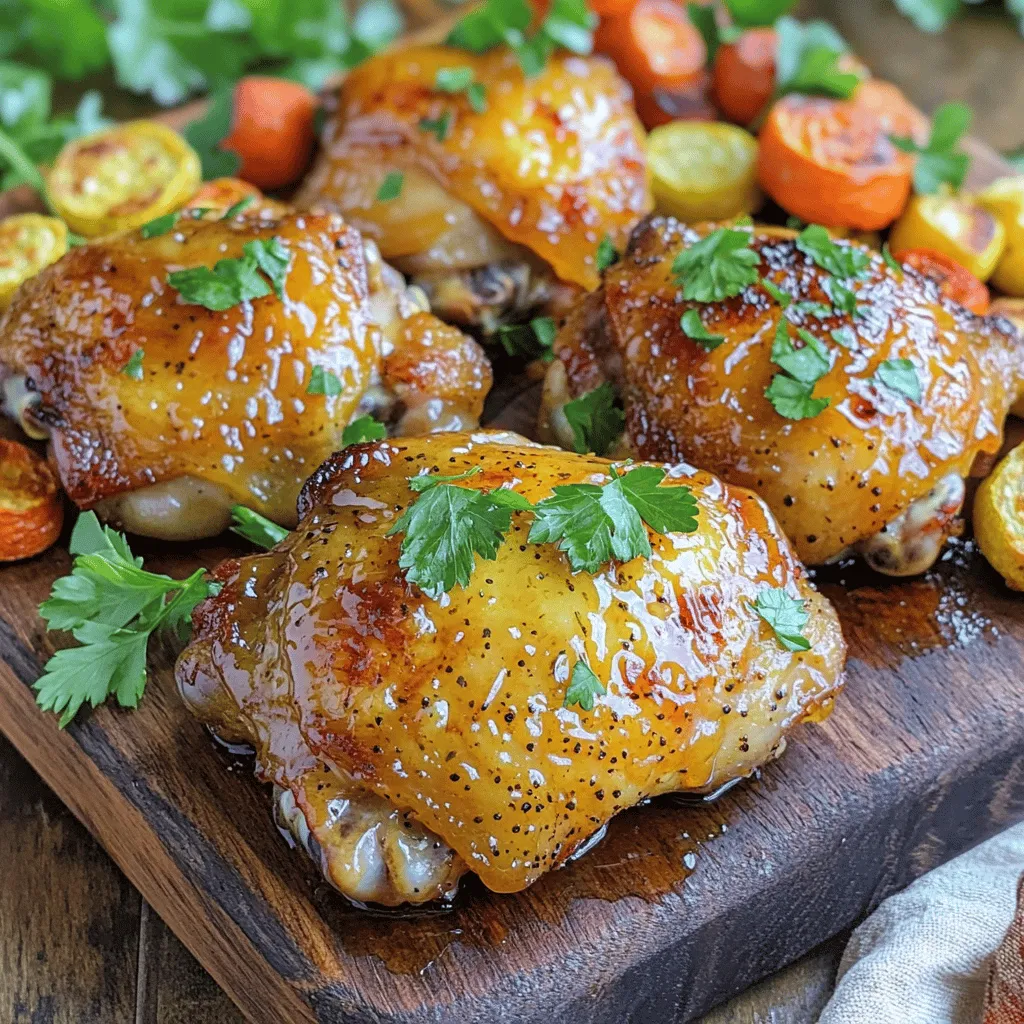
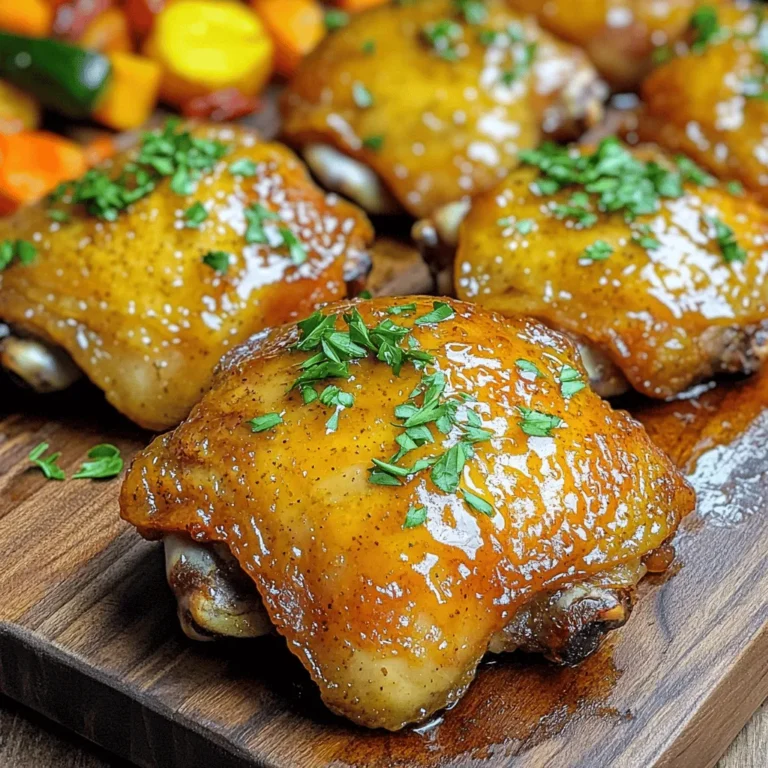
Honey Mustard Chicken Thighs Savory and Easy Recipe
Are you ready for a delicious meal that’s both savory and easy to make? Honey Mustard Chicken Thighs are your
Read more…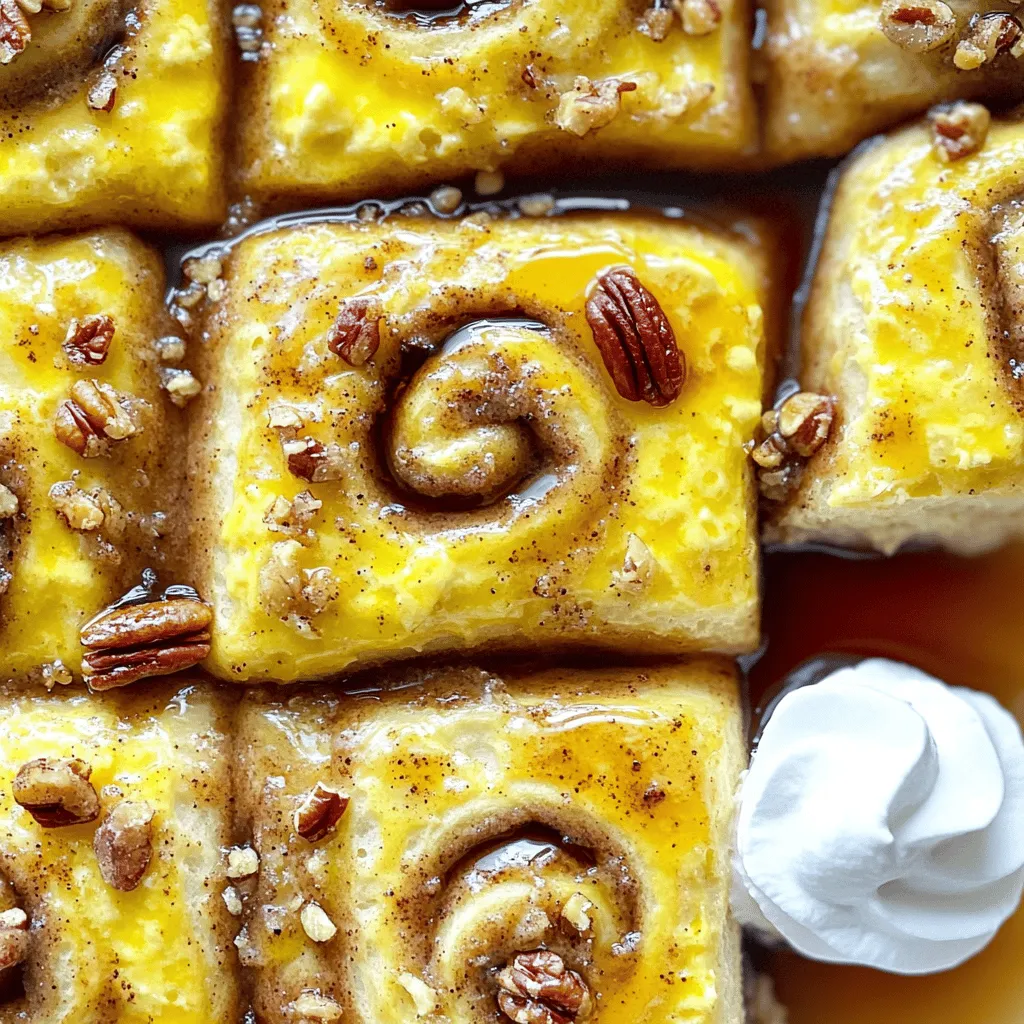
Cinnamon Roll Casserole Simple and Tasty Delight
Cinnamon Roll Casserole is one of the easiest and yummiest breakfast treats. It combines warm, gooey cinnamon rolls with a
Read more…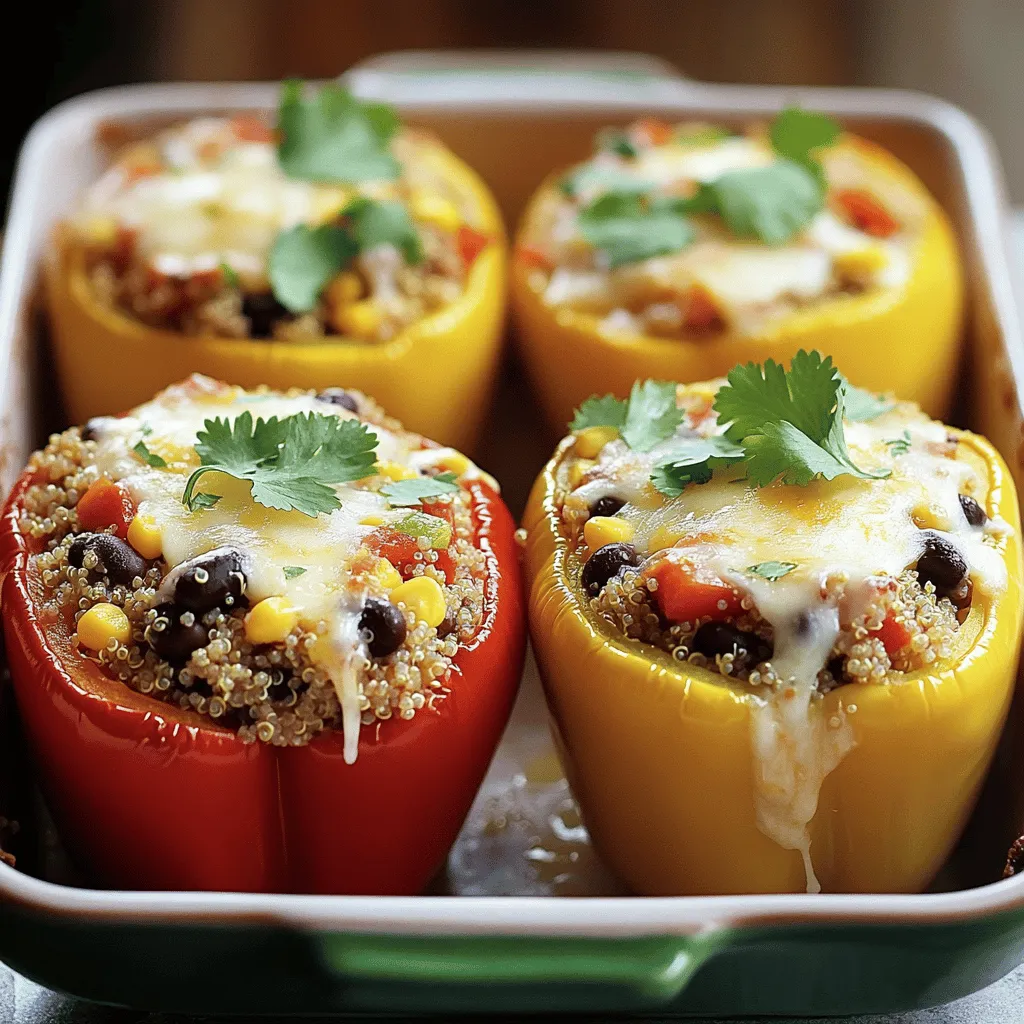
Stuffed Bell Peppers with Quinoa Flavorful Filling
Are you on the hunt for a healthy, delicious dish that packs a punch? Look no further than stuffed bell
Read more…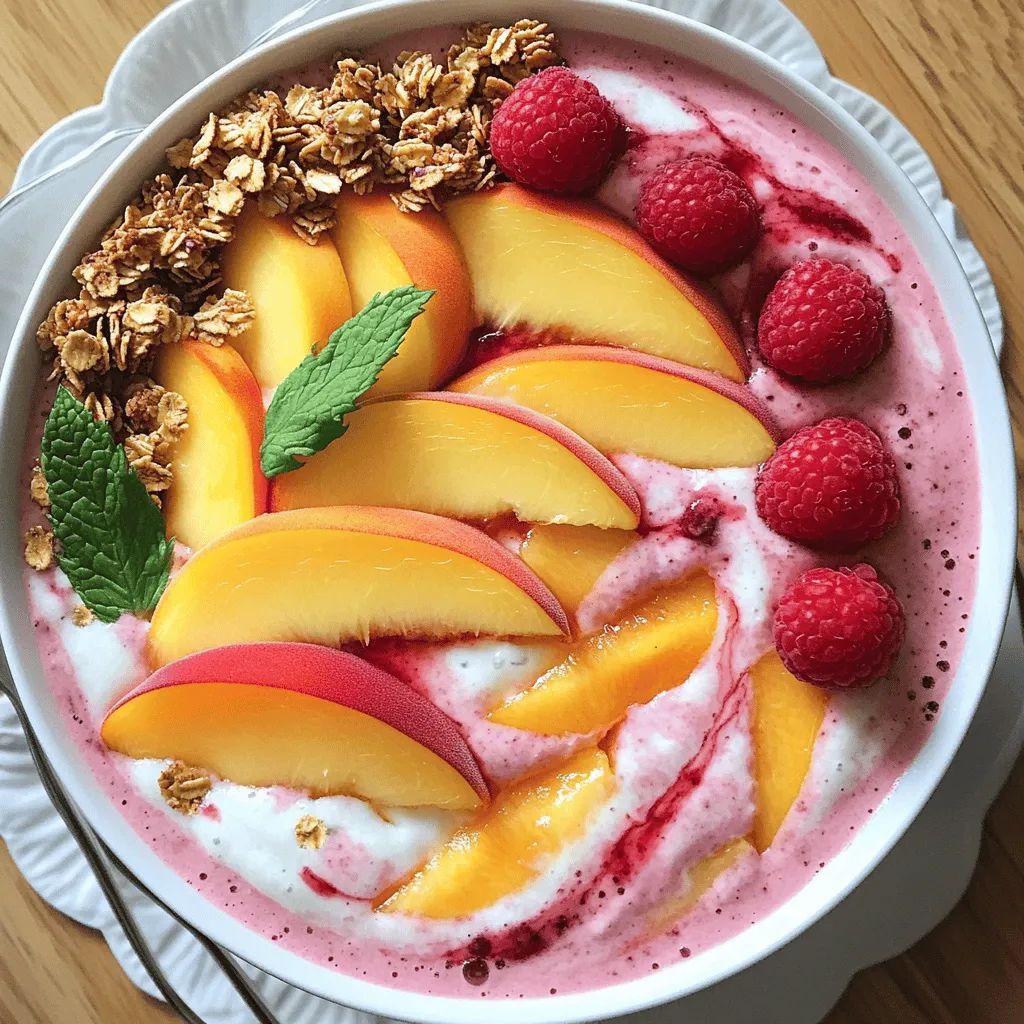
Peach Melba Smoothie Bowl Easy and Nourishing Delight
Are you ready to dive into a tasty and healthy treat? The Peach Melba Smoothie Bowl is not just a
Read more…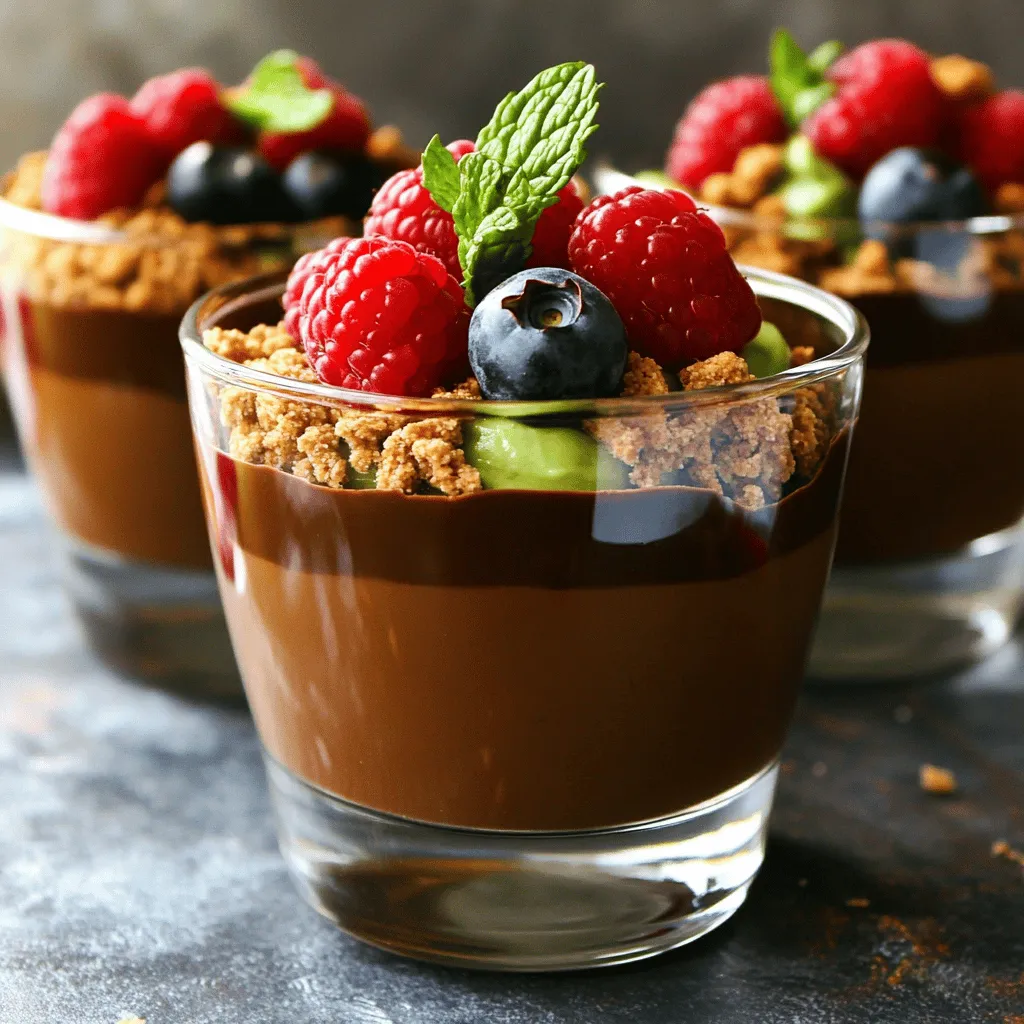
Chocolate Avocado Mousse Delightfully Creamy Treat
Are you ready to enjoy a dessert that’s both rich and healthy? My Chocolate Avocado Mousse will blow your mind!
Read more…browse recipes


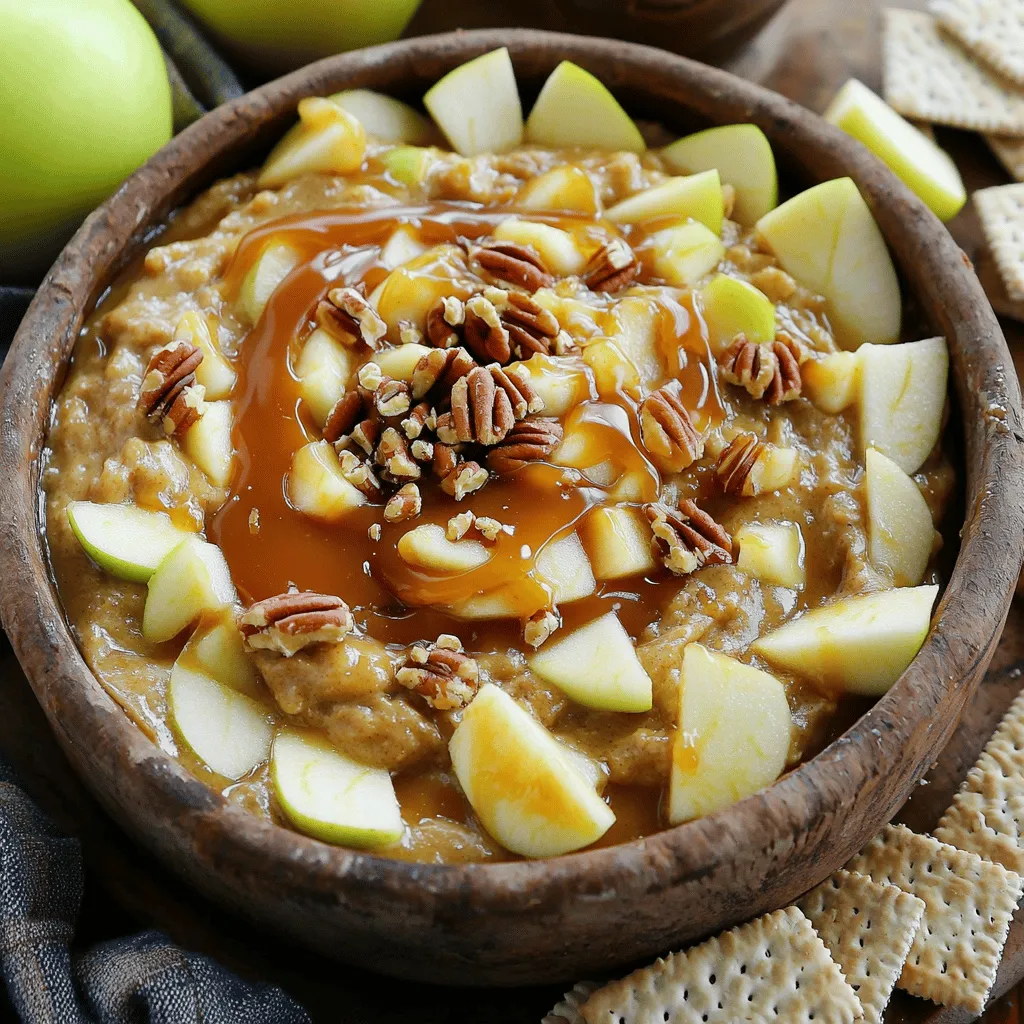
Caramel Apple Pie Dip Delightful and Creamy Treat
Looking for a sweet treat that’s both easy and delicious? You’re in the right place! My Caramel Apple Pie Dip combines creamy textures with…
My Latest Desserts

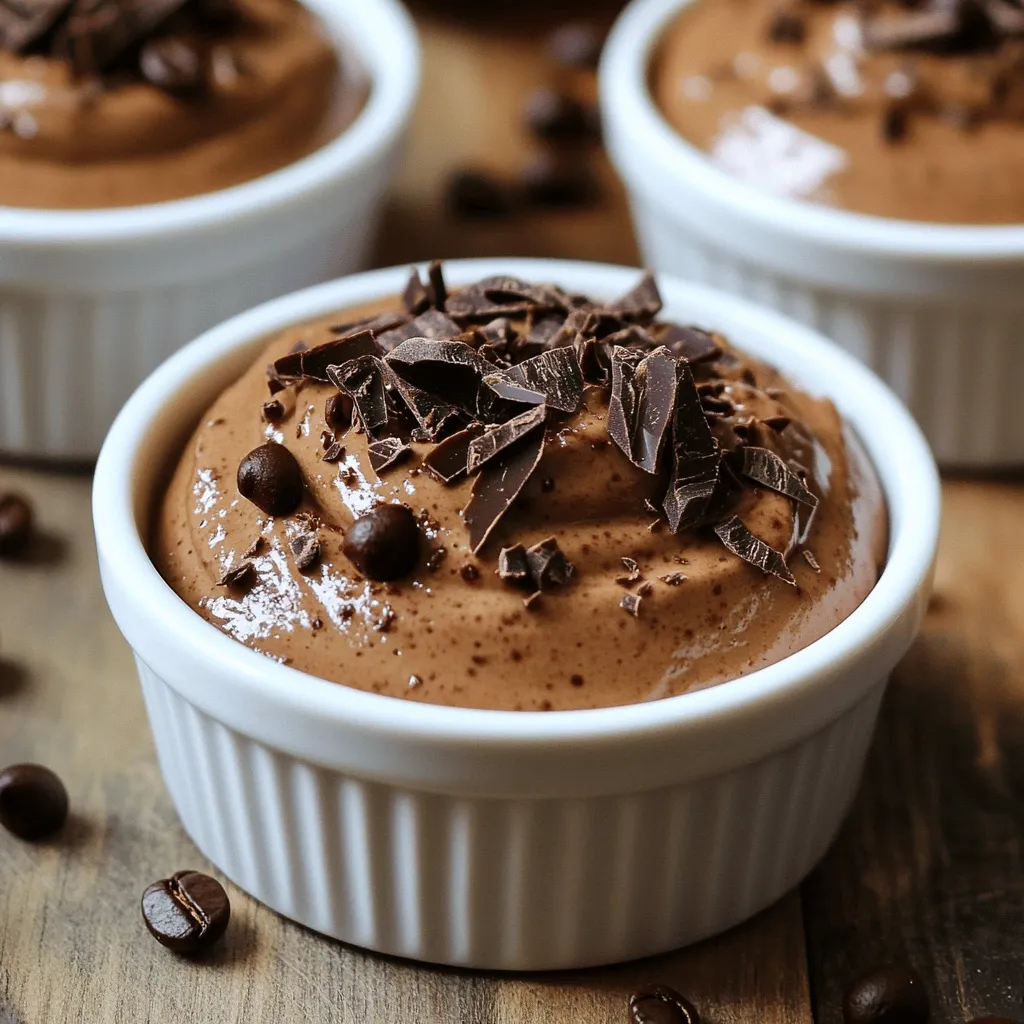
Mocha Greek Yogurt Mousse Protein Rich Dessert Delight
If you’re craving a dessert that’s both delicious and packed with protein, look no further! My Mocha Greek Yogurt Mousse Read Full Recipe-
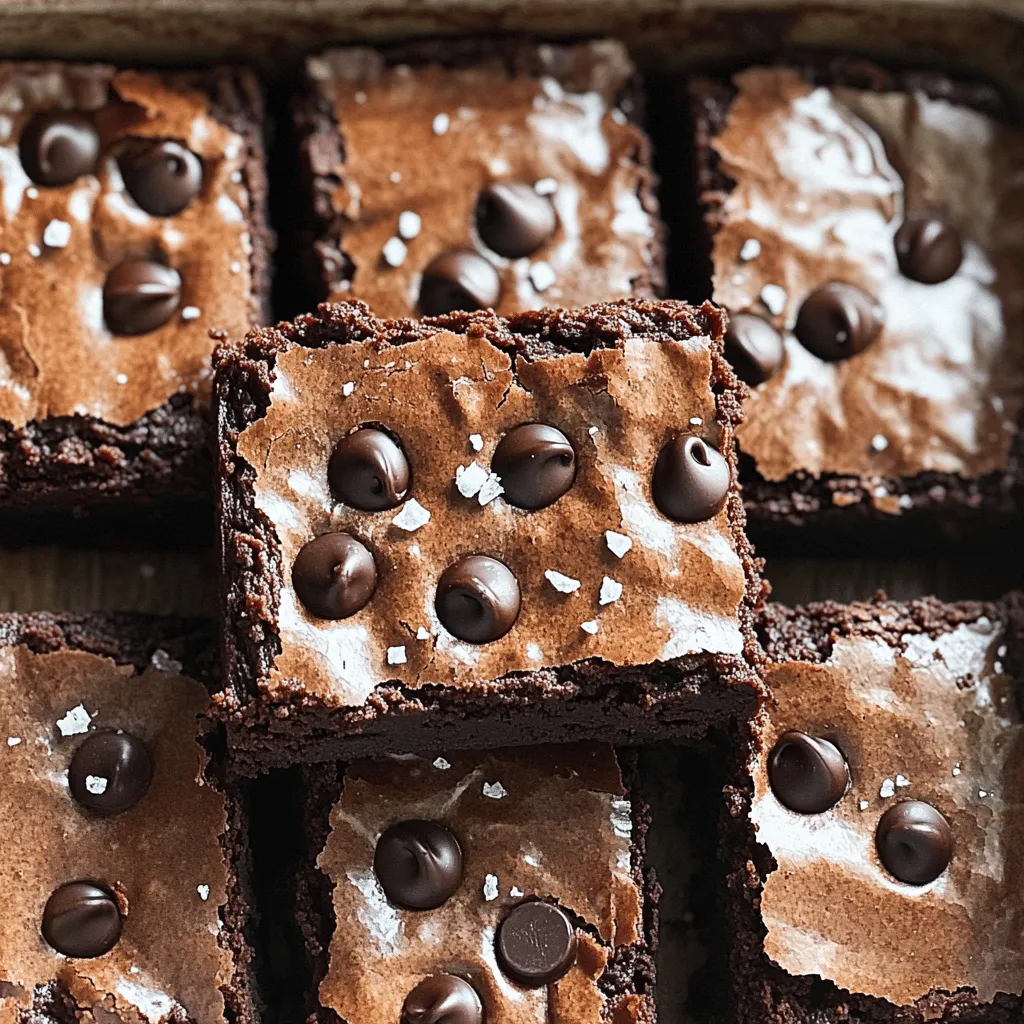
Chocolate Espresso Brownies Bakery Delicious Treat
Welcome to the world of Chocolate Espresso Brownies! If you love rich, chocolatey treats with a coffee kick, you’re in Read Full Recipe -
No-Bake White Chocolate Cranberry Bark Delightful Treat
Have you ever craved a sweet treat that’s simple and delicious? I’ve got just the thing for you: No-Bake White Read Full Recipe -
No-Bake Cranberry Cheesecake Cups Delicious Dessert Treat
Craving a treat that’s easy to make and full of flavor? You’ll love my No-Bake Cranberry Cheesecake Cups! They combine Read Full Recipe -
Pumpkin Spice Oatmeal Cream Pies Irresistible Treat
Get ready to delight your taste buds with Pumpkin Spice Oatmeal Cream Pies! This easy recipe combines soft oatmeal cookies Read Full Recipe -
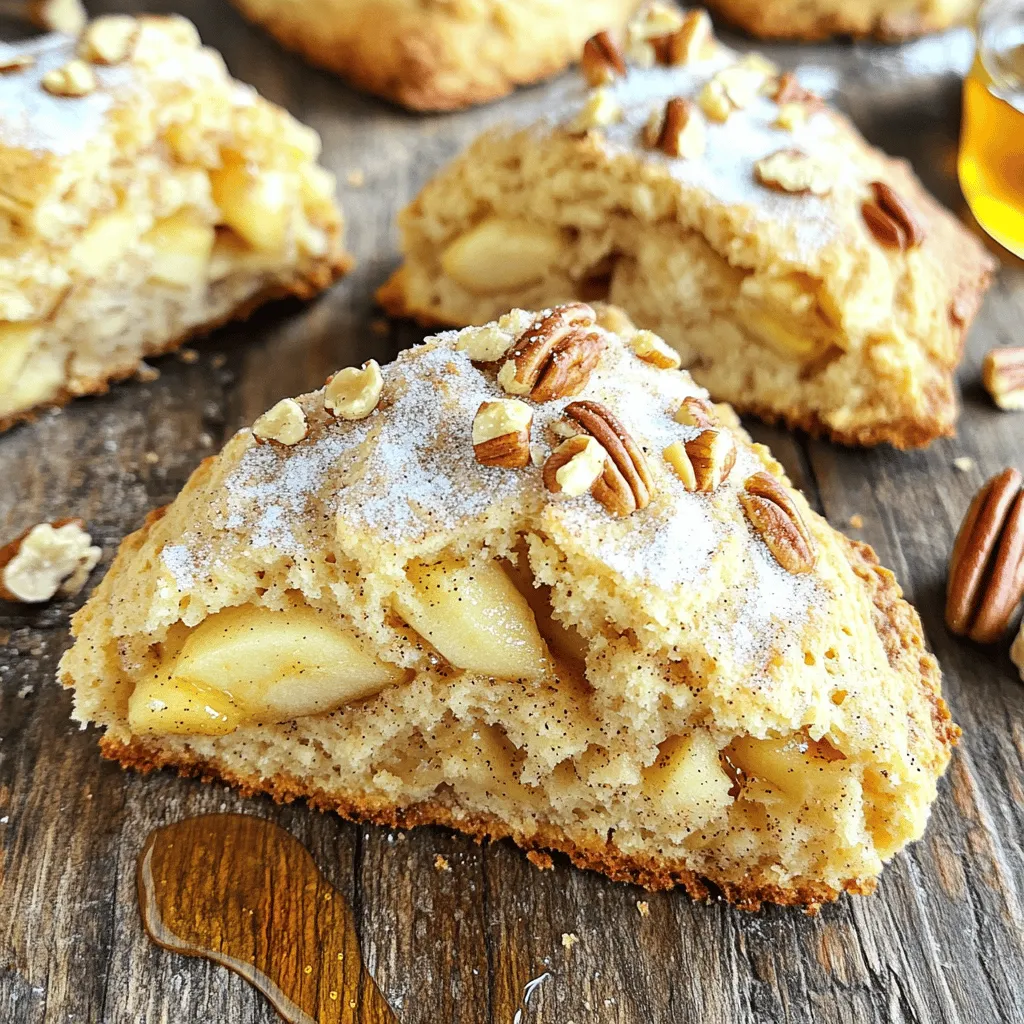
Warm Apple Cinnamon Pecan Scones Irresistible Delight
If you crave a warm and cozy treat, I have just the recipe for you! These Warm Apple Cinnamon Pecan Read Full Recipe


My Latest Drinks
-
Spiced Pumpkin Lattes Slow Cooker Recipe Delight
Are you ready to warm up your chilly days with a cozy Spiced Pumpkin Latte? I’ve crafted the perfect slow Read Full Recipe -
Peanut Butter Chocolate Protein Shake Tasty Delight
Satisfy your cravings with a Peanut Butter Chocolate Protein Shake! This tasty delight is not only delicious but also healthy. Read Full Recipe -
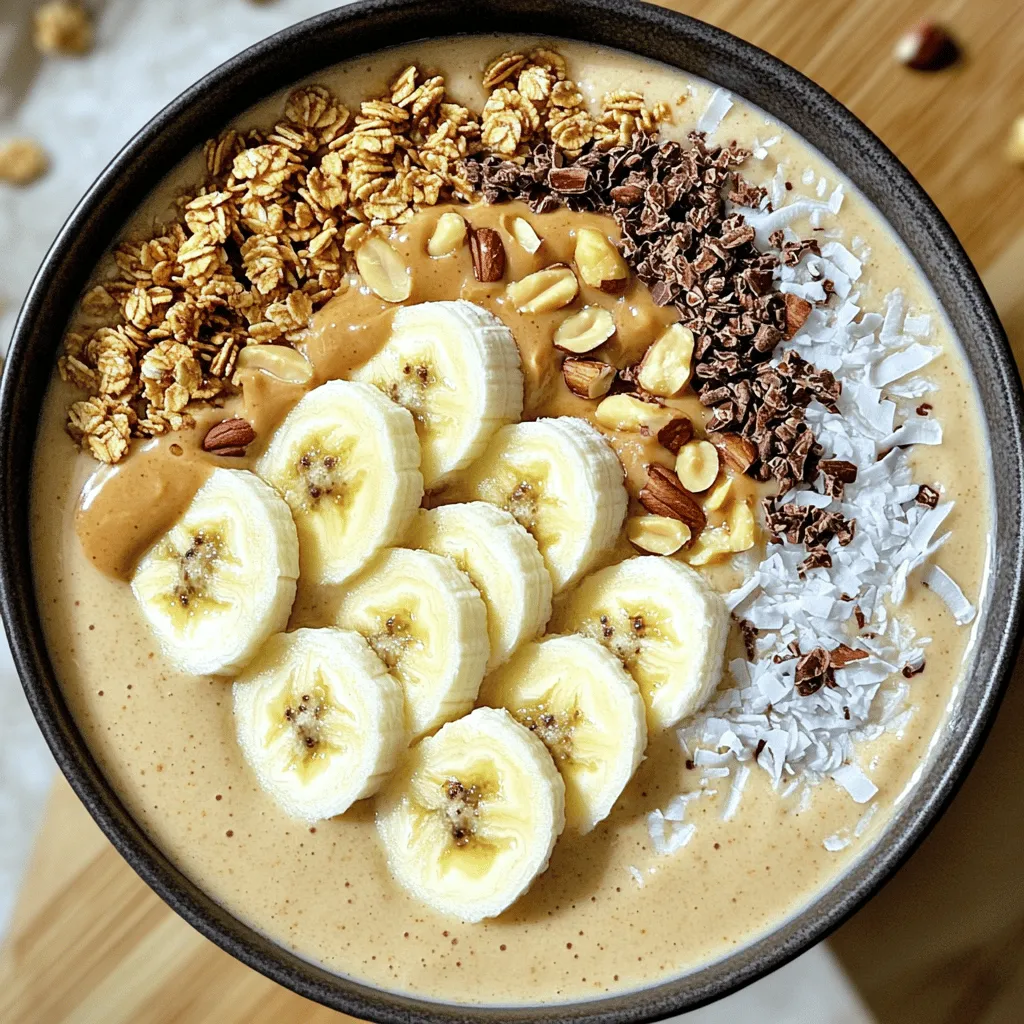
Peanut Butter Banana Smoothie Bowl Simple and Tasty
Looking for a quick, tasty treat? The Peanut Butter Banana Smoothie Bowl is your answer! Packed with ripe bananas and Read Full Recipe -
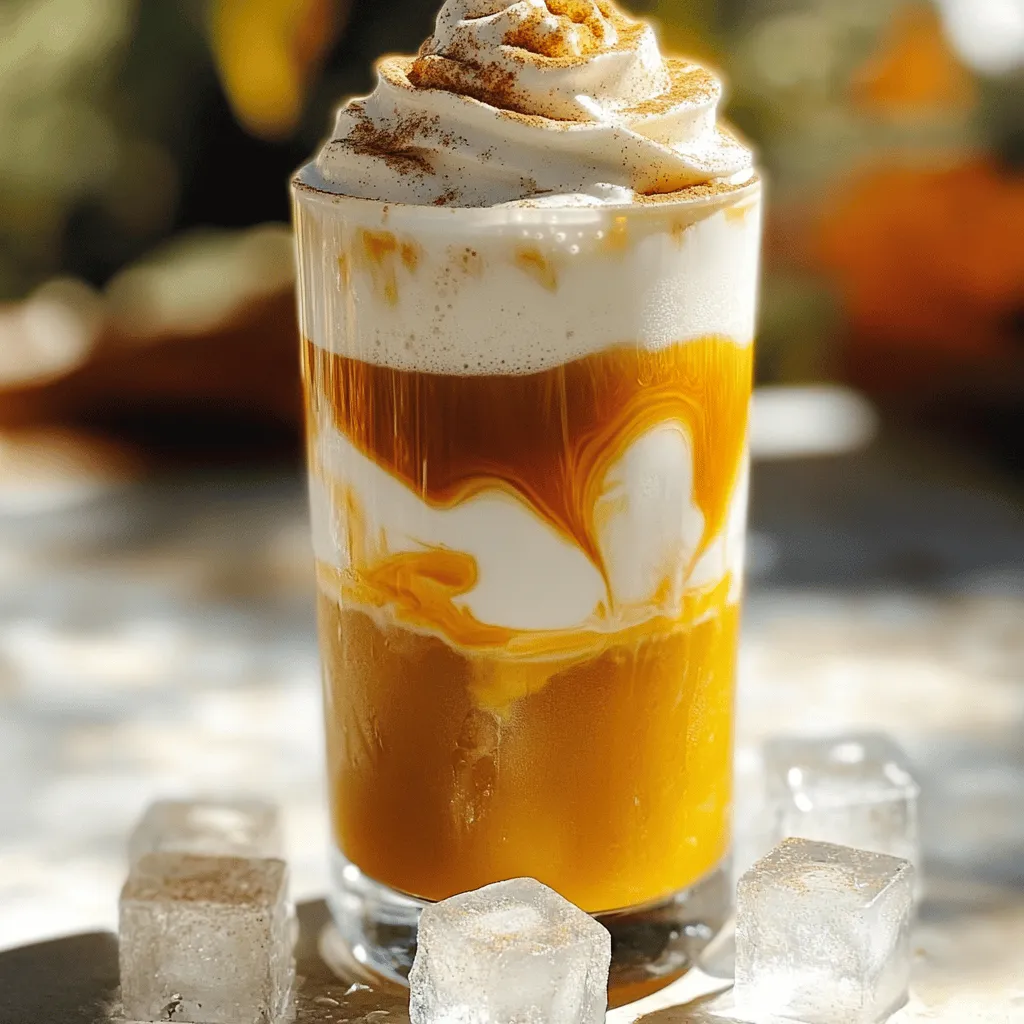
Pumpkin Cream Cold Brew Copycat Simple and Tasty Recipe
Craving a Pumpkin Cream Cold Brew but want to make it at home? You’re in the right place! I’ll show Read Full Recipe -
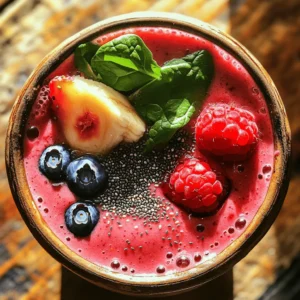
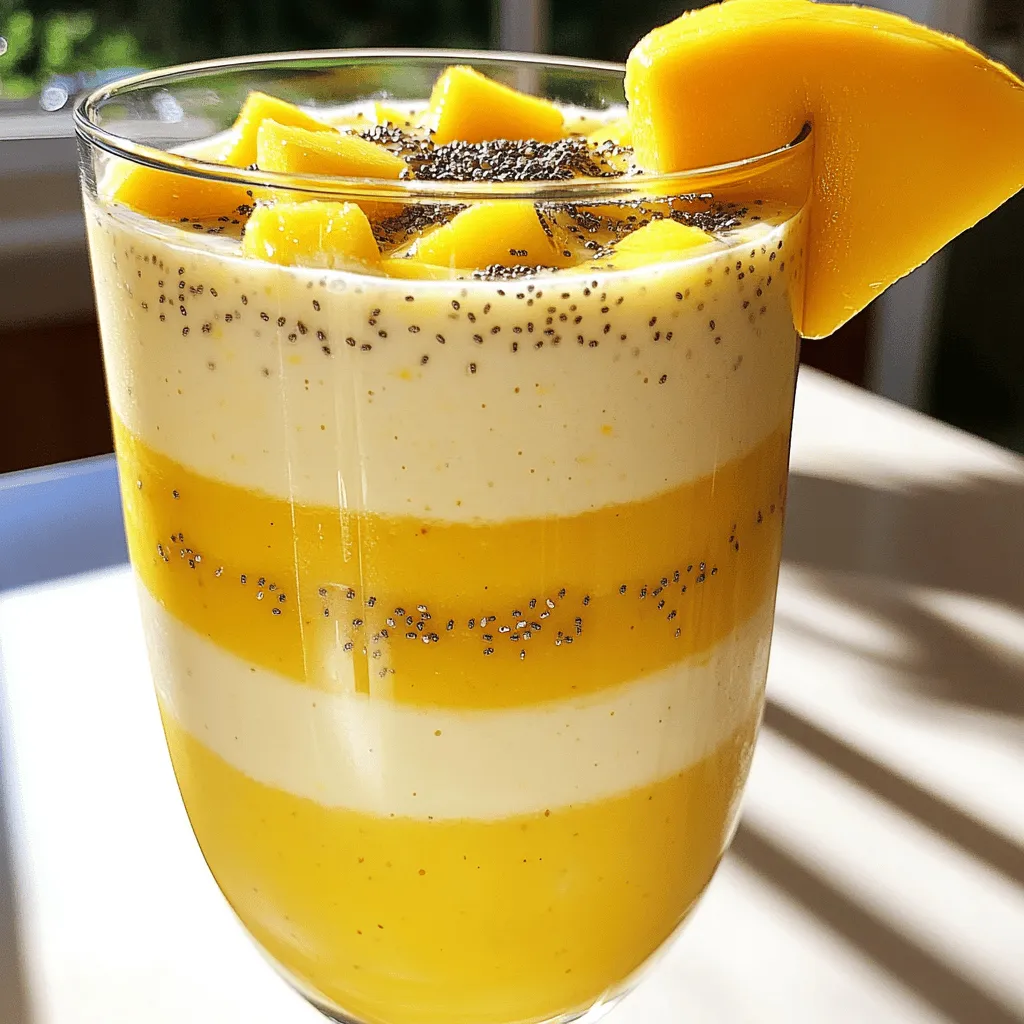
Pineapple Mango Smoothie Refreshing and Nutritious Drink
Looking for a tasty and healthy drink? A Pineapple Mango Smoothie might be just what you need! Packed with fresh Read Full Recipe -
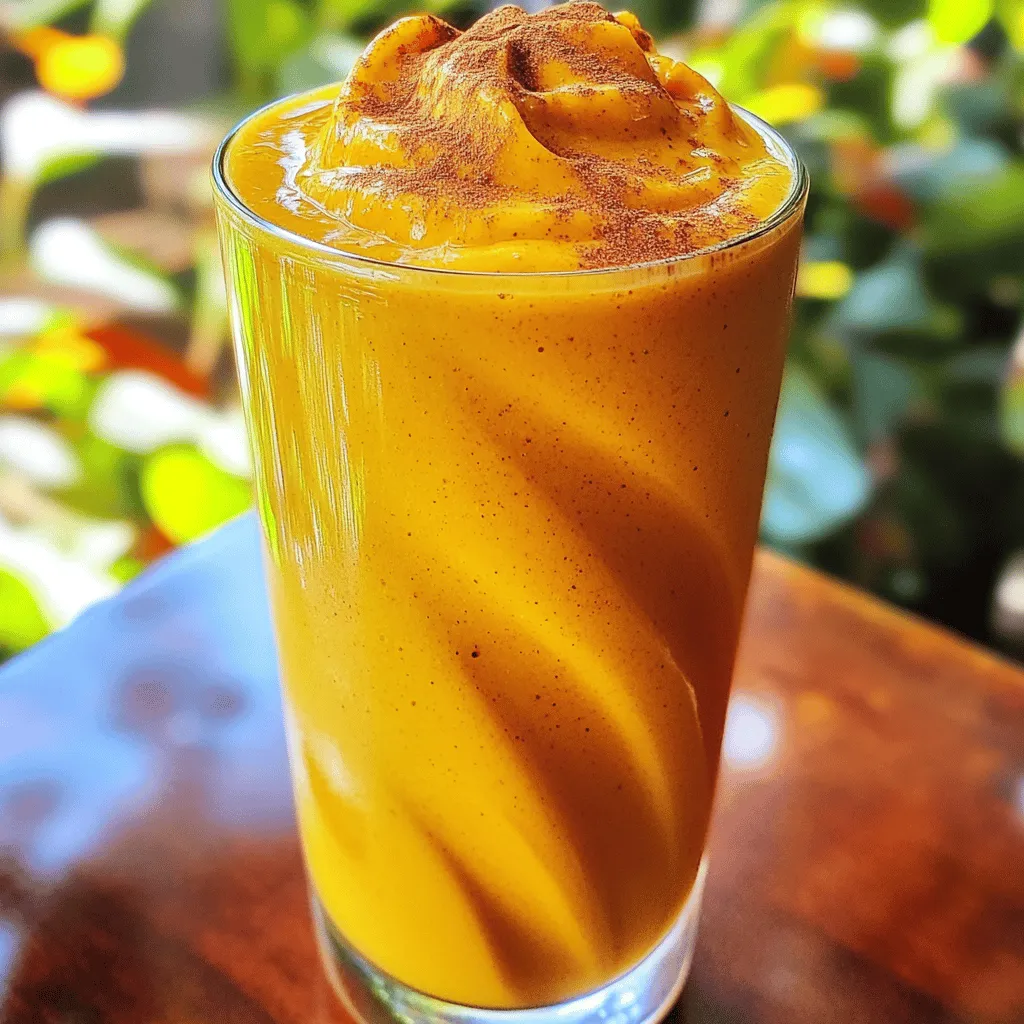
Pumpkin Spice Protein Shake Nutritional Power Boost
Are you craving a delicious way to boost your nutrition? Look no further than this Pumpkin Spice Protein Shake! Packed Read Full Recipe


hey,
i’m !
I’m so happy you’re here!
I love creating dishes that bring joy to the table. I hope they bring the same joy to yours. Let’s enjoy this flavorful journey together.


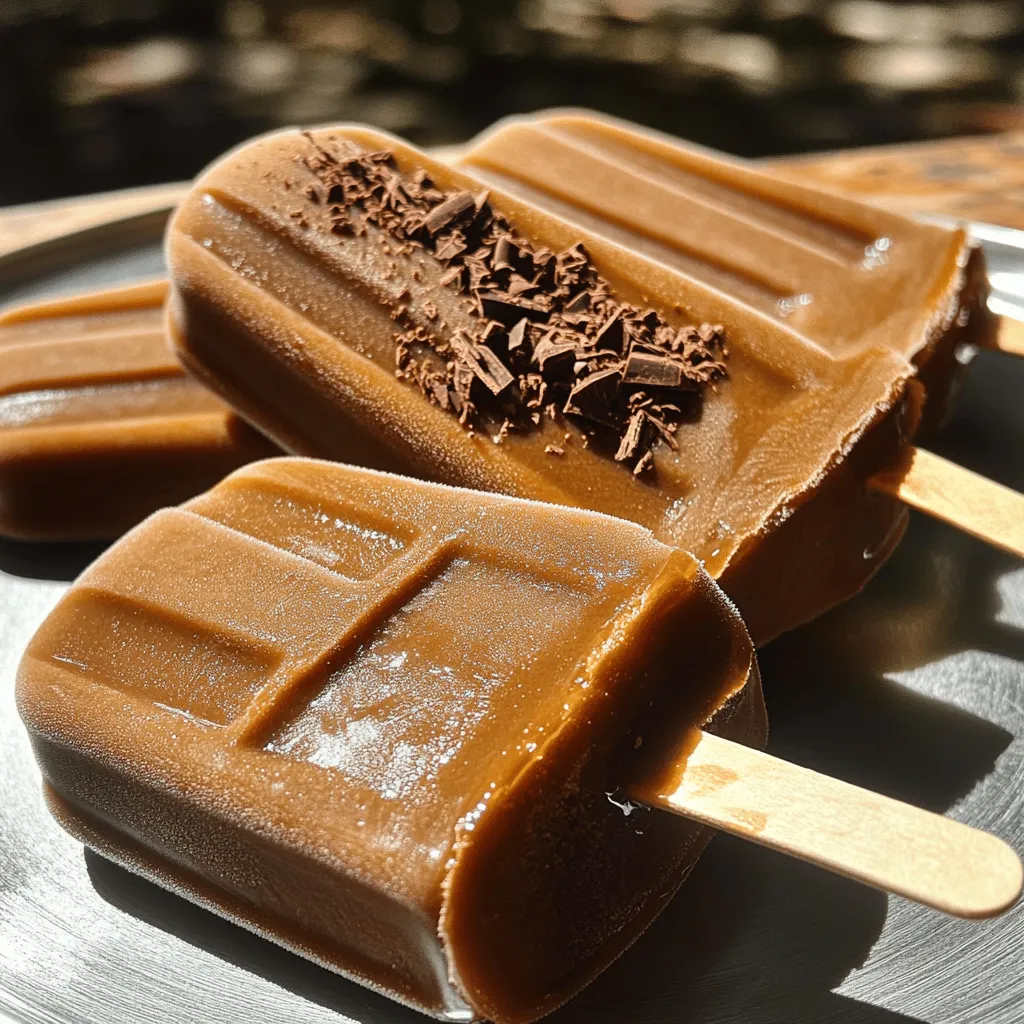
Mocha Iced Coffee Popsicles Cold and Refreshing Treat
Craving a refreshing treat that combines your love for coffee and dessert? Mocha iced coffee popsicles are the answer! These easy-to-make delights are perfect…