Latest & Greatest
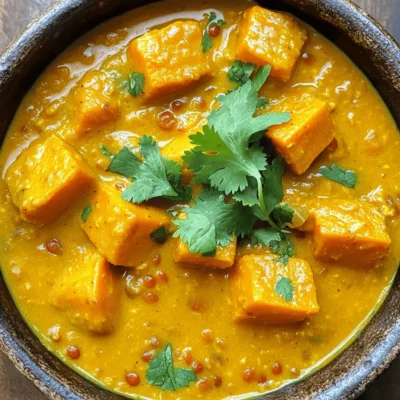
Pumpkin Lentil Curry Hearty and Flavorful Recipe
Are you ready to dive into a warm bowl of comfort? My Pumpkin Lentil Curry is both hearty and full
Read more…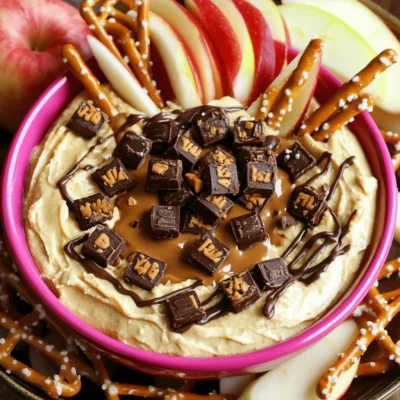
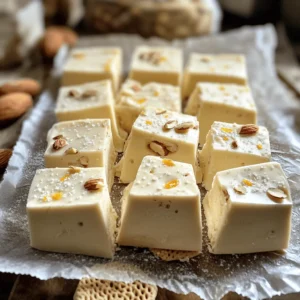
Twix Dip Irresistible and Easy Dessert Recipe
Craving something sweet and easy? Twix Dip is your answer! This quick treat combines creamy goodness with crunchy Twix bars,
Read more…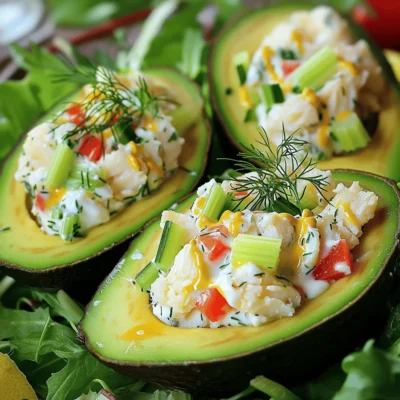
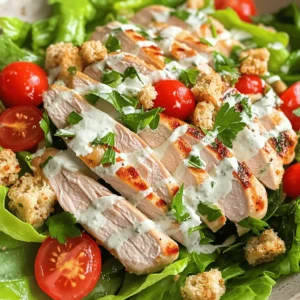
Crab Salad Delight Fresh and Flavorful Recipe Guide
Are you ready to elevate your culinary skills? This Crab Salad Delight recipe is fresh and full of flavor. I’ll
Read more…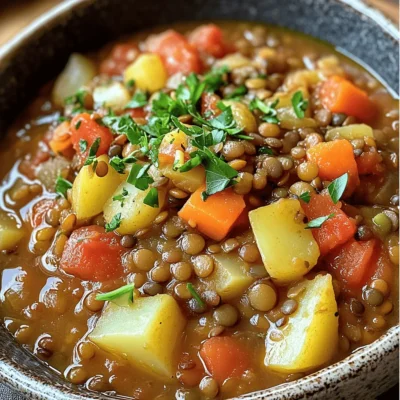
Hungarian Lentil Vegetable Stew Flavorful and Hearty Dish
Looking for a warm, hearty dish that packs a flavorful punch? Hungarian Lentil Vegetable Stew may be just what you
Read more…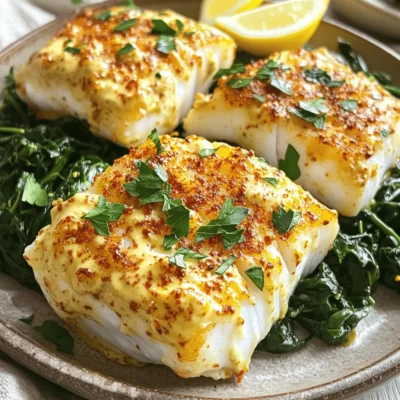
Flavorful Baked Cod with Mayo Easy Dinner Delight
Looking for a simple yet delicious dinner? Try my Flavorful Baked Cod with Mayo! This easy recipe combines tender cod
Read more…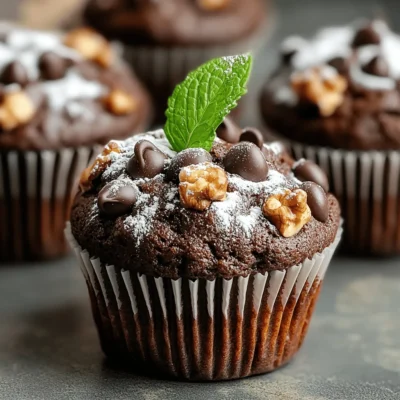
Chocolate Muffins Delightful and Easy Homemade Recipe
Are you ready to whip up scrumptious chocolate muffins that will wow your taste buds? In this post, I’ll share
Read more…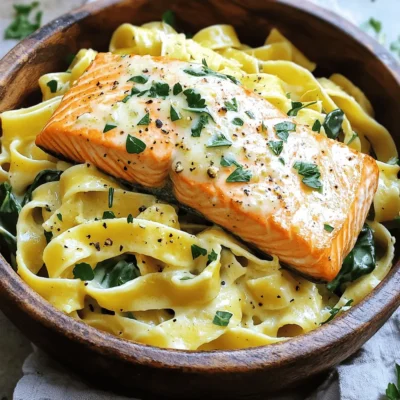
Creamy Garlic Salmon Pasta Savory Dinner Delight
Looking for a simple yet scrumptious dinner option? Creamy Garlic Salmon Pasta will make your taste buds dance! This dish
Read more…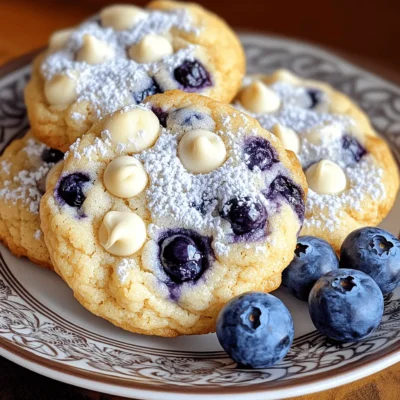
Easy Blueberry Cheesecake Cookies Simple and Sweet Delight
Craving a tasty treat that’s both sweet and simple? You’re in the right place! I’m excited to share my Easy
Read more…browse recipes

Garlic Roasted Carrots Flavorful and Easy Recipe
Are you ready to spice up your dinner table? These Garlic Roasted Carrots combine sweet, tender carrots with a burst of garlic flavor. This…
My Latest Desserts

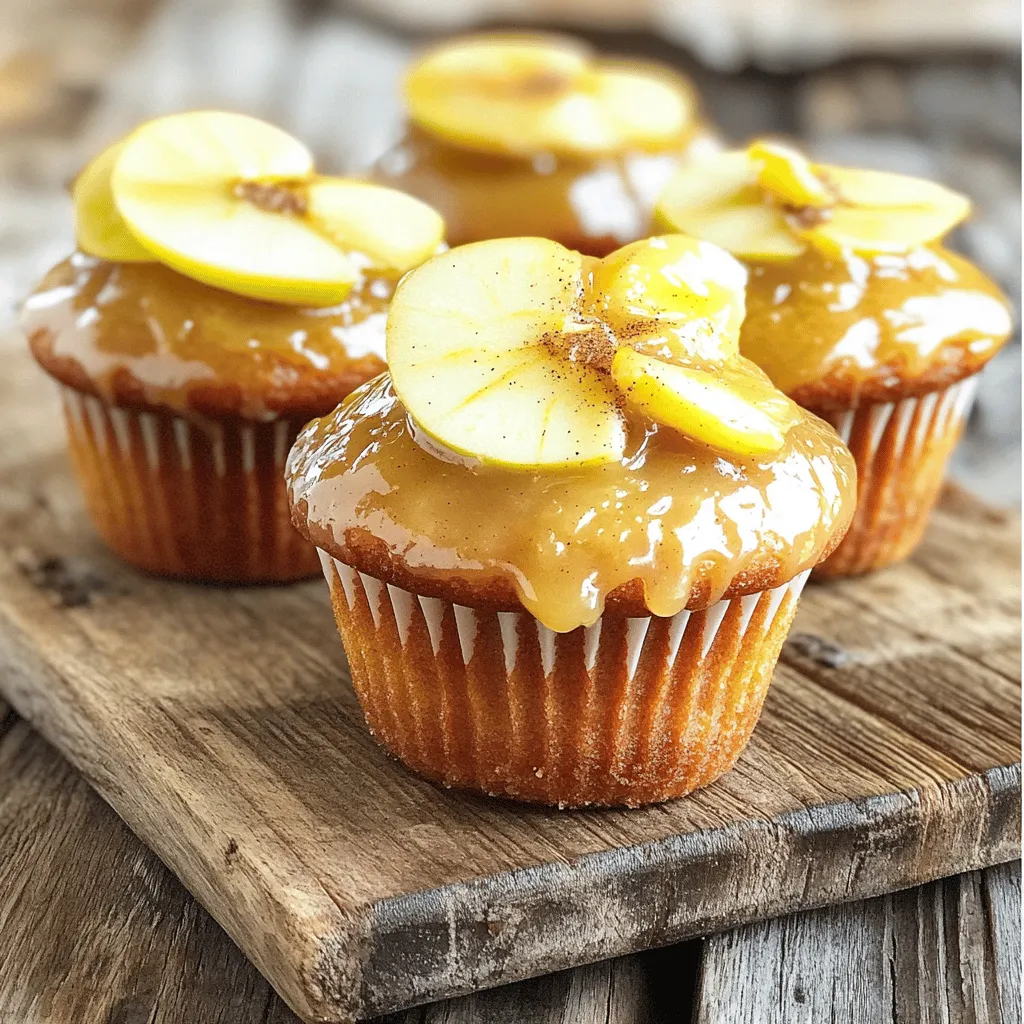
Apple Cider Glazed Donut Muffins Delightful Treat
Get ready to indulge in the cozy flavors of fall with my Apple Cider Glazed Donut Muffins. These muffins blend Read Full Recipe-
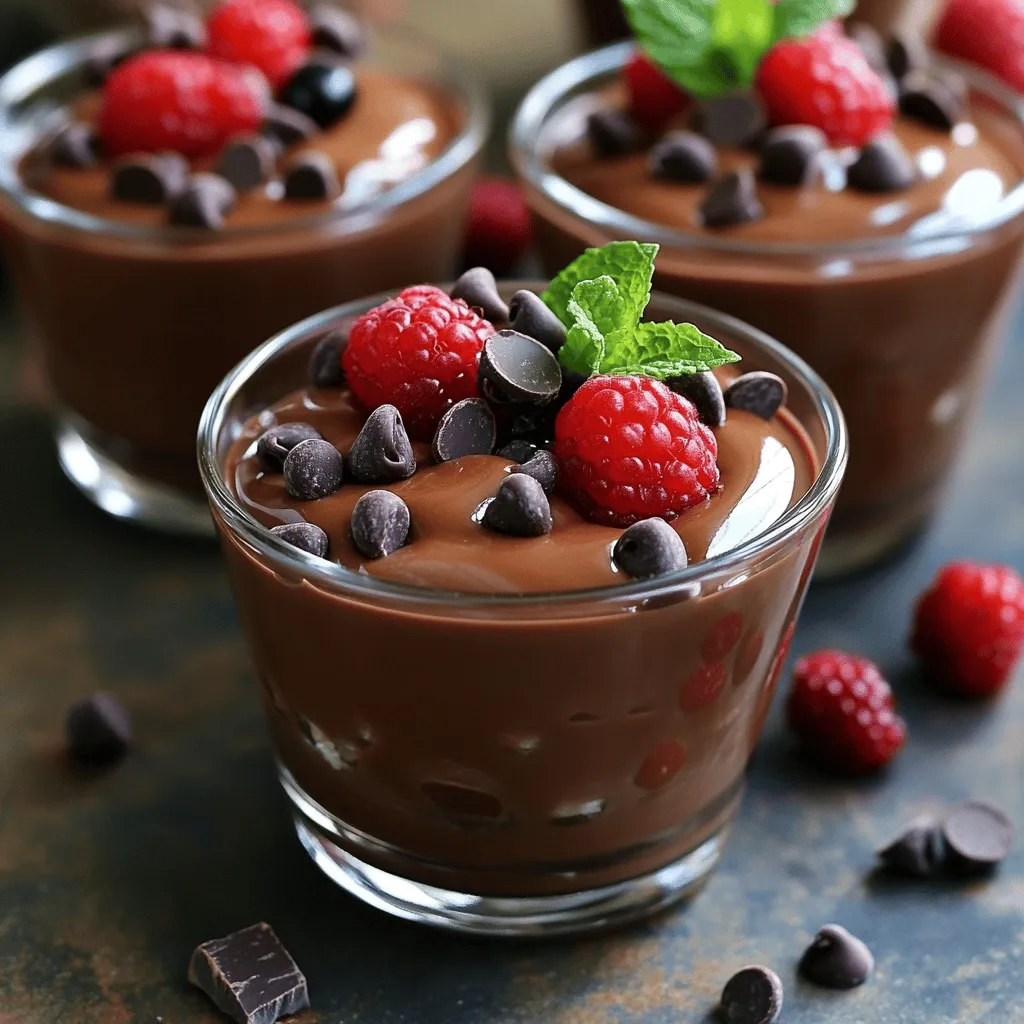
Chocolate Cottage Cheese Pudding Cups Delightful Treat
If you’re craving a sweet treat that won’t derail your health goals, you’ve got to try Chocolate Cottage Cheese Pudding Read Full Recipe -
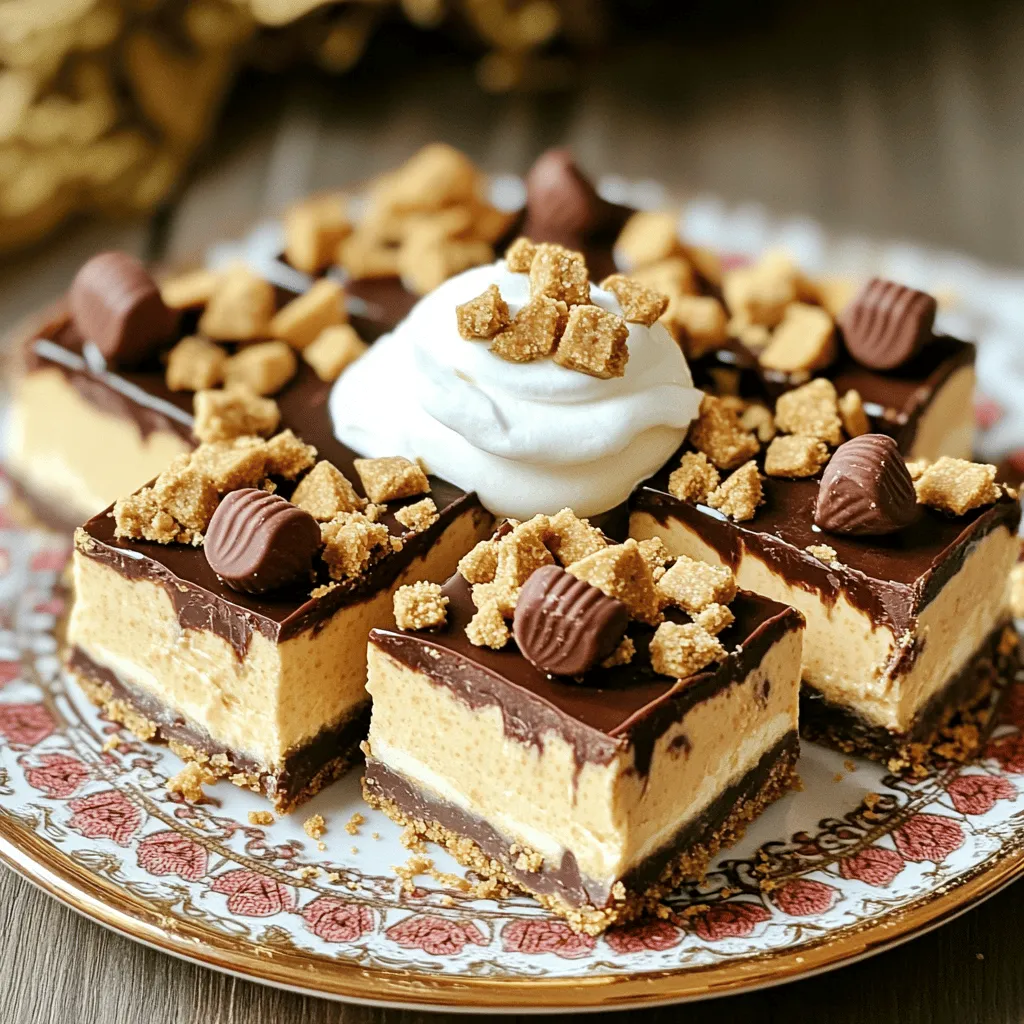
No-Bake Peanut Butter Cup Cheesecake Bars Delight
Get ready for a sweet treat that’s easy and fun! My No-Bake Peanut Butter Cup Cheesecake Bars are a dessert Read Full Recipe -
Cinnamon Roll Coffee Cake Delightful and Easy Recipe
If you love coffee cakes or cinnamon rolls, this recipe is for you! My Cinnamon Roll Coffee Cake combines soft, Read Full Recipe -
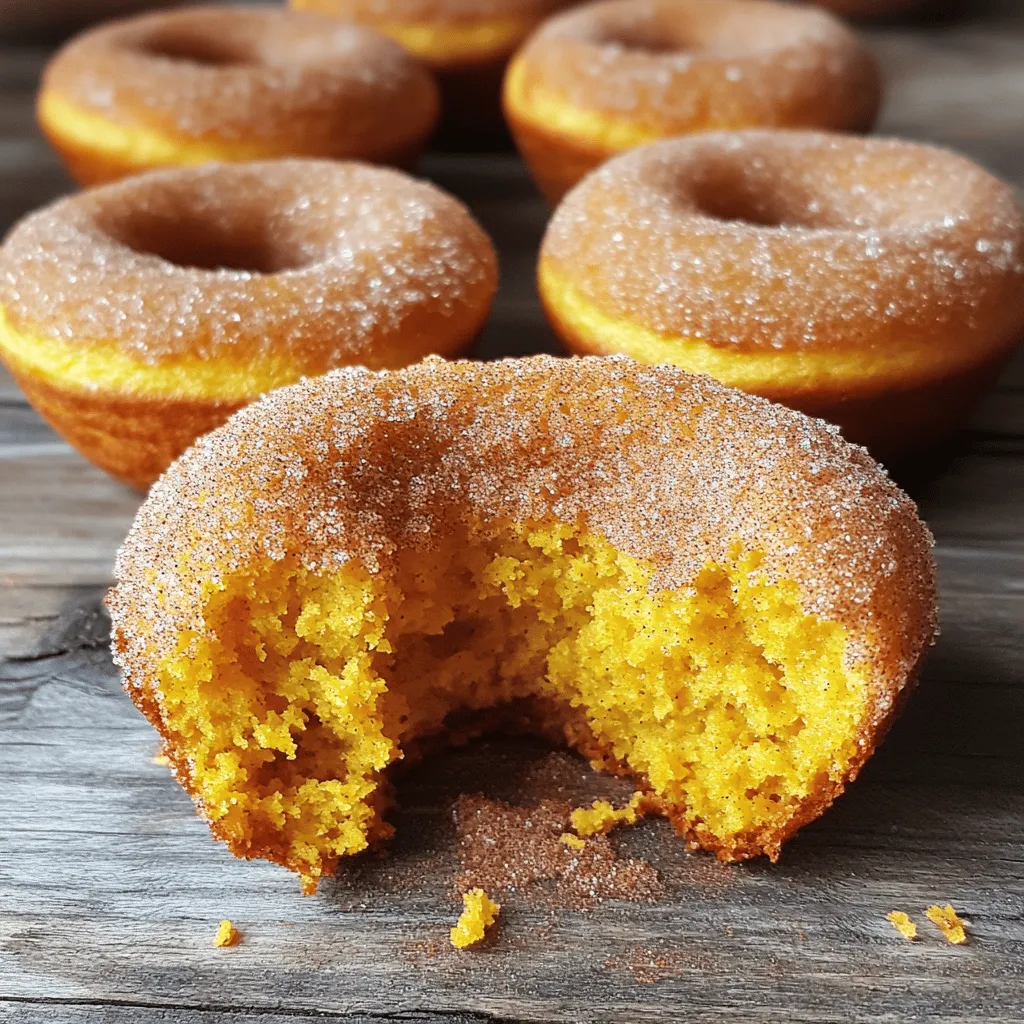
Pumpkin Spice Donut Muffins Tasty Fall Delight
Are you ready to dive into the cozy flavors of fall? Imagine biting into soft, warm Pumpkin Spice Donut Muffins, Read Full Recipe -
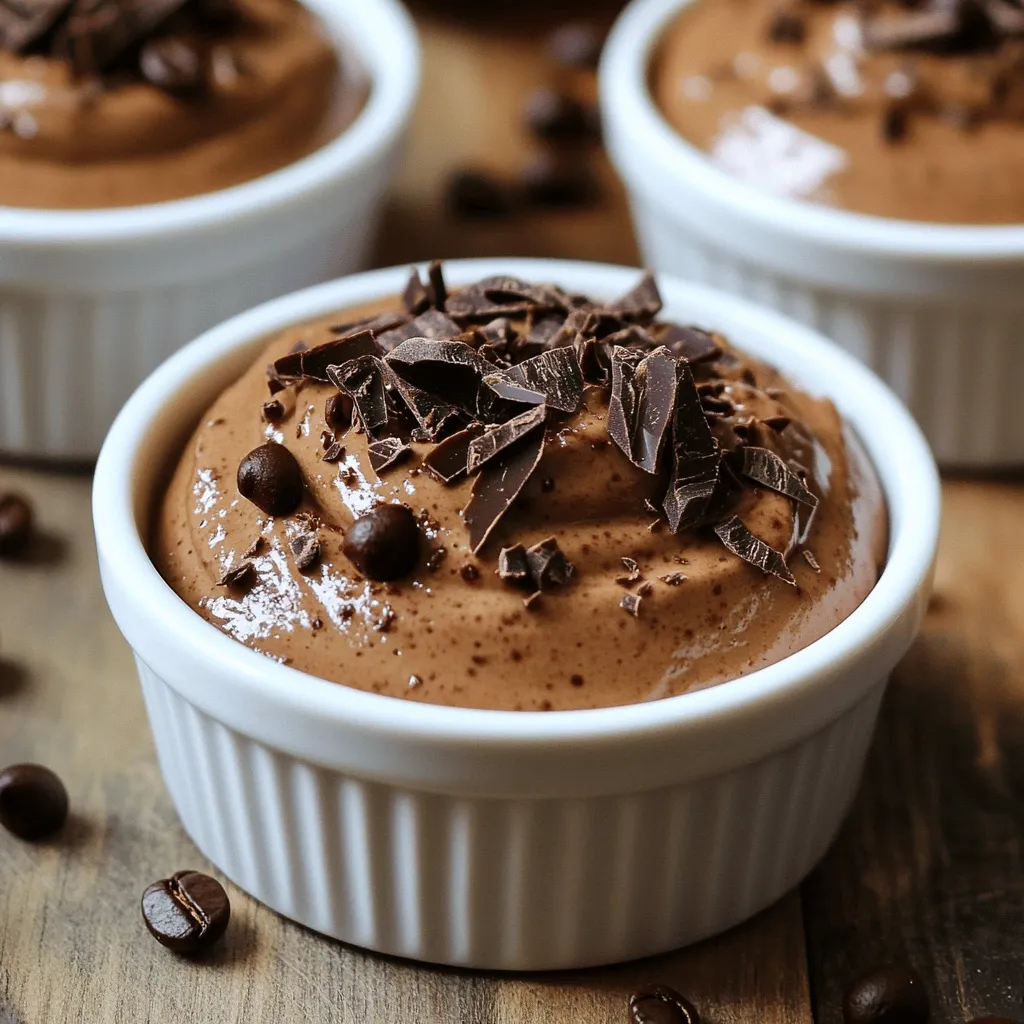
Mocha Greek Yogurt Mousse Protein Rich Dessert Delight
If you’re craving a dessert that’s both delicious and packed with protein, look no further! My Mocha Greek Yogurt Mousse Read Full Recipe

My Latest Drinks
-
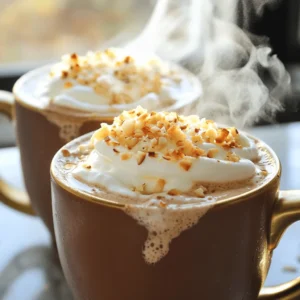
Spiced Pumpkin Lattes Slow Cooker Recipe Delight
Are you ready to warm up your chilly days with a cozy Spiced Pumpkin Latte? I’ve crafted the perfect slow Read Full Recipe -
Peanut Butter Chocolate Protein Shake Tasty Delight
Satisfy your cravings with a Peanut Butter Chocolate Protein Shake! This tasty delight is not only delicious but also healthy. Read Full Recipe -
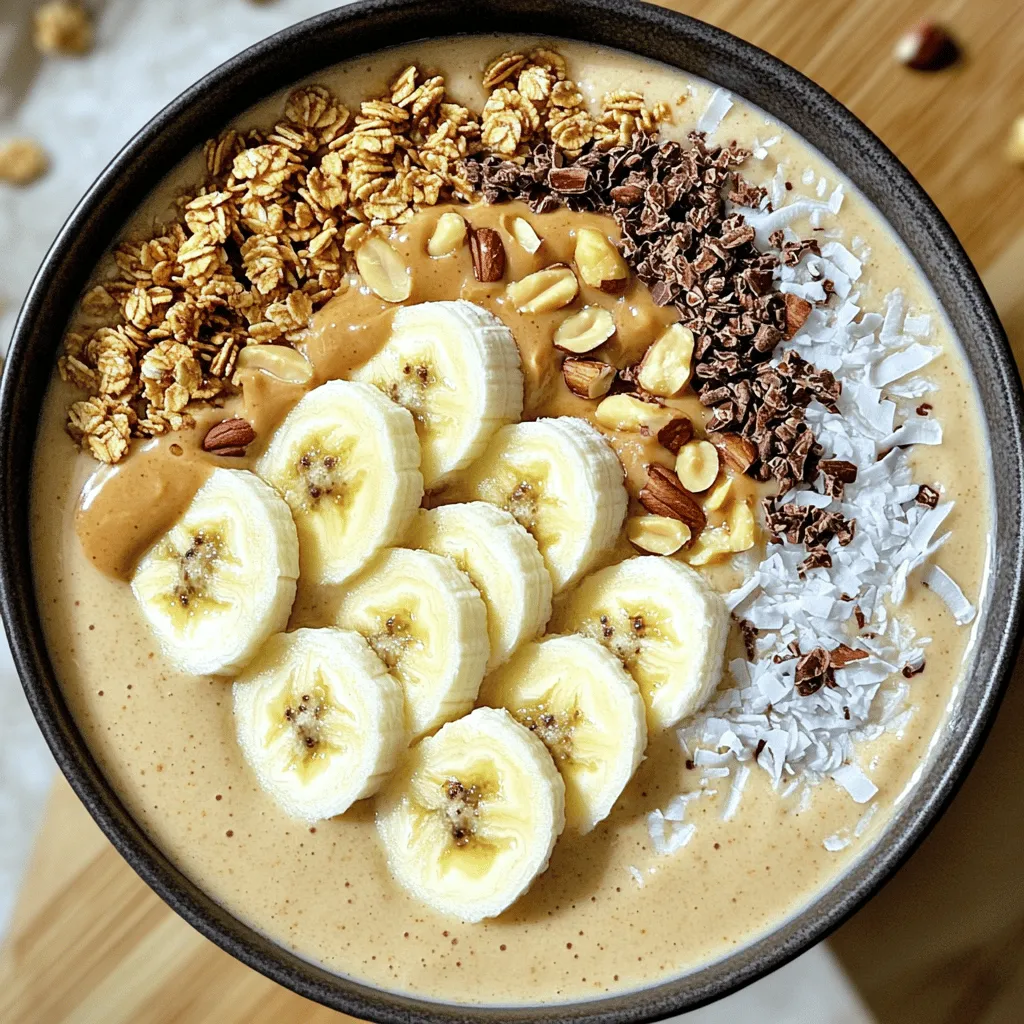
Peanut Butter Banana Smoothie Bowl Simple and Tasty
Looking for a quick, tasty treat? The Peanut Butter Banana Smoothie Bowl is your answer! Packed with ripe bananas and Read Full Recipe -
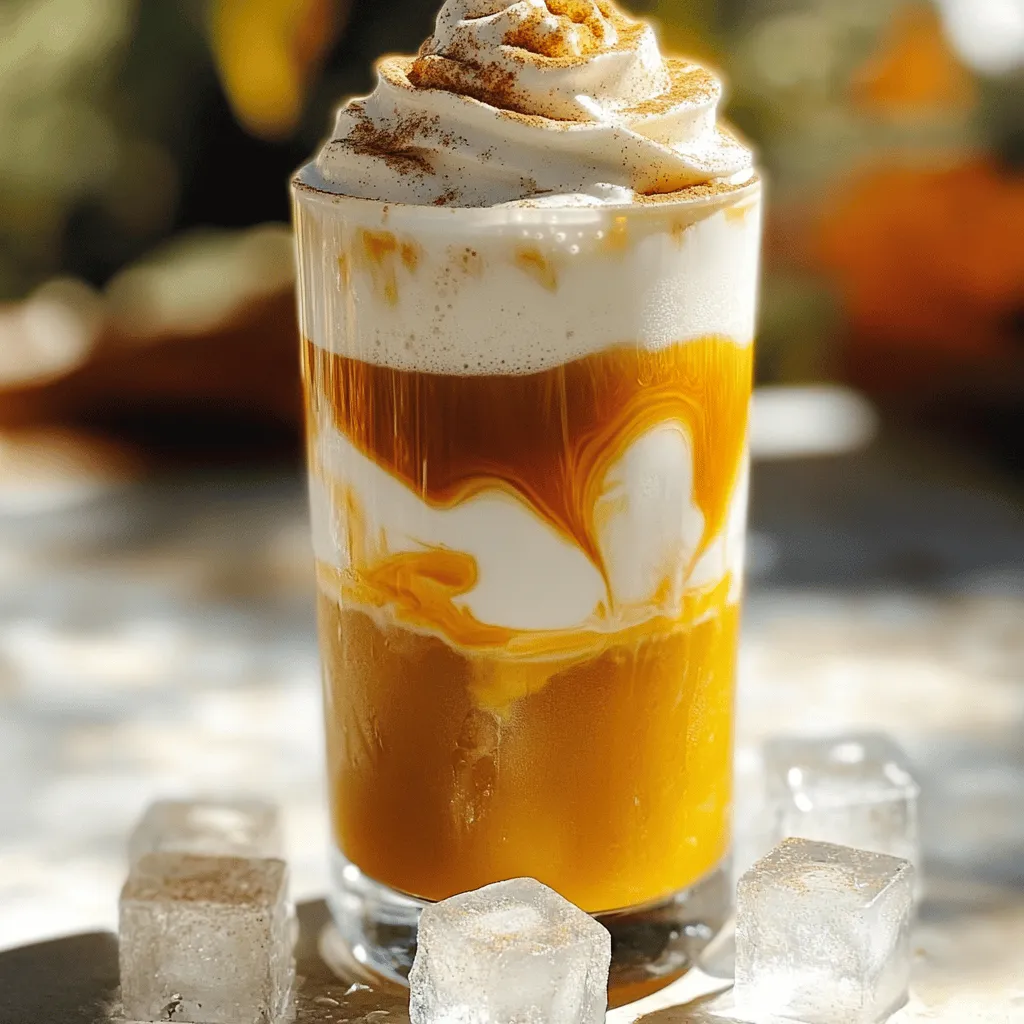
Pumpkin Cream Cold Brew Copycat Simple and Tasty Recipe
Craving a Pumpkin Cream Cold Brew but want to make it at home? You’re in the right place! I’ll show Read Full Recipe -
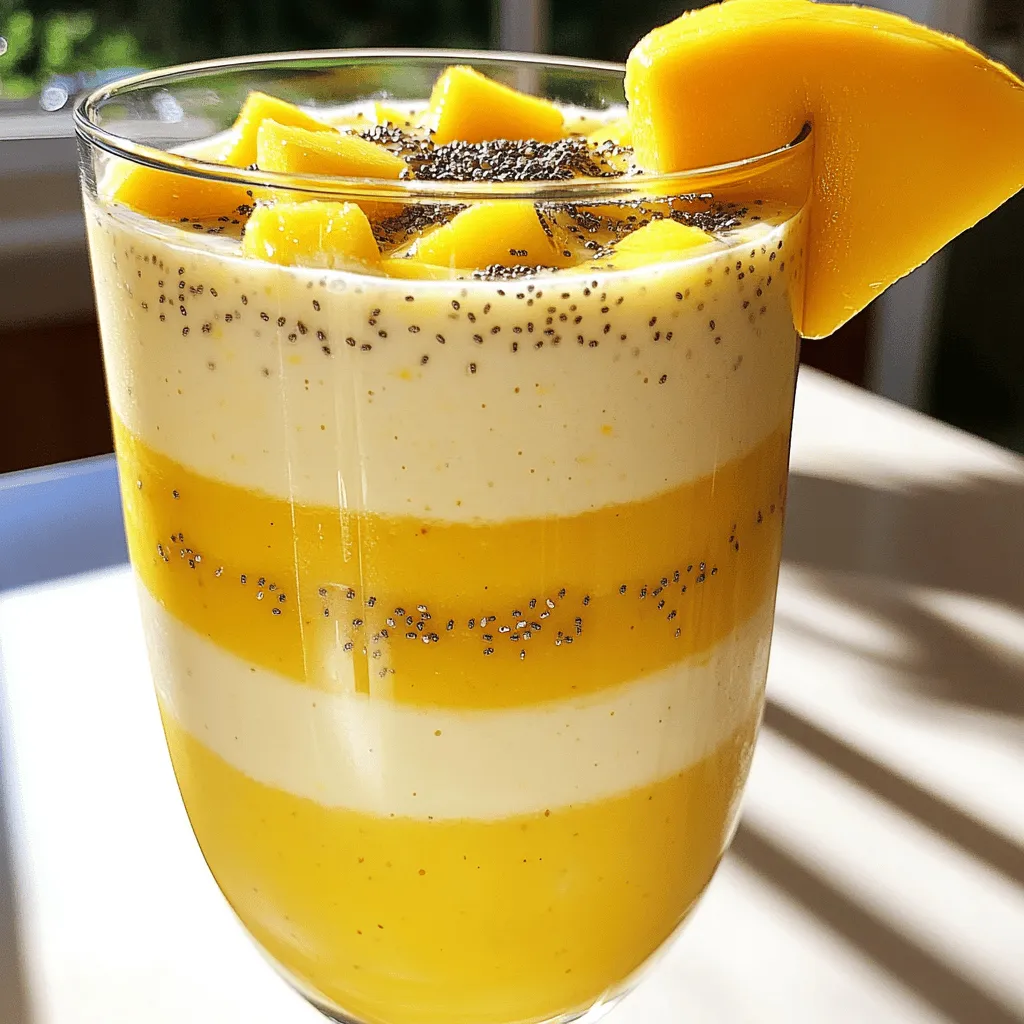
Pineapple Mango Smoothie Refreshing and Nutritious Drink
Looking for a tasty and healthy drink? A Pineapple Mango Smoothie might be just what you need! Packed with fresh Read Full Recipe -
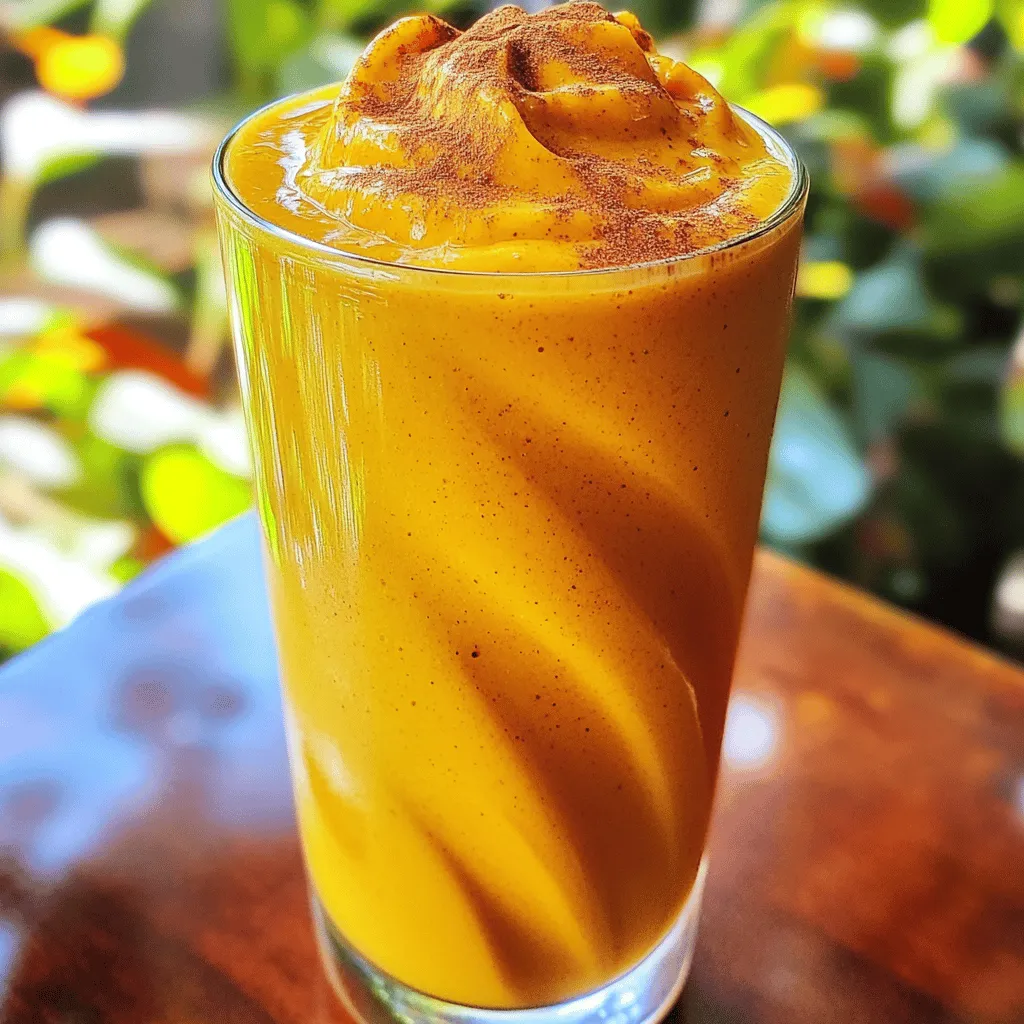
Pumpkin Spice Protein Shake Nutritional Power Boost
Are you craving a delicious way to boost your nutrition? Look no further than this Pumpkin Spice Protein Shake! Packed Read Full Recipe


hey,
i’m !
I’m so happy you’re here!
I love creating dishes that bring joy to the table. I hope they bring the same joy to yours. Let’s enjoy this flavorful journey together.

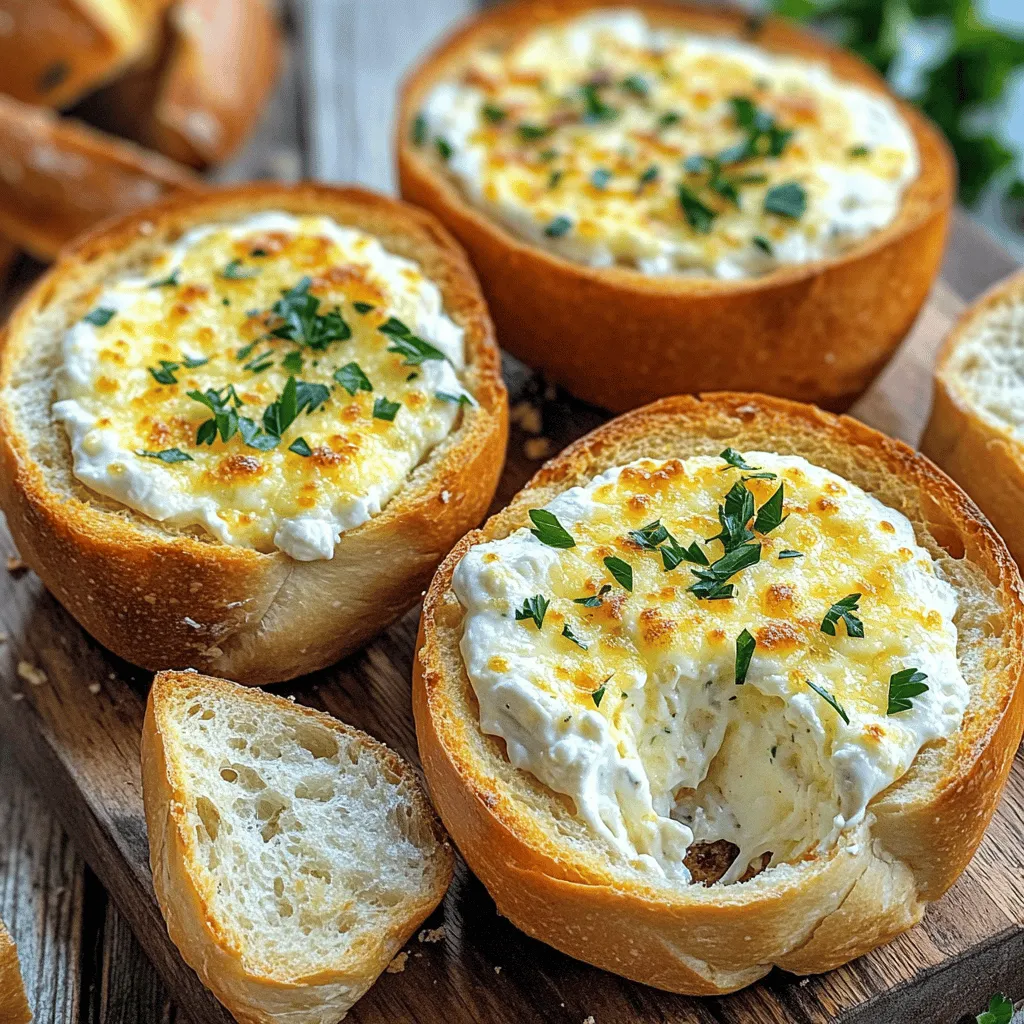
Baked Garlic Bread Dip Irresistible Flavor Treat
Are you ready to take your snack game to the next level? My Baked Garlic Bread Dip offers a rich, creamy delight that will…