Latest & Greatest
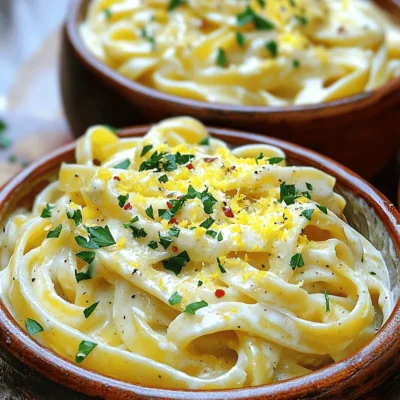
Garlic Parmesan Pasta Irresistible Dinner Recipe
Ready for a simple yet mouthwatering meal? My Garlic Parmesan Pasta recipe is your answer. With just a few key
Read more…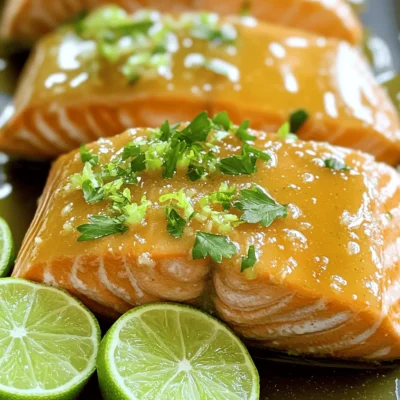
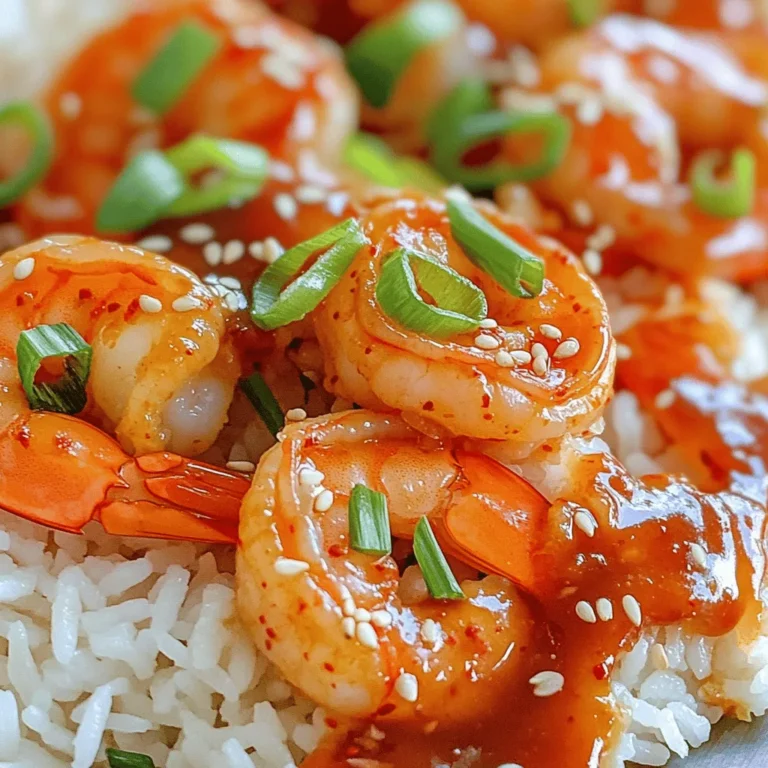
Honey-Lime Garlic Butter Baked Salmon Healthy Delight
Are you ready to elevate your dinner game? This Honey-Lime Garlic Butter Baked Salmon recipe brings a burst of flavor
Read more…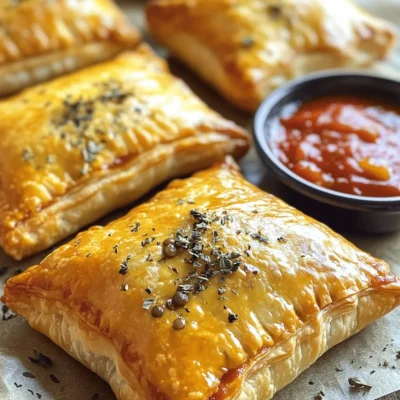
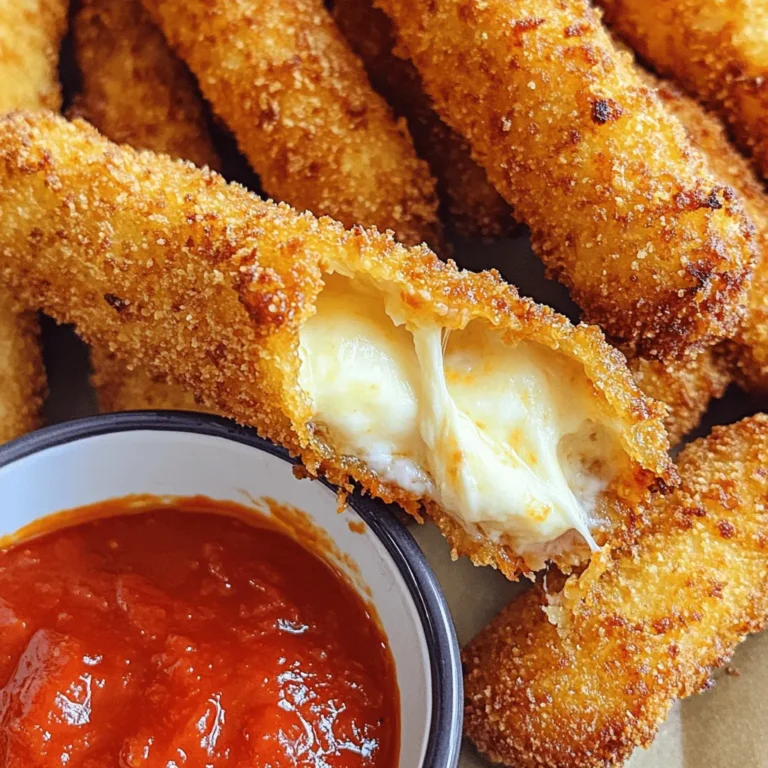
Vegan Meatball Mozzarella Hot Pockets Easy Recipe
Craving a hearty yet simple meal? Let’s dive into an easy recipe for Vegan Meatball Mozzarella Hot Pockets! These savory
Read more…
Crescent Cheese Danishes Delightful and Easy Recipe
If you crave a sweet treat that’s quick and easy, you’re in the right place. I’m excited to share my
Read more…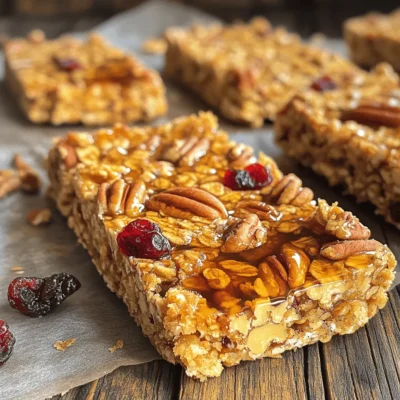
Maple Pecan Granola Bars Simple and Healthy Snack
If you’re craving a snack that’s both simple and healthy, these Maple Pecan Granola Bars are perfect. Packed with oats,
Read more…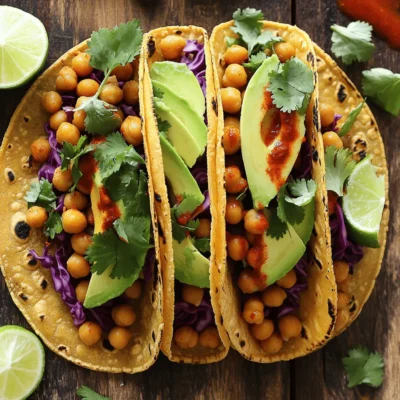
Spicy Chickpea Tacos Flavorful and Nutritious Meal
If you’re craving a meal that’s both tasty and packed with nutrients, you can’t miss these spicy chickpea tacos! With
Read more…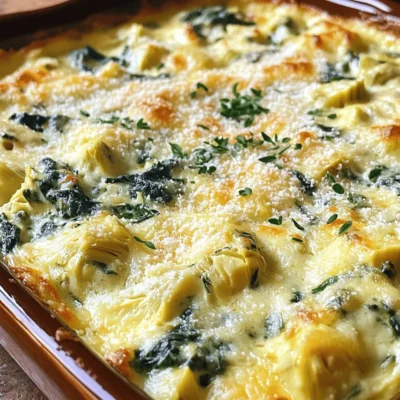
Creamy Spinach Artichoke Dip Irresistible Delight
If you crave a tasty dip that wows every crowd, look no further! My Creamy Spinach Artichoke Dip is the
Read more…
Chocolate Kataifi Bars Irresistible Sweet Treat
Are you ready to dive into a delicious world of dessert? Chocolate Kataifi Bars are a sweet delight that’s hard
Read more…browse recipes


Vanilla Bean Crème Brûlée Rich and Creamy Delight
If you crave a rich and creamy dessert that impresses at any gathering, then Vanilla Bean Crème Brûlée is the answer. This classic treat…
My Latest Desserts

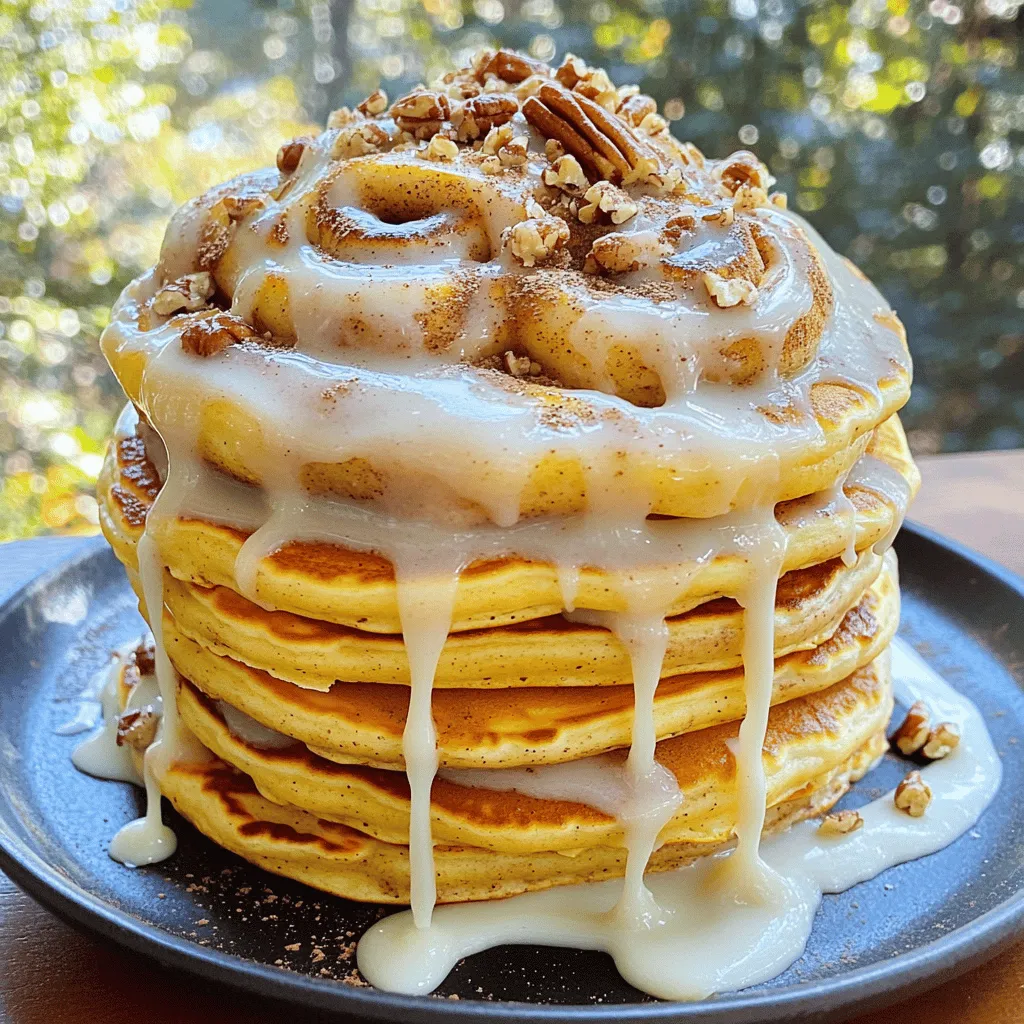
Cinnamon Roll Pancakes Delightful and Easy Recipe
Get ready for a sweet treat that will brighten your morning: Cinnamon Roll Pancakes! This easy recipe combines the soft, Read Full Recipe-
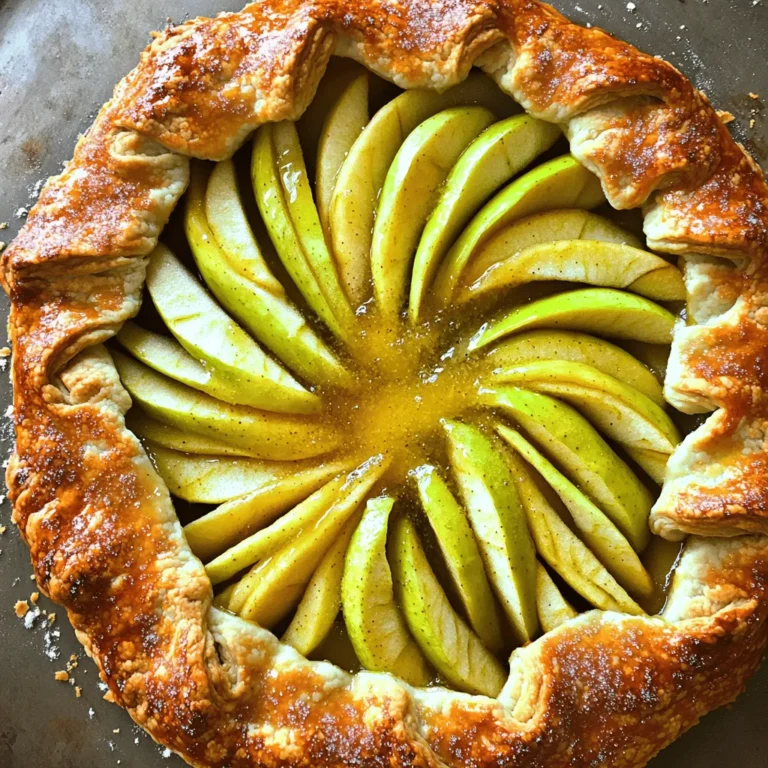
Caramel Apple Hand Pies Irresistible Dessert Recipe
Are you ready for a dessert that combines sweet, tart, and buttery goodness? My Caramel Apple Hand Pies are the Read Full Recipe -
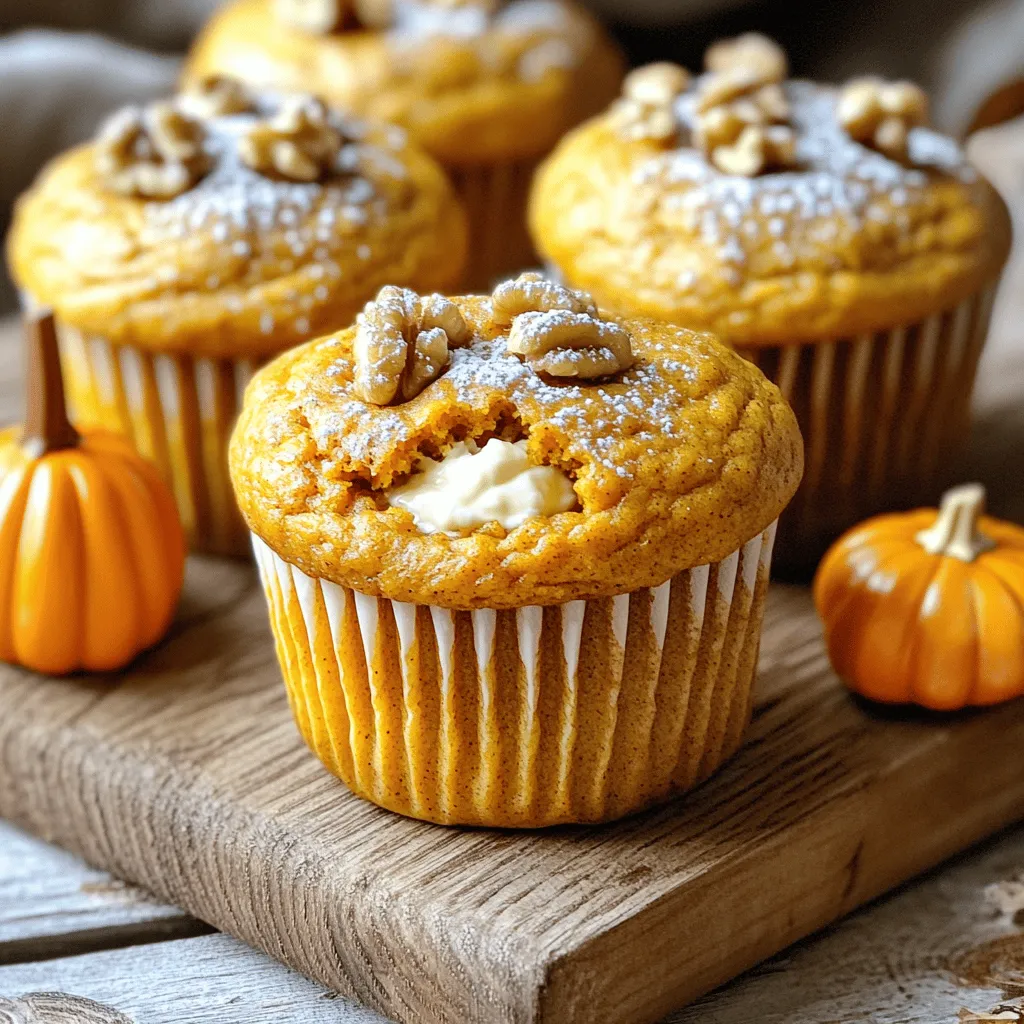
Pumpkin Cream Cheese Muffins Irresistible Recipe
If you love the cozy flavors of fall, you’ll adore these Pumpkin Cream Cheese Muffins! This recipe combines warm spices Read Full Recipe -
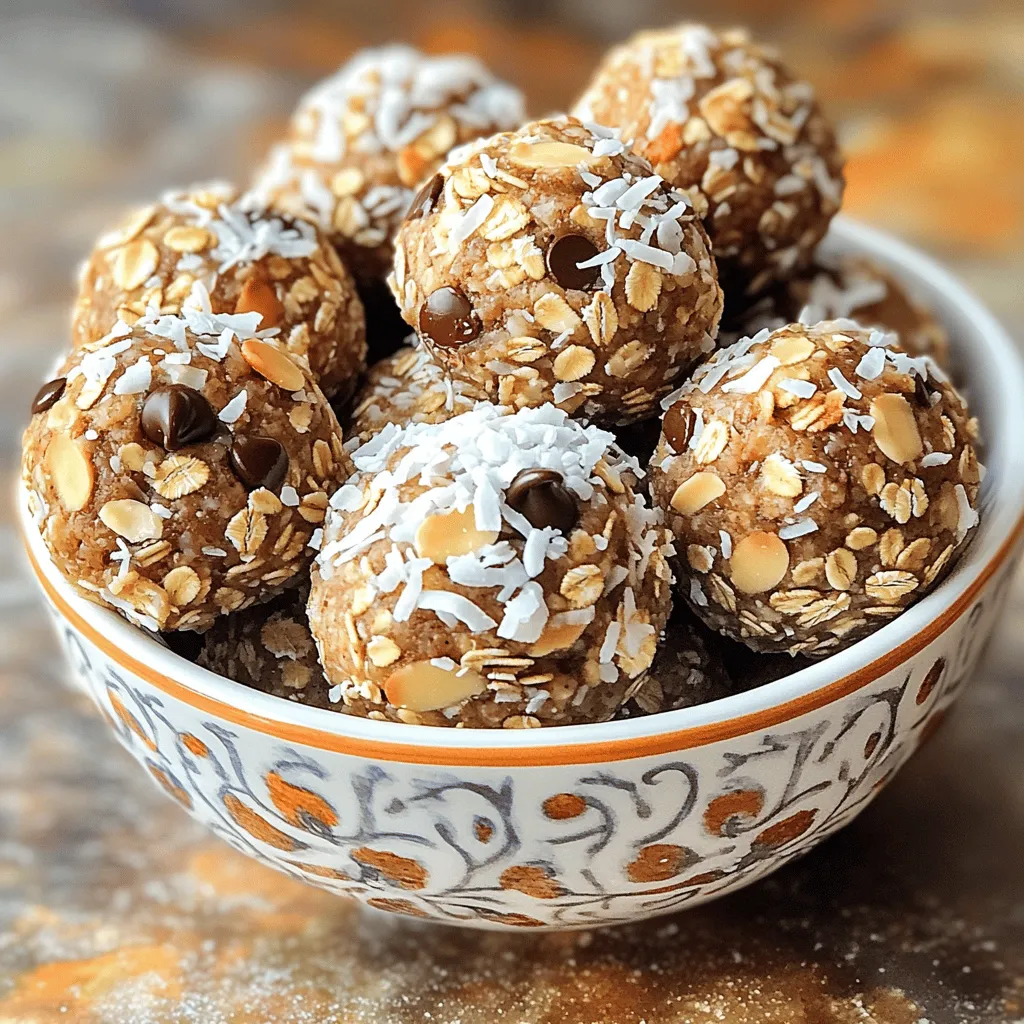
No Bake Almond Joy Energy Bites Healthy Snack Recipe
Looking for a quick, healthy snack? You’ve come to the right place! These No Bake Almond Joy Energy Bites are Read Full Recipe -
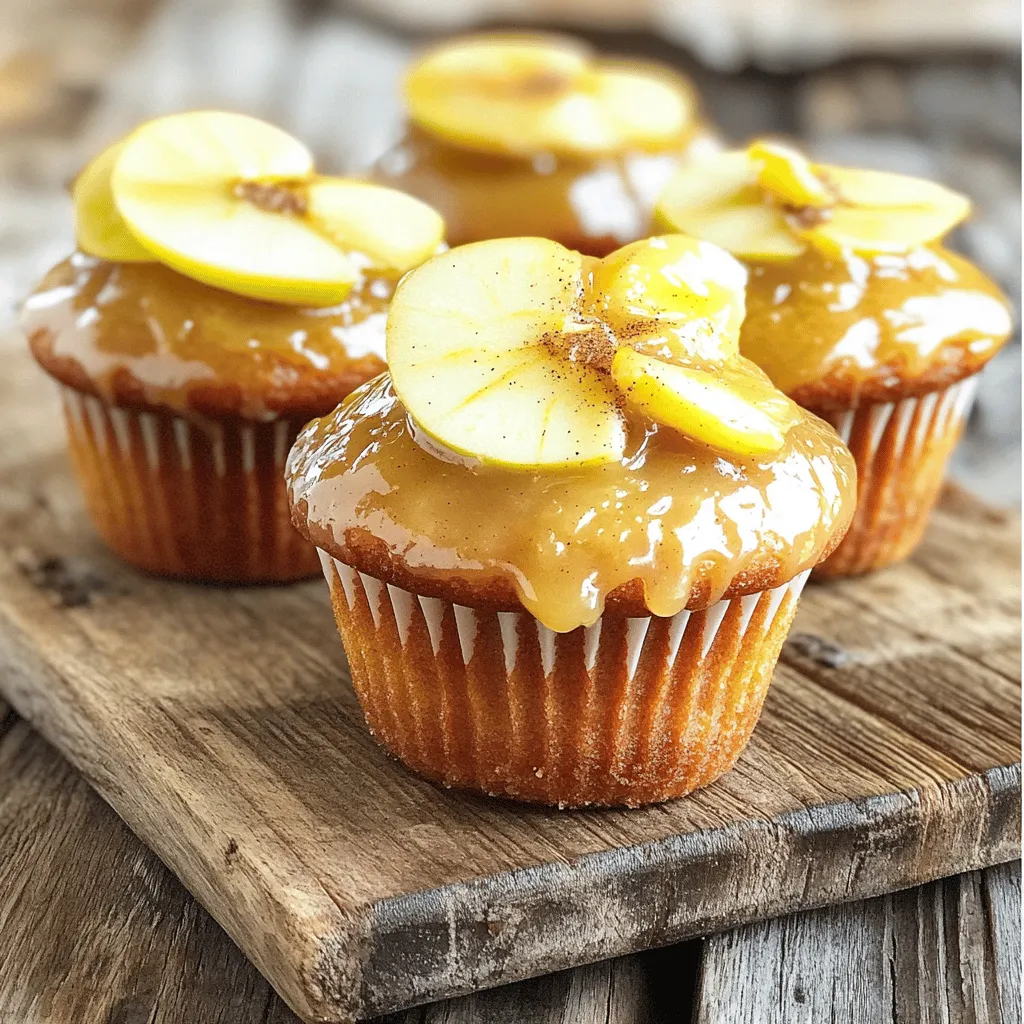
Apple Cider Glazed Donut Muffins Delightful Treat
Get ready to indulge in the cozy flavors of fall with my Apple Cider Glazed Donut Muffins. These muffins blend Read Full Recipe -
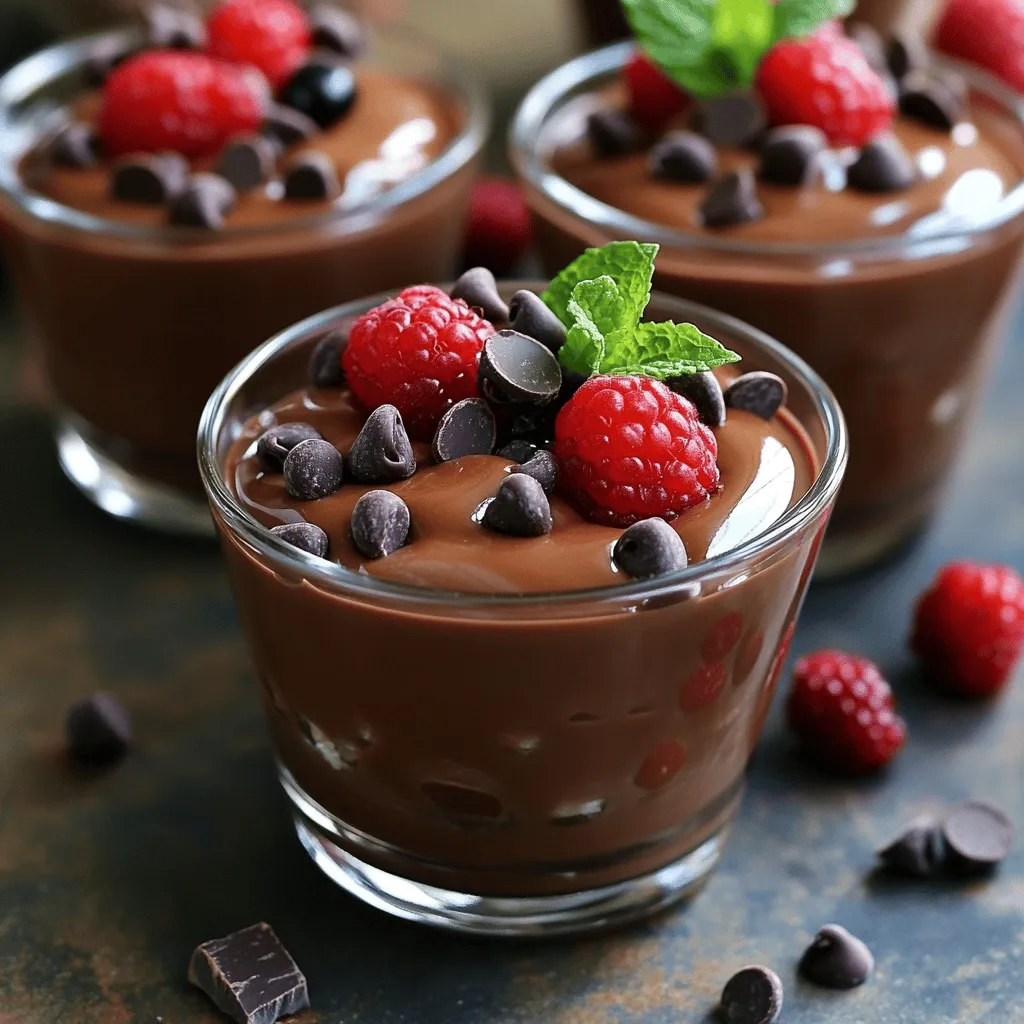
Chocolate Cottage Cheese Pudding Cups Delightful Treat
If you’re craving a sweet treat that won’t derail your health goals, you’ve got to try Chocolate Cottage Cheese Pudding Read Full Recipe

My Latest Drinks
-
Protein Cookies & Cream Milkshake Simple Treat Recipe
If you’re craving a delicious treat that packs a protein punch, look no further! This Protein Cookies & Cream Milkshake Read Full Recipe -
Spiced Pumpkin Lattes Slow Cooker Recipe Delight
Are you ready to warm up your chilly days with a cozy Spiced Pumpkin Latte? I’ve crafted the perfect slow Read Full Recipe -
Peanut Butter Chocolate Protein Shake Tasty Delight
Satisfy your cravings with a Peanut Butter Chocolate Protein Shake! This tasty delight is not only delicious but also healthy. Read Full Recipe -
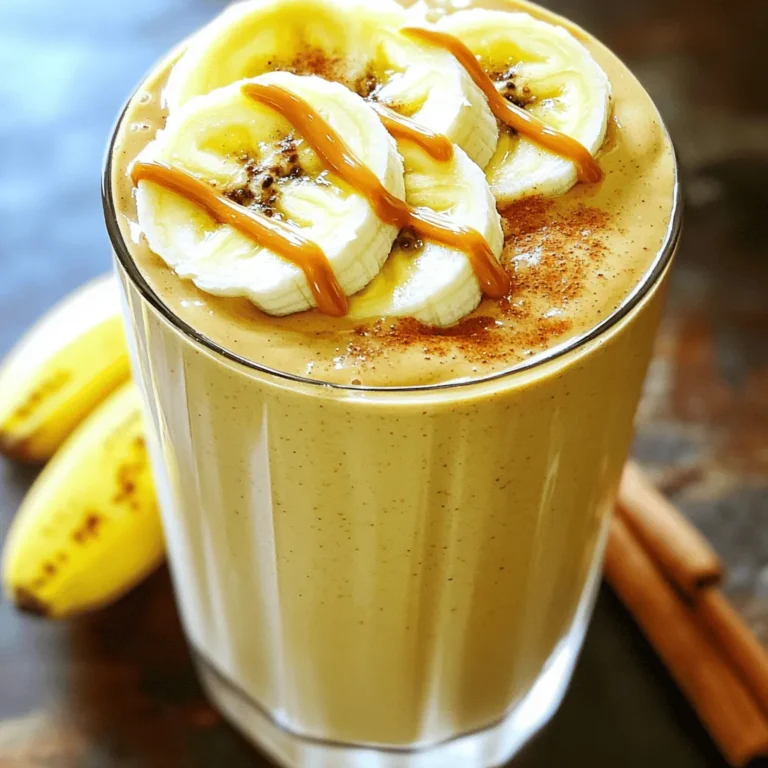
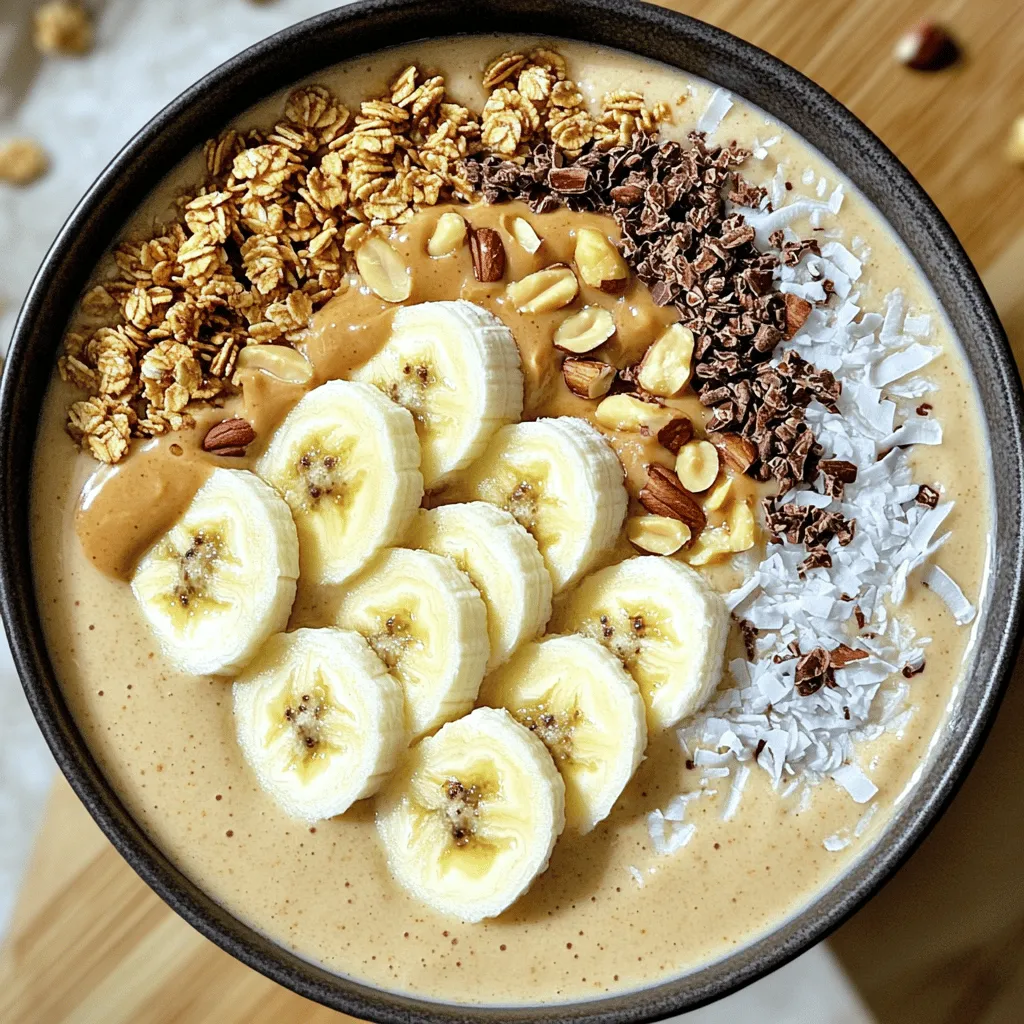
Peanut Butter Banana Smoothie Bowl Simple and Tasty
Looking for a quick, tasty treat? The Peanut Butter Banana Smoothie Bowl is your answer! Packed with ripe bananas and Read Full Recipe -
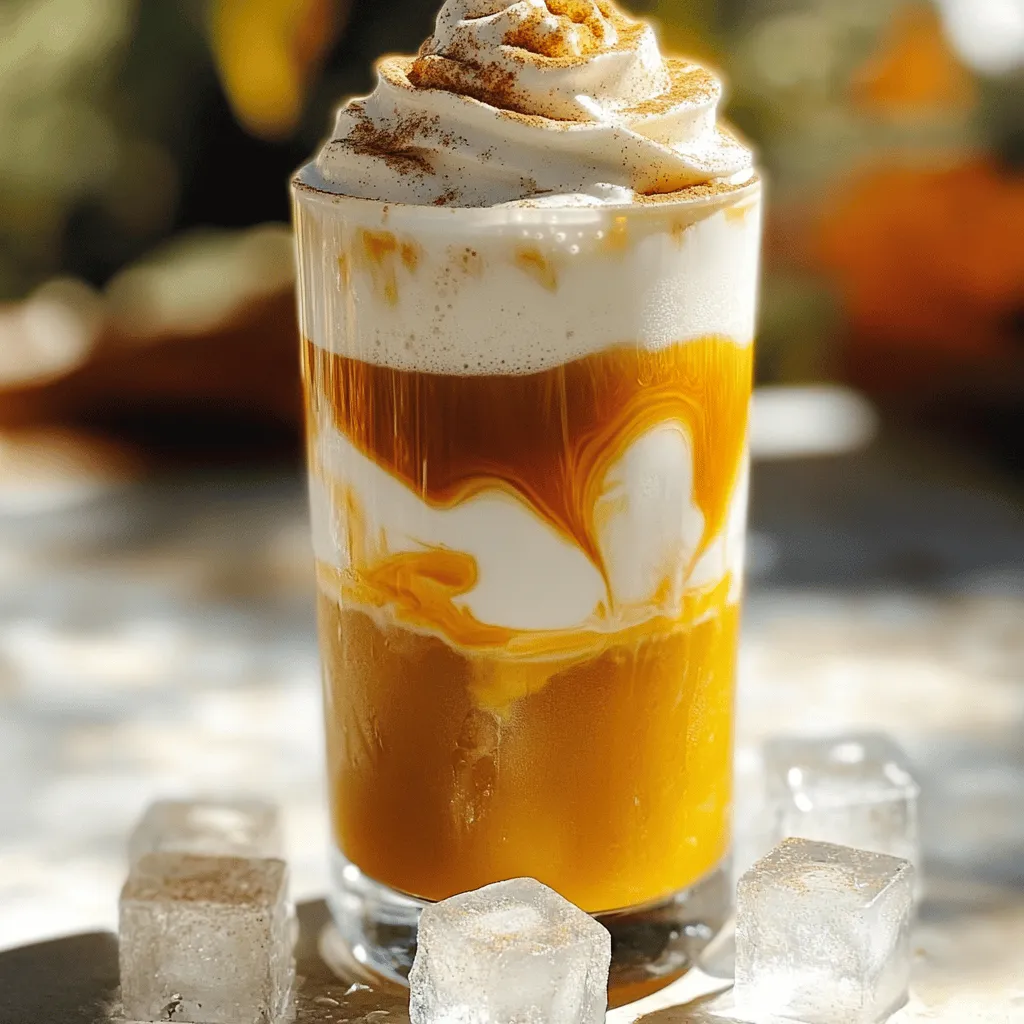
Pumpkin Cream Cold Brew Copycat Simple and Tasty Recipe
Craving a Pumpkin Cream Cold Brew but want to make it at home? You’re in the right place! I’ll show Read Full Recipe -
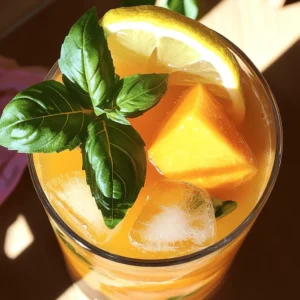
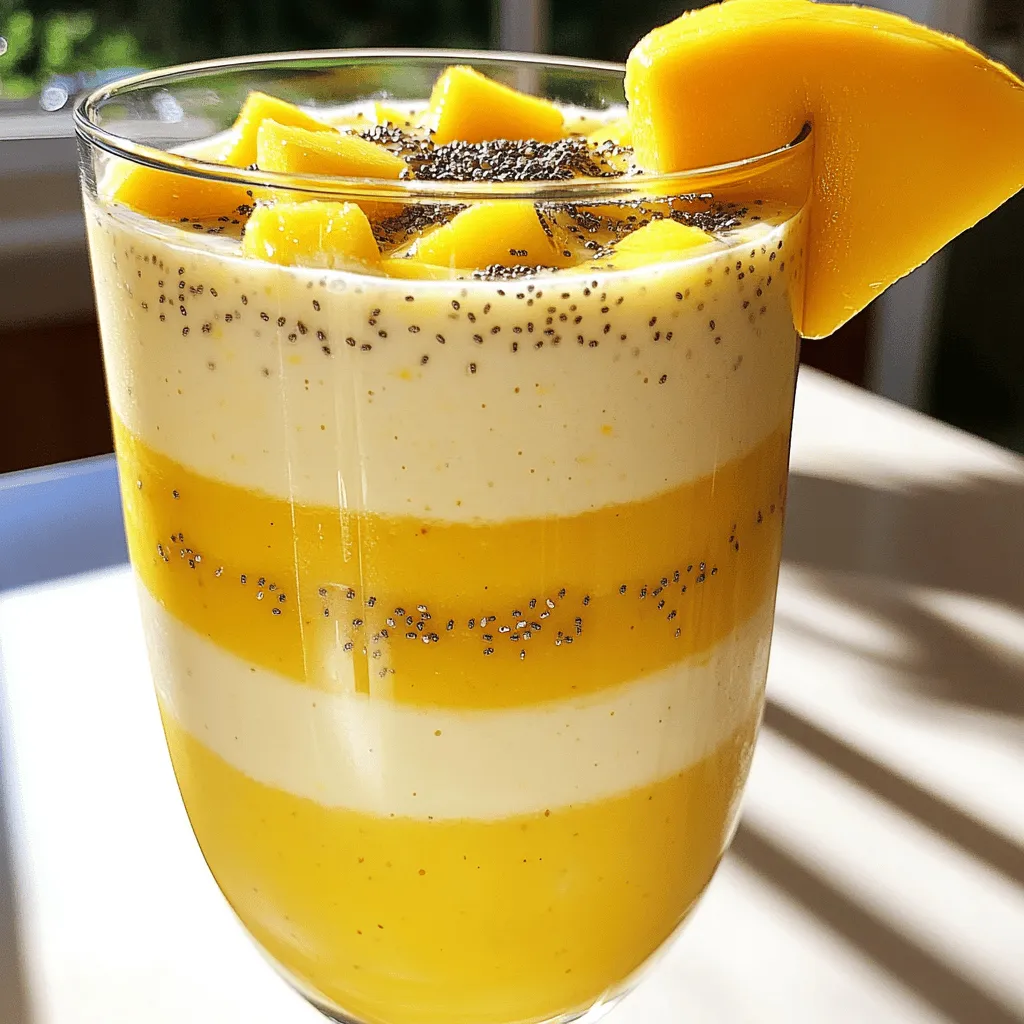
Pineapple Mango Smoothie Refreshing and Nutritious Drink
Looking for a tasty and healthy drink? A Pineapple Mango Smoothie might be just what you need! Packed with fresh Read Full Recipe


hey,
i’m !
I’m so happy you’re here!
I love creating dishes that bring joy to the table. I hope they bring the same joy to yours. Let’s enjoy this flavorful journey together.


![Caprese stuffed avocados are a simple and tasty dish. They mix creamy avocados with fresh, vibrant ingredients. This recipe takes just 10 minutes to make and serves two people. - 2 ripe avocados - 1 cup cherry tomatoes, halved - 1 cup fresh mozzarella balls (bocconcini) - 1/4 cup fresh basil leaves, chopped - 2 tablespoons balsamic glaze - 1 tablespoon olive oil - Salt and pepper to taste You can add extra flavor with optional ingredients. Try adding pine nuts or a sprinkle of chili flakes. If you want a different cheese, use feta or goat cheese. For a vegan option, swap mozzarella with tofu or chickpeas. These changes can make your dish even more special. To start, grab two ripe avocados. Cut each avocado in half lengthwise. Carefully remove the pit with a spoon or knife. Be cautious not to cut yourself. Next, scoop out a little flesh from each half. This step gives you more room for the filling. Set the avocado halves aside on a plate. Now, let’s make the tasty filling. In a mixing bowl, combine one cup of halved cherry tomatoes and one cup of fresh mozzarella balls. Add one-fourth cup of freshly chopped basil leaves. Drizzle one tablespoon of olive oil over this mix. Sprinkle salt and pepper to taste. Gently toss everything together. Make sure all the ingredients blend well. It's time to fill the avocados! Take a spoon and scoop the Caprese mixture into each hollow avocado half. Pack the filling generously. It should look colorful and inviting. To finish, drizzle balsamic glaze over the top. This adds a nice touch and extra flavor. Your Caprese stuffed avocados are now ready to serve! Check the [Full Recipe] for more details. To choose the best avocados, look for ones that feel slightly soft when you press them. The skin should be dark green or black. If it's too firm, it isn't ripe yet. If it feels mushy, it might be overripe. Always check for blemishes or dark spots. These can mean the fruit is bad inside. When mixing your ingredients, cut the cherry tomatoes and mozzarella into small pieces. This helps distribute the flavors evenly. Use a gentle hand when tossing the mixture. You want everything to blend well without crushing the ingredients. Taste as you mix to ensure the seasoning is just right. Adjust salt and pepper to your liking. For a beautiful presentation, place the stuffed avocados on a rustic wooden board. Drizzle some extra balsamic glaze over the top for a shiny finish. Add a few whole basil leaves around the plate for color. You can even sprinkle some flaky sea salt for a nice crunch. These simple touches make your dish look gourmet. For the complete recipe, check out the Full Recipe. {{image_2}} You can easily add protein to your Caprese stuffed avocados. Cooked chicken or shrimp works great. For chicken, use grilled or rotisserie chicken, shredded into small pieces. For shrimp, sauté with a little olive oil and garlic until they turn pink. Mix the protein with the Caprese filling. This adds more flavor and makes the meal heartier. If you want a vegetarian option, try quinoa or chickpeas. Quinoa is a great choice. It adds a nice texture and is healthy. Cook it according to the package. For chickpeas, use canned ones for ease. Rinse and drain them before mixing with tomatoes and mozzarella. Both options boost protein and fiber. To mix things up, try adding pesto or different cheeses. A spoonful of pesto in the filling gives a fresh taste. You can also swap mozzarella for feta or goat cheese. These cheeses bring a tangy flavor that pairs well with avocados. Experiment with flavors to find your favorite combination. For the full recipe, check out the detailed steps above. To store leftover stuffed avocados, wrap them tightly in plastic wrap. This helps to keep air out and prevents browning. Place them in an airtight container for extra protection. Always store them in the fridge. They taste best within 1 to 2 days. I recommend enjoying stuffed avocados fresh. If you need to reheat them, do it gently. Place them in the microwave for about 15 seconds. Check the warmth before adding more time. Avoid overheating, as it can affect the texture and taste. Stored avocados can lose some nutrients over time. Vitamin C and healthy fats are key in fresh avocados. Cherry tomatoes offer vitamins A and C. Mozzarella provides calcium and protein. While stored ingredients may change, they still have good nutritional value when consumed within a few days. Yes, you can prepare the filling ahead of time. Mix the tomatoes, mozzarella, and basil. Store it in a sealed container. However, cut avocados brown quickly. For best taste, fill them just before serving. Caprese stuffed avocados go great with many dishes. Try serving them with grilled chicken or fish. They also pair well with a light salad. A zesty lemon vinaigrette can enhance the flavors. Stuffed avocados last about one day in the fridge. The avocado flesh can brown quickly. If you store them, cover with plastic wrap. This helps keep them fresh a little longer. Enjoy them as soon as possible for the best taste. For the full recipe, check the earlier section! This blog post provided a full recipe for delicious Caprese Stuffed Avocados. We covered key ingredients, tips for preparation, and assembly steps. I shared variations to suit different diets and preferences. You also learned how to store them to keep them fresh. Now, you can easily make this tasty dish at home. Enjoy your cooking and get creative with your ingredients!](https://soyumrecipes.com/wp-content/uploads/2025/07/5a879cd6-dc45-4d8f-aeec-155f8d23ee86-300x300.webp)
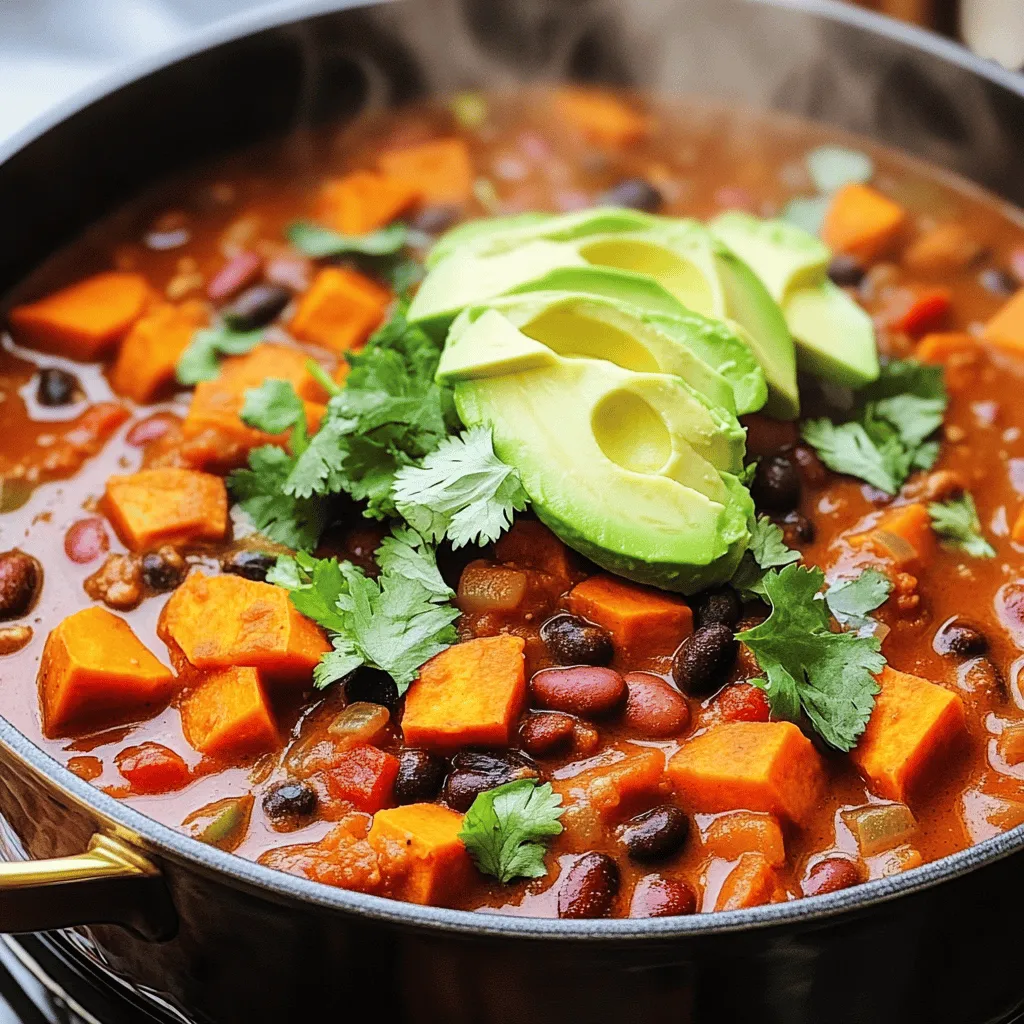
Vegan Sweet Potato Chili Tasty and Hearty Meal
Craving a hearty yet healthy meal? This Vegan Sweet Potato Chili is your answer! Packed with vibrant flavors and nutritious ingredients, this dish is…