Are you ready to bake a delicious loaf of No-Knead Skillet Bread? This simple recipe requires just a few basic ingredients and minimal effort, yet delivers amazing taste. You won’t believe how easy it is to create fresh, warm bread right on your stovetop. In this guide, I’ll lead you through each step, sharing tips and tricks to ensure your bread comes out perfect every time. Let’s get started!
Why I Love This Recipe
- Easy Preparation: This no-knead method allows anyone to bake fresh bread with minimal effort, making it perfect for beginners.
- Long Rise Time: The extended fermentation develops complex flavors that you typically only find in artisan breads.
- Versatile Ingredients: With just a few pantry staples, you can customize the bread with herbs, spices, or even cheese!
- Crispy Crust: The baking in a hot skillet creates a beautifully crispy crust while keeping the inside soft and chewy.
Ingredients
Main Ingredients
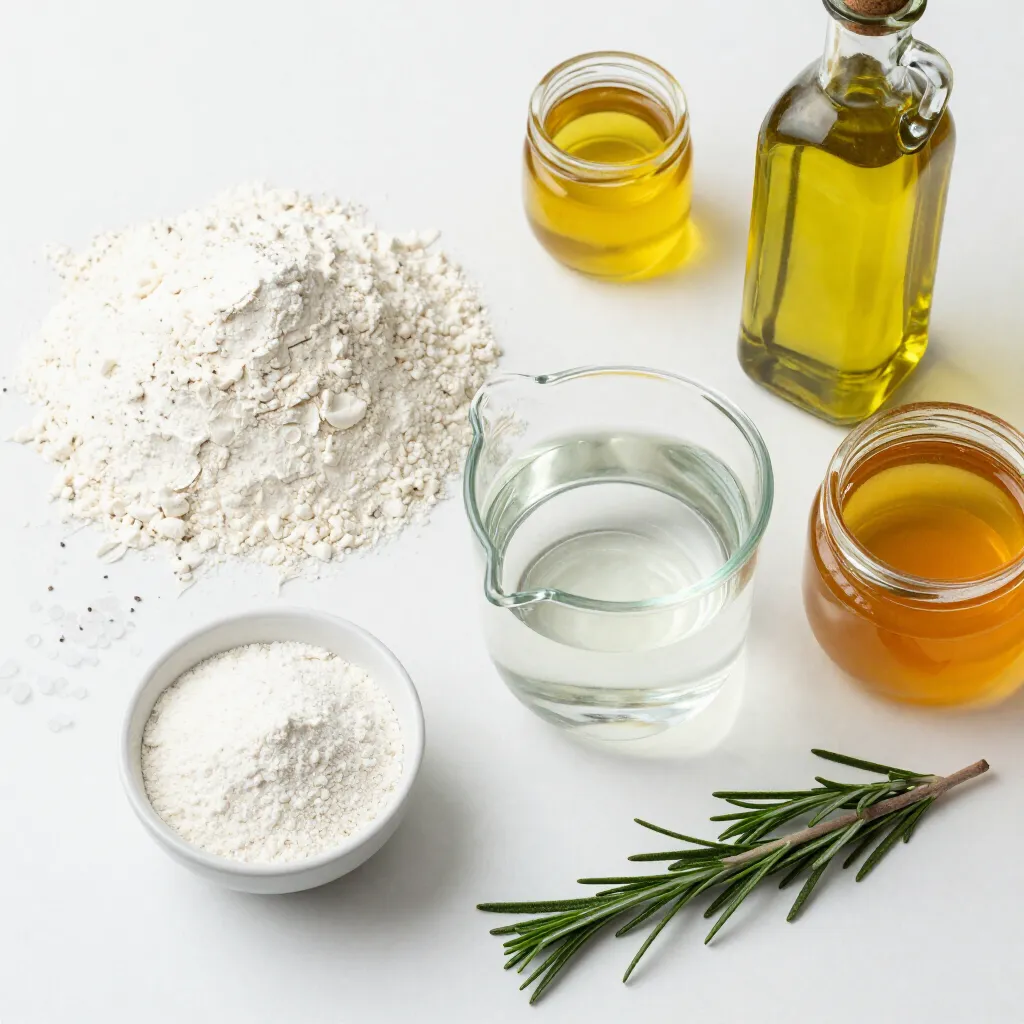
– 3 cups all-purpose flour
– 1 ¼ teaspoons salt
– ½ teaspoon instant yeast
– 1 ½ cups warm water (110°F)
Additional Ingredients
– 2 tablespoons olive oil
– 1 tablespoon honey
– 1 tablespoon fresh rosemary, chopped (optional)
– Sea salt for sprinkling
The main ingredients form the base of the no-knead skillet bread.
First, you need flour. I use 3 cups of all-purpose flour. It gives the bread a nice texture.
Next, salt plays a key role. I add 1 ¼ teaspoons. It enhances flavor and helps the yeast work.
Yeast is essential for rising. I use ½ teaspoon of instant yeast. It helps the dough rise without much fuss.
Warm water is crucial too. I measure 1 ½ cups at 110°F. It activates the yeast and brings the dough together.
For that extra touch, I add olive oil and honey. The 2 tablespoons of olive oil add richness. The 1 tablespoon of honey gives a hint of sweetness.
Optionally, fresh rosemary can add flavor. I chop 1 tablespoon and fold it into the dough if I want a herbal note.
Finally, a sprinkle of sea salt on top adds great flavor. These ingredients make this recipe simple yet tasty.
Step-by-Step Instructions
Mixing Ingredients
– Mix dry ingredients: In a large bowl, whisk together 3 cups of all-purpose flour, 1 ¼ teaspoons of salt, and ½ teaspoon of instant yeast until well blended.
– Combine wet ingredients: In another bowl, stir together 1 ½ cups of warm water (110°F), 2 tablespoons of olive oil, and 1 tablespoon of honey. Make sure the honey dissolves completely.
– Create the dough: Pour the wet mix into the dry mix. Stir with a wooden spoon until a shaggy dough forms. If you like, fold in 1 tablespoon of chopped fresh rosemary.
Rising the Dough
– First rise: Cover the bowl with plastic wrap or a towel. Let it sit at room temperature for 12 to 18 hours. The dough should bubble and double in size.
– Preheat the skillet: After the first rise, place a large cast-iron skillet in the oven. Preheat the oven to 450°F (232°C).
Shaping and Baking
– Shape the dough: Once the oven is hot, sprinkle flour on a clean surface. Gently turn the dough onto it. Shape the dough into a rough ball. Be careful not to deflate it too much.
– Place in the hot skillet: Using oven mitts, carefully remove the hot skillet. Lightly grease the bottom of the skillet. Place the dough in it.
– Second rise: Cover the skillet with a towel. Let the dough rest for another 30 minutes.
– Prepare for baking: Before baking, sprinkle a little sea salt on top. This adds great flavor.
– Bake: Place the skillet in the oven. Bake for 30-35 minutes. The bread should be golden brown and sound hollow when tapped on the bottom.
Tips & Tricks
Perfecting the Bread
To get the best dough, aim for a sticky feel. It should be soft but not runny. If it’s too dry, add a little more warm water. For a good rise, keep the dough covered in a warm spot. This helps the yeast work its magic.
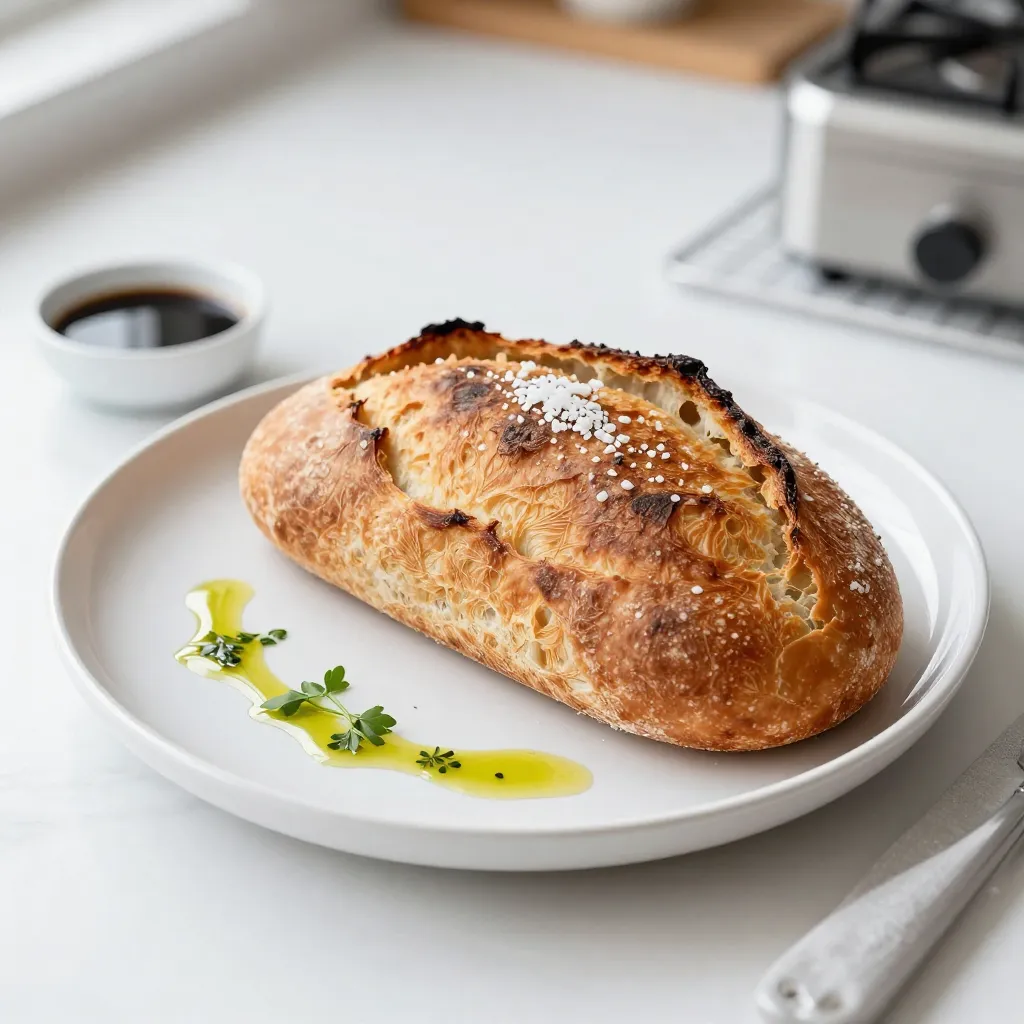
Serving Suggestions
This bread tastes great with olive oil and balsamic vinegar. For fun, try adding fresh herbs on top when you serve it. A nice touch is to serve it warm, straight from the skillet.
Troubleshooting
If your bread is flat, check the yeast. It should be fresh and active. If your dough is too wet, add a bit more flour during shaping. At high altitudes, you may need less water. Adjust as needed to get the perfect loaf.
Pro Tips
- Use Room Temperature Ingredients: Ensure your water is warm but not hot, as too much heat can kill the yeast. Room temperature ingredients help in achieving a well-risen dough.
- Experiment with Flavors: Add ingredients like garlic, cheese, or different herbs to the dough for unique flavor profiles. This is a great way to customize the bread to your taste.
- Monitor the Baking Time: Ovens can vary, so keep an eye on the bread as it bakes. If it’s browning too quickly, cover it loosely with aluminum foil to prevent burning while ensuring it cooks through.
- Let It Cool: Allow the bread to cool on a wire rack before slicing. This helps maintain the structure and prevents it from becoming gummy inside.
Variations
Flavor Additions
You can change the flavor of your no-knead skillet bread with herbs and spices. Try adding garlic powder, dried thyme, or basil for a savory twist. You can also mix in cheese like cheddar or feta to make it rich and tasty. If you want veggies, add chopped olives or sun-dried tomatoes for extra flavor.
Gluten-Free Option
For a gluten-free version, use a gluten-free flour blend. Make sure the blend includes xanthan gum for texture. You may need to adjust the liquid, adding a bit more water. This helps achieve the right dough consistency.
Seasonal Variations
You can make holiday breads by adding spices like cinnamon or nutmeg. For fall, mix in pumpkin puree for a unique flavor. In spring, use fresh herbs like chives or parsley for a bright taste. Seasonal ingredients can make your bread special and fun.
Storage Info
How to Store Leftovers
To keep your no-knead skillet bread fresh, place it in a sealed bag. Store it at room temperature for up to three days. Make sure the bread cools completely before sealing. Avoid placing warm bread in a bag, as it traps moisture. This can make the bread soggy. If you live in a humid area, consider refrigerating it to prevent mold. However, this can dry out the bread.
Freezing and Reheating
If you want to save your bread for later, freezing is a great option. First, wrap the bread tightly in plastic wrap. Then, put it in a freezer-safe bag. This keeps the fresh taste and texture. You can freeze it for up to three months. When you’re ready to eat, thaw it overnight in the fridge.
To reheat, preheat your oven to 350°F (175°C). Remove the wrap and place the bread directly on the oven rack. Heat for about 10 to 15 minutes until warm. This method brings back the crispy crust. You can also slice the bread before freezing. This way, you can take out just what you need.
FAQs
Is no-knead bread really no-knead?
Yes, no-knead bread is truly no-knead. You mix the ingredients and let them rest. This resting time helps the dough rise and develop flavor. The long rise time replaces the need for kneading. It’s simple and effective!
How long does the bread last?
No-knead bread can last about 3 to 5 days. Store it in a paper bag at room temperature. This keeps the crust crisp. You can also wrap it in plastic wrap. If you want, freeze the bread for up to 3 months. Thaw it at room temperature before eating.
Can I use a different type of flour?
Yes, you can use different flours. Whole wheat flour adds a nutty taste. You can also try spelt flour for a unique flavor. Just remember, different flours may change the dough’s texture. You might need to adjust the water amount. Start with less and add more if needed.
Why is my bread dense?
Dense bread can happen for a few reasons. If the dough doesn’t rise enough, it may be too cold. Make sure your ingredients are at room temperature. Also, check if you used enough yeast. If the dough is too dry, add more water. Finally, avoid overmixing. Mix until just combined for the best texture.
You now have a clear roadmap for making delicious no-knead skillet bread. By following simple steps and using fresh ingredients, you can enjoy warm, homemade bread with ease. Remember to experiment with flavors and variations to make the recipe your own. If you encounter issues, the troubleshooting section has you covered. Enjoy sharing your bread with friends and family or savoring it alone. Your baking journey is just beginning, and there’s plenty more to explor