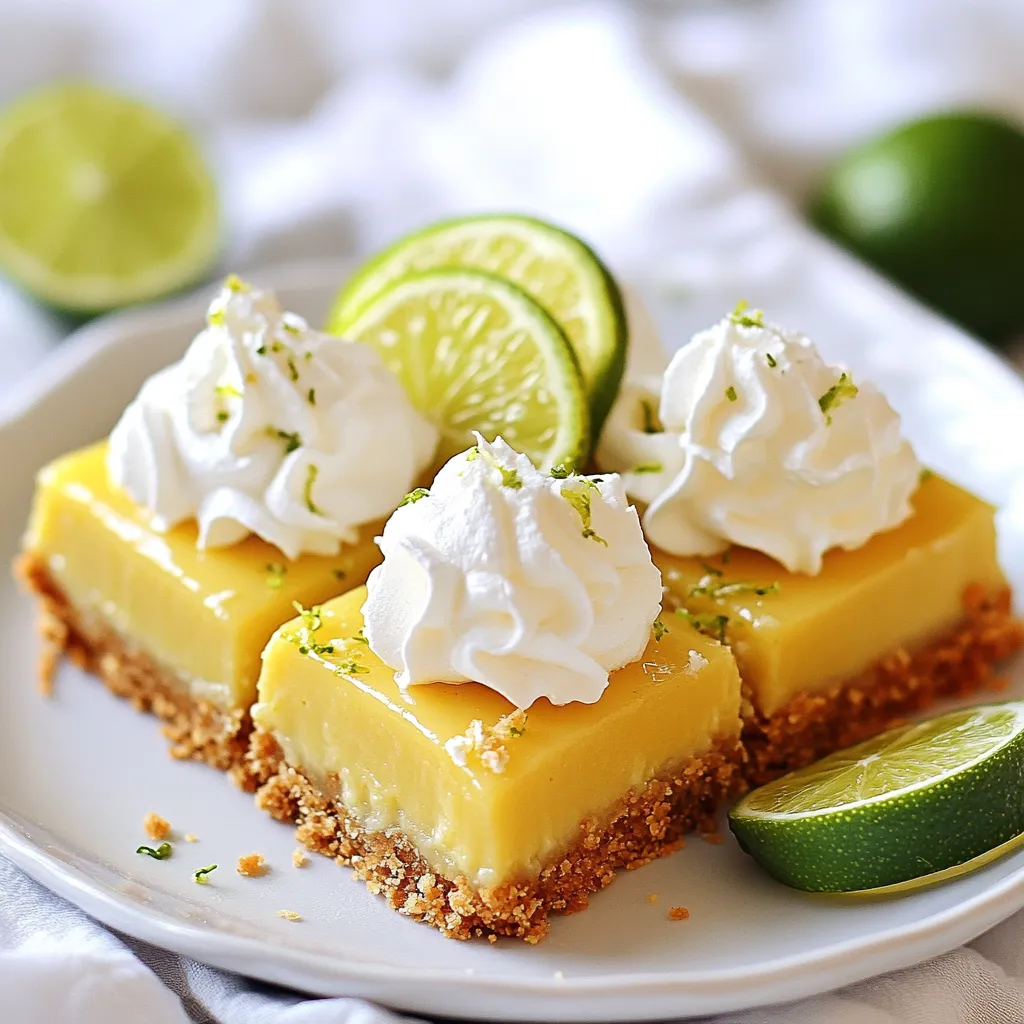
Are you ready to enjoy a treat that’s both simple and zesty? Key Lime Pie Bars combine the tart zing of key limes with a buttery crust, creating a dessert that brightens any day. In this post, I’ll guide you through each step, from gathering fresh ingredients to serving these delightful bars. Let’s dive into the world of easy baking and explore how to make this perfect summer dessert!
Why I Love This Recipe
- Deliciously Tangy: The key lime juice adds a refreshing and zesty flavor that perfectly balances the sweetness of the dessert.
- Easy to Make: This recipe requires simple ingredients and straightforward steps, making it perfect for bakers of all levels.
- Perfect for Any Occasion: Whether it’s a summer BBQ or a holiday gathering, these bars are a hit with friends and family.
- Beautiful Presentation: Topping with whipped cream and lime slices makes these bars visually appealing and appetizing.
Ingredients
Complete List of Ingredients
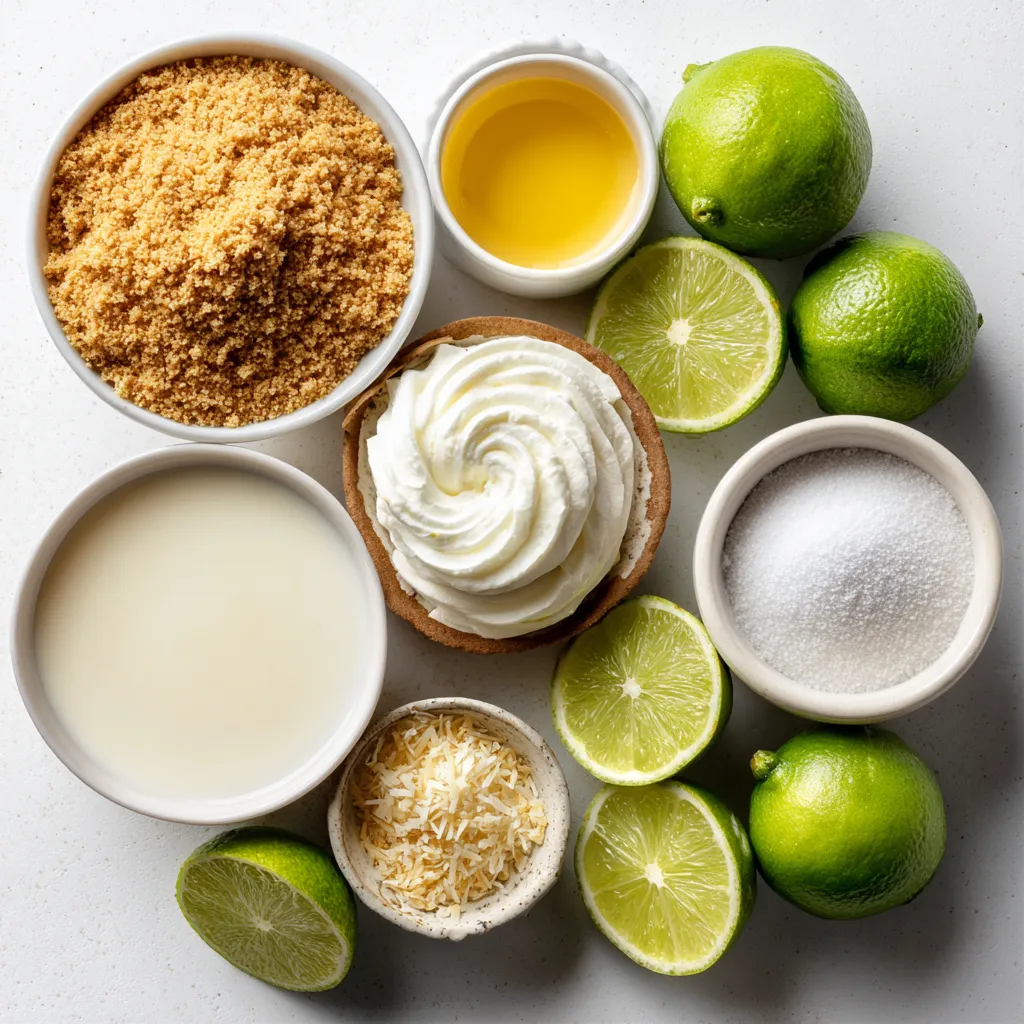
Key Ingredients for the Crust
– 1 cup graham cracker crumbs
– 1/4 cup unsweetened coconut flakes
– 1/2 cup unsalted butter, melted
– 1/3 cup granulated sugar
The crust gives your Key Lime Pie Bars a nice crunch. Graham cracker crumbs add sweetness and texture. Adding coconut flakes makes the crust even more tasty. Melted butter helps bind the crumbs together. The sugar sweetens the crust just right.
Key Ingredients for the Filling
– 2 large eggs
– 1 cup sweetened condensed milk
– 1/2 cup fresh key lime juice
– 1 teaspoon vanilla extract
– Zest of 2 key limes
The filling is where the magic happens. Eggs help set the filling, making it firm. Sweetened condensed milk adds creaminess and sweetness. Fresh key lime juice gives that tangy flavor. Vanilla extract enhances the taste, while lime zest adds a bright note.
Toppings and Garnishes
– Whipped cream (for topping)
– Thin lime slices (for garnish)
Whipped cream adds a light and airy touch. It balances the tartness of the bars. Thin lime slices make for a lovely garnish. They add color and a fresh look to each serving.
Step-by-Step Instructions
Prepping the Oven and Baking Dish
Start by preheating your oven to 350°F (175°C). This heat is perfect for baking. Next, take an 8×8-inch baking dish and line it with parchment paper. Leave some paper hanging over the sides. This will help you lift the bars out later.
Making the Crust
In a mixing bowl, combine 1 cup of graham cracker crumbs, 1/4 cup of unsweetened coconut flakes, 1/2 cup of melted unsalted butter, and 1/3 cup of granulated sugar. Mix well until the crumbs are moistened. This mixture should look like wet sand. Press it evenly into the bottom of the baking dish to form a crust. Bake it for 10 minutes or until it turns lightly golden. When done, take it out and let it cool slightly.
Preparing the Lime Filling
In another bowl, whisk together 2 large eggs, 1 cup of sweetened condensed milk, 1/2 cup of fresh key lime juice, 1 teaspoon of vanilla extract, and the zest of 2 key limes. Mix until the filling is smooth. This mixture brings the tangy flavor we love in key lime pie.
Baking and Cooling the Bars
Pour the lime filling over the crust, spreading it evenly. Bake in the oven for an additional 15-20 minutes. The filling should be set but still a little jiggly in the center. When the time is up, remove it from the oven. Allow the bars to cool to room temperature. Then, refrigerate them for at least 2 hours. This helps them firm up and enhances the flavor.
Serving Suggestions
Once chilled, lift the bars out of the dish using the parchment paper. Cut them into squares. Serve each bar with a dollop of whipped cream on top. Add a thin slice of lime for a nice garnish. Enjoy your tasty and tangy key lime pie bars!
Tips & Tricks
How to Perfect the Crust
To make the crust just right, use fresh graham cracker crumbs. I like to crush whole crackers for the best texture. Adding unsweetened coconut flakes gives it a nice tropical twist. Mix these with melted butter and sugar until moist. Press this mixture firmly into your baking dish. Bake it until golden, about 10 minutes. This step is key for a crunchy base.
Avoiding Common Mistakes
One common mistake is not letting the crust cool before adding the filling. Make sure it cools slightly; this keeps the filling from sinking. Another mistake is overbaking the filling. You want it to be set but still a bit jiggly in the center. If you bake it too long, it can turn rubbery. Trust me, your taste buds will thank you for this tip.
Recommended Tools for Success
Use a sturdy mixing bowl and a whisk for combining your ingredients. A baking dish lined with parchment paper makes removal easy. A sharp knife or a pizza cutter helps cut the bars into neat squares. Finally, have a zester handy for that fresh lime zest. These tools help make the process smoother and more enjoyable.
Pro Tips
- Chill Before Serving: For the best texture, allow the bars to chill in the refrigerator for at least 2 hours before serving. This helps the filling firm up and enhances the flavors.
- Fresh Key Limes: If possible, use fresh key limes for the juice and zest. They provide a brighter, more vibrant flavor than bottled lime juice.
- Perfectly Cut Bars: To get clean cuts, use a sharp knife dipped in hot water. Wipe the knife clean between cuts for neat edges.
- Variations: Experiment with different toppings like toasted coconut or a sprinkle of graham cracker crumbs for added texture and flavor.
Variations
Coconut Key Lime Pie Bars
You can add a fun twist to your key lime pie bars by using coconut. Just stir in 1/4 cup of unsweetened coconut flakes into the crust mix. This gives a rich flavor and a tropical touch. The coconut pairs well with the tangy lime. You can also sprinkle some on top for a great look and extra crunch.
Gluten-Free Options
If you need a gluten-free treat, swap the graham cracker crumbs for gluten-free crust options. Use crushed almond flour or gluten-free cookies. This way, everyone can enjoy these tasty bars. Just ensure that your sweetened condensed milk is gluten-free as well.
Alternate Toppings or Add-ins
Get creative with toppings! You can try fresh berries like blueberries or strawberries for a fruity kick. A sprinkle of toasted coconut adds texture. For extra flavor, drizzle some lime zest over the whipped cream. You can even mix in some chopped nuts or chocolate chips into the filling for a unique twist. Each option adds a new layer of flavor to your key lime pie bars.
Storage Info
How to Store Key Lime Pie Bars
To keep your Key Lime Pie Bars fresh, place them in an airtight container. You can store them in the fridge for up to a week. Make sure to cover them well before placing them in the container. This keeps them from drying out and helps them stay cool and tasty.
Freezing Instructions
If you want to save some bars for later, freezing is a great option. Wrap each bar in plastic wrap tightly. Then, place them in a freezer bag or container. You can freeze them for up to three months. When you are ready to eat, just thaw them in the fridge overnight.
Best Duration for Freshness
For the best taste, eat your Key Lime Pie Bars within a week if stored in the fridge. If frozen, try to consume them within three months for the best flavor. After that, they may lose some of their tangy goodness. Remember, freshness is key to enjoying these delicious treats!
FAQs
Can I use regular limes instead of key limes?
Yes, you can use regular limes. Key limes are smaller and sweeter. They give a unique flavor that is hard to match. If you use regular limes, the taste will be sharper. You might want to add a little sugar to balance it.
How do I know when the bars are done baking?
The bars are done when they look set. The center should still wiggle a bit, but the edges should be firm. A good test is to gently shake the pan. If the middle jiggles slightly, it’s time to take them out.
What can I substitute for sweetened condensed milk?
You can use coconut milk and sugar as a substitute. Mix one cup of coconut milk with 1/3 cup of sugar. Heat it gently until the sugar dissolves. This mix will give a sweet flavor, though it may change the texture slightly.
Can I make these bars ahead of time?
Absolutely! These bars are great when made ahead of time. You can bake them a day before your event. Just store them in the fridge. Let them chill for at least two hours before serving.
How do I cut the bars cleanly?
To cut the bars cleanly, use a sharp knife. Dip the knife in hot water before each cut. Wipe it dry after each slice. This will help you get neat edges. Enjoy the perfect presentation!
This blog post covered everything you need for perfect Key Lime Pie Bars. We explored key ingredients, from the crust to the filling and toppings. I shared step-by-step instructions for making and serving these bars. You also learned tips to avoid mistakes and how to store your treats. Finally, I suggested fun variations to keep it fresh. Enjoy making these bars, and don’t hesitate to experiment. Your tasty treats will impress everyon