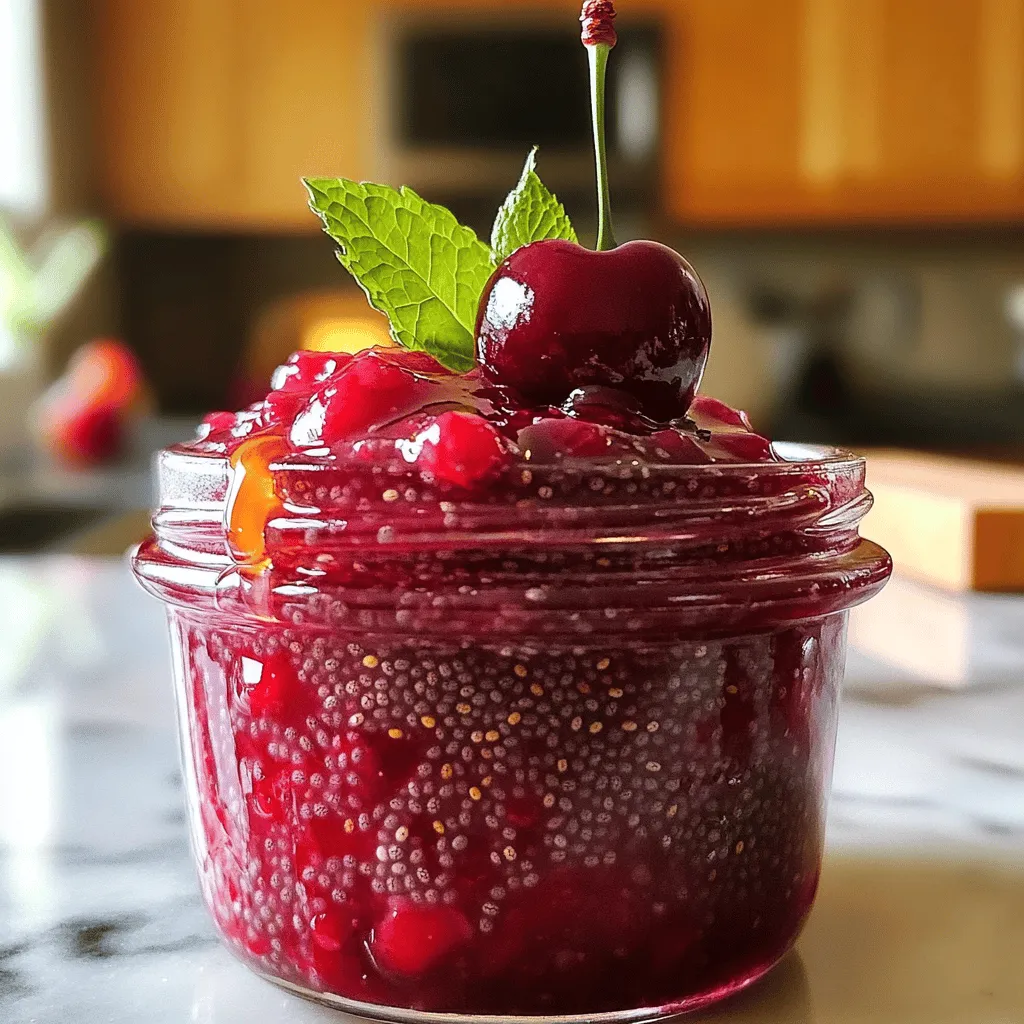
If you love delicious and healthy spreads, you need to try this Cherry Chia Jam! It’s easy, quick, and full of flavor. You’ll learn how to turn fresh cherries and chia seeds into a tasty treat packed with nutrition. Plus, you’ll discover tips to customize this jam to suit your taste. Let’s dive in and make a sweet addition to your breakfast or snack rotation!
Ingredients
List of Required Ingredients
To make this tasty cherry chia jam, gather these simple ingredients:
– 2 cups fresh or frozen cherries, pitted
– 1/4 cup honey or maple syrup (adjust based on sweetness preference)
– 2 tablespoons chia seeds
– 1 tablespoon lemon juice
– 1/2 teaspoon vanilla extract (optional)
– A pinch of salt
Ingredient Substitutions
You can swap ingredients if needed. Use agave syrup instead of honey or maple syrup for a vegan option. If you lack fresh cherries, frozen ones work just as well. You can also leave out the vanilla extract if you prefer a more straightforward cherry flavor. If you do not have chia seeds, you can use ground flaxseeds, but the texture will be different.
Health Benefits of Cherries and Chia Seeds
Cherries pack a punch of nutrients. They are high in vitamins and antioxidants. These compounds help fight inflammation and support heart health. Chia seeds add even more benefits. They are rich in fiber, omega-3 fatty acids, and protein. This combination helps you feel full and supports digestion. Together, cherries and chia seeds make this jam not just tasty but also good for your body.
Step-by-Step Instructions
Preparing the Cherries
To start, you need to prepare the cherries. If you use fresh cherries, wash them well. Next, pit and halve each cherry. If you choose frozen cherries, let them thaw for a bit. This makes blending easier.
Cooking and Mashing the Mixture
Now, place the cherries into a medium saucepan. Add honey or maple syrup based on your taste. Cook on medium heat for about 5-7 minutes. You will see the cherries release their juices and soften. Stir occasionally to avoid burning. Once soft, take a potato masher or a fork to mash the cherries. Mash until you reach your desired consistency. You can use an immersion blender for a smoother jam if you prefer.
Thicken and Cool
Once mashed, it’s time to add chia seeds, lemon juice, and salt. Stir well to mix all the ingredients. Lower the heat and let it simmer for 5-10 minutes. This will help the jam thicken nicely. The chia seeds will absorb some liquid and create that perfect jam texture. After cooking, remove the saucepan from heat. Allow the jam to cool at room temperature. When it cools, transfer it to a clean jar. Refrigerate for at least one hour. Your cherry chia jam will thicken even more in the fridge. Enjoy your delicious treat!
Tips & Tricks
How to Achieve the Perfect Consistency
To get the right texture for your cherry chia jam, you need to manage the cooking time. Cook the cherries until they are soft and juicy. When mashing, stop when you reach your preferred chunkiness. If you like a smoother jam, use a blender. Add chia seeds after mashing. They will absorb liquid and thicken the jam. Let it simmer for about 10 minutes. This will help it set nicely.
Serving Suggestions for Cherry Chia Jam
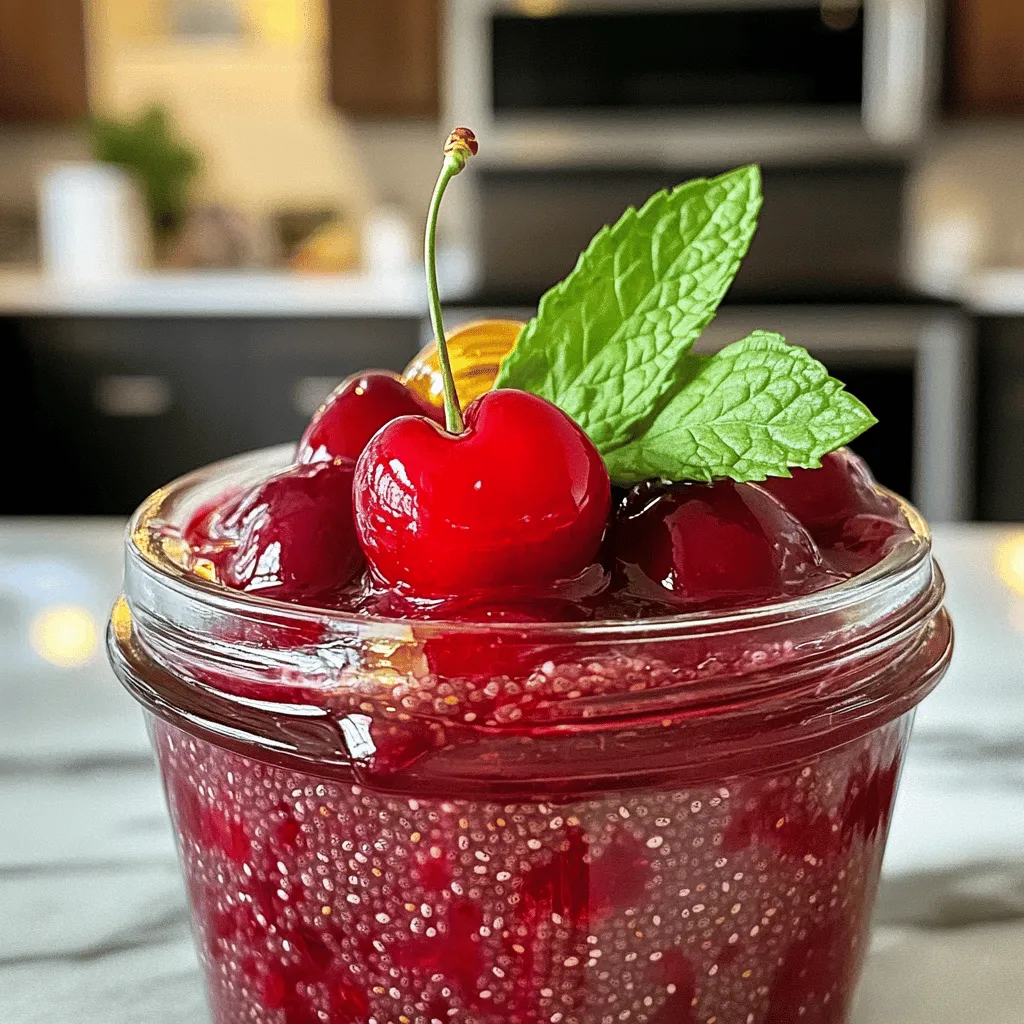
Cherry chia jam is versatile and fun to use. You can spread it on toast or pancakes. It also works well as a filling for pastries. For a fancy touch, serve it in small jars. Drizzle honey on top and add a fresh cherry or mint leaf for color. You can mix it into yogurt or oatmeal for added flavor and nutrition.
Common Mistakes to Avoid
One common mistake is not mashing the cherries enough. This can lead to a jam that is too chunky. Another mistake is not letting it cool completely before storing. If you store it warm, it can spoil faster. Lastly, using too few chia seeds can result in a runny jam. Follow the recipe closely to avoid these issues.
Variations
Using Other Fruits in Place of Cherries
You can swap cherries with other fruits. Try using blueberries, strawberries, or peaches. Each fruit brings its own flavor. You can follow the same recipe. Just remember to adjust the sweetness. Some fruits are sweeter than cherries, like bananas. Others, like cranberries, may need more sugar.
Adjusting Sweetness and Flavor
You can change the sweetness to fit your taste. Use honey, maple syrup, or stevia. Taste as you mix, and add more if needed. For added flavor, consider spices like cinnamon or ginger. A dash of almond extract can also add a nice twist.
Creative Uses for Cherry Chia Jam
Cherry chia jam is not just for toast. Use it in yogurt or oatmeal for a fruity touch. You can also mix it into smoothies for extra flavor. Try it in baking, like filling for muffins or cakes. It also works well as a topping for pancakes or waffles. This jam adds a pop of color and flavor to many dishes.
Storage Info
Best Practices for Storing Cherry Chia Jam
To keep your cherry chia jam fresh, use a clean, airtight jar. Make sure the jar is dry before adding the jam. Store the jam in the refrigerator for the best flavor and texture. Avoid leaving the jam out at room temperature. This can spoil the jam quickly. If you have leftover jam, always use a clean spoon when serving. This helps prevent bacteria from getting in.
Shelf Life and Freezing Options
Cherry chia jam lasts about two weeks in the fridge. If you want to save it for longer, consider freezing it. To freeze, put the jam in a freezer-safe container. Leave some space at the top, as the jam expands when frozen. It can stay good for up to six months in the freezer. When you want to use it, thaw it in the fridge overnight or at room temperature.
Reuse and Re-purpose Old Jam
If the jam gets old, don’t throw it away! You can use it in many ways. Stir it into yogurt for a tasty breakfast. Mix it into smoothies for extra flavor. You can also use it as a topping for pancakes or waffles. If the jam has thickened too much, add a splash of water to loosen it up. This way, you can enjoy every last bit of your cherry chia jam!
FAQs
How long does homemade cherry chia jam last?
Homemade cherry chia jam lasts about 1 to 2 weeks in the fridge. Store it in a clean, airtight jar. If you want it to last longer, try freezing it. The jam can keep for up to 6 months in the freezer. Just thaw it in the fridge when you’re ready to enjoy it!
Can I use frozen cherries for this recipe?
Yes, you can use frozen cherries! They work just as well as fresh ones. Just thaw them a bit before cooking. This makes it easier to mash them. Plus, using frozen cherries can save you time and effort.
What are the nutritional benefits of chia seeds?
Chia seeds are tiny but packed with nutrition. They are high in fiber, which helps digestion. They also provide omega-3 fatty acids, good for heart health. Chia seeds are rich in protein, making them a great addition to your diet. Plus, they are low in calories, so you can enjoy them guilt-free!
How do I adjust the sweetness of the cherry chia jam?
To adjust the sweetness, simply add more or less honey or maple syrup. Start with the recommended 1/4 cup. Taste the mixture as it cooks and add more if needed. You can also use other sweeteners like agave syrup or stevia to suit your taste.
This blog post covers all you need for making cherry chia jam. We explored key ingredients and substitutions. You learned to prepare, cook, and cool your jam. Tips on consistency and serving enhance your experience. We discussed fruit variations and storage options. I’m confident you now have the tools to succeed. Enjoy your delicious, healthy jam, and experiment with your favorite flavors!