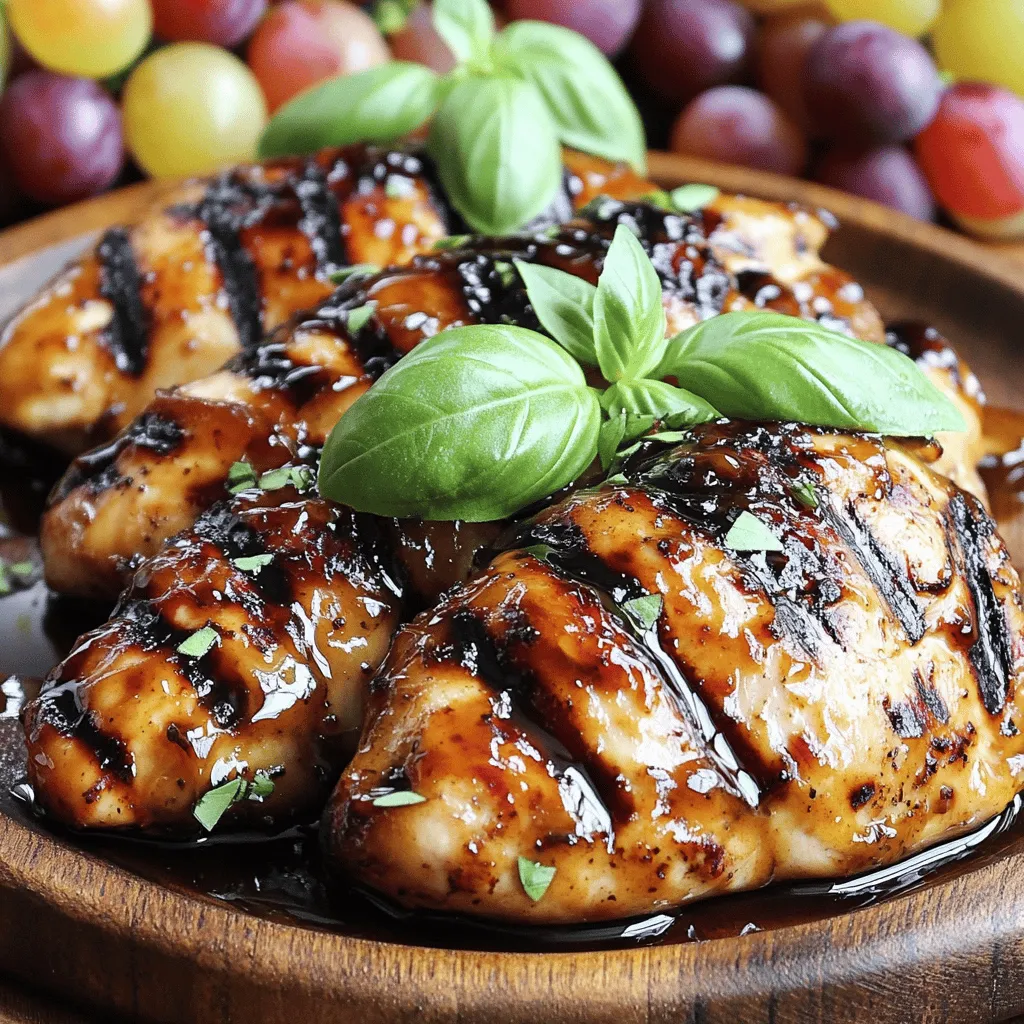
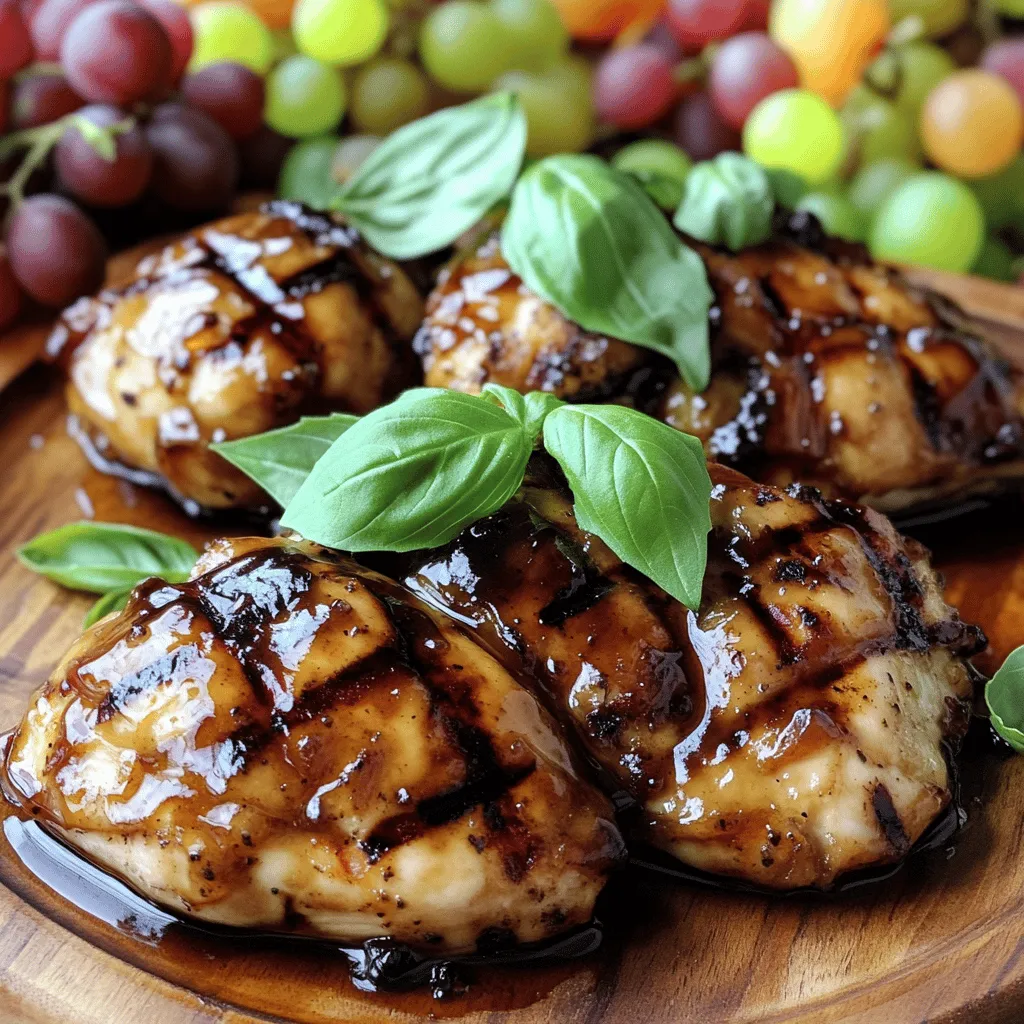
Looking for a tasty dinner that’s easy to make? You’ll love my Balsamic Glazed Chicken recipe! With just a few simple ingredients, you can enjoy juicy chicken breasts coated in a rich, sweet balsamic glaze. Whether you’re grilling in the backyard or cooking in the kitchen, this dish is sure to impress your family and friends. Let’s dive into this delightful recipe and elevate your weeknight meals!
Ingredients
Chicken and Marinade
– 4 boneless, skinless chicken breasts
– 1 cup balsamic vinegar
– 1/2 cup honey
Seasoning and Cooking Ingredients
– 2 tablespoons olive oil
– 2 cloves garlic, minced
– 1 teaspoon dried thyme
– 1 teaspoon dried rosemary
– Salt and pepper to taste
– Fresh basil leaves for garnish
For this recipe, I keep it simple and fresh. You will need four boneless, skinless chicken breasts. These cook quickly and stay juicy. The marinade includes a cup of balsamic vinegar and half a cup of honey. This mix gives a rich, sweet flavor.
Next, you will add two tablespoons of olive oil. This oil keeps the chicken from sticking. Minced garlic really boosts the taste. Use two cloves for a fragrant touch. Dried thyme and rosemary give more depth to the flavor. A teaspoon of each is just right.
Finally, season with salt and pepper to your liking. Fresh basil leaves add color and taste. You can use them to garnish your dish before serving.
Step-by-Step Instructions
Preparing the Balsamic Glaze
To start, you need to make the glaze. First, combine the following ingredients in a medium saucepan:
– 1 cup balsamic vinegar
– 1/2 cup honey
– 2 cloves garlic, minced
– 1 teaspoon dried thyme
– 1 teaspoon dried rosemary
– Salt and pepper to taste
Place the saucepan over medium heat. Bring the mixture to a gentle boil. After boiling, lower the heat. Let it simmer for about 15 to 20 minutes. Stir it occasionally. The glaze will thicken and coat the back of a spoon. When ready, remove it from the heat and set it aside. This glaze adds a rich flavor to your chicken.
Grilling the Chicken
Next, you will prepare the chicken. Preheat your grill or grill pan to medium-high heat. Brush 4 boneless, skinless chicken breasts with 2 tablespoons of olive oil. Season both sides with salt and pepper.
Once the grill is hot, place the chicken on it. Grill for 5 to 7 minutes on each side. You want the chicken to be golden brown and reach an internal temperature of 165°F (75°C). In the last few minutes of cooking, brush the balsamic glaze over the chicken. This step allows the glaze to caramelize slightly, adding a nice finish.
Serving the Dish
When the chicken is done, take it off the grill. Let it rest for 5 minutes. Resting is important for juicy chicken. After resting, drizzle any remaining glaze over the chicken. This adds extra flavor. For a colorful touch, garnish with fresh basil leaves. You can now enjoy a delicious meal that tastes gourmet, yet is simple to make.
Tips & Tricks
Perfecting the Glaze
How to achieve the right thickness
To get the perfect glaze, simmer it for about 15-20 minutes. This time helps the mix thicken. Stir it often to avoid sticking. You want the glaze to coat the back of a spoon. If it is too thin, cook a bit longer. If it is too thick, add a splash of water.
Avoiding burning the glaze
Keep an eye on the glaze while it cooks. The sugar from honey can burn easily. Use medium heat and stir frequently. If it starts to darken too much, lower the heat.
Grilling Techniques
Best temperature for juicy chicken
For juicy chicken, grill at medium-high heat. This usually means about 375°F to 400°F. At this heat, the chicken cooks evenly and stays moist. Use a meat thermometer to check for 165°F inside.
Recommended tools for grilling
A good grill or grill pan is key. Use tongs to flip the chicken without piercing it. A meat thermometer will help you avoid undercooking or overcooking.
Serving Suggestions
Ideal side dishes for balsamic glazed chicken
Balsamic glazed chicken pairs well with many sides. Try roasted vegetables, like carrots or zucchini. You can also add quinoa or a fresh salad. These sides balance the sweet and tangy flavors of the chicken.
Pairing with wines or beverages
For drinks, a light white wine works great. Try a Sauvignon Blanc or Pinot Grigio. If you prefer something non-alcoholic, iced tea or sparkling water is refreshing. These drinks enhance the meal without overpowering it.
Variations
Flavor Twists
You can easily change the flavor of balsamic glazed chicken. Try adding spices like red pepper flakes for some heat. This adds a nice kick without being too spicy. You can also mix in fresh fruit. Strawberries or figs work great. These fruits add sweetness and a unique twist to the dish. Pairing savory chicken with fruity notes enriches your meal.
Method Variations
You can cook balsamic glazed chicken in different ways. Grilling gives a smoky flavor and nice char. Baking is an easy option too. Just set your oven to 375°F (190°C) and bake for about 25-30 minutes. You can also use a slow cooker for a hands-off approach. Just add the chicken and glaze, and let it cook for 4-6 hours on low. This method makes the chicken super tender and full of flavor.
Dietary Adjustments
If you need gluten-free options, use tamari instead of soy sauce in the glaze. This keeps the flavor while meeting dietary needs. For those cutting sugar, substitute honey with a low-sugar sweetener. This keeps the glaze sweet but healthier. You can adjust recipes to fit your needs and still enjoy this tasty dish. Making these changes allows everyone to enjoy a delicious meal.
Storage Info
Refrigeration Tips
To store leftover balsamic glazed chicken, place it in an airtight container. Make sure to let it cool first. This helps keep the chicken juicy and flavorful. You can also store the glaze in a separate jar. It stays fresh longer that way. Use the glaze within a week for the best taste.
Freezing Balsamic Glazed Chicken
Freezing cooked balsamic glazed chicken is easy! First, let the chicken cool completely. Then, wrap it tightly in plastic wrap, followed by aluminum foil. This keeps out air and prevents freezer burn. You can store it in the freezer for up to three months.
To defrost, place the chicken in the fridge overnight. If you’re in a hurry, you can use the microwave. Just be careful not to overcook it. For the best flavor, try to reheat it gently on the stove or in the oven.
Shelf Life
Balsamic glazed chicken lasts about three to four days in the fridge. After that, it may start to spoil. Look for signs like a sour smell or changes in color. If the chicken feels slimy, it’s best to throw it away. Always trust your senses; they are your best guide!
FAQs
Can I use white vinegar instead of balsamic vinegar?
Yes, you can use white vinegar. However, the taste will change. Balsamic vinegar adds a rich, sweet flavor. White vinegar is sharper and less sweet. If you want a similar taste, try adding a bit of sugar to the white vinegar. This can help mimic balsamic’s sweetness.
How do I know when the chicken is fully cooked?
To check if the chicken is done, use a meat thermometer. The inside should reach 165°F (75°C). You can also cut into the chicken. The juices should run clear, not pink. If you see any pink, cook it a bit longer. Make sure to check the thickest part of the chicken.
Can I make the glaze ahead of time?
Yes, you can make the glaze ahead. Just store it in the fridge. It can last for about a week. When you are ready to use it, warm it up on the stove. This will help it become smooth again. For the best taste, use it fresh when possible.
This article covered making balsamic glazed chicken from start to finish. We explored how to prepare the chicken and marinade, cook it to perfection, and enhance it with serving tips. Remember, a great glaze boosts flavor, while proper cooking ensures juicy meat.
Feel free to try variations like spices or fruits to suit your taste. Store leftovers properly for future meals. Enjoy experimenting with this simple, flavorful dish!